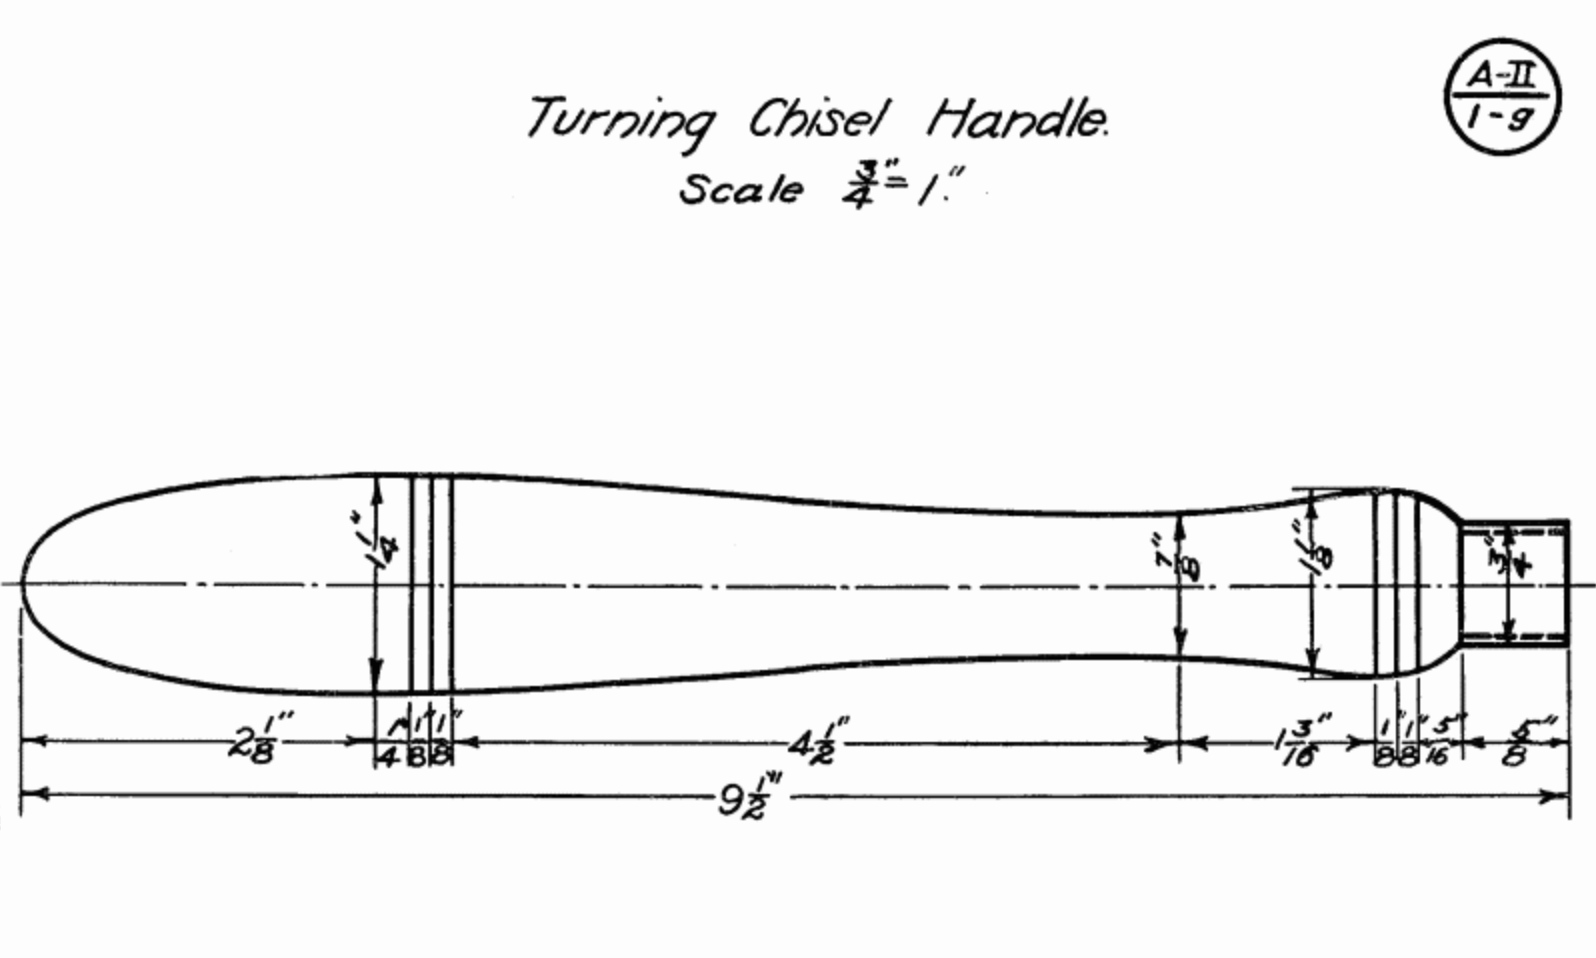
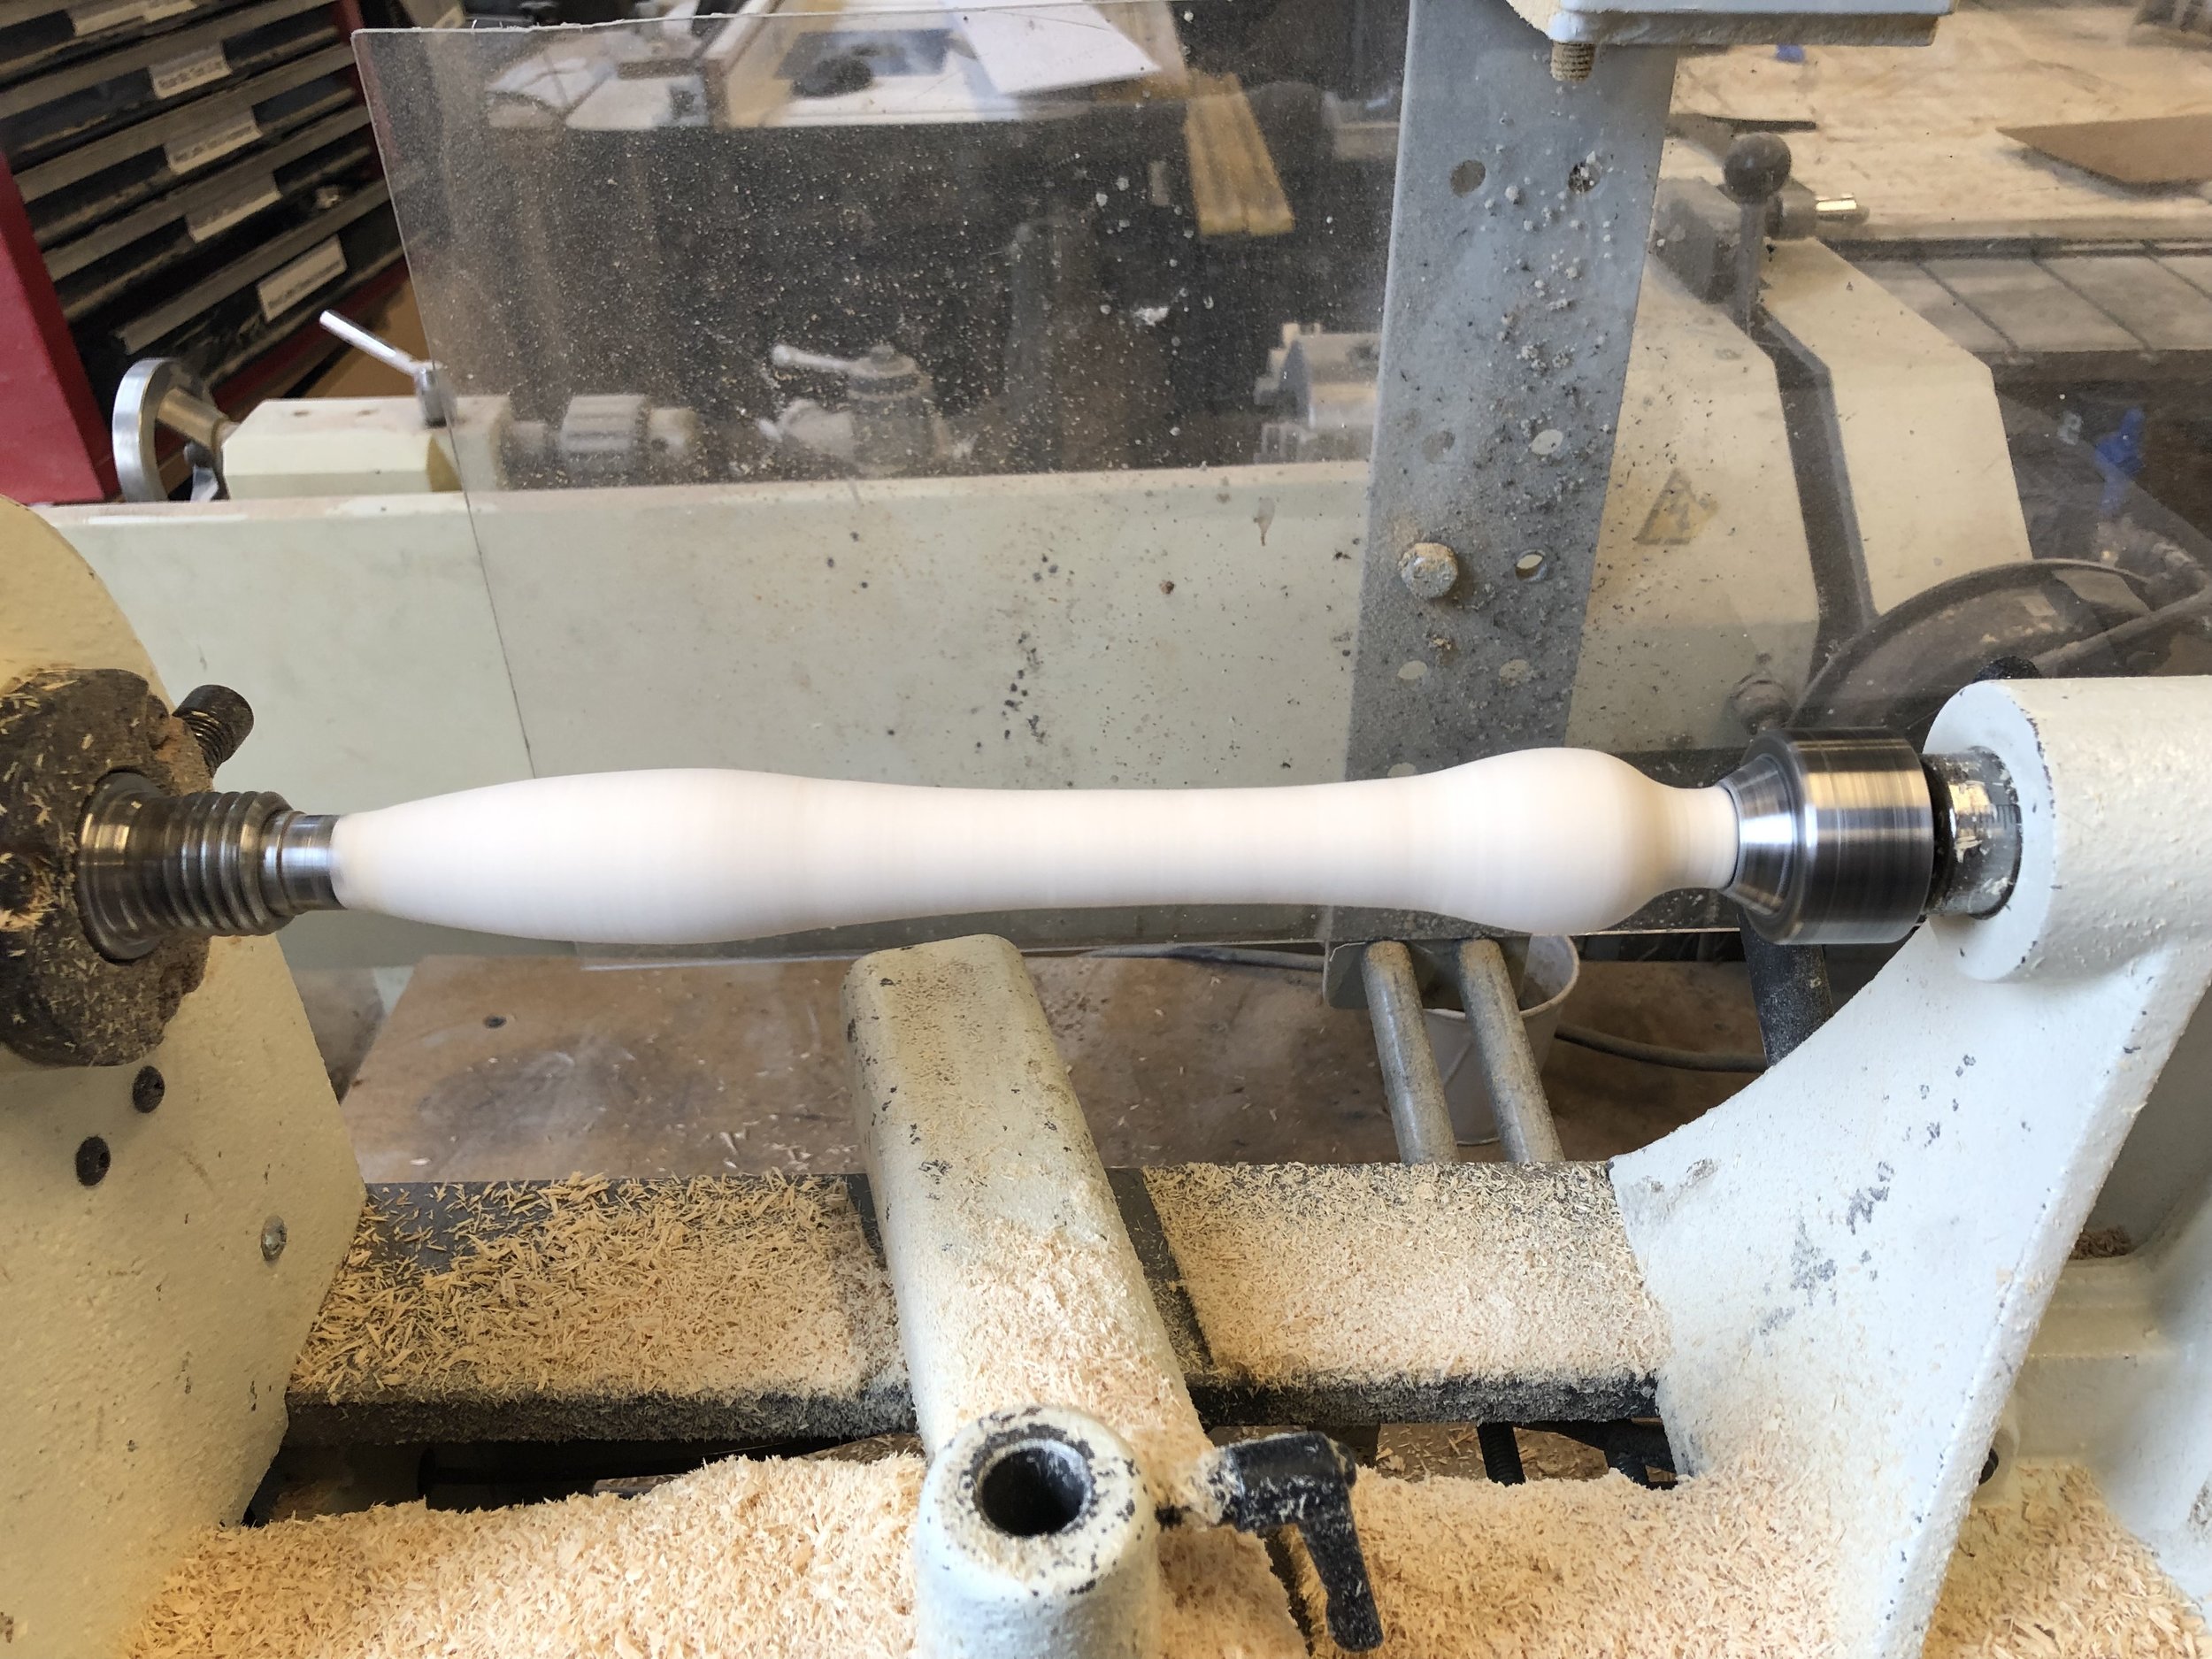
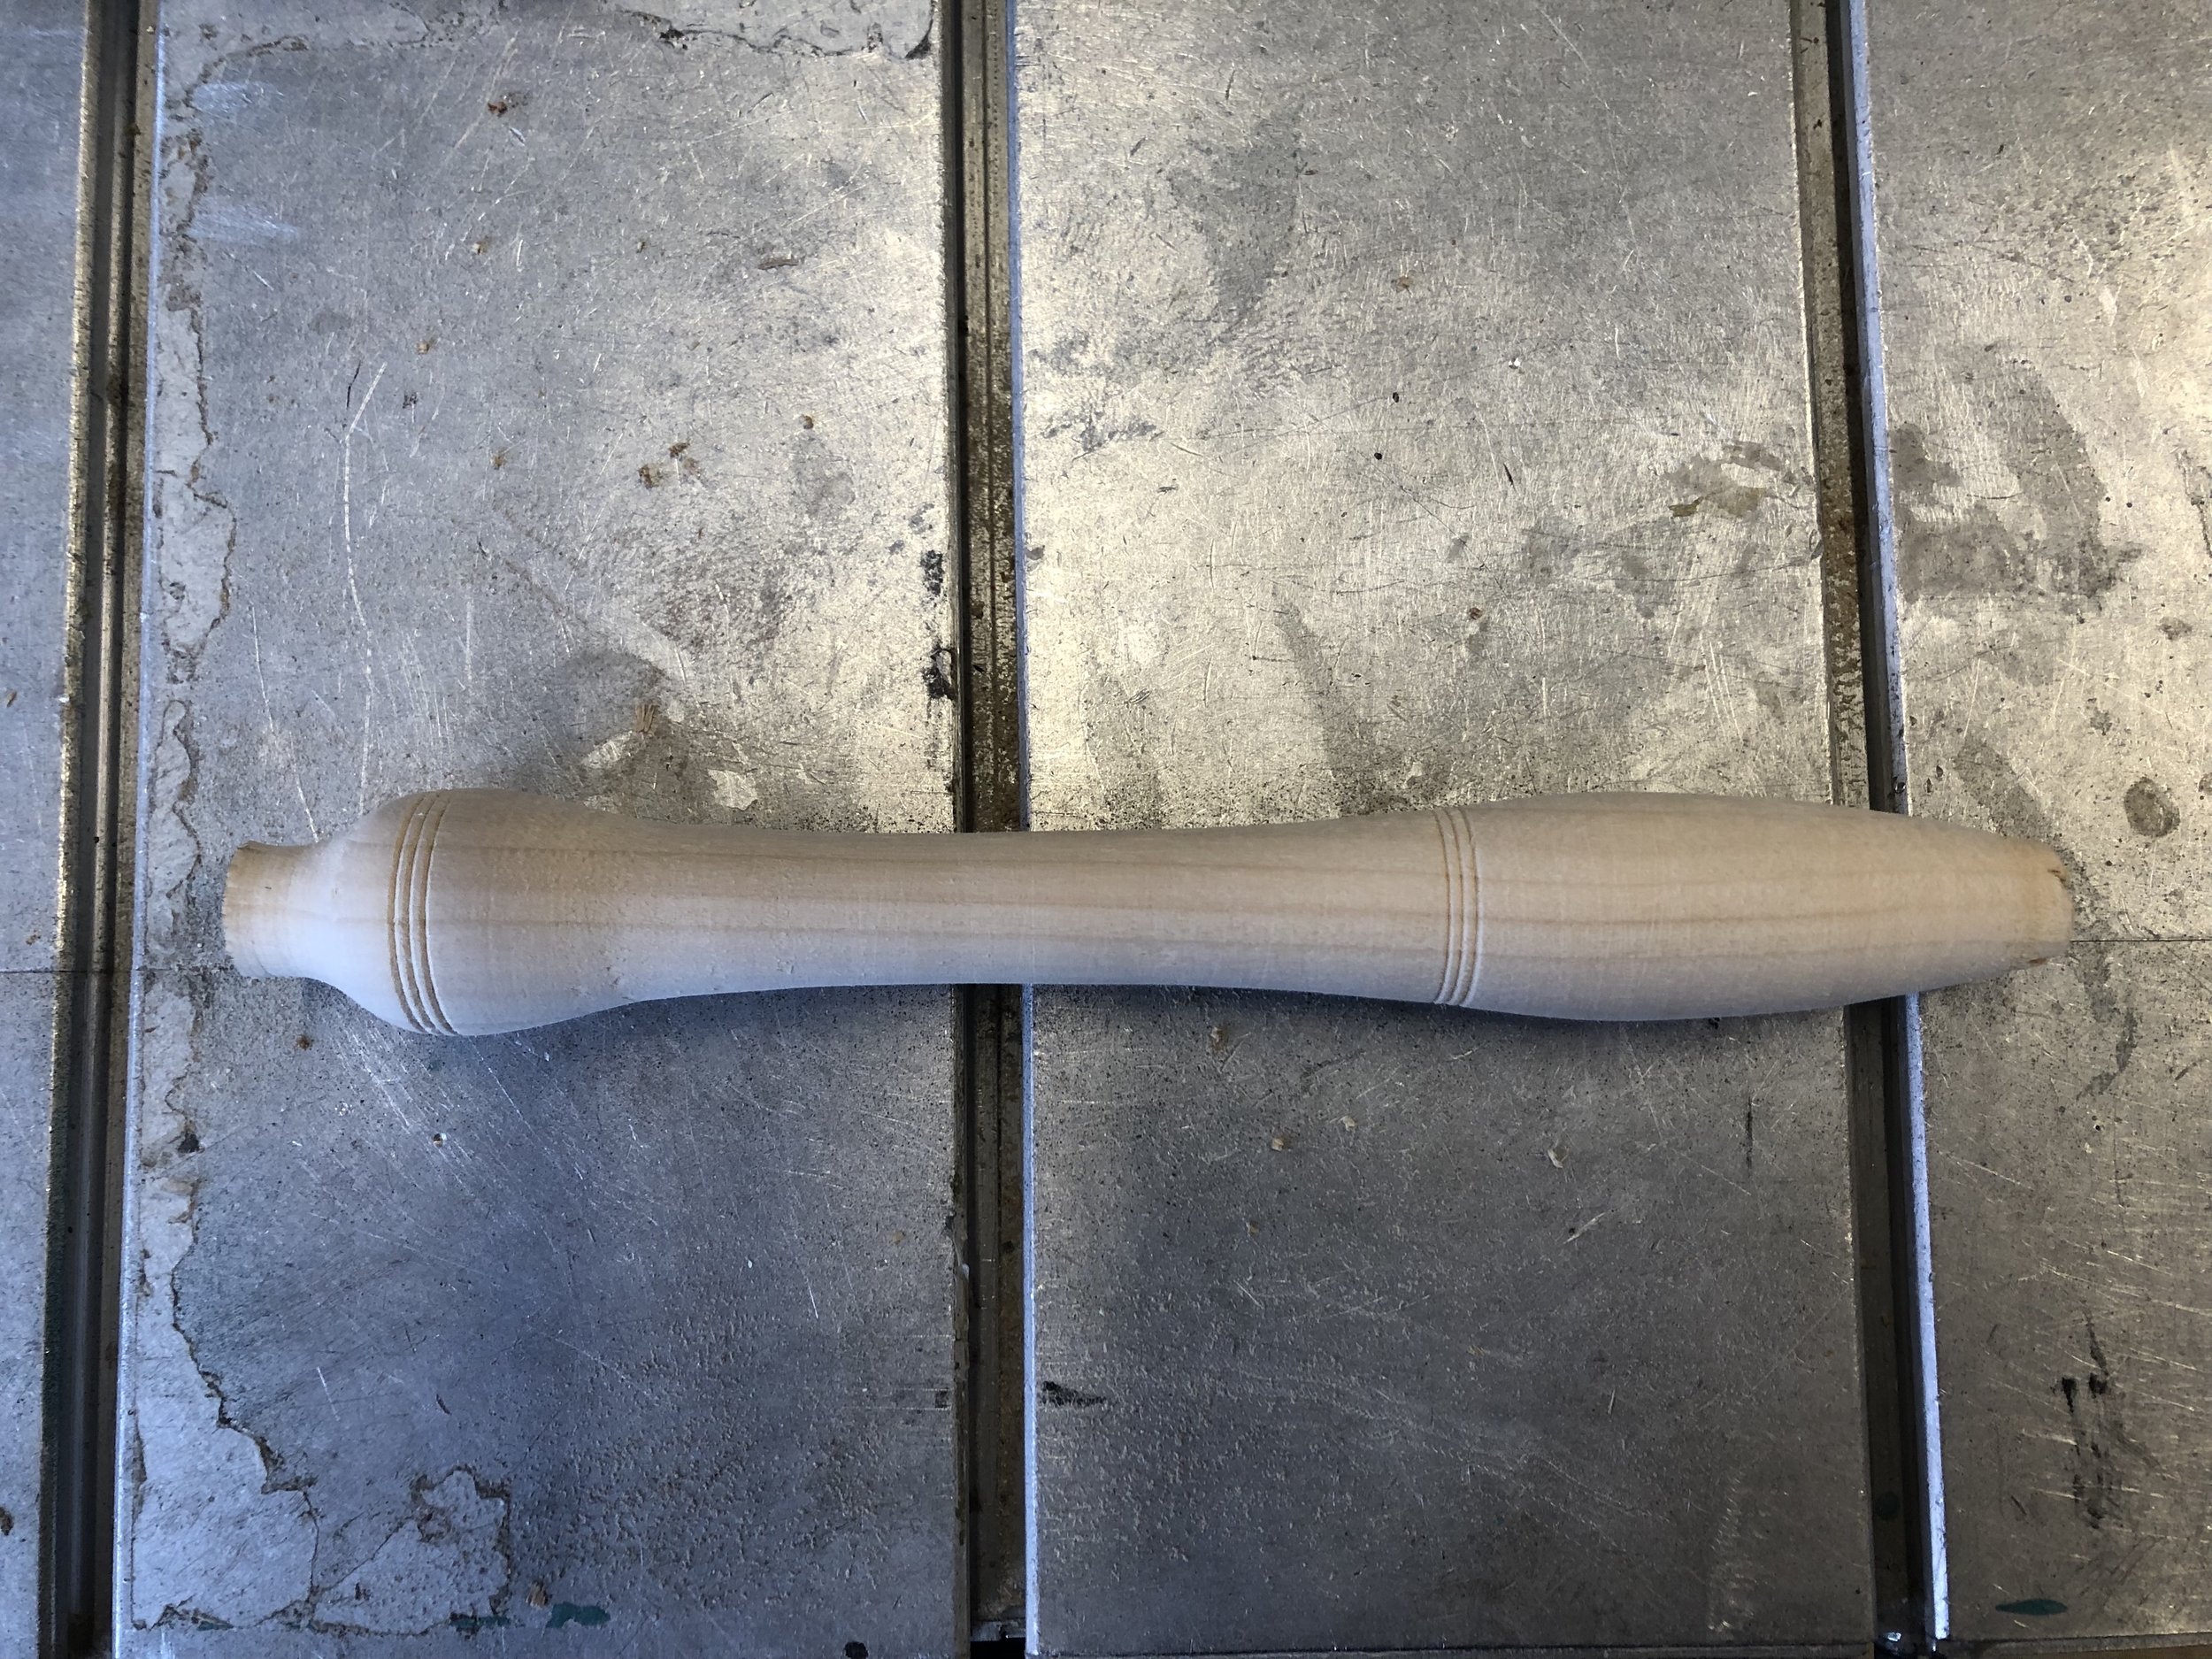
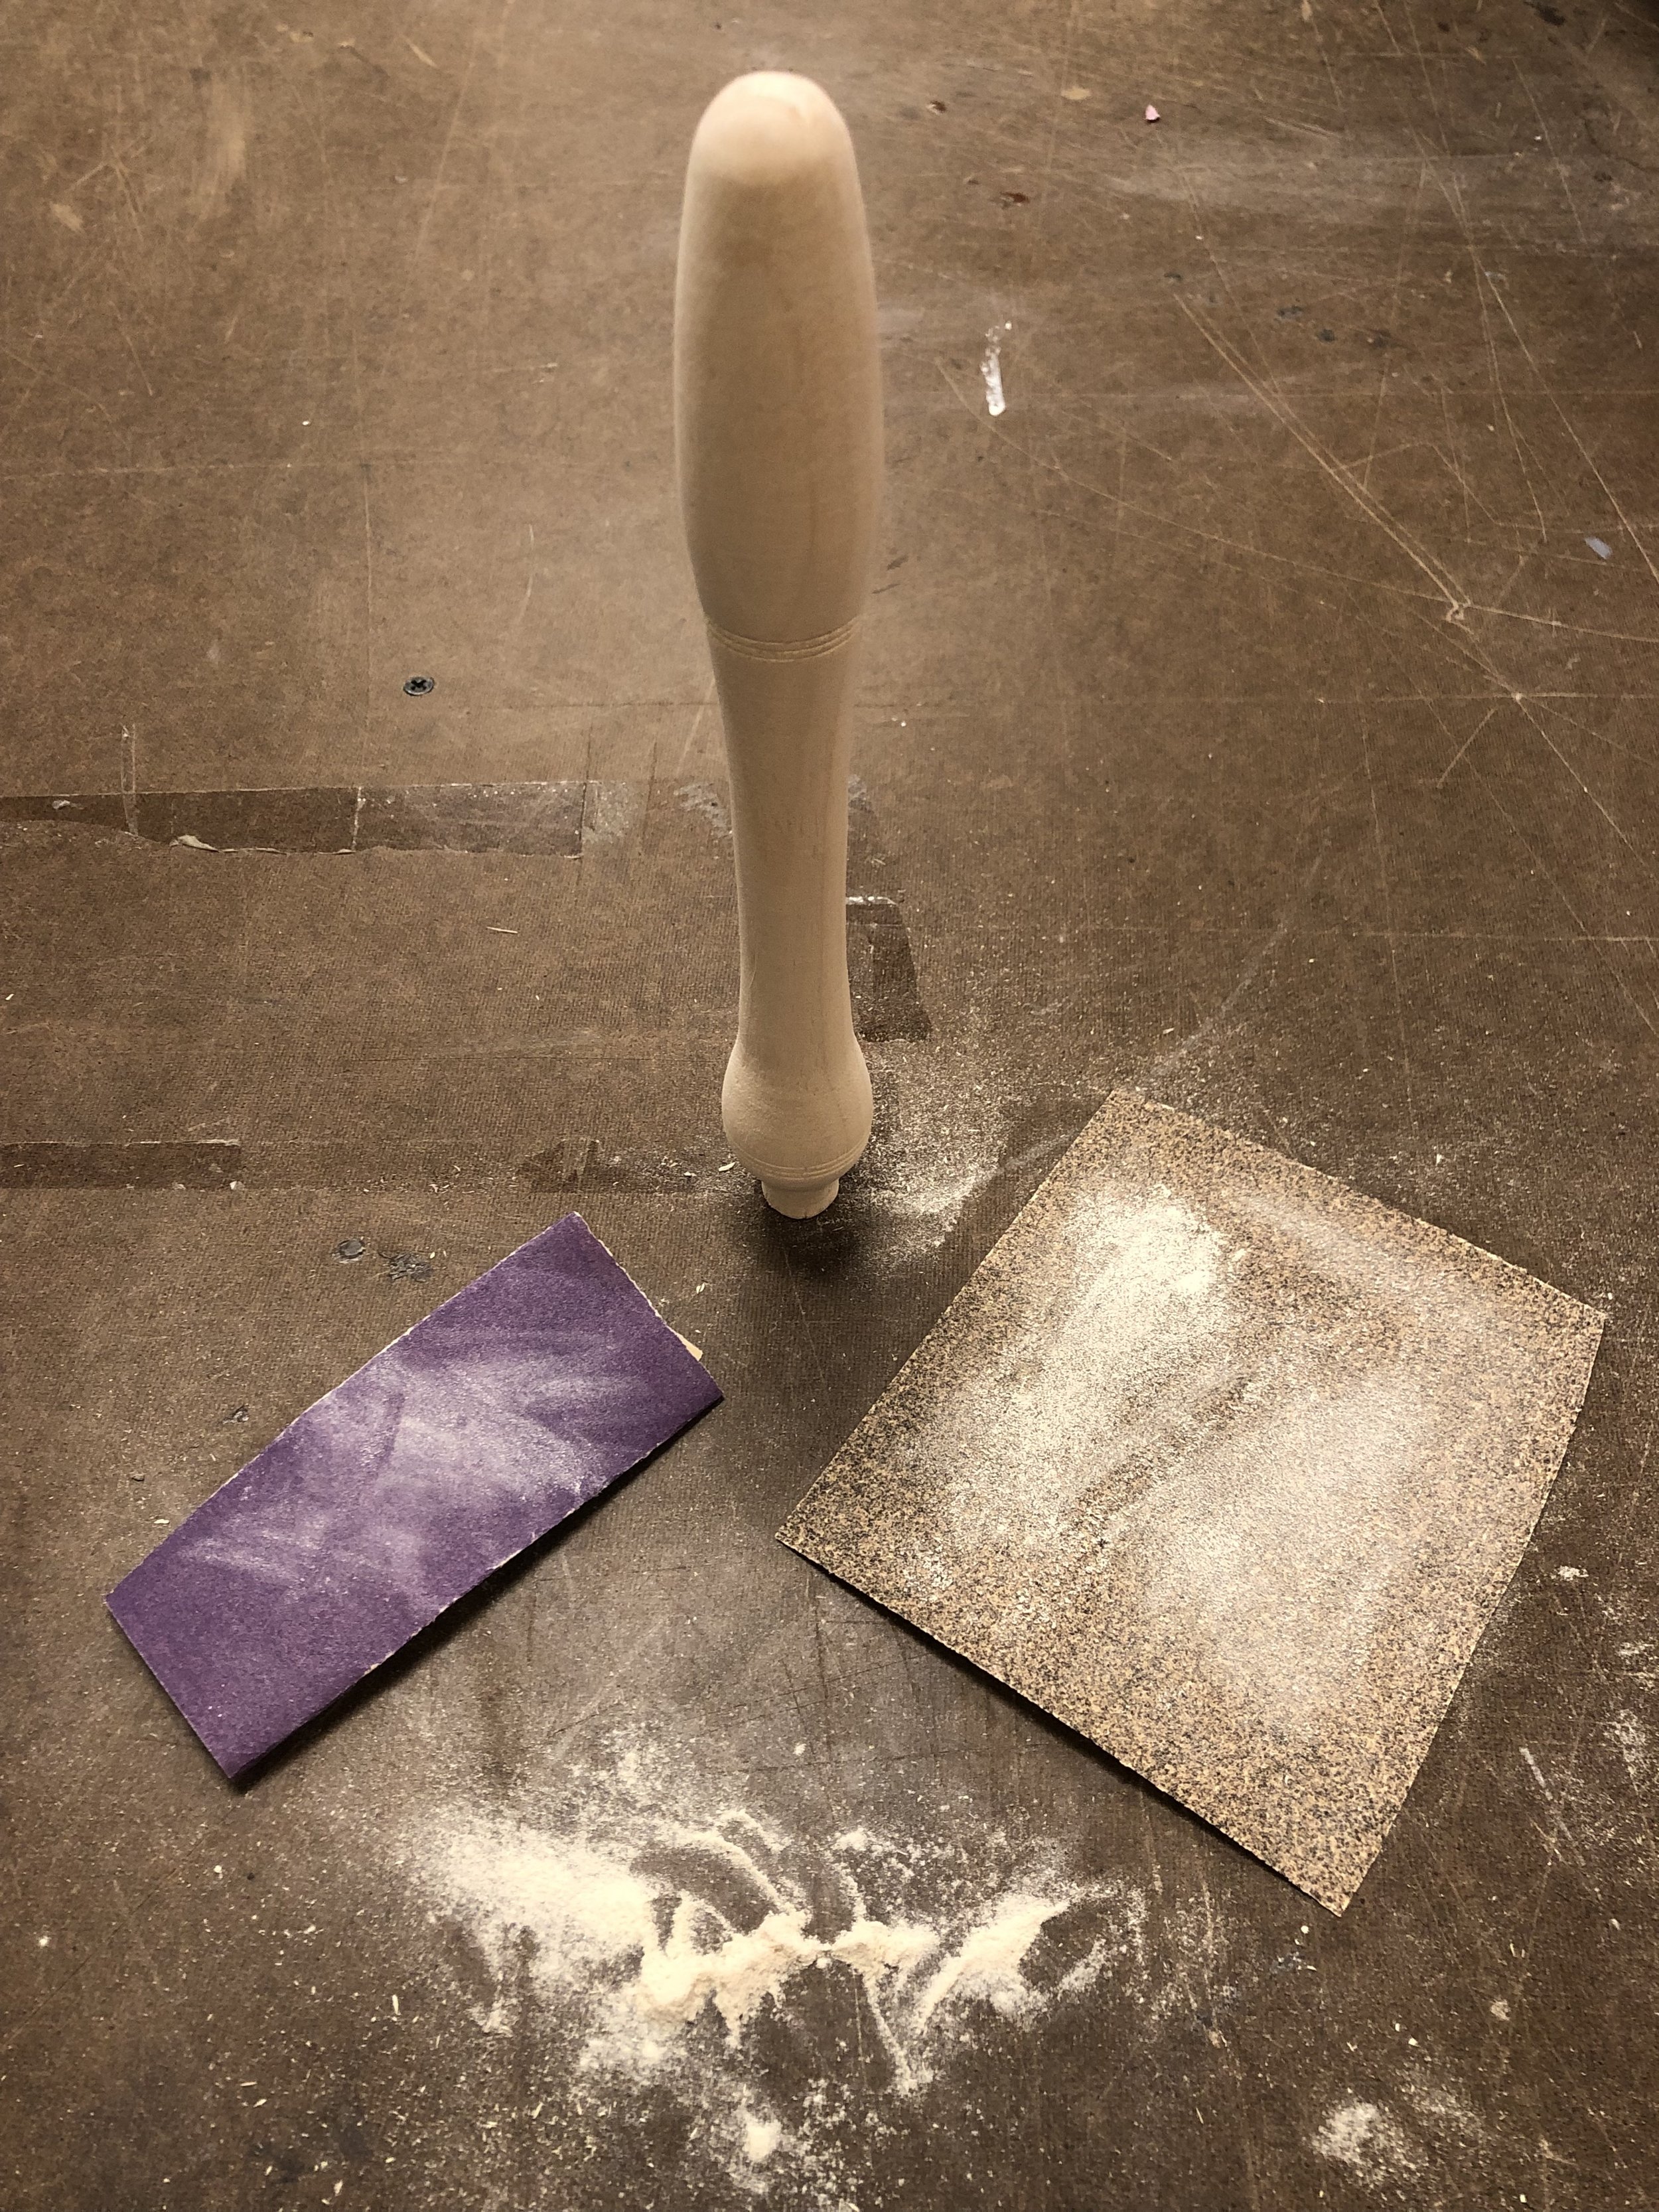
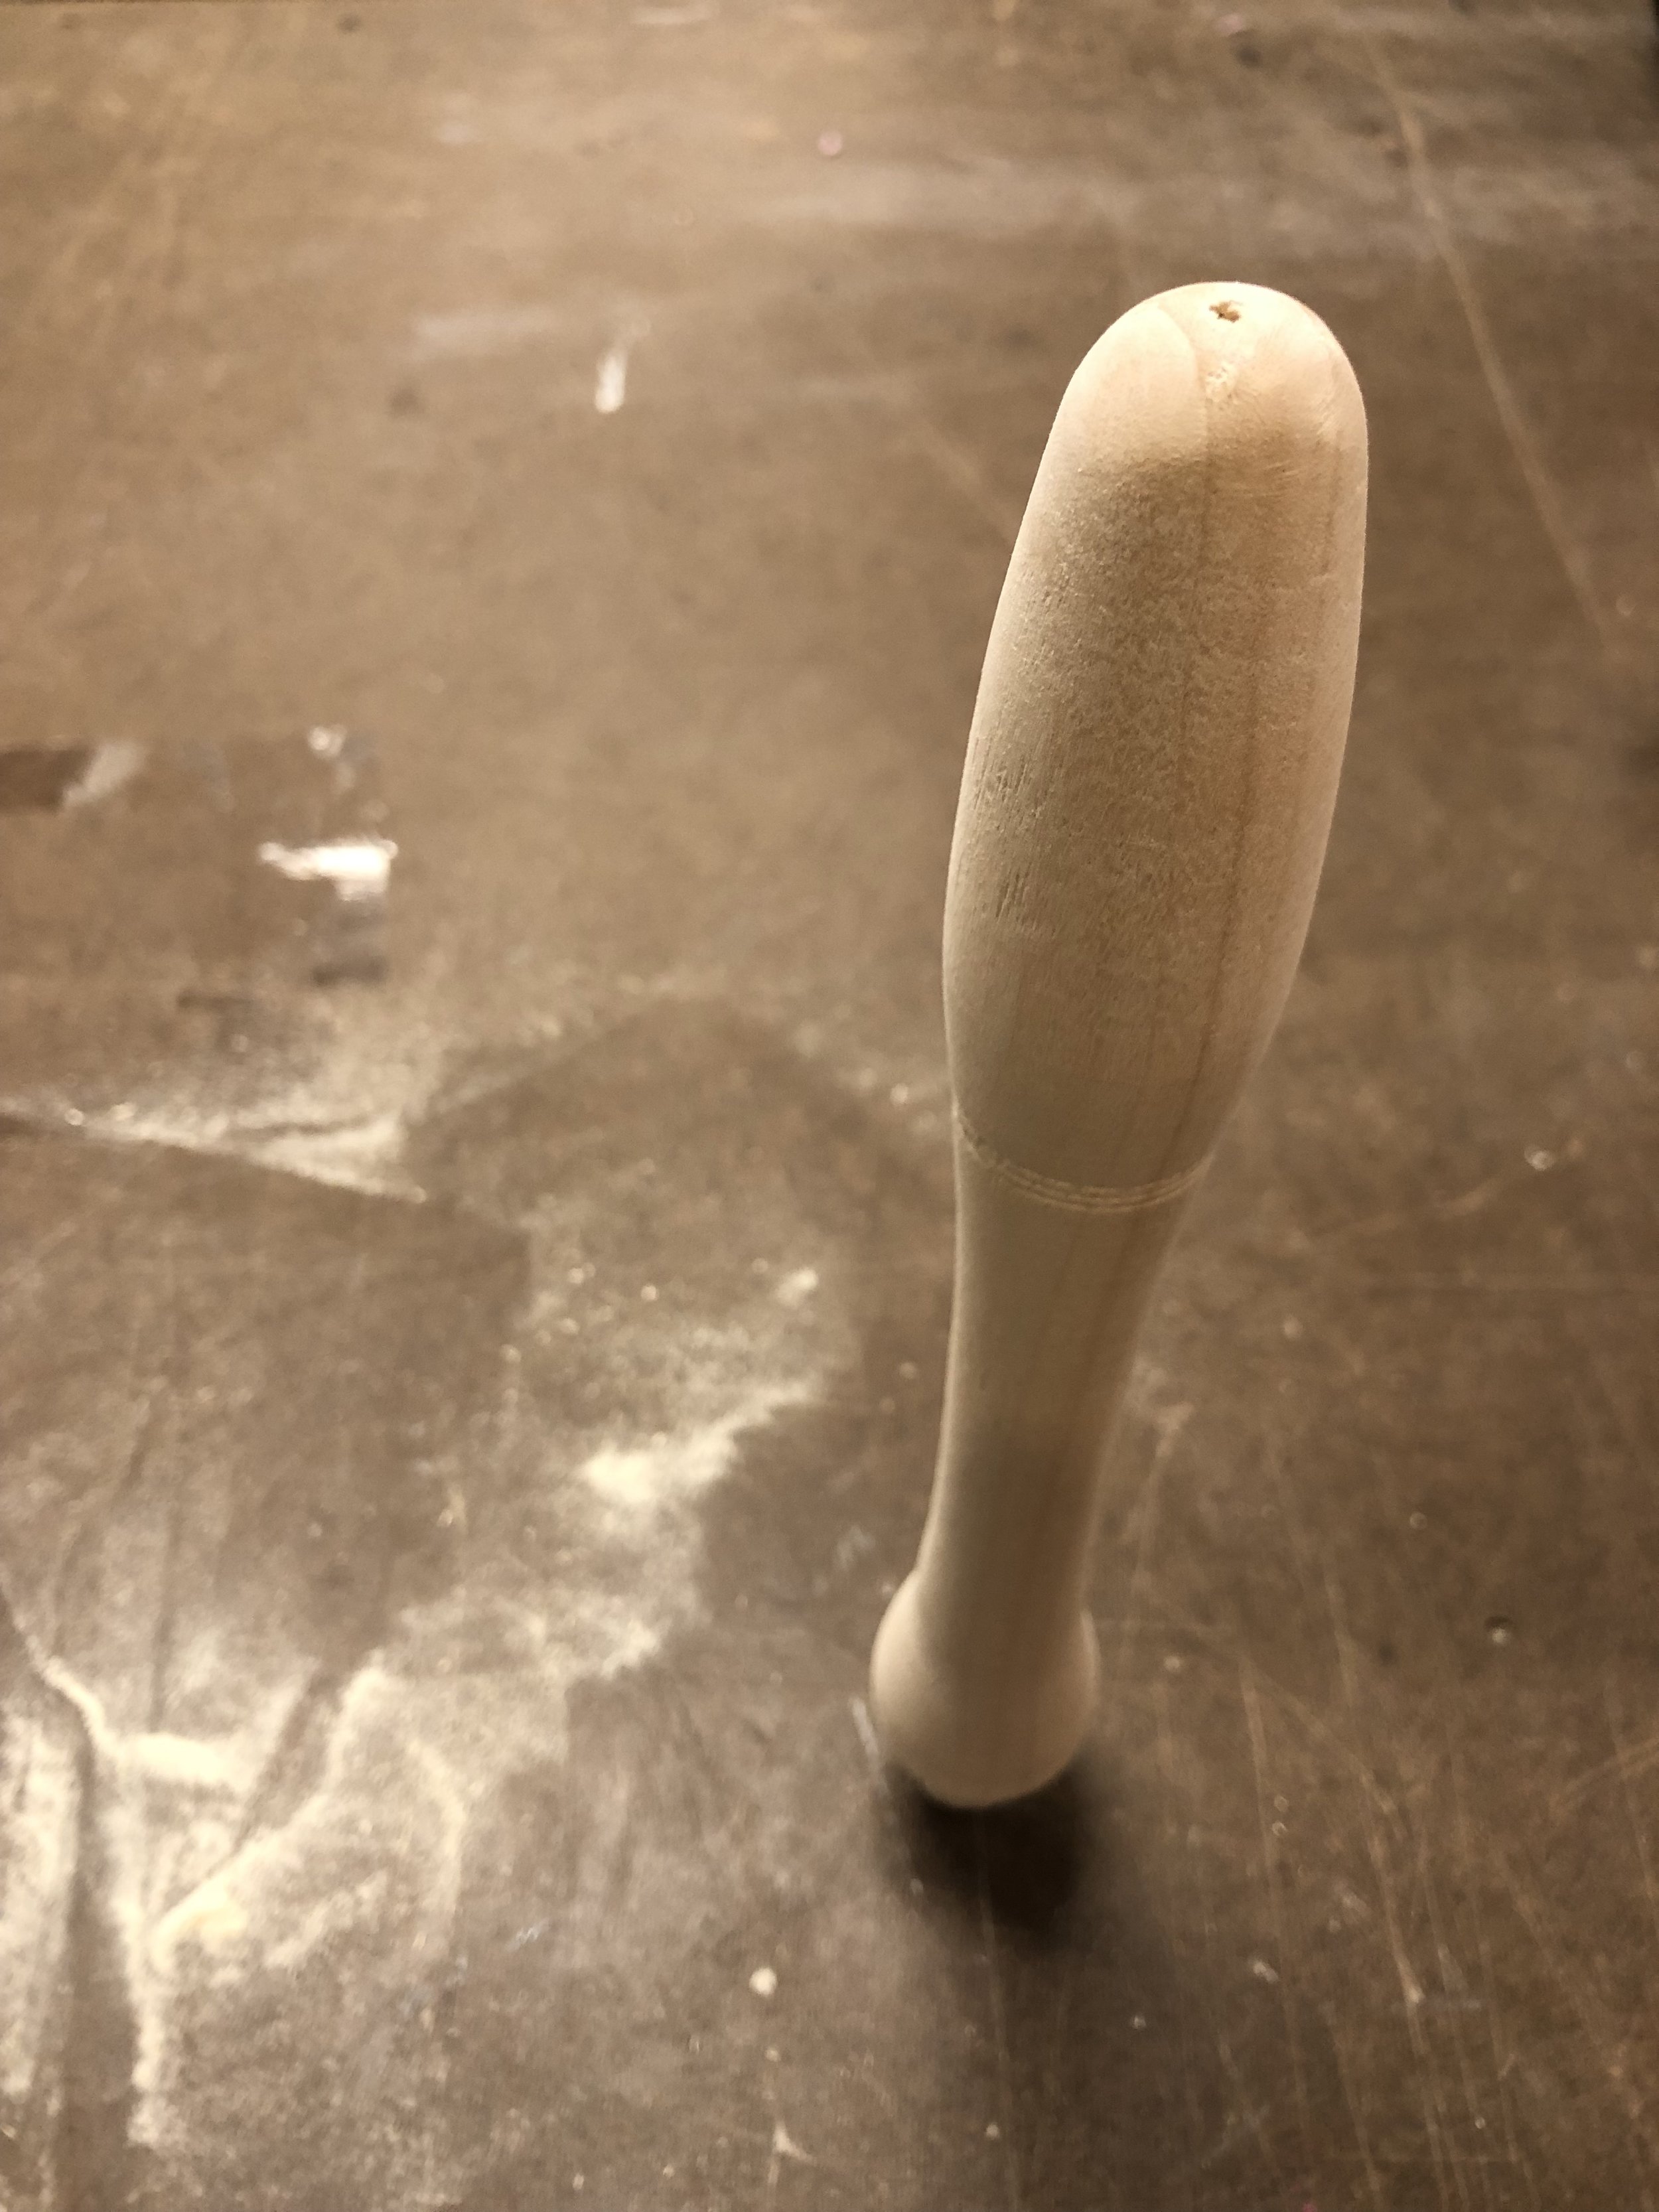
This week we learned about the wood lathe and saw some pretty cool ways to use it to create rounded pieces of wood that can be used for a number of things. Our assignment was to use the wood lathe and create a spindle via the provided blueprint and shape the piece to be a well-formed and nice handle.
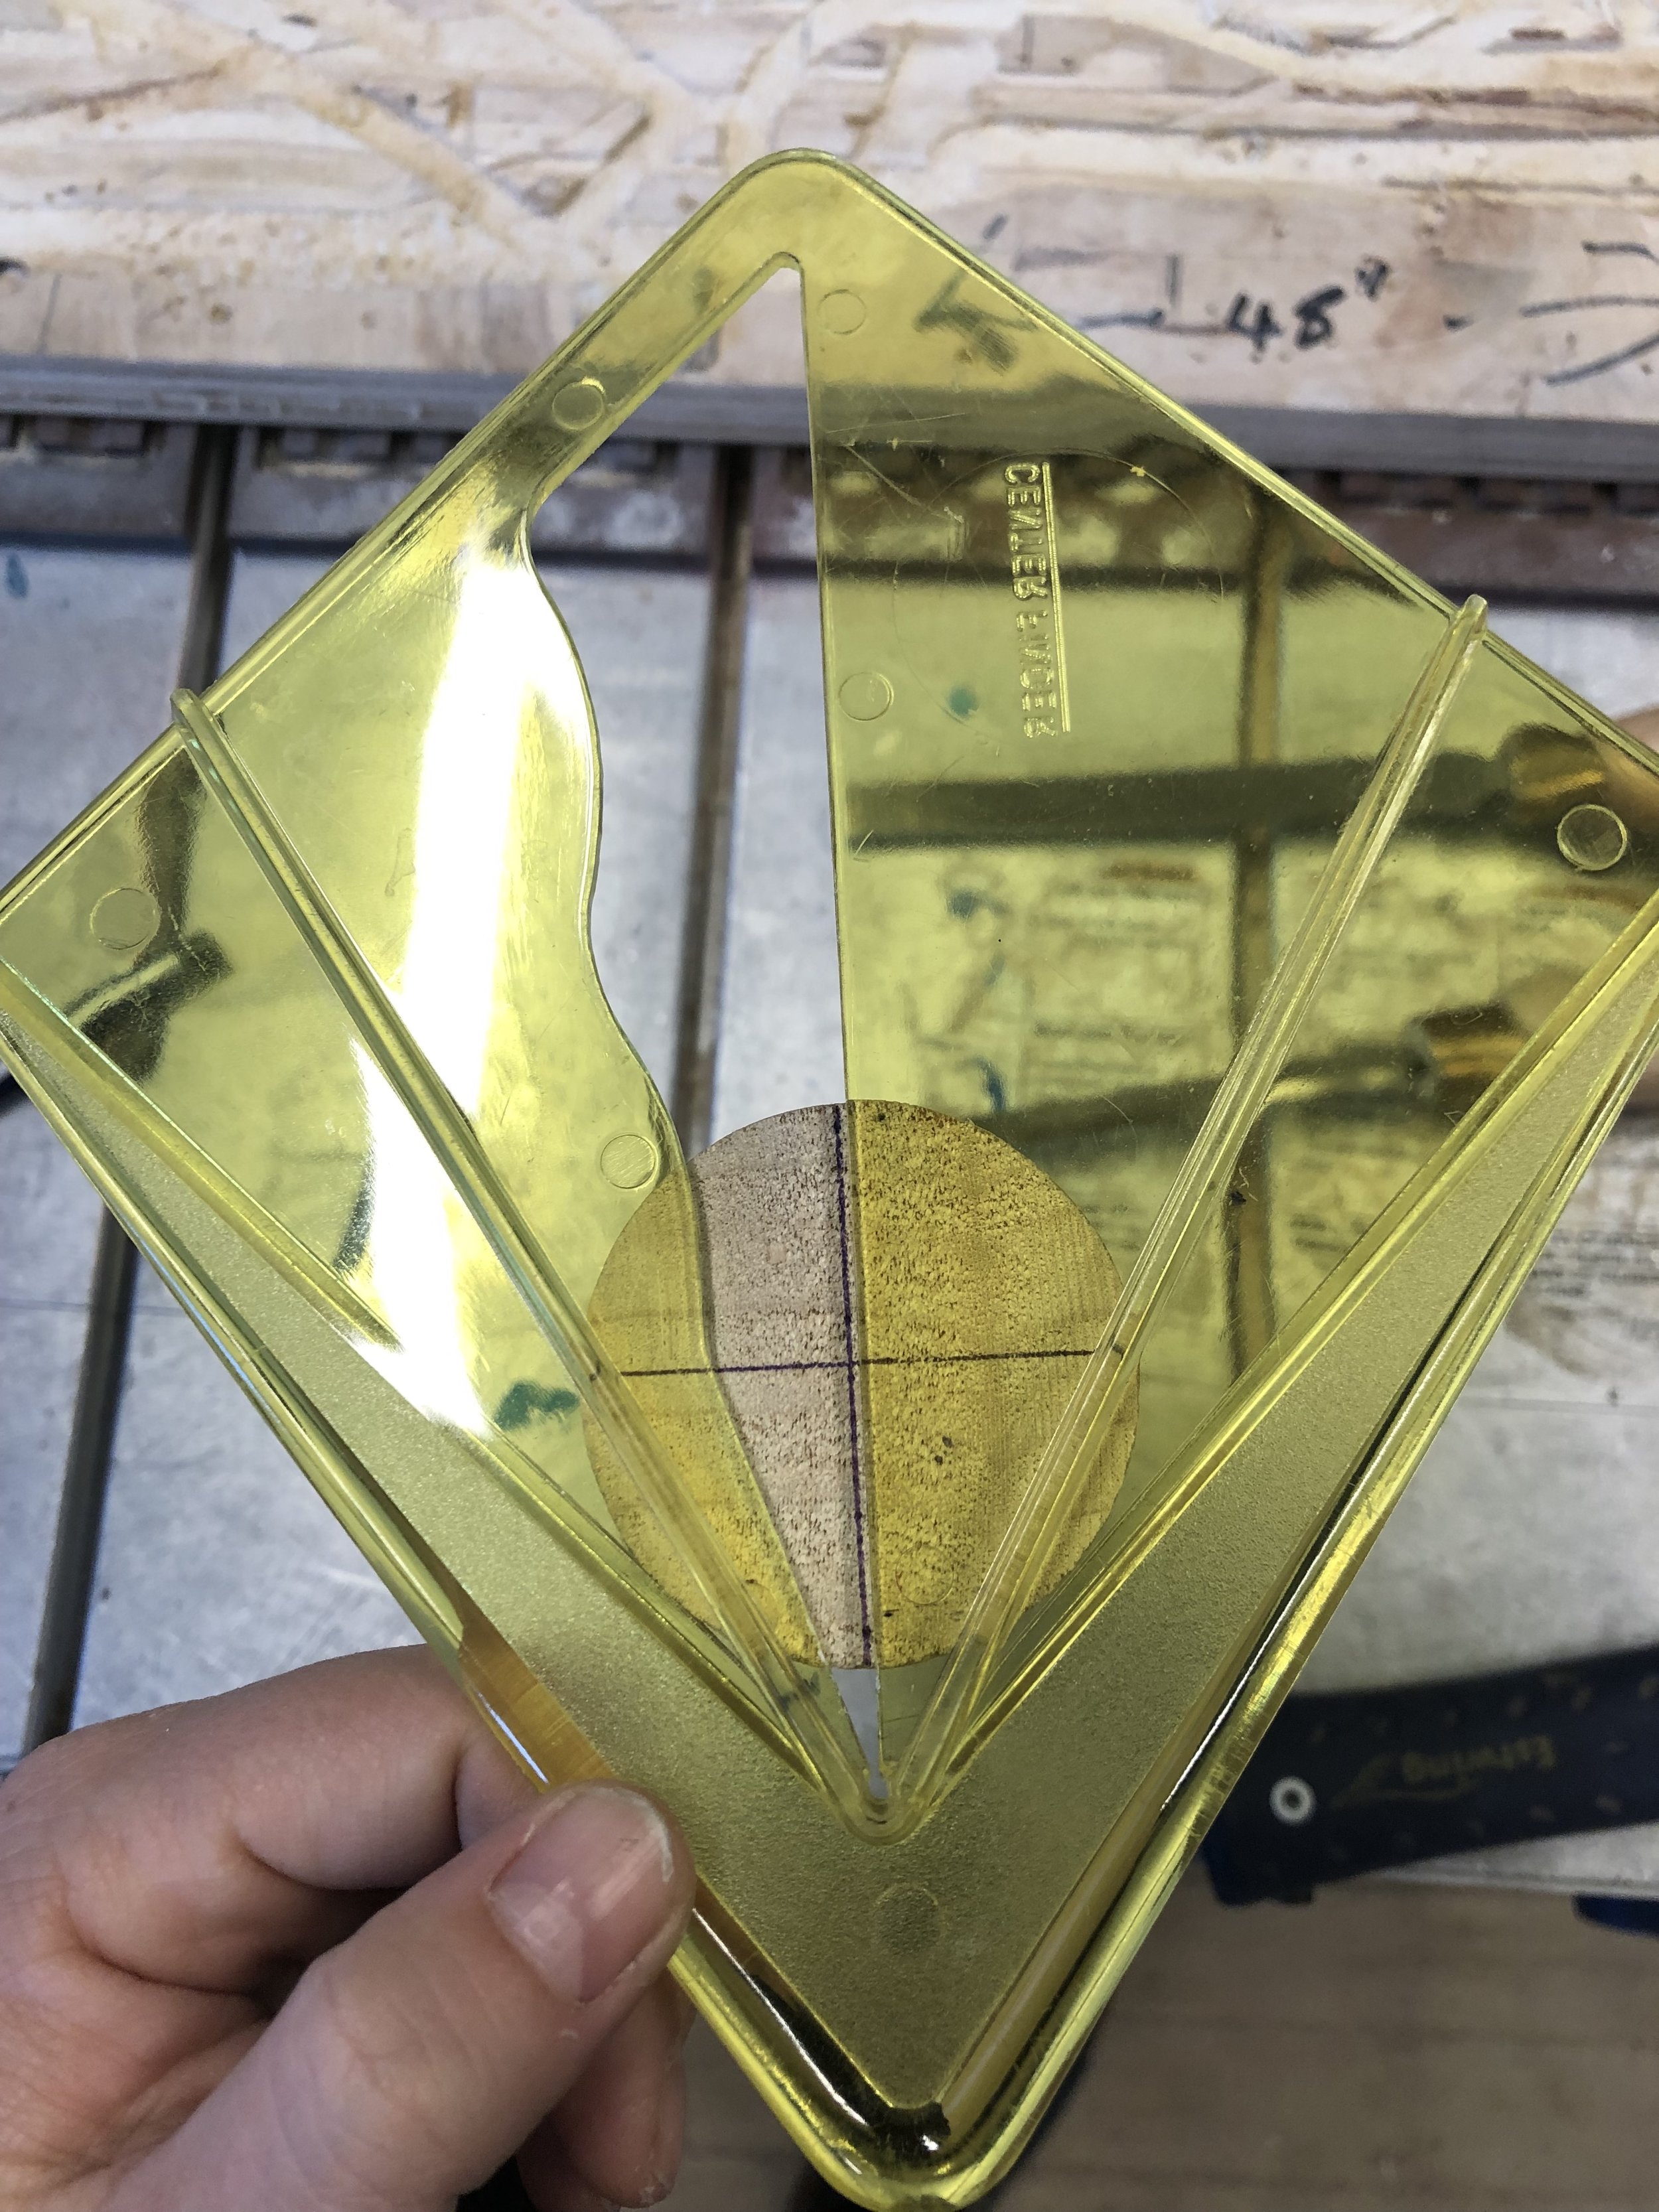
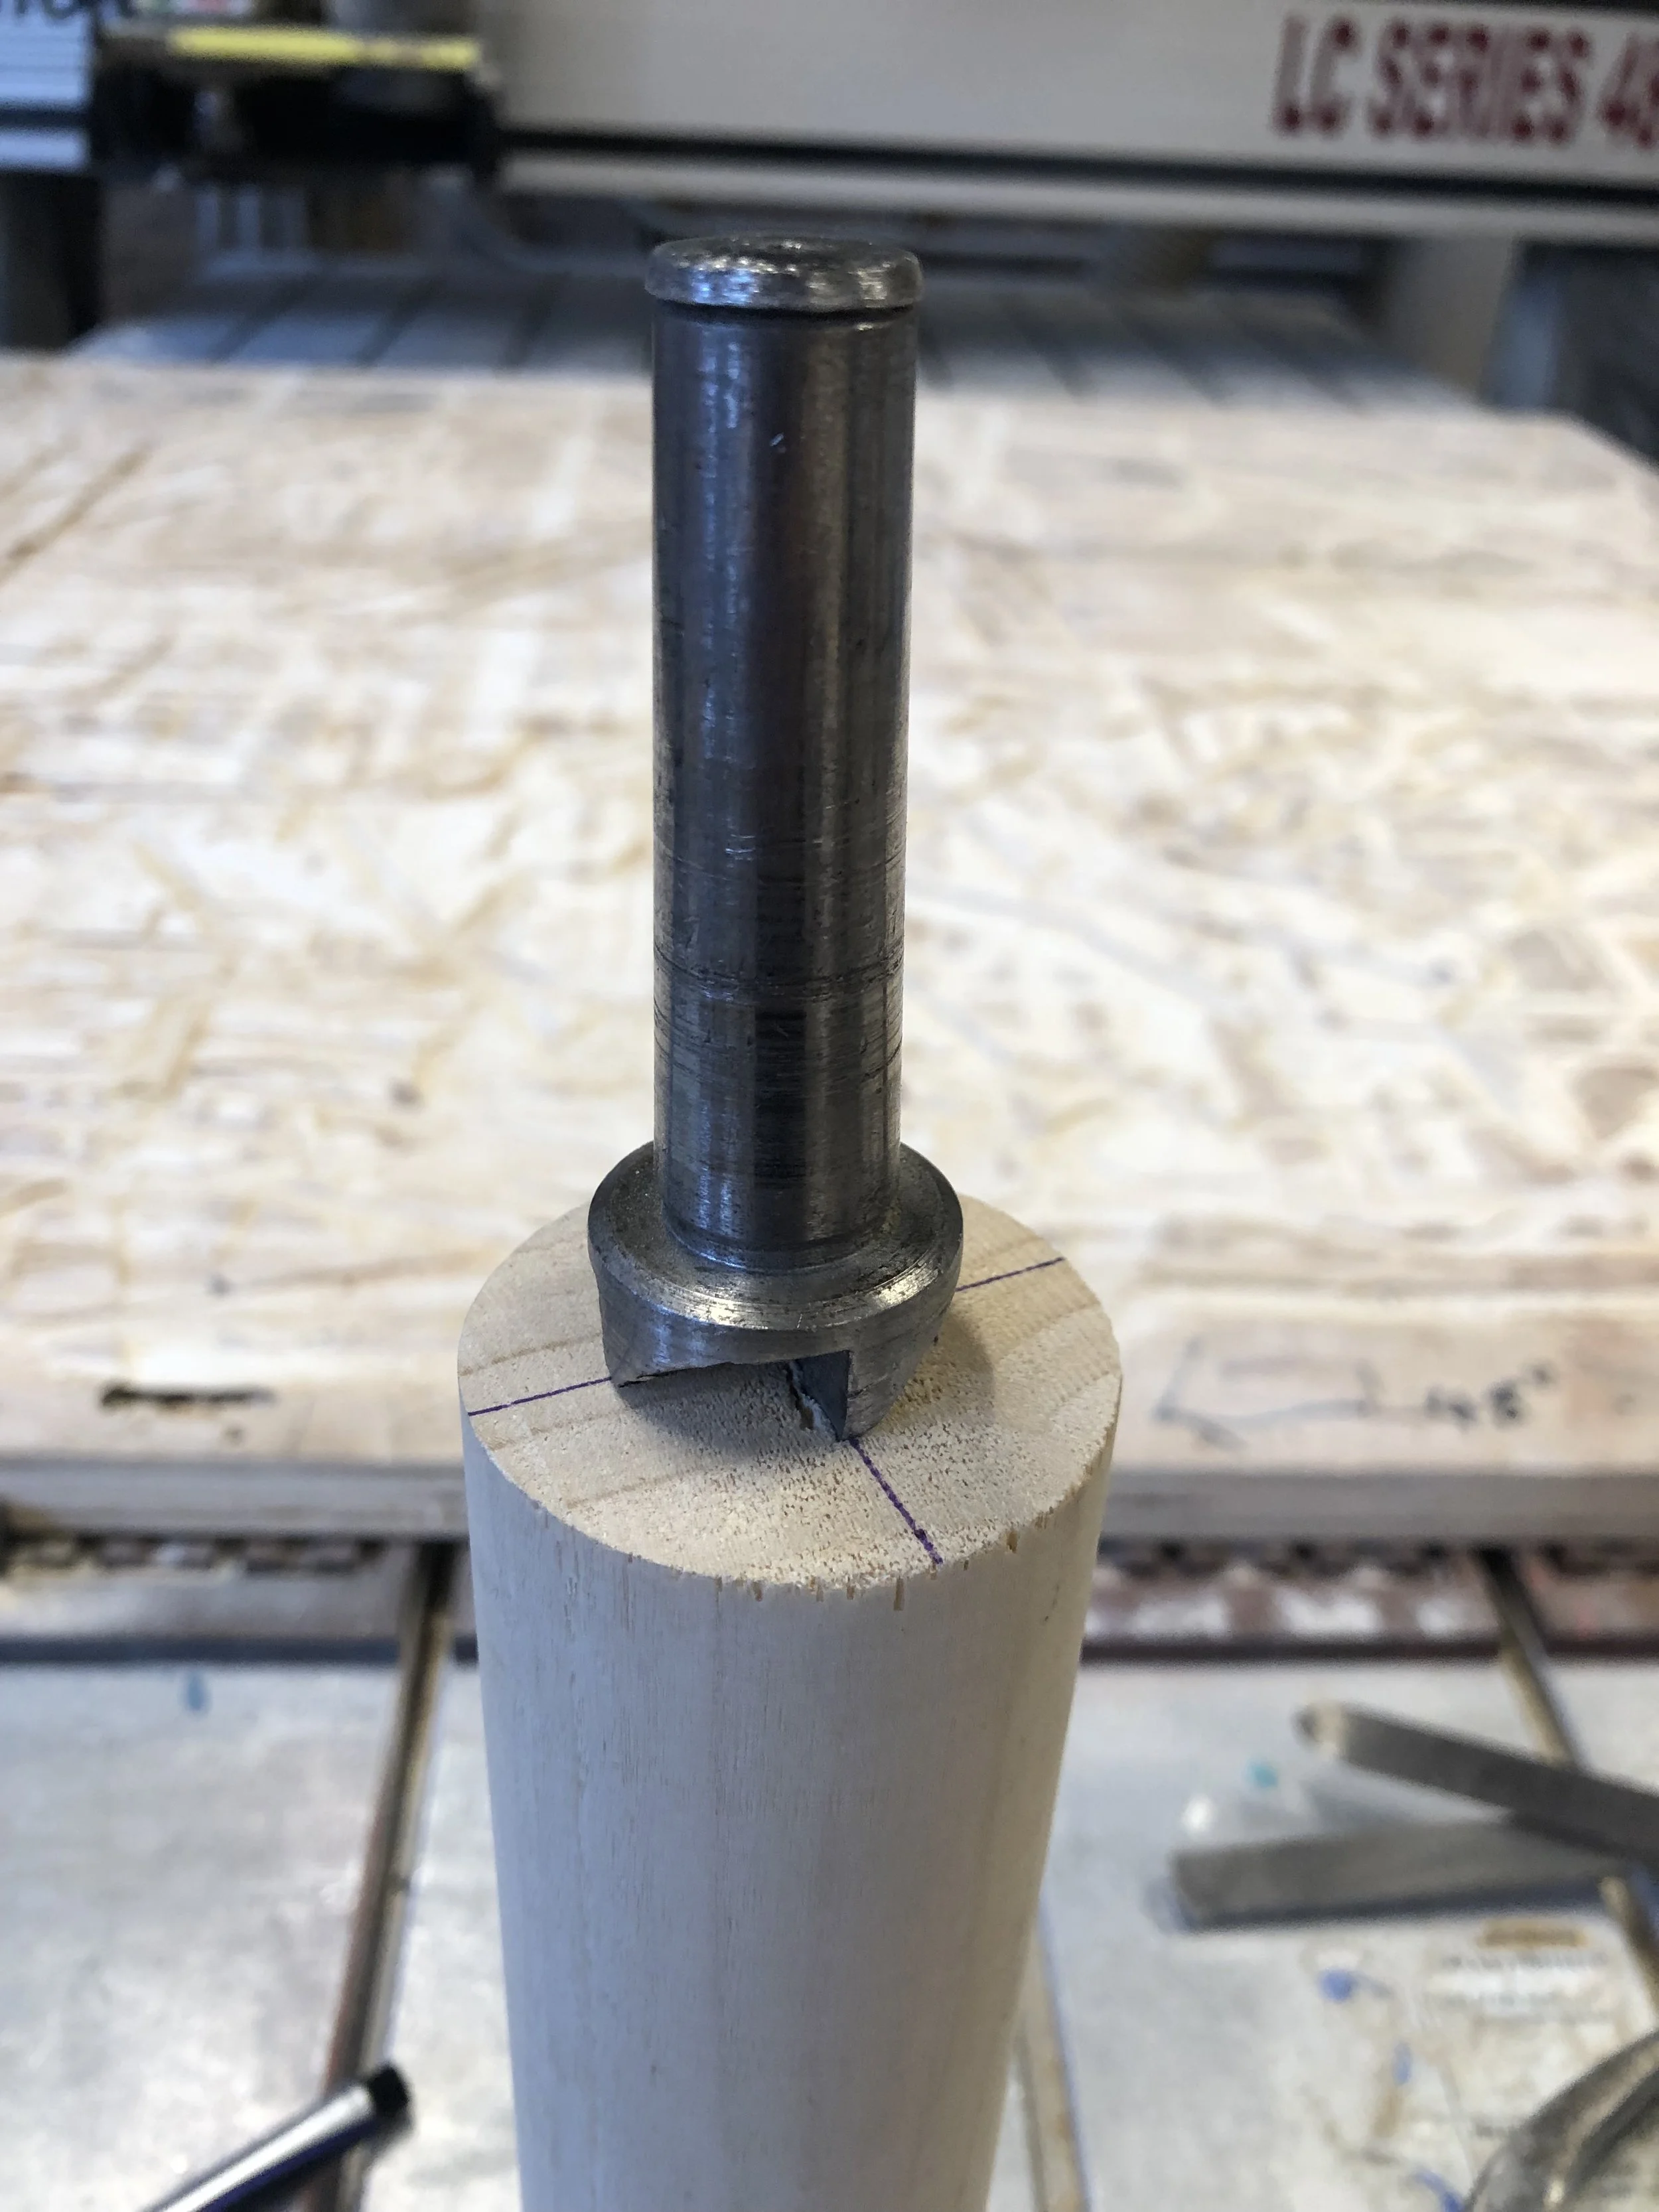
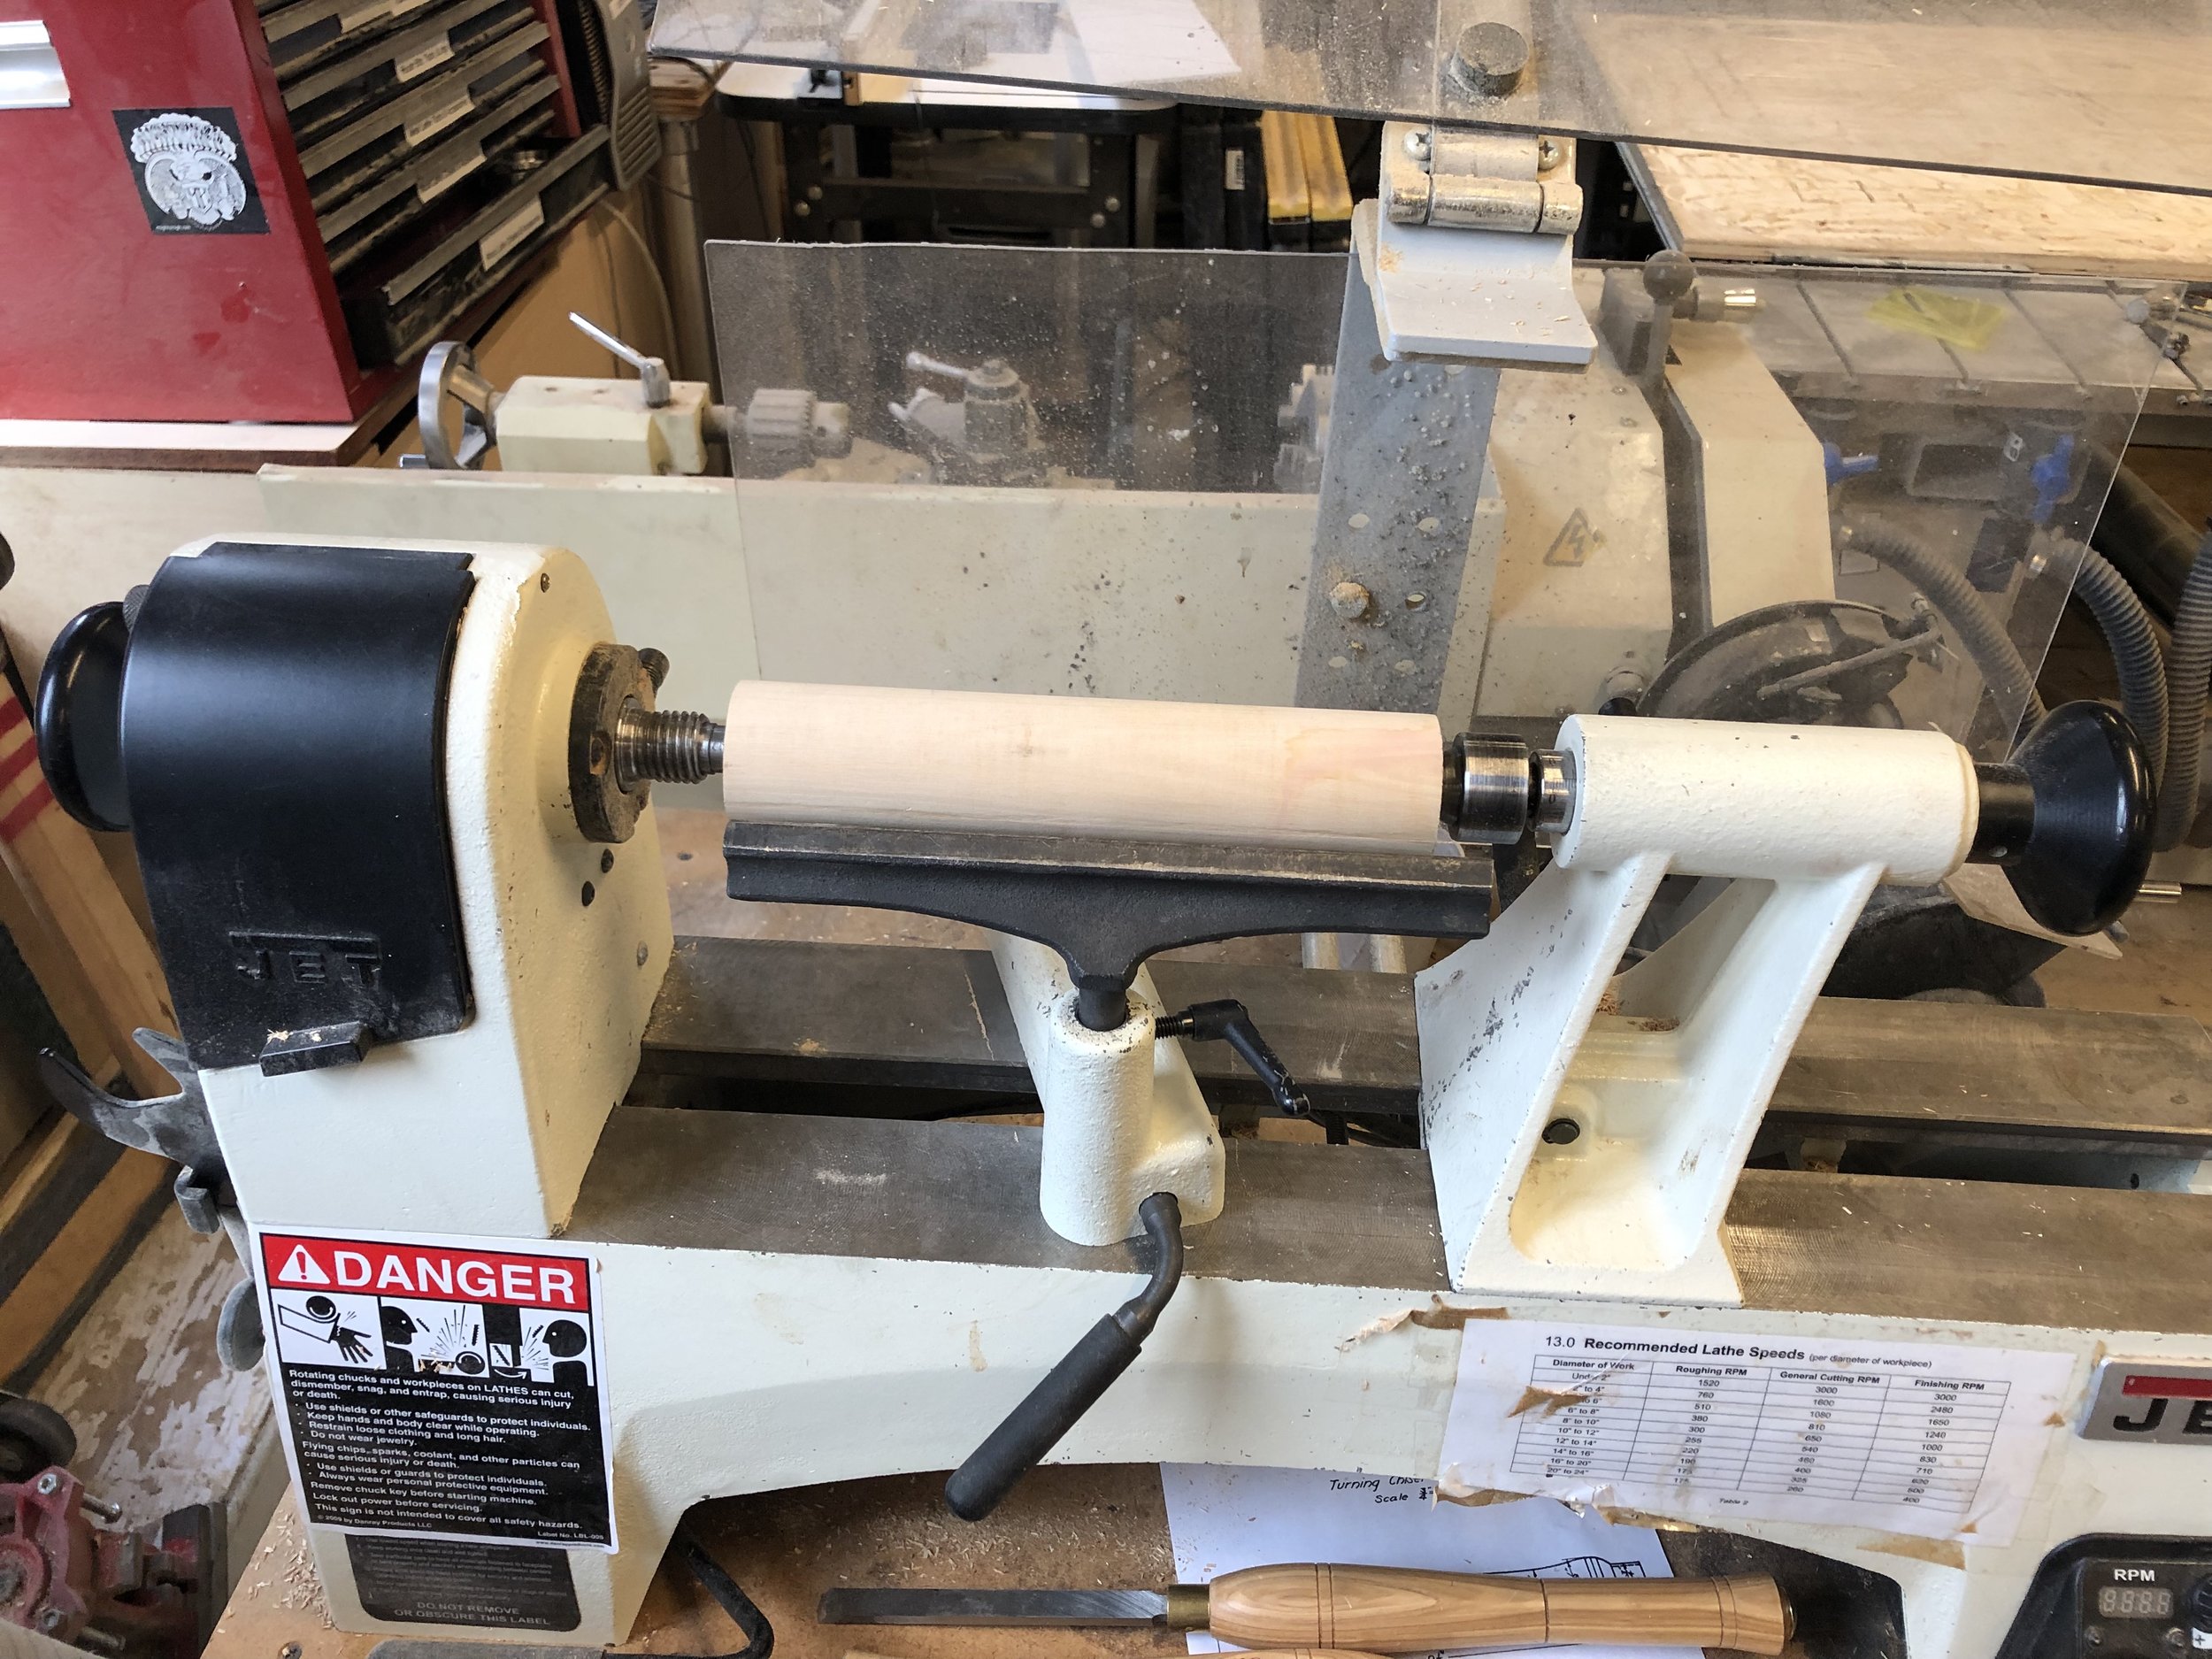
I followed the demonstrated steps to prep the piece of wood, machine, and workspace and got my turning started. I started out with marking the center of the piece but will say that getting the drive center attached took a few tries, but once I got that in place, it was pretty smooth sailing (in a way).
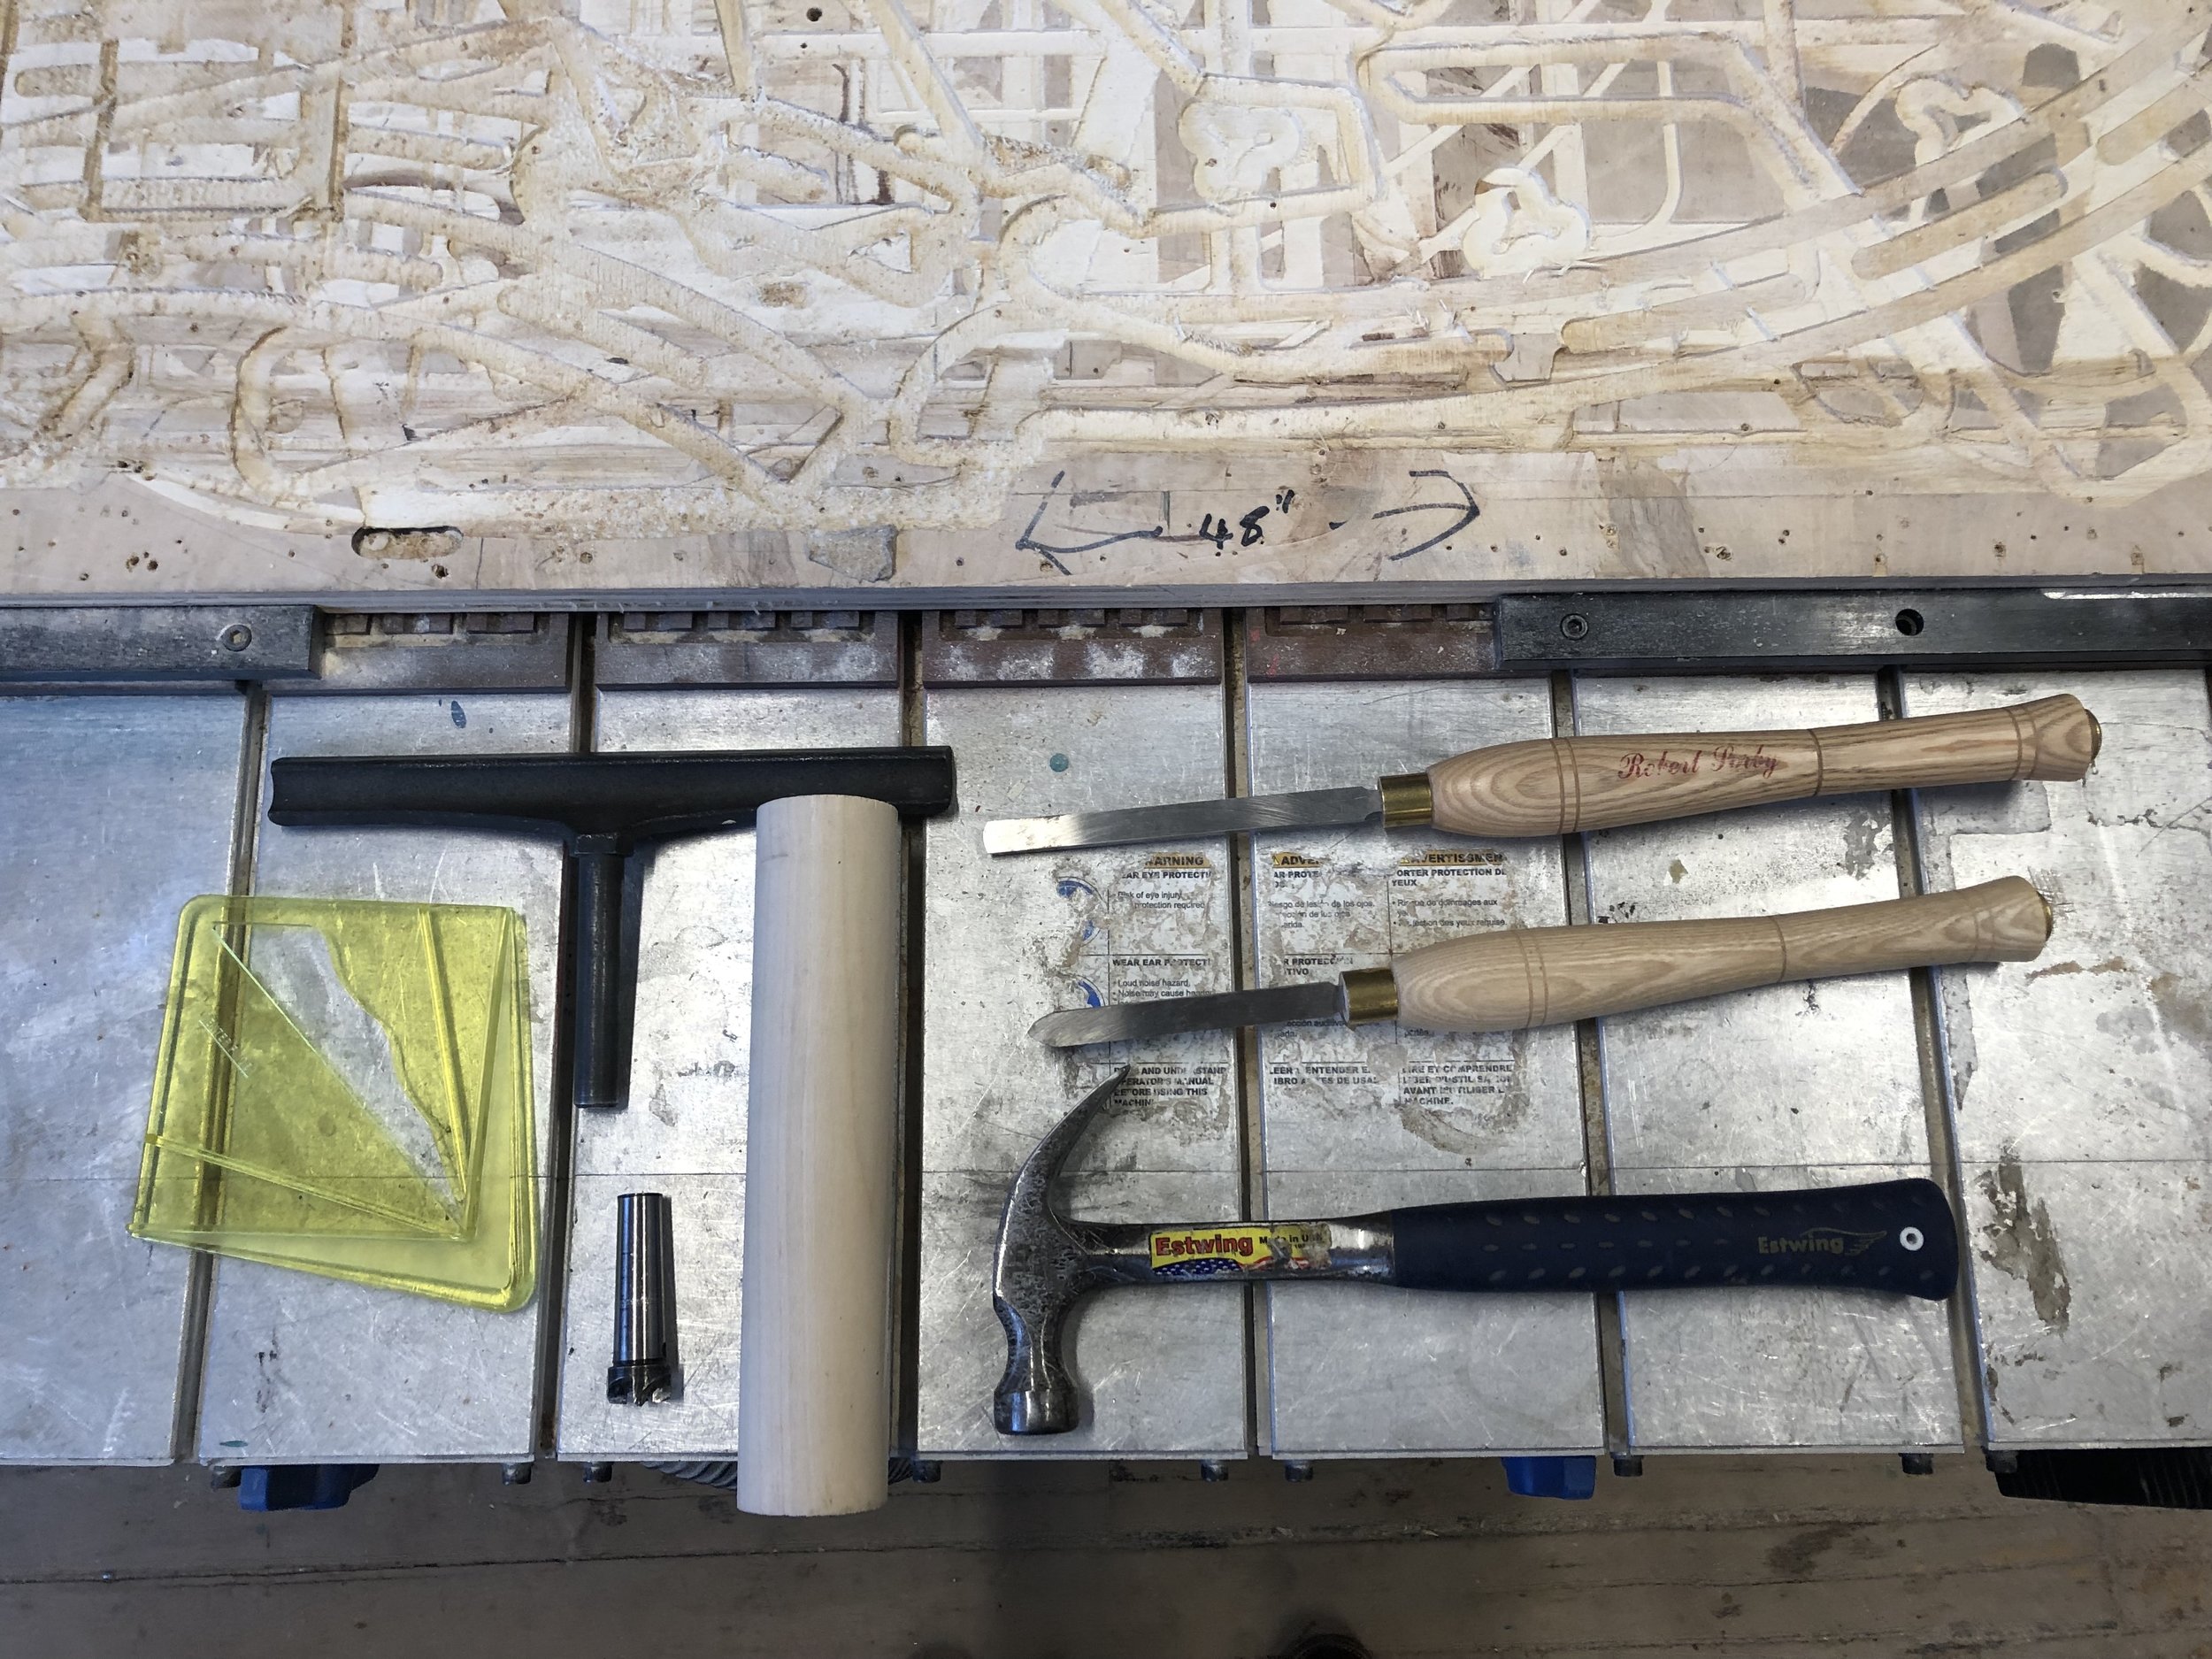
I before I began with the lathe, I sharpened the chisels on the sharpener and then mounted the material between the drive center and the live center on the lathe and then secured and tightened both locks on the tail stock. I set the tool rest in place and turned on the machine. The first step was to get the material evenly round. It was a bit choppy at first, but I started very slowly and got comfortable with the process. I’ve been told by numerous people that the lathe is meditative and brings you into a zone. I found that to be kind-of true after about 30 minutes or so. Since this was my first time using the machine on my own, I went with feel first and ended up realizing that I have a different grip than what was suggested and found my comfort via trial and error mostly.
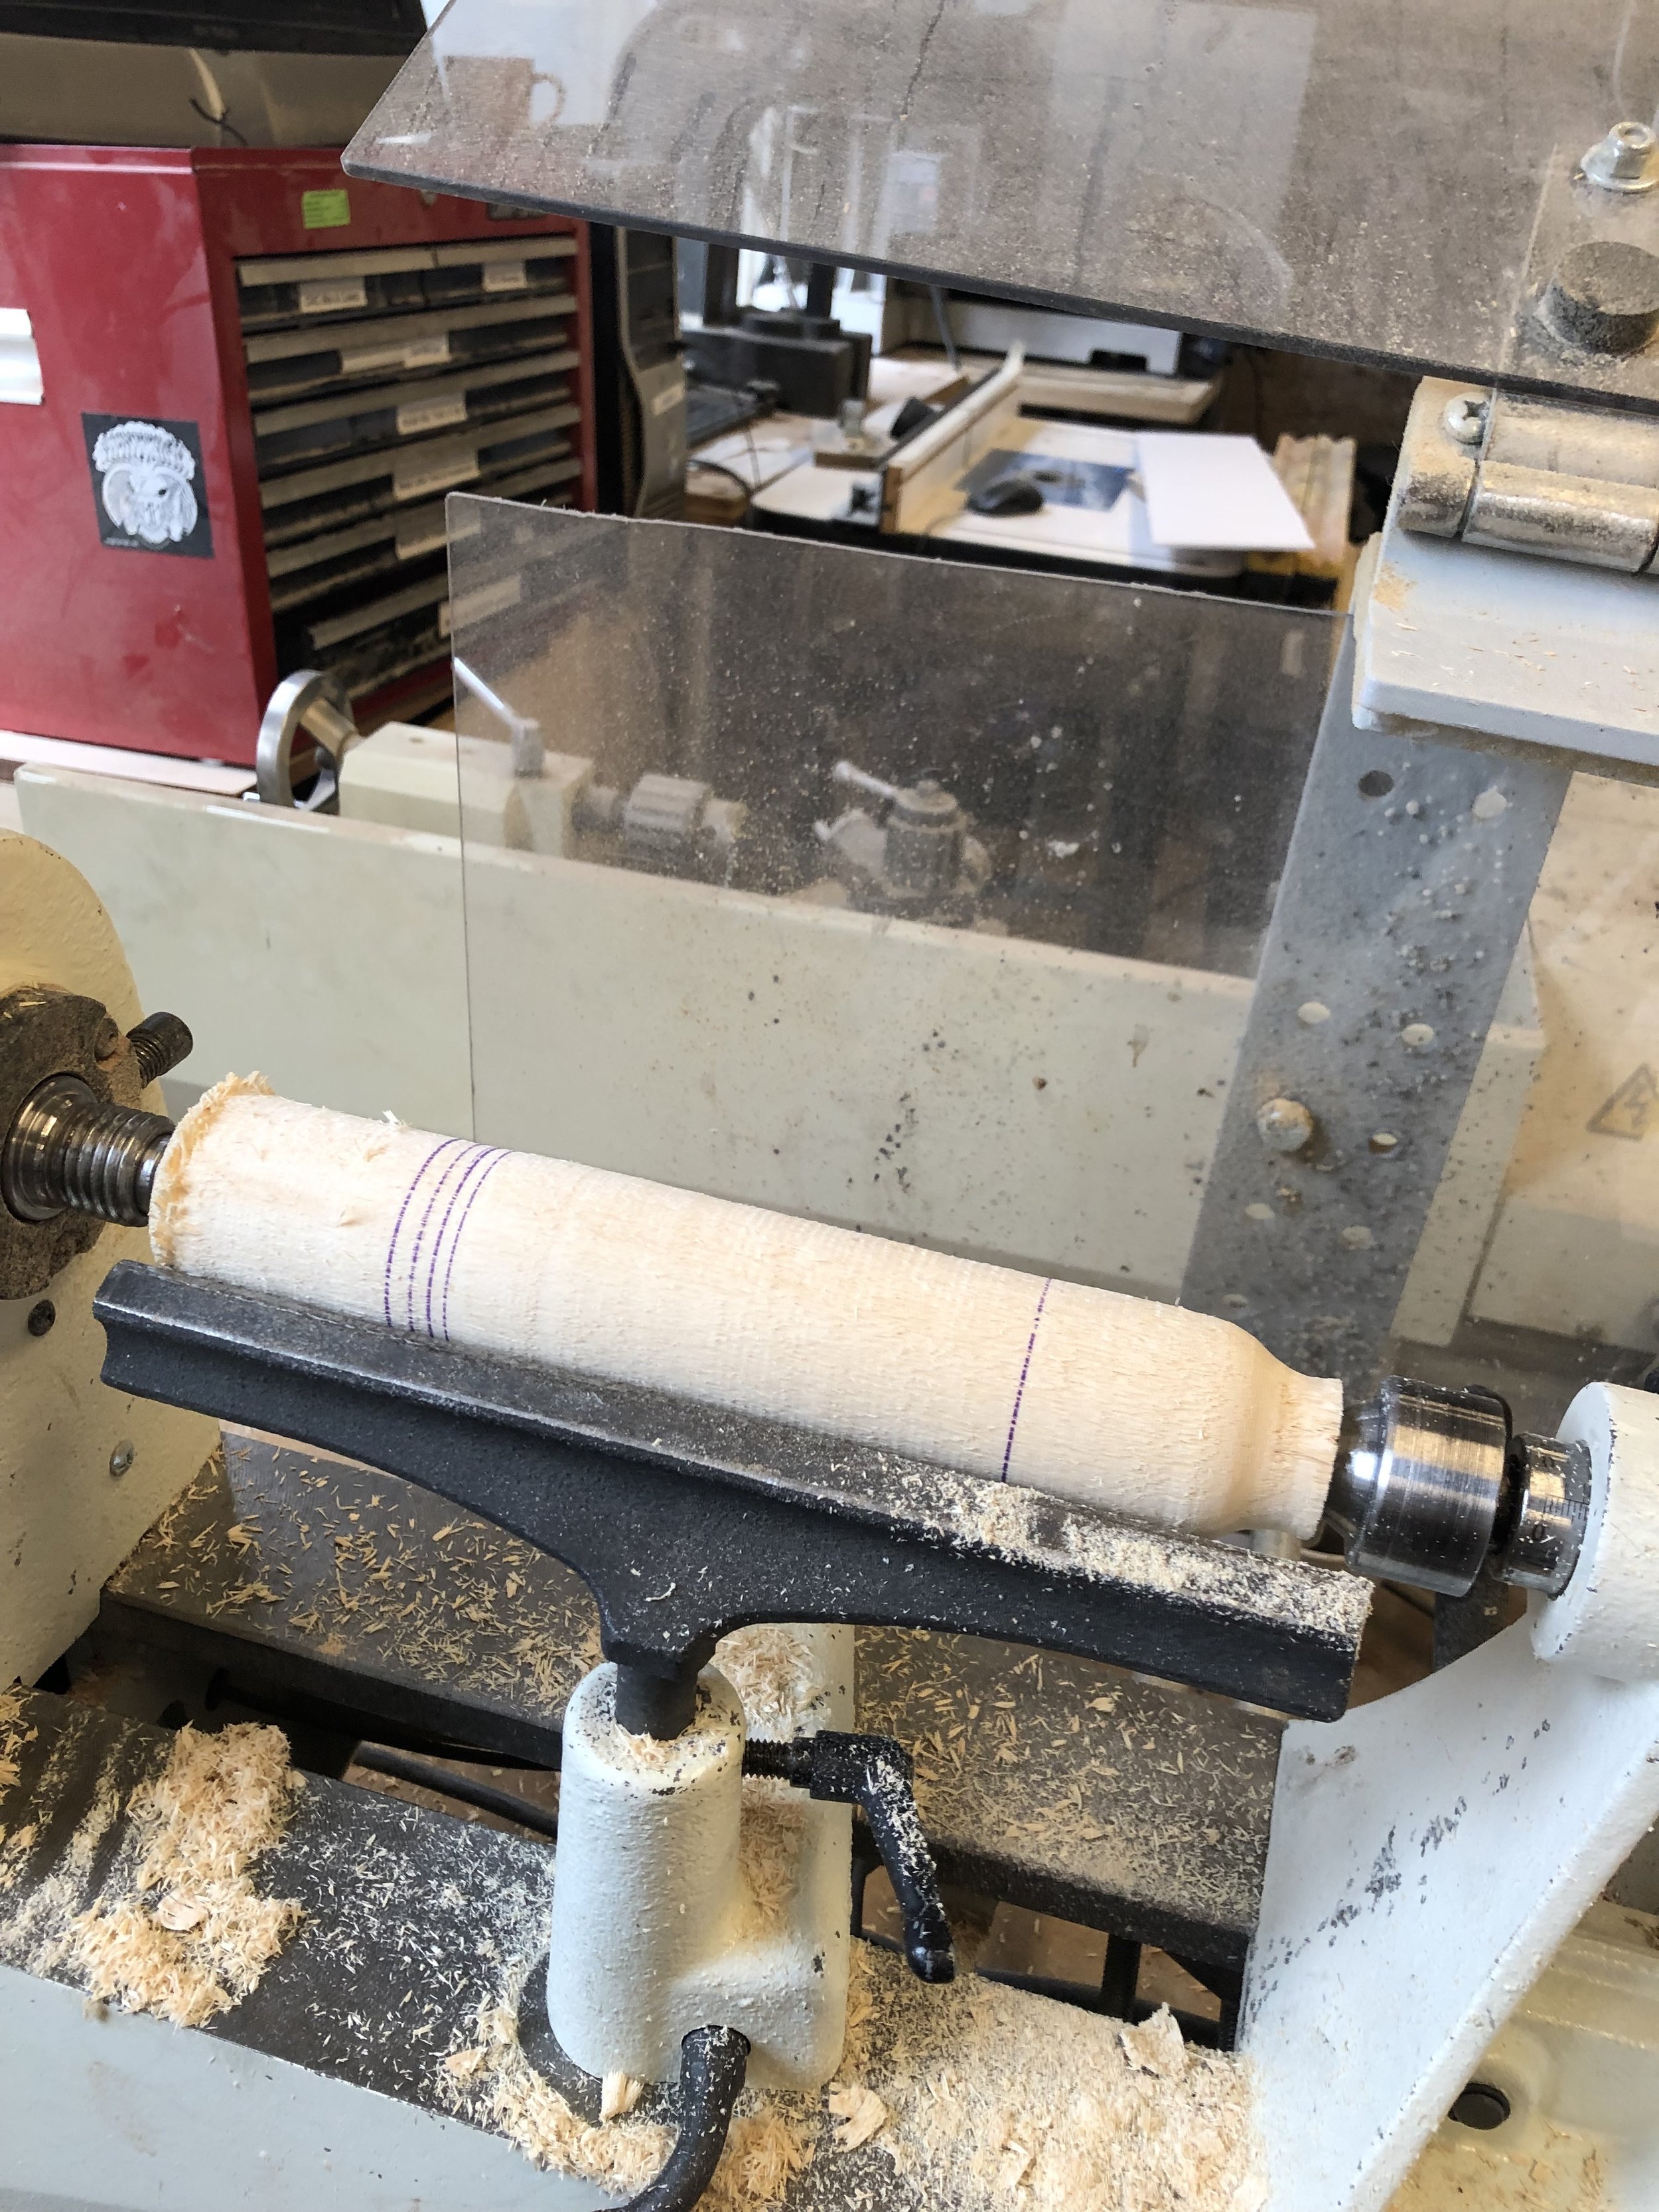
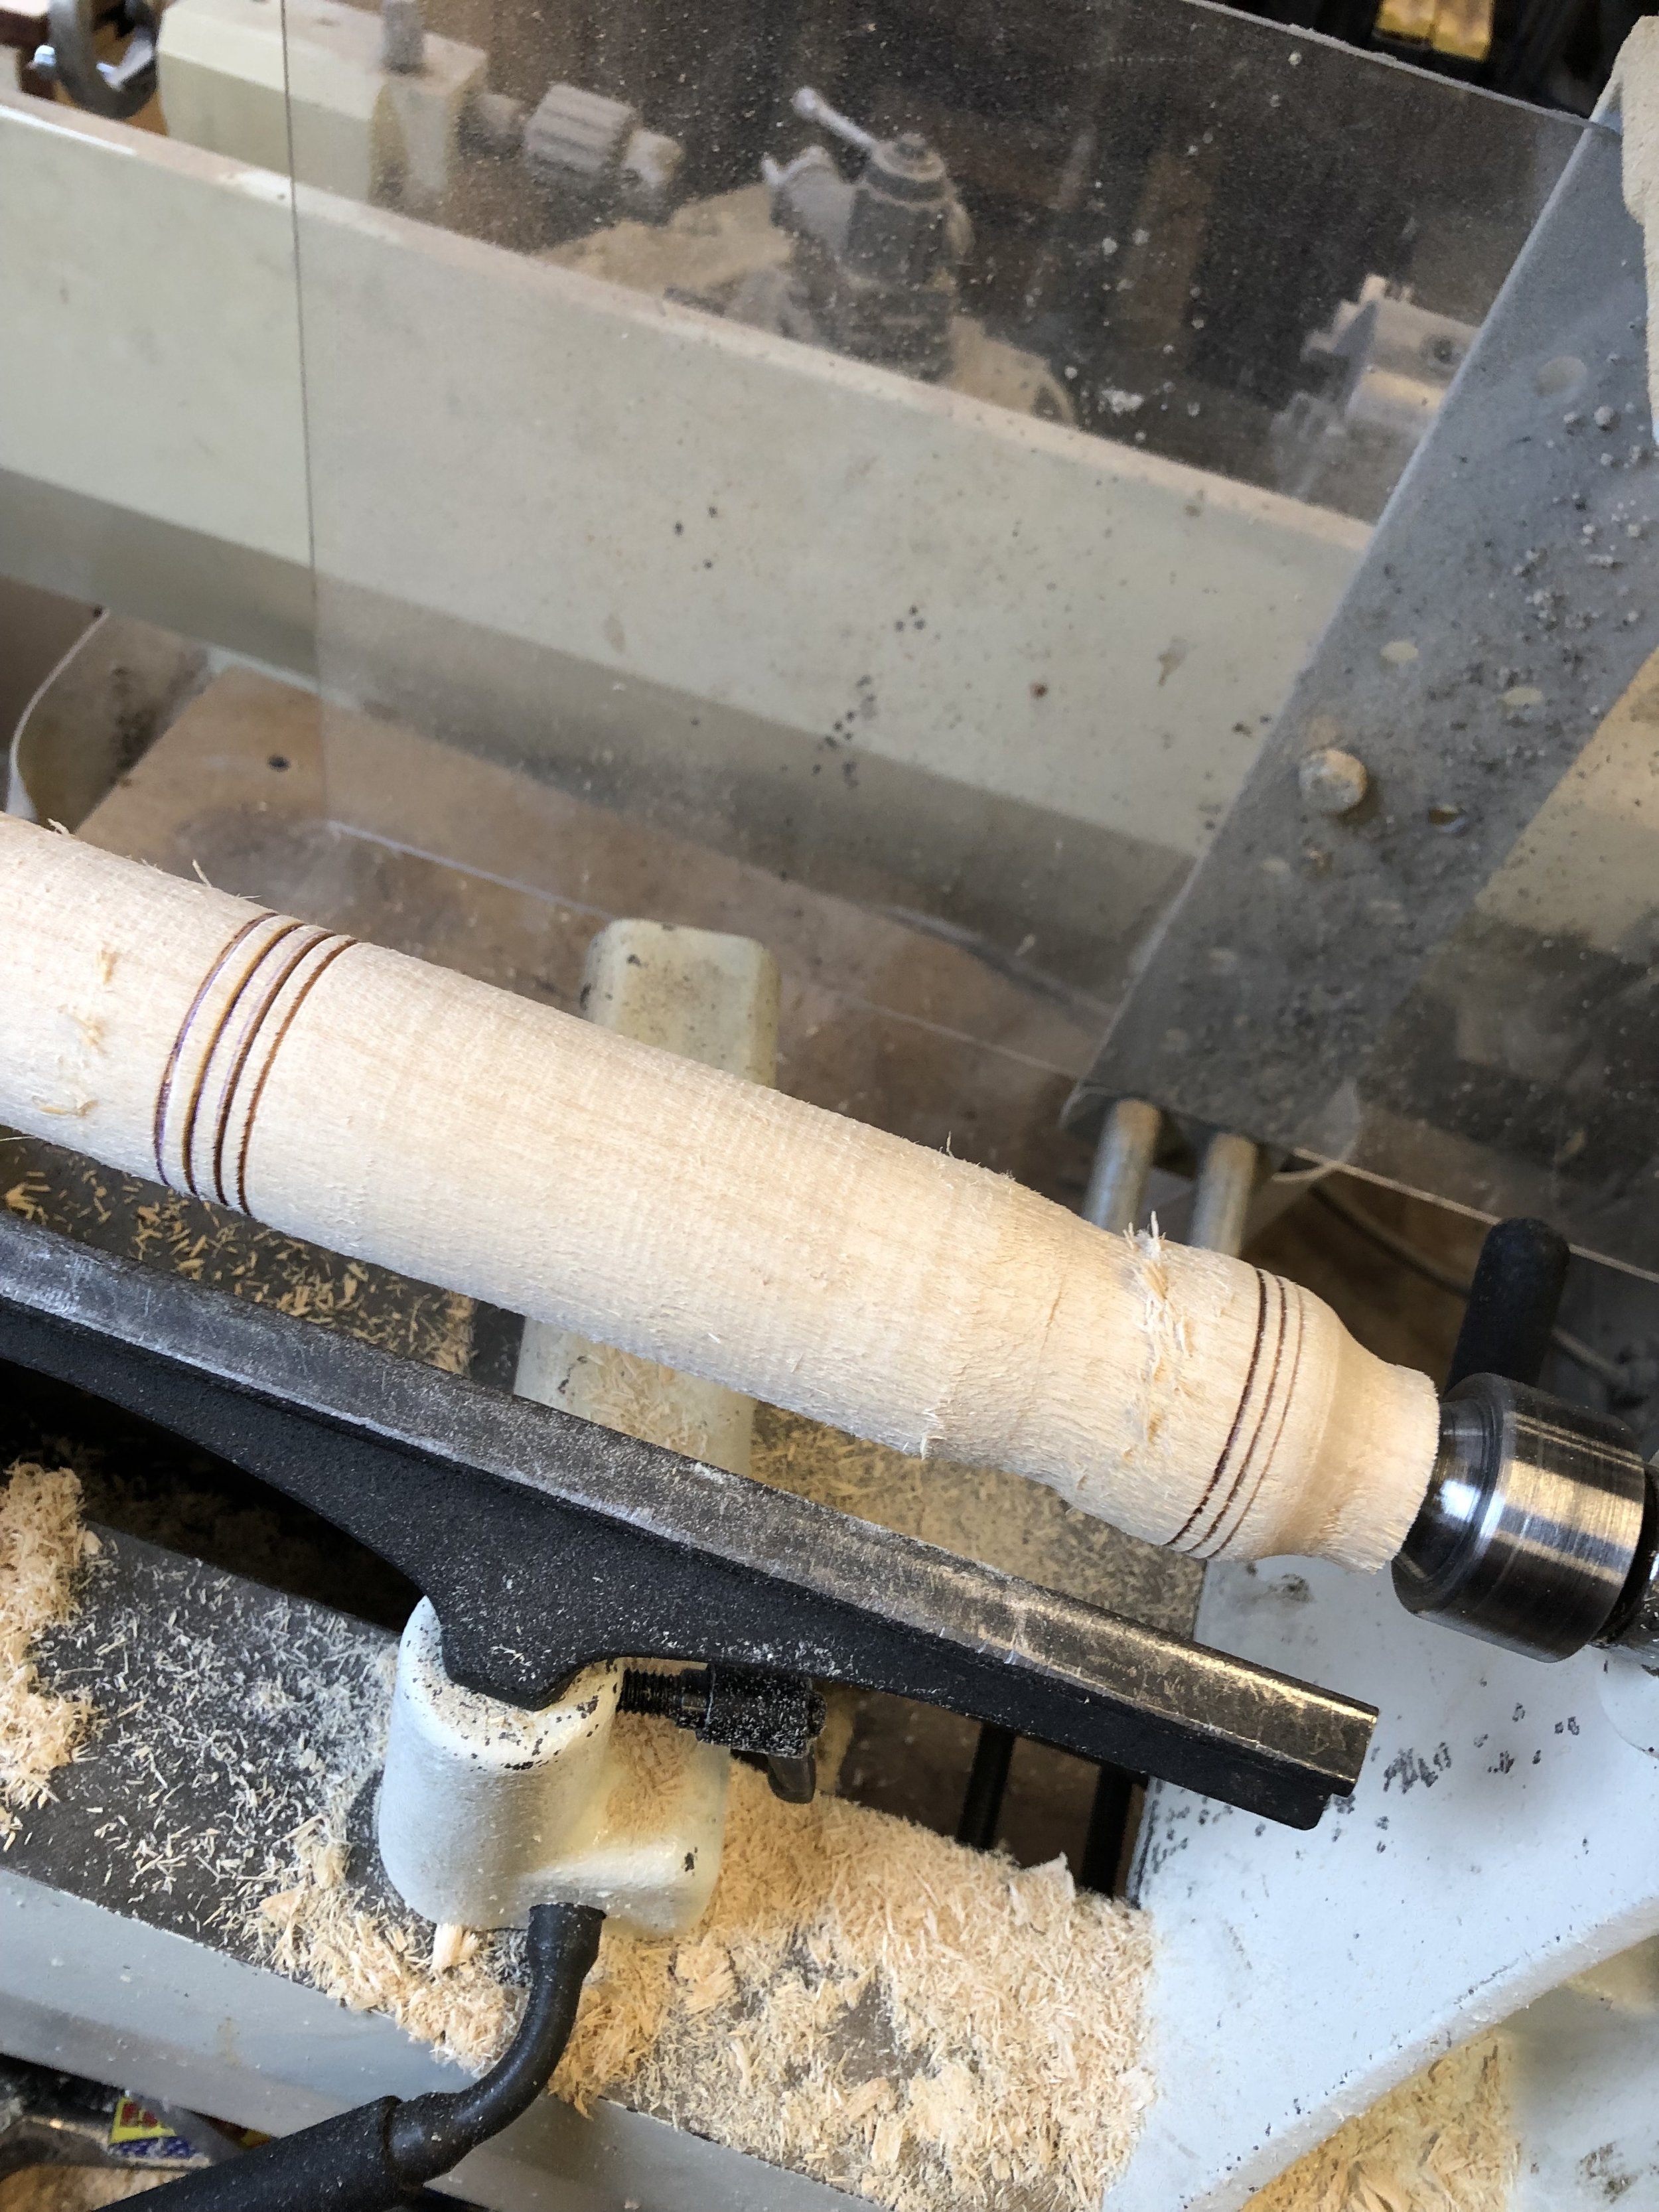
Once I shaped the material into a fairly evenly round piece, I marked my lines and used the parting tool to begin my shaping. When enough material was removed, I would use the parting tool to keep the notches in place. Once I had the shape the way I wanted it, i grabbed some sand paper and sanded it down to a smooth finish.
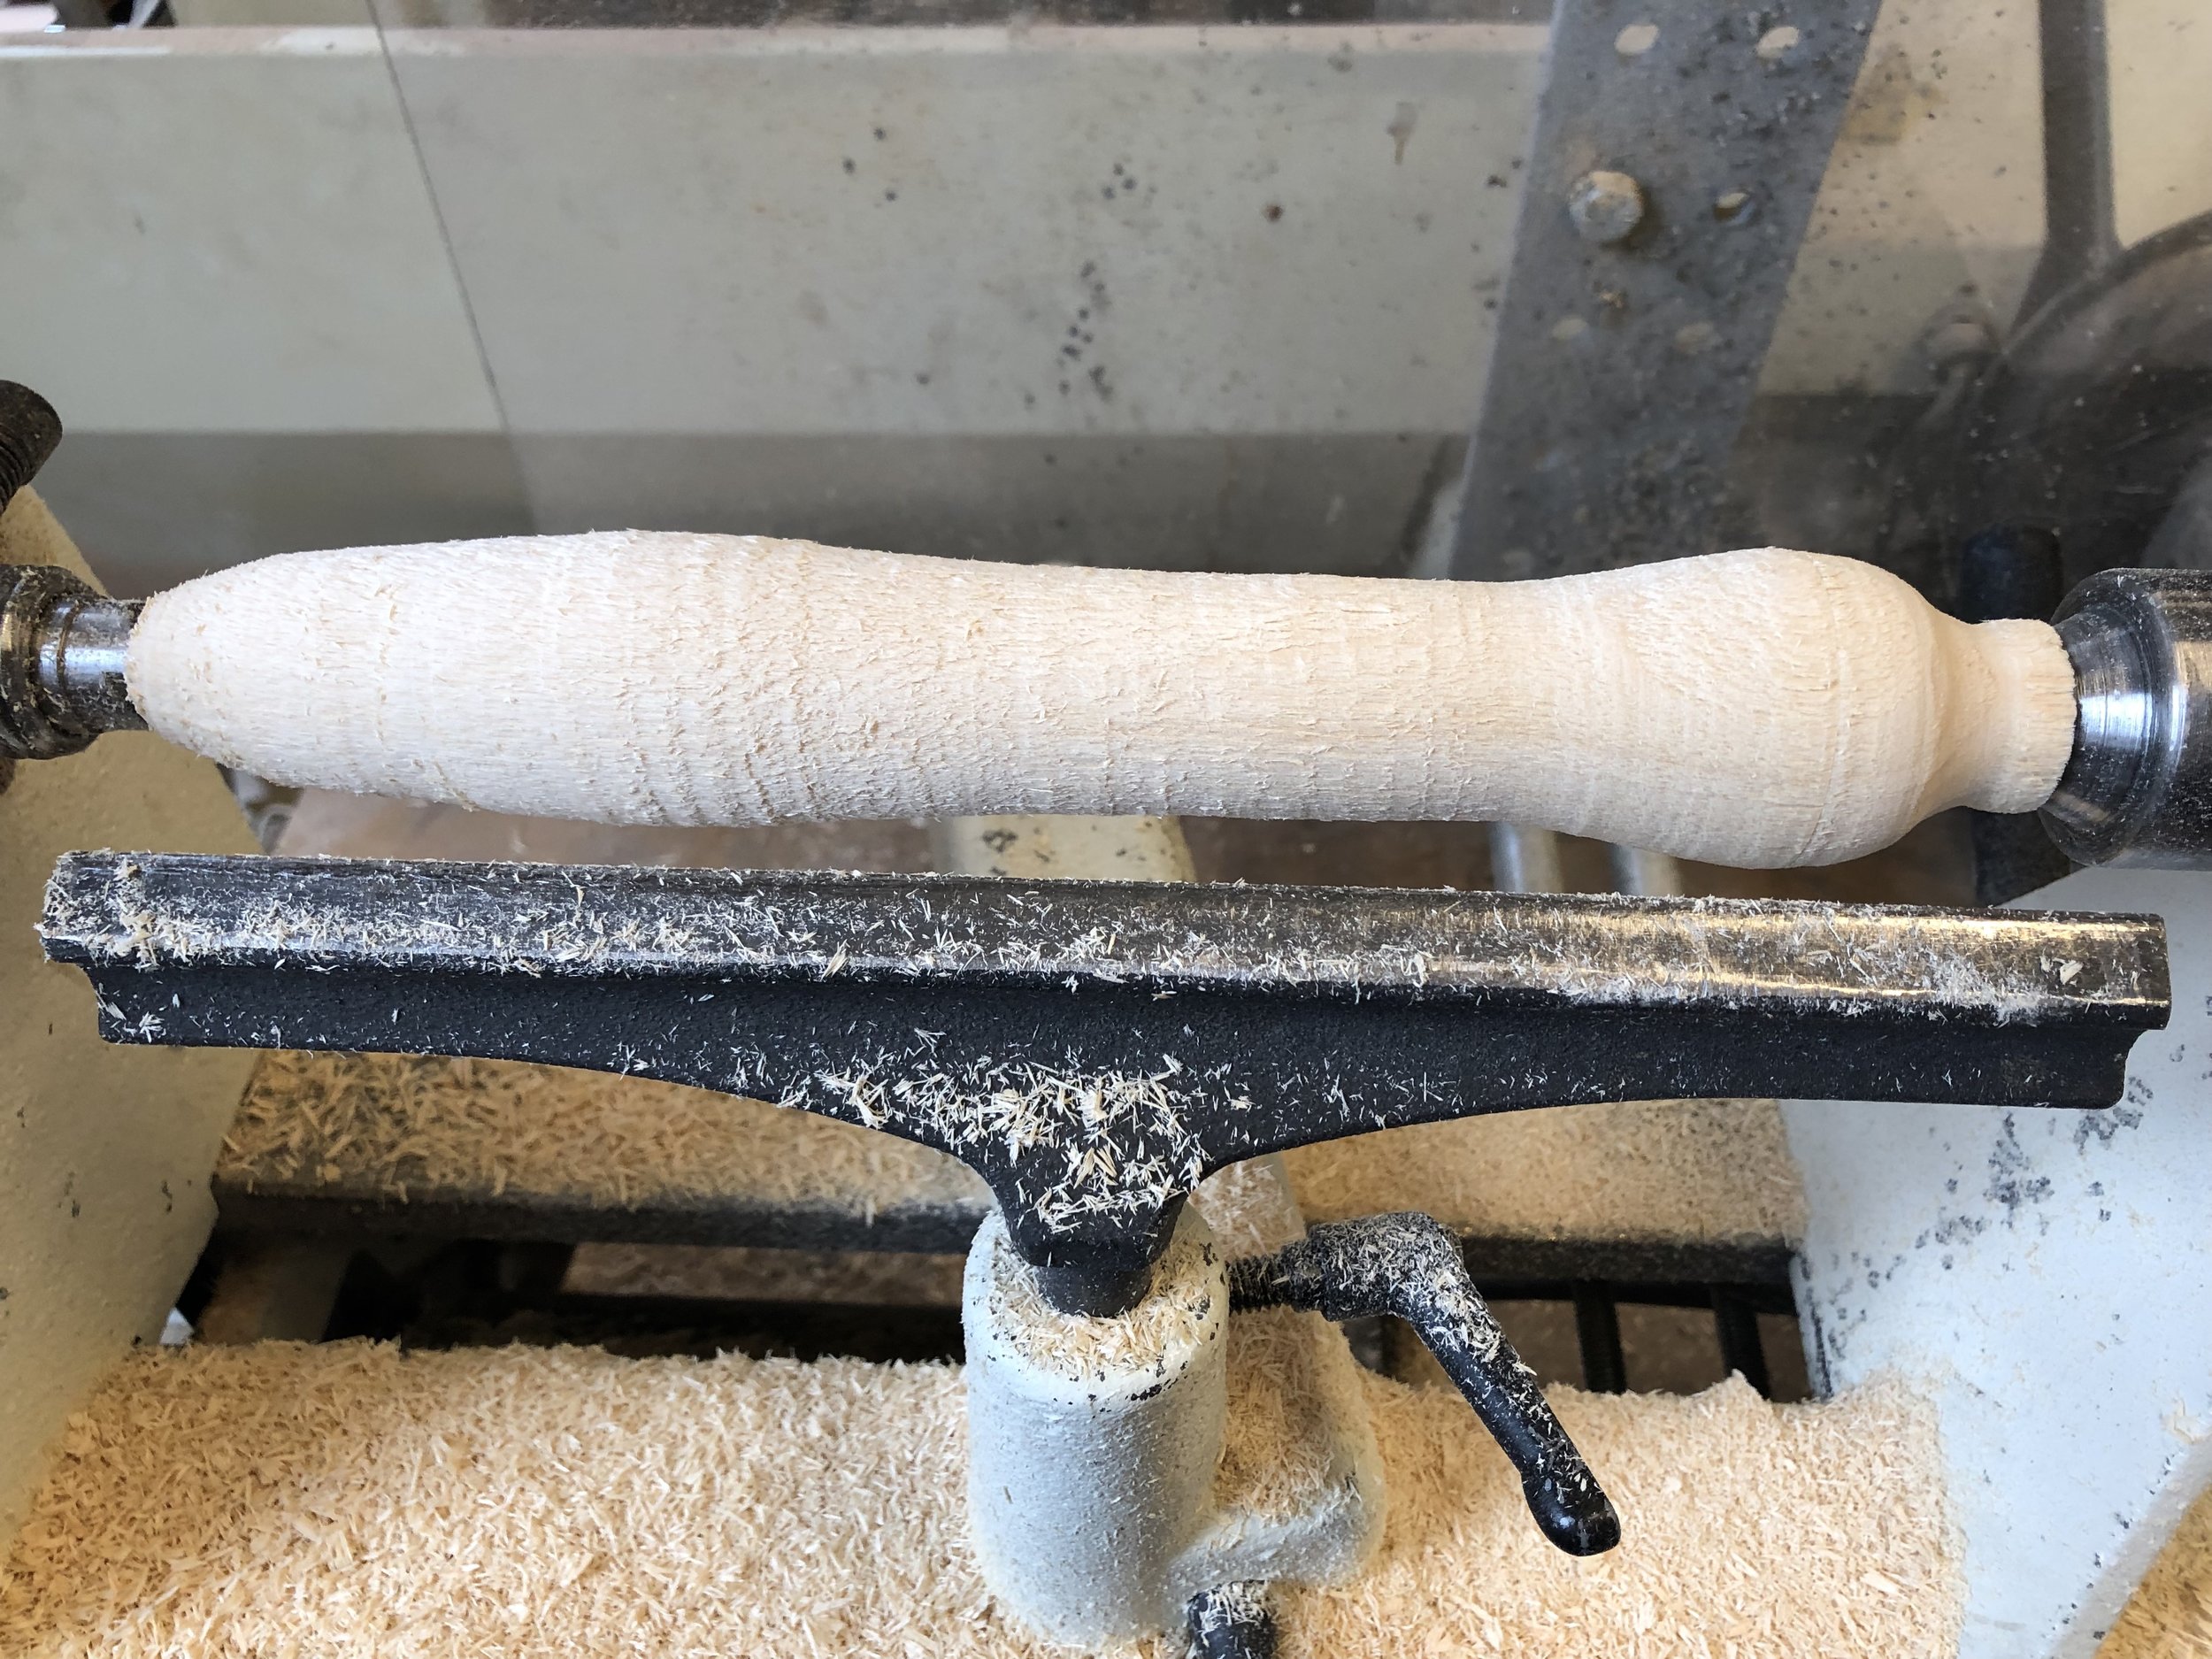
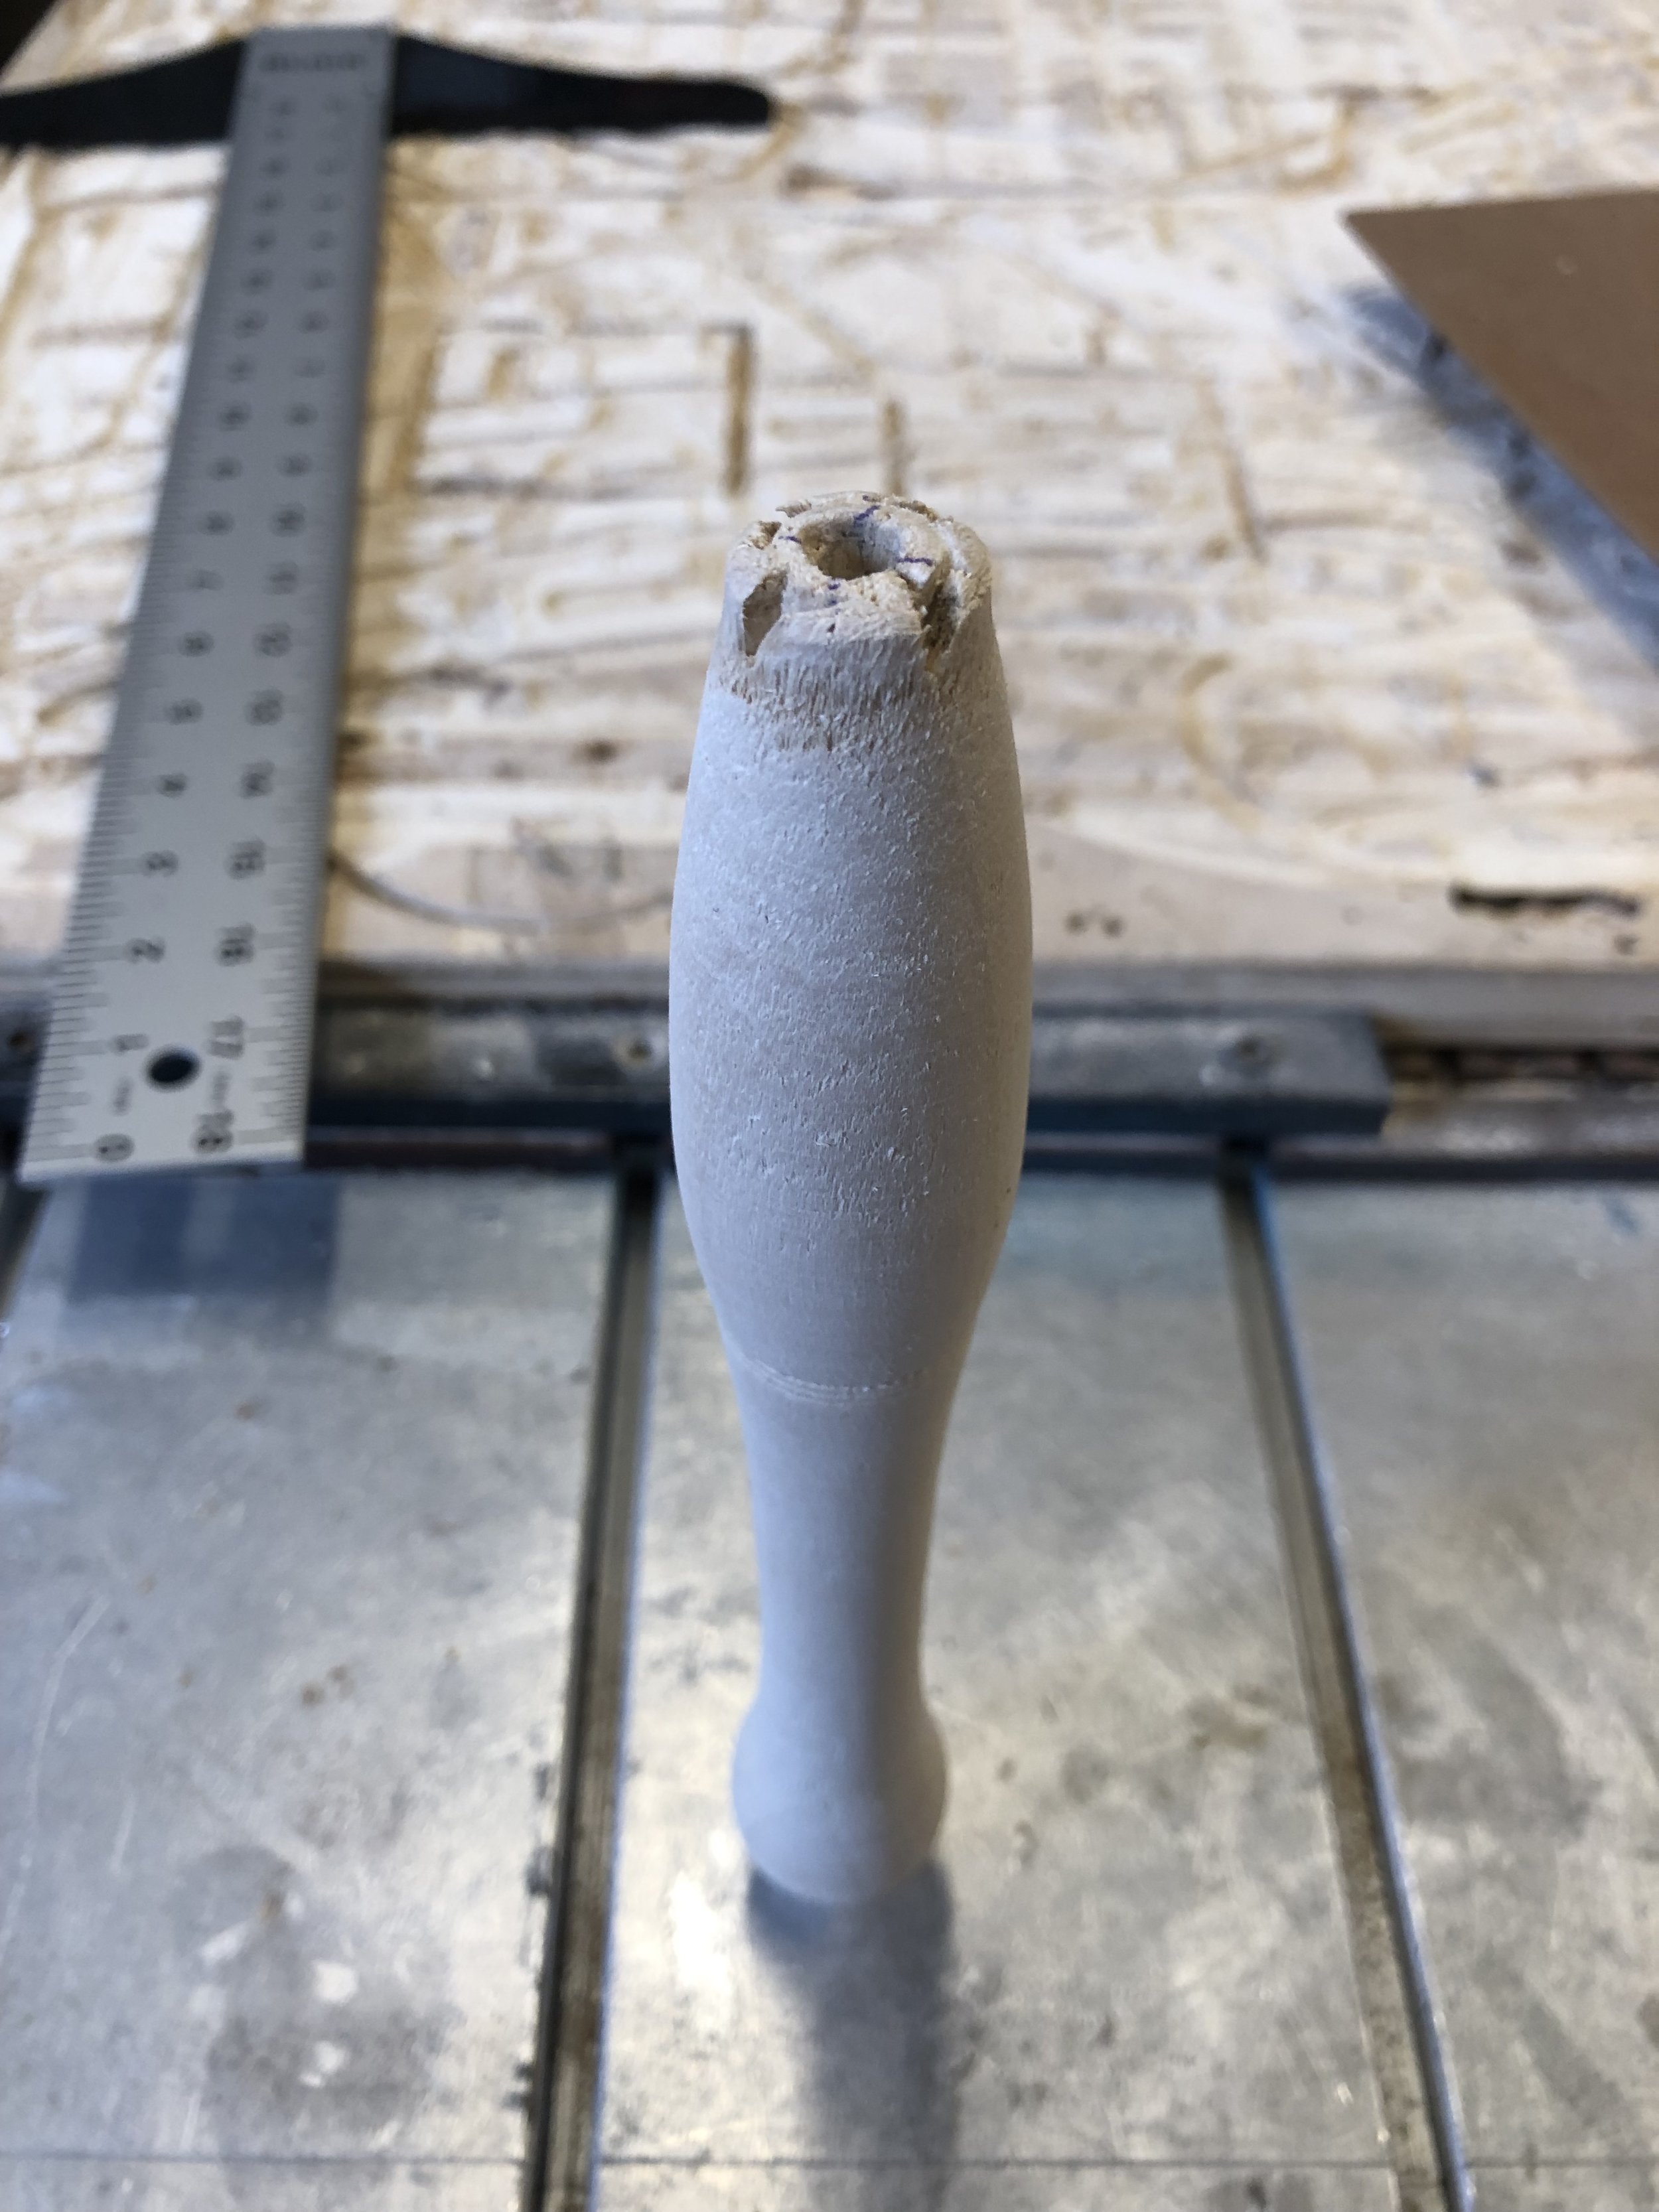
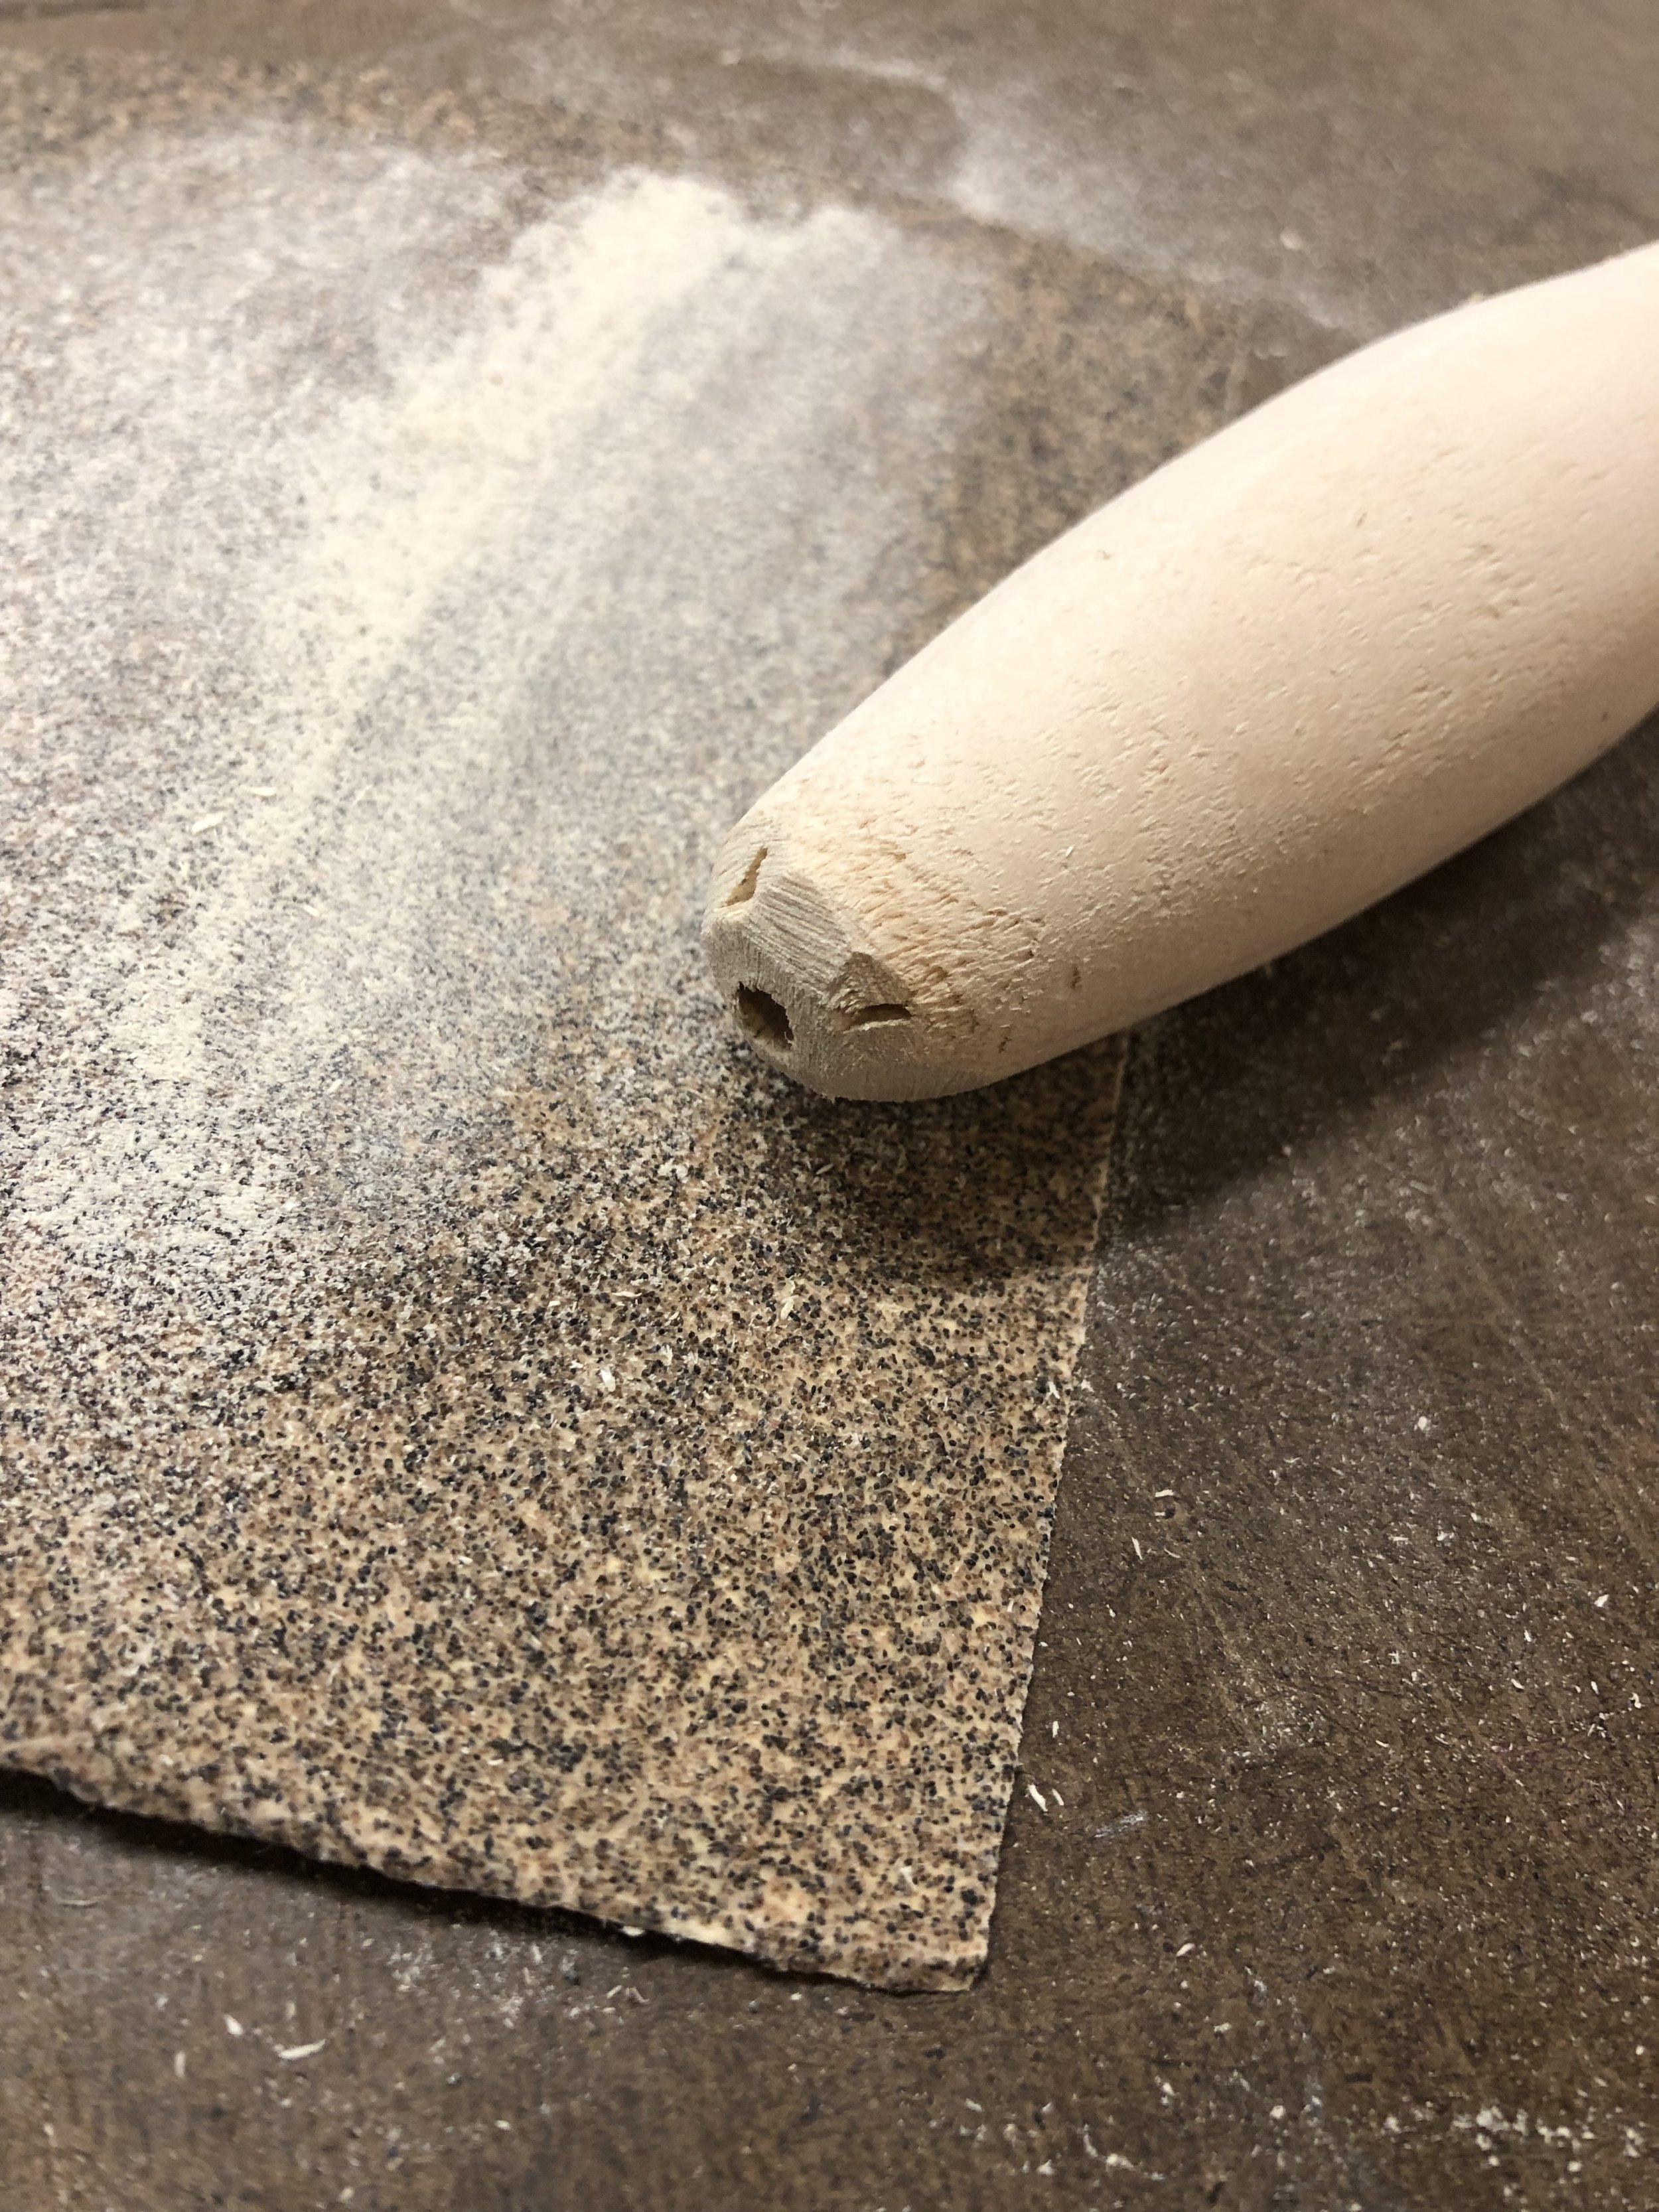
In my ‘zen’ I didn’t think about leaving space for the nose shaper and ended up having a rough nose with the tooth marks. I removed the material from the drive center and began to hand sand and shape the end to be smooth and not include the remnants of the drive center. I found this process to be lengthy yet full of learning of how different sand papers do different jobs. I used a courser paper to shape and remove the edges, and then a finer paper to smooth it out.
At the end of the day, I got to play, learn, and develop some skills that will take me to the next marker in this journey. Looking forward to the next shaping project and seeing what comes of it!
x.


