Create a new presentation and edit with others at the same time. Get stuff done with or without an internet connection. Use Slides to edit PowerPoint files. Free from Google.
Week Five | Final Project Plan
Heilmeier Questions:
What are you trying to do? Articulate your objectives using absolutely no jargon.
Create a soft device that reacts to impact by catching and slowing down impact
How is it done today, and what are the limits of current practice?
Typically a metal object with a rubberized ring or point to catch the impact of the door
What is new in your approach and why do you think it will be successful?
This is an aesthetically pleasing design that will eliminate the burden of having to drill a door stopper into the floor and make it simple to add to existing glass doors that have metal handles that can impact and or break the structure if there is collision
Who cares? If you are successful, what difference will it make?
Workplace service teams and operation teams that manage the office spaces for large buildings and other industries
What are the risks?
Potentially falling off
How much will it cost?
tbd
How long will it take?
tbd
What are the mid-term and final “exams” to check for success?
Adhesive ability
Impact ability
aesthetics
Research History & State-of-the-Art
Generate a list of Experts to invite to talk with you by category
Kari Love
Jeff Carpenter (Building Engineer, G4S)
Generate a list of relevant soft or flexible materials.
silicon 30
3d printer to make molds
pet toy squeakers
Define specs
How do you know when it works? — when it is able to take impact
Start Materials Explorations/1st Iterations
awaiting supplies
Week Four | Quad Chart of Final Project _1st Idea Proposal
Week Four | Silicone Casting - Design My Own
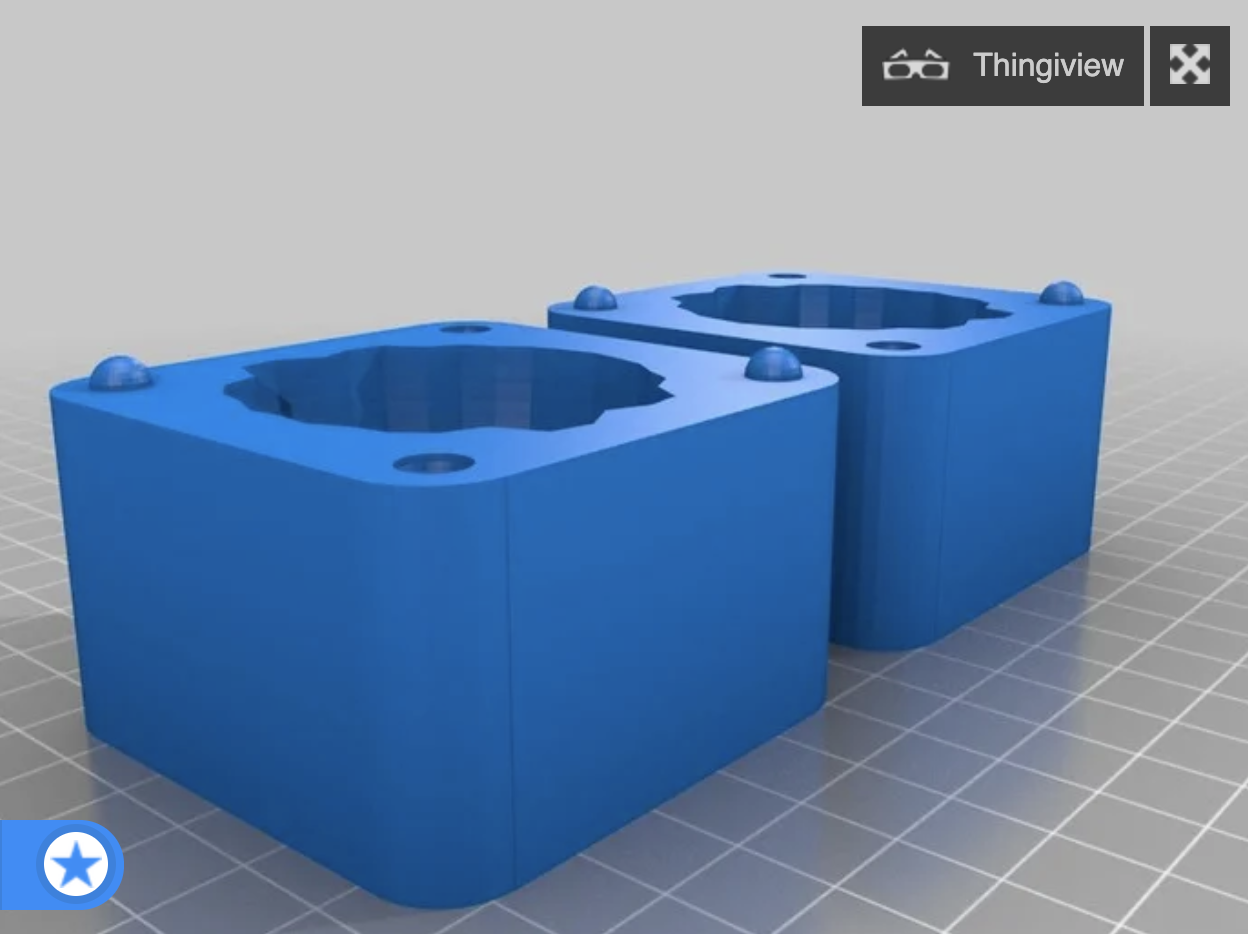
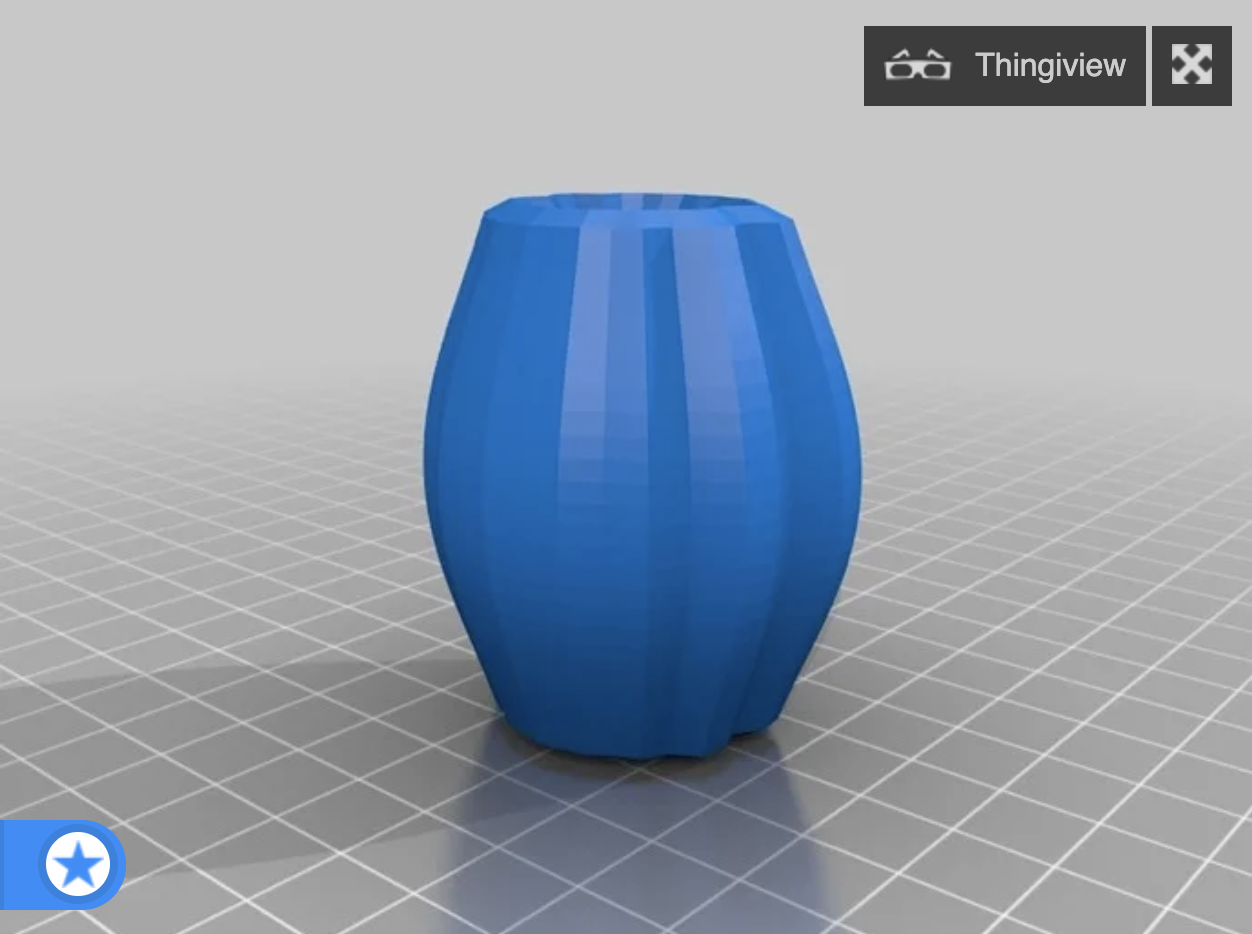
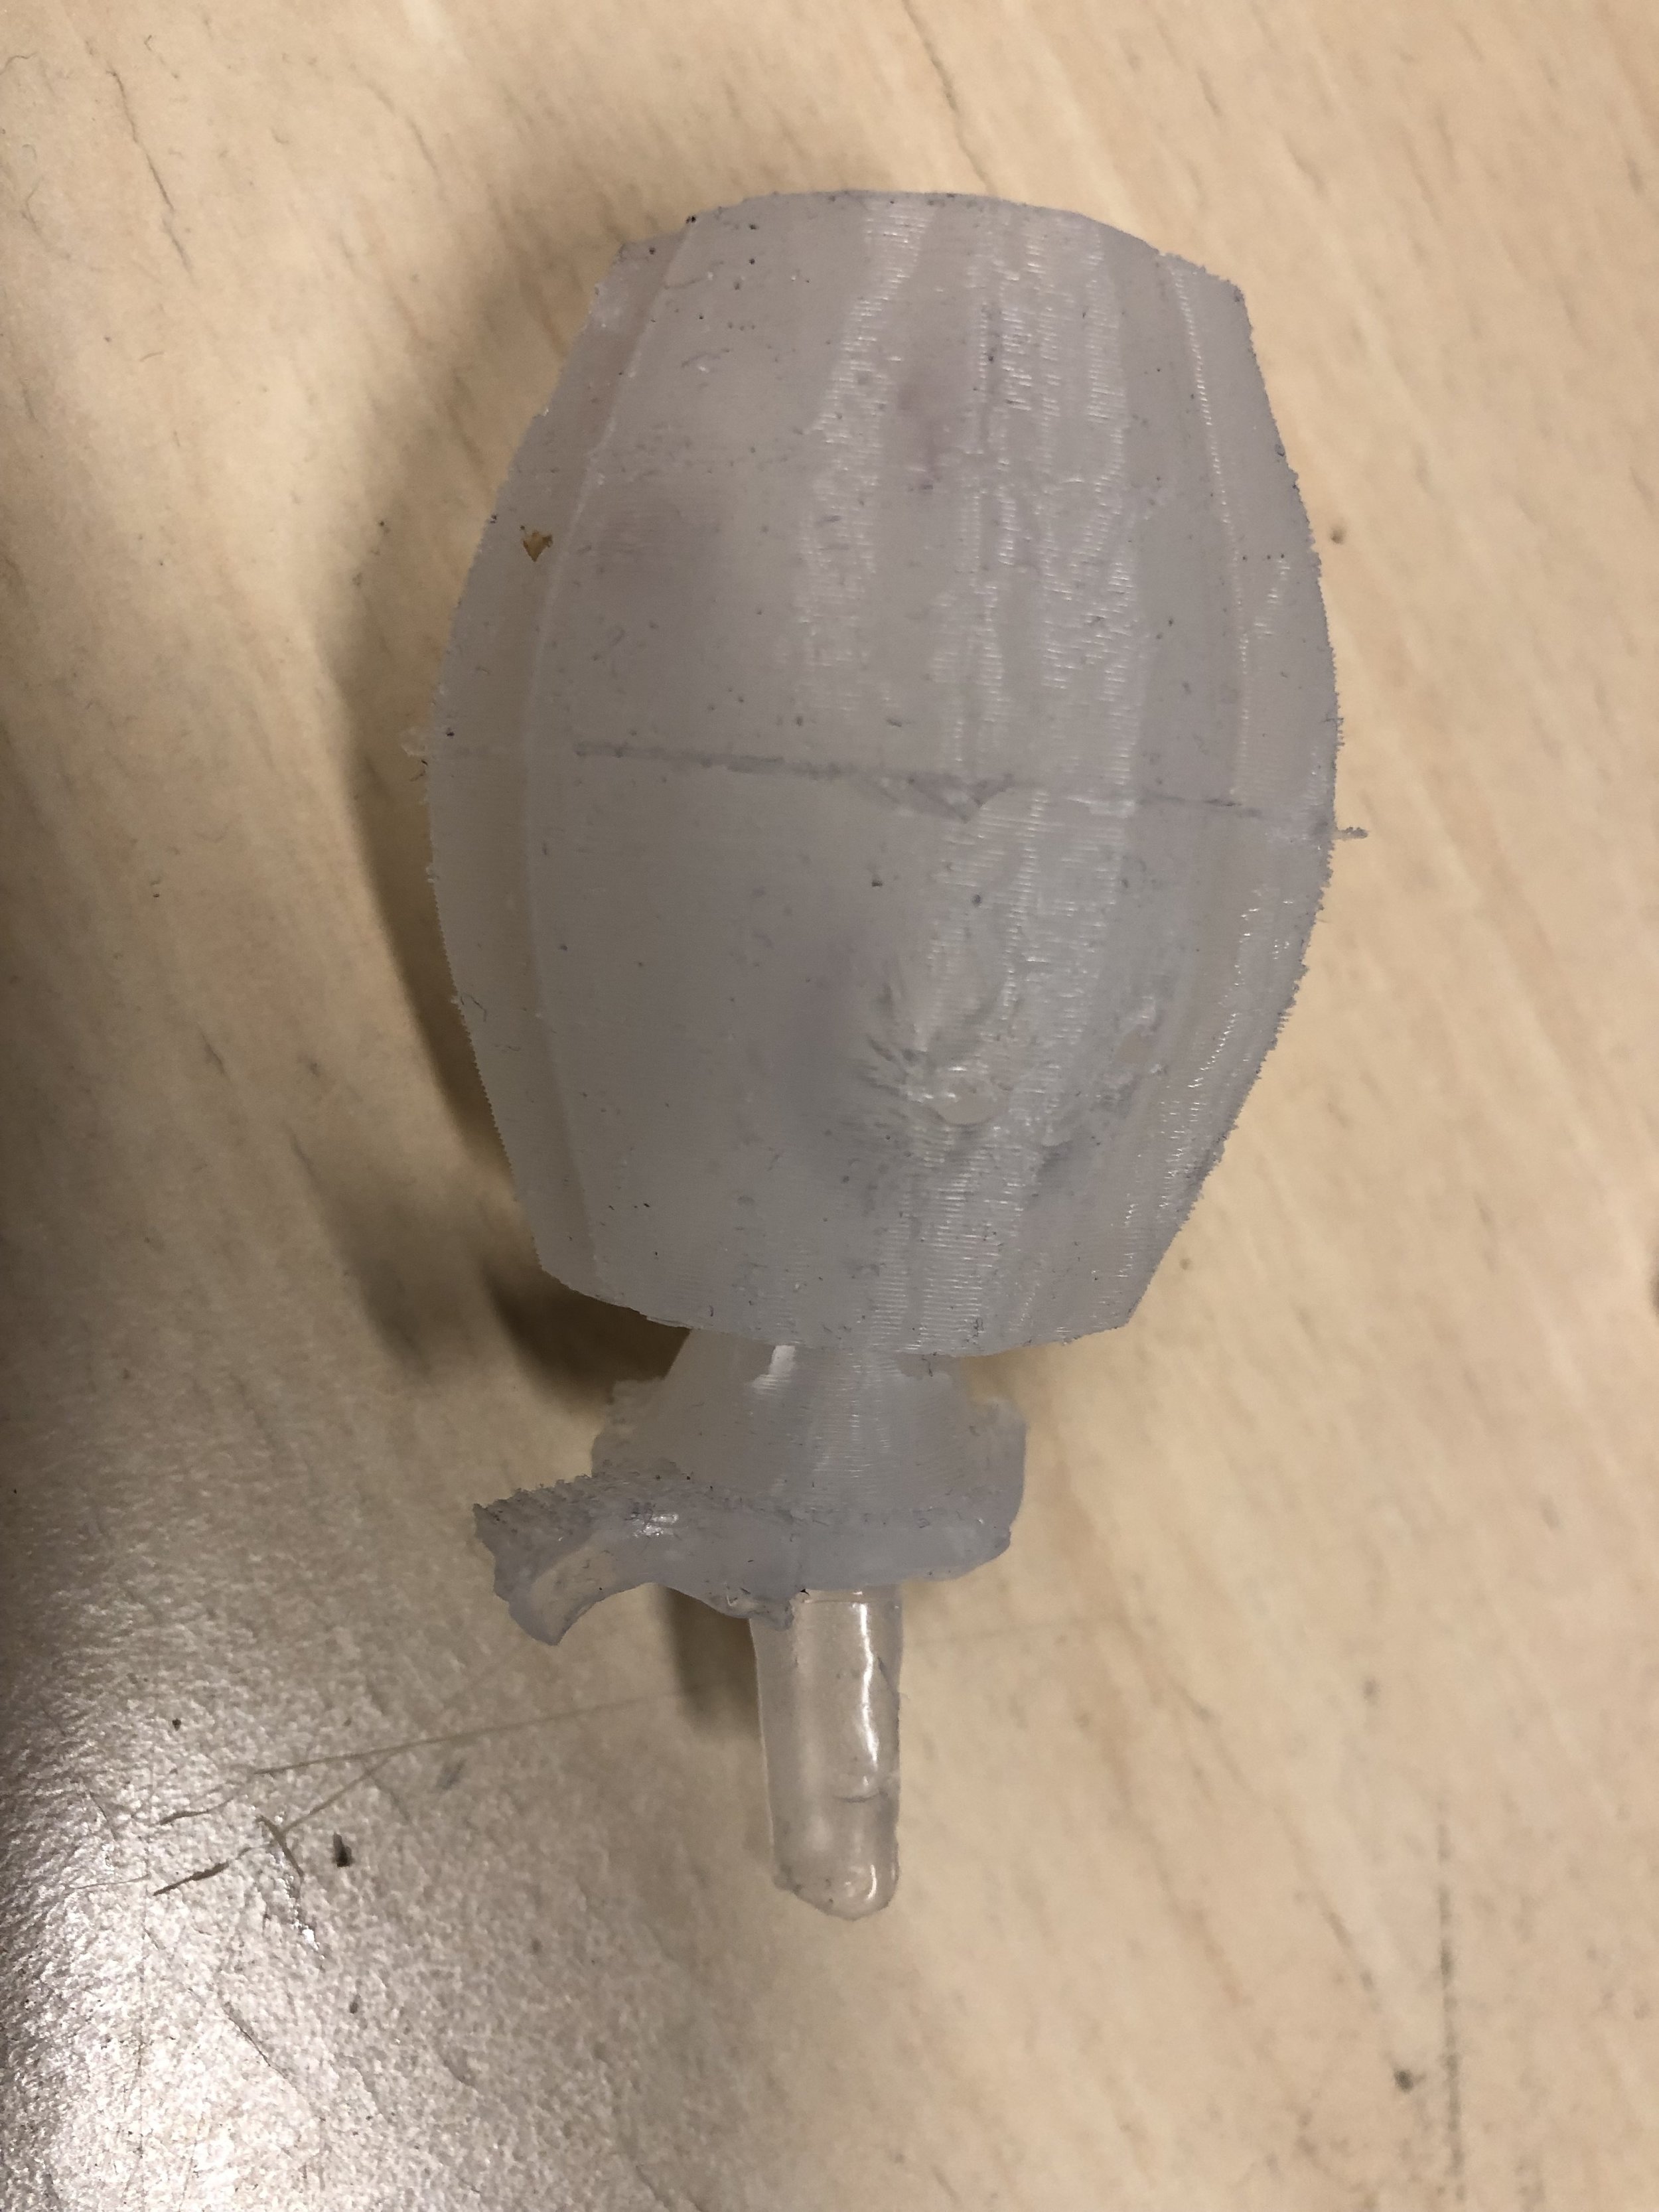
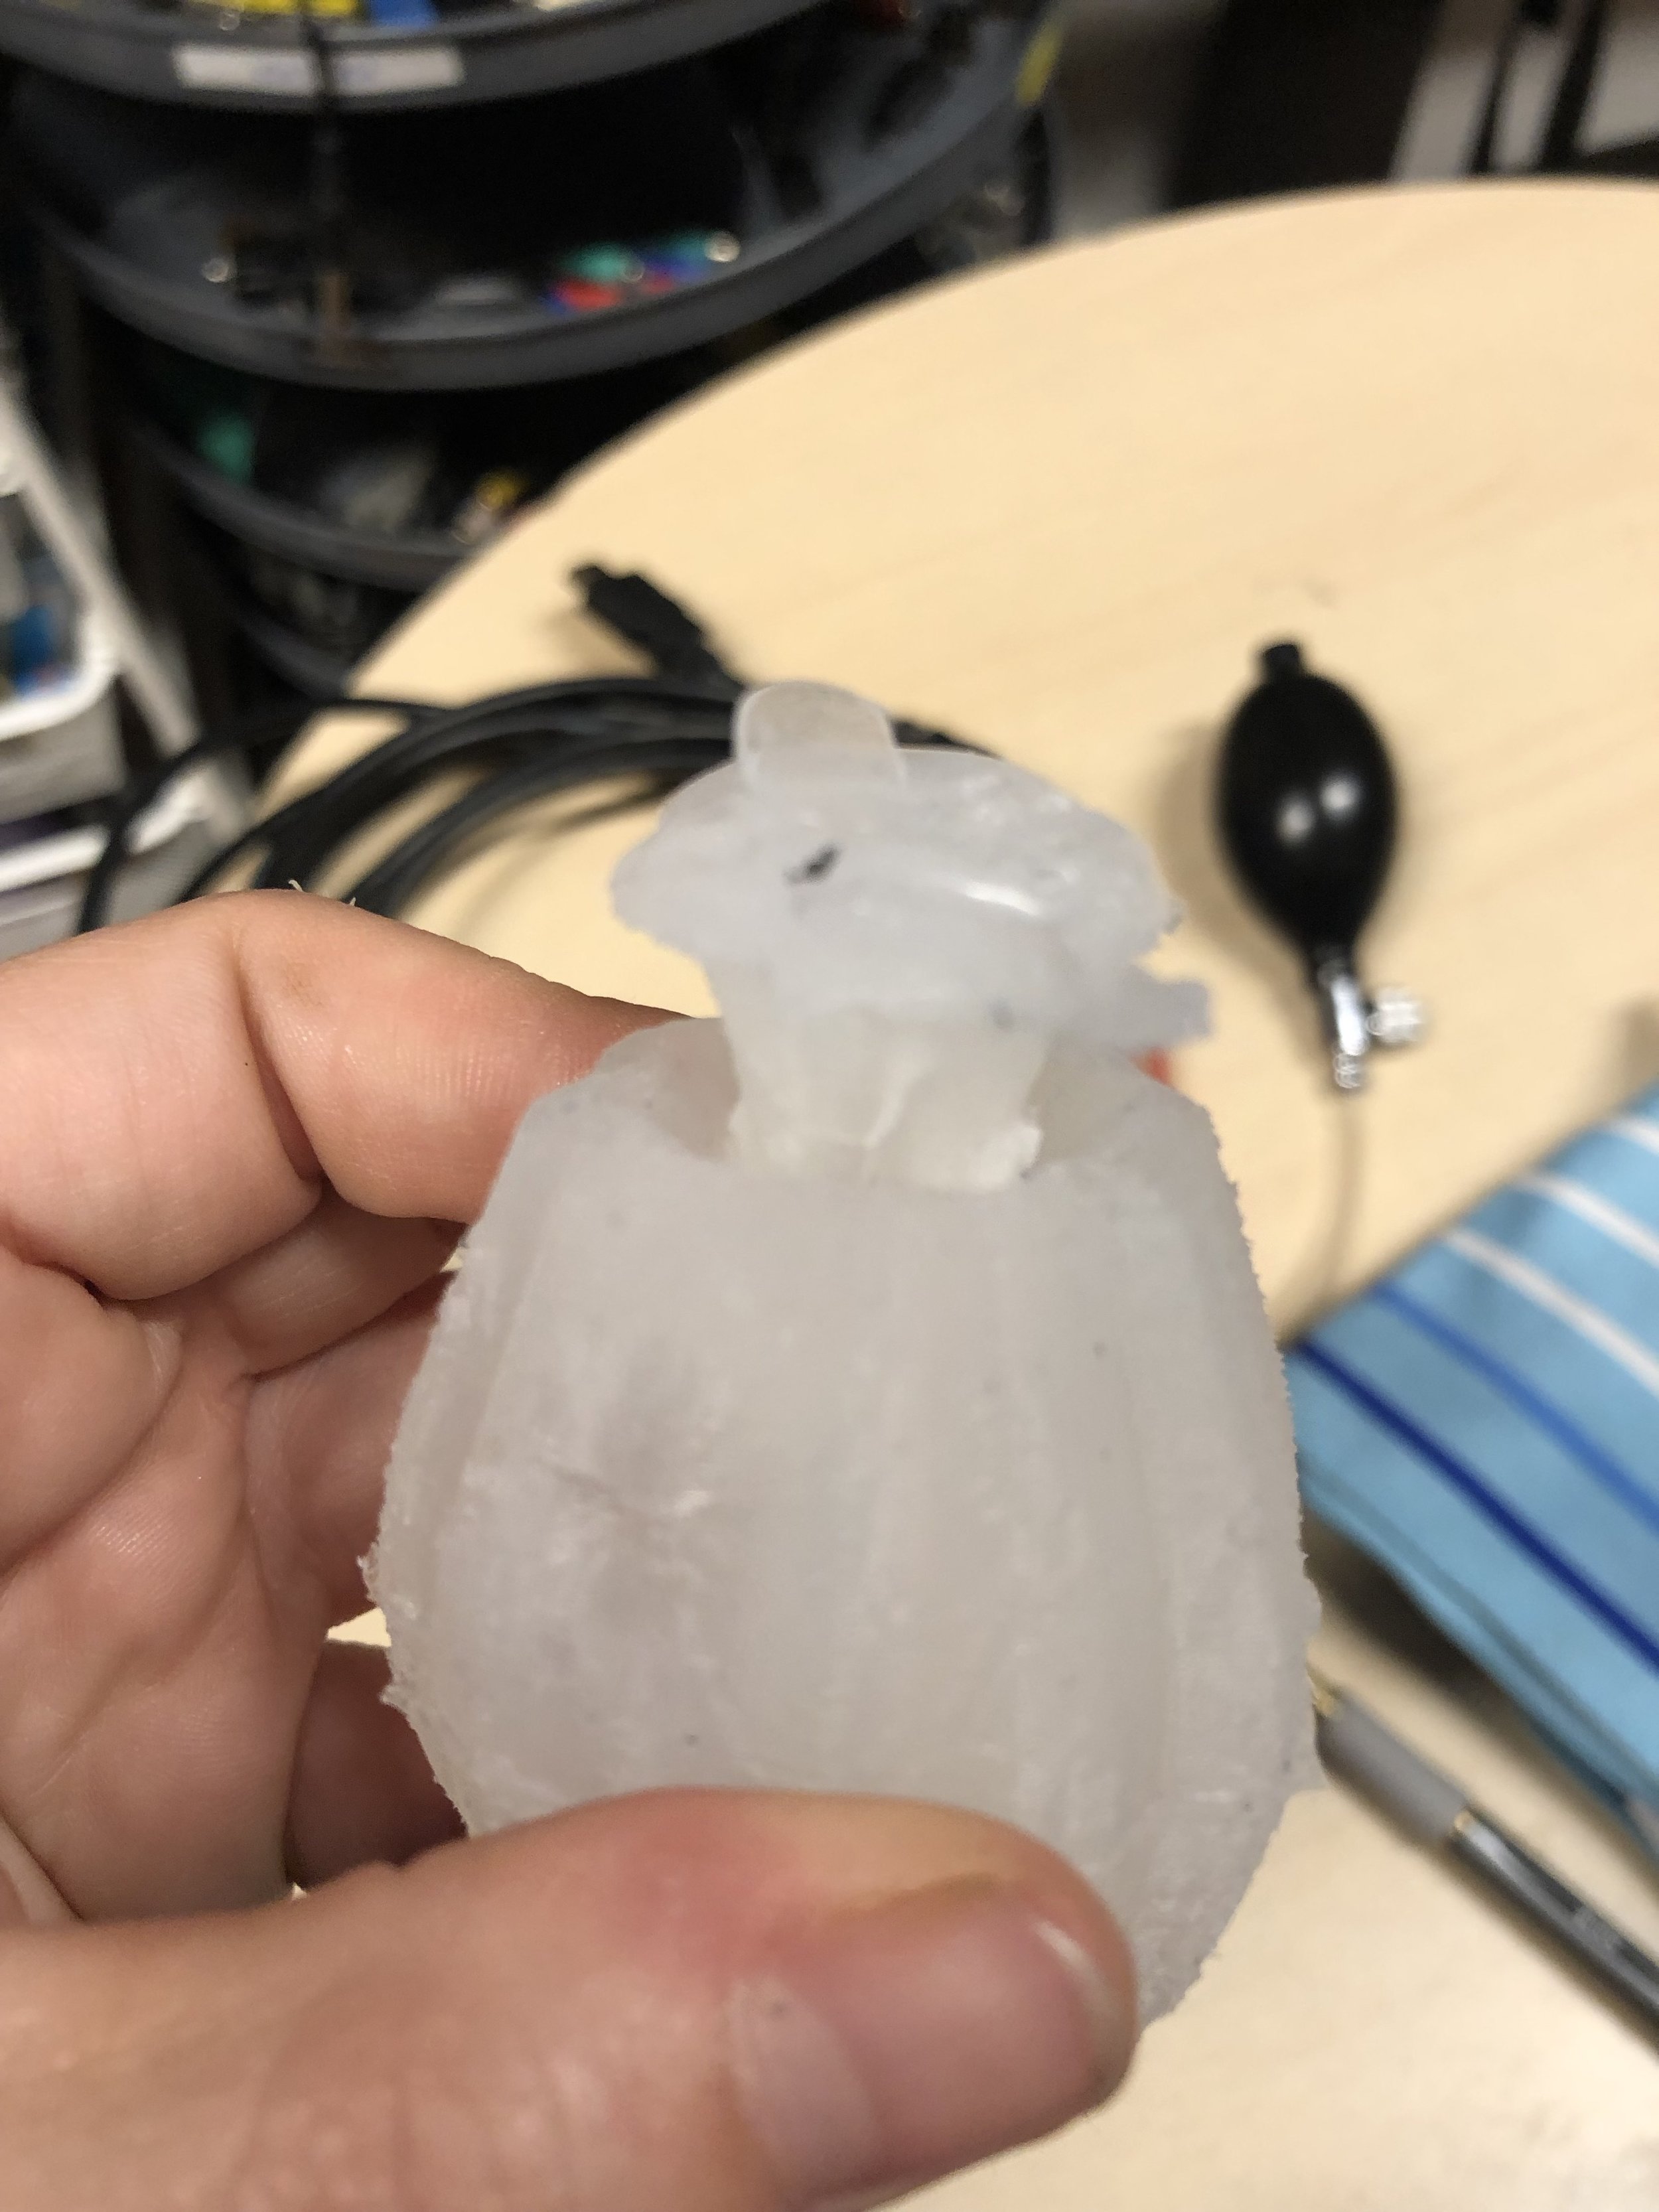
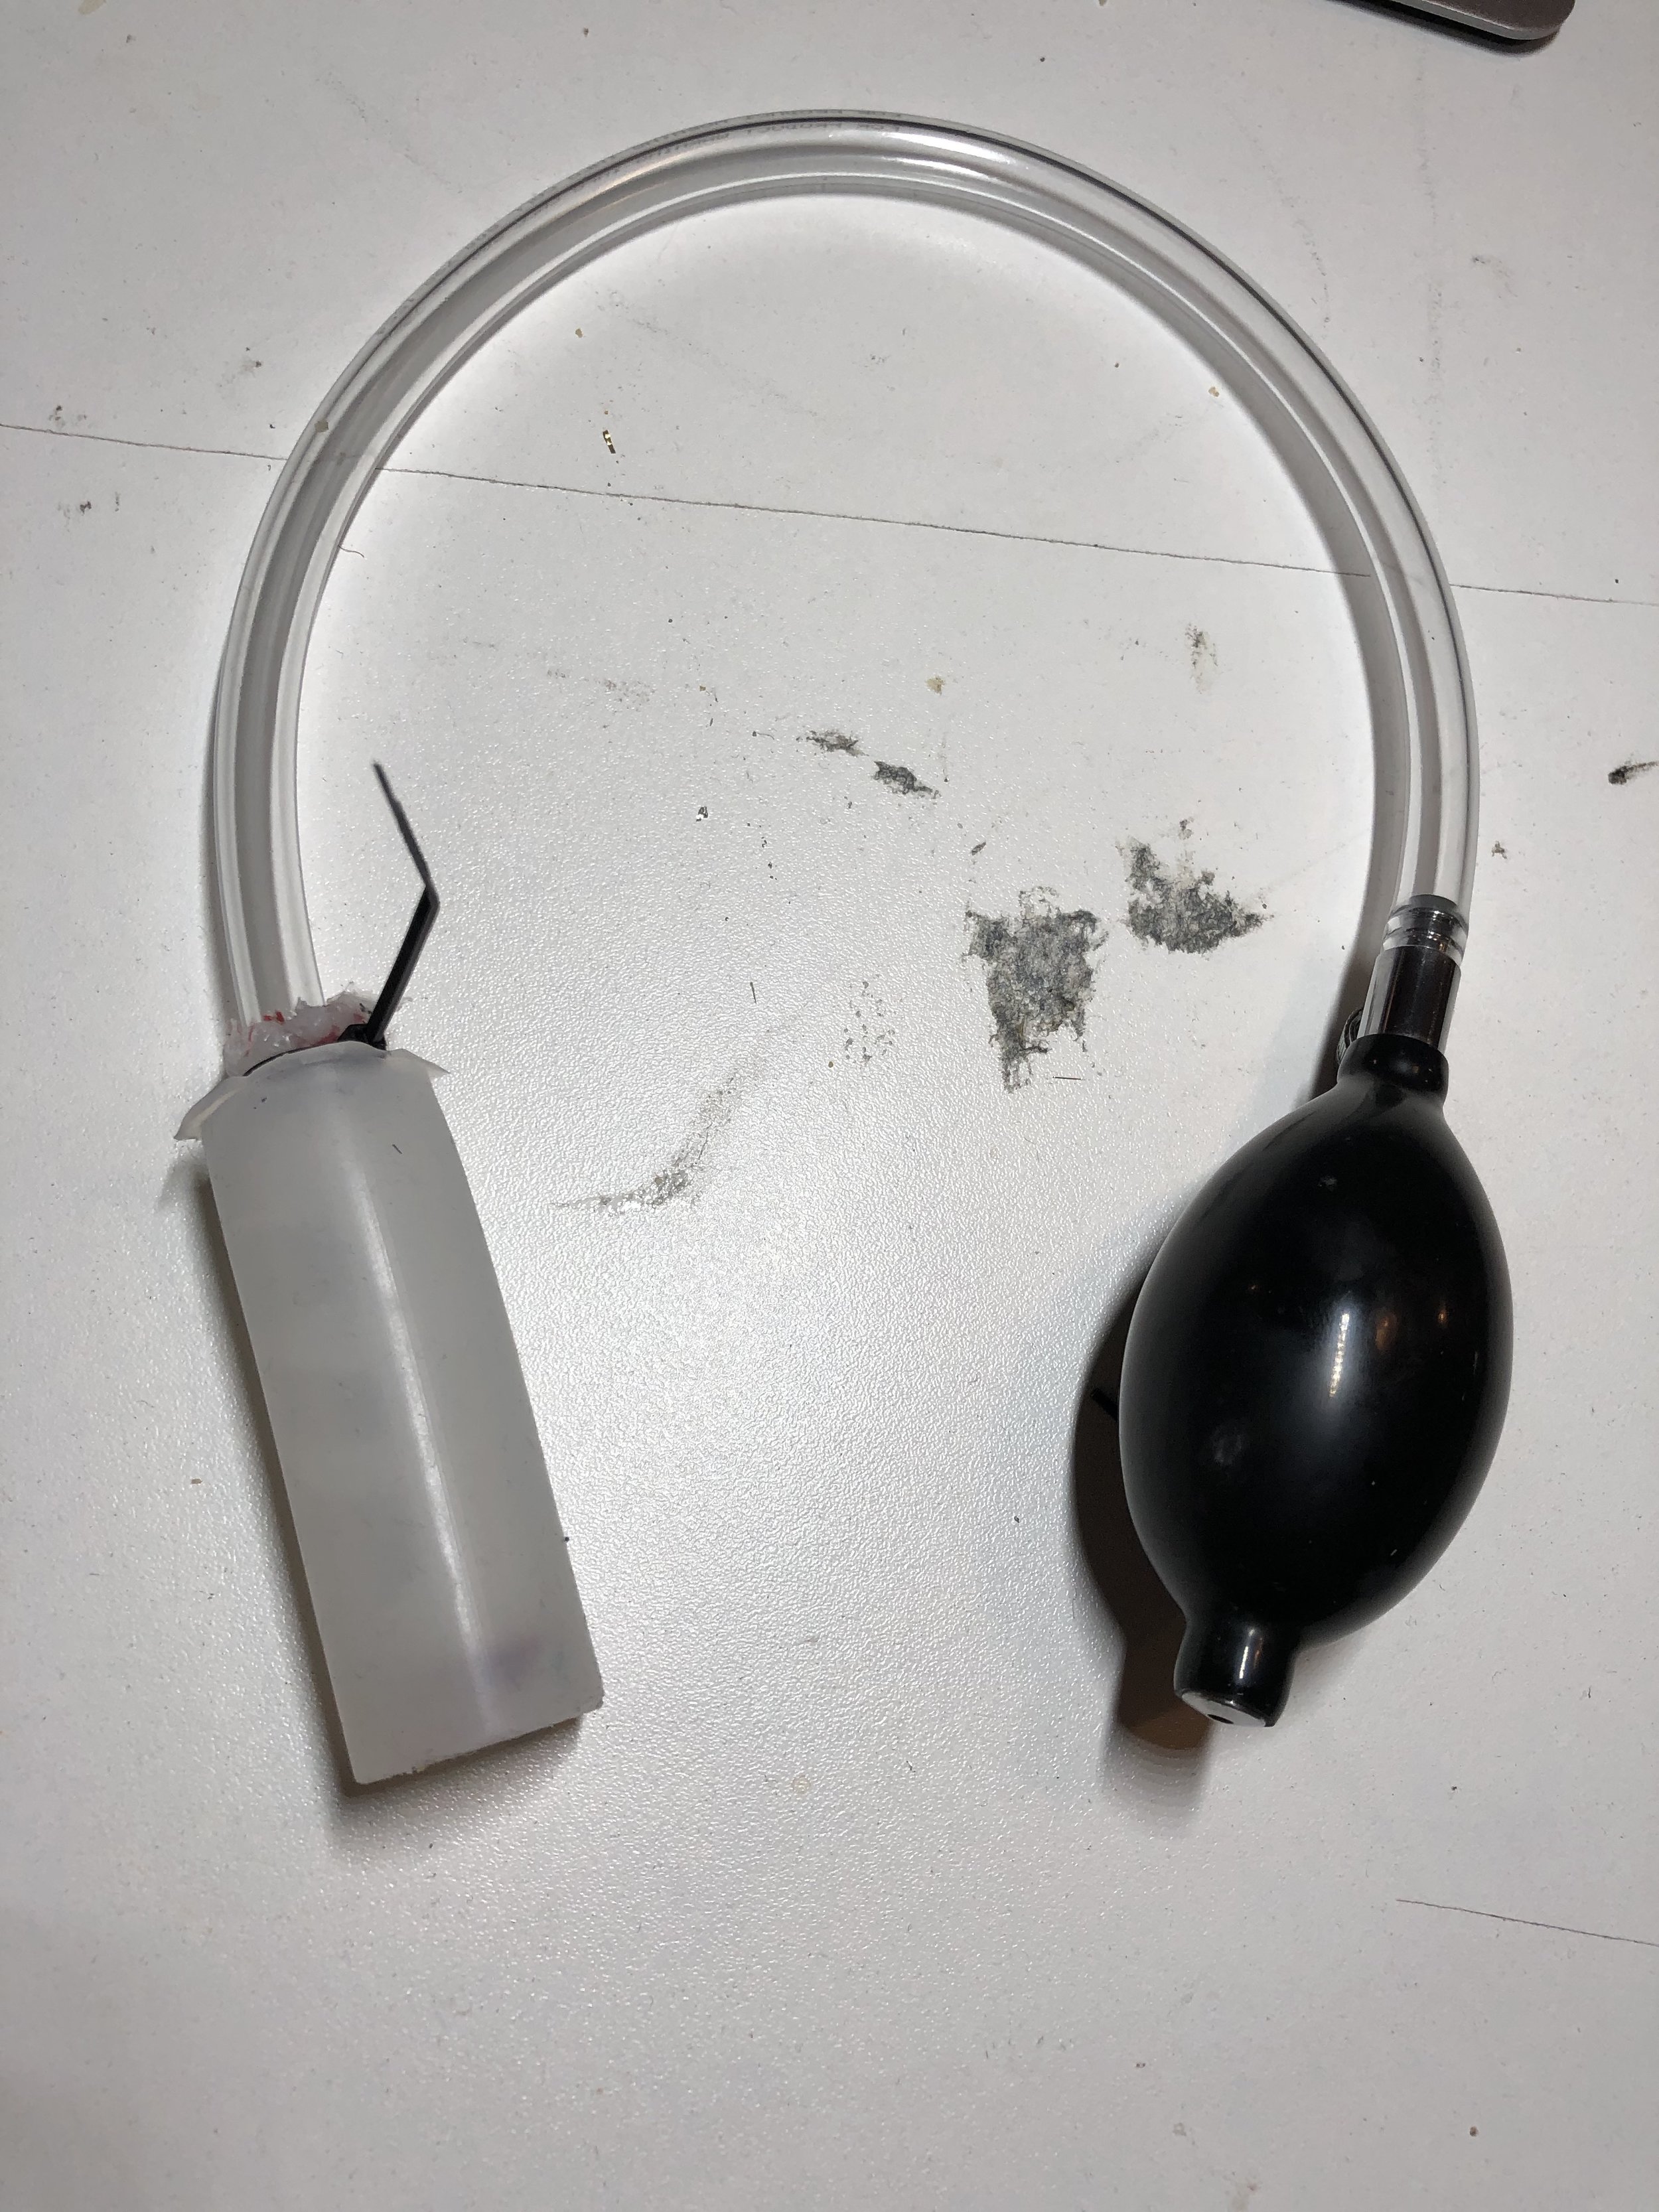
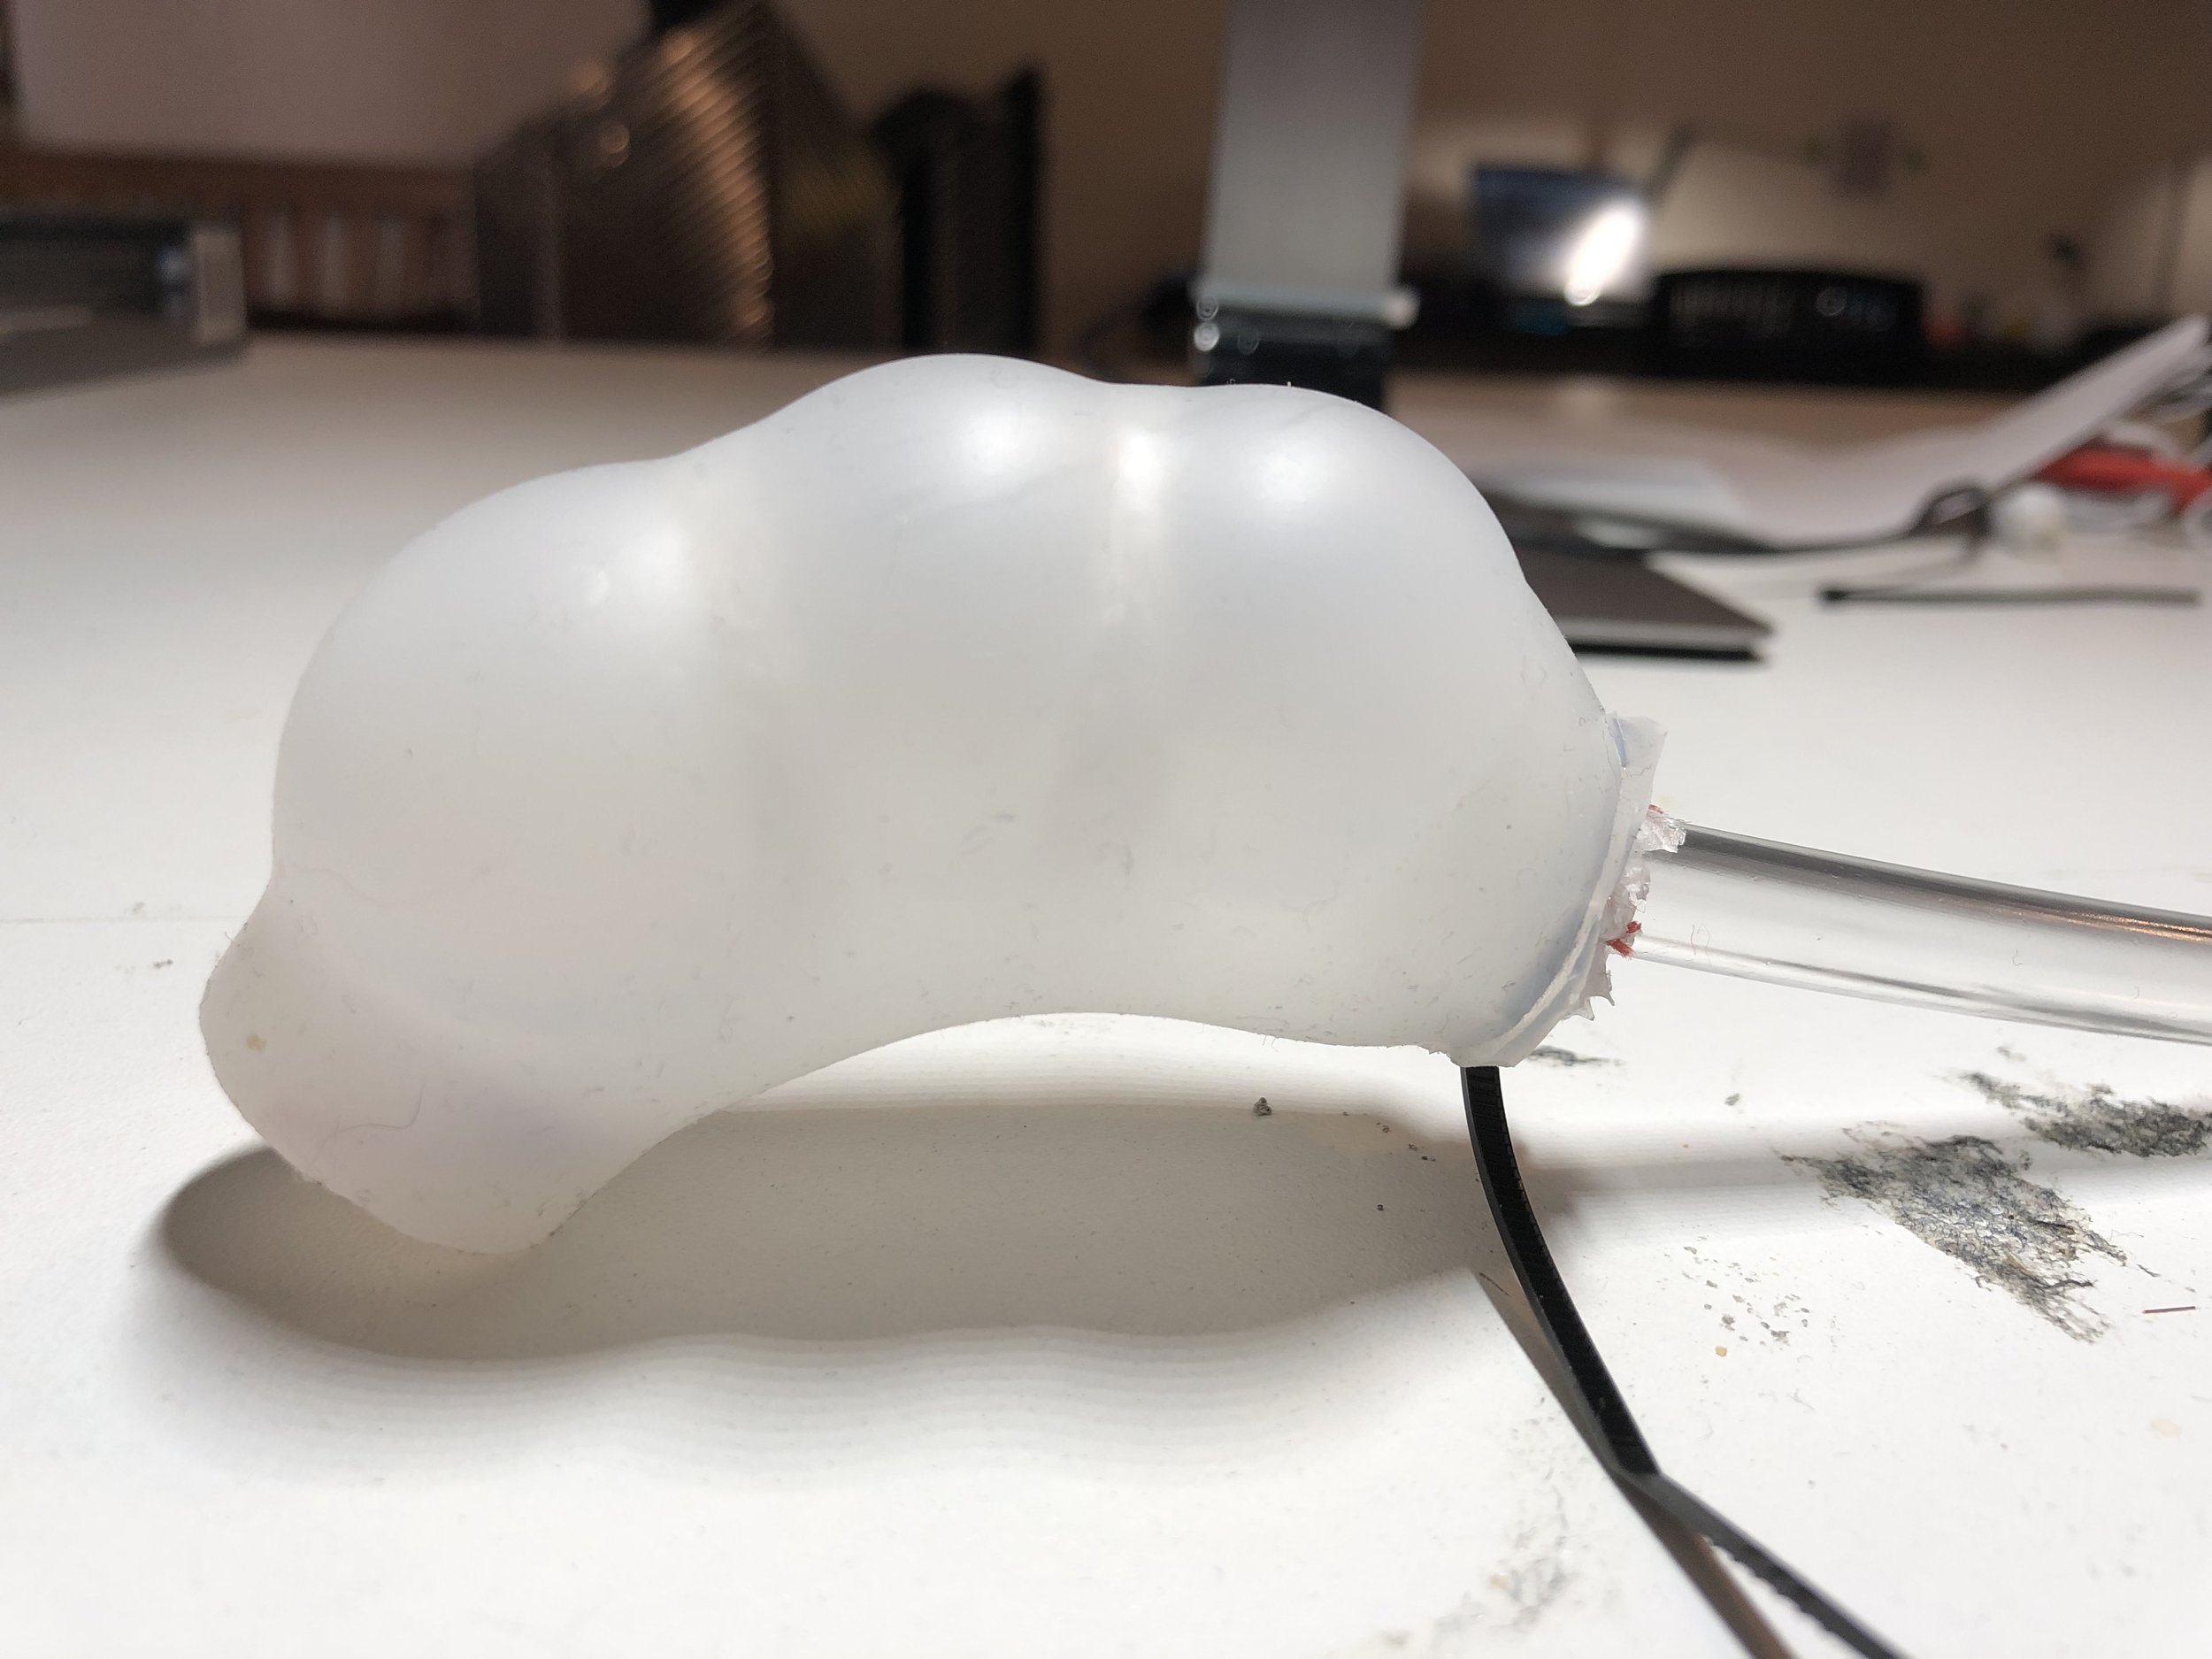
For this week’s project I found a mold on Thingiverse and 3D printed for the first time on my own! I found a mold with an interesting shape (similar to a star fruit) and thought that it would make for an interesting shape to add some movement too.
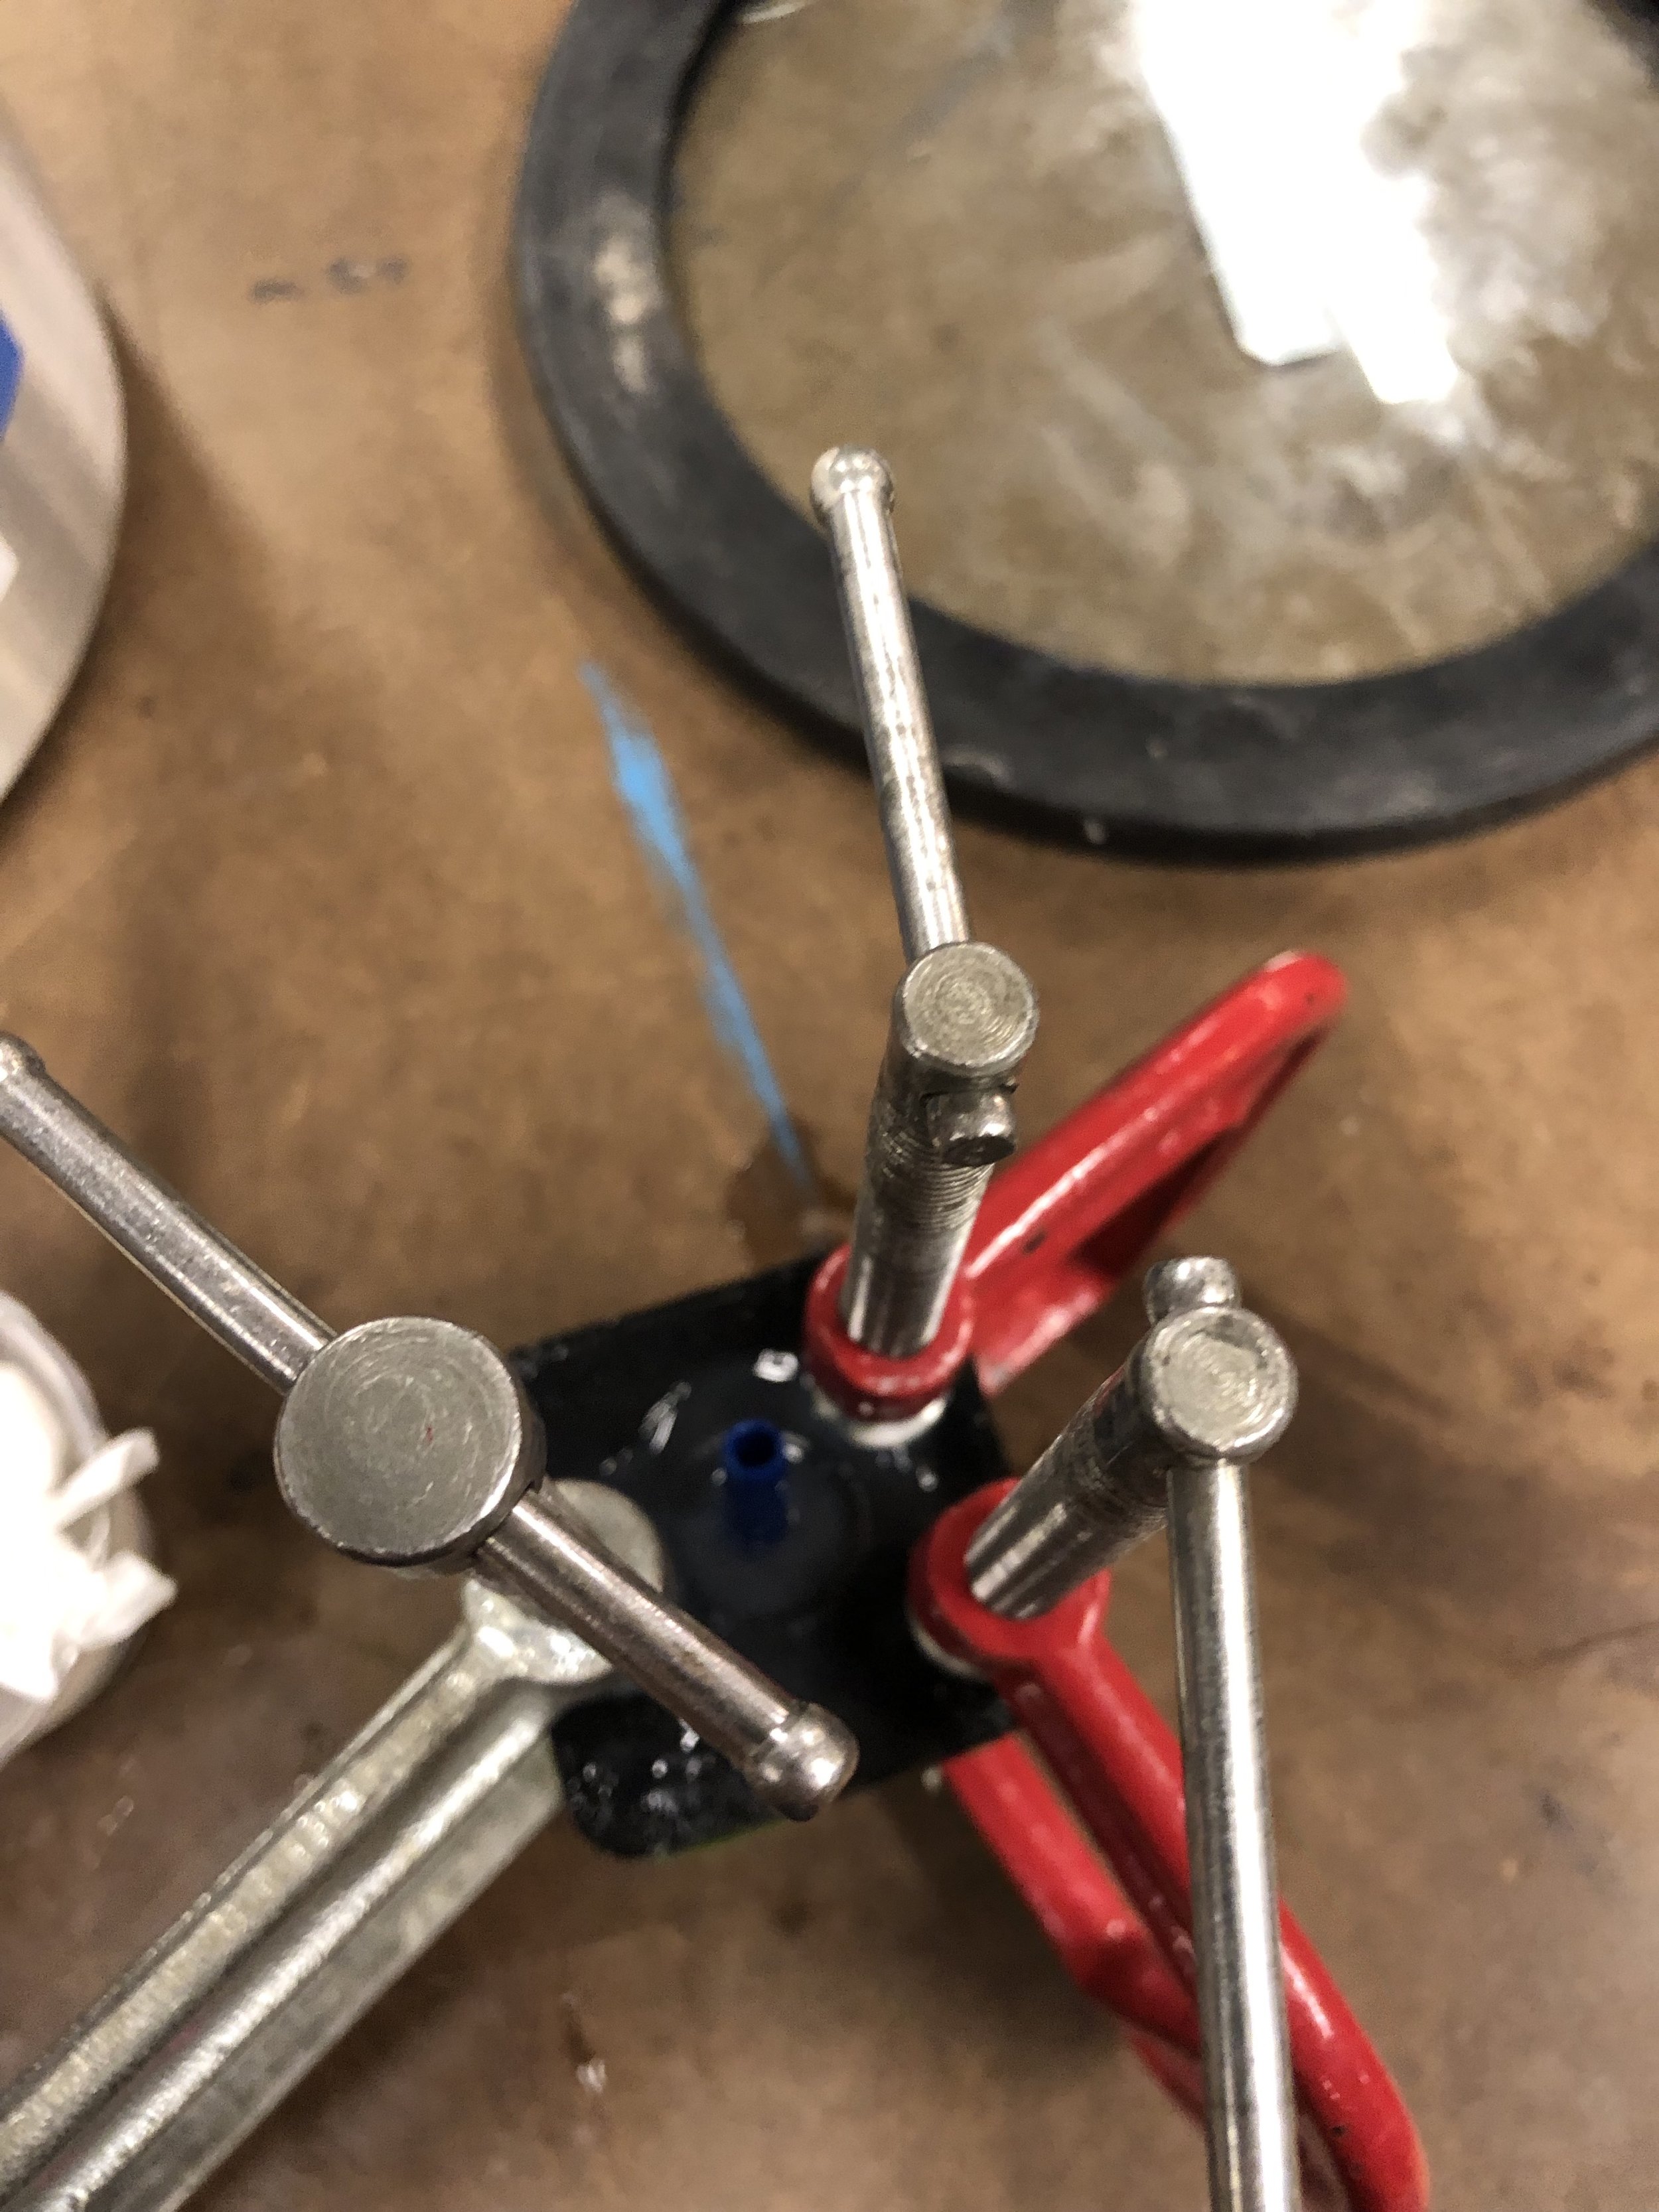
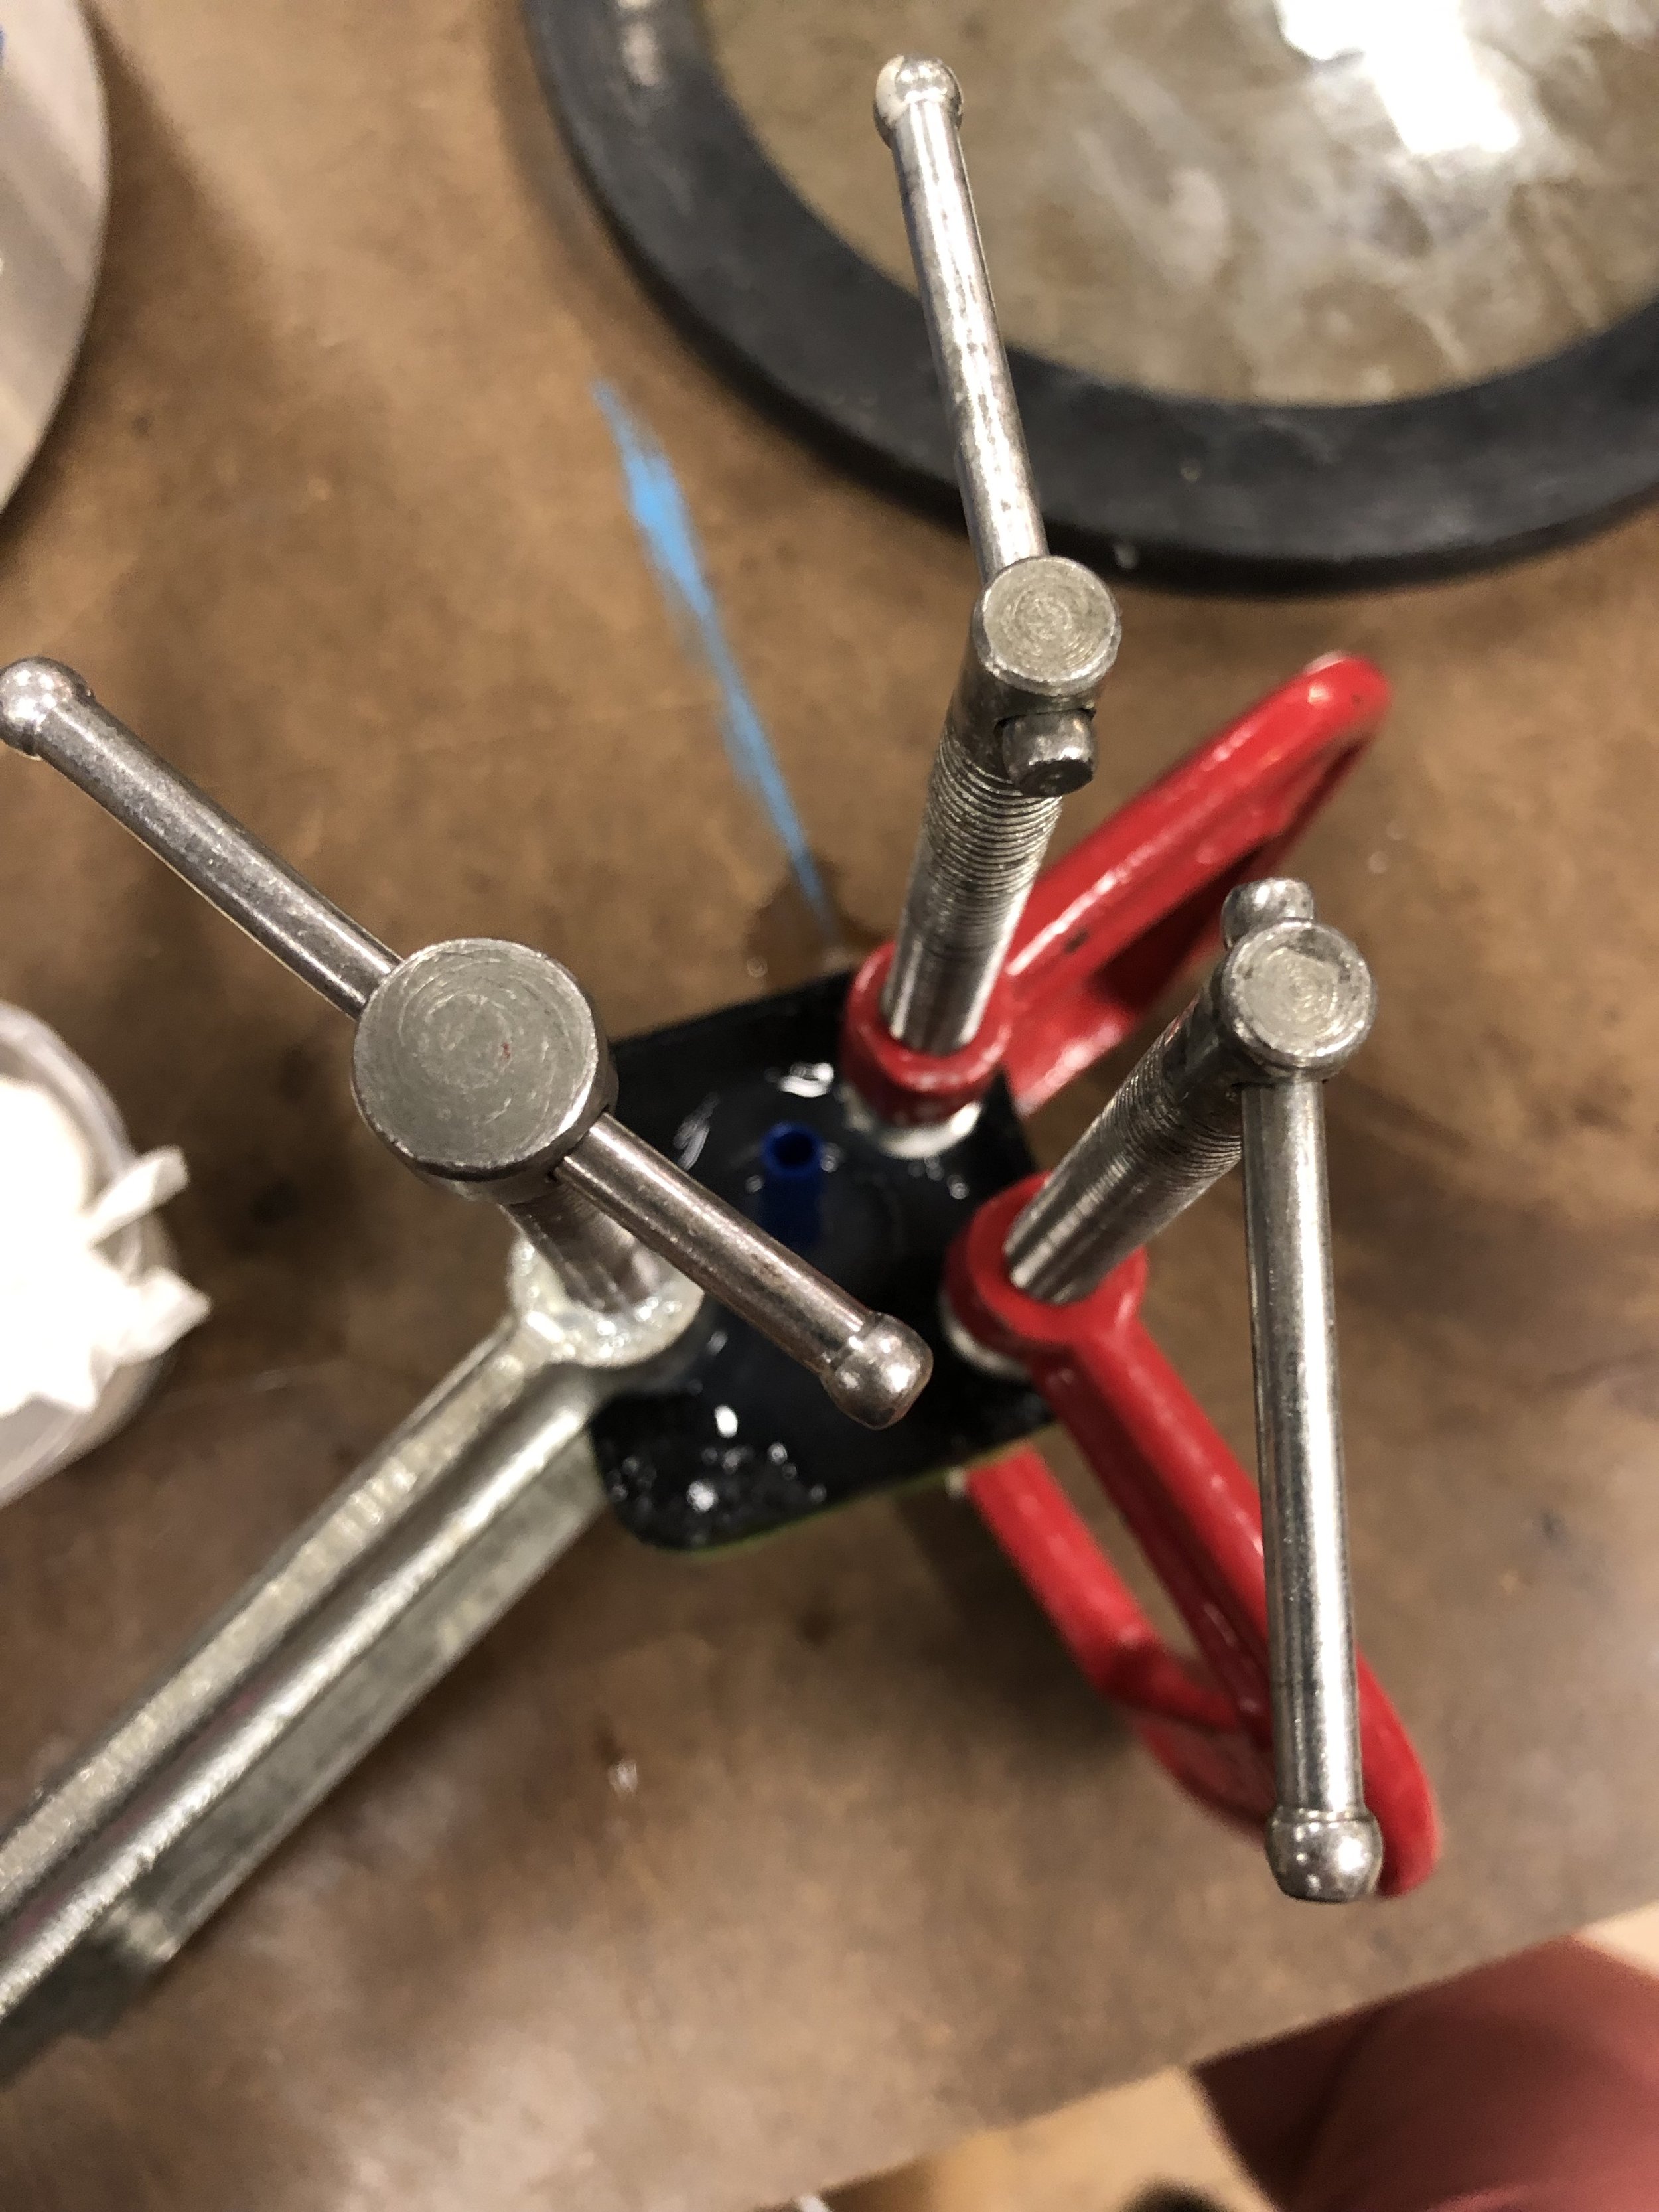
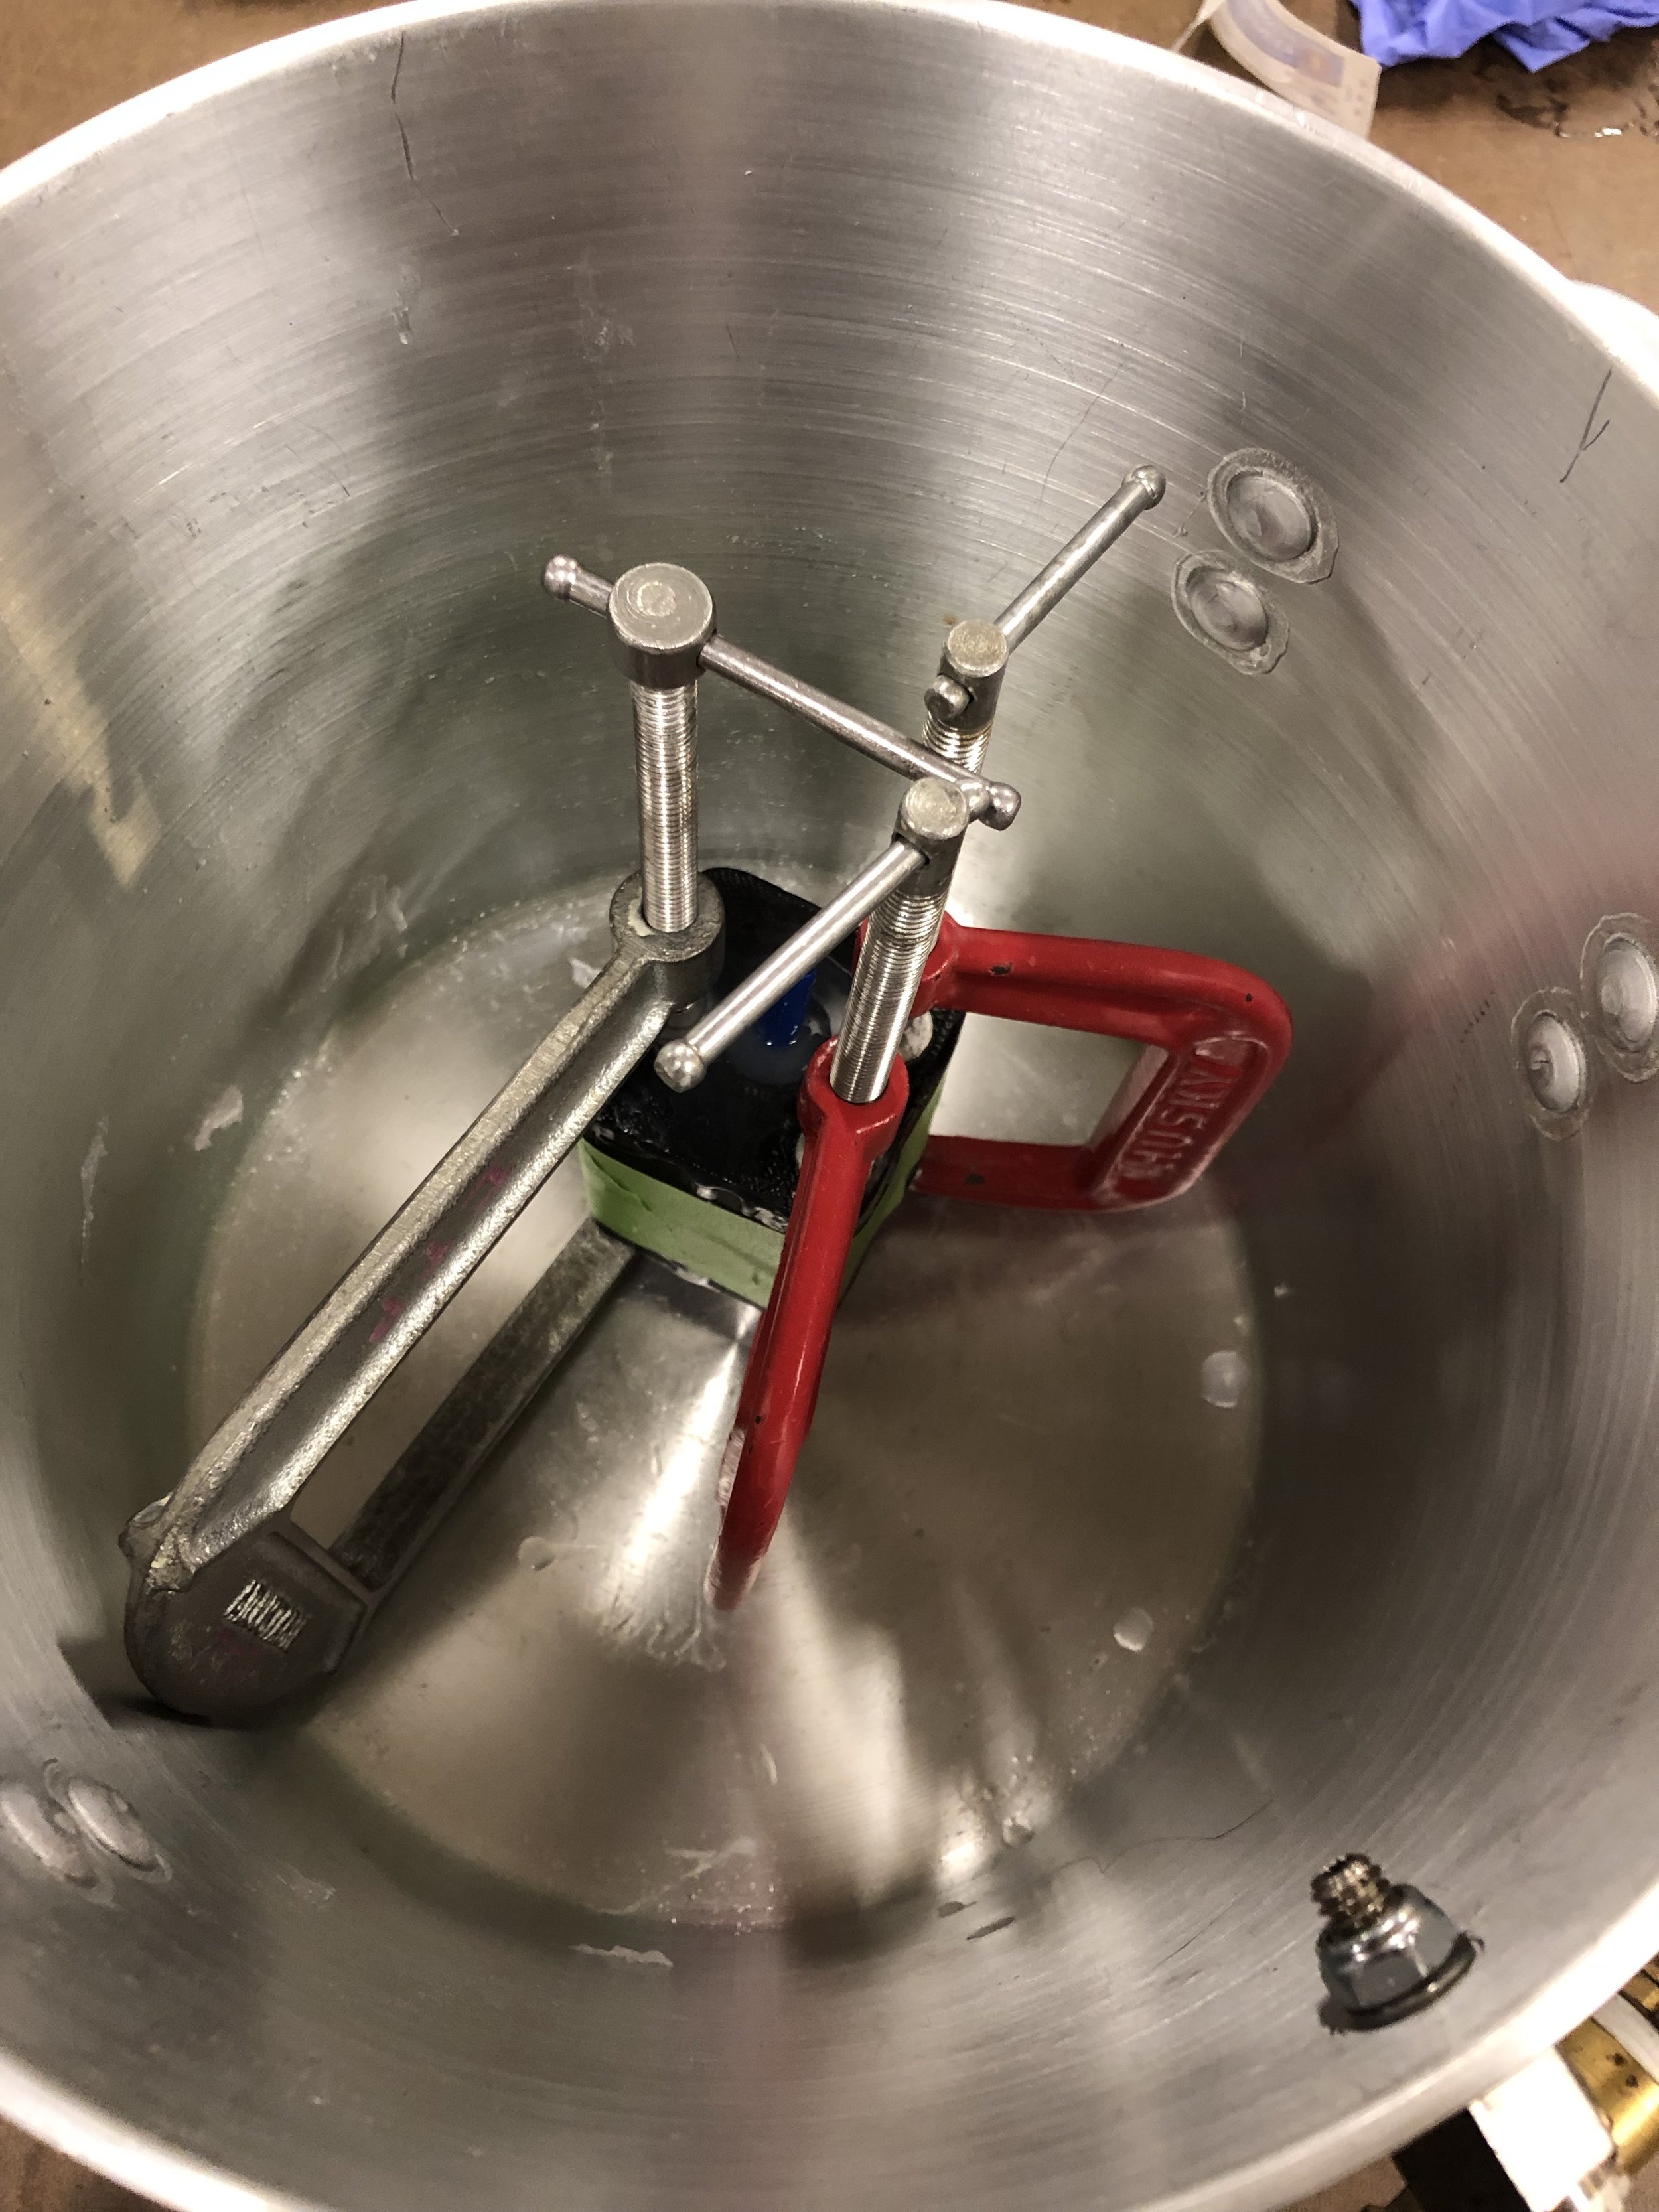
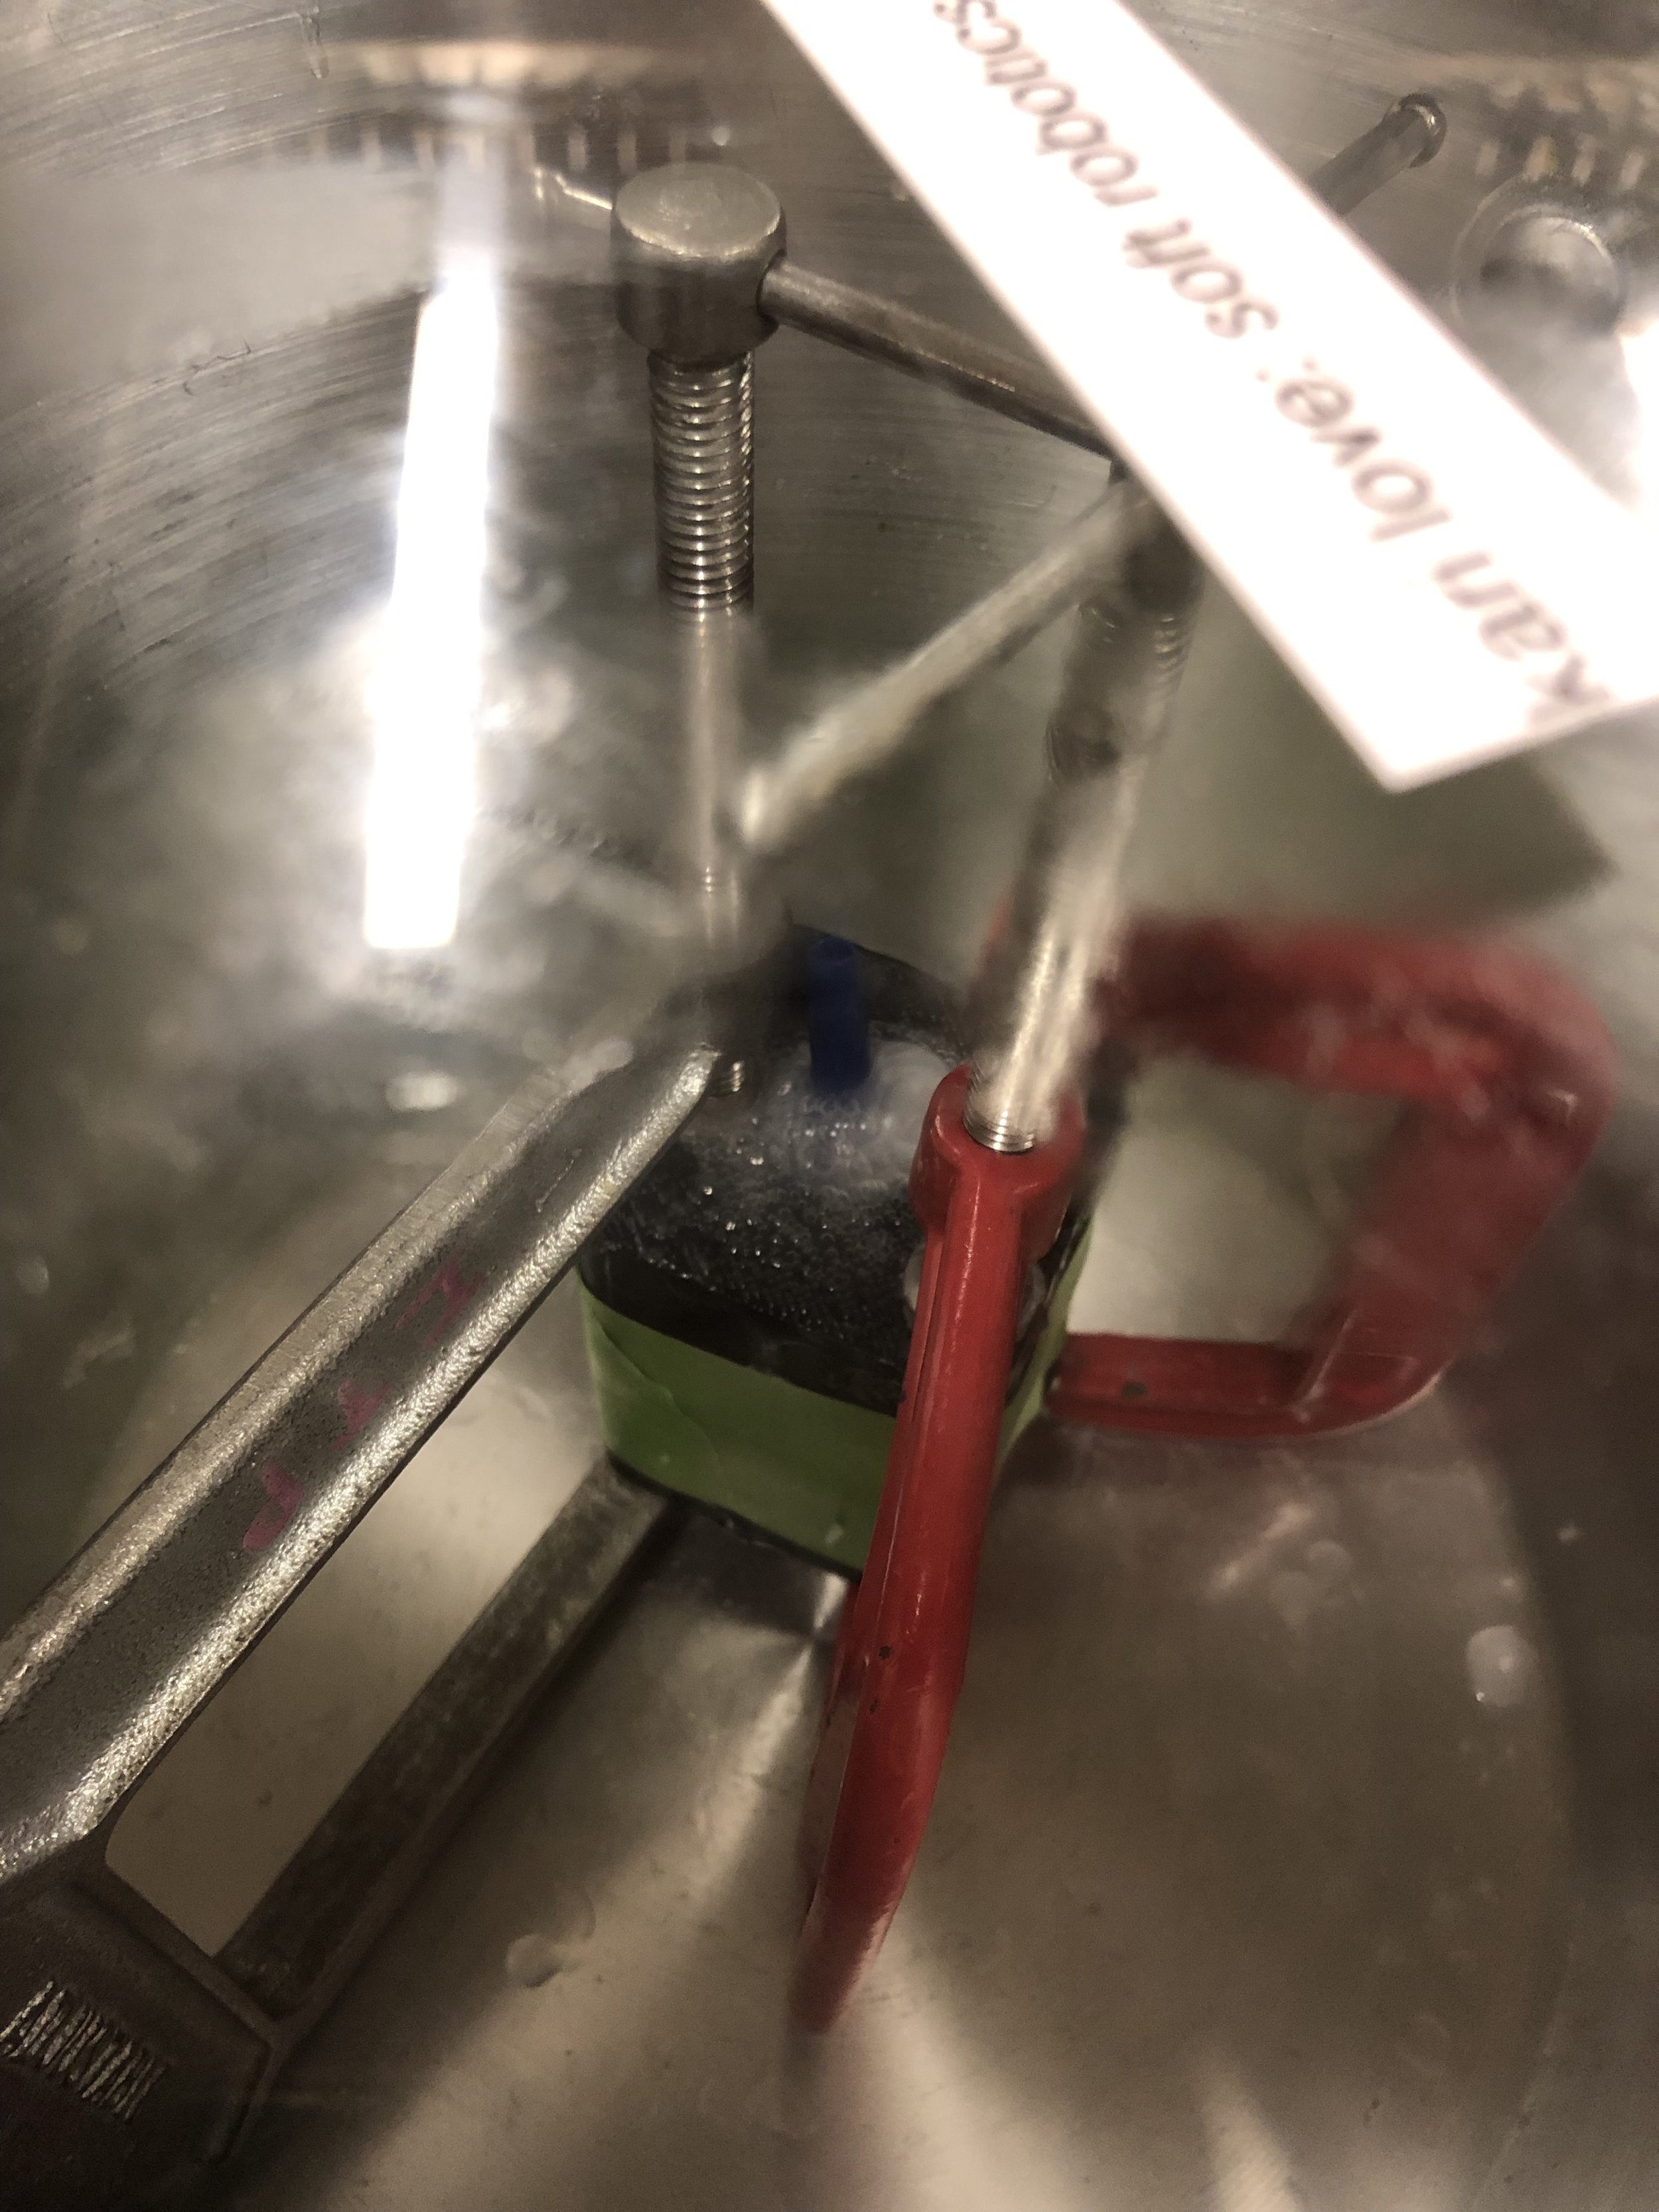
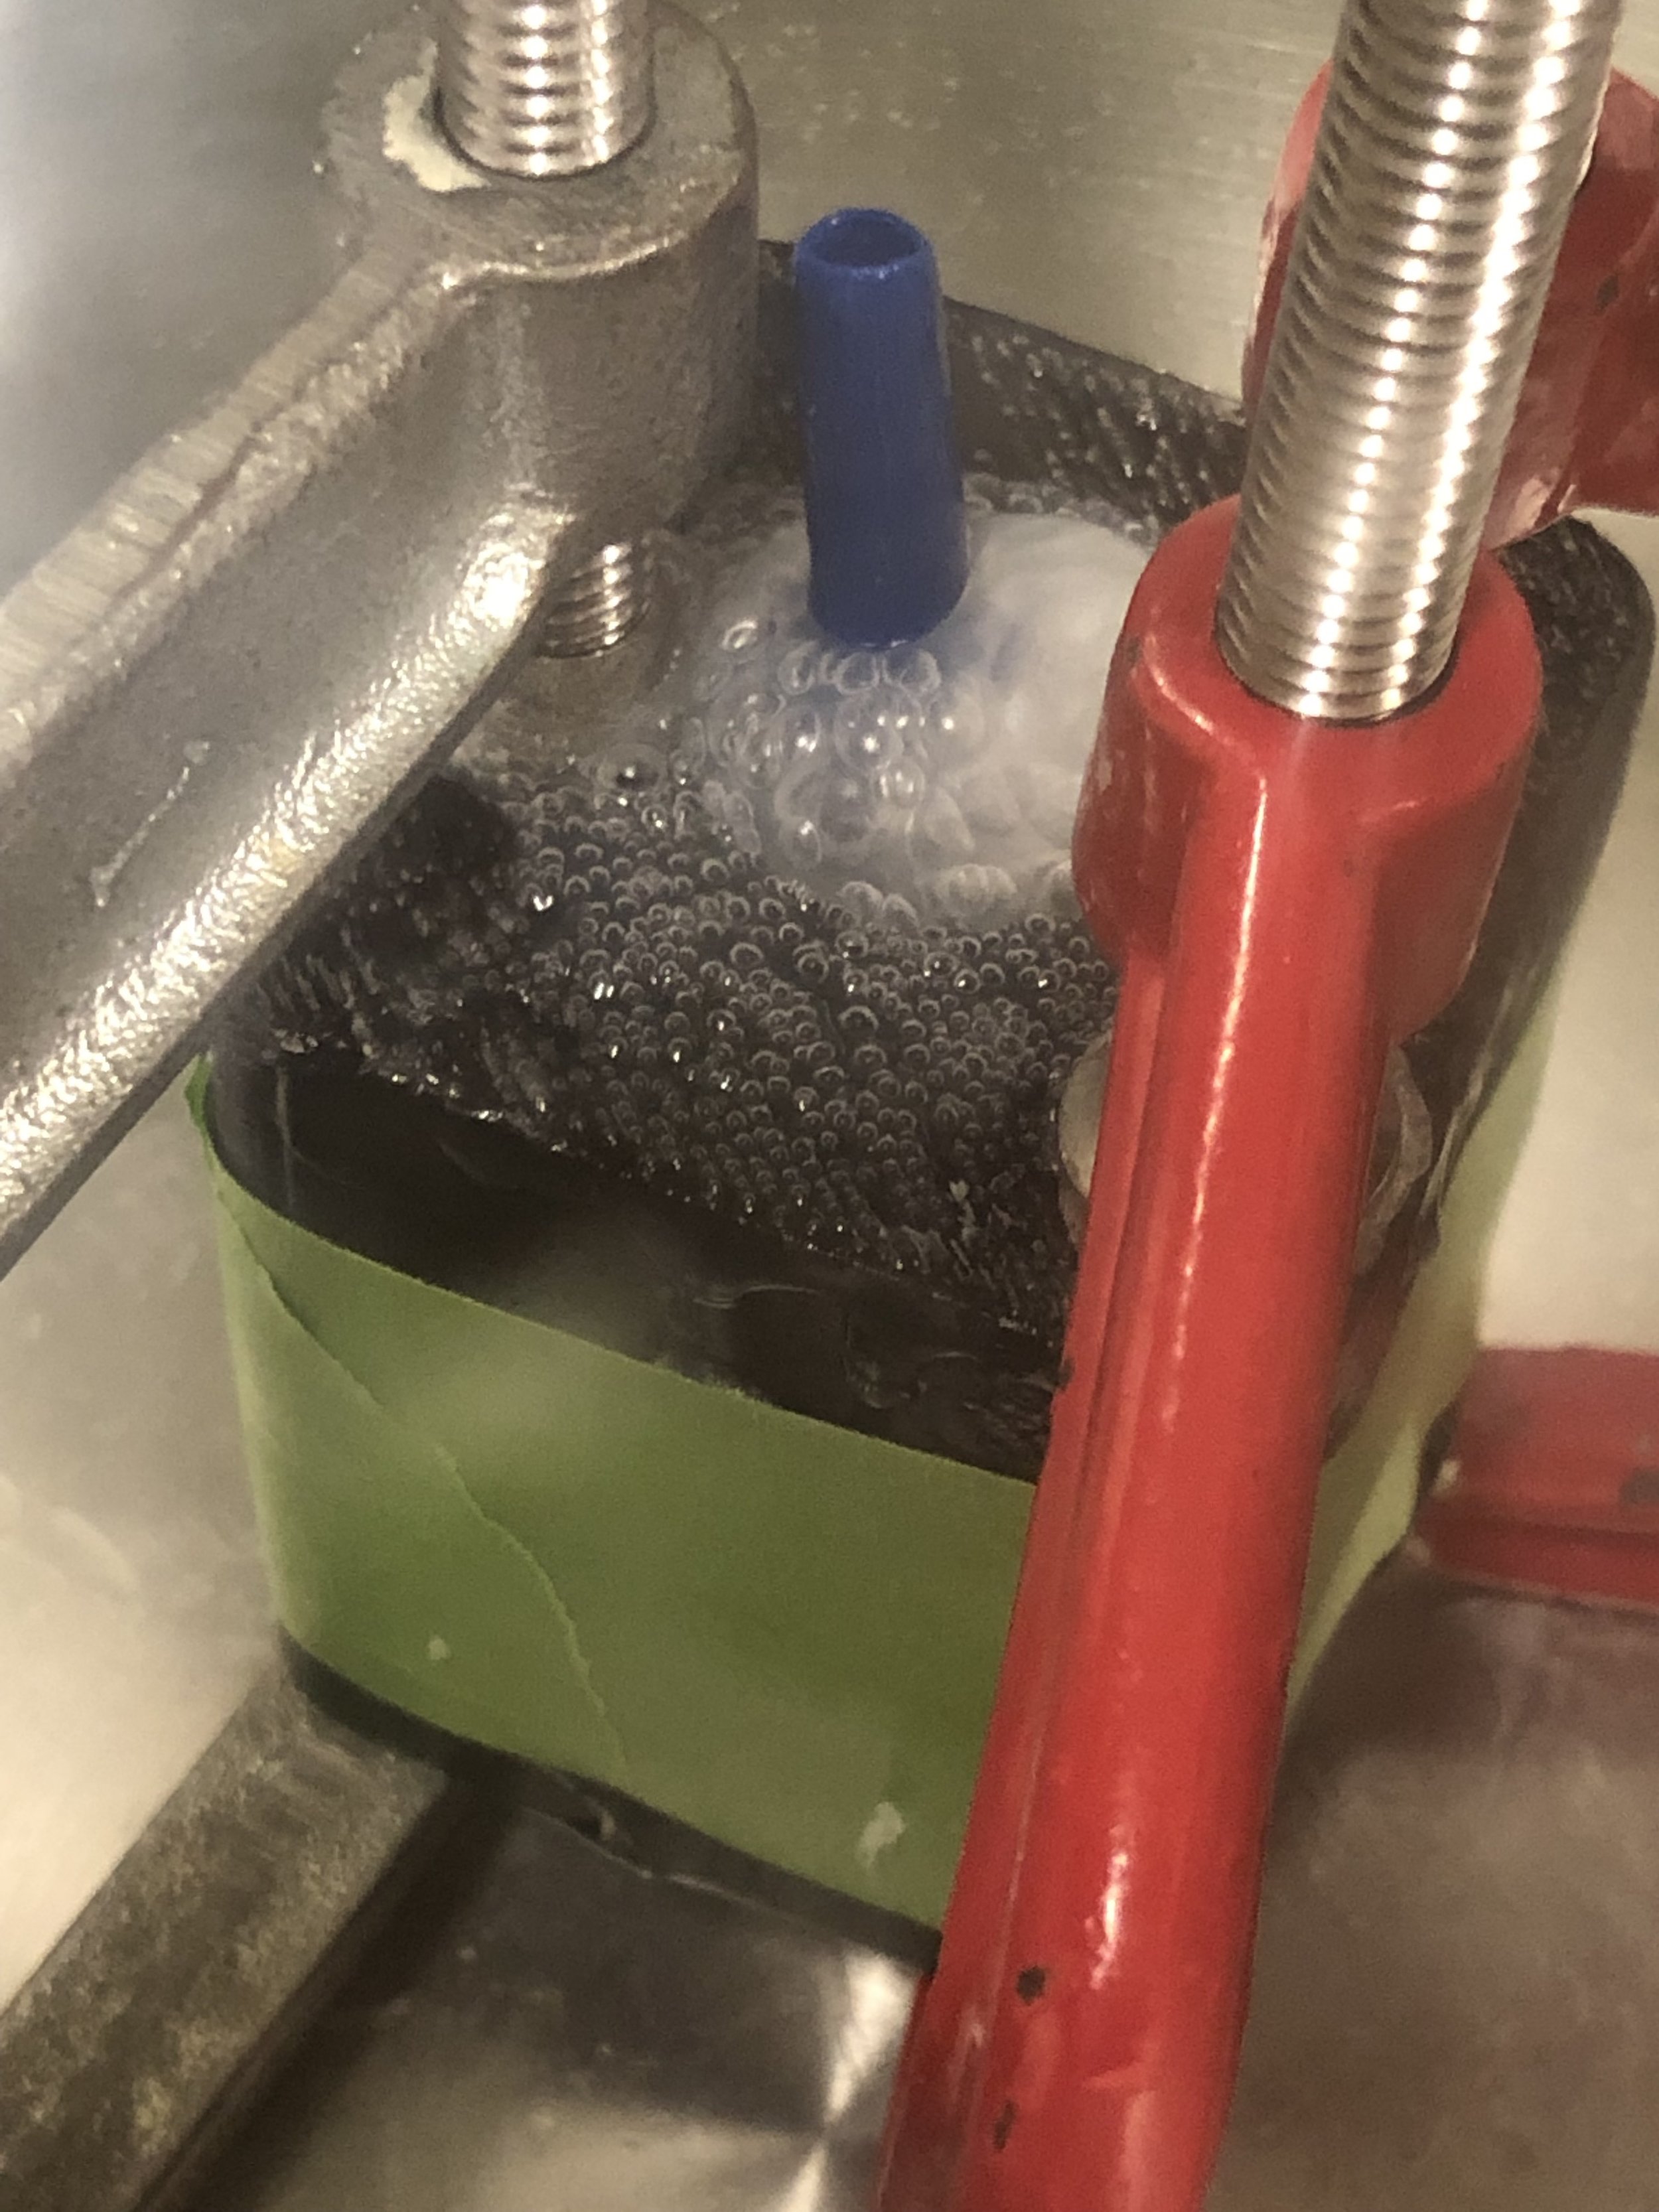
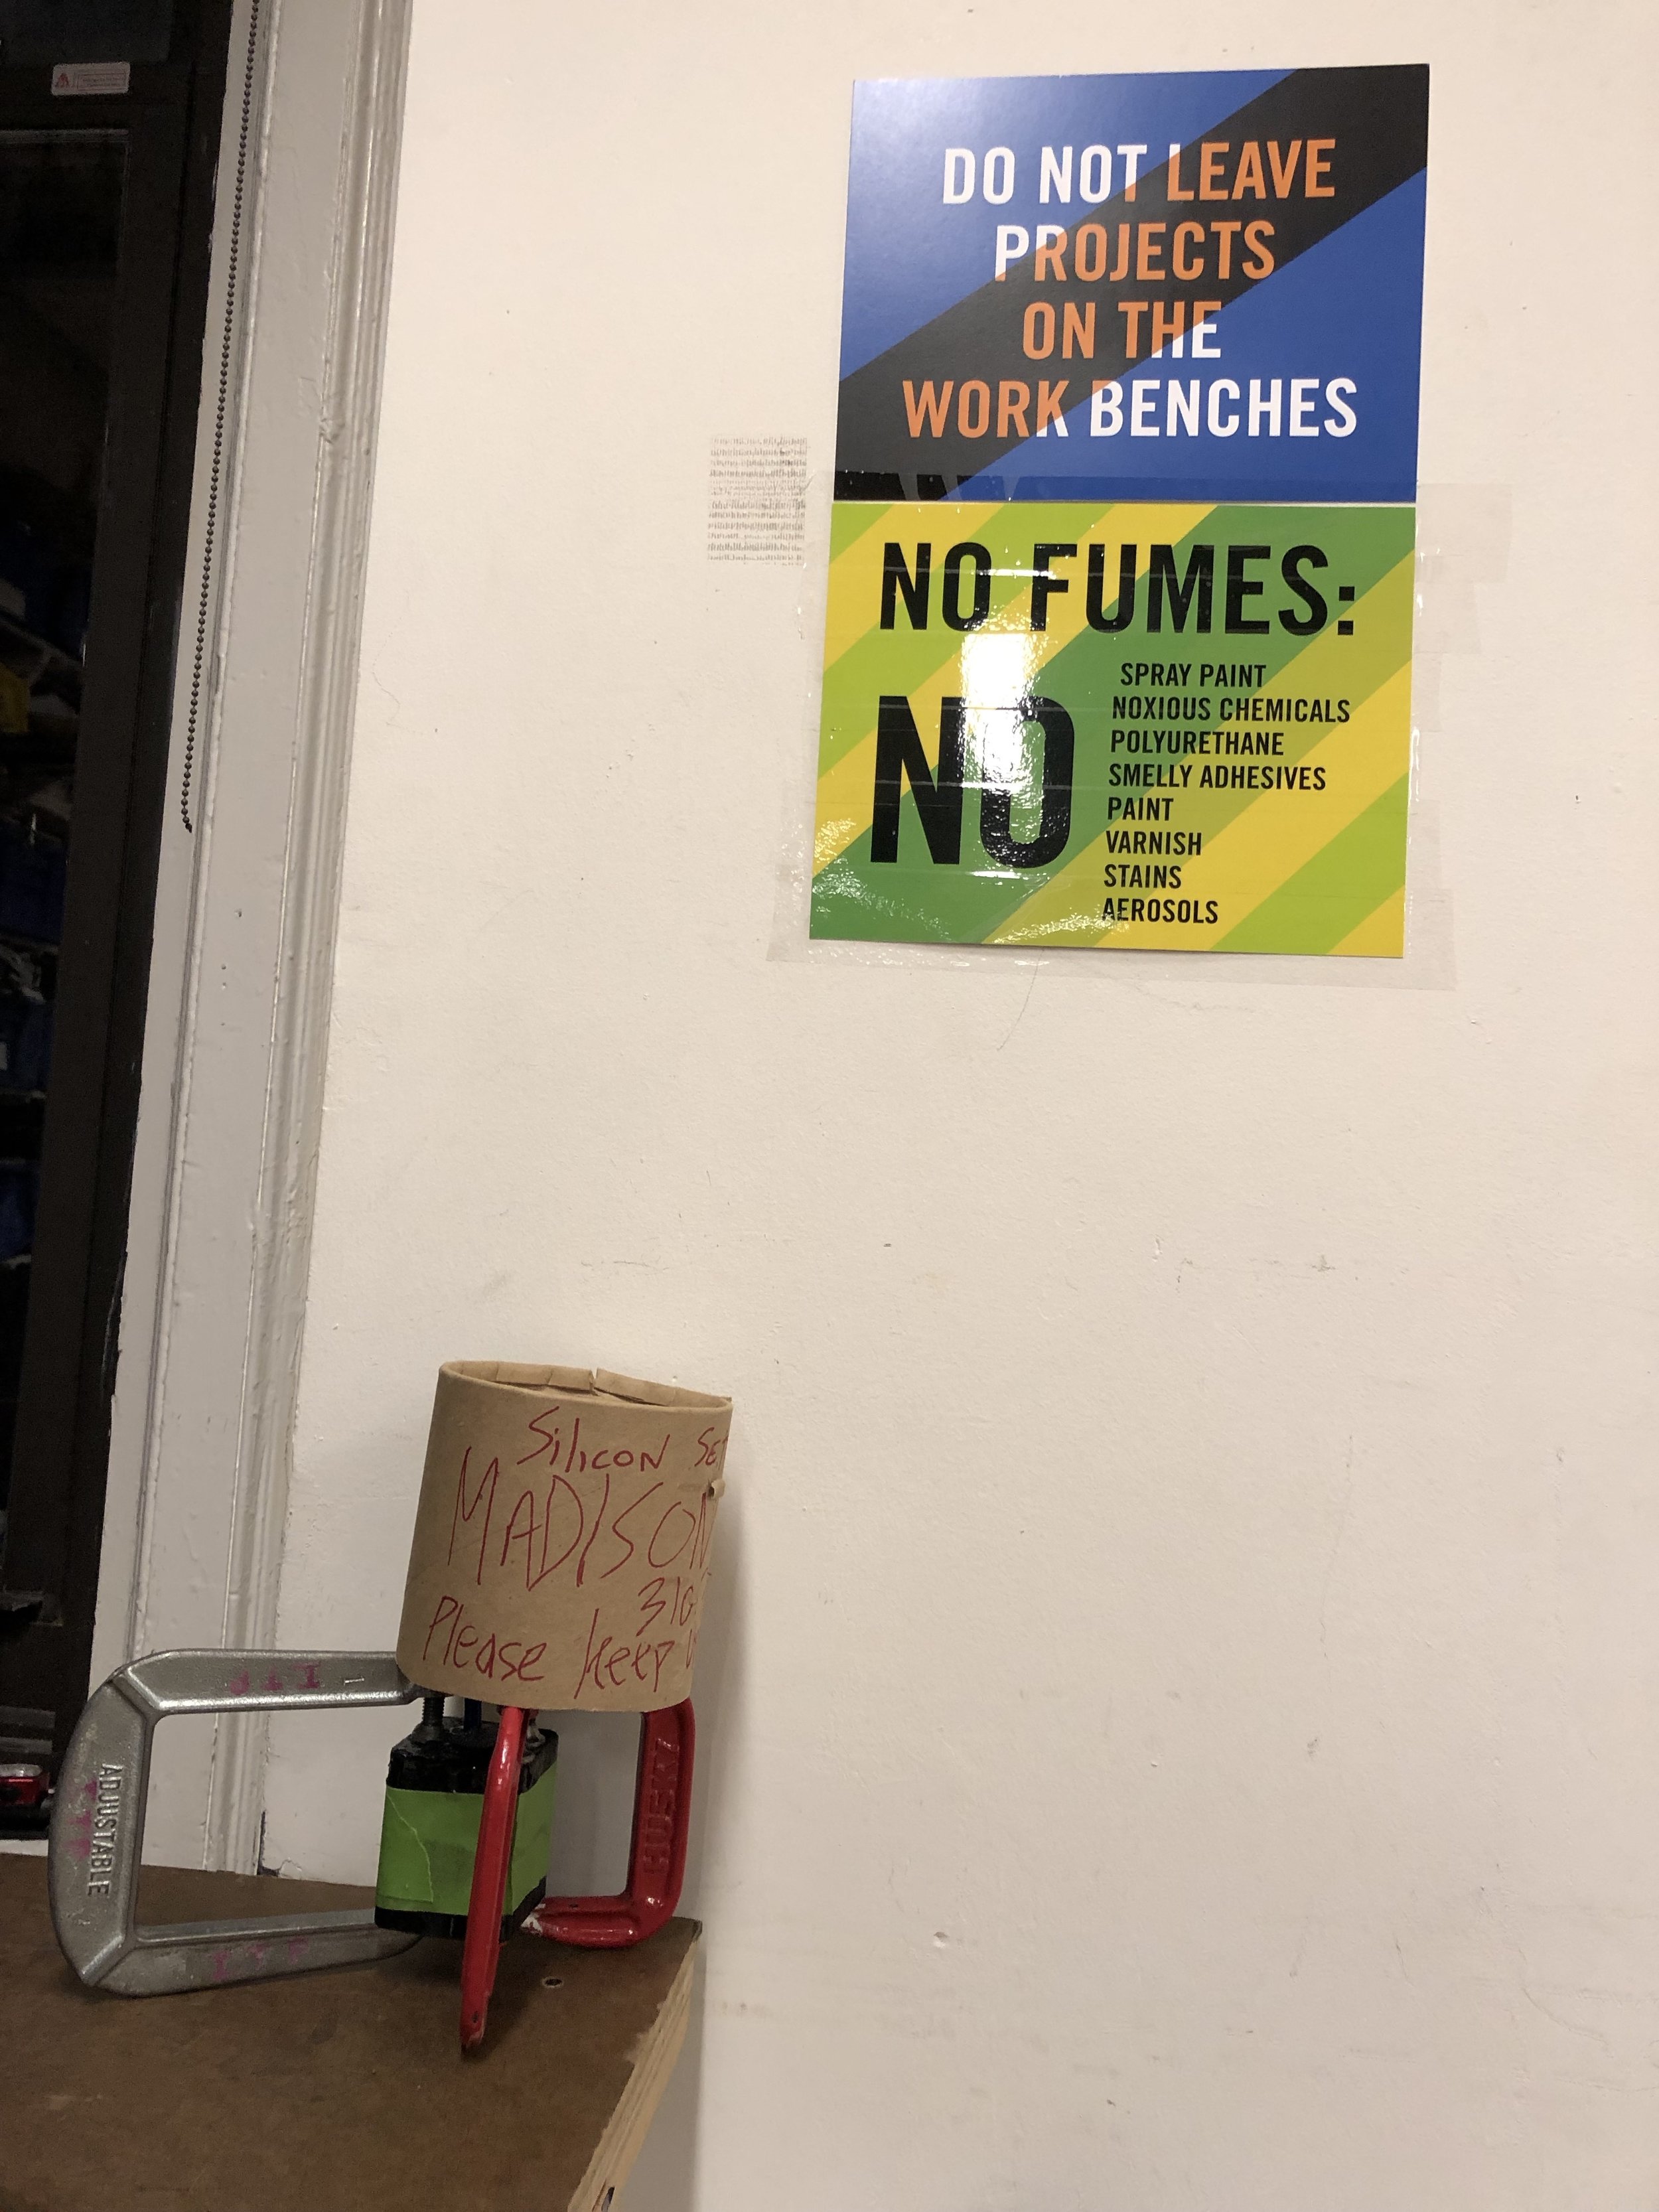
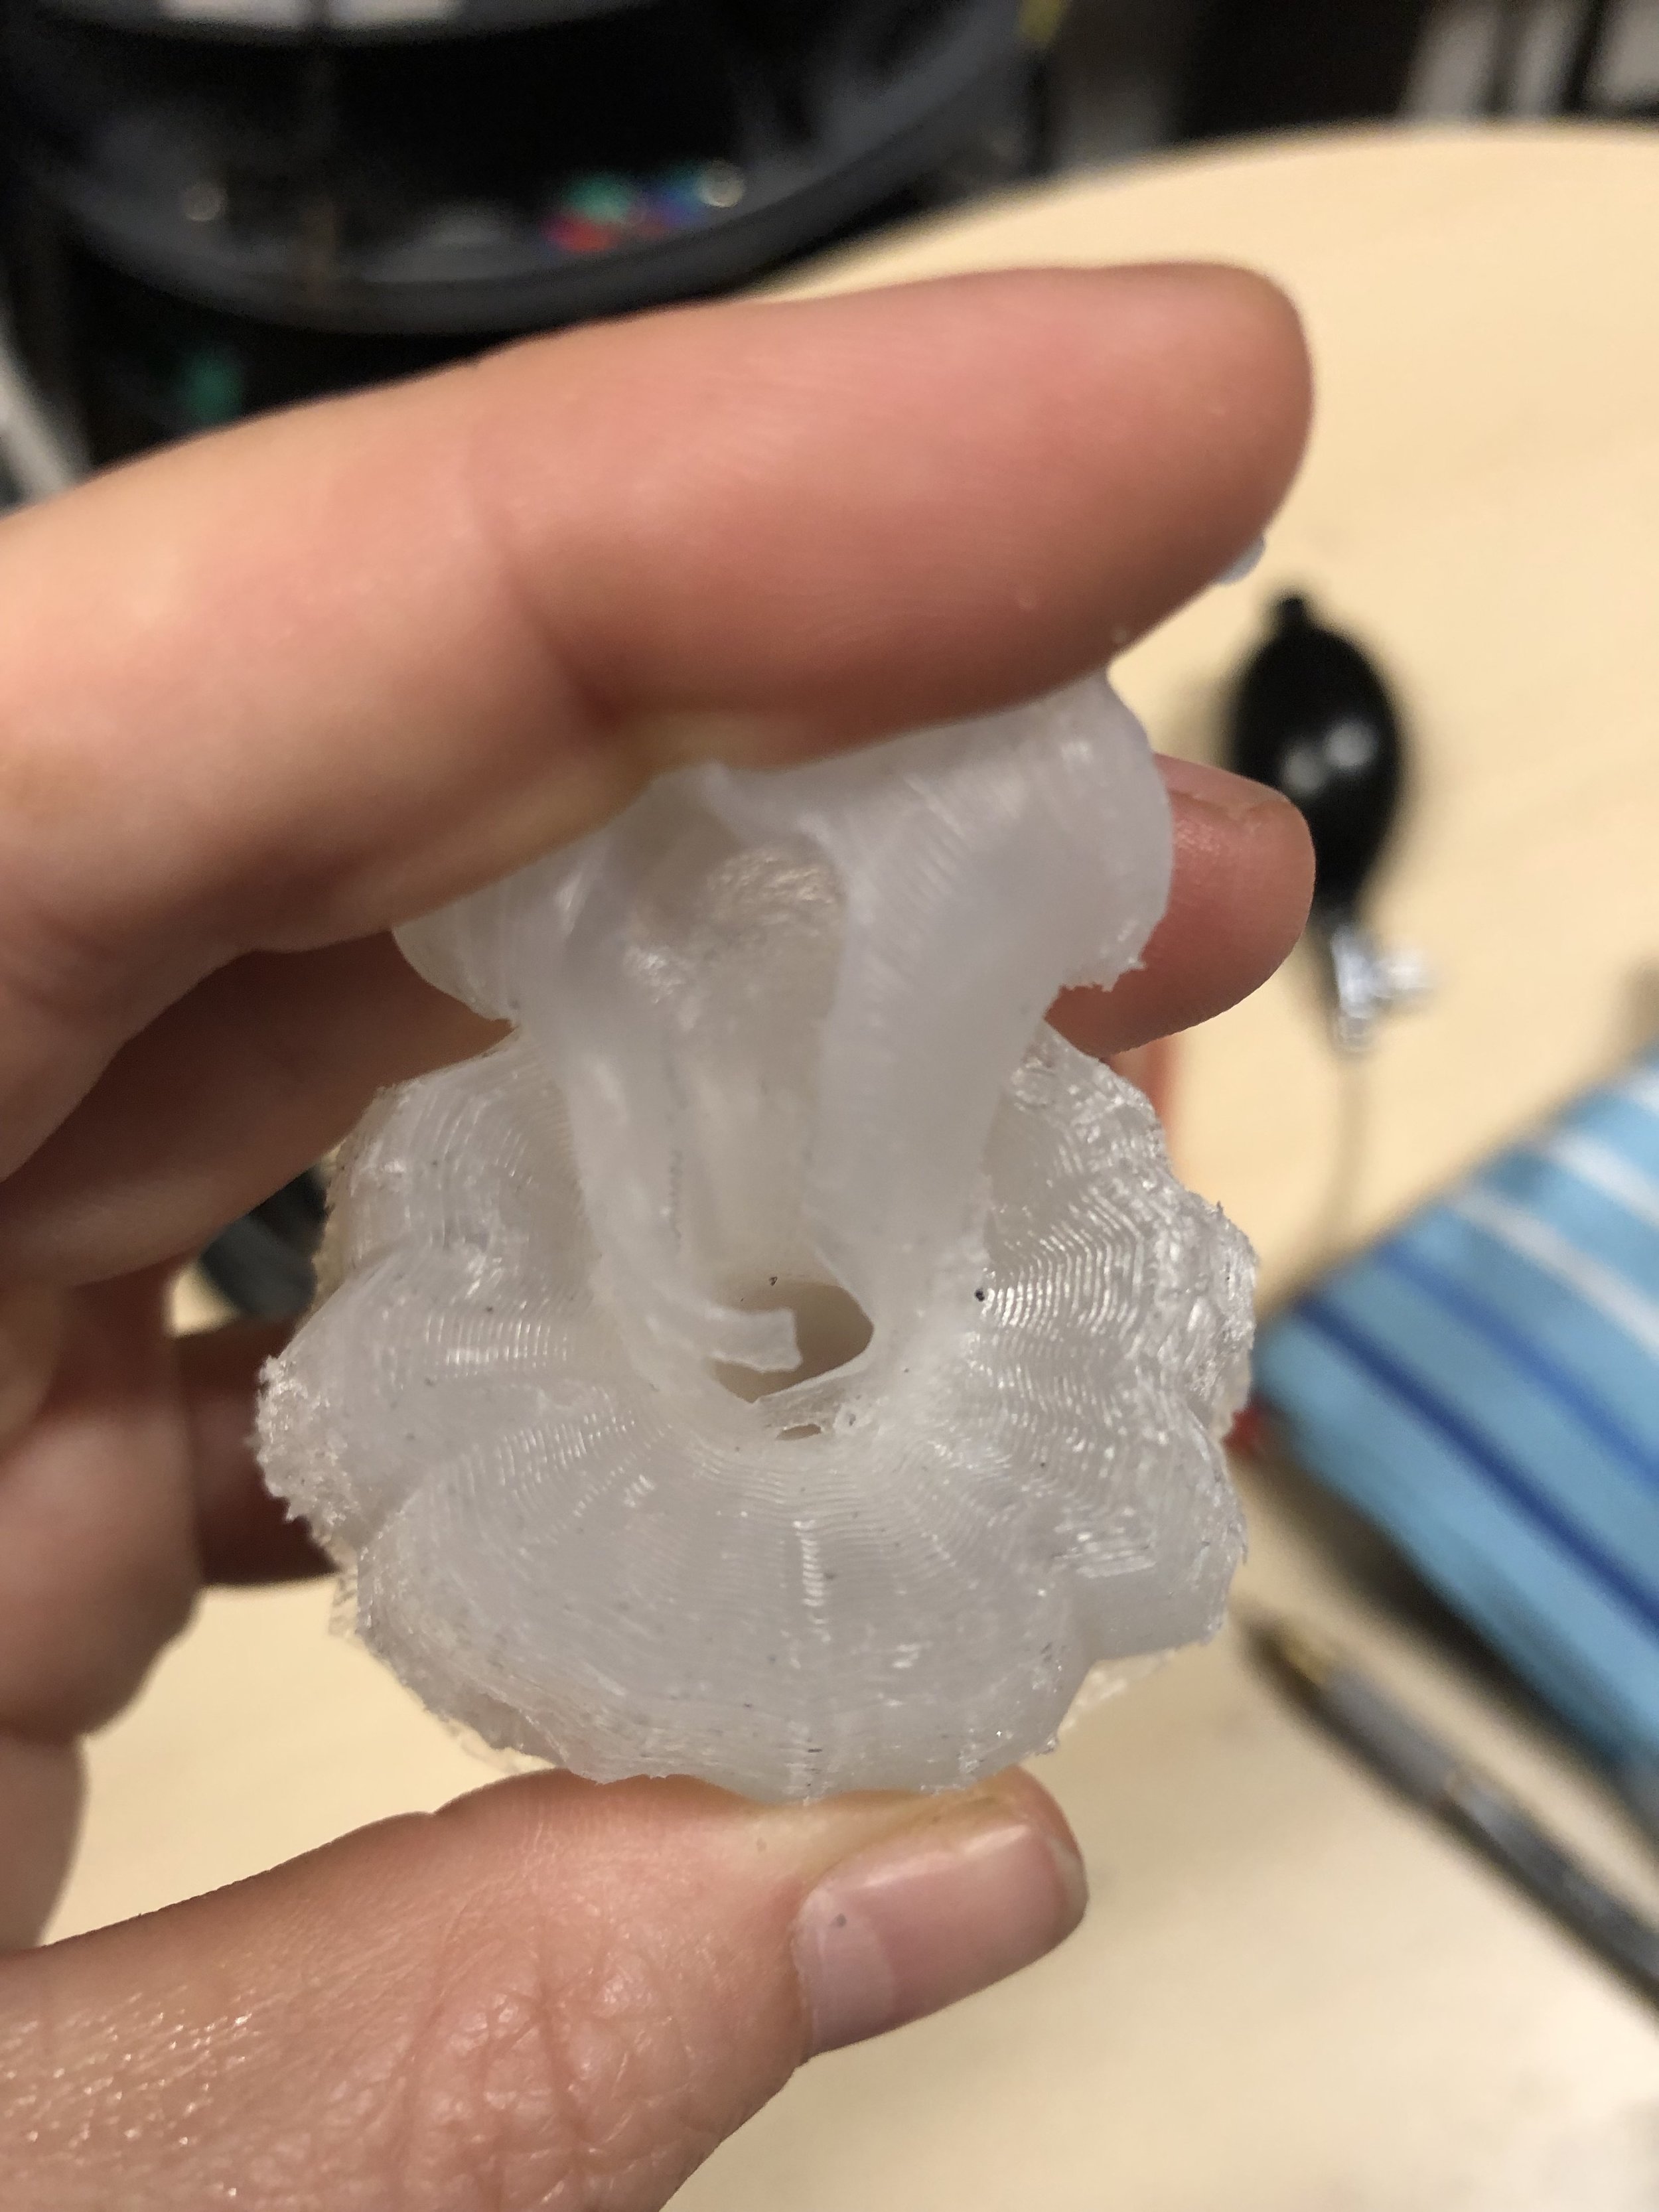
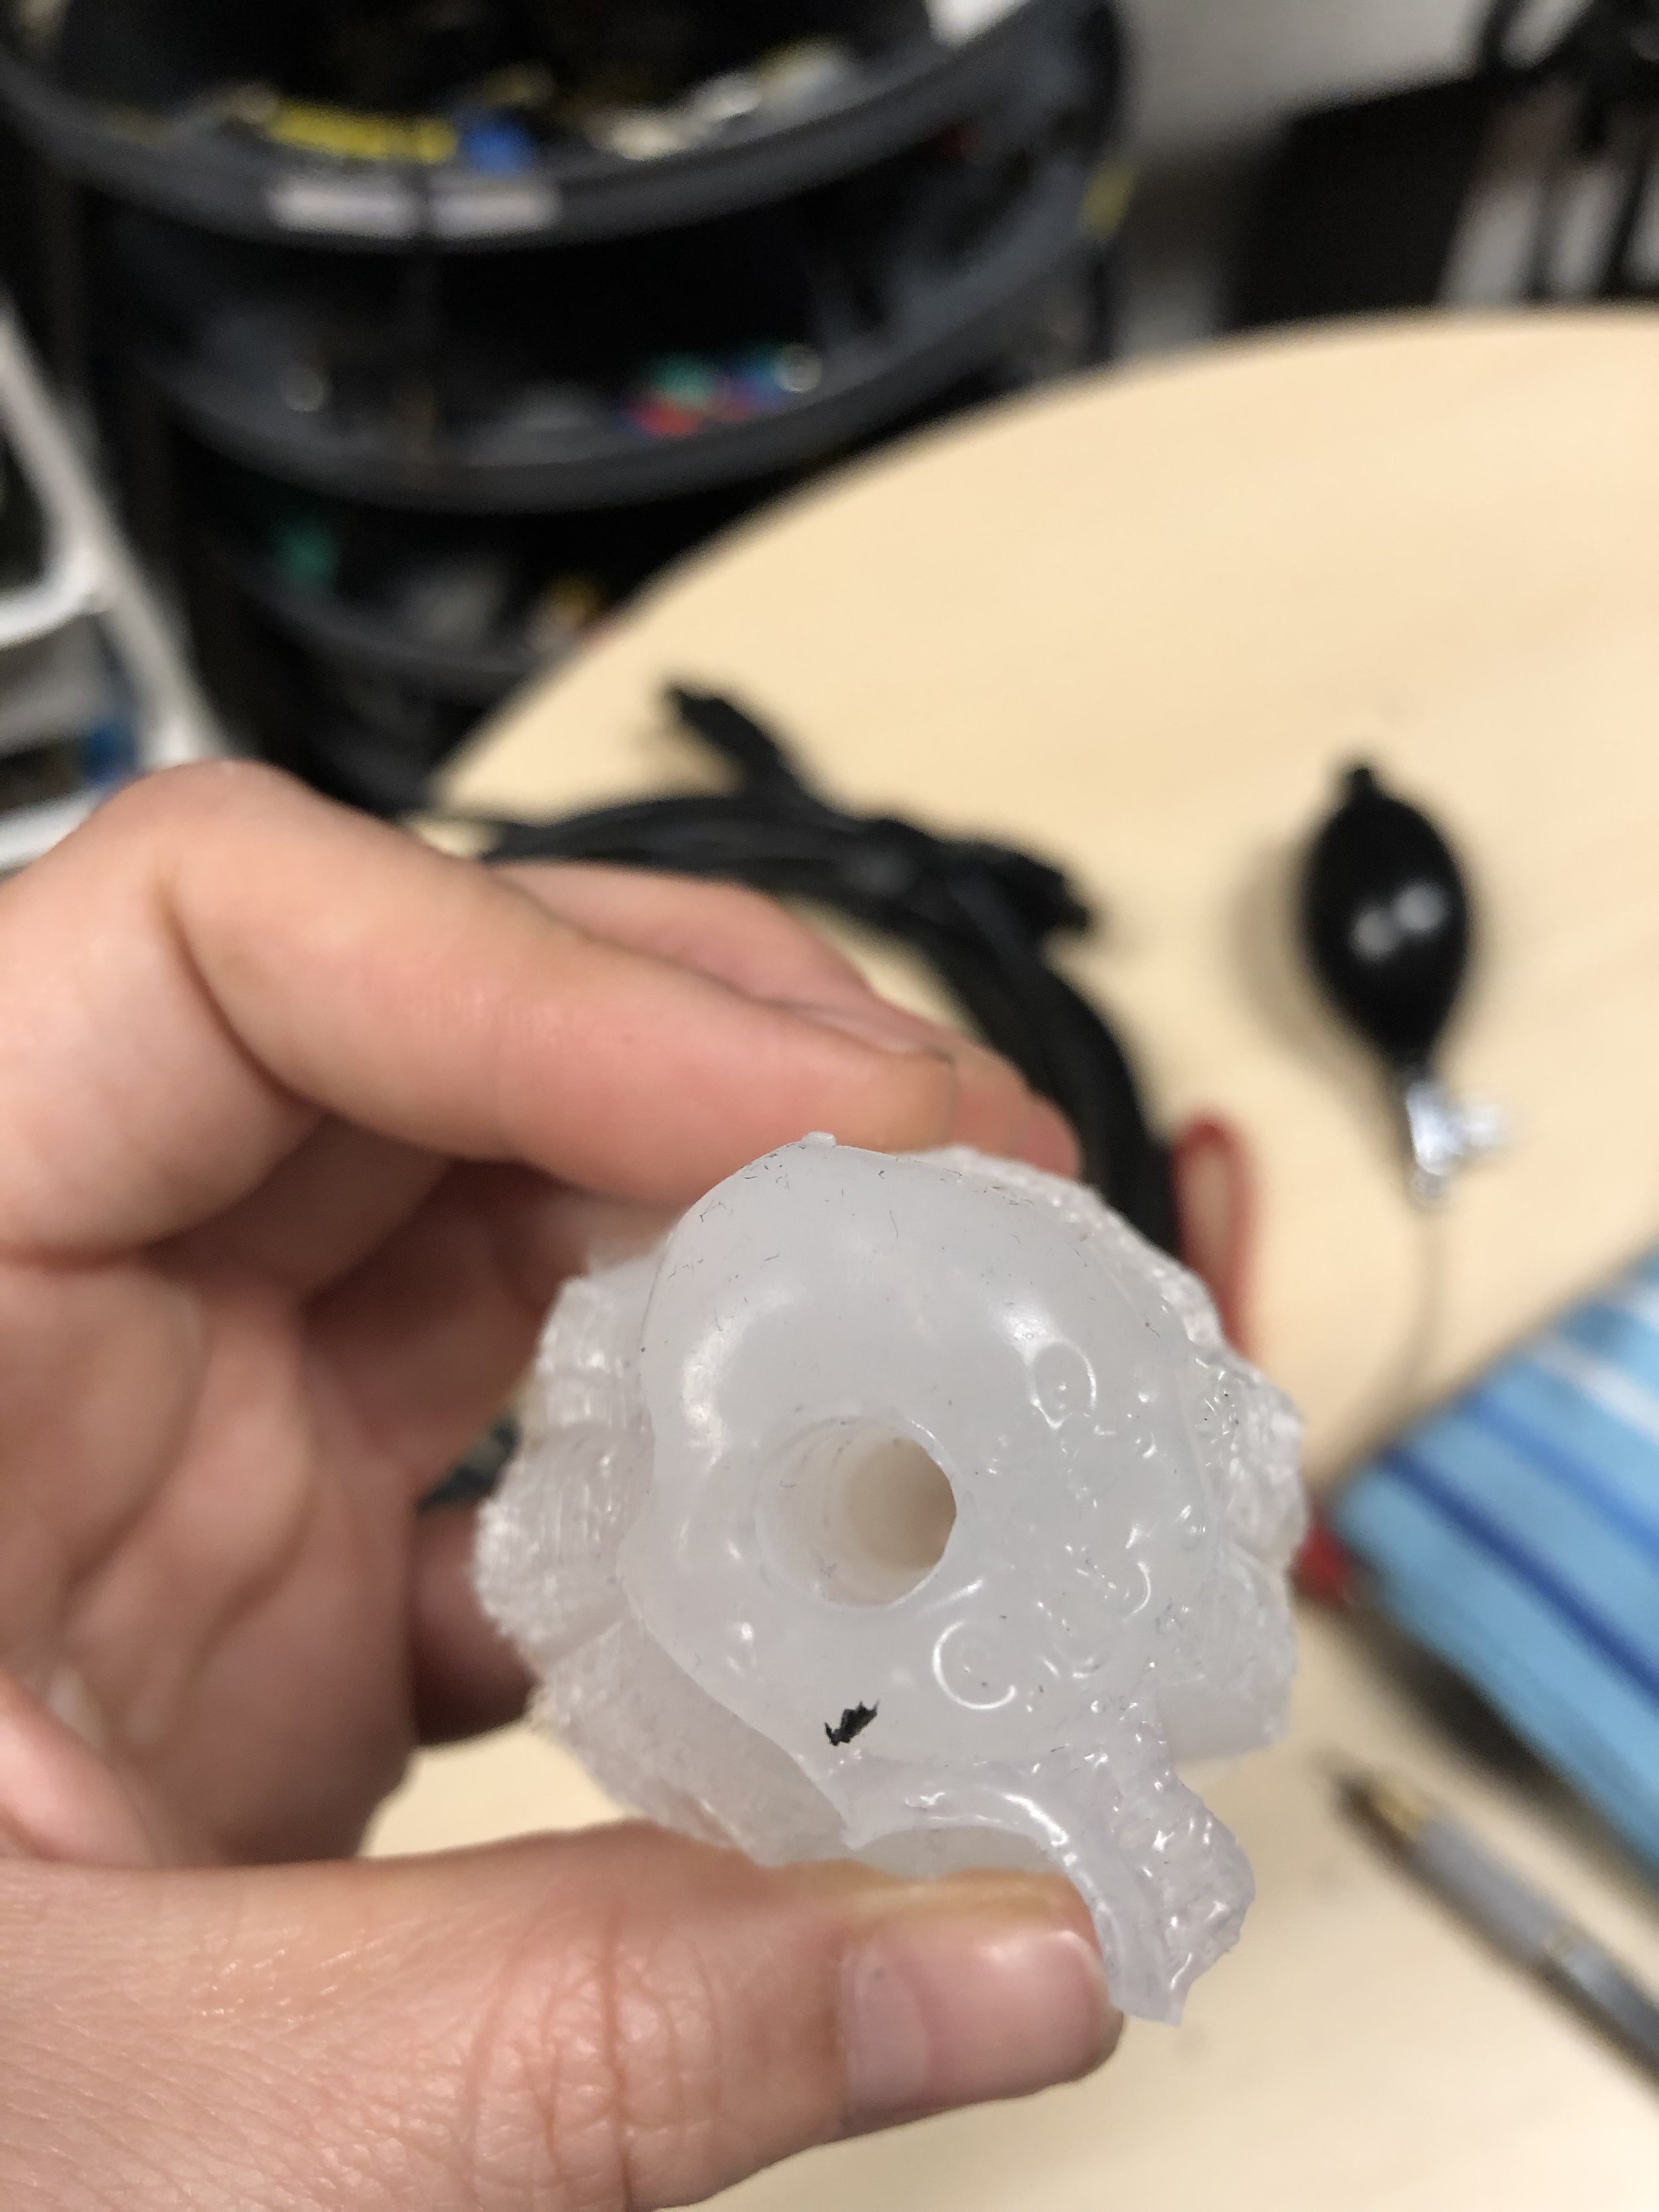
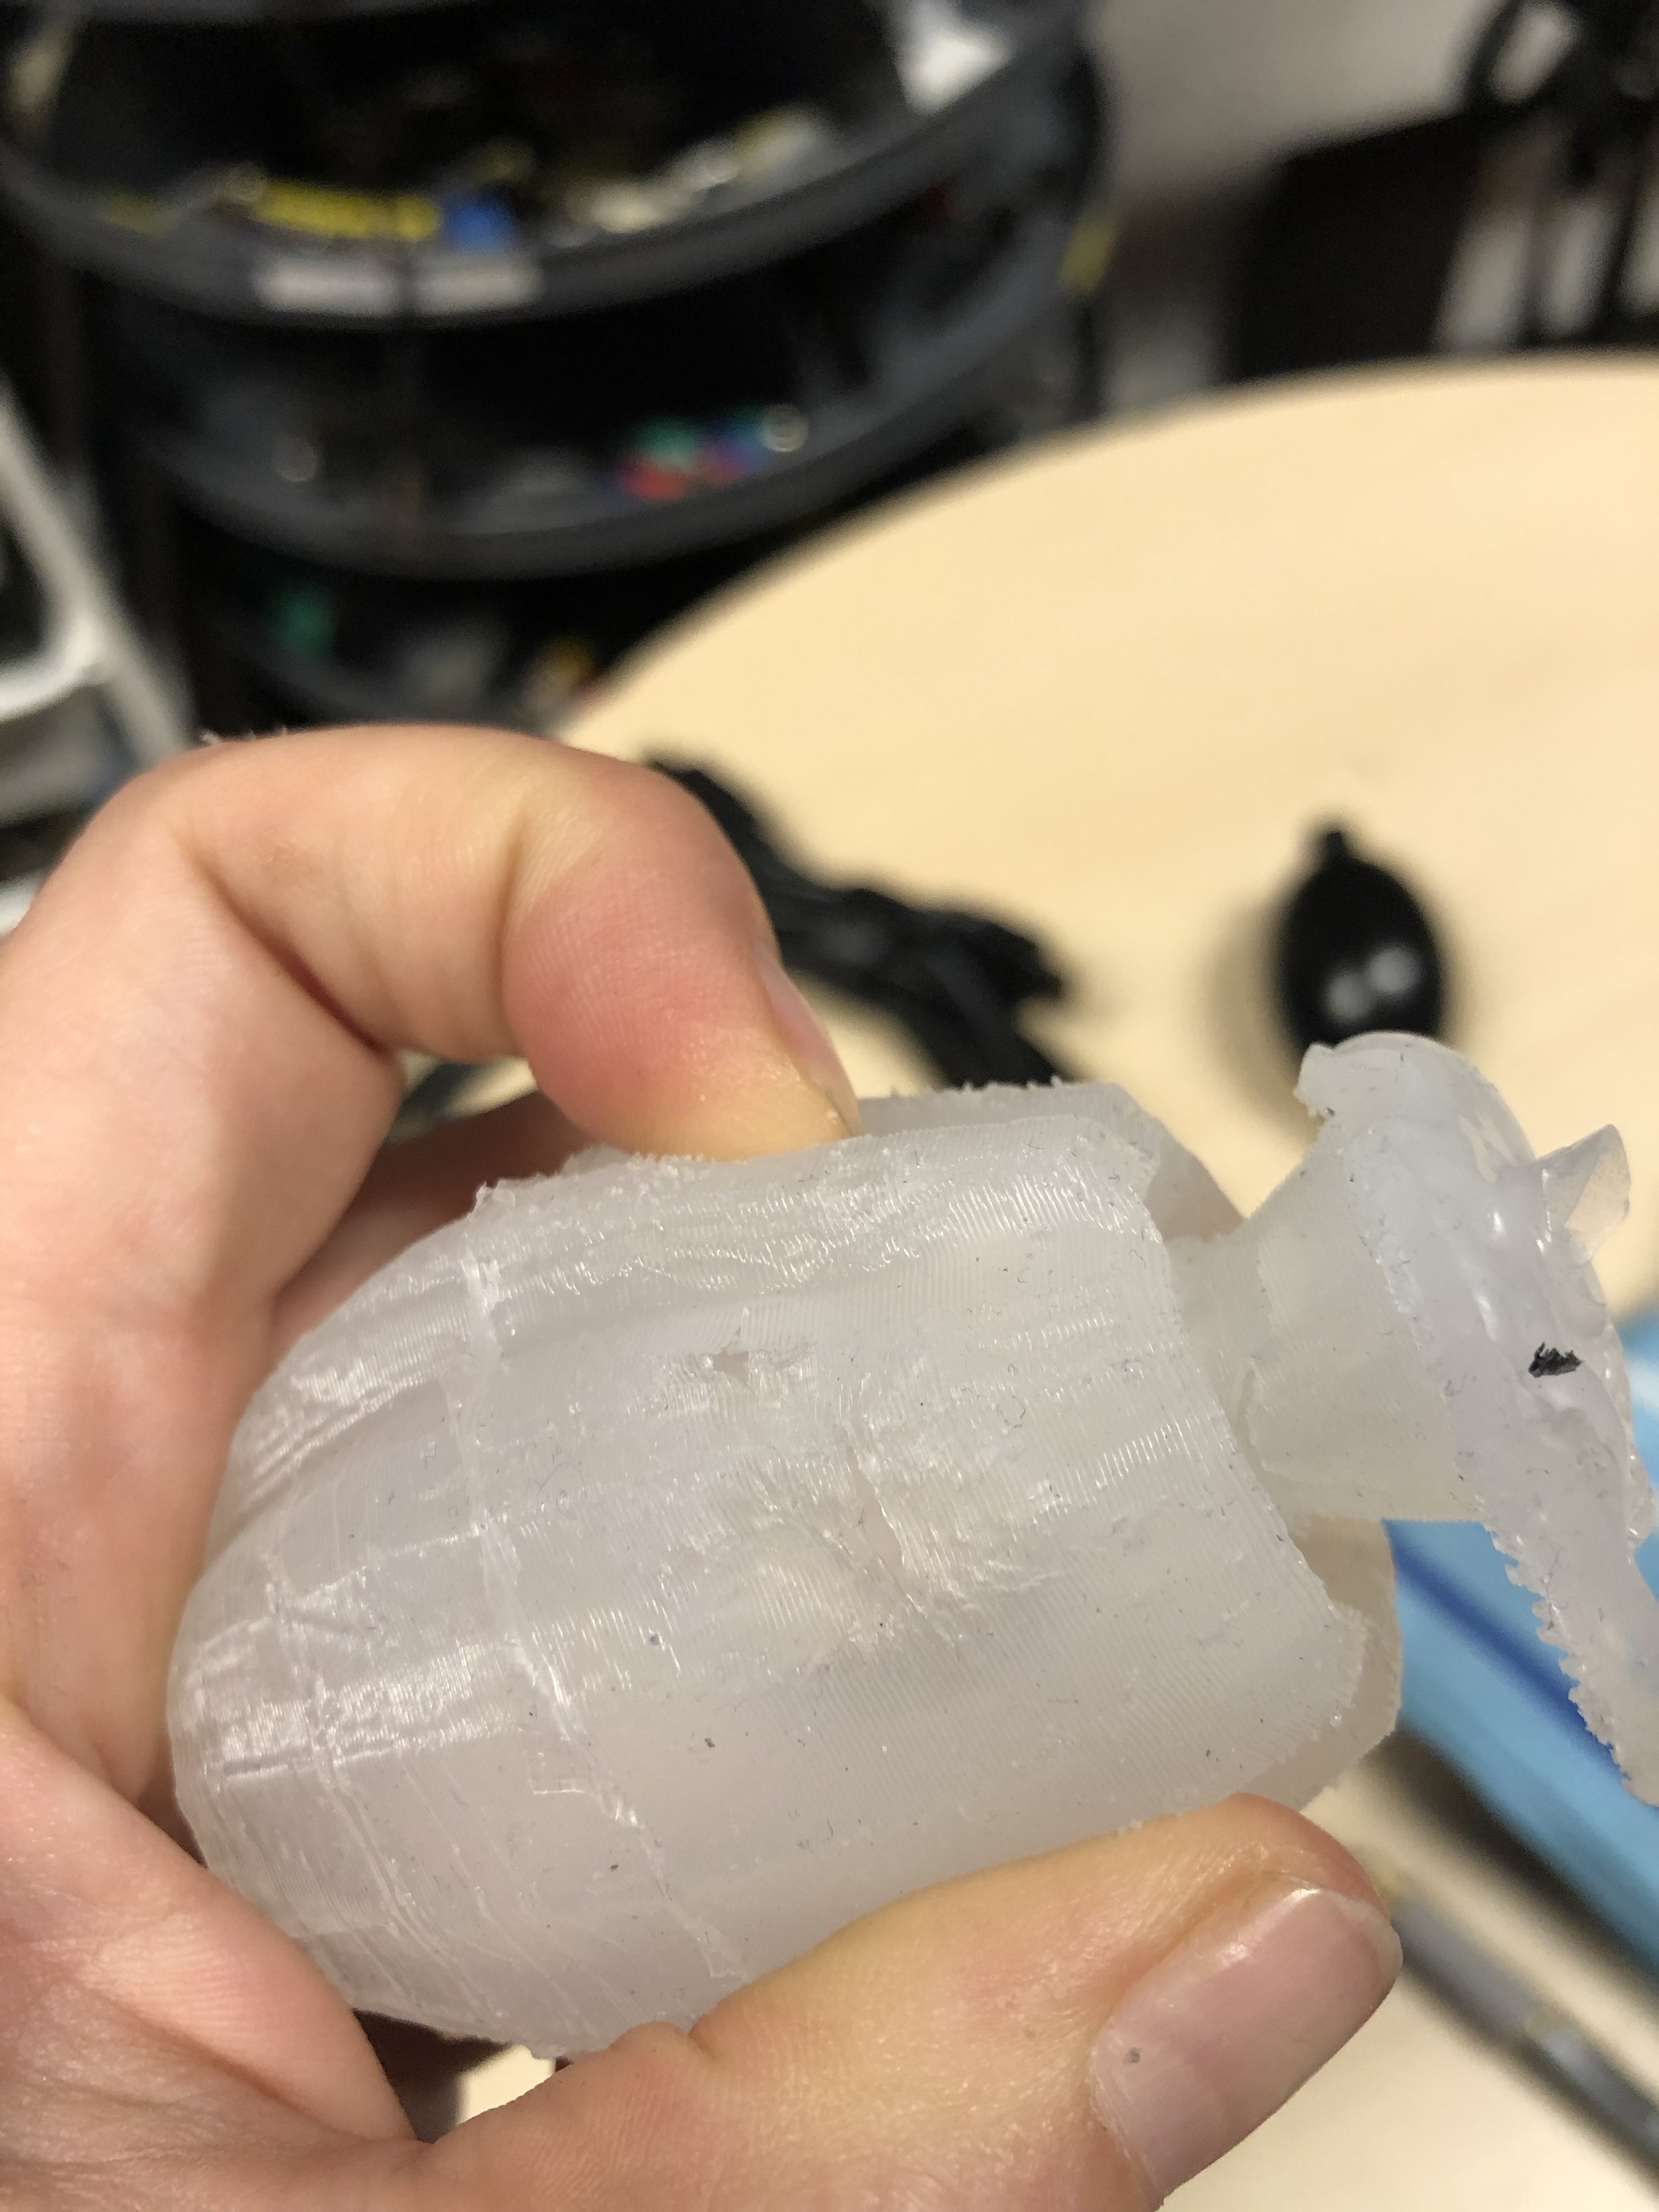
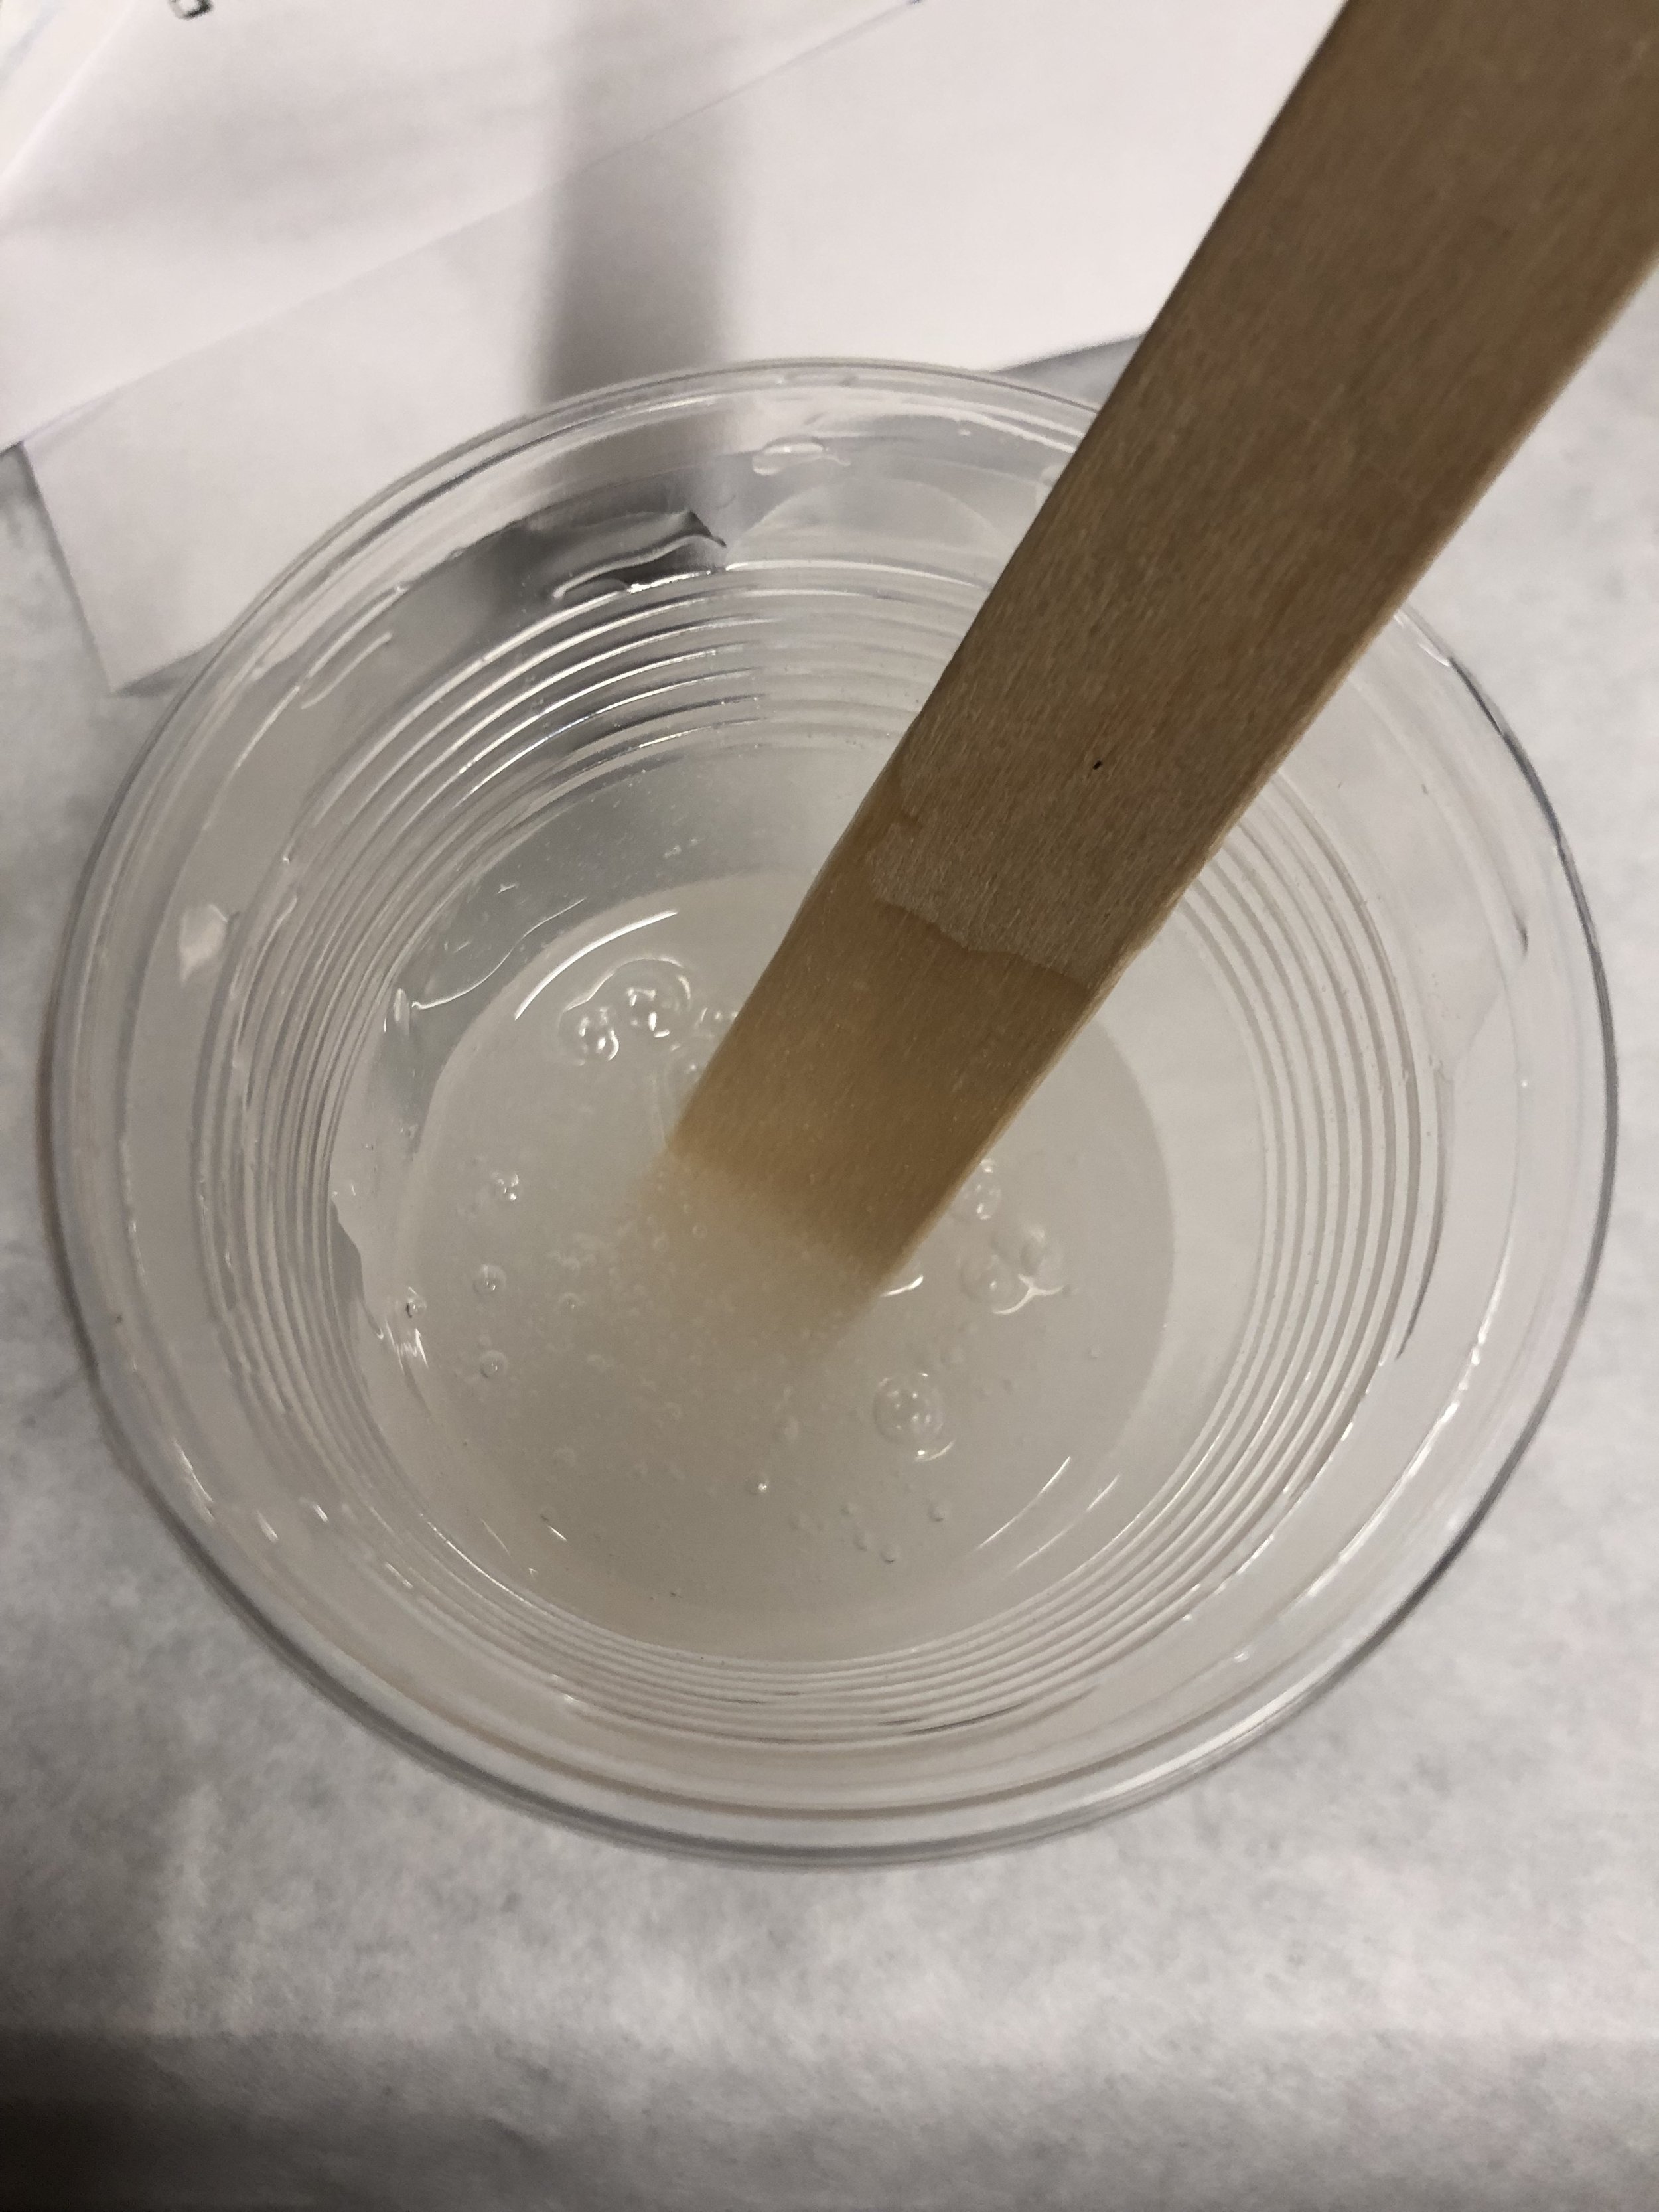
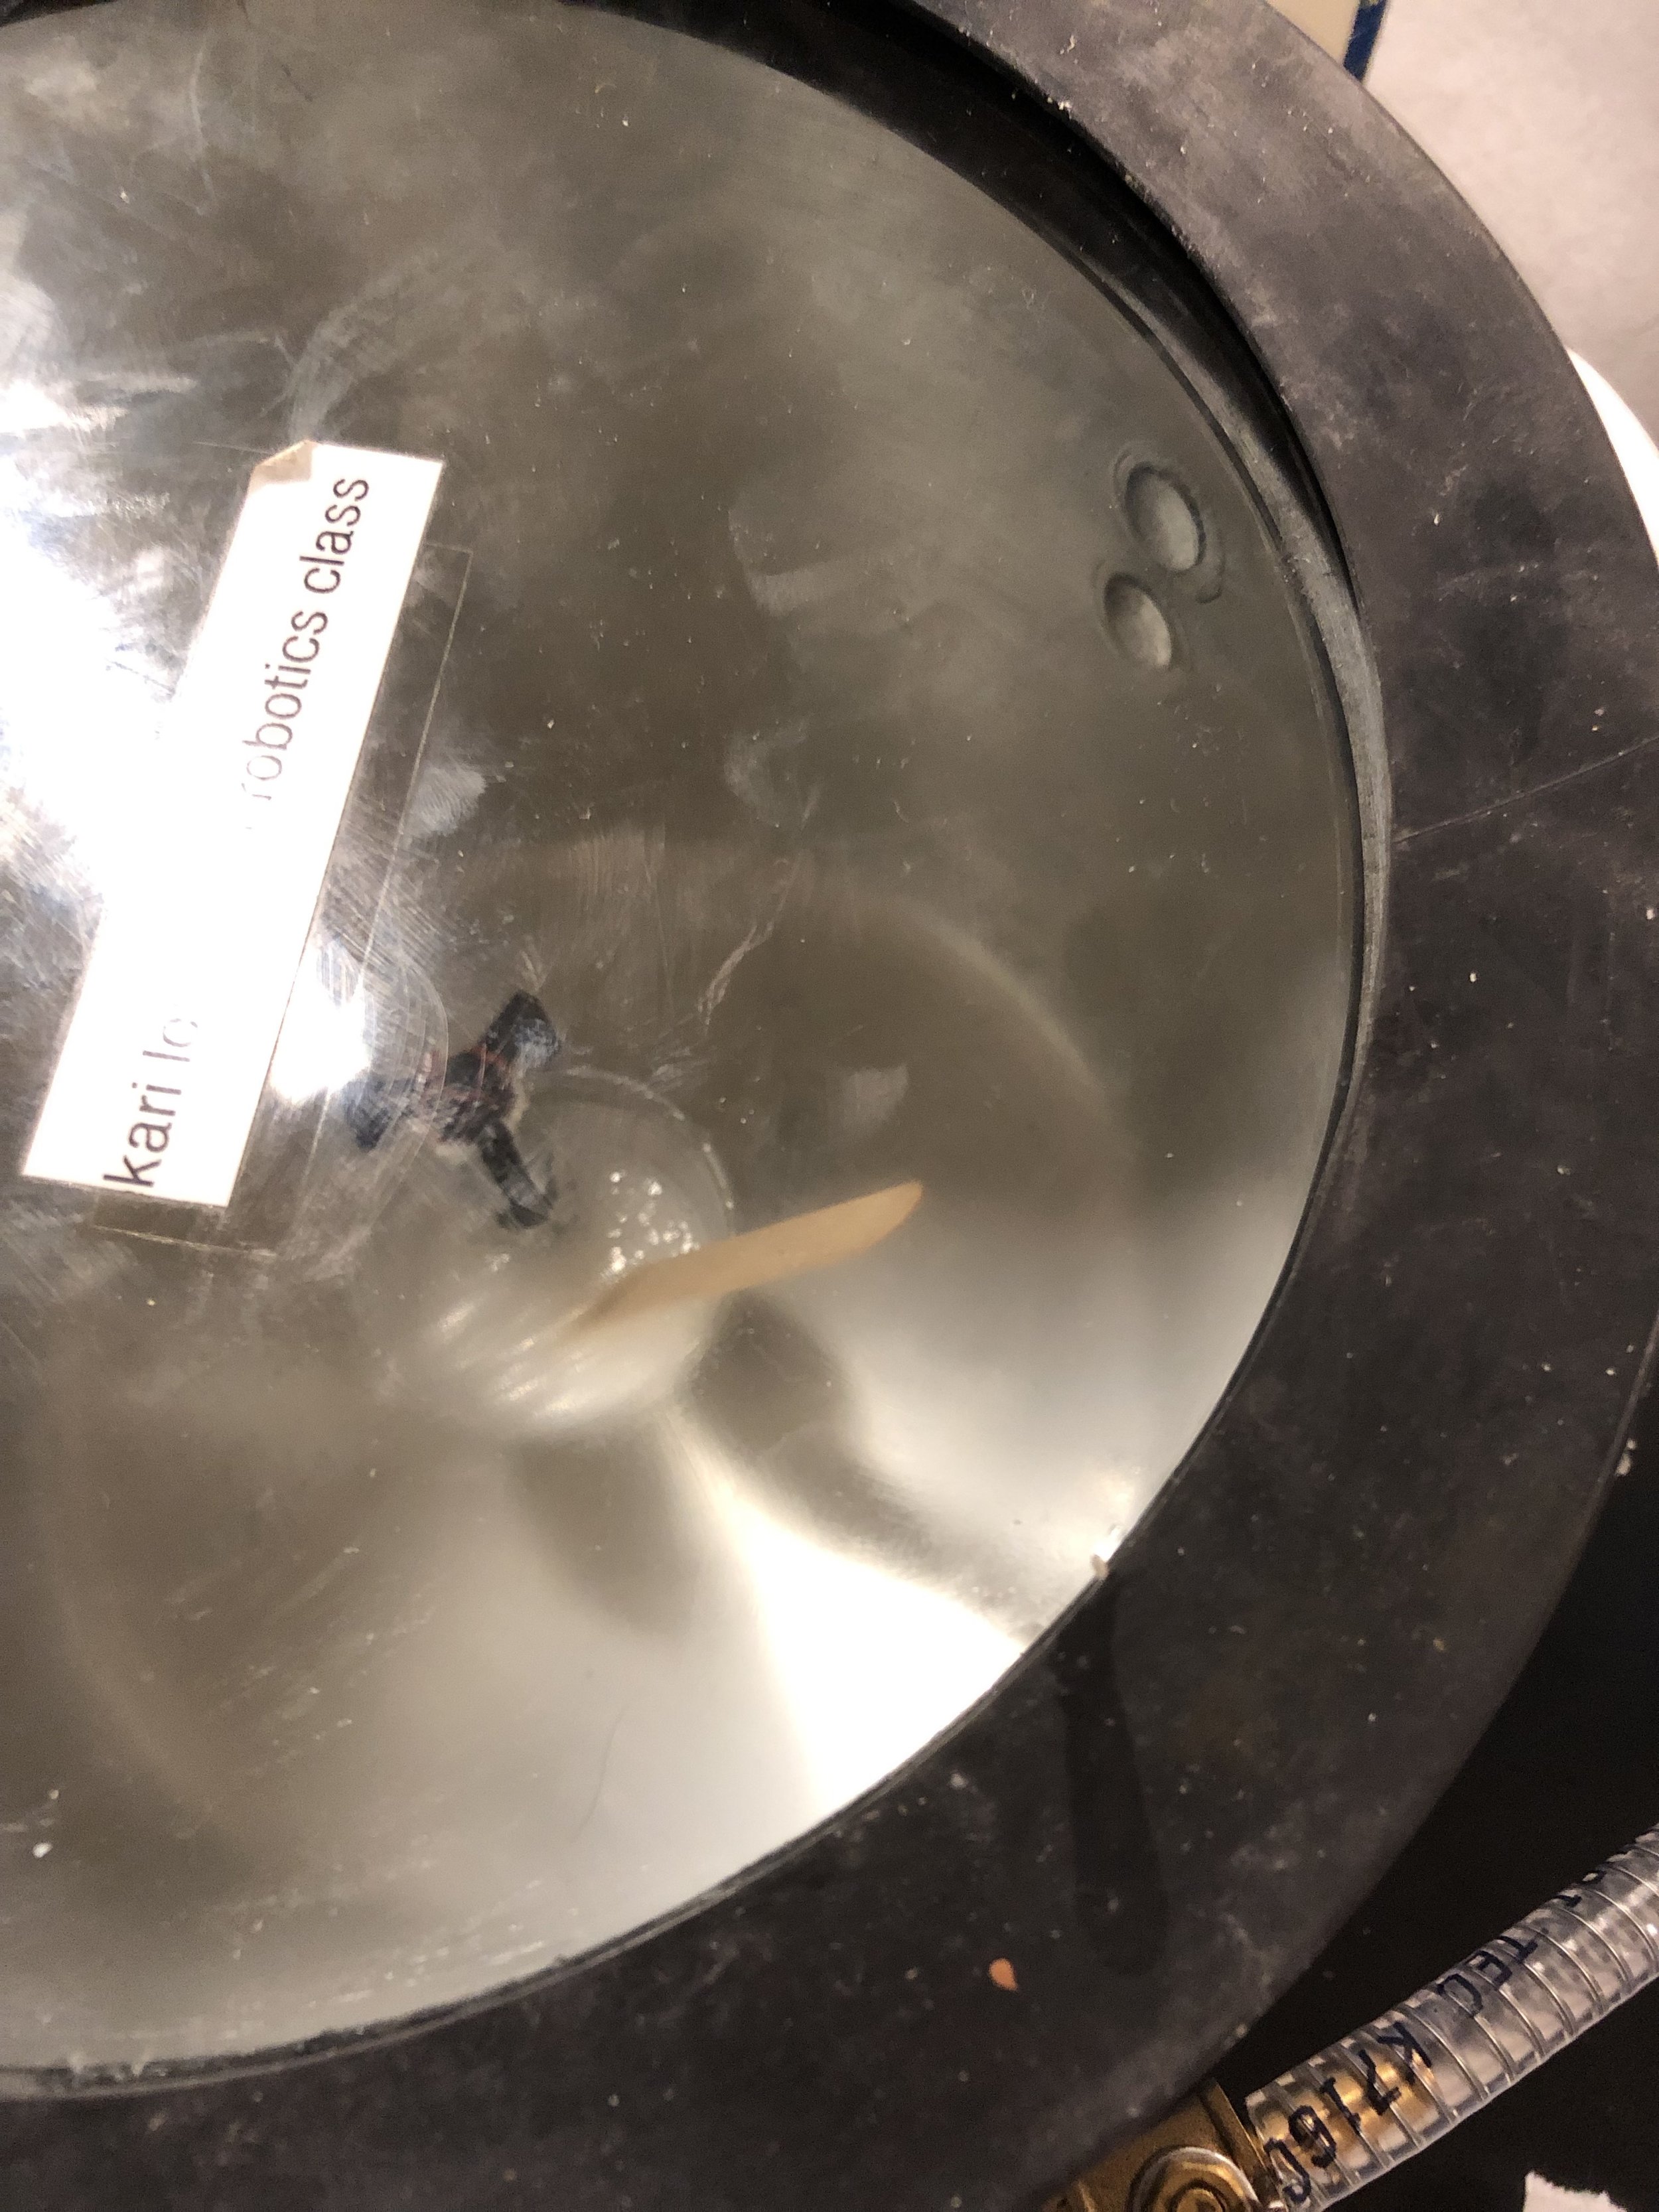
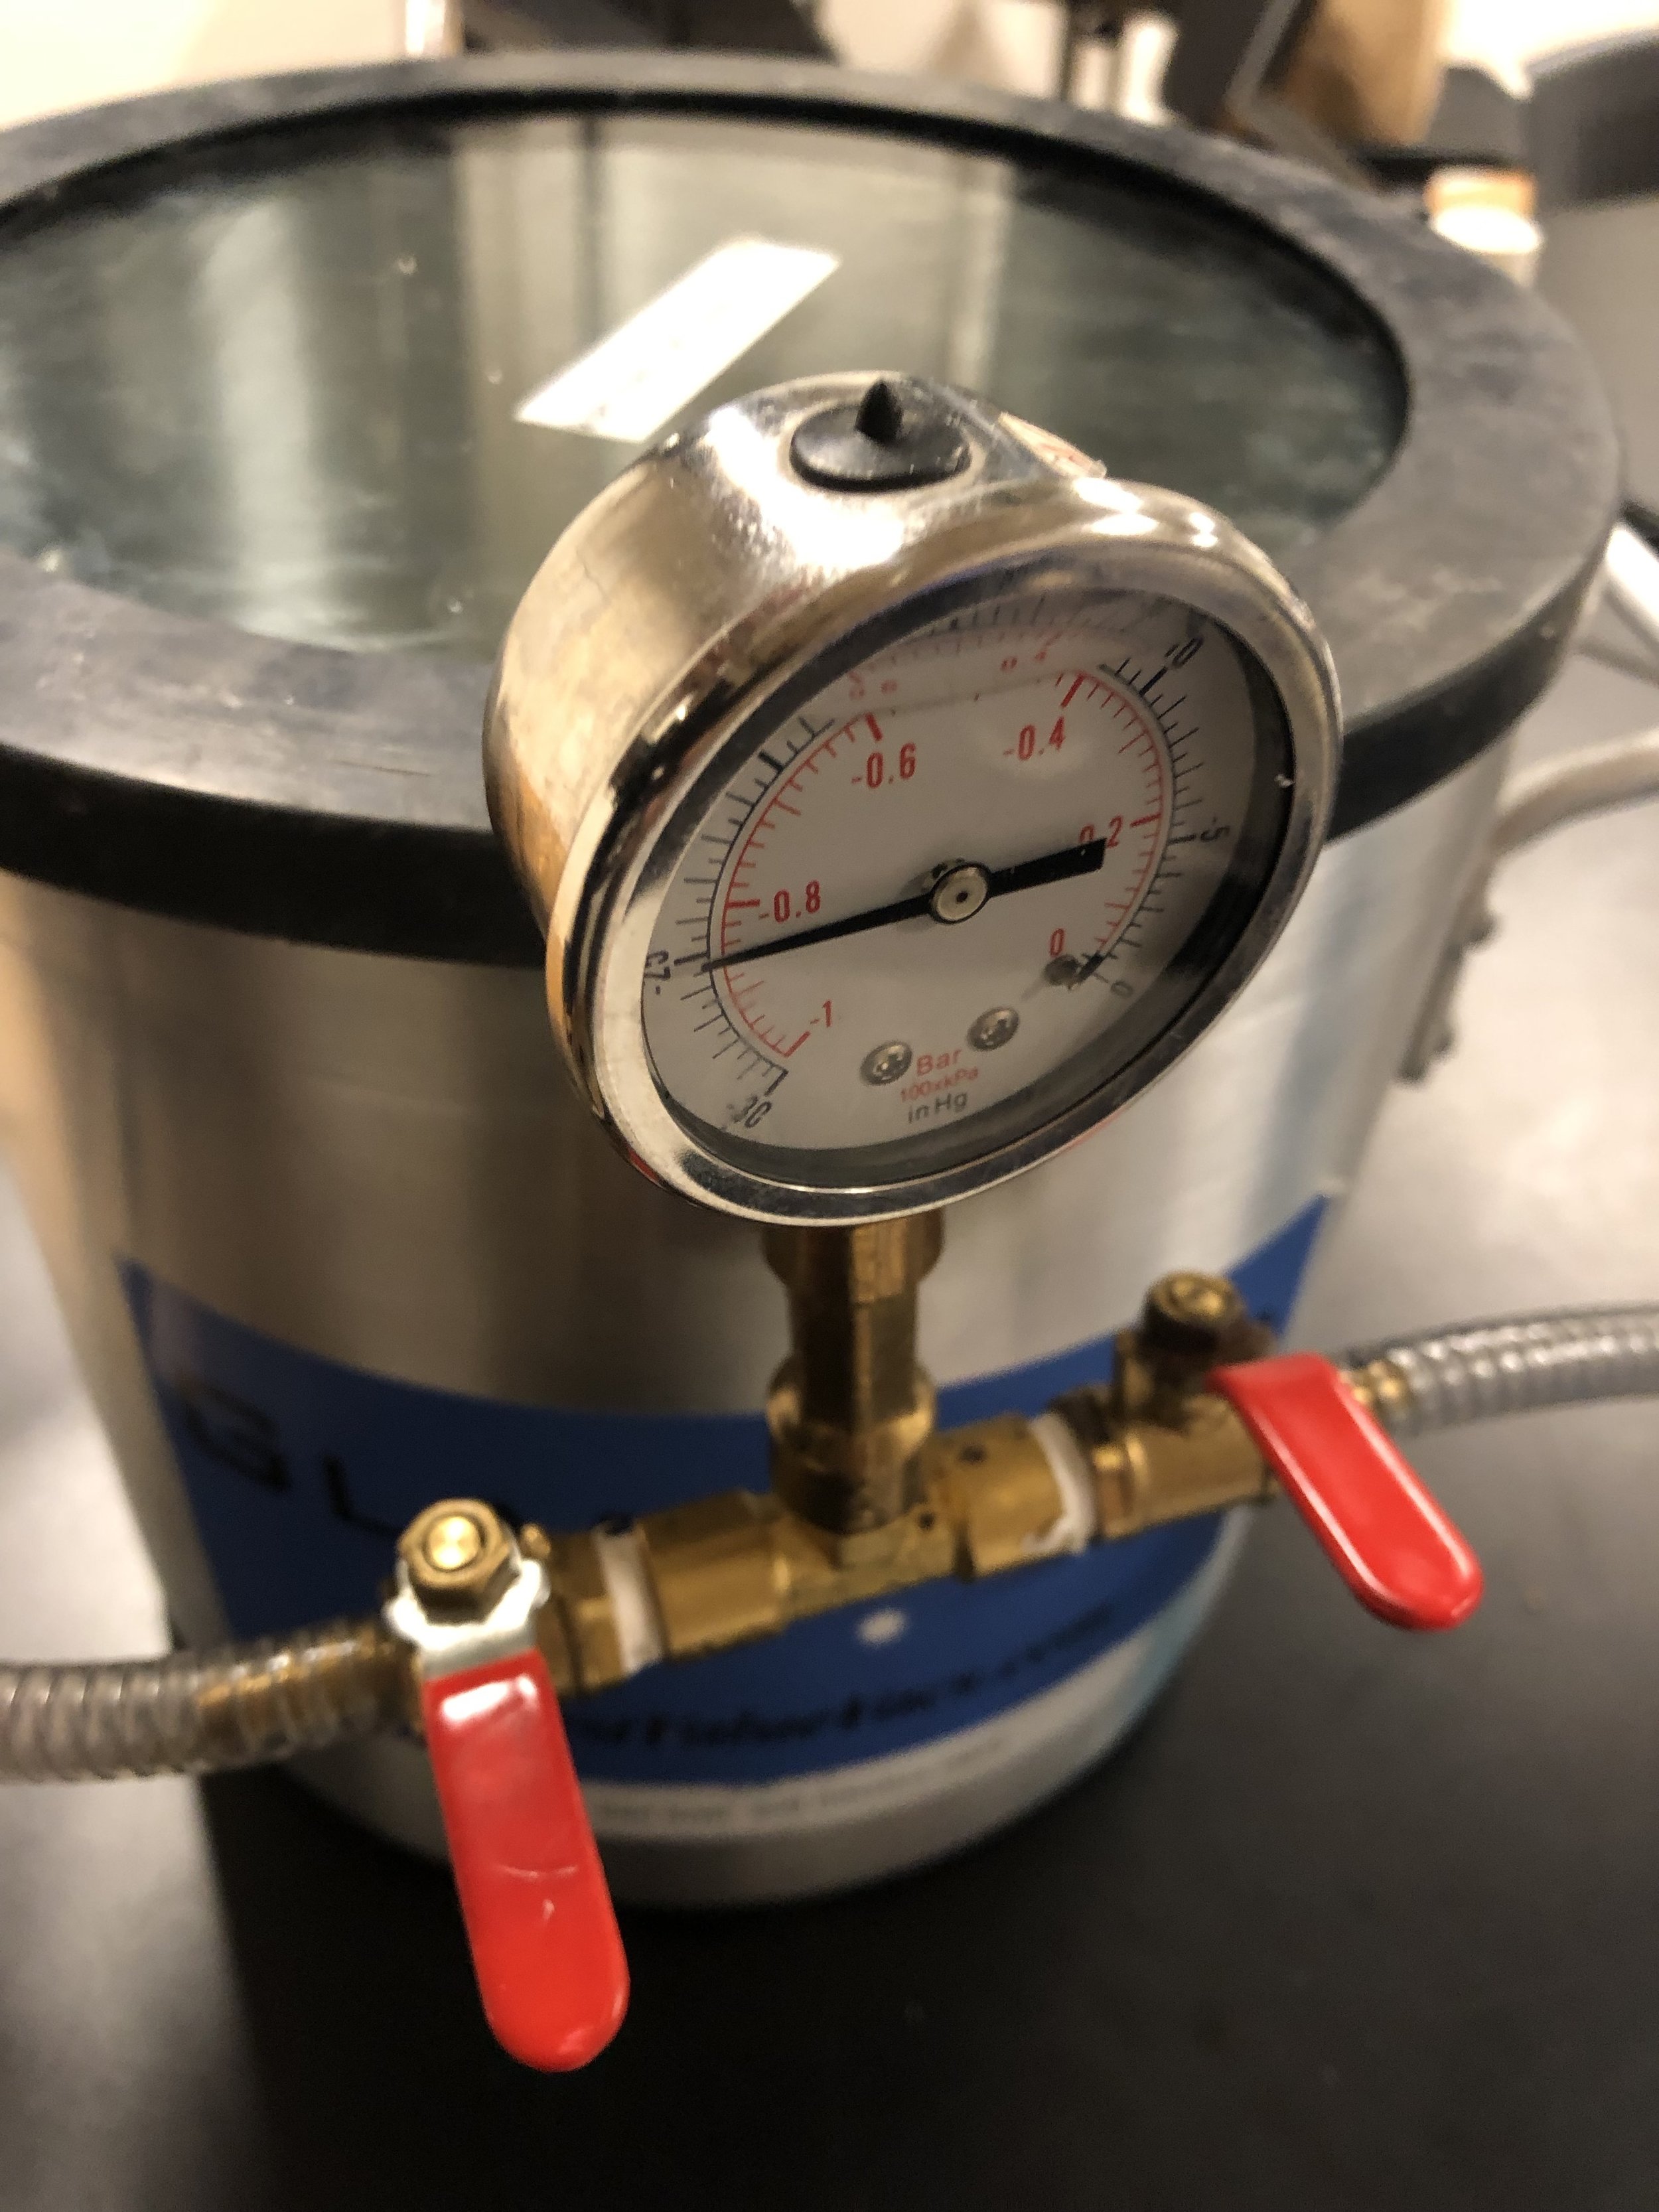
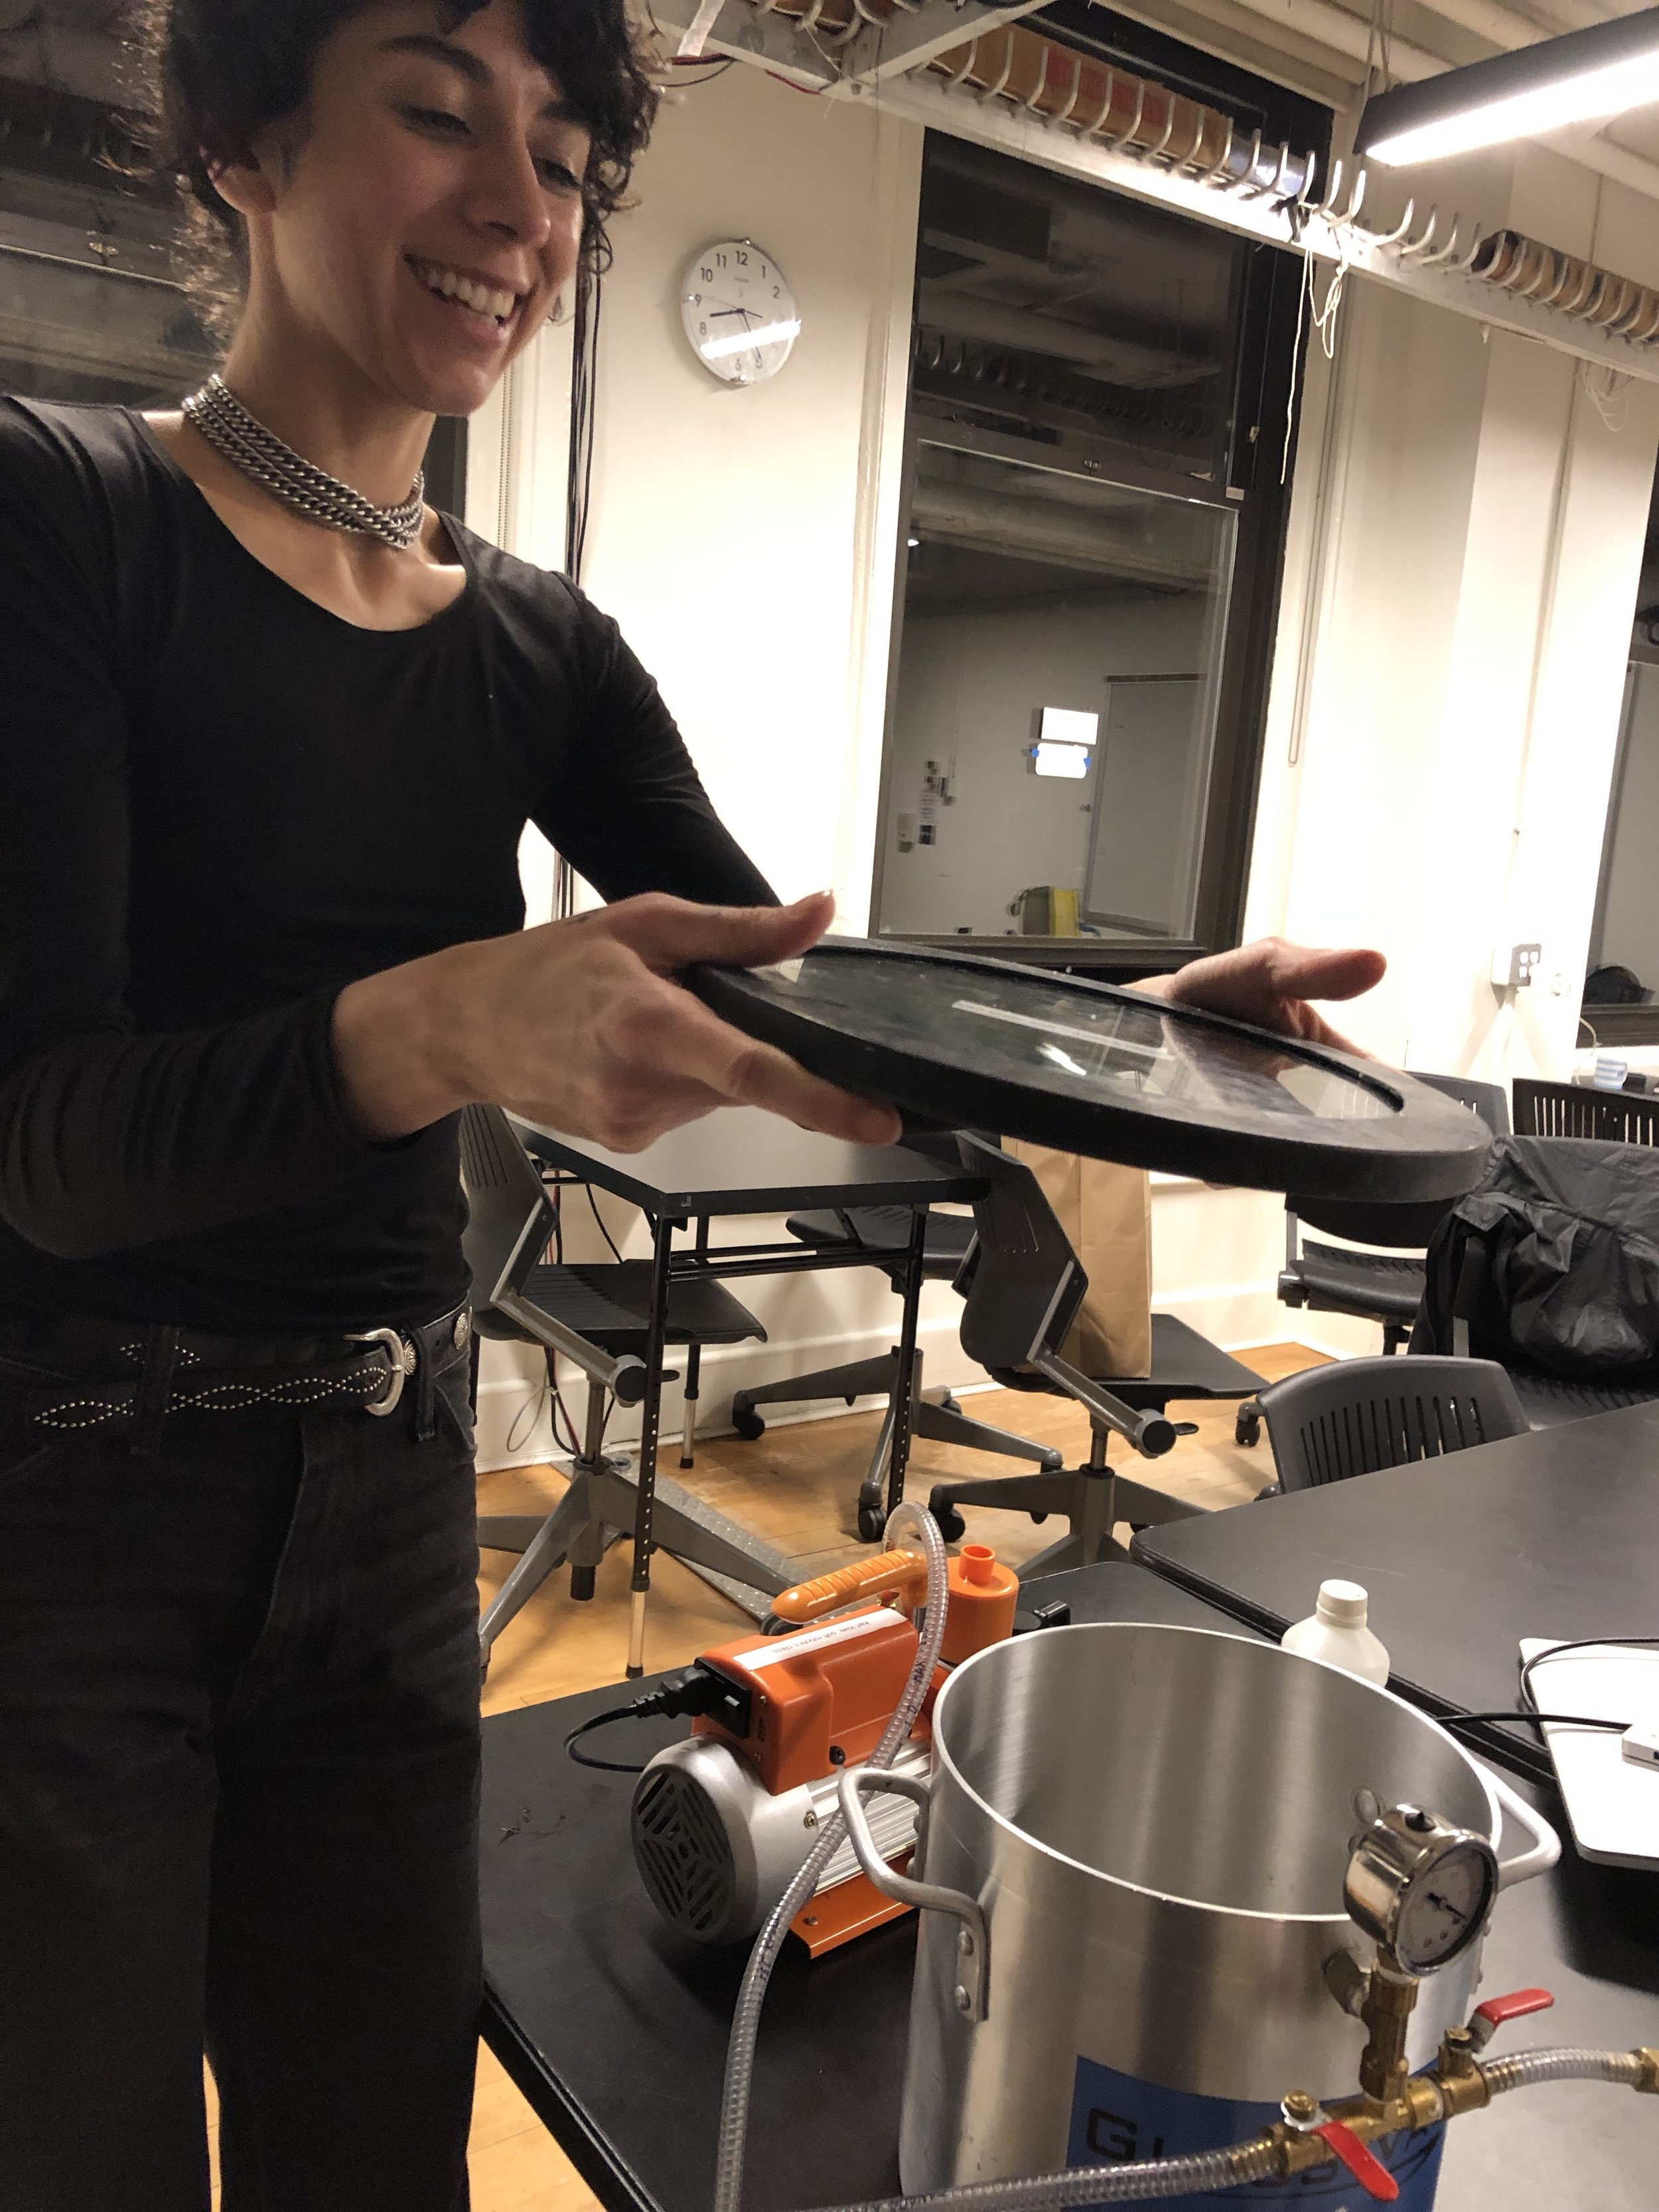
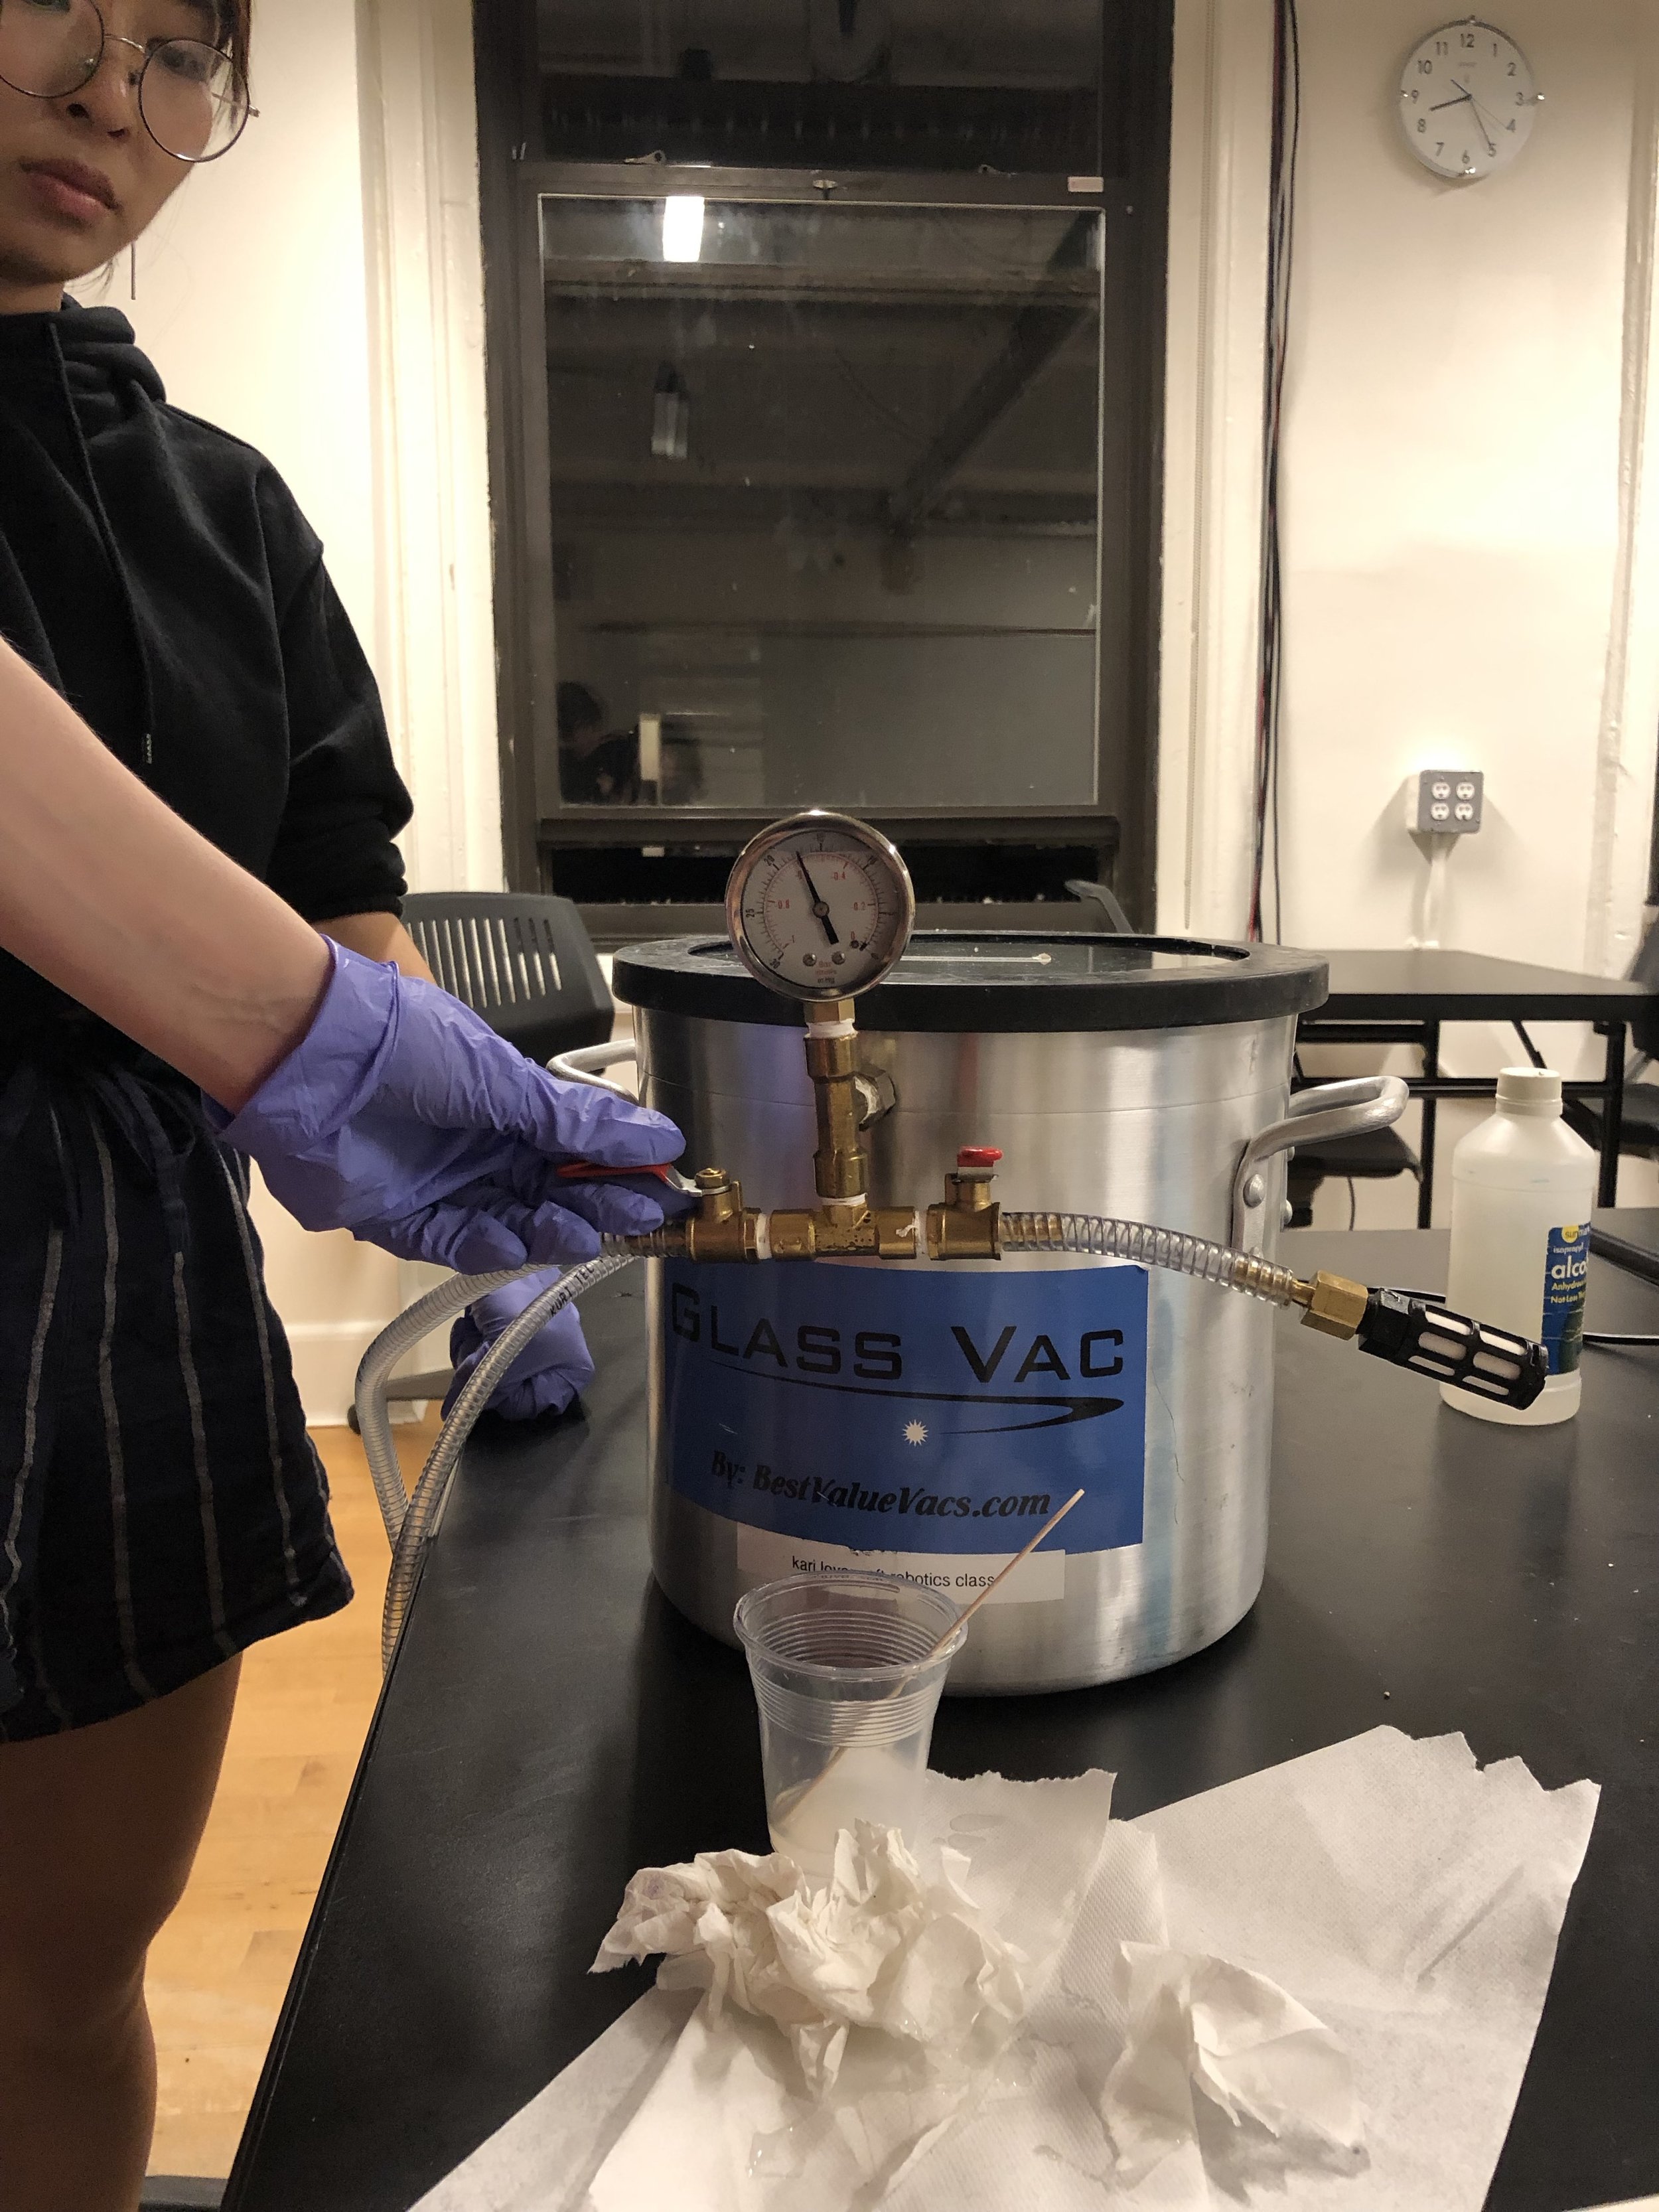
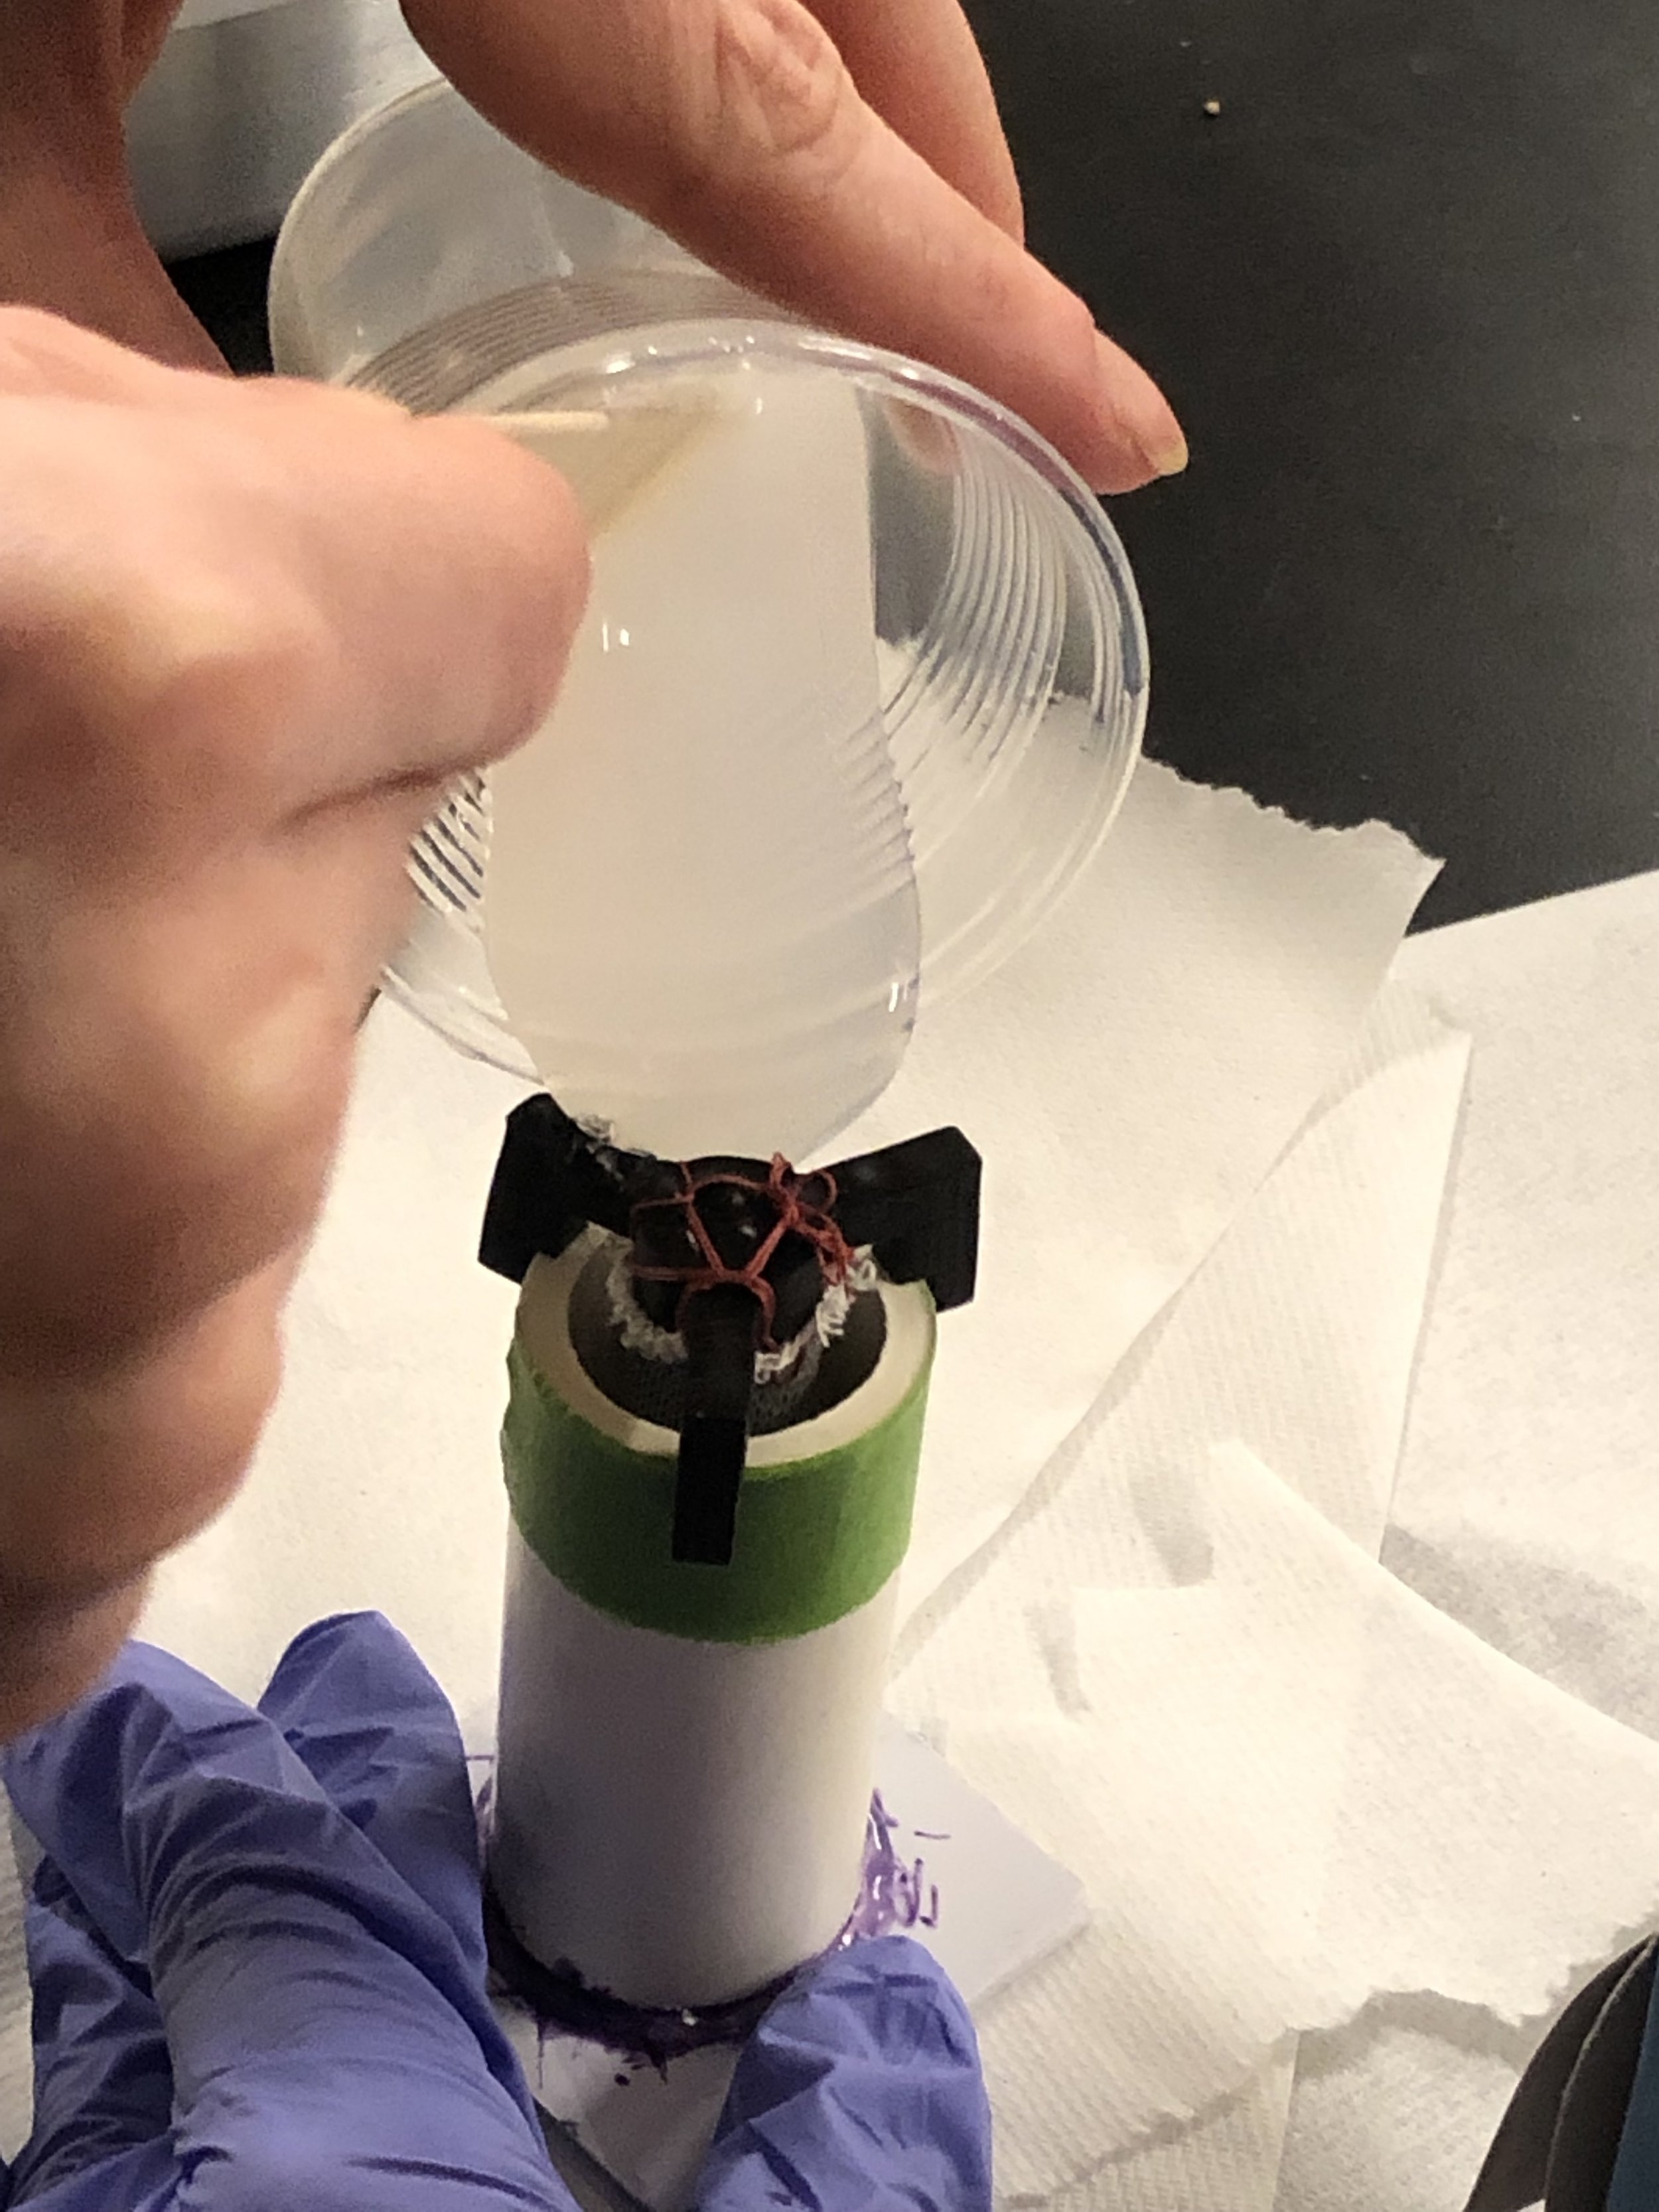
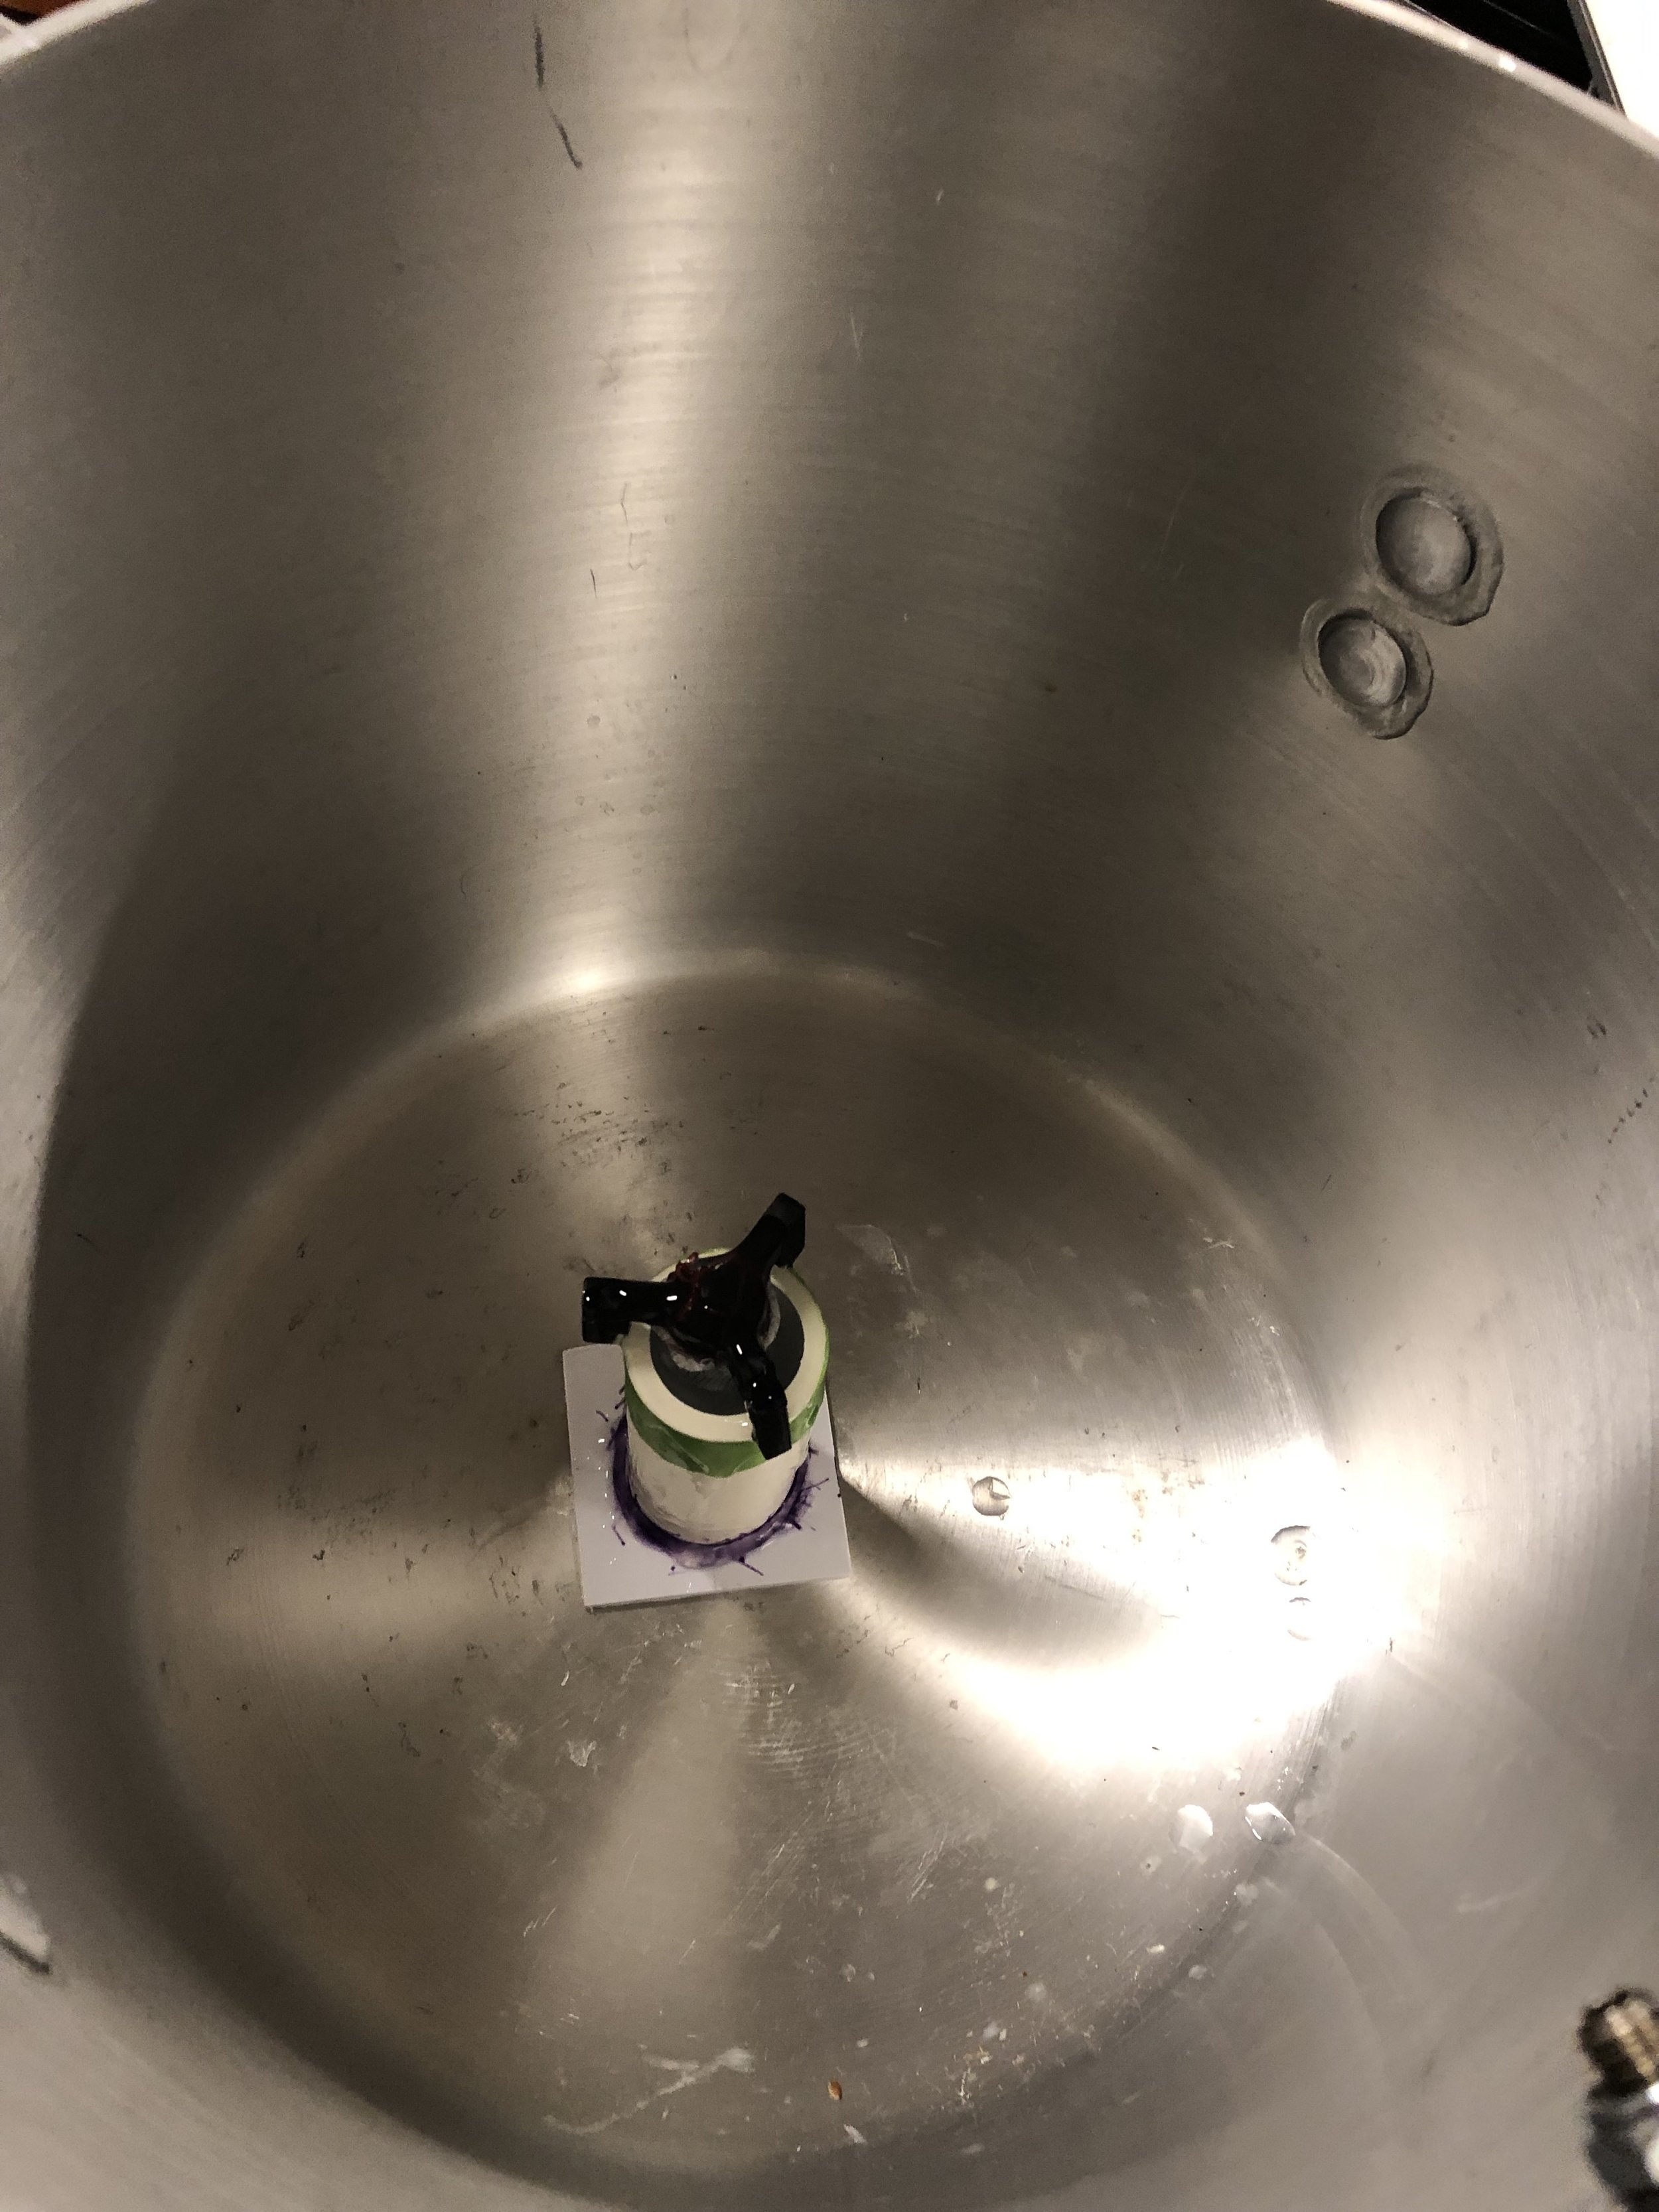
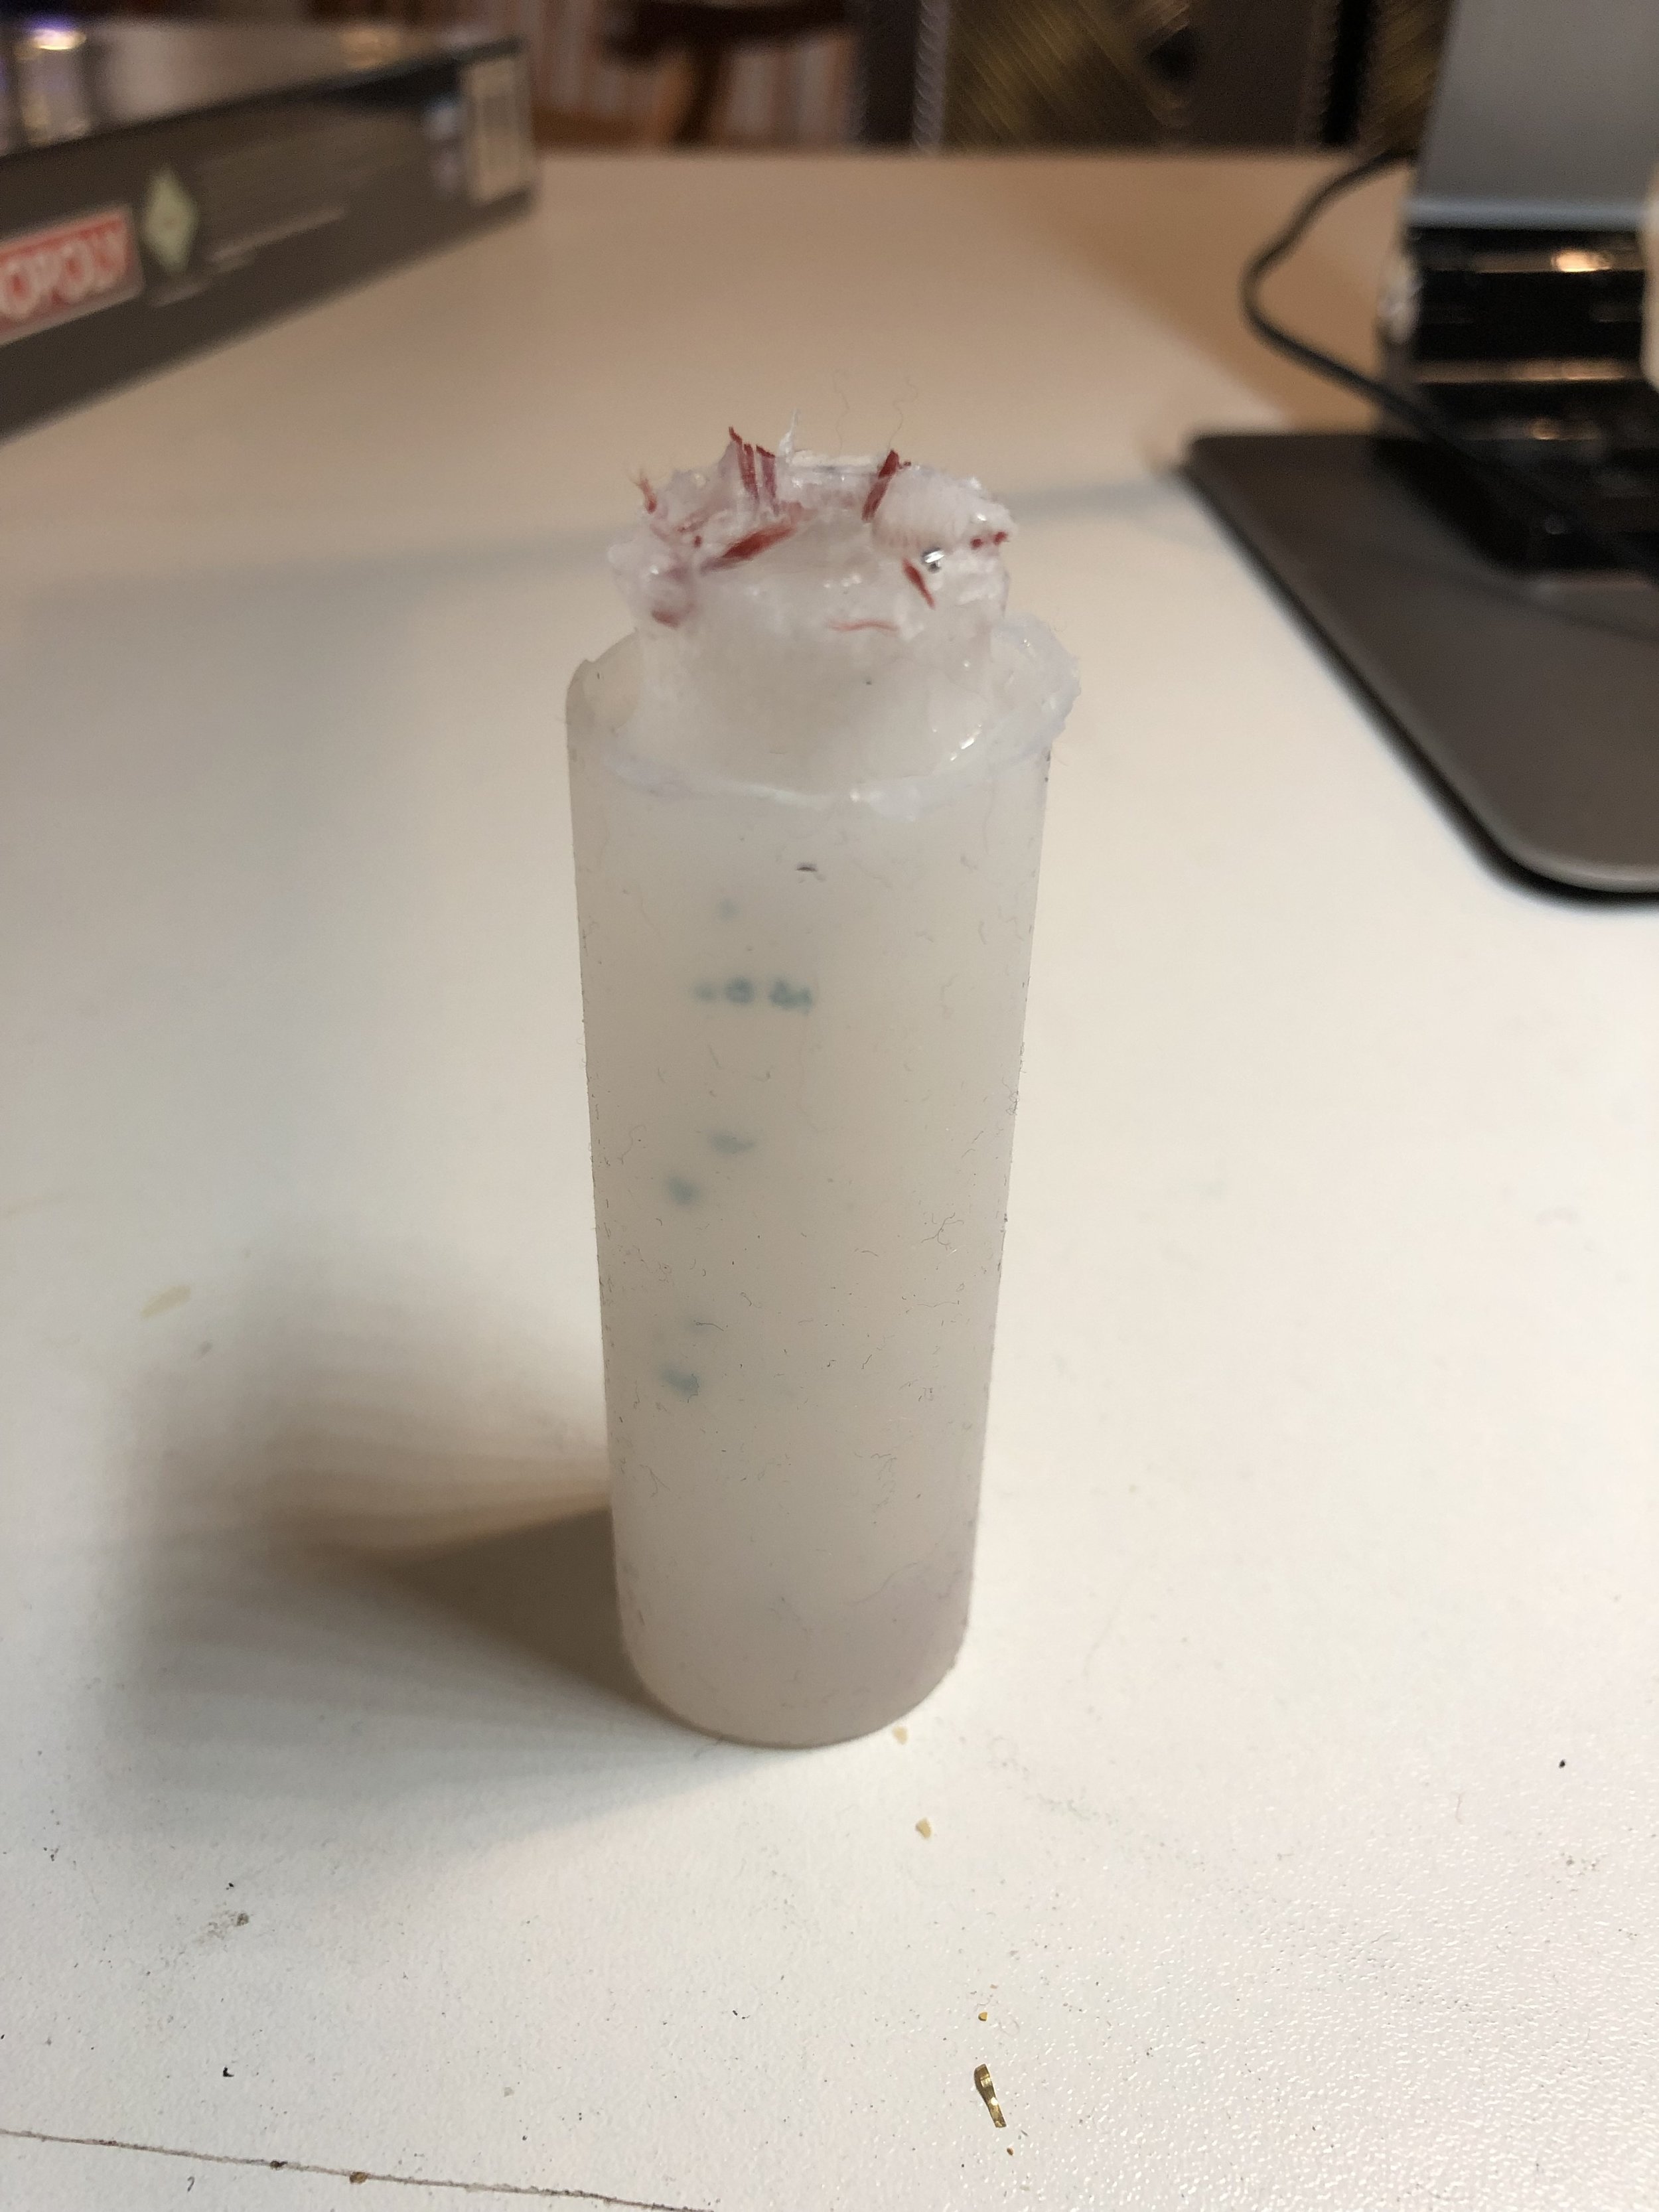
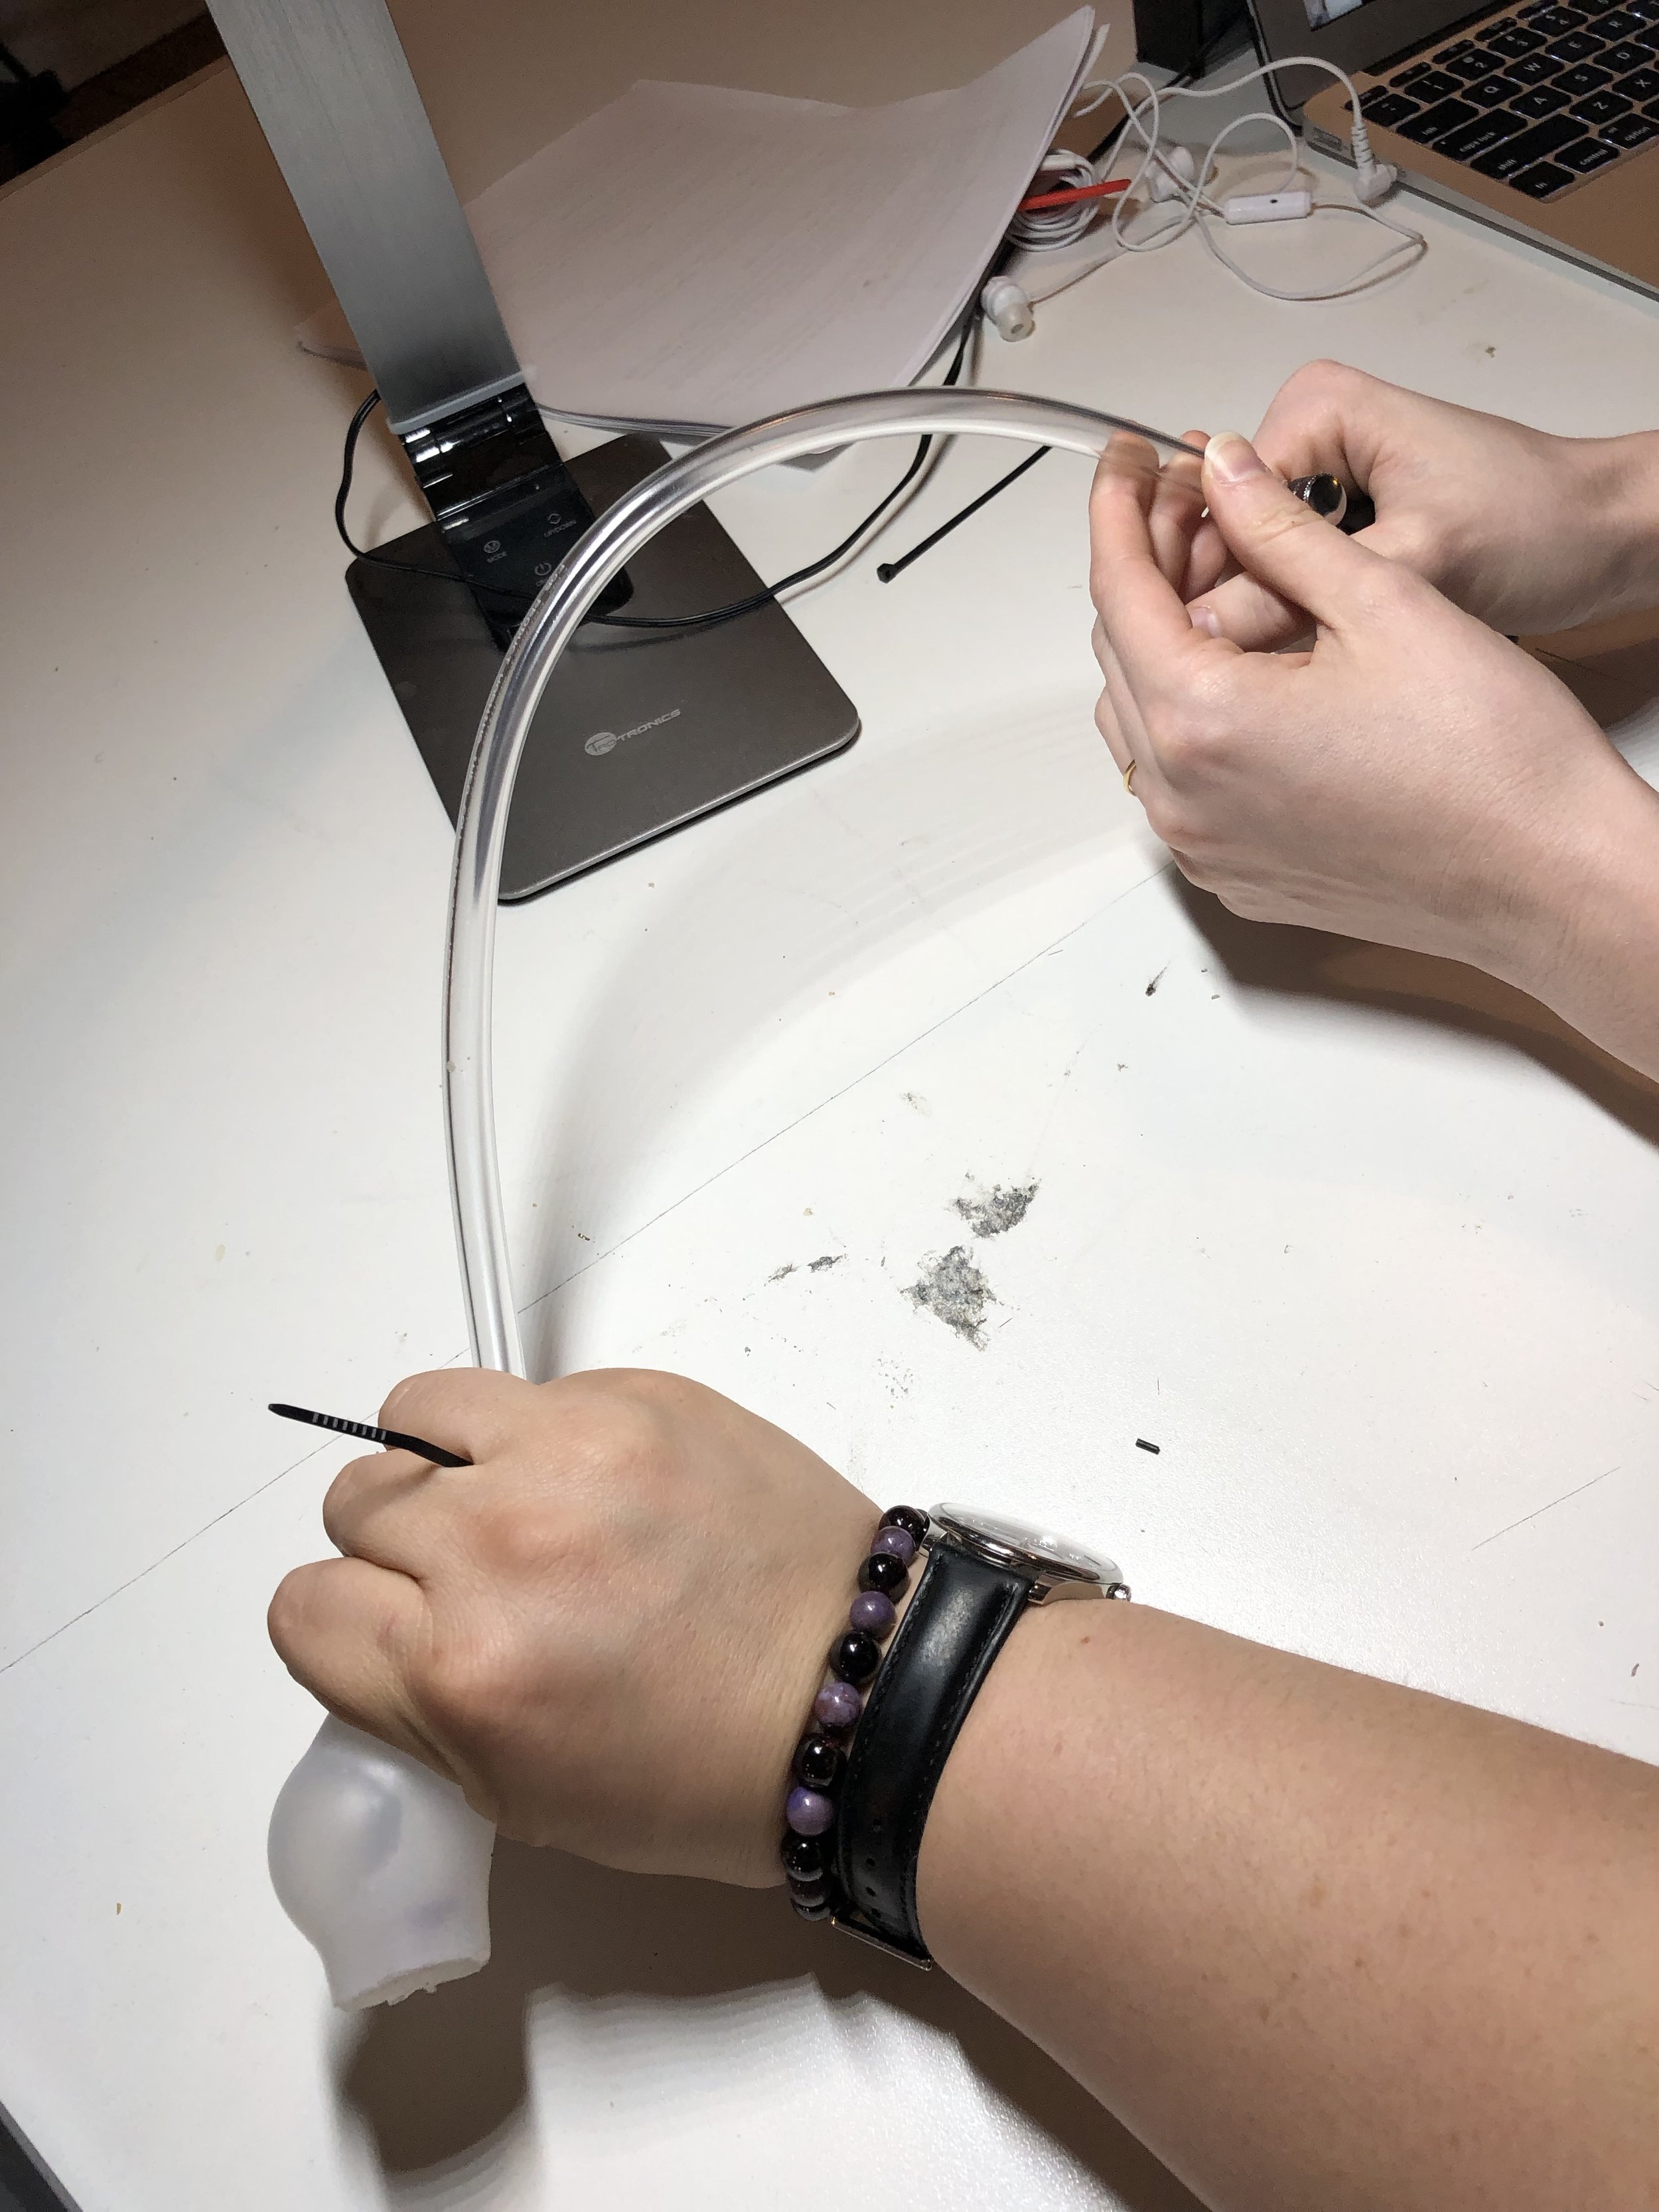
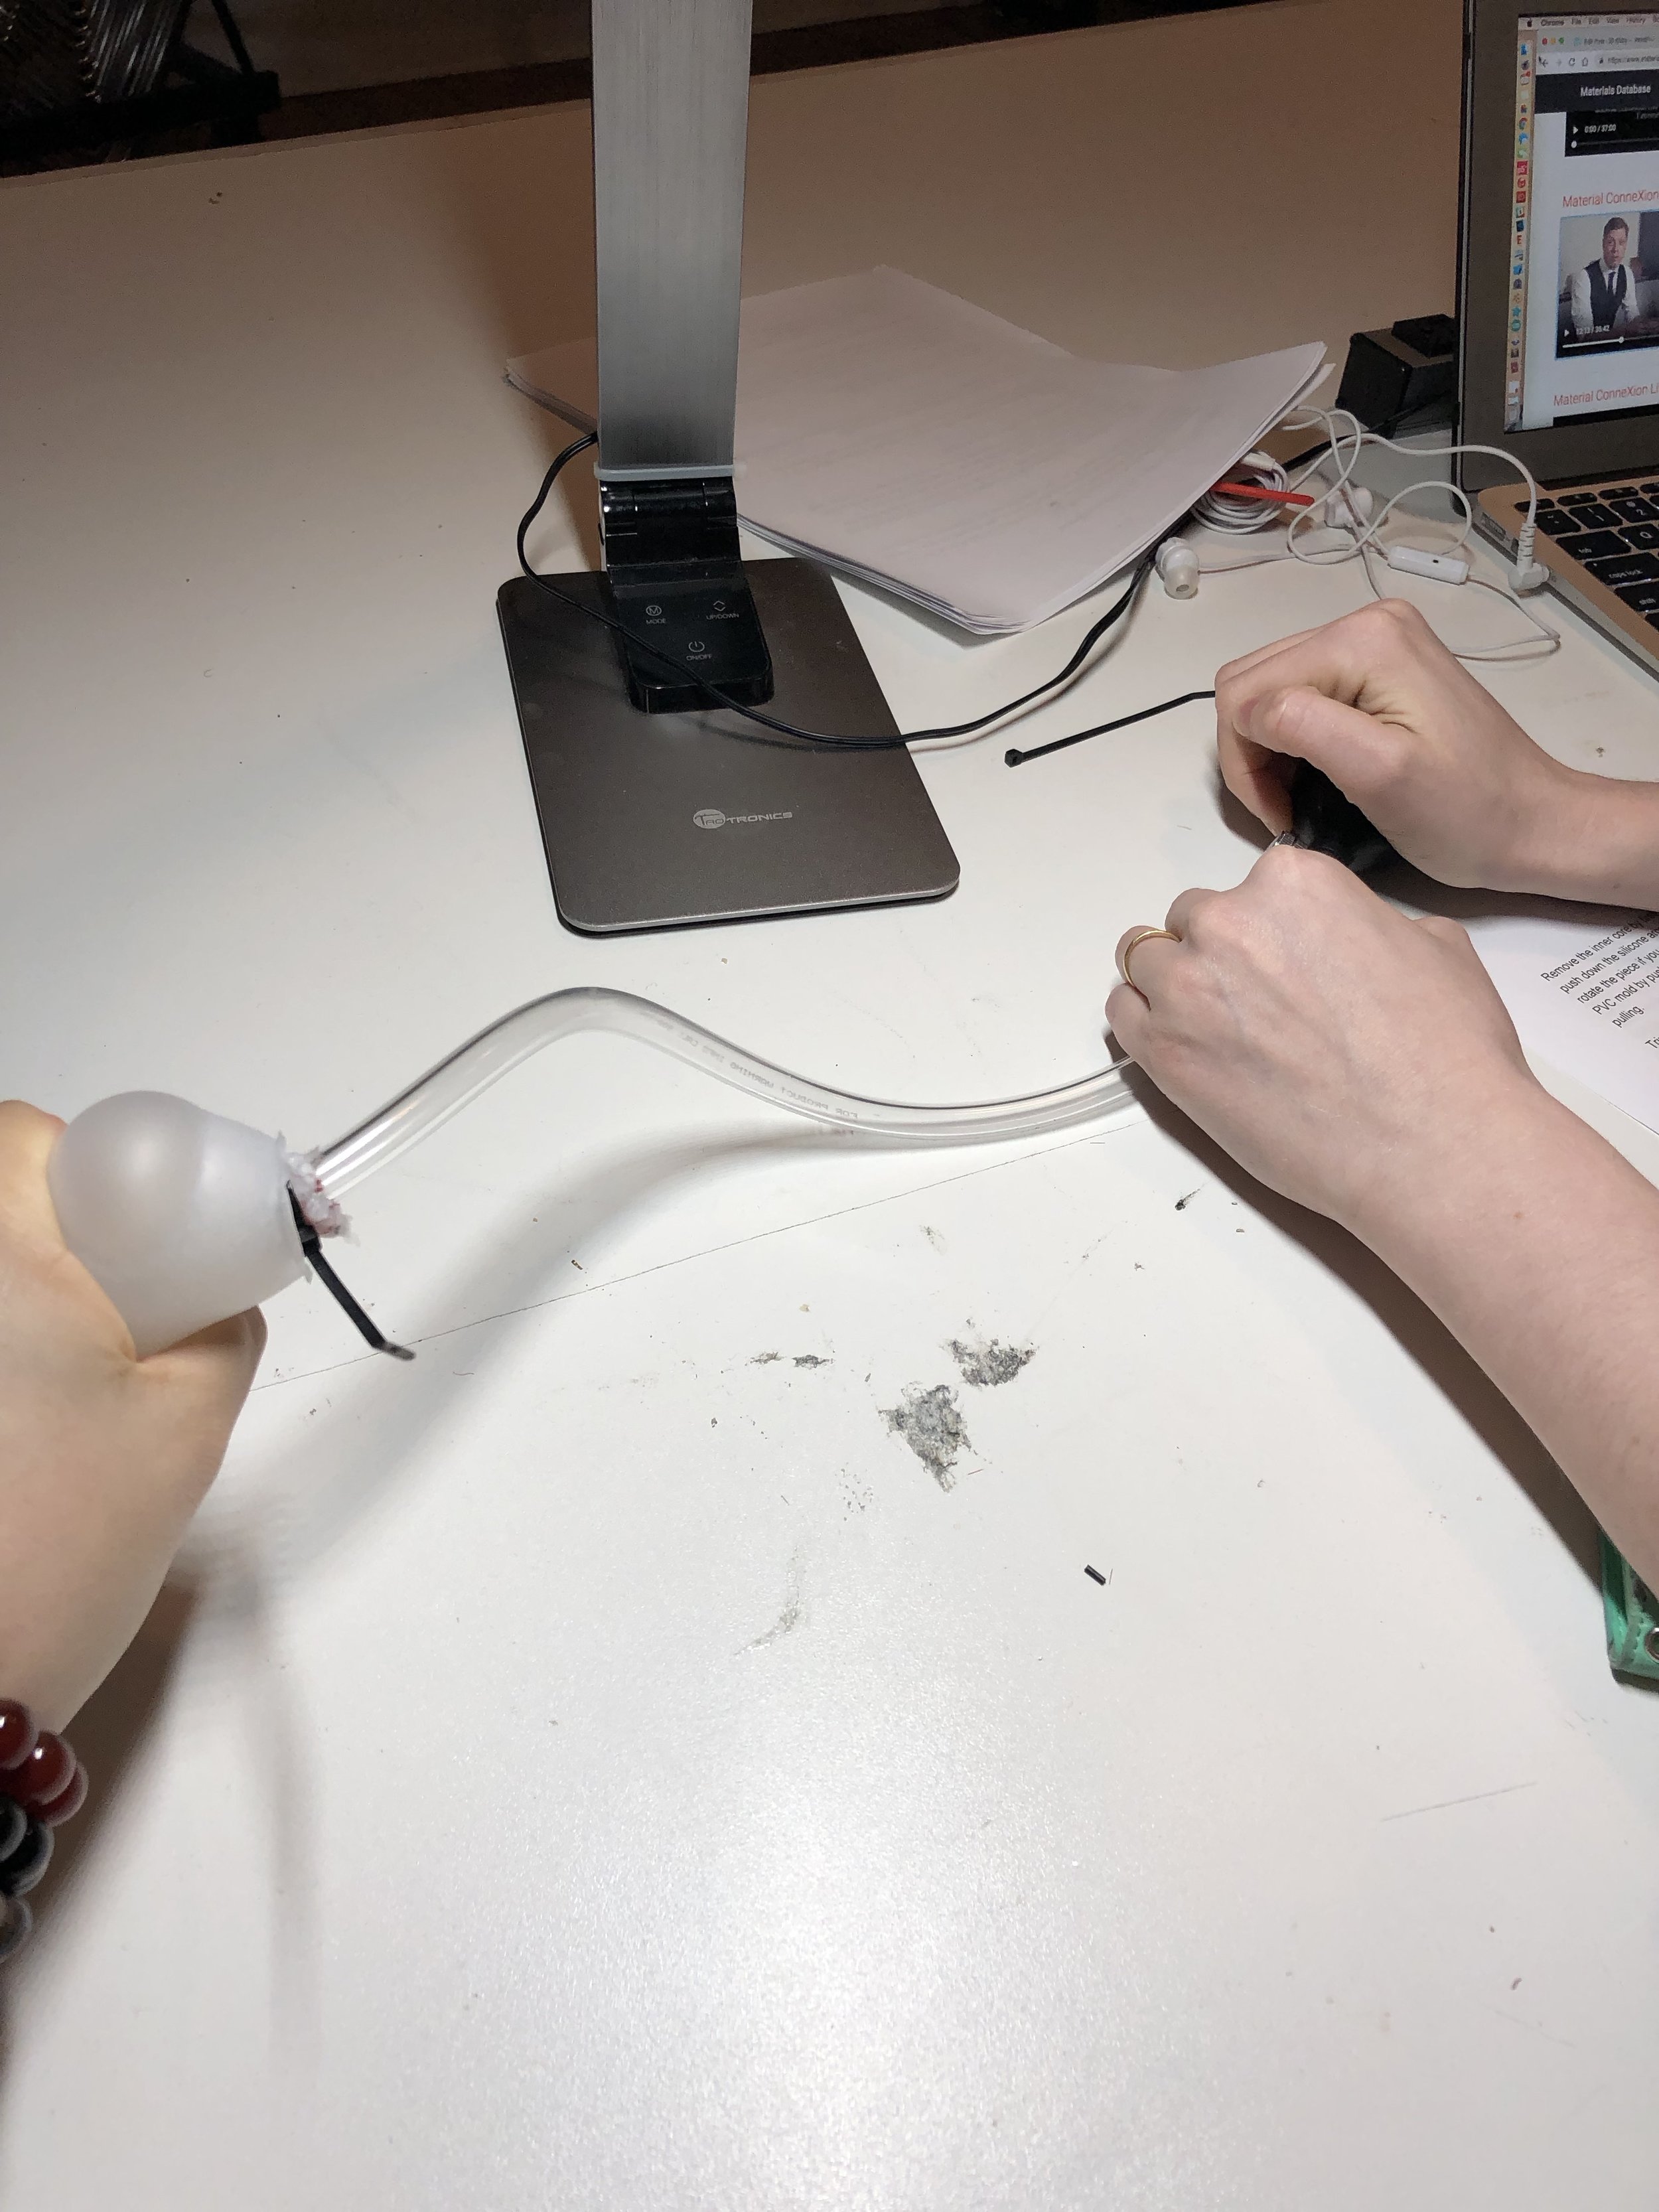
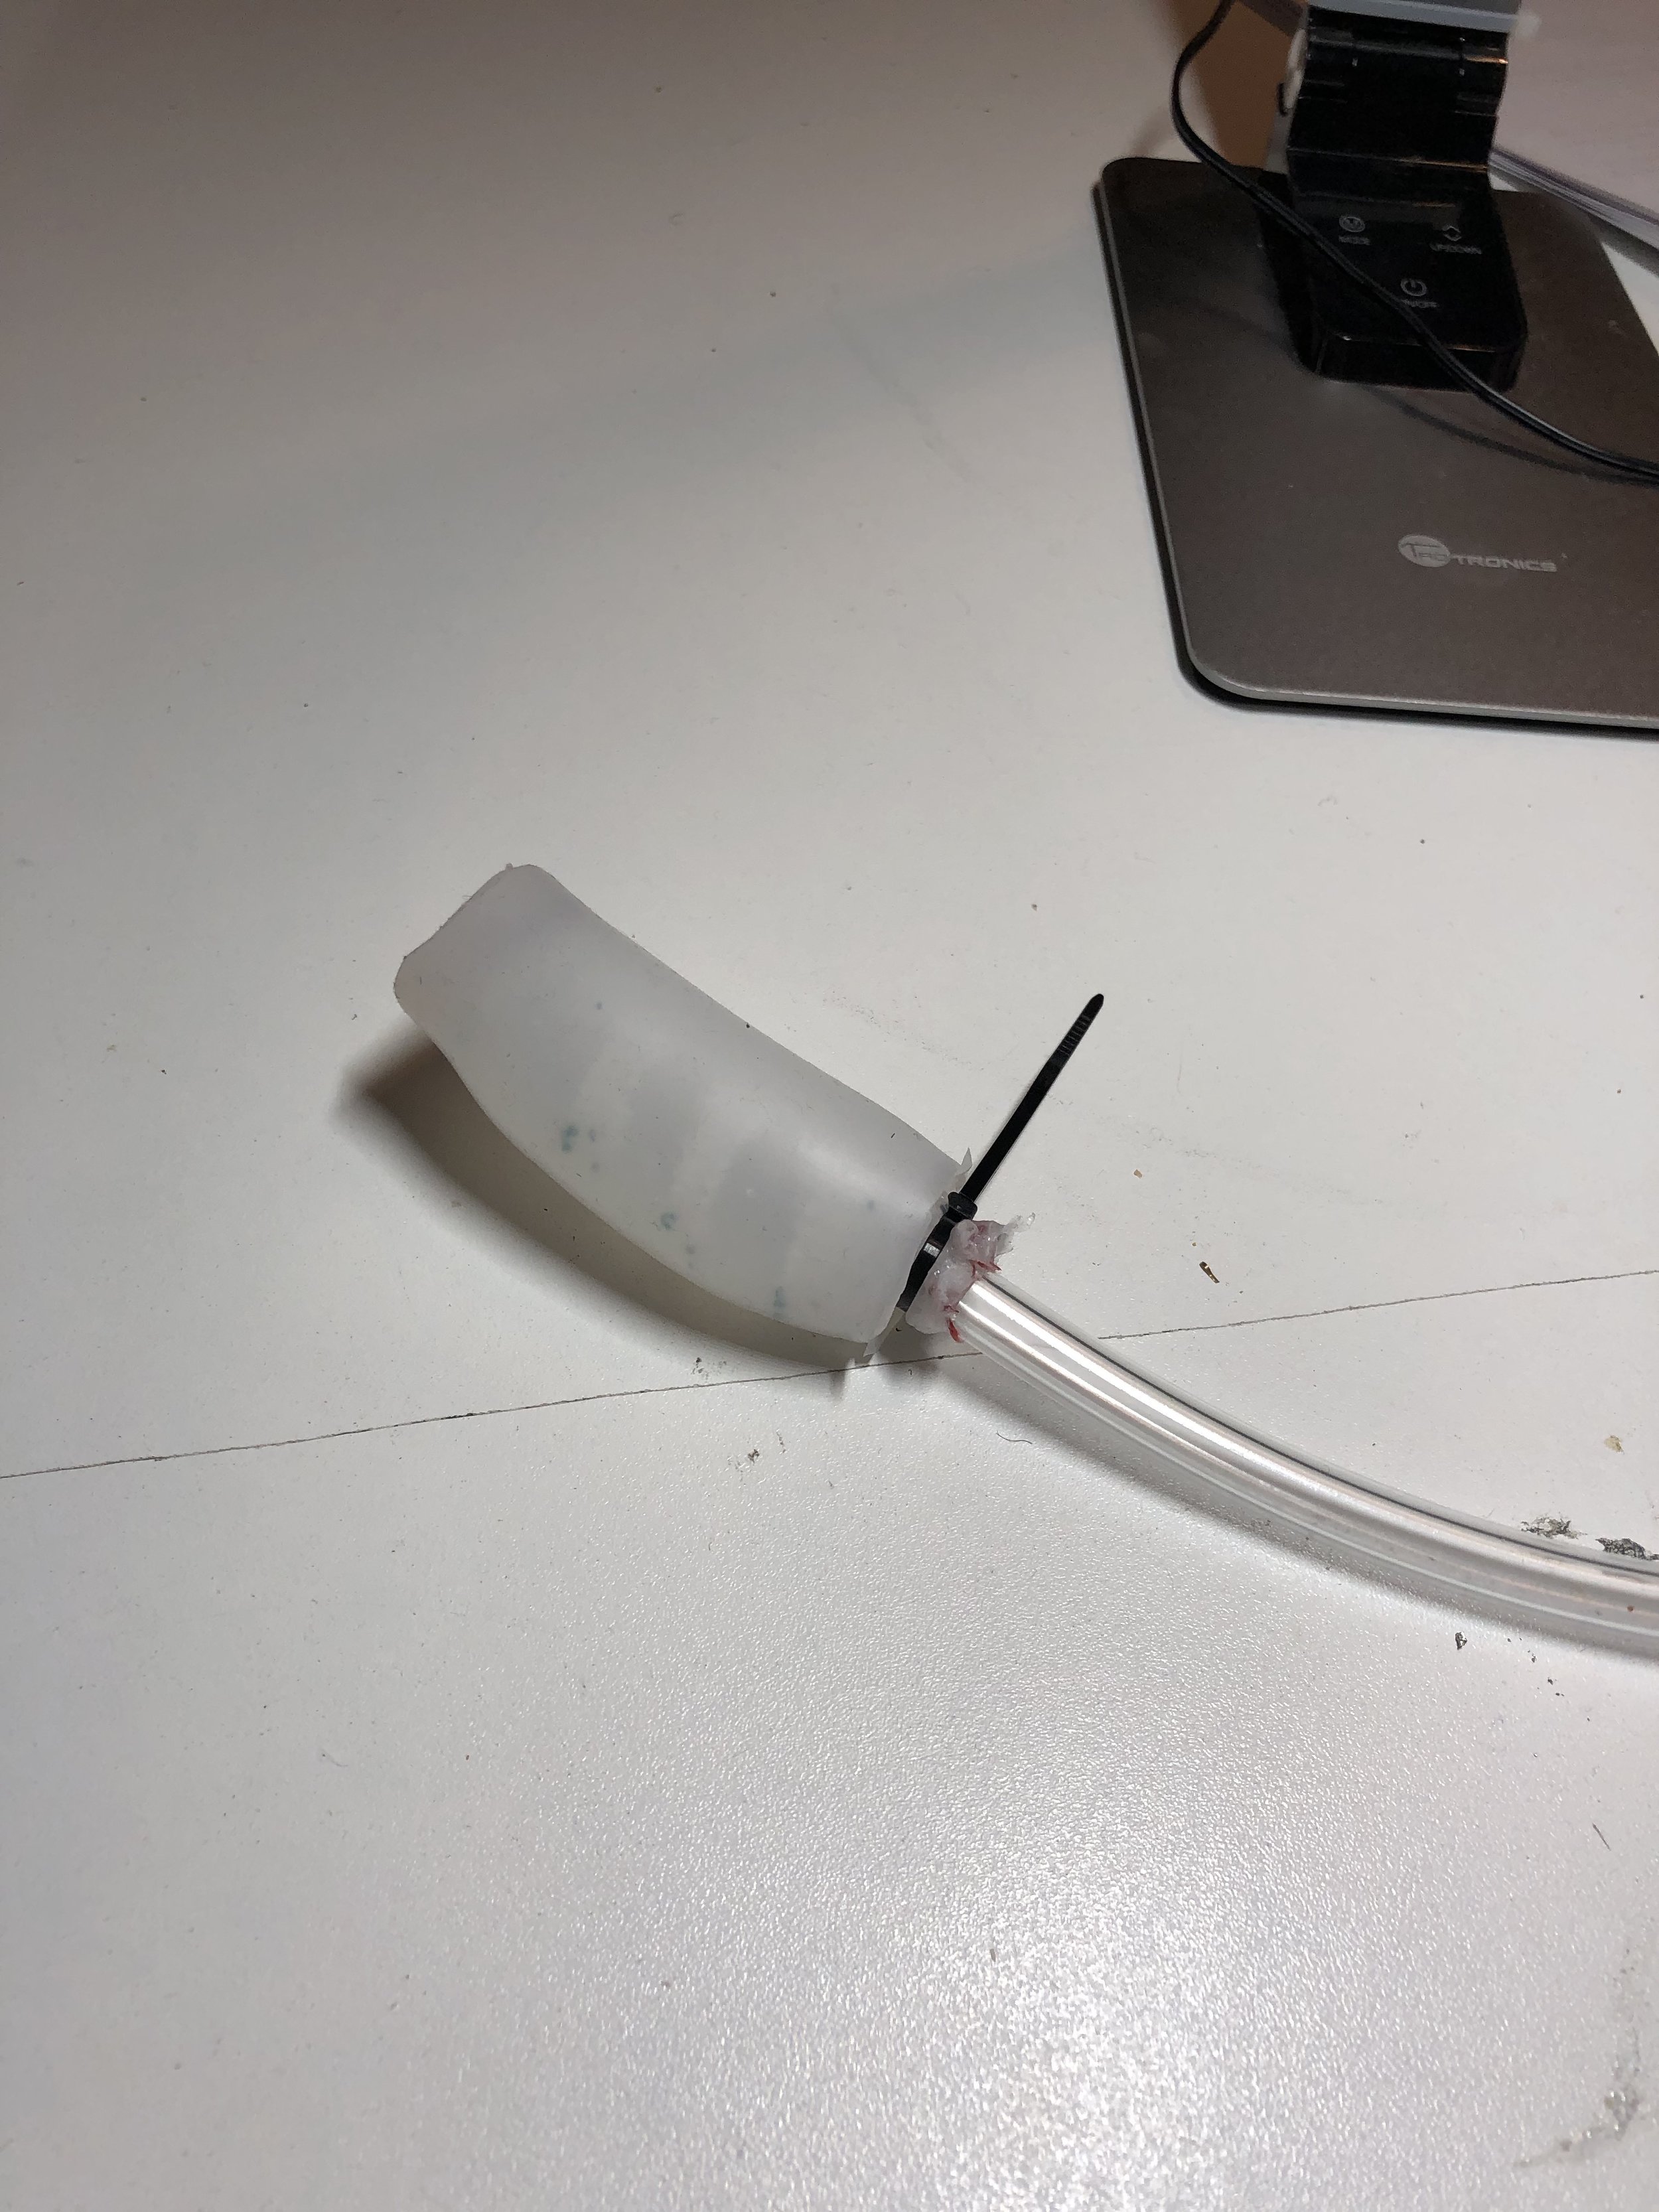
I found a tube that I could create space for air to put in the air pump and mixed the silicon up and used the vacuum to help settle out the air bubbles. I was mostly successful with my plans, except for two major air bubbles that ended up hurting the structure of the mold (one at the top and one at the side). The one at the top was most impactful, as the mold essentially ripped and I lost the ability to have an air-tight cavity for the air pump to enter.
Once I got the air valve in, I realized something very key that I overlooked. The thickness of the silicon walls can impact the mobility greatly!! The mold moves softly and simply like a heart beating. In it’s own way it kinda is nice, but would really like to make something in the future that has better movement!
x.
Week Three | Simple Silicone Casting
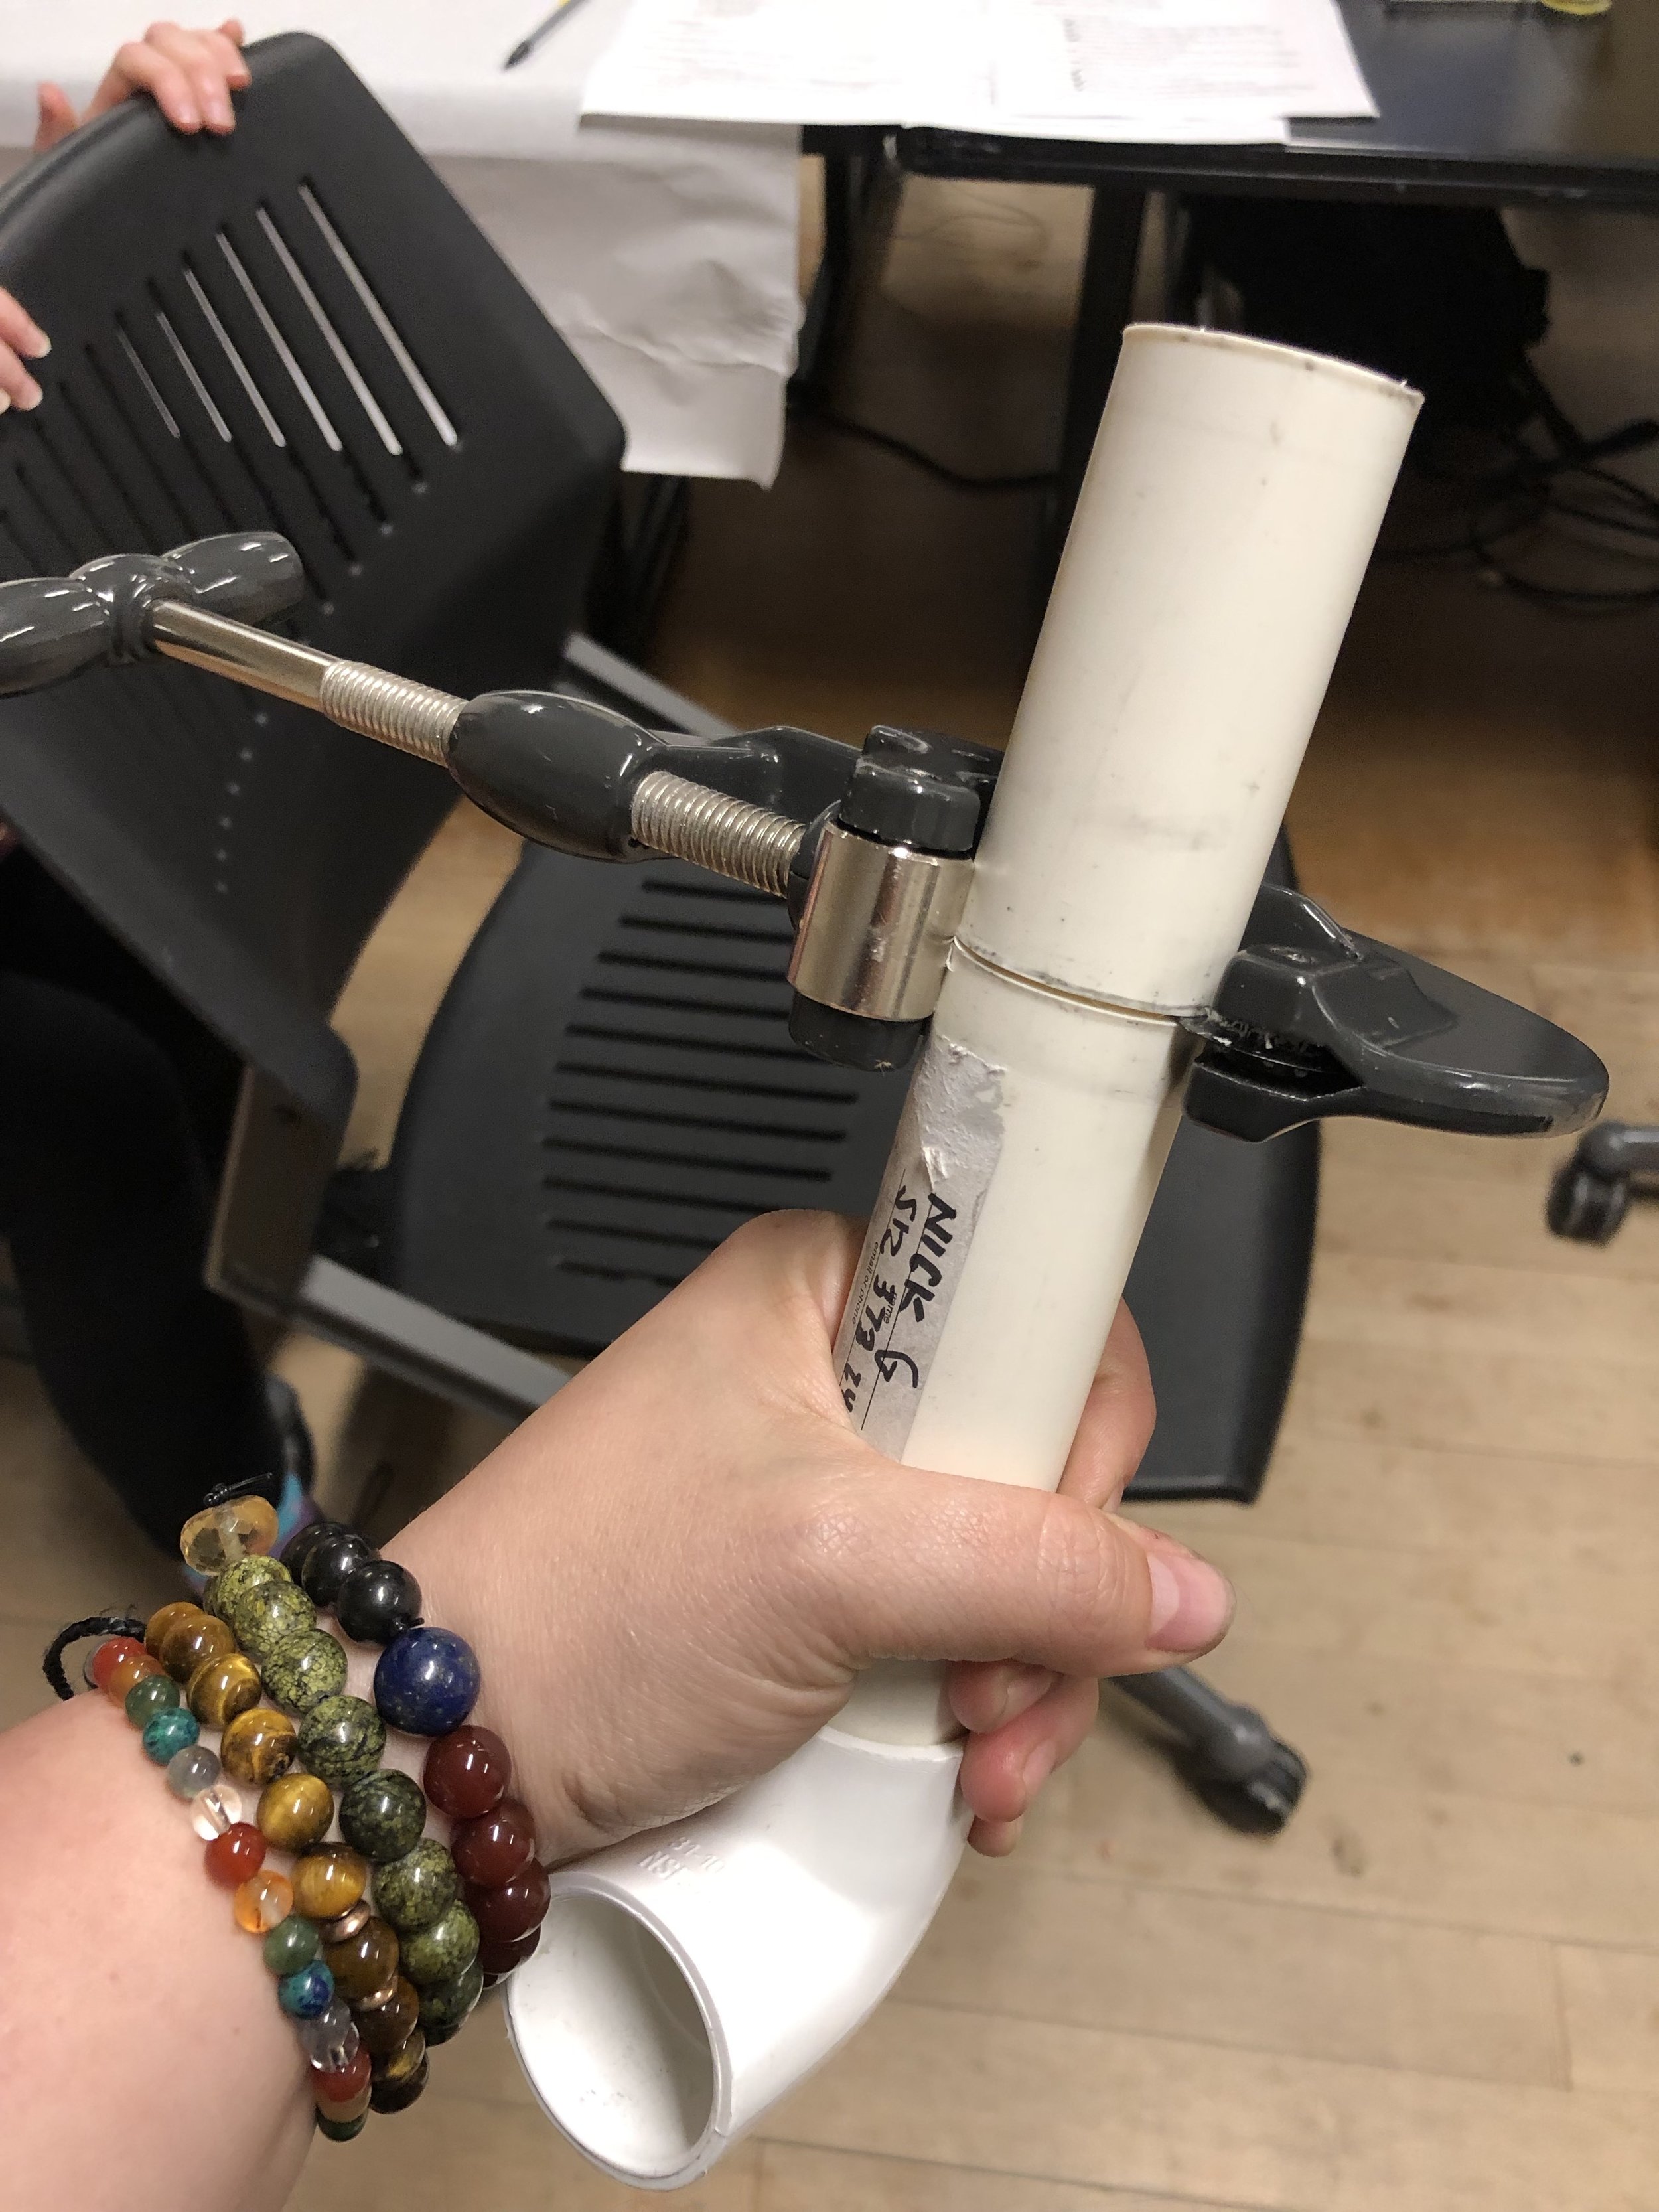
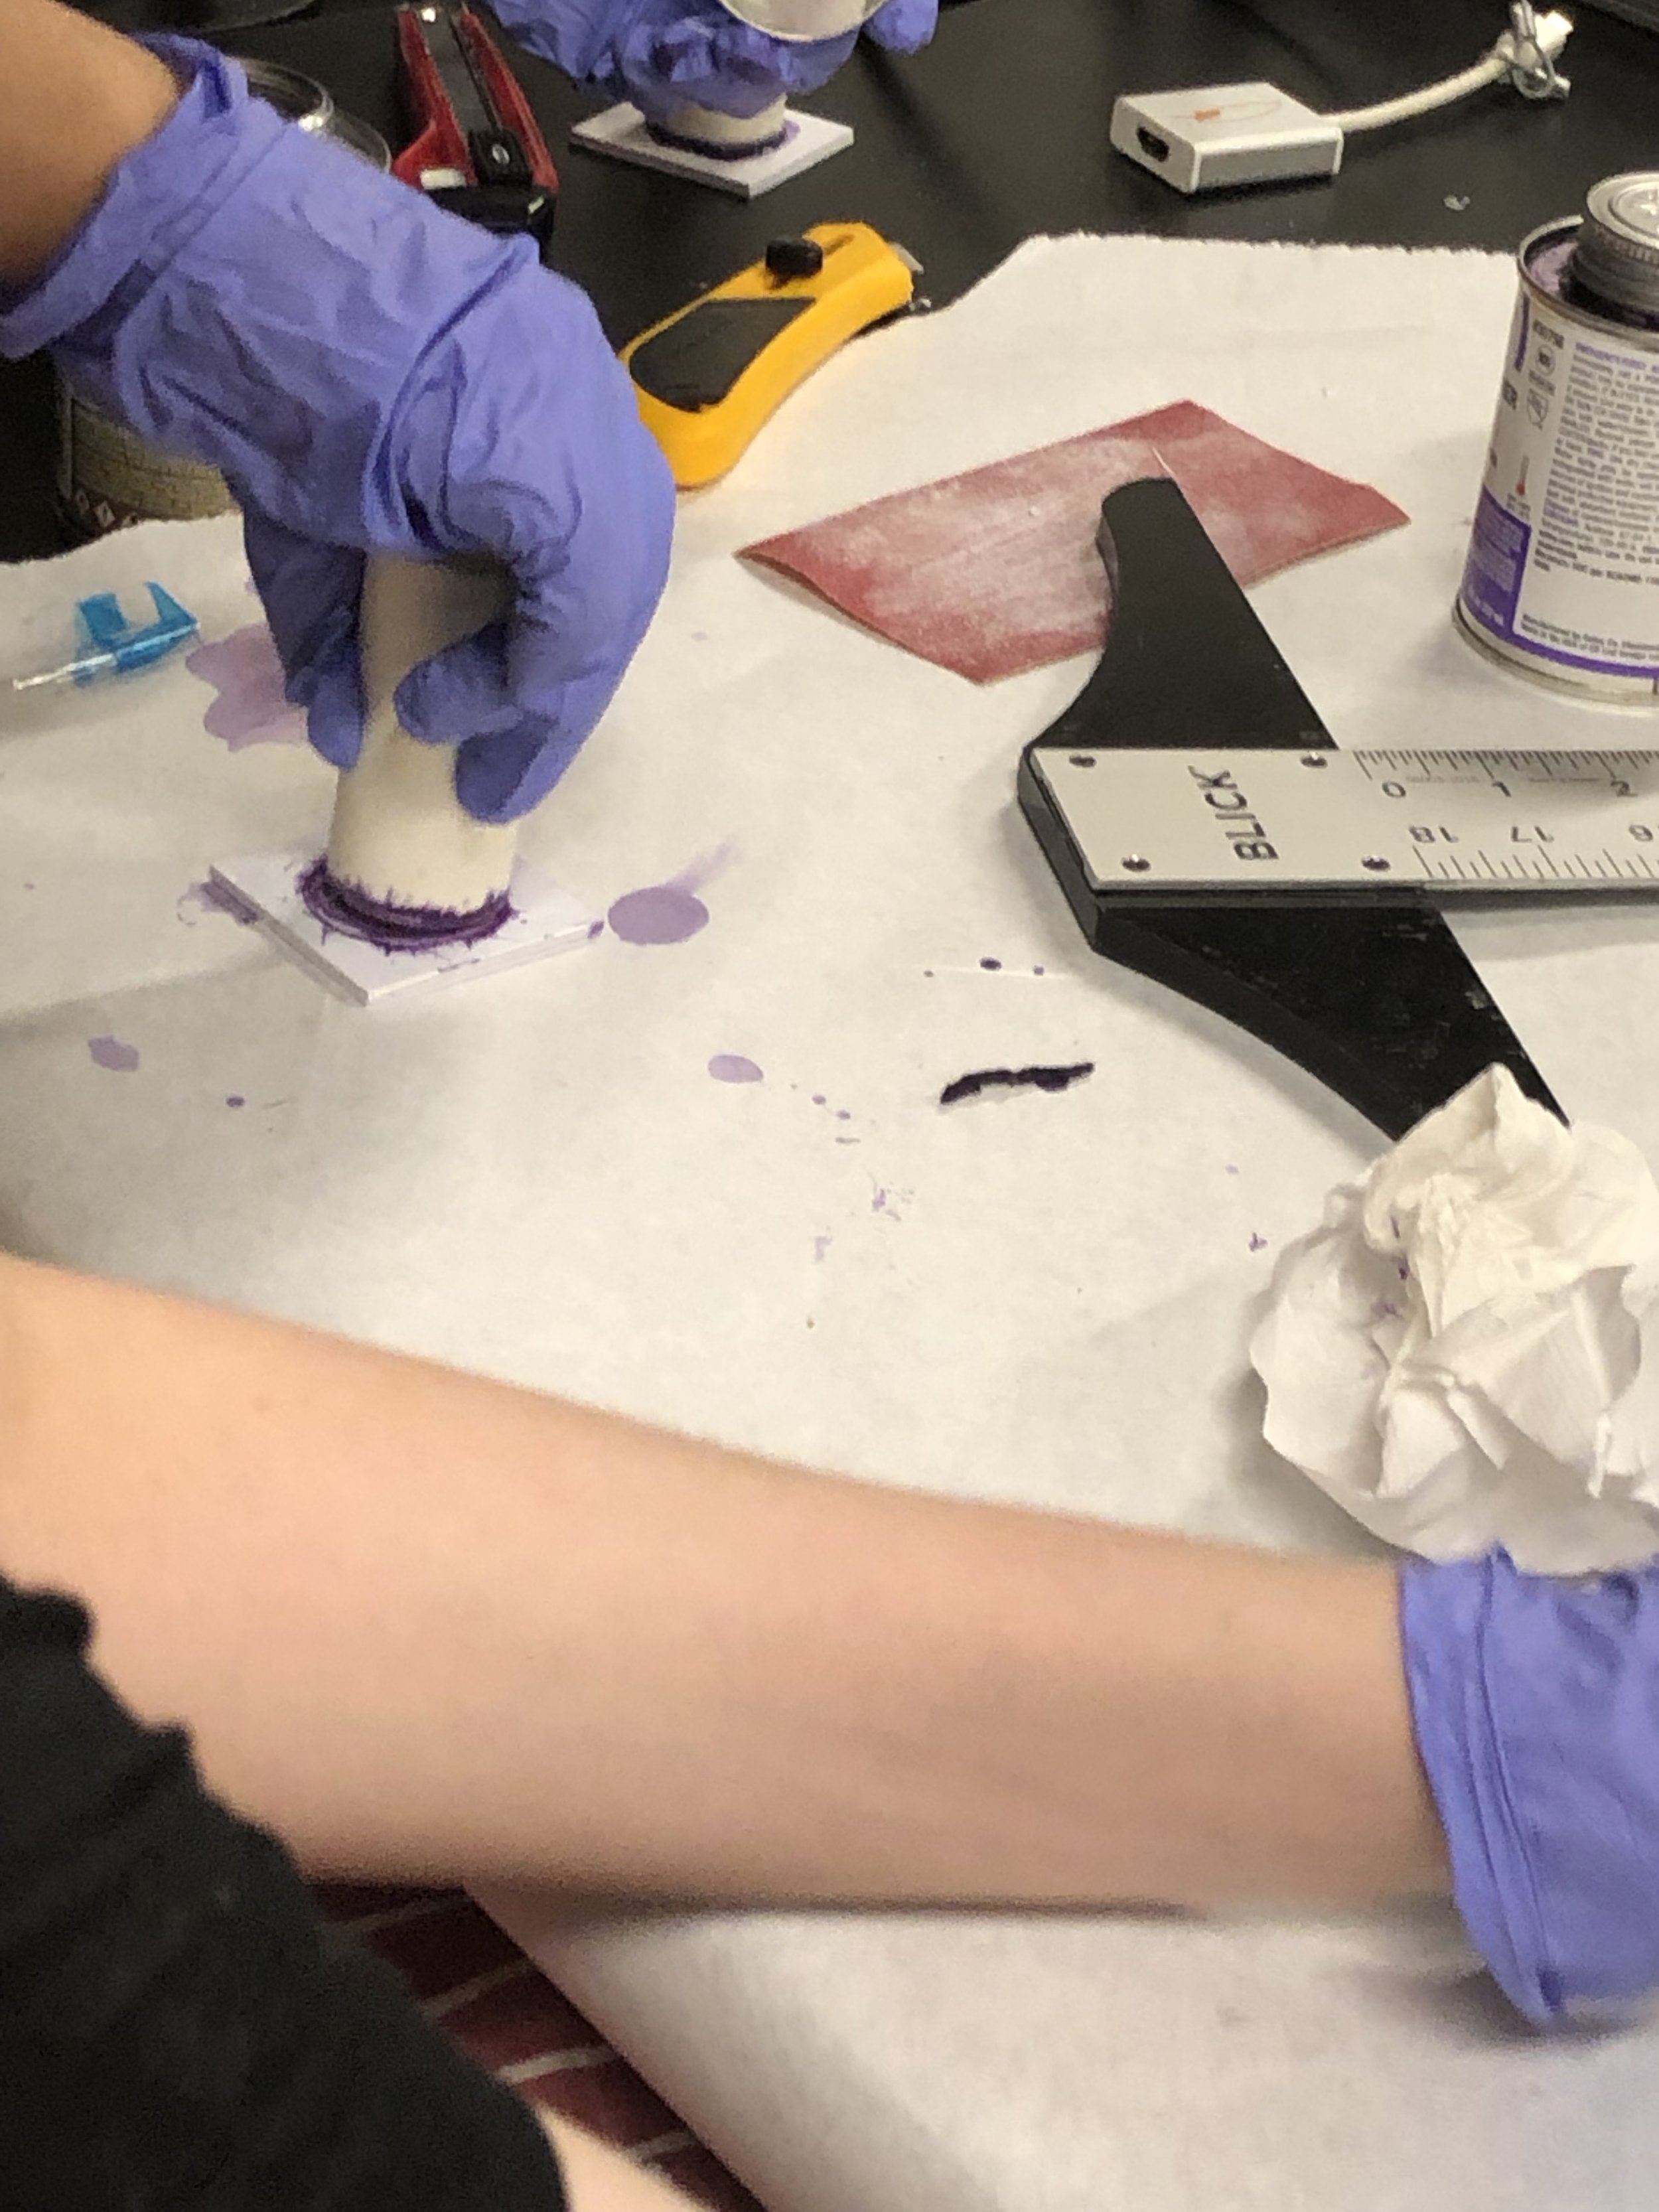
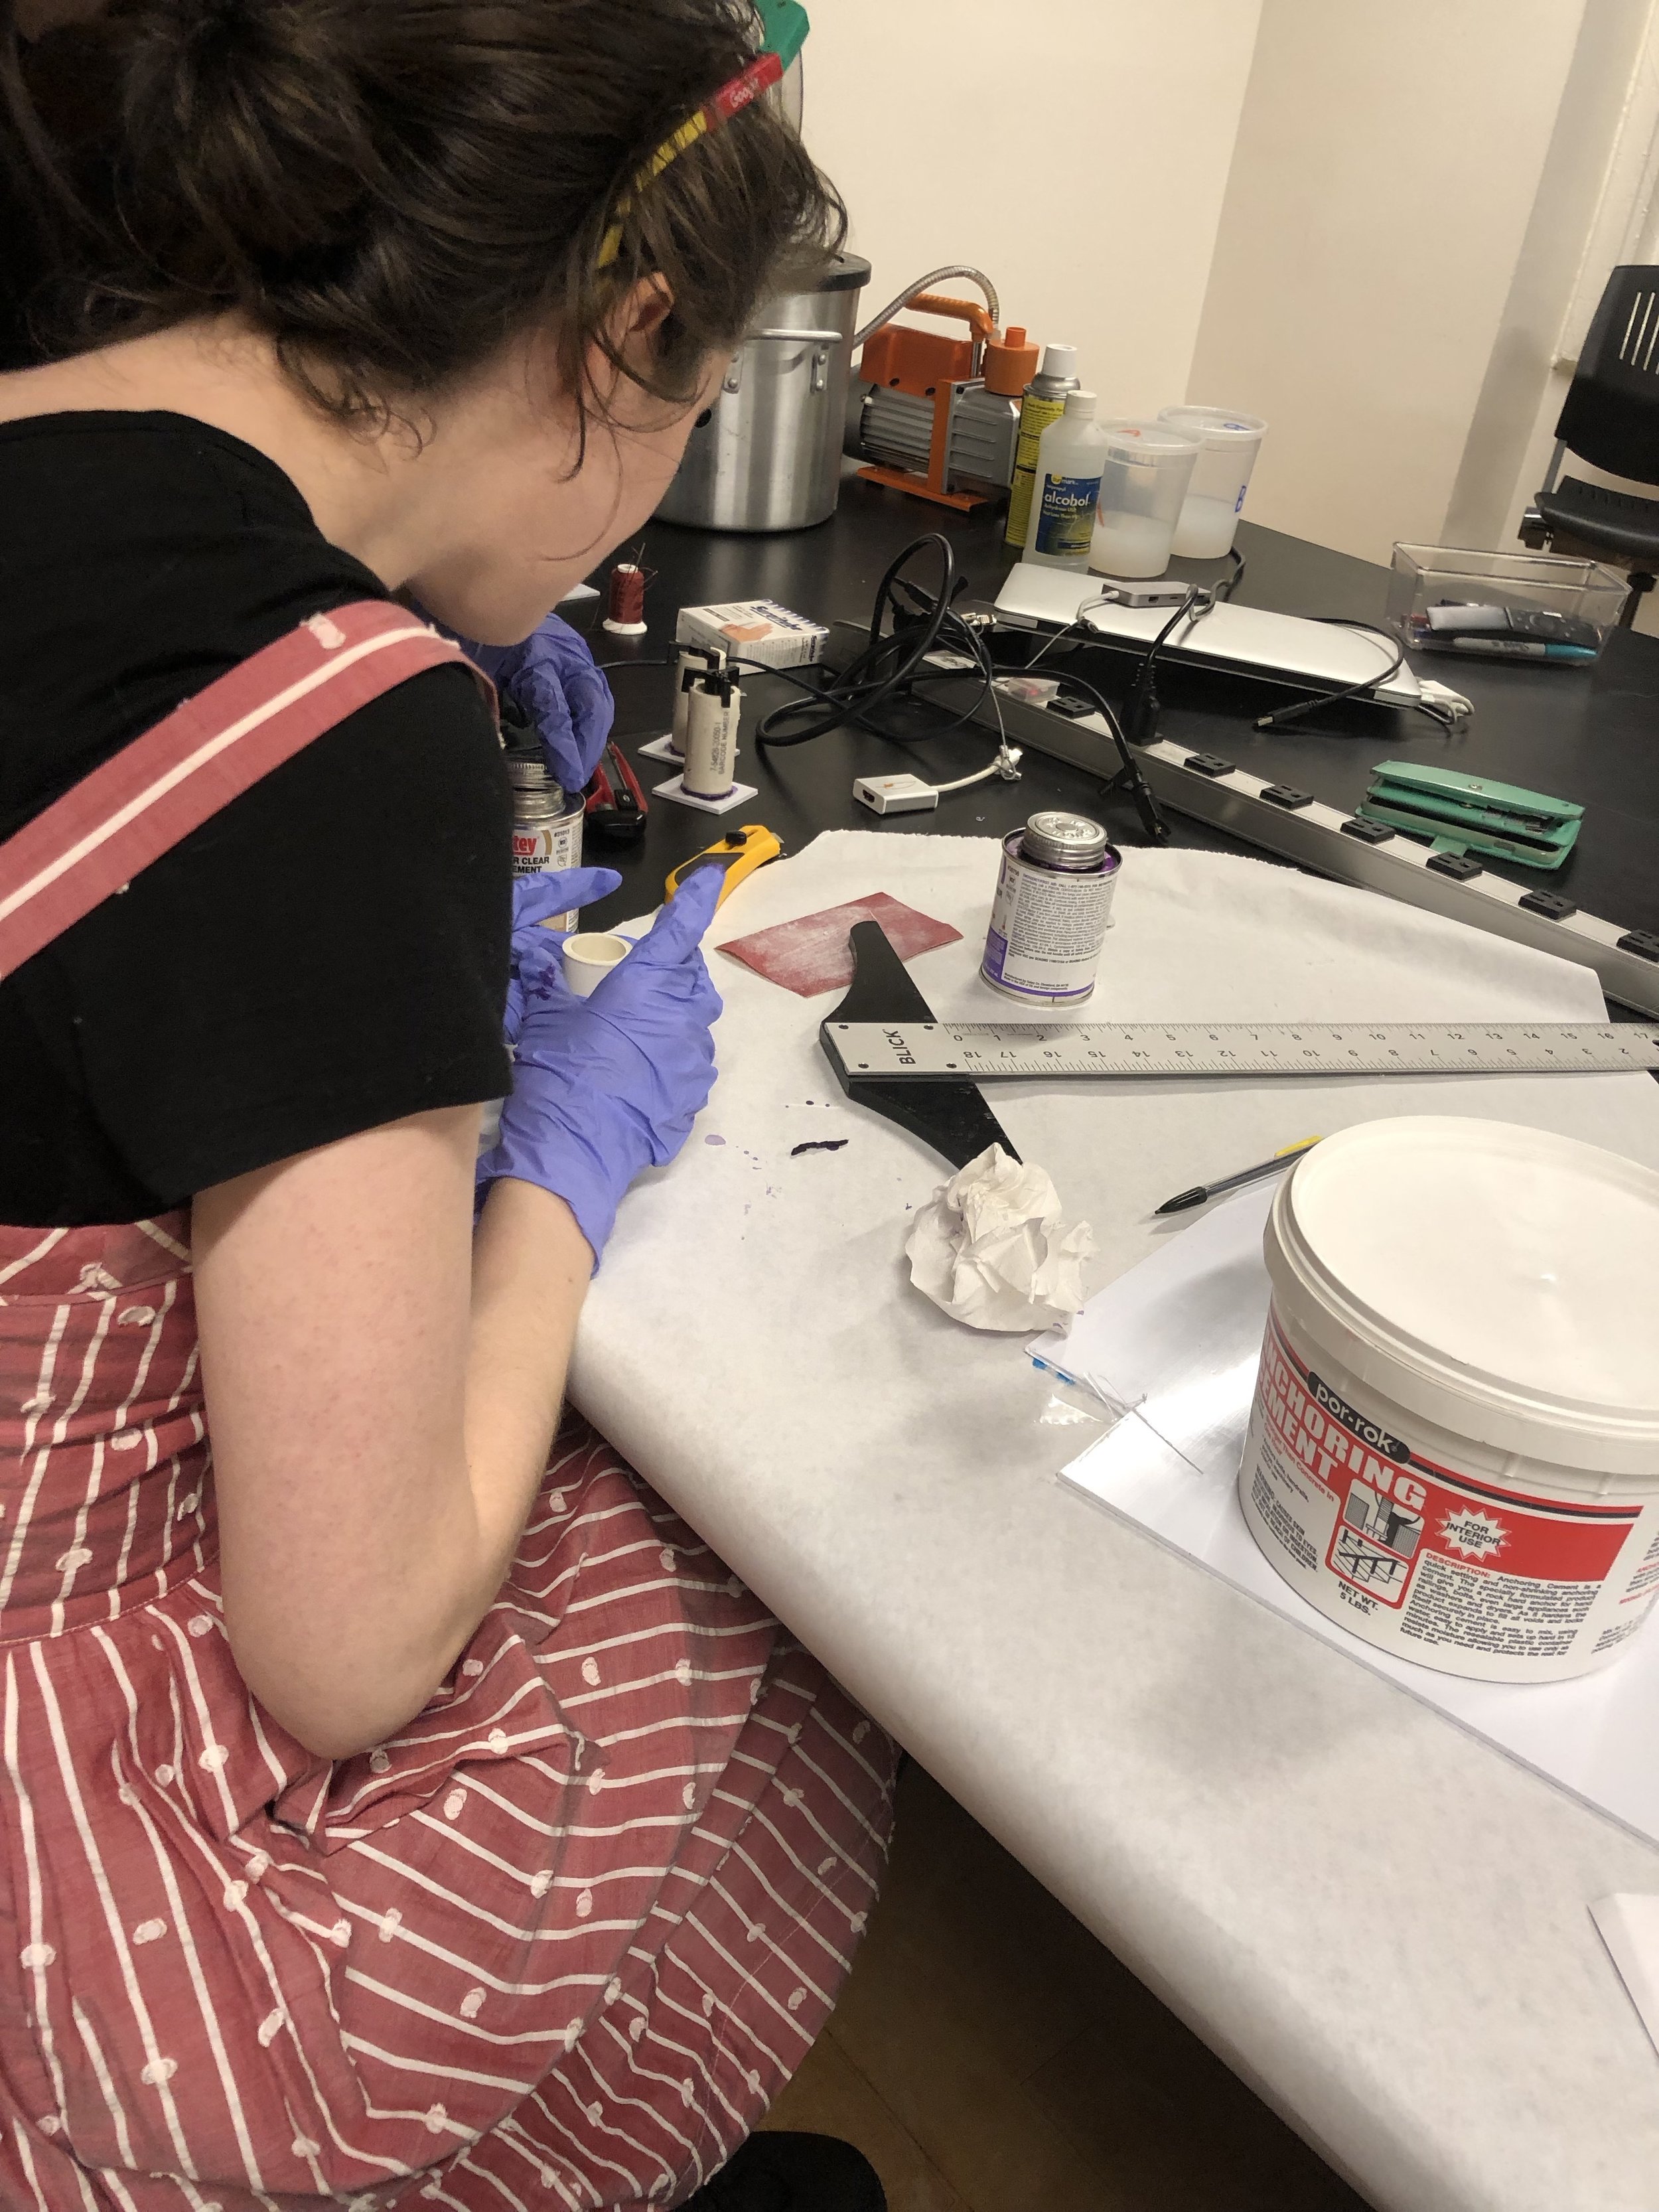
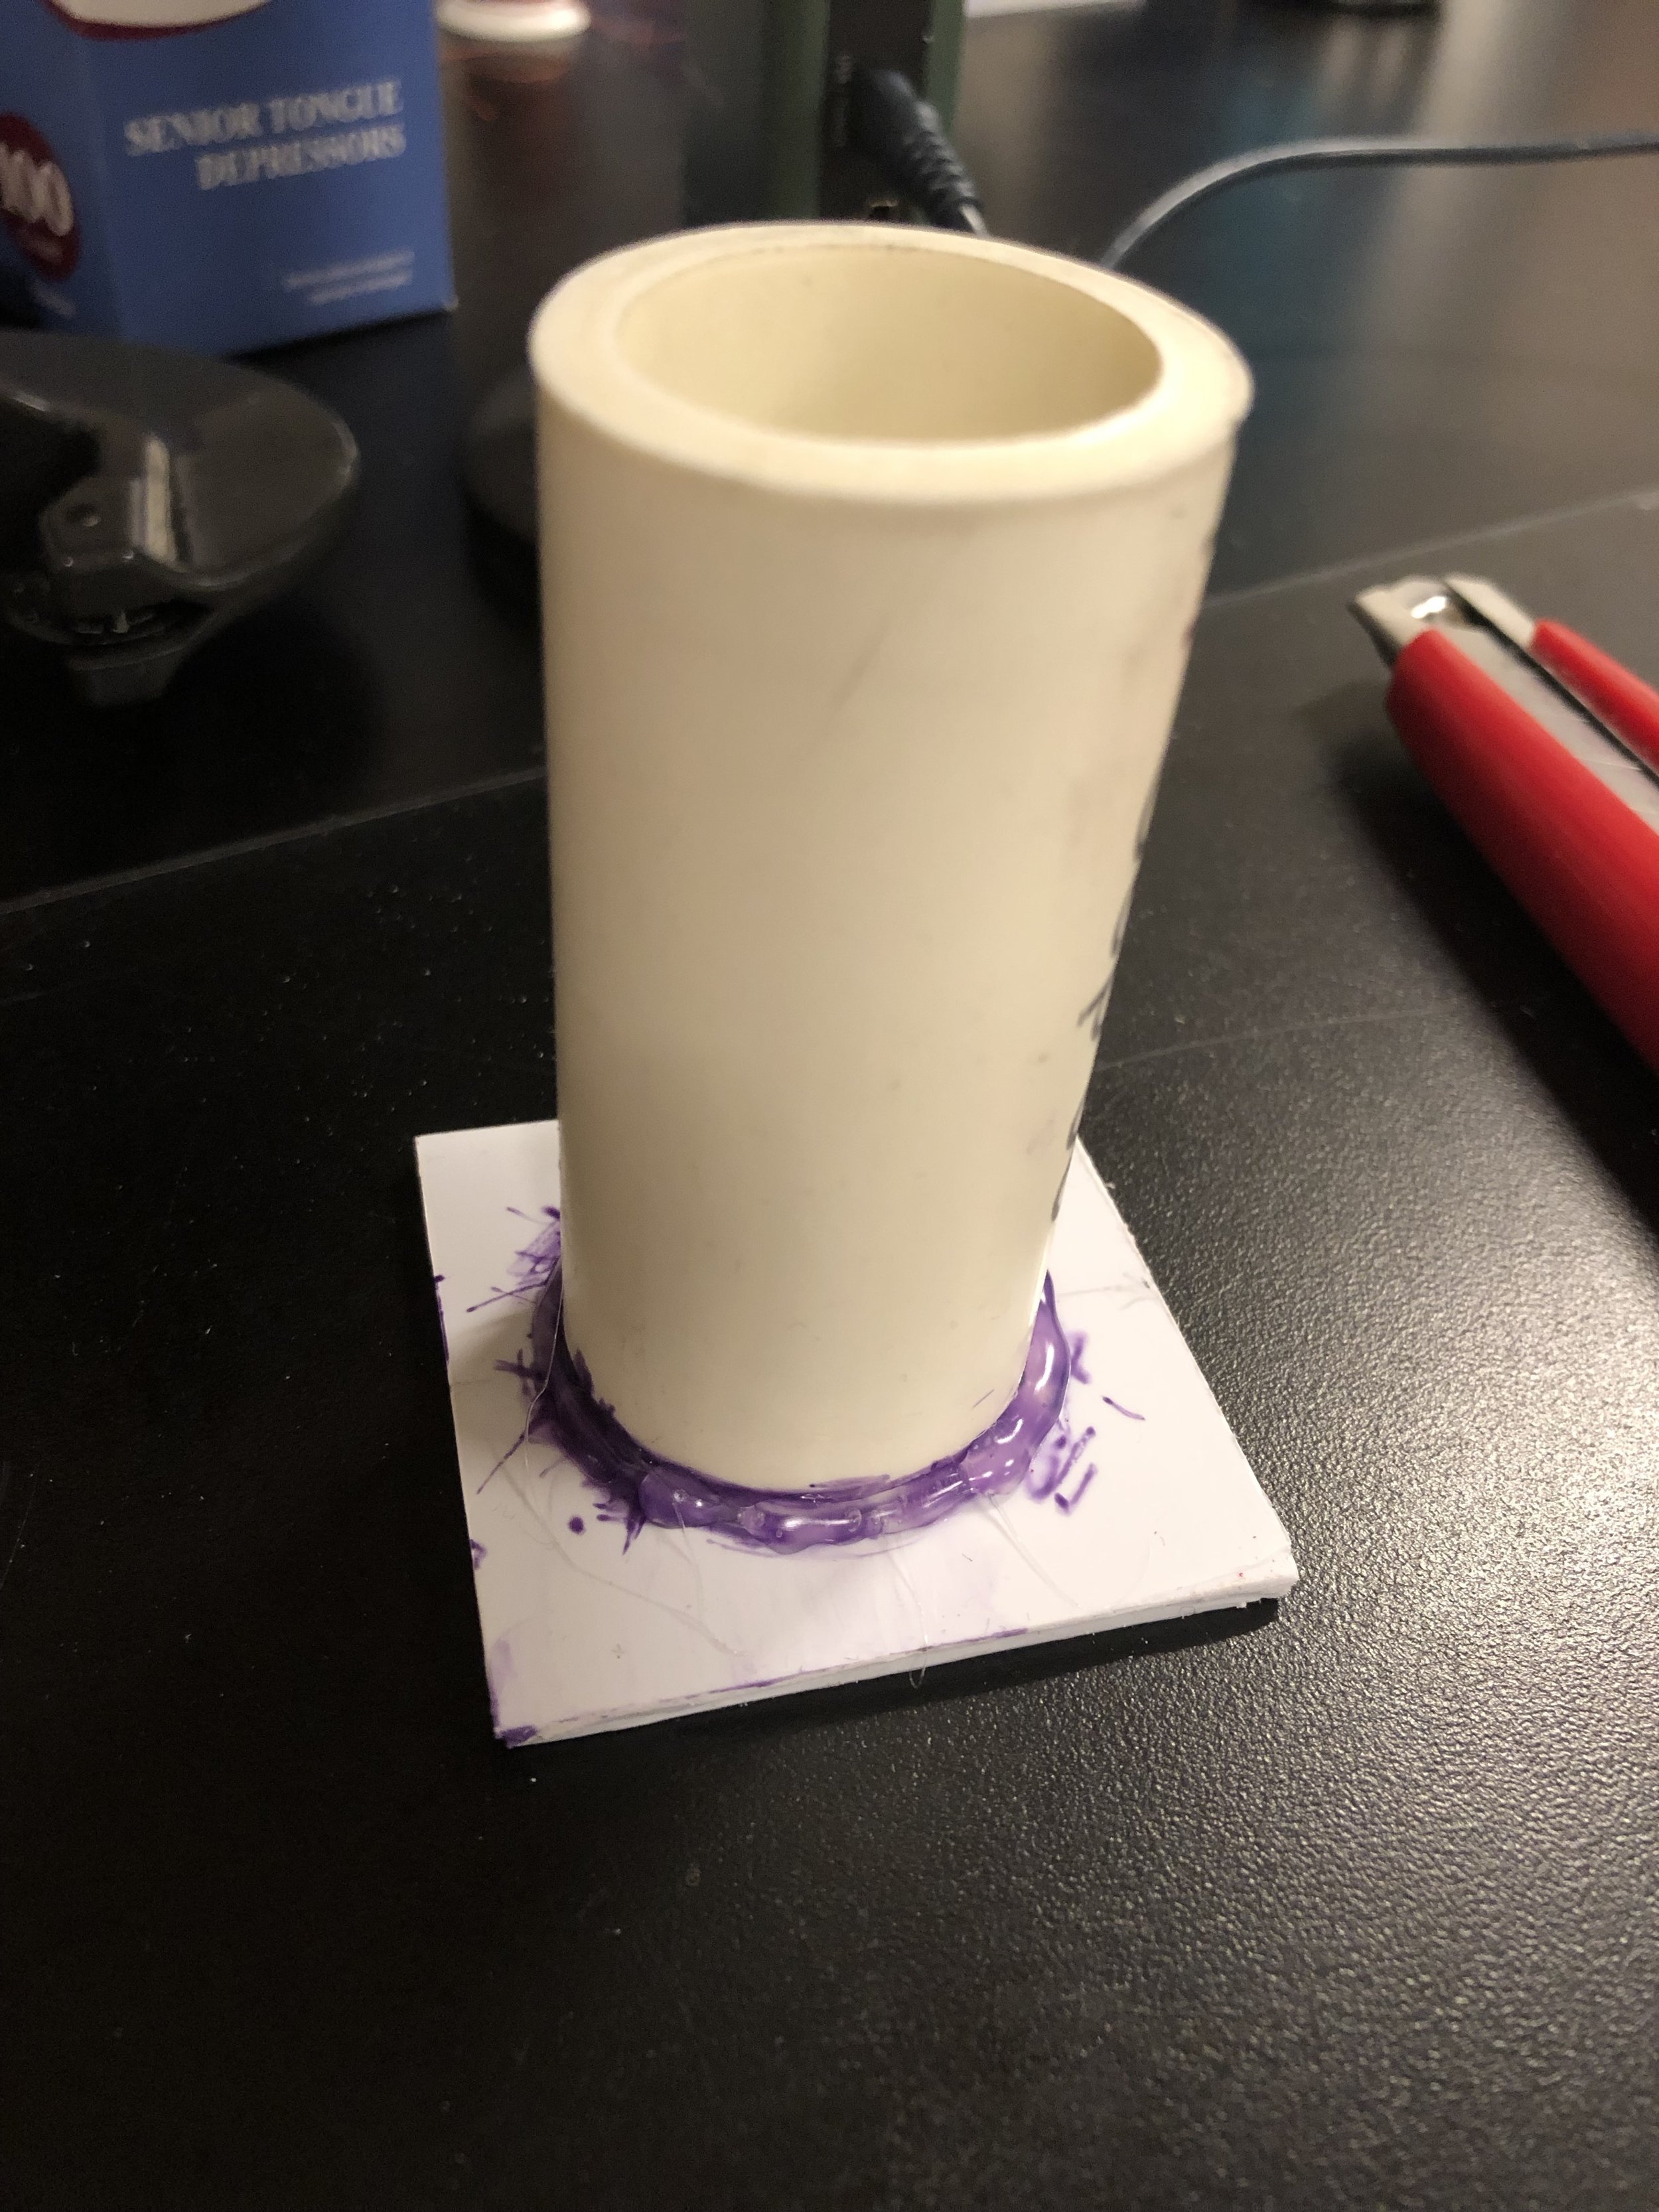
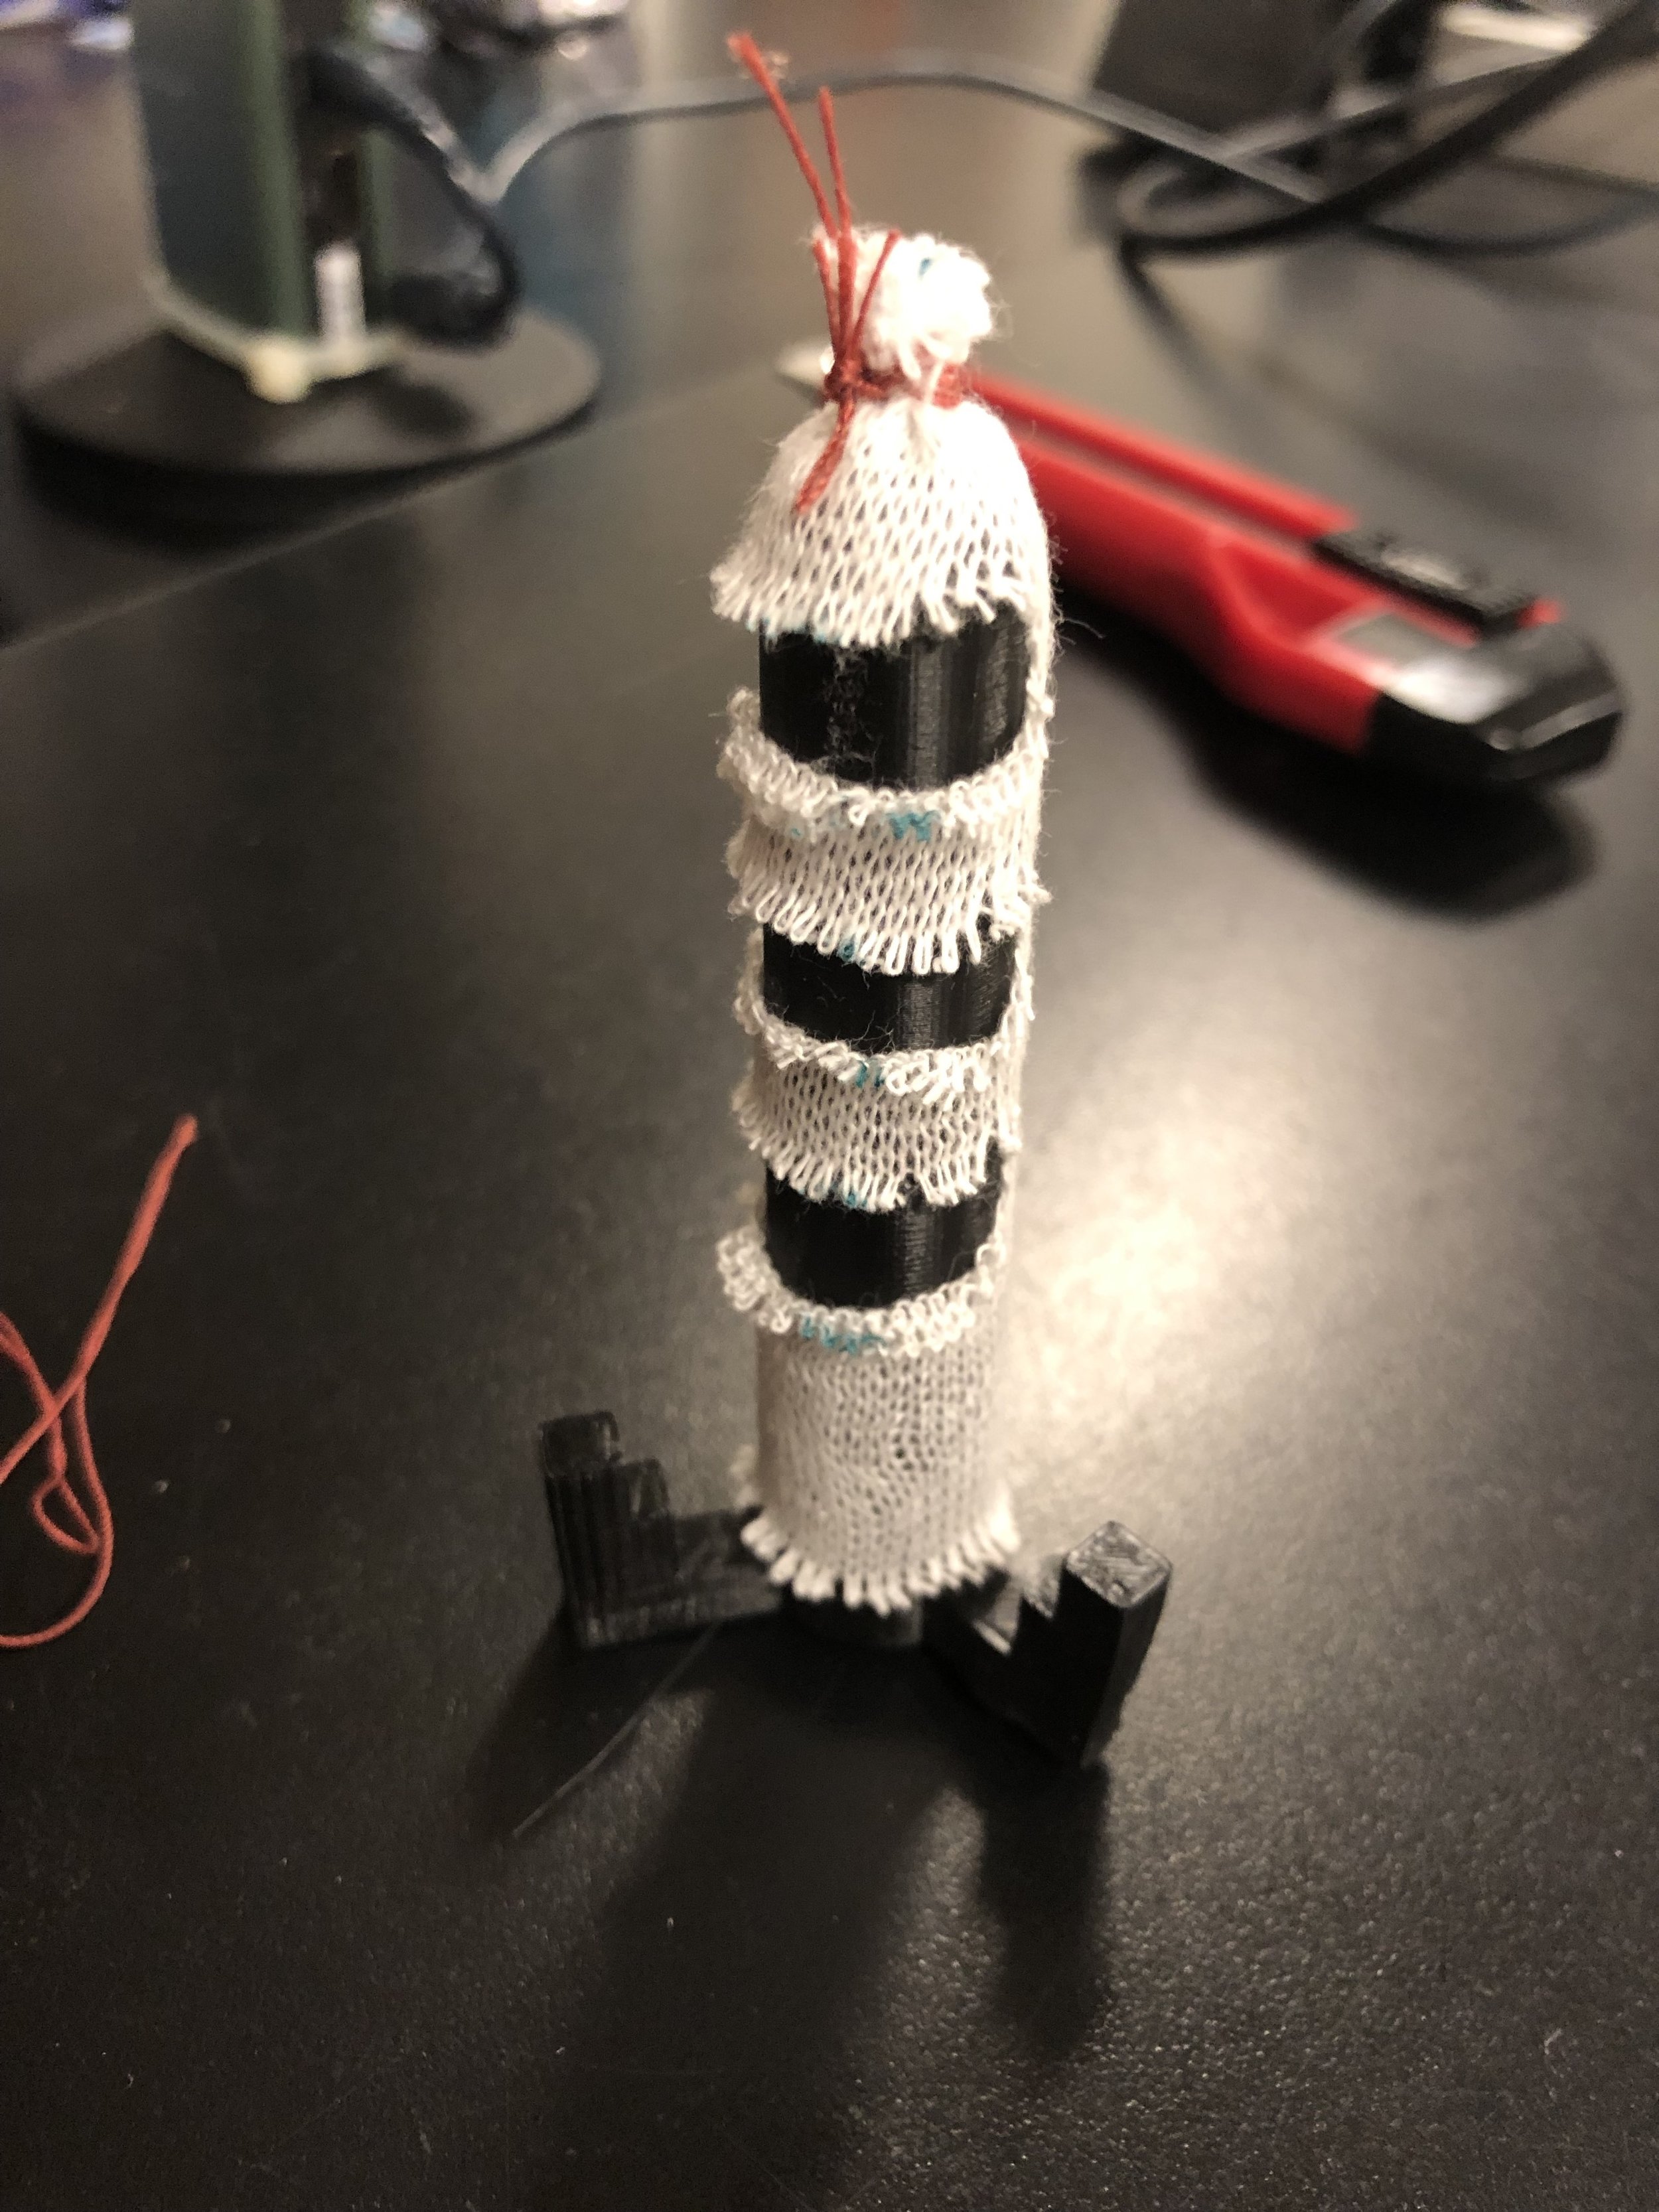
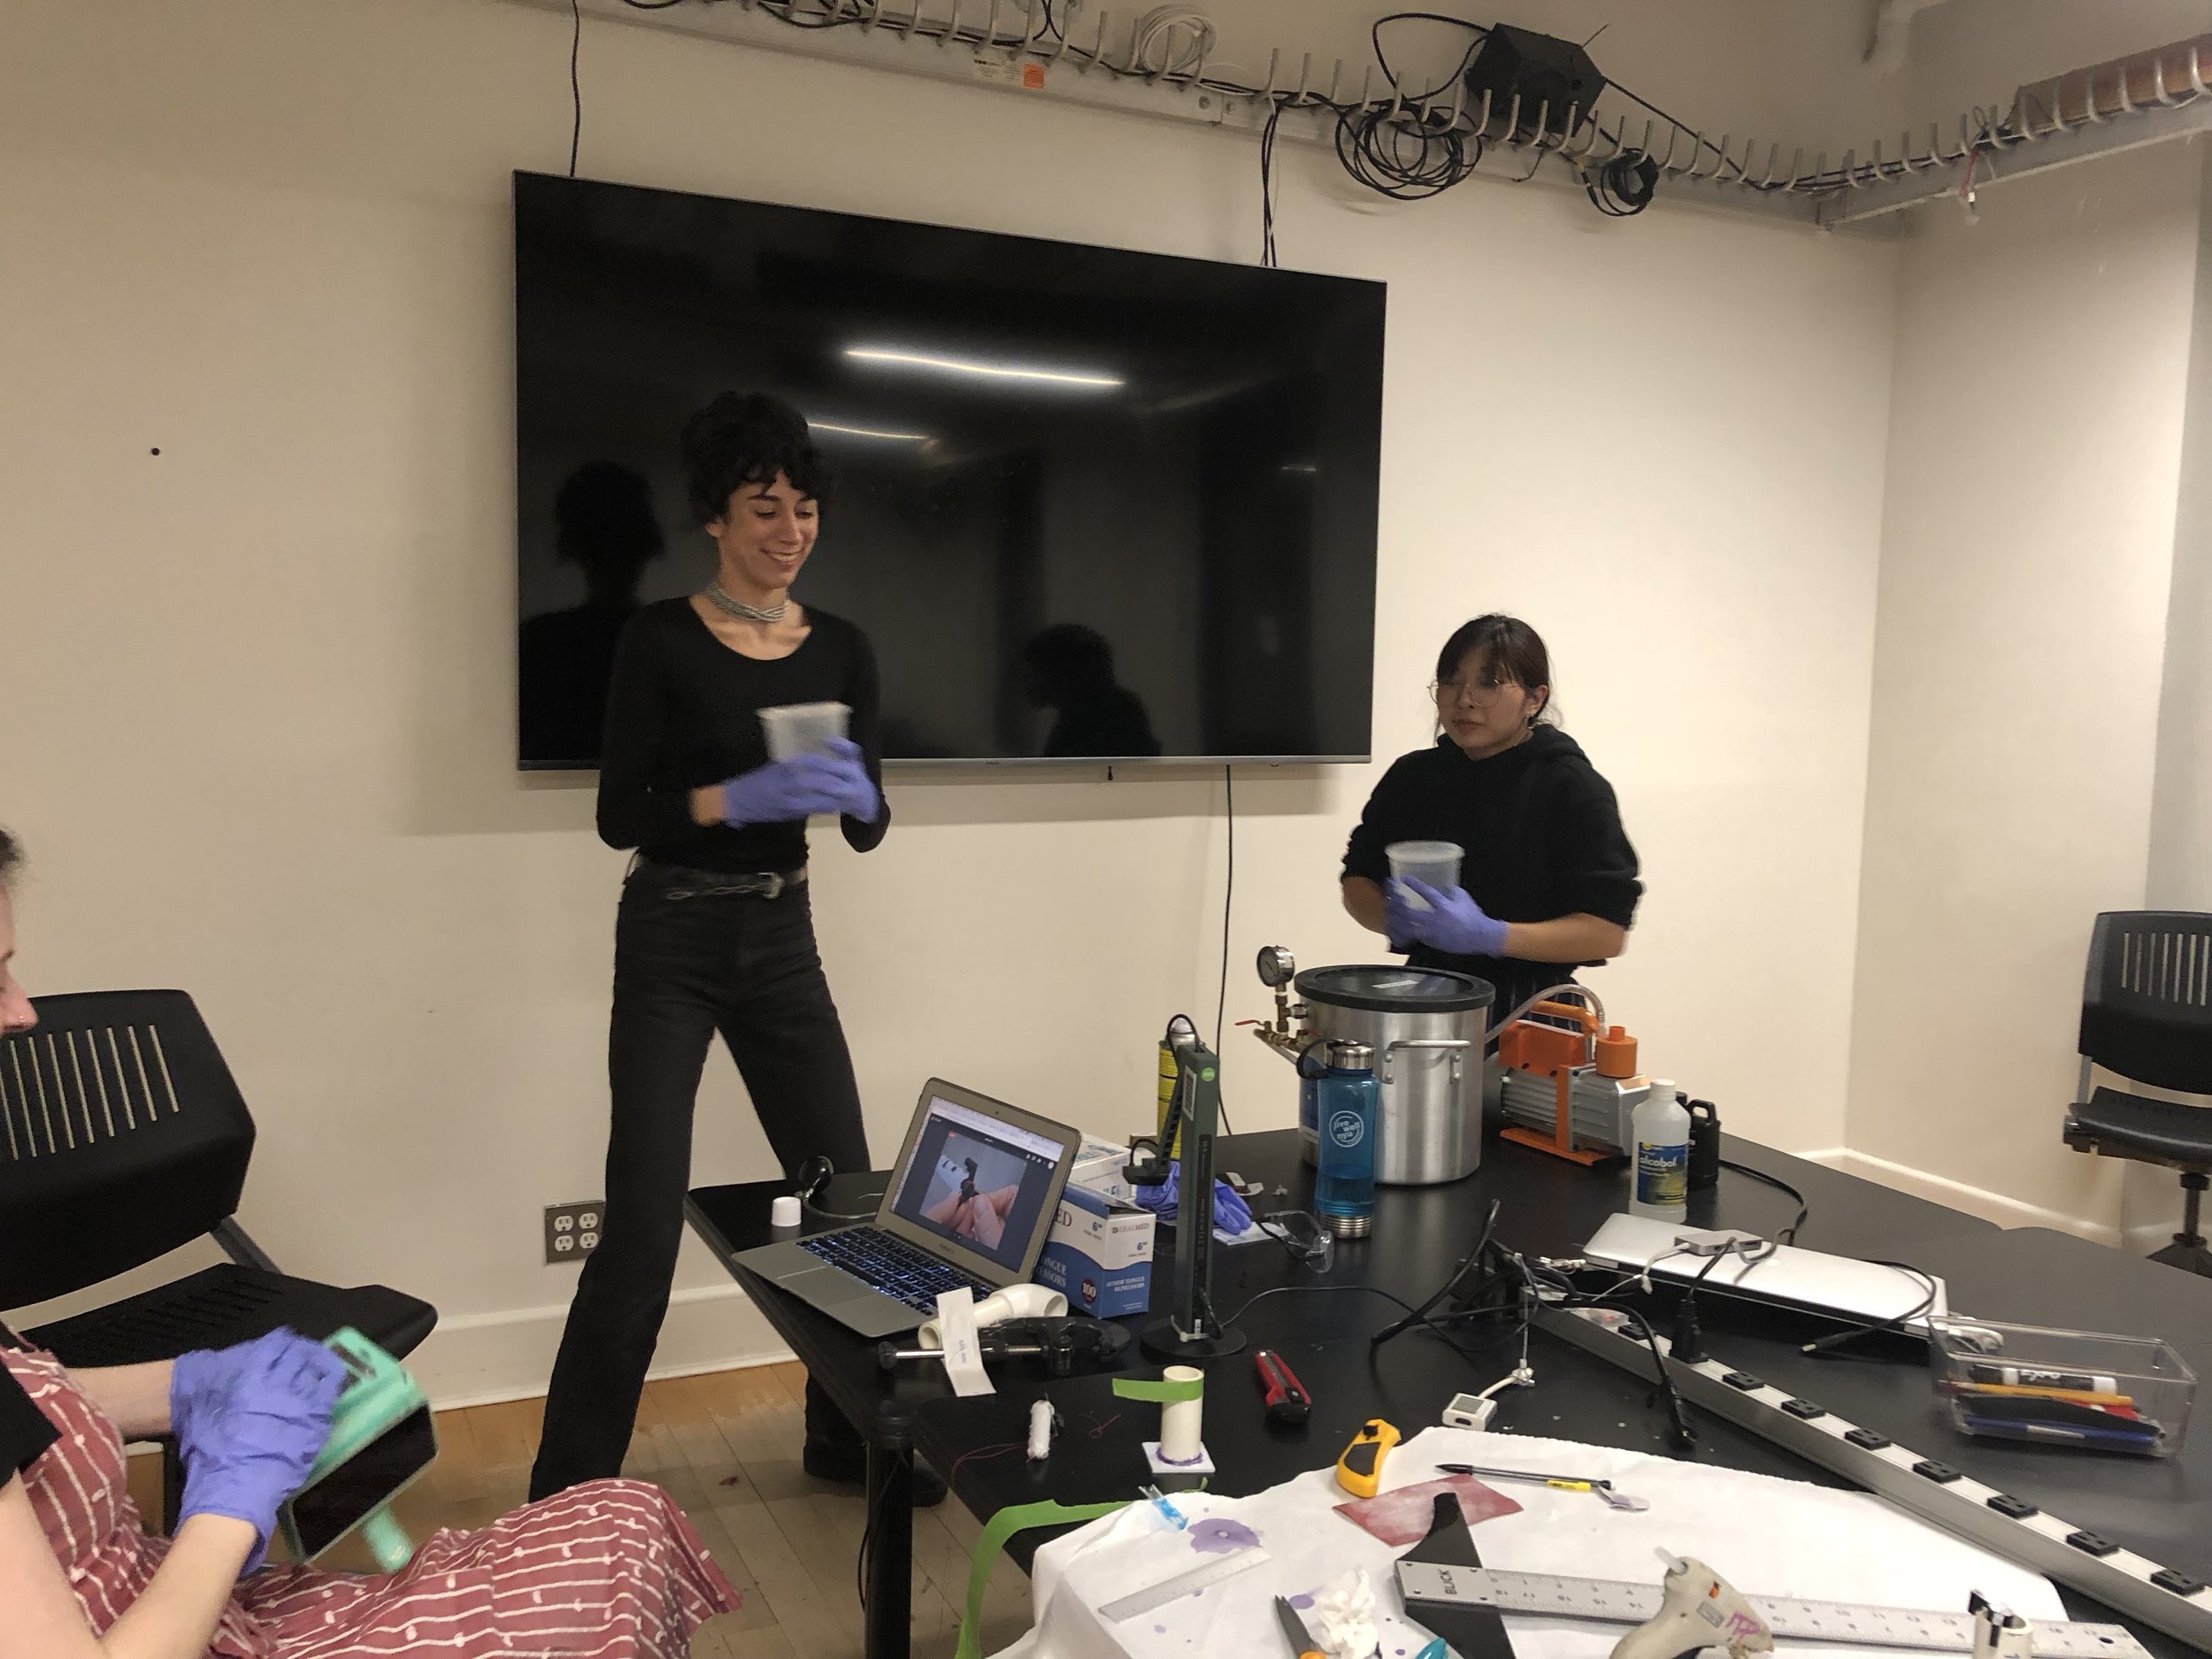
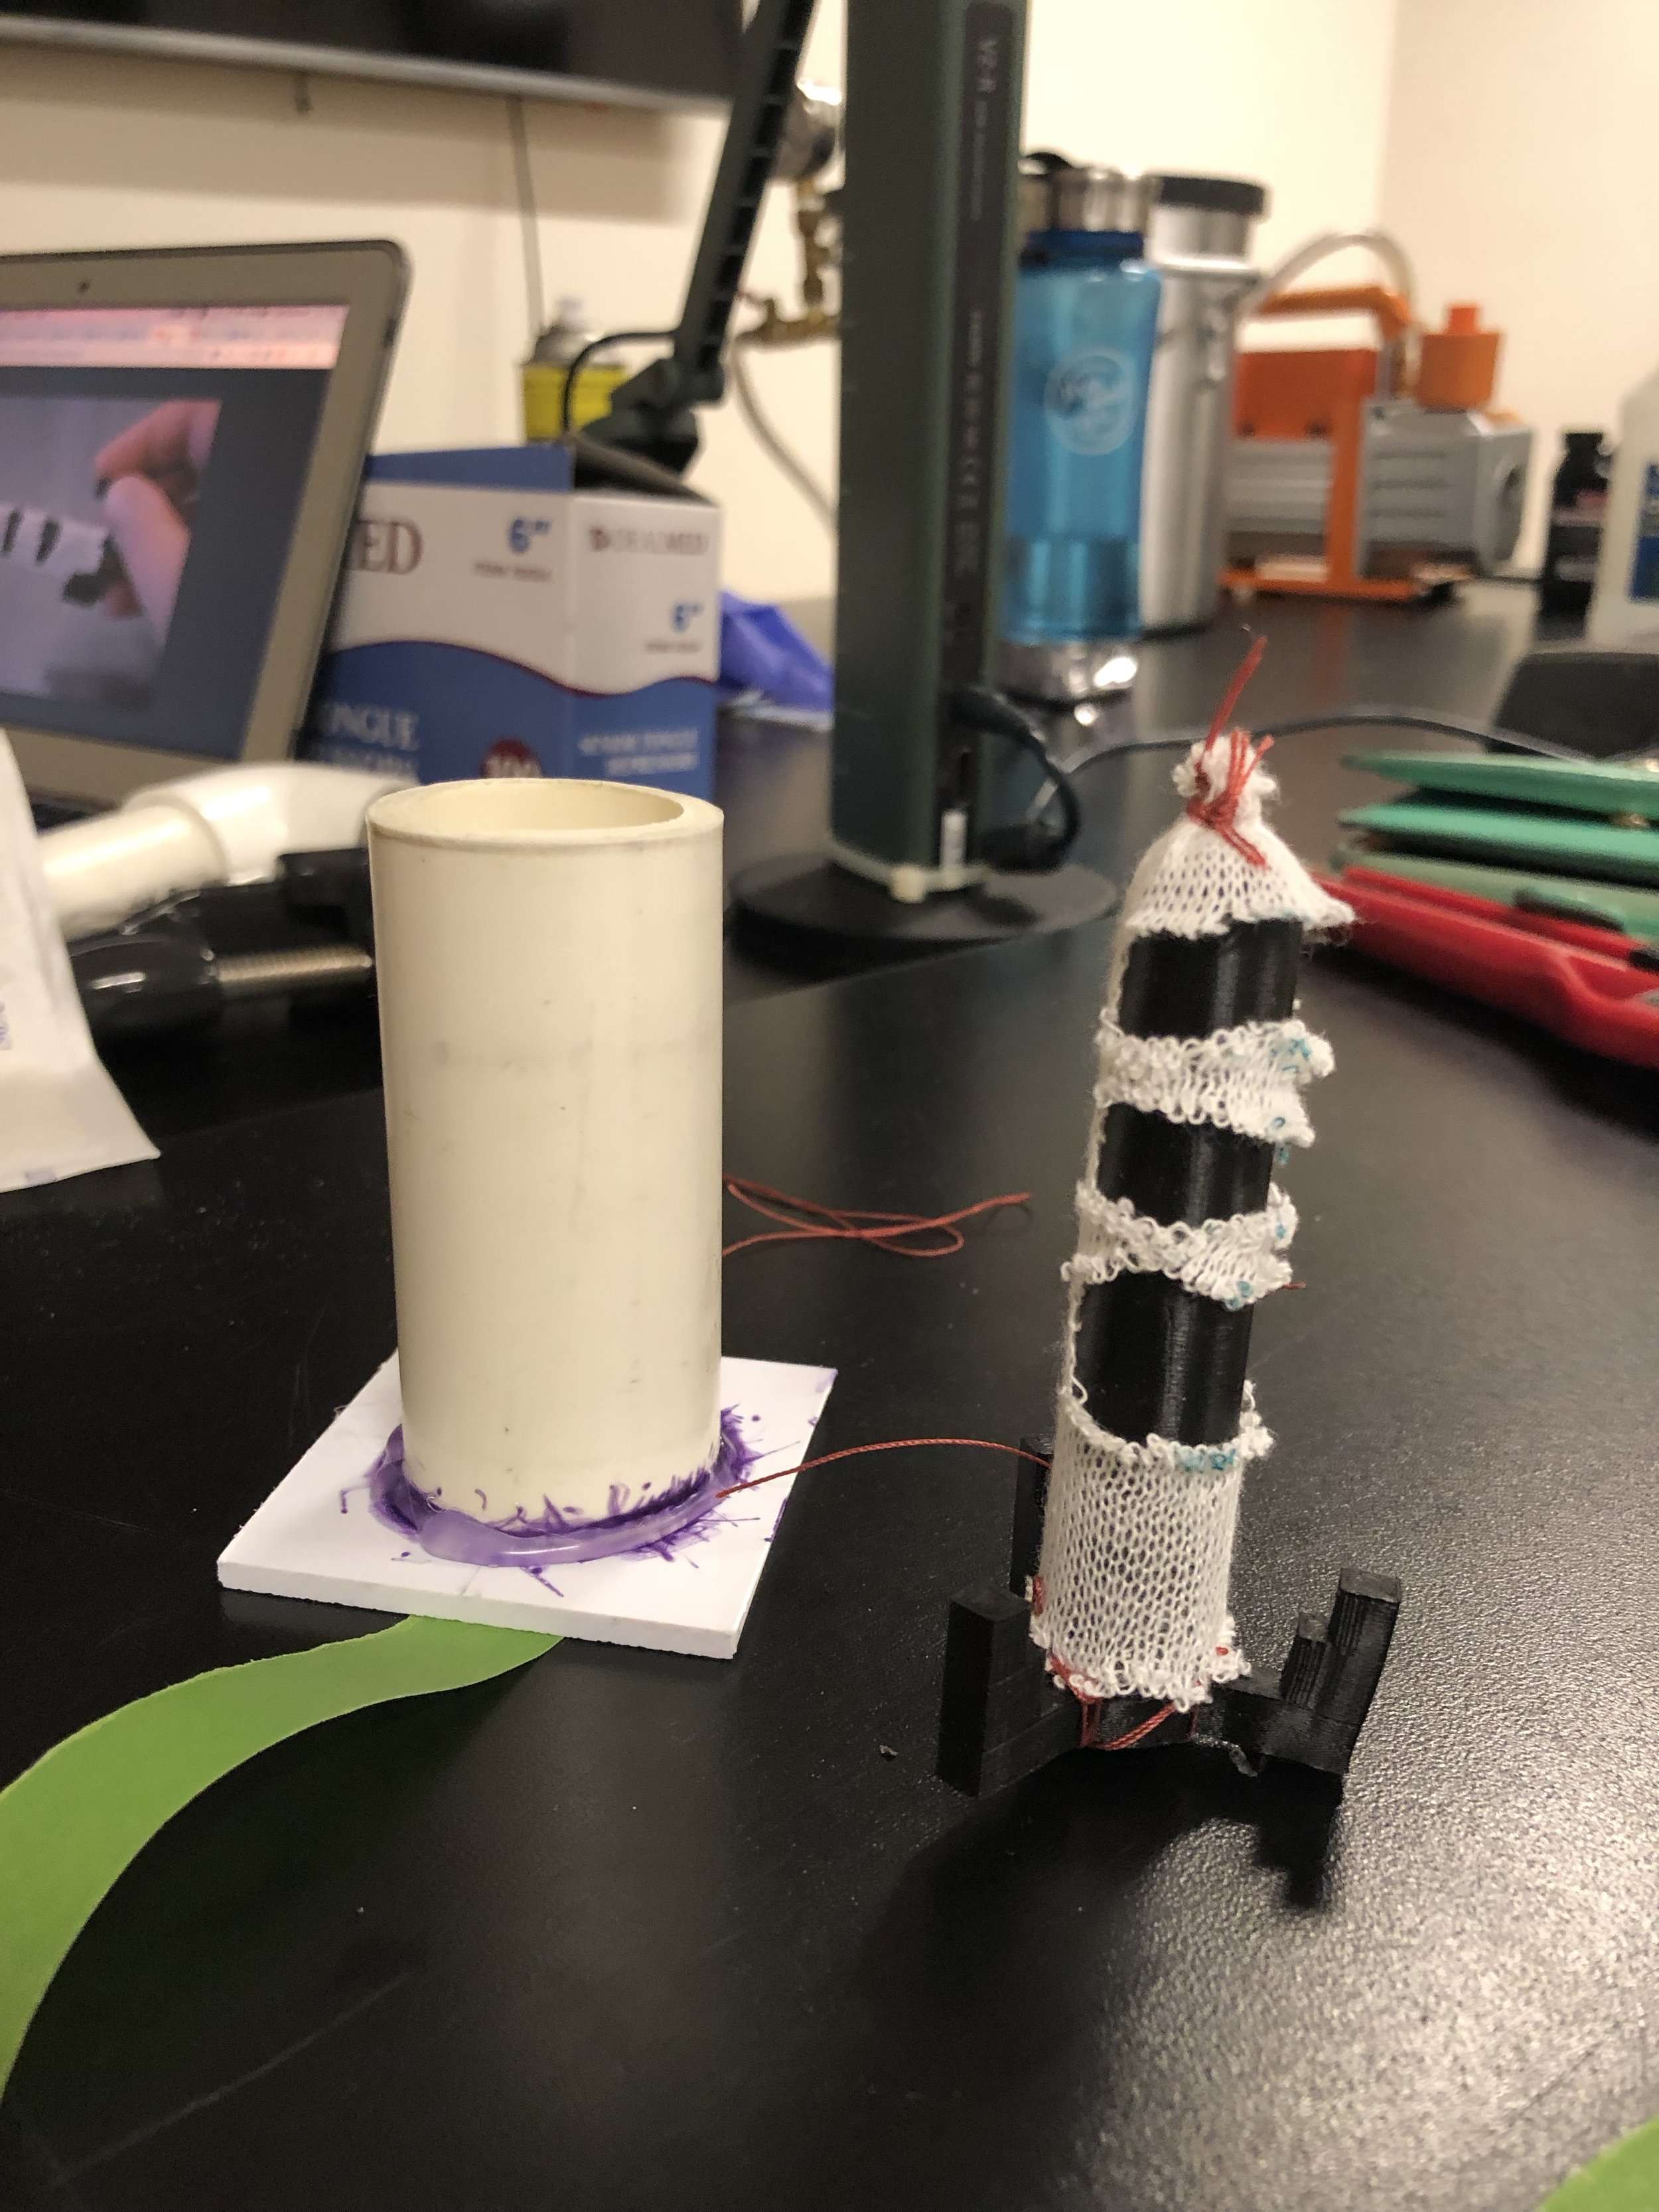
This week I worked with Becca, Gabriella, and Rachel to cast the Bibenda Actuator. First we started out by looking for the pvc pipe but couldn’t find the one mentioned in class, so we improvised and borrowed some from a willing and giving classmate (Nick). Once we had our materials in order, we followed the instructions and were able to create our outer mold. Rachel glued it in place, and I added hot glue around the seams to ensure that a leakage test was performed before mixing and putting in the silicon.
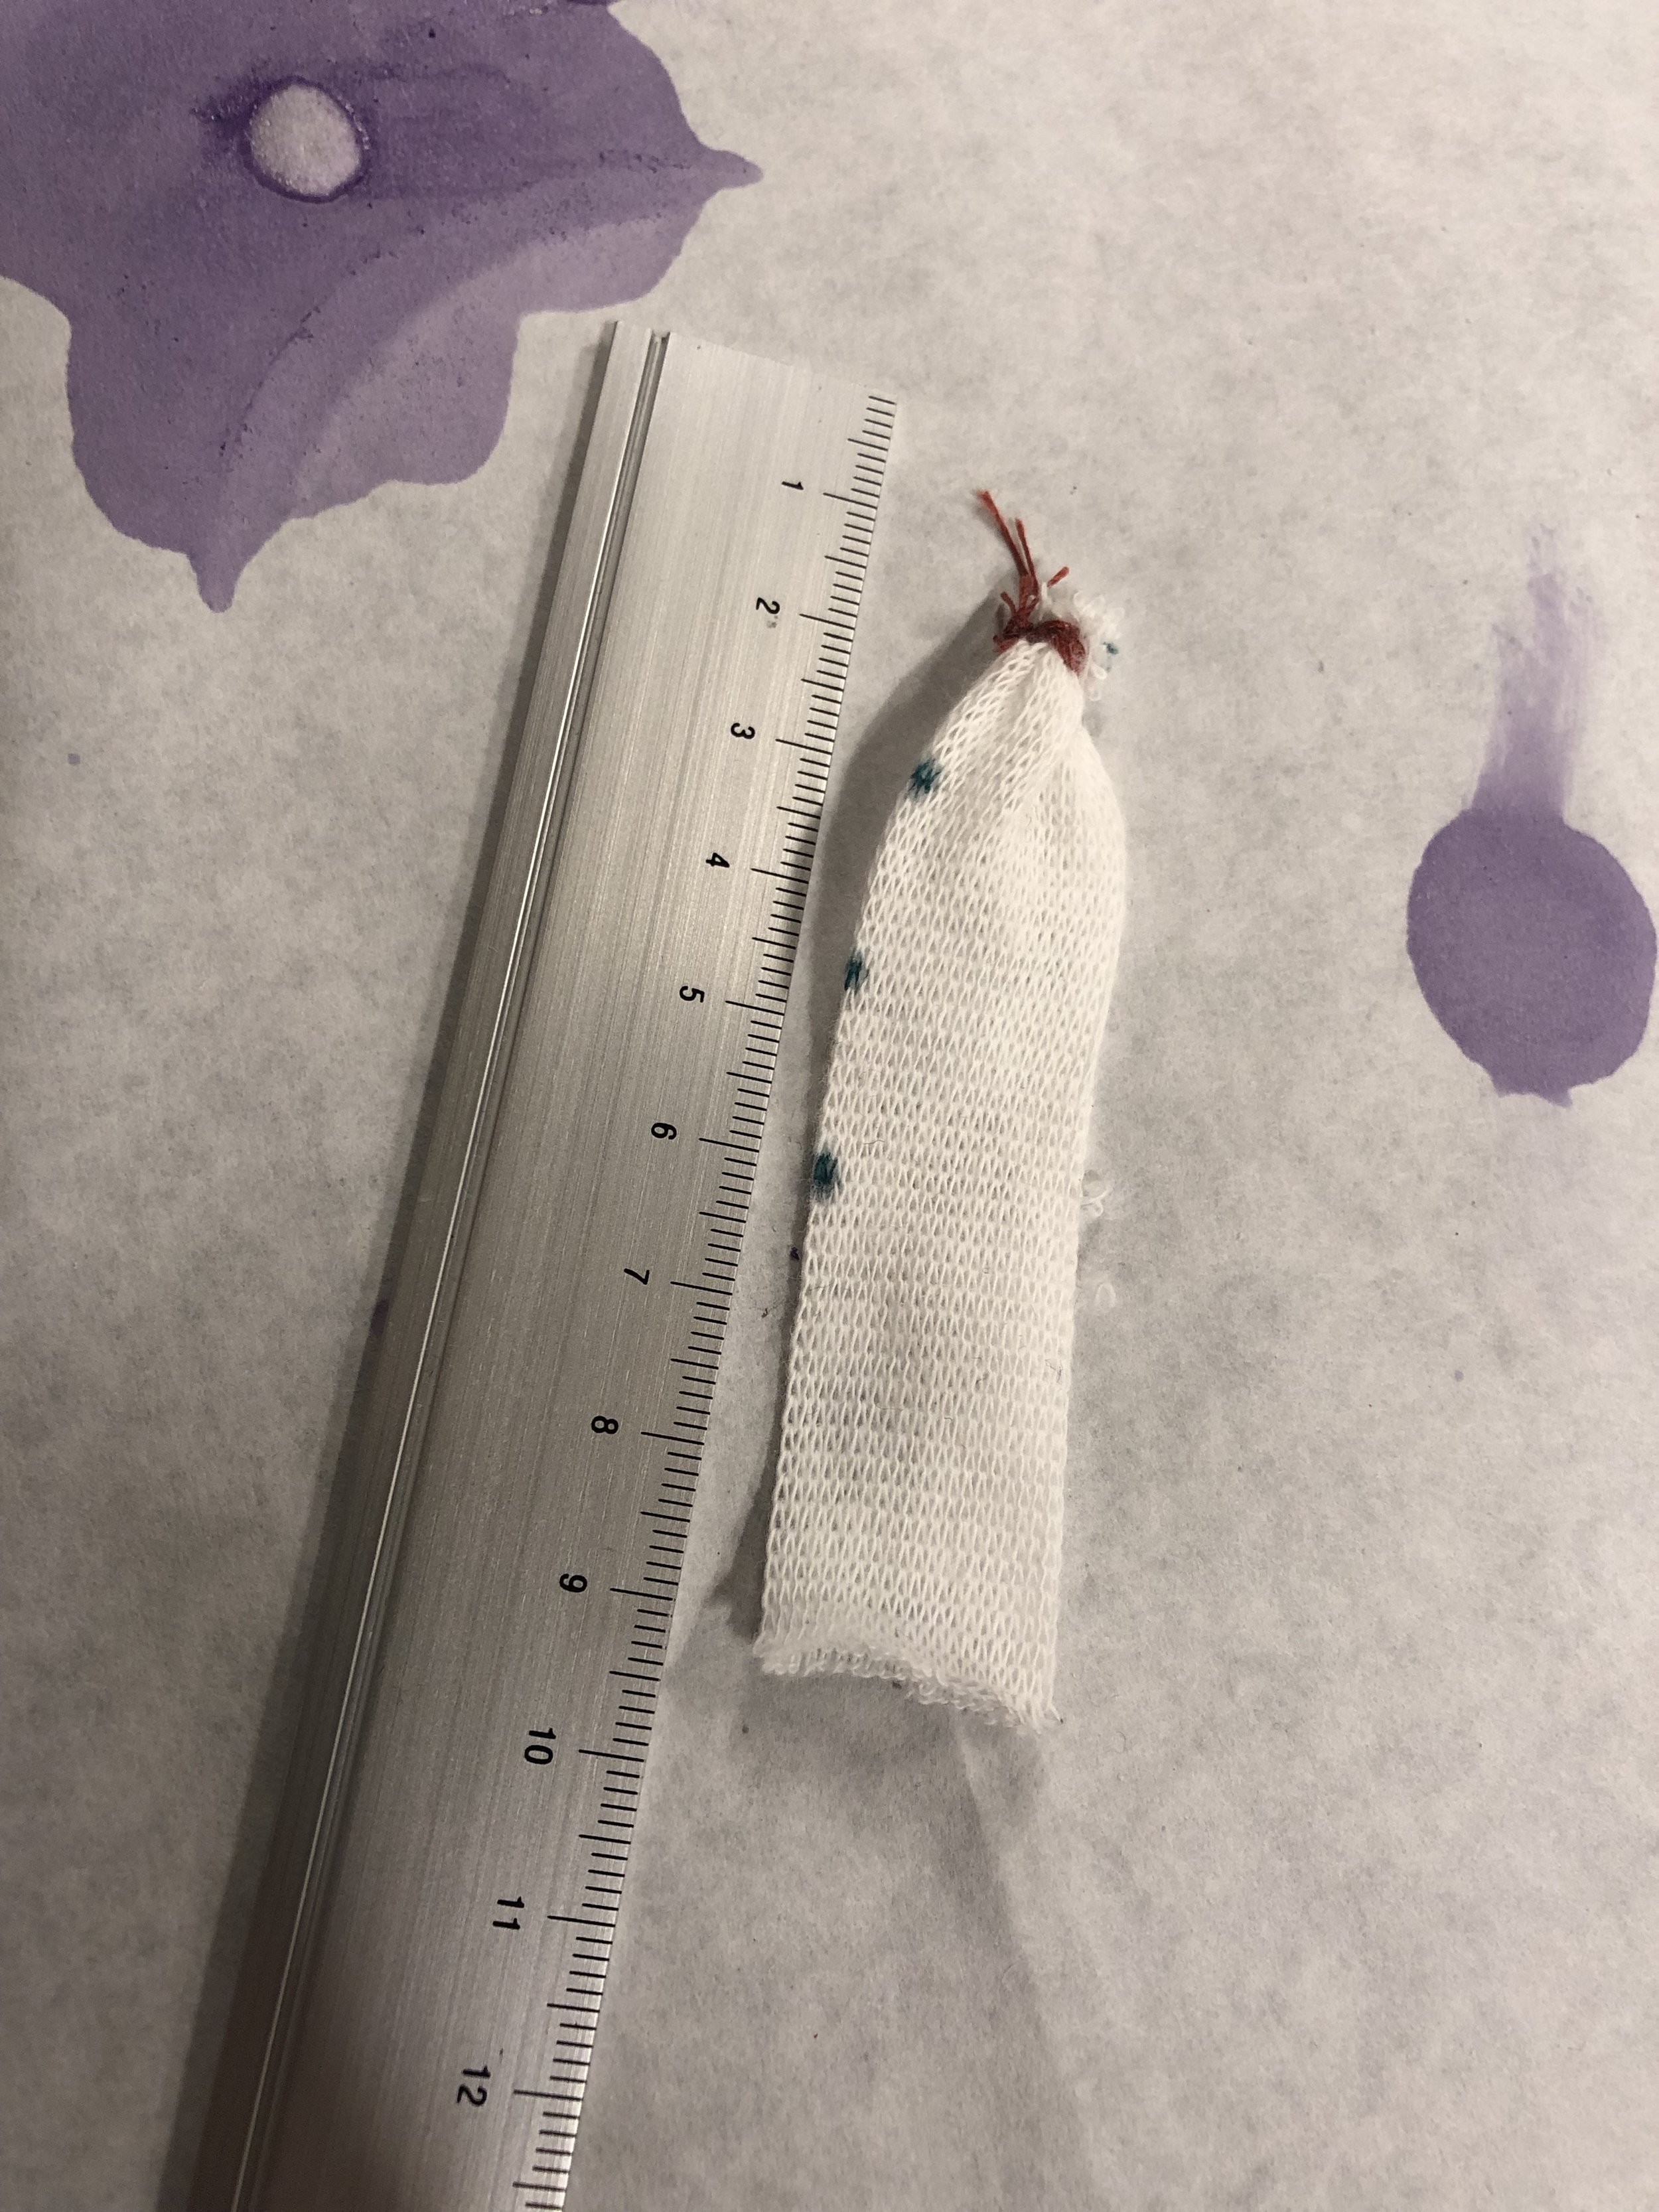
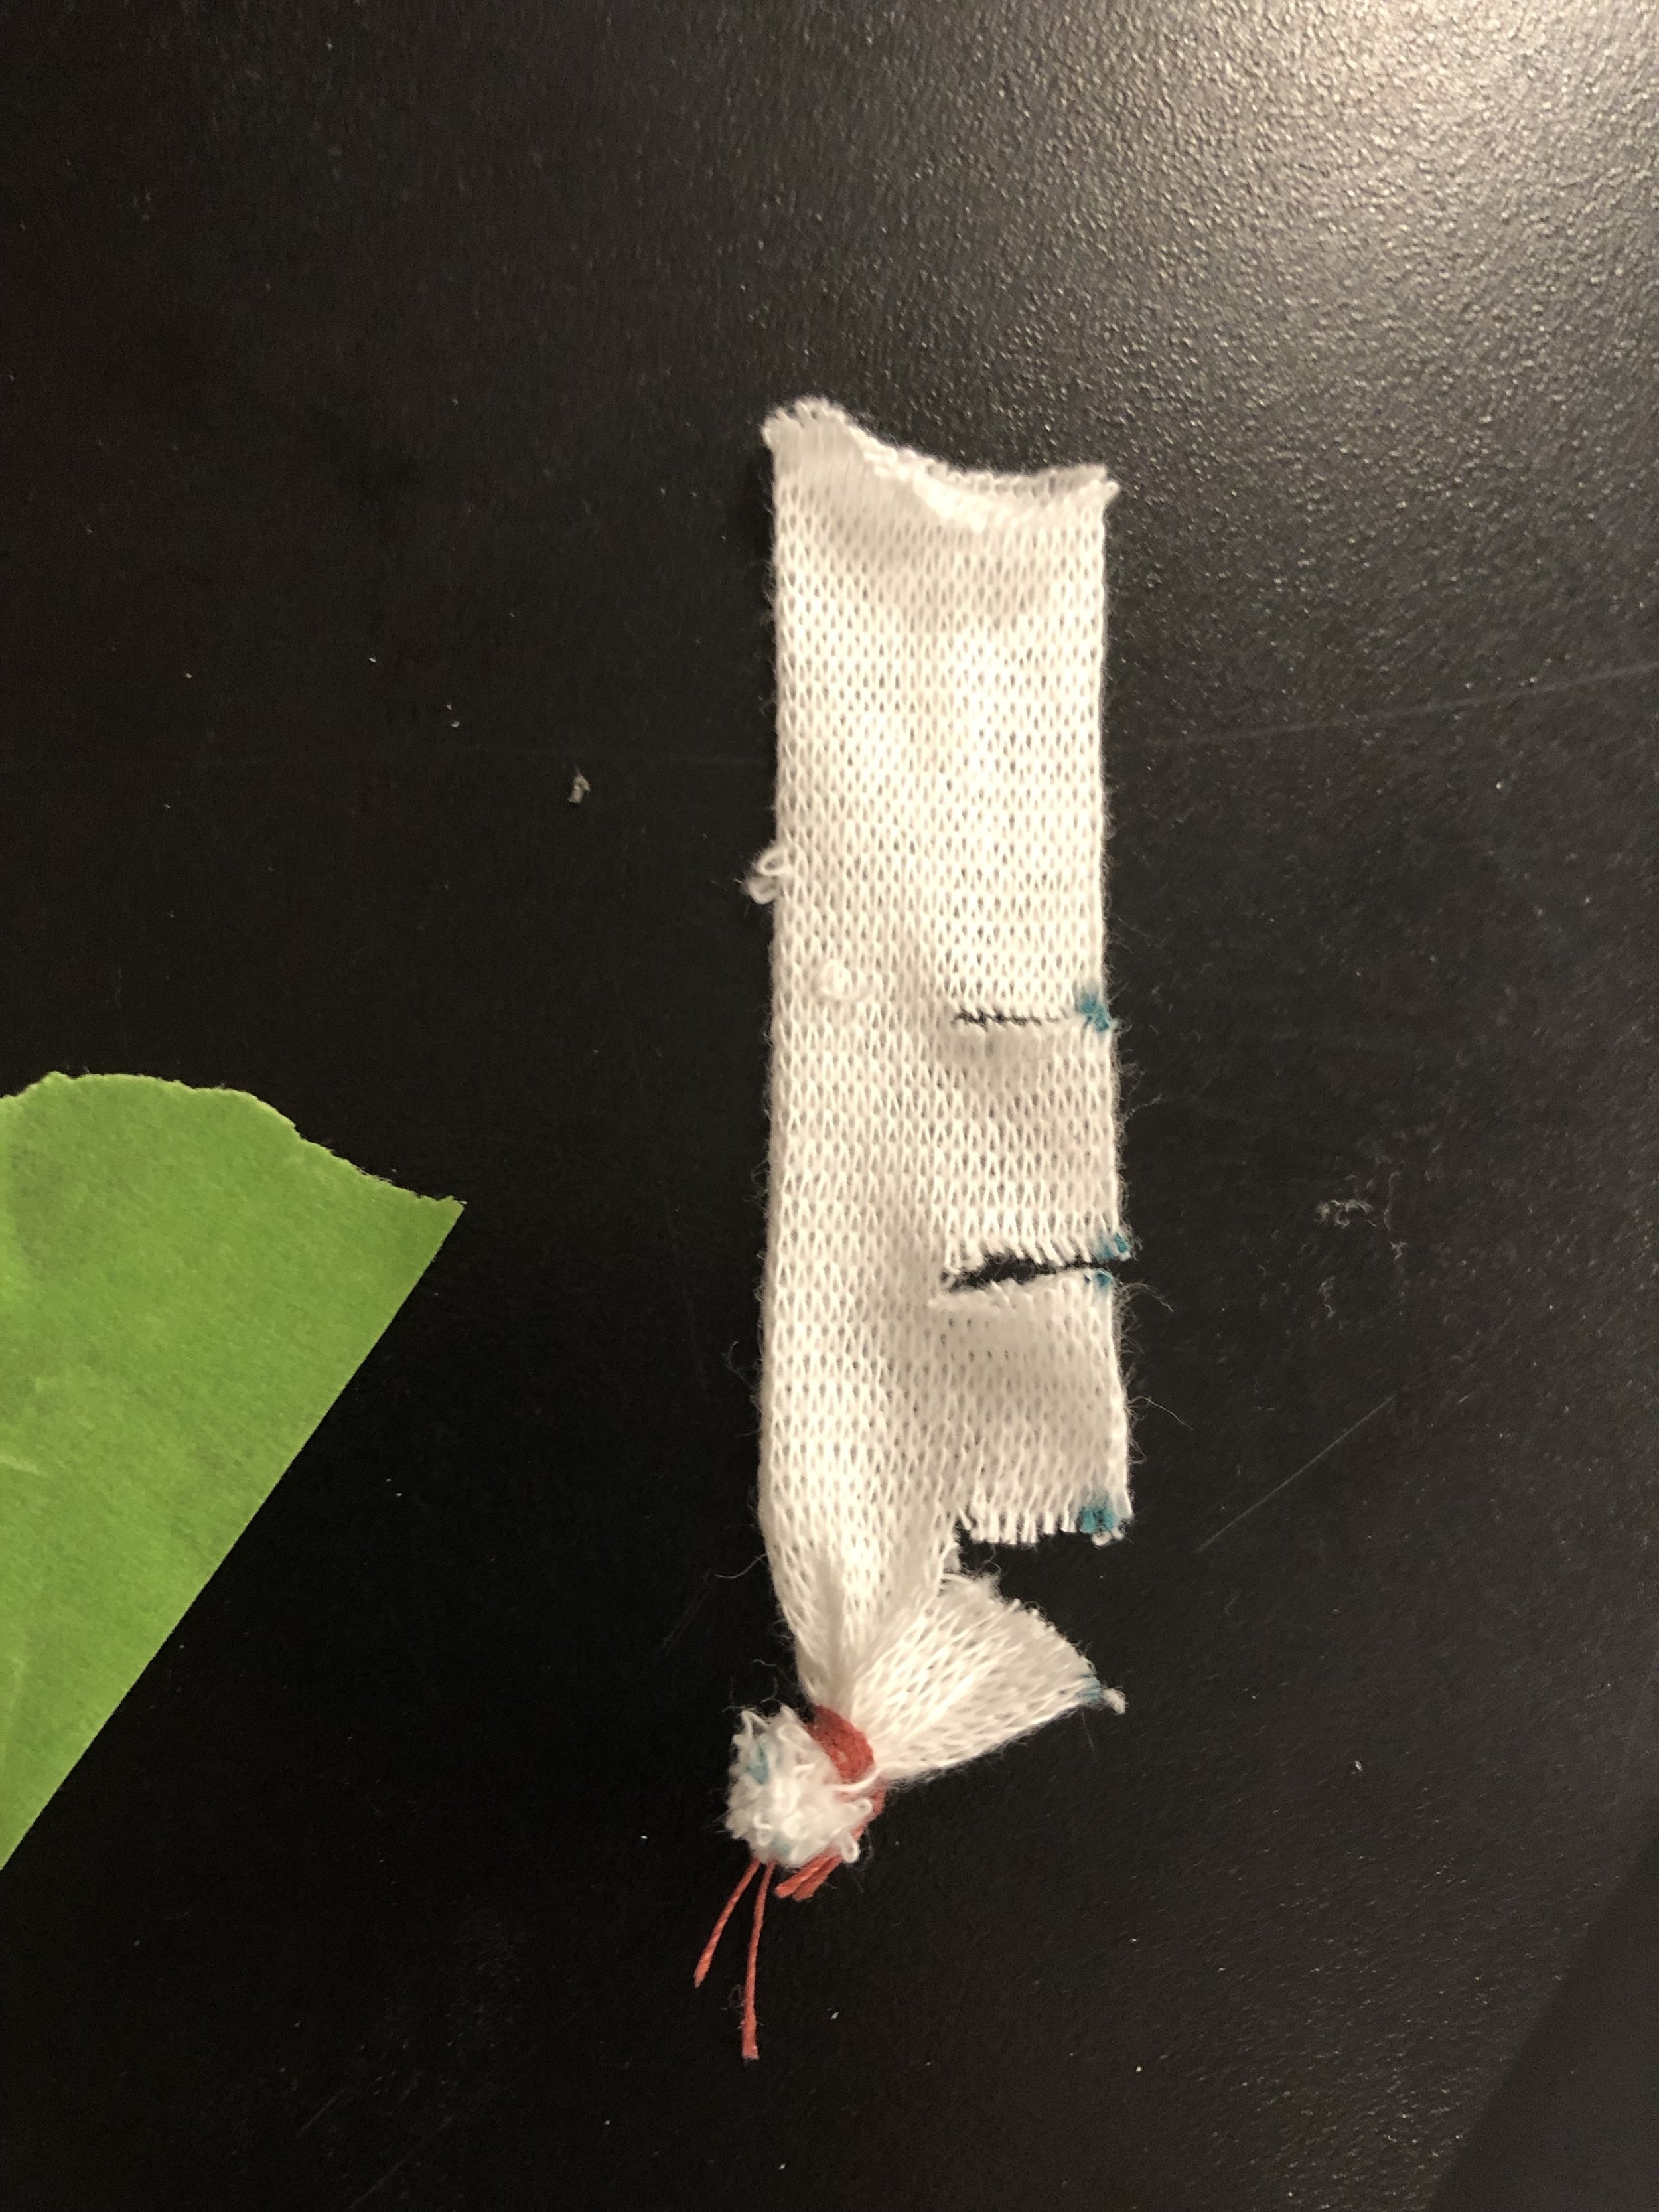
We used one of the 3D printed inner core molds that was provided and began to cut the medical gauze for the inner mold. We had no trouble sewing but we may have cut a bit short on the first 15 mm because later on in the experiment, we had some troubles with it fully staying on the core part.
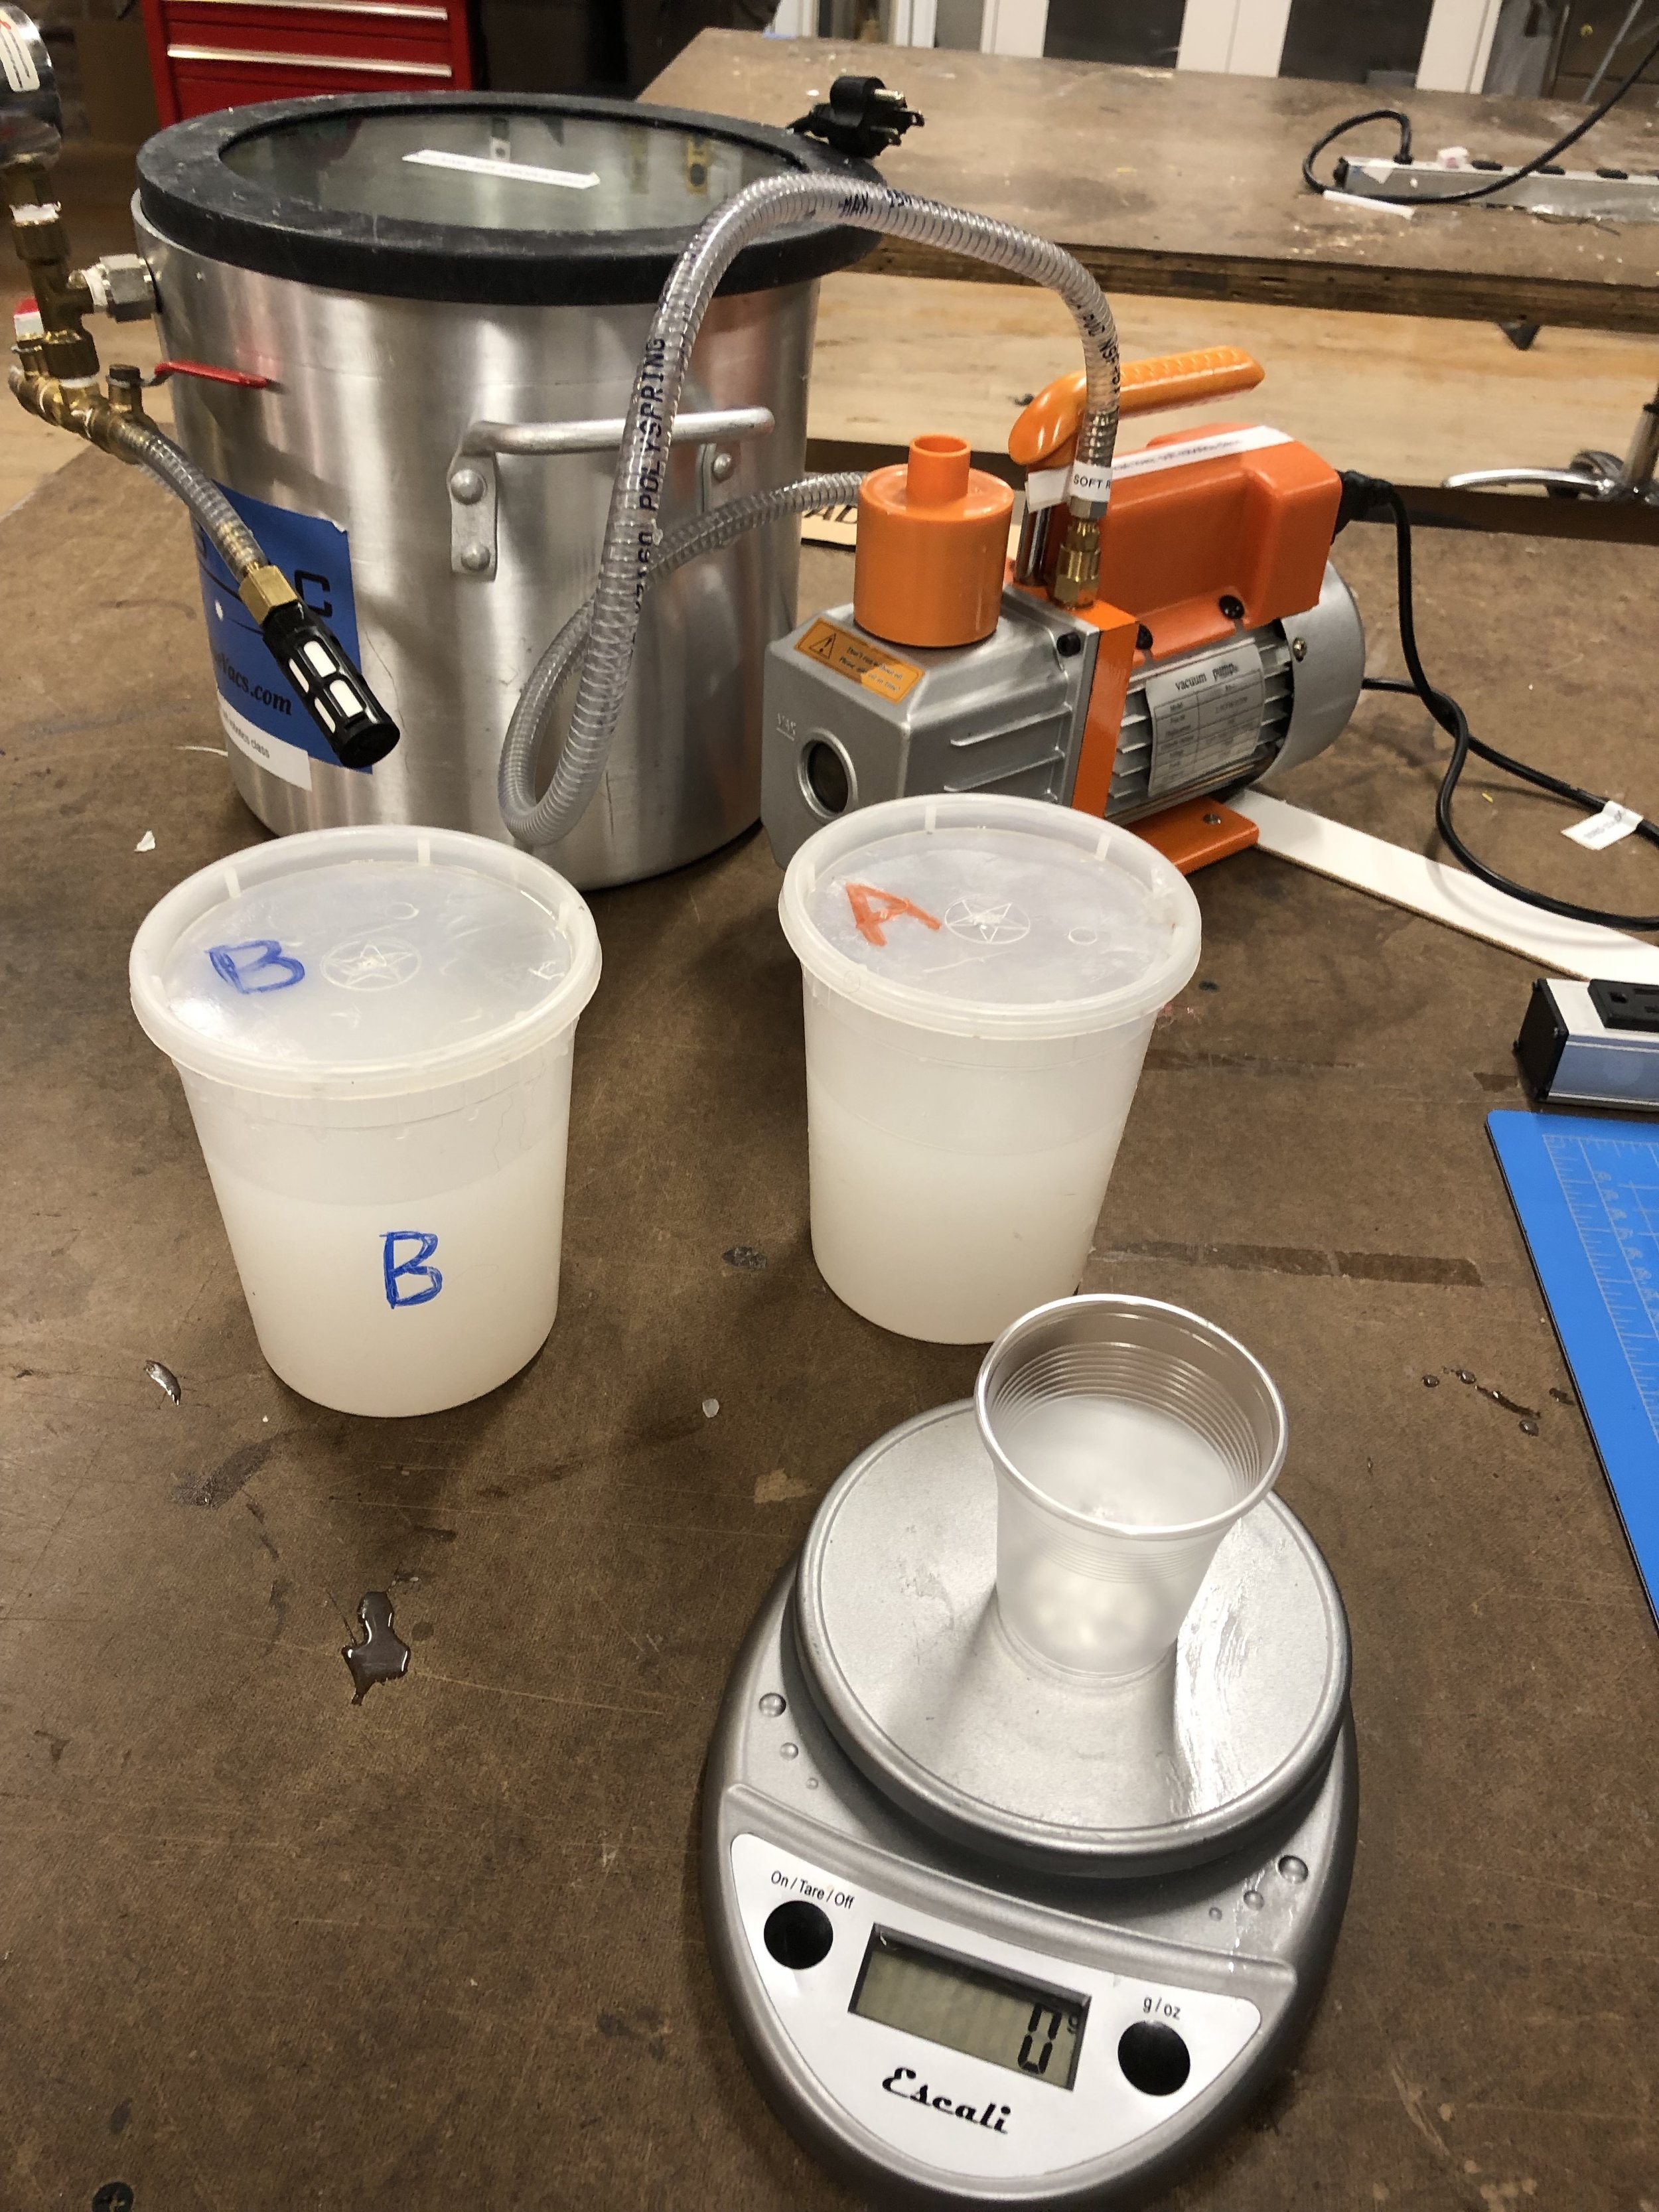
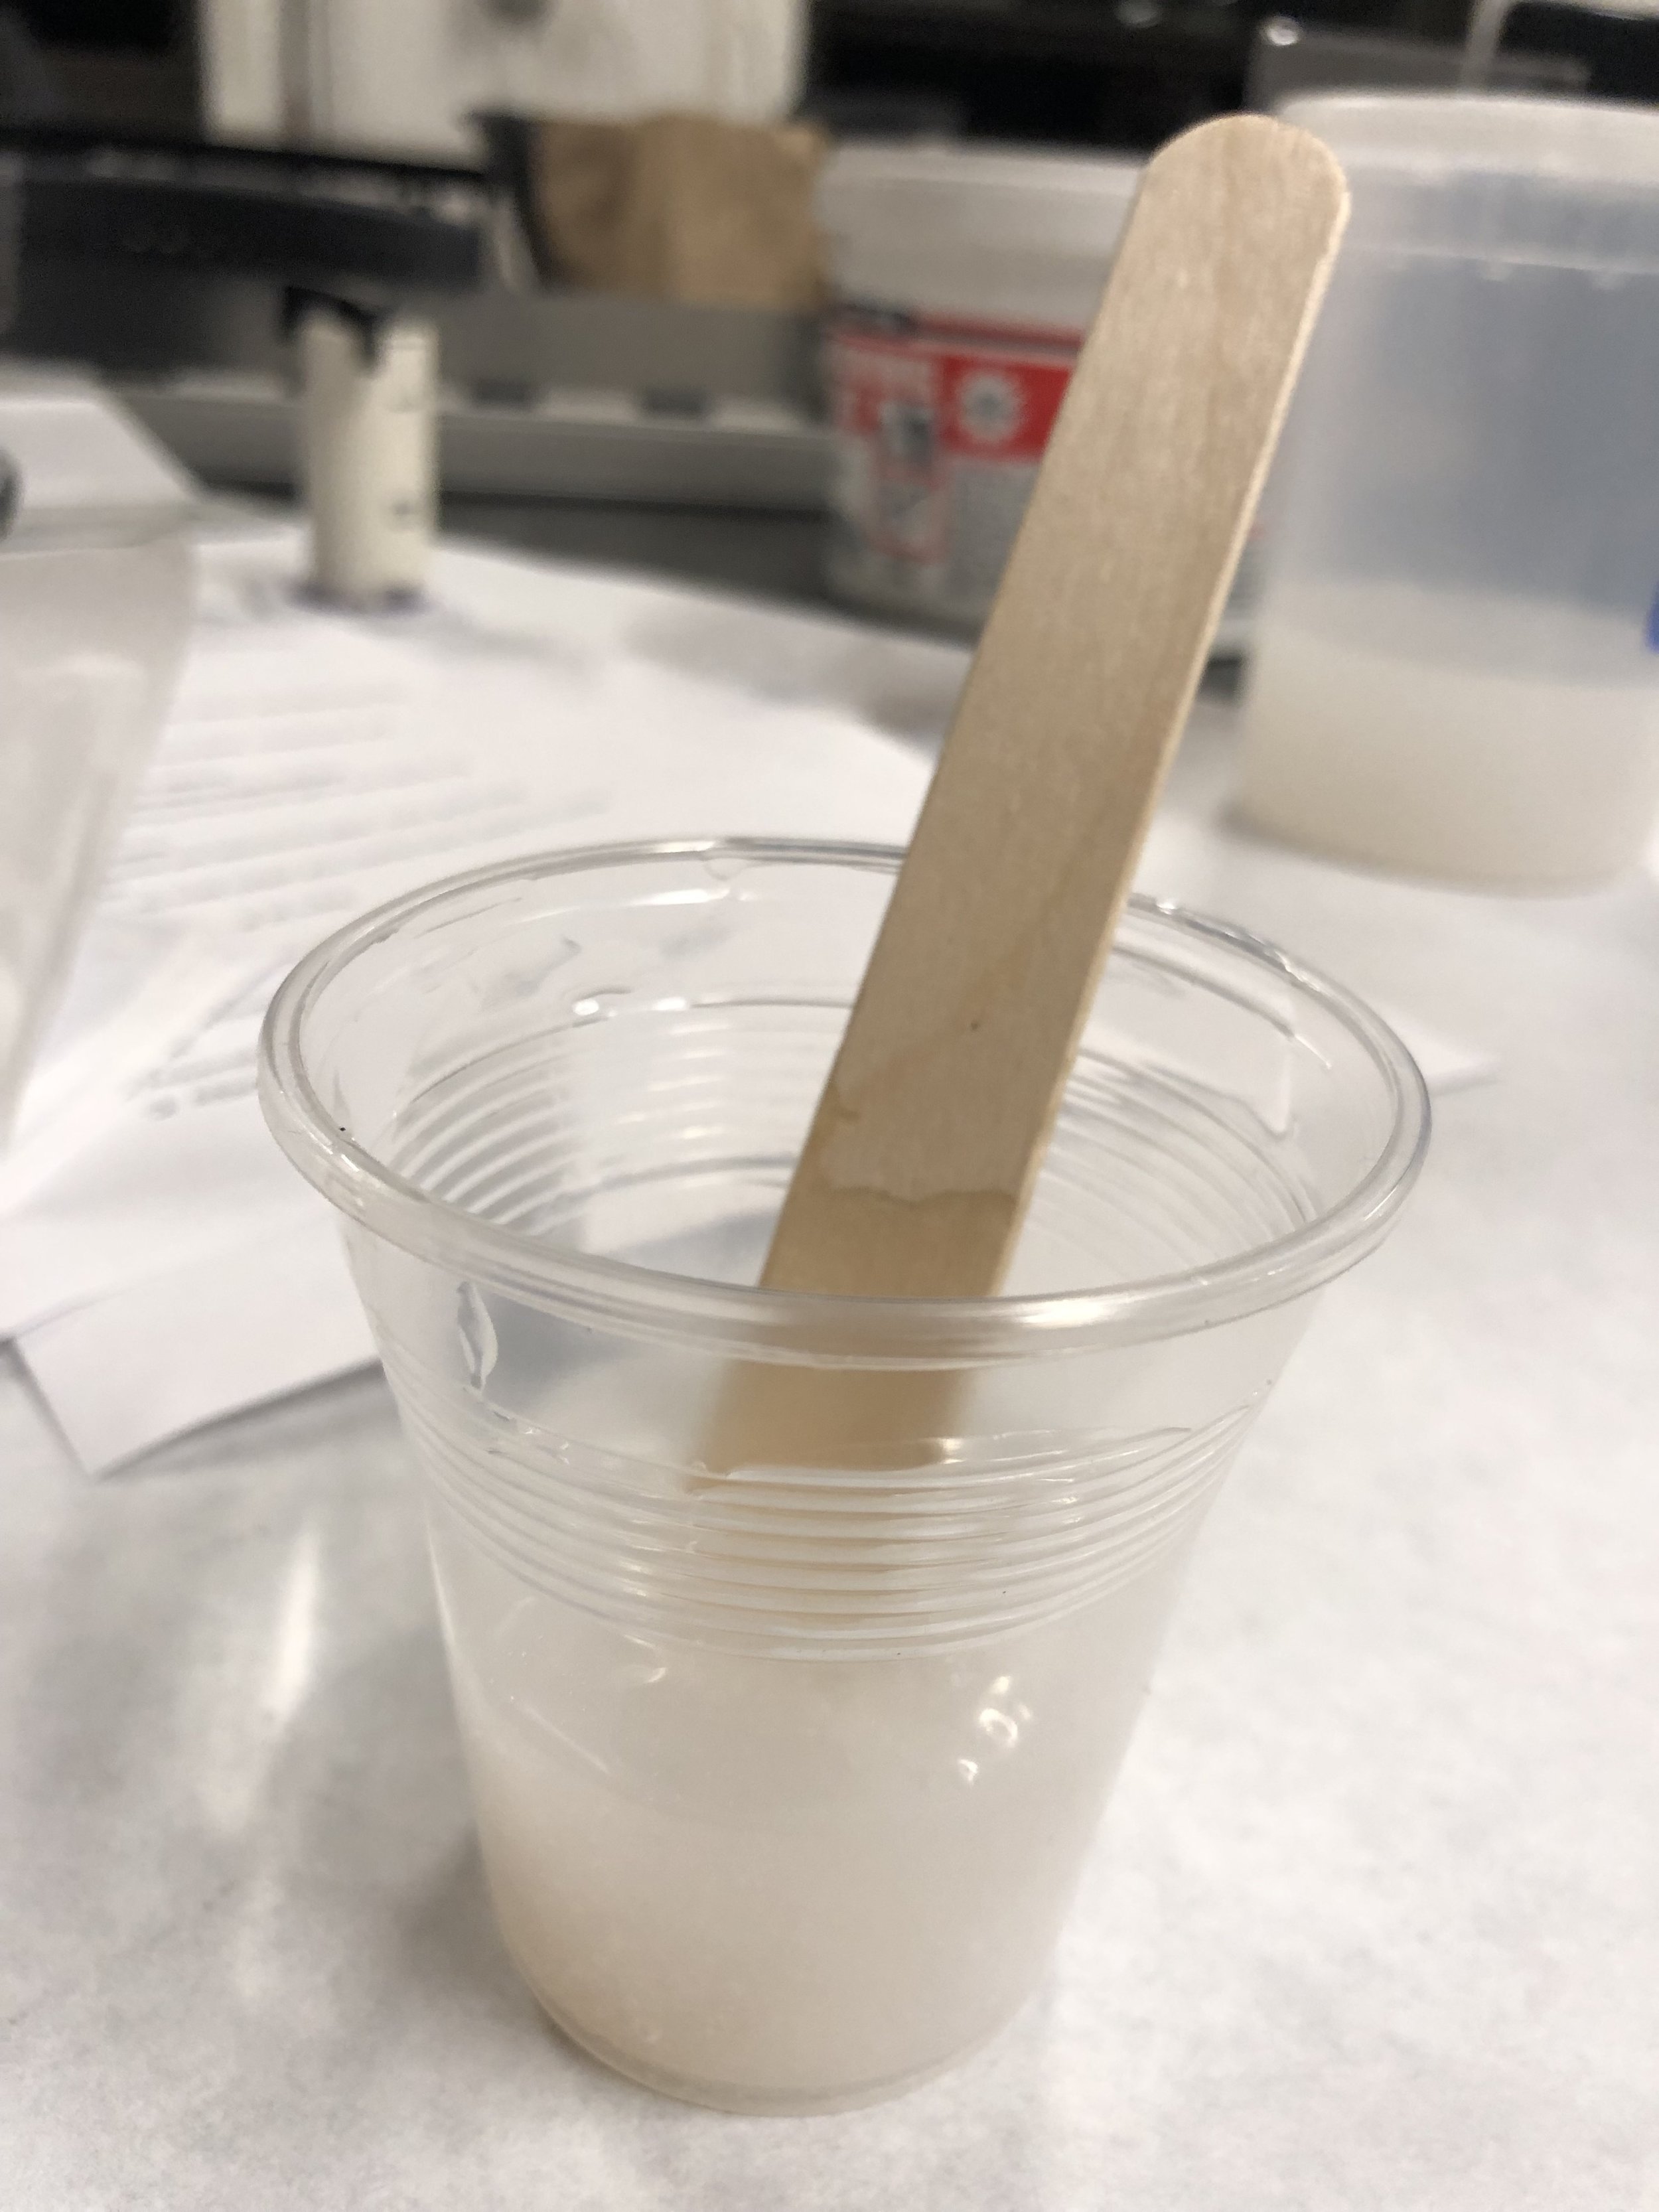
We then mixed both parts A and B and measured out 26 grams of each (52 g total) into a plastic cup that was tarred on the scale. The solution was mixed and some was placed on the inner core piece before putting it into the vacuum to get the air bubbles out. Next we poured into the outer mold and placed back into the vacuum. Troubles here were that the core was bubbling up to the surface and not staying in place. We attribute this to pvc pipe size differential.
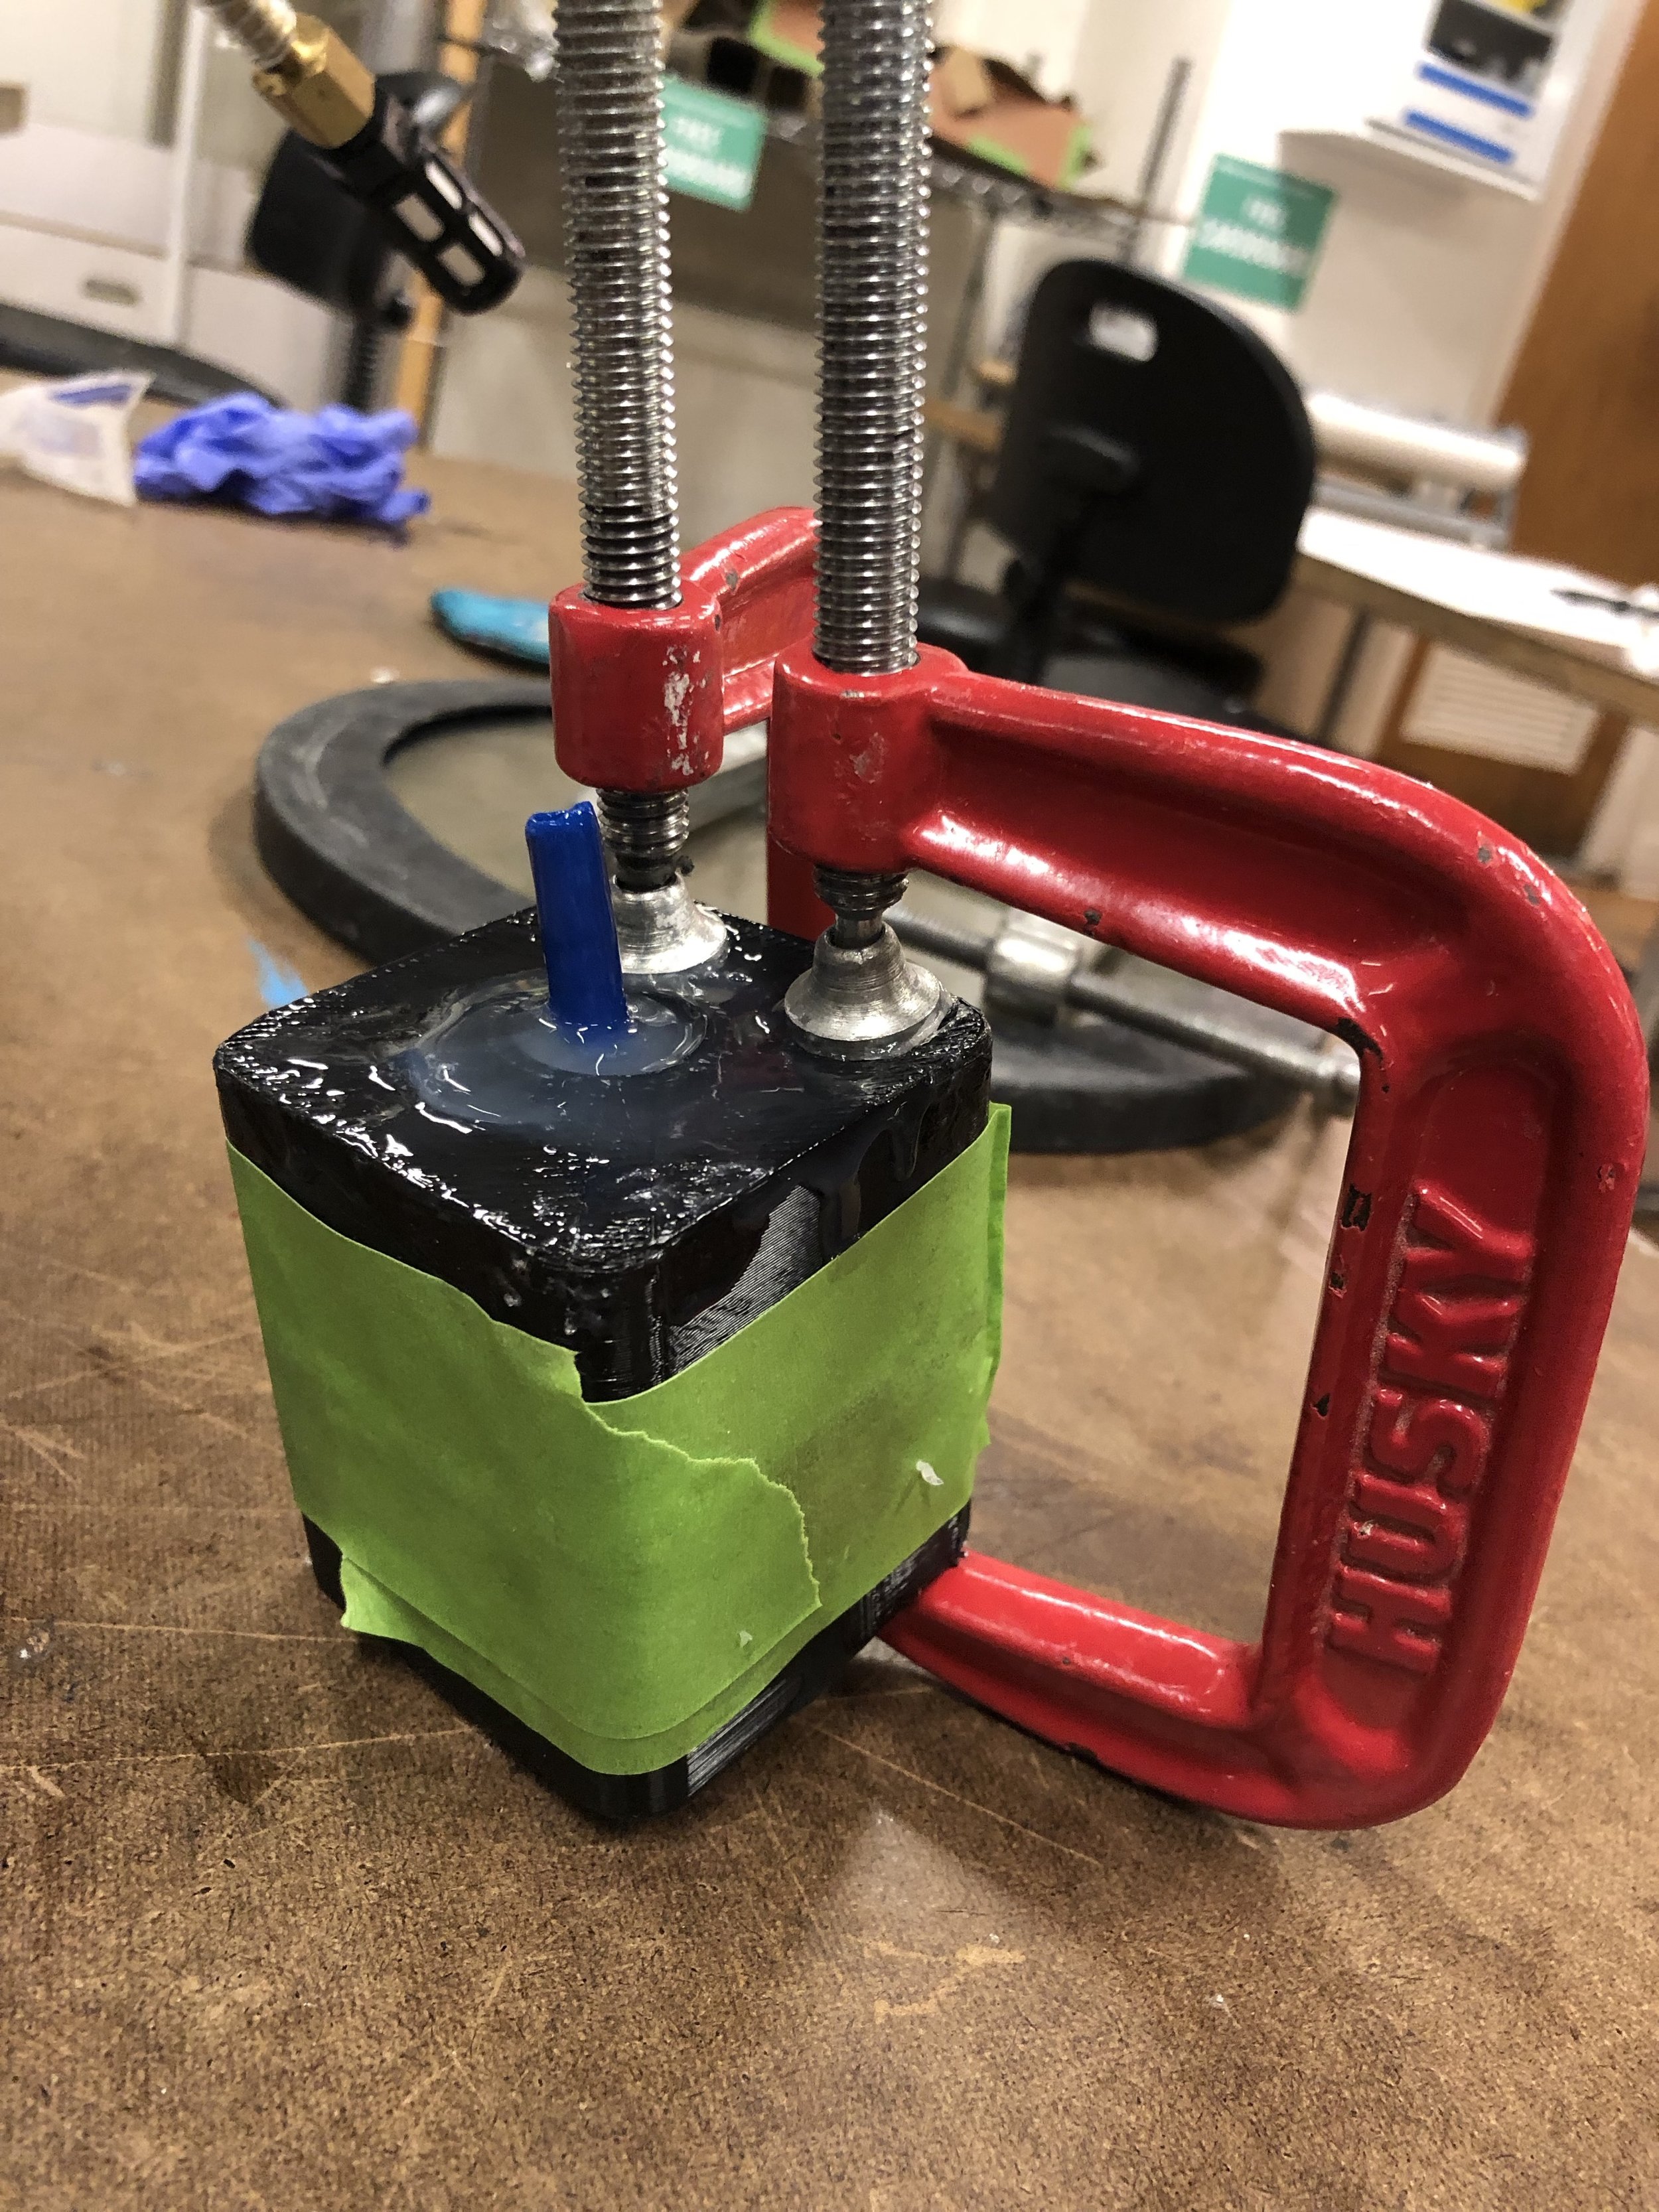
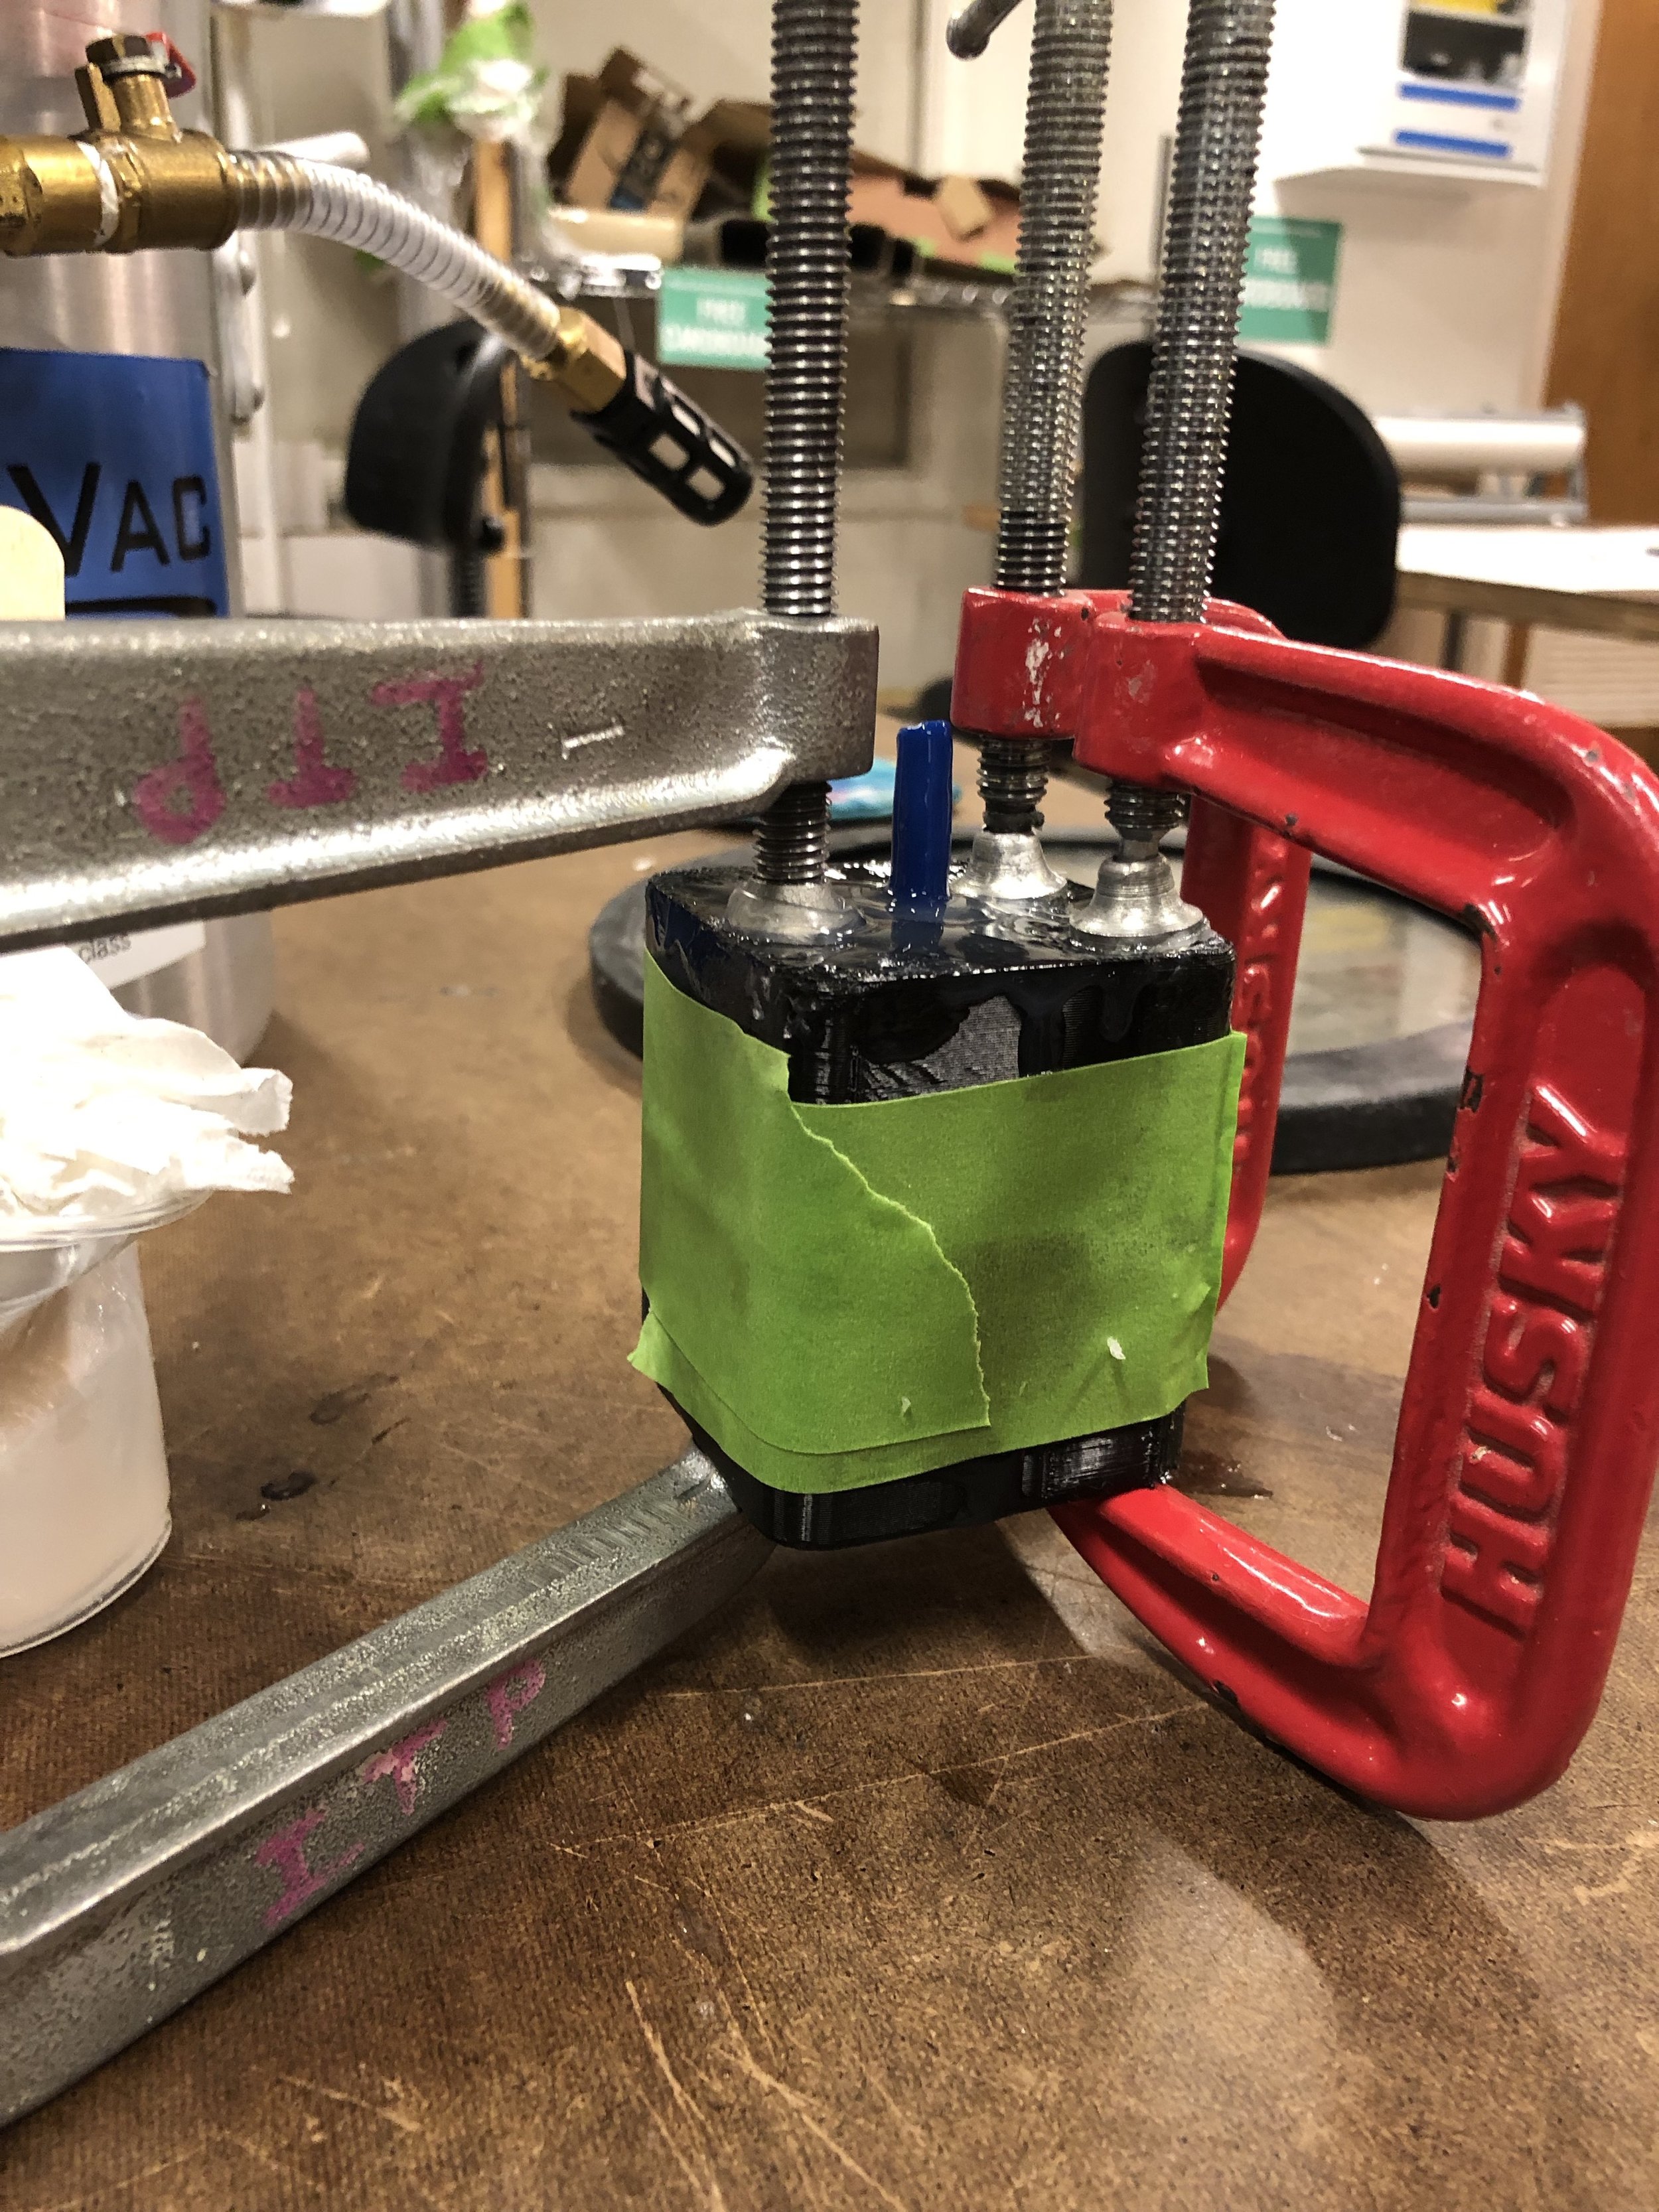
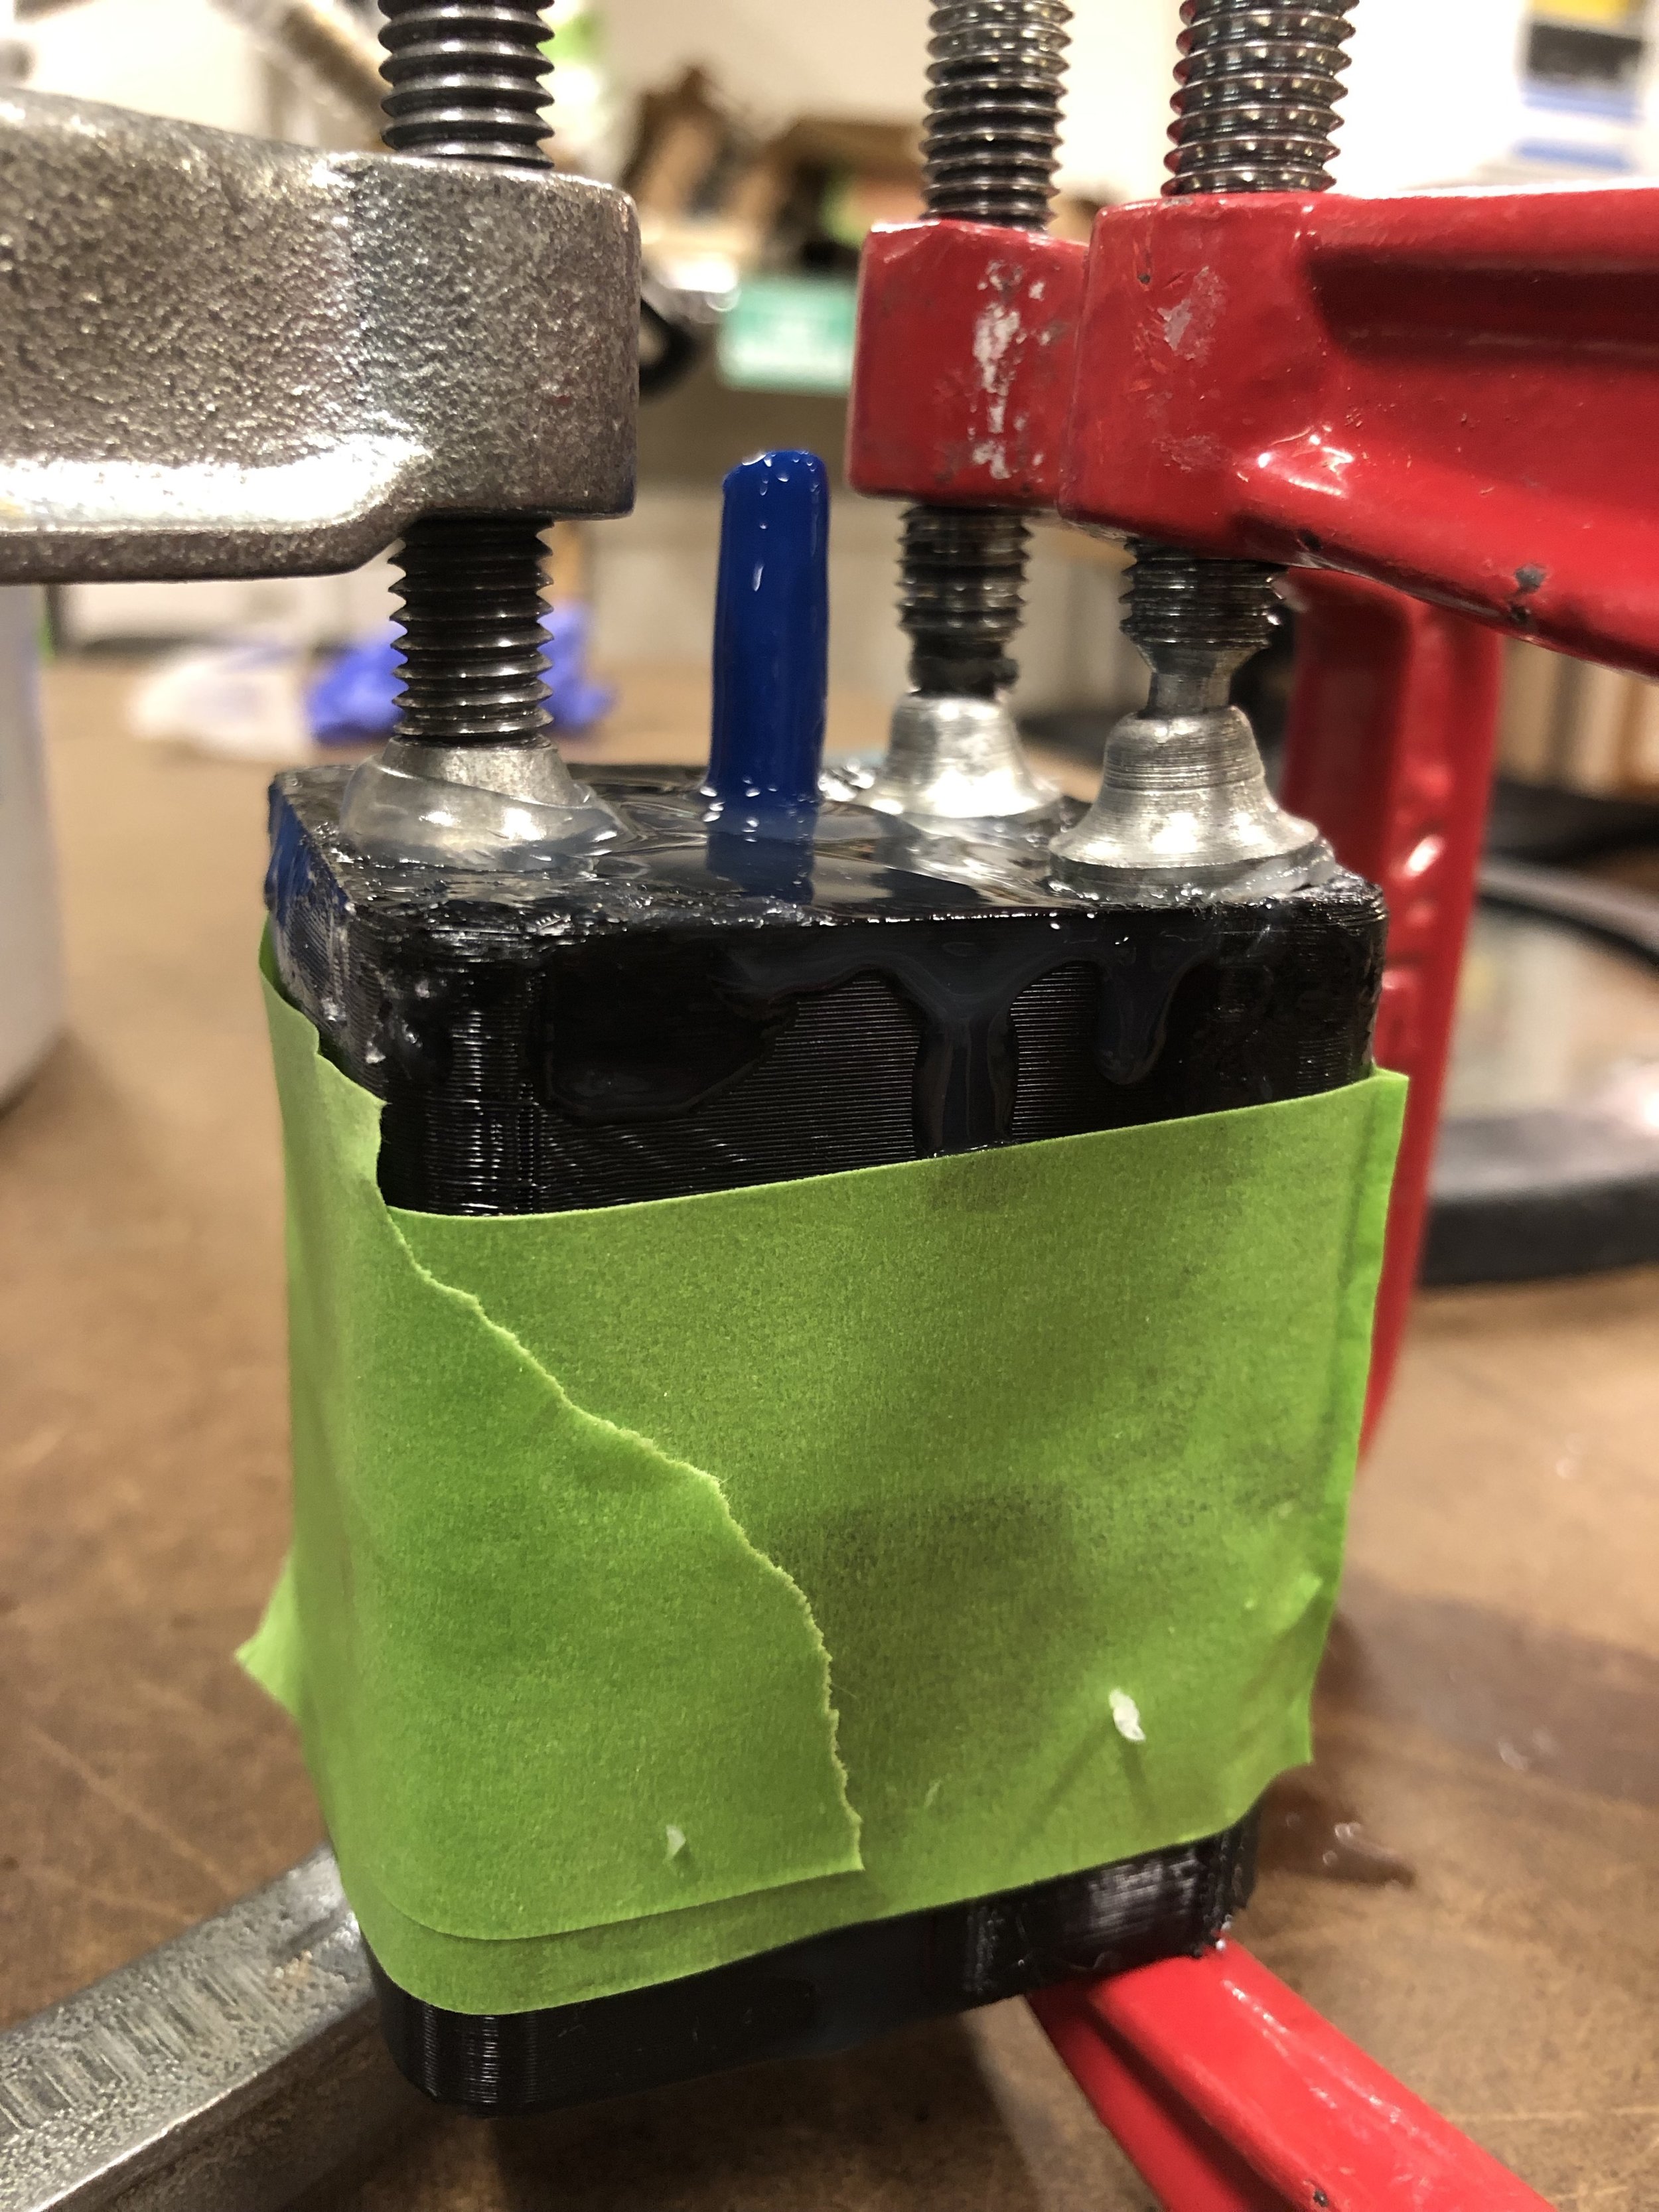
After the vacuum, we put our mold in a safe place for the evening and returned to it the following day to place on the air pump and test out the mold. Becca and I did the initial pumps to even out the silicon rounds and felt success in the completion of this mold!
Week Three | Materials Library
This week we visited the Materials ConneXion Library this week. A material that I found interesting was from the polymers library and contained a mix of woven fabric and a luminescent transparent film, that when light pierced through, would shower a spectrum of color on the reverse panel.
Upon signing up for the Material Connexion site through my NYU email, I was able to locate more information on the material here. Upon further inspection, there were more options than I found on the single plaque found in the library.
Below is the description provided online:
Decorative textiles that are manufactured by combining knitting and weaving techniques to create unique inlay designs and optical effects. Fabrics composed of 50% polyester and 50% PVC or polyurethane (PU) are produced by inserting flexible PVC or PU stripes into the existing knit fabric in a weave fashion, expanding opportunities for wovens into new markets. Inlay structures offer good ventilation and durability while maintaining the 2-way stretch of knitwear. The use of PVC filaments as yarns create unique optical effects when viewed at different angles. Available in ‘plain’, ‘gable’, ‘stripe’, and ‘tribal’ patterns in 10 different colors. It is possible to choose base yarn in 12 different colors. The material is sold in a standard 200 mm x 100 mm (7.87 in x 3.94 in) size with a thickness of 3 mm (0.12 in). Applications are for bags, wall decoration, upholstery, apparel, and accessories.
MANUFACTURERS DETAILS

TAKORN TEXTILE STUDIO
THAILAND
131/25 Issaraparp raod
Watmaipirent Lane Bangkok Yai district
Bangkok
10600
Thailand

+ 66 875510465
Sales
Takorn Tavornchotivong
Founder
+ 66 875510465
takorn_suan128@hotmail.com
I requested a sample from the manufacturer (email below) and heard back that a sample of 30 x 30 would cost me $62 plus shipping. I’m going to pass for now.
x.
Week Two | Bio-Inspiration Frogs
Frogs are amazing creatures that can catch flies, climb on almost anything, and hop around. The also make fun sounds..
If we were to look into features that these creatures embody that could be reproduced by technology, I’d really like to focus on the anti-gravity climb as well as the powerful jumping capabilities. RoboFrogs could be used to carry large items and move them from location to location with ease. This is a very utopian view on potential capabilities where I would be concerned about accuracy and crashing potential.
Week Two | Inflatables Exploration
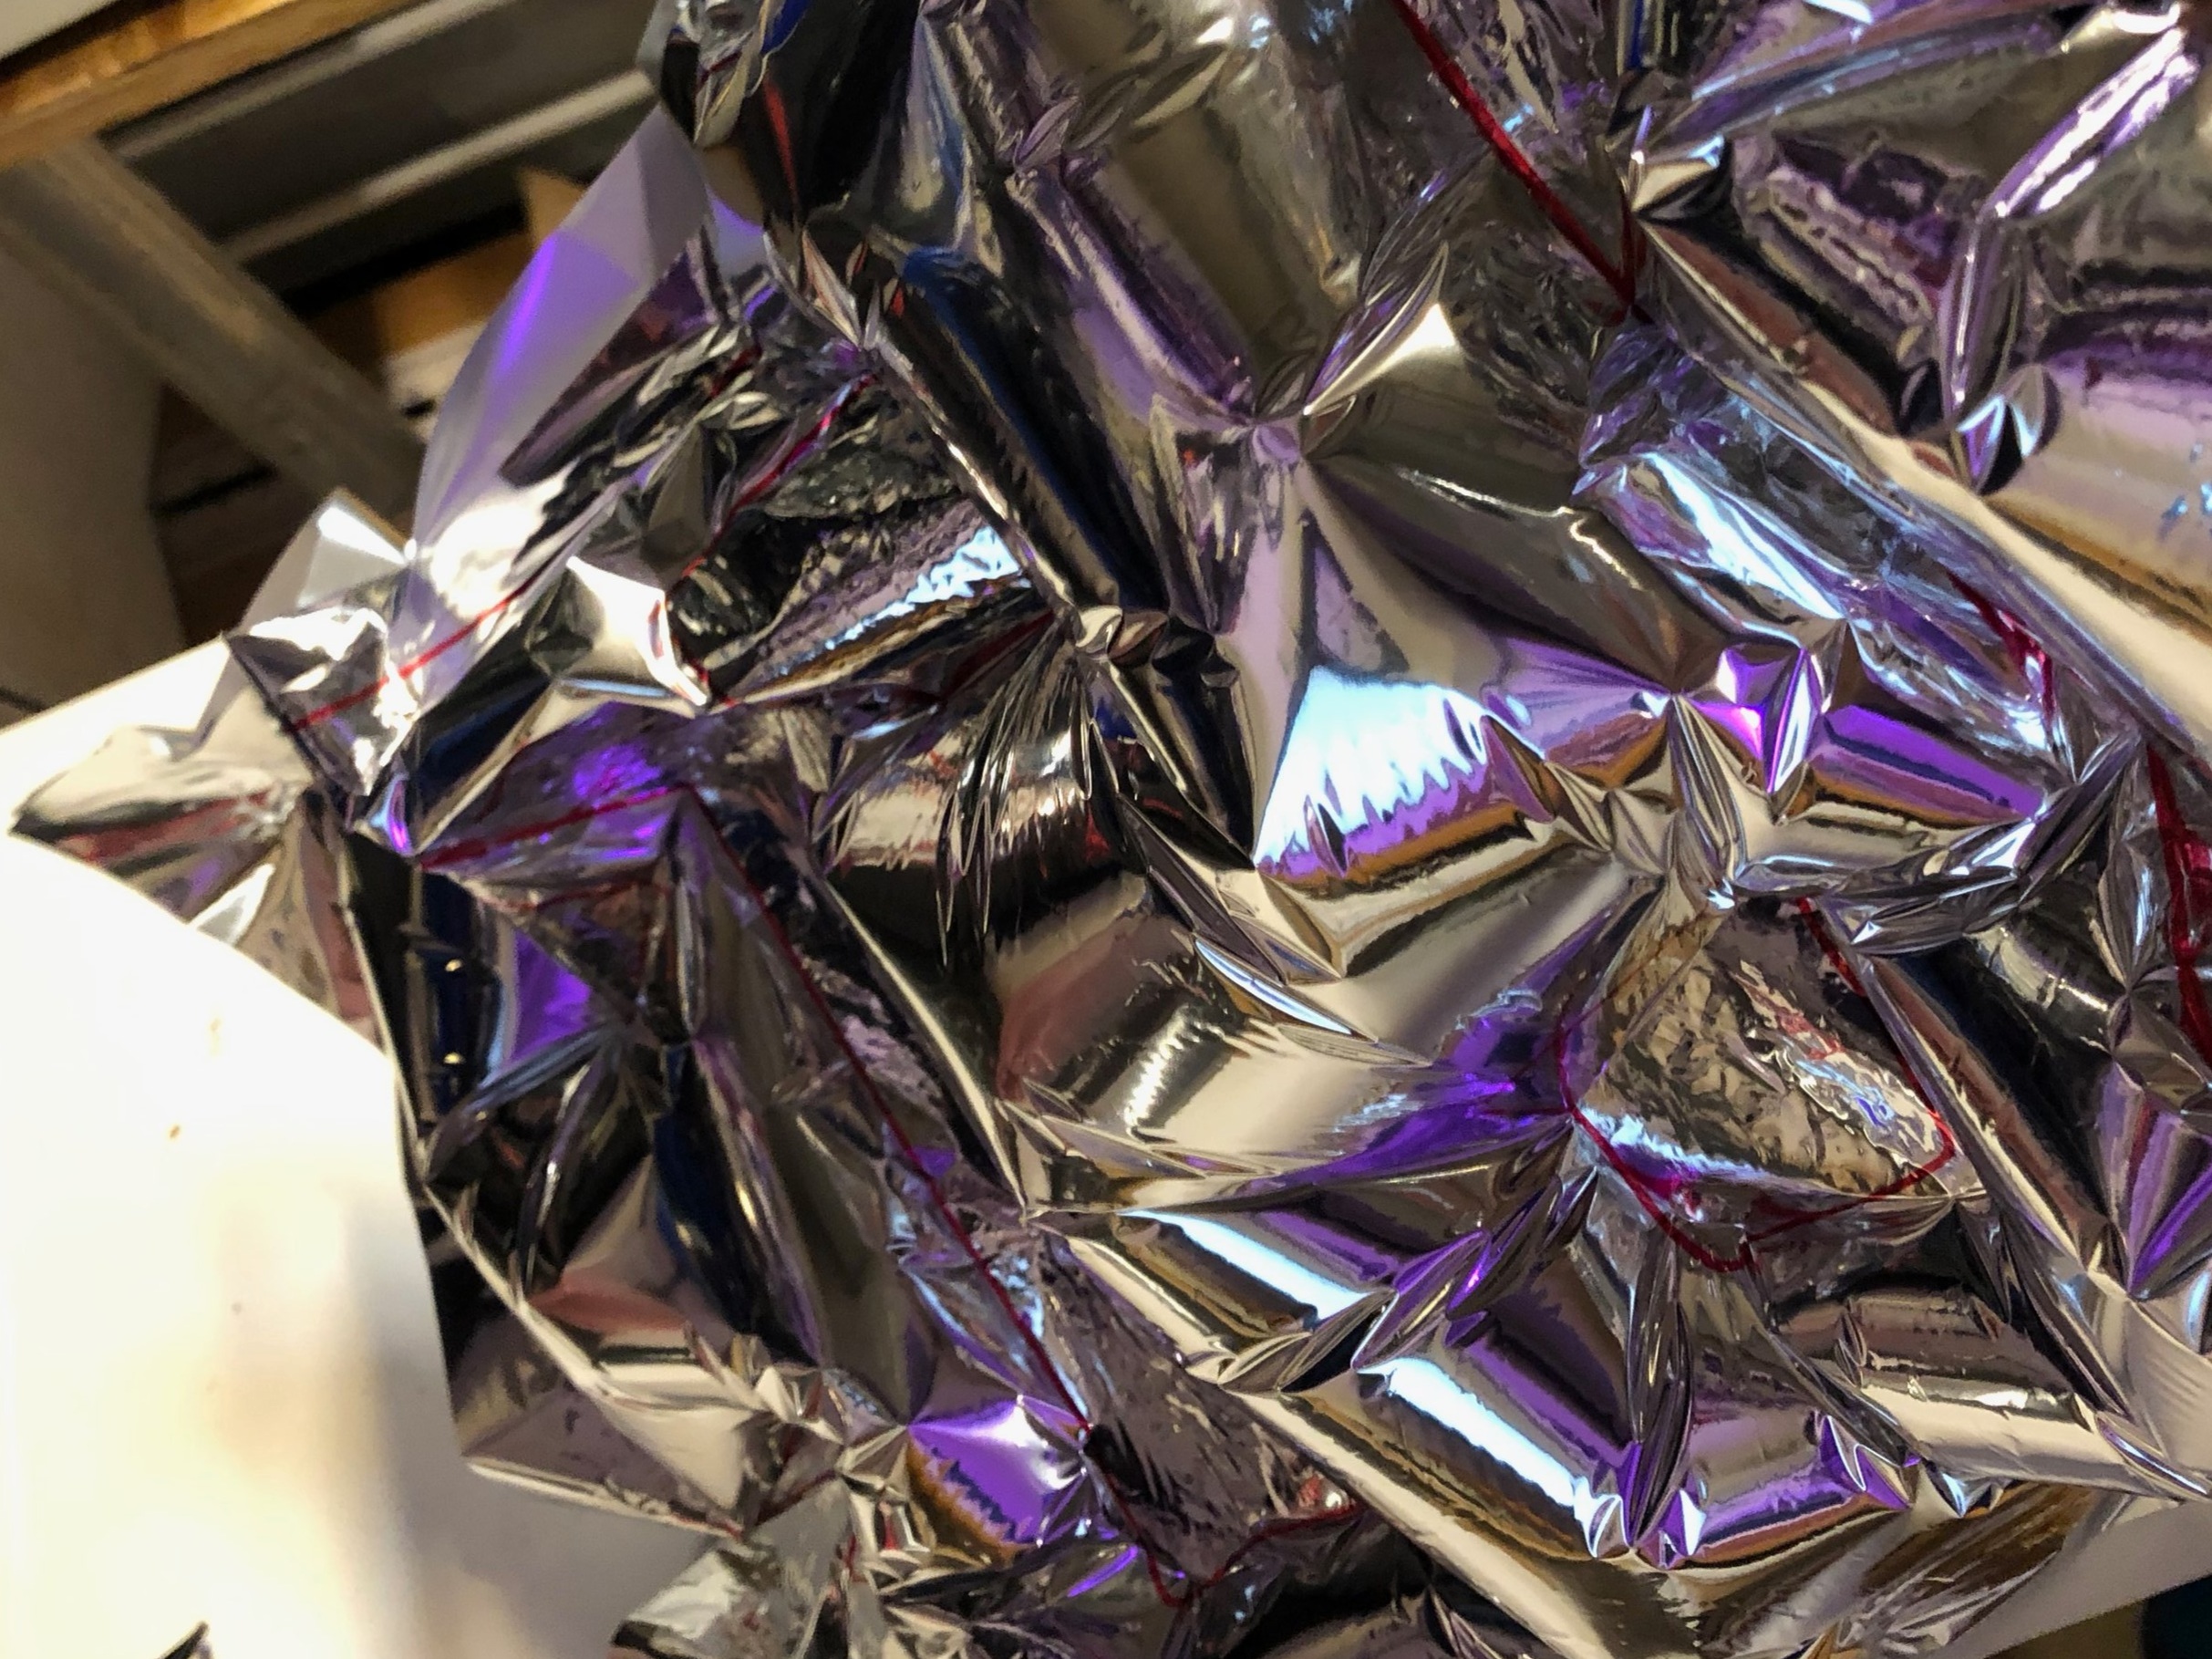
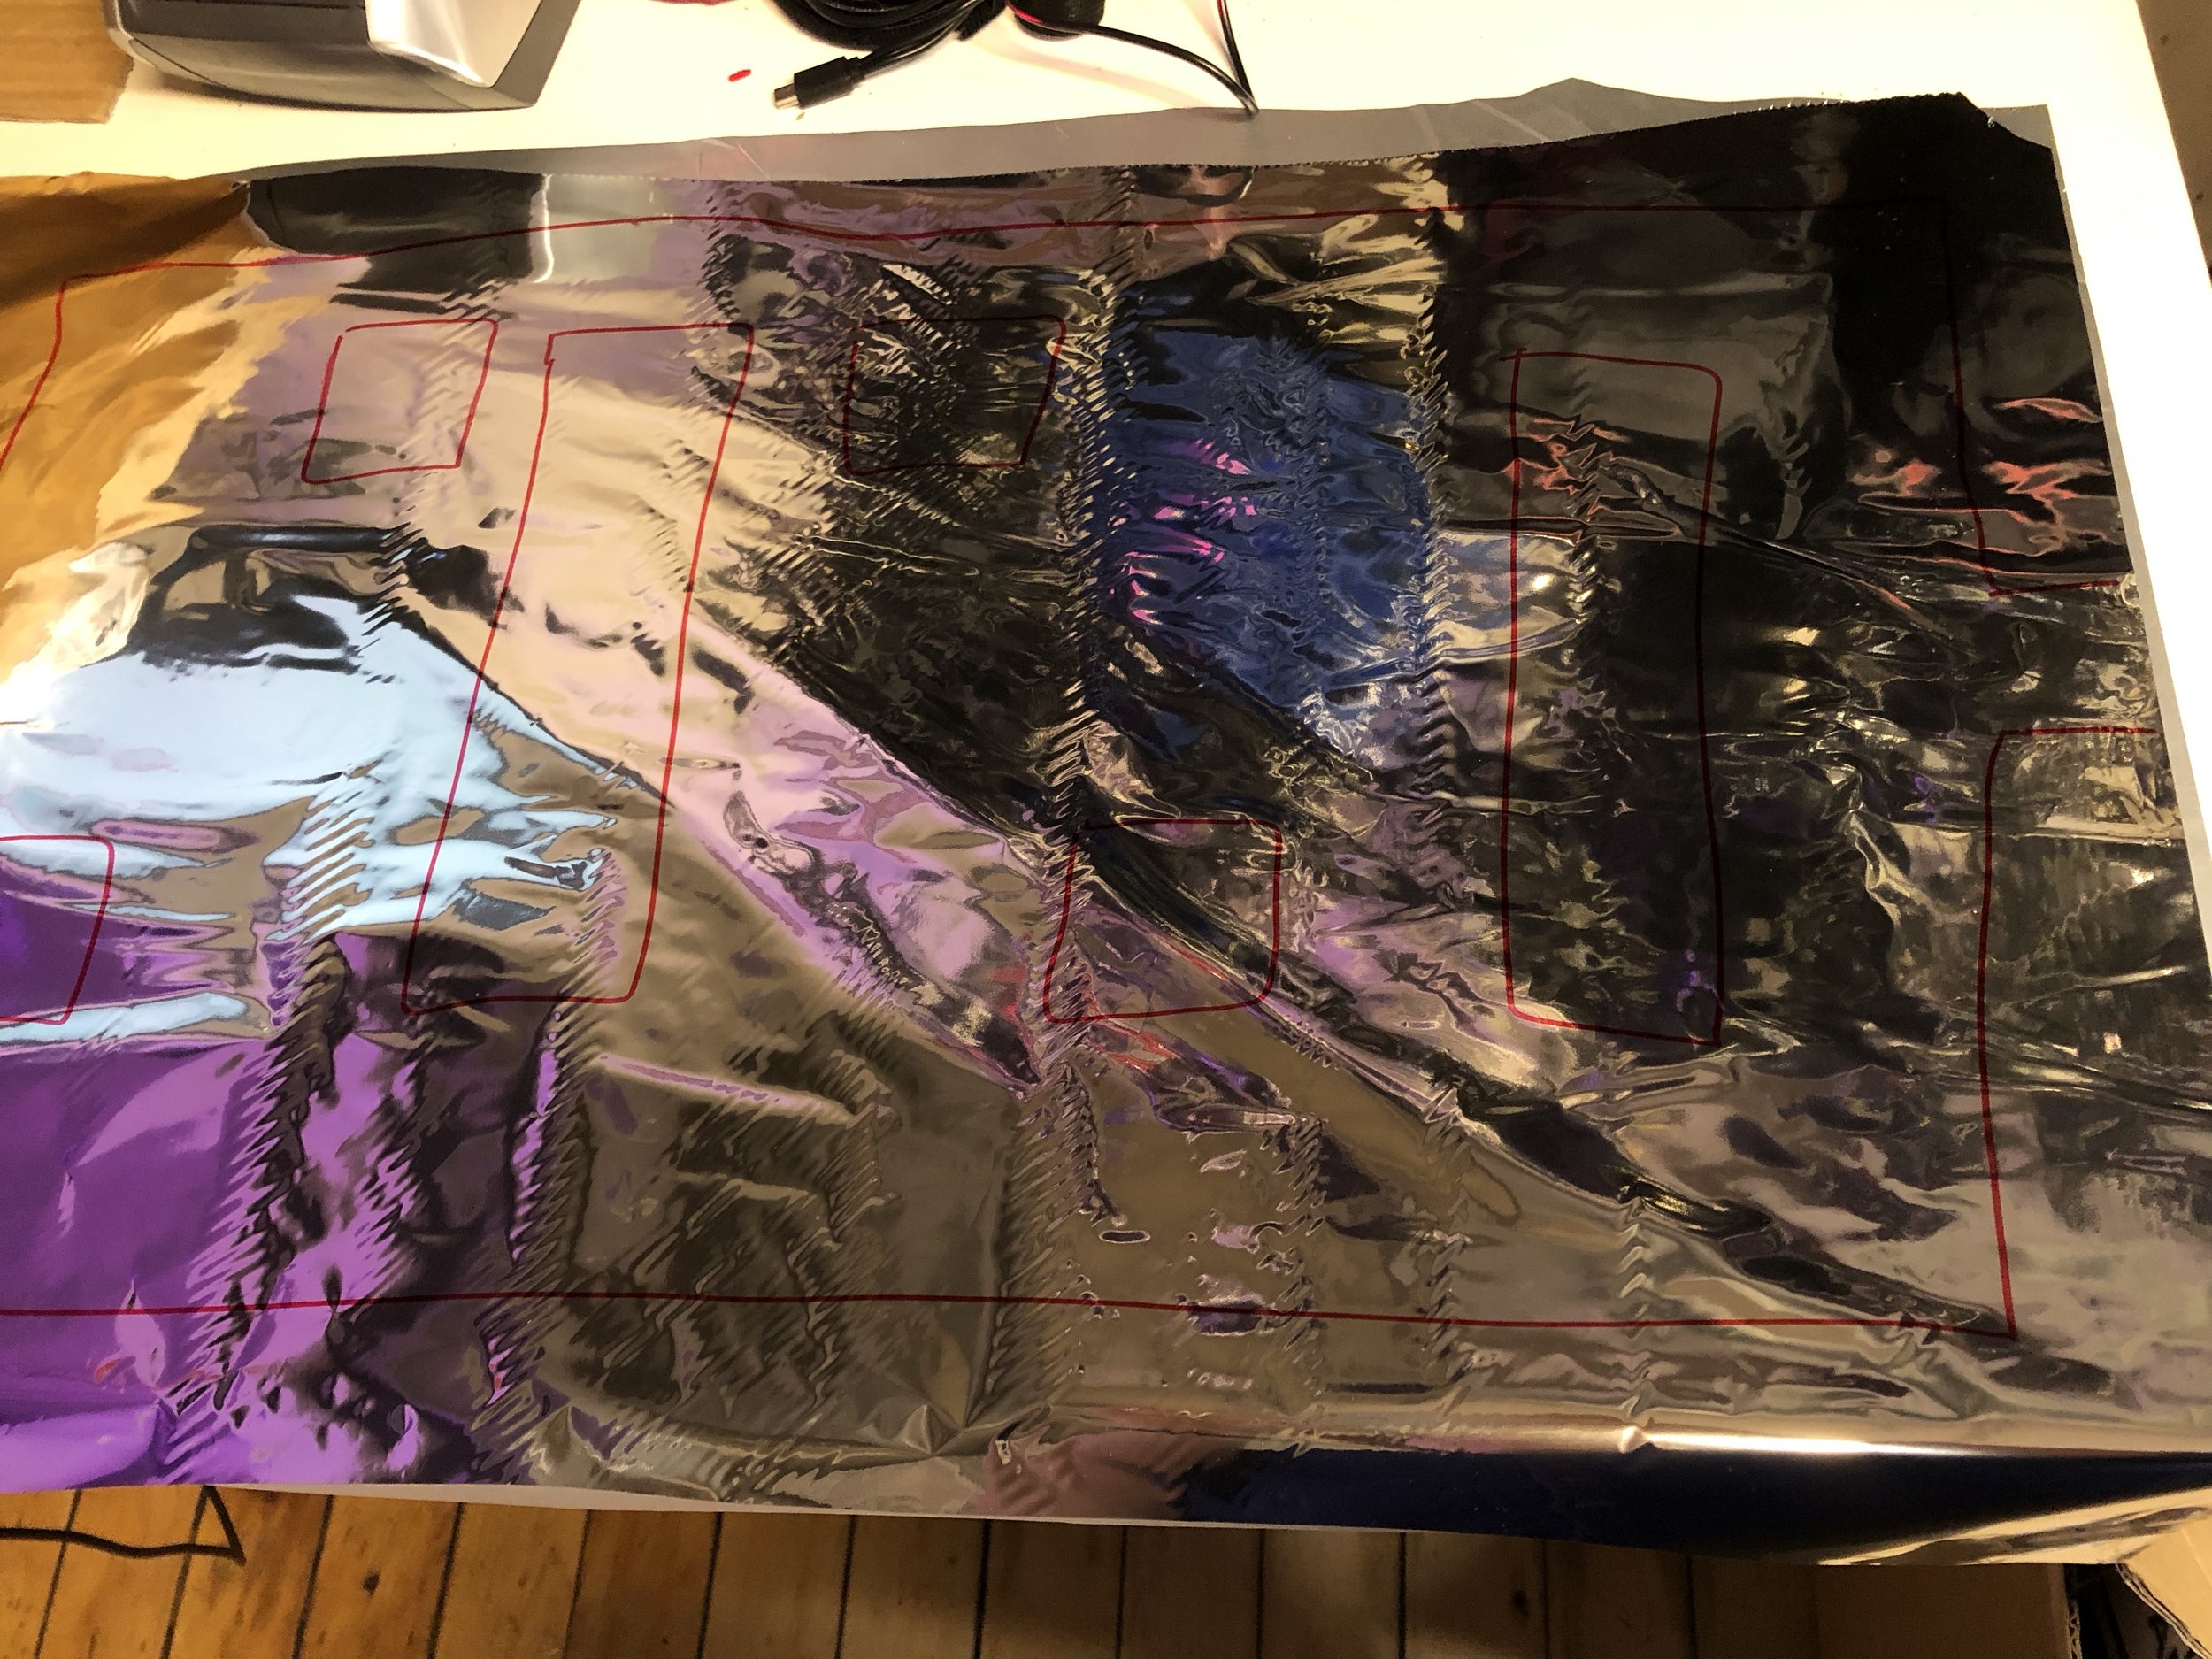
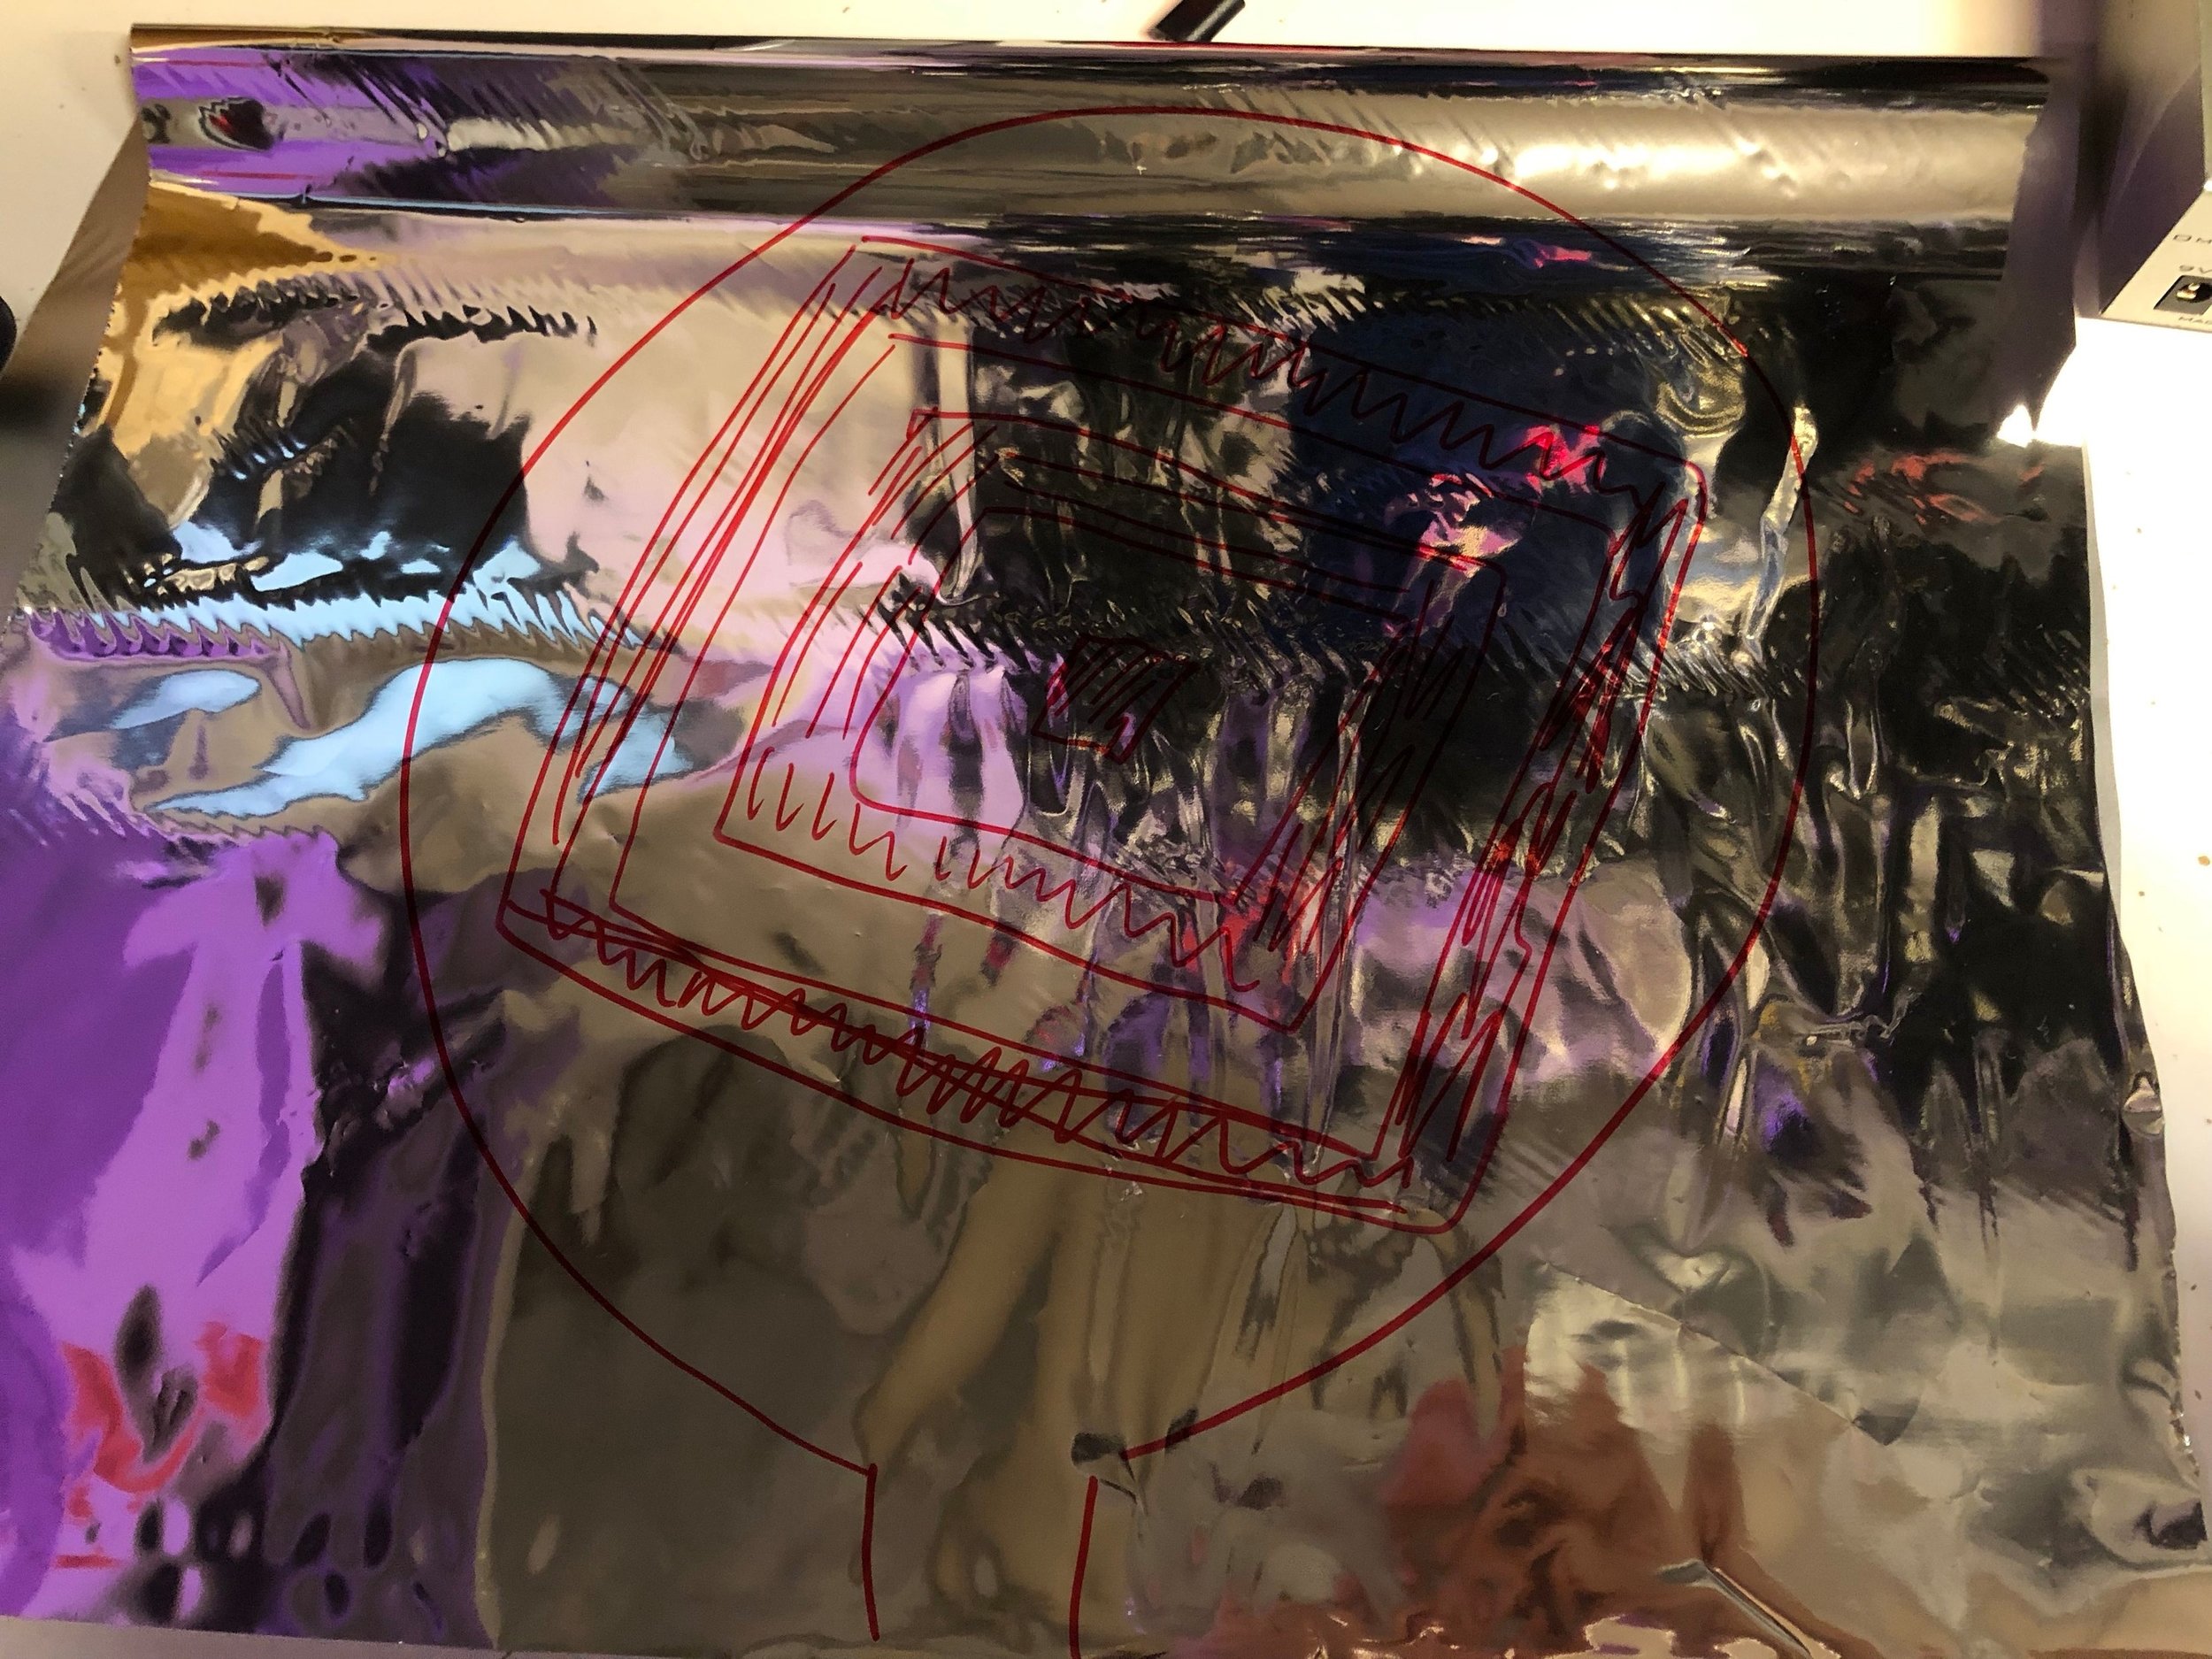
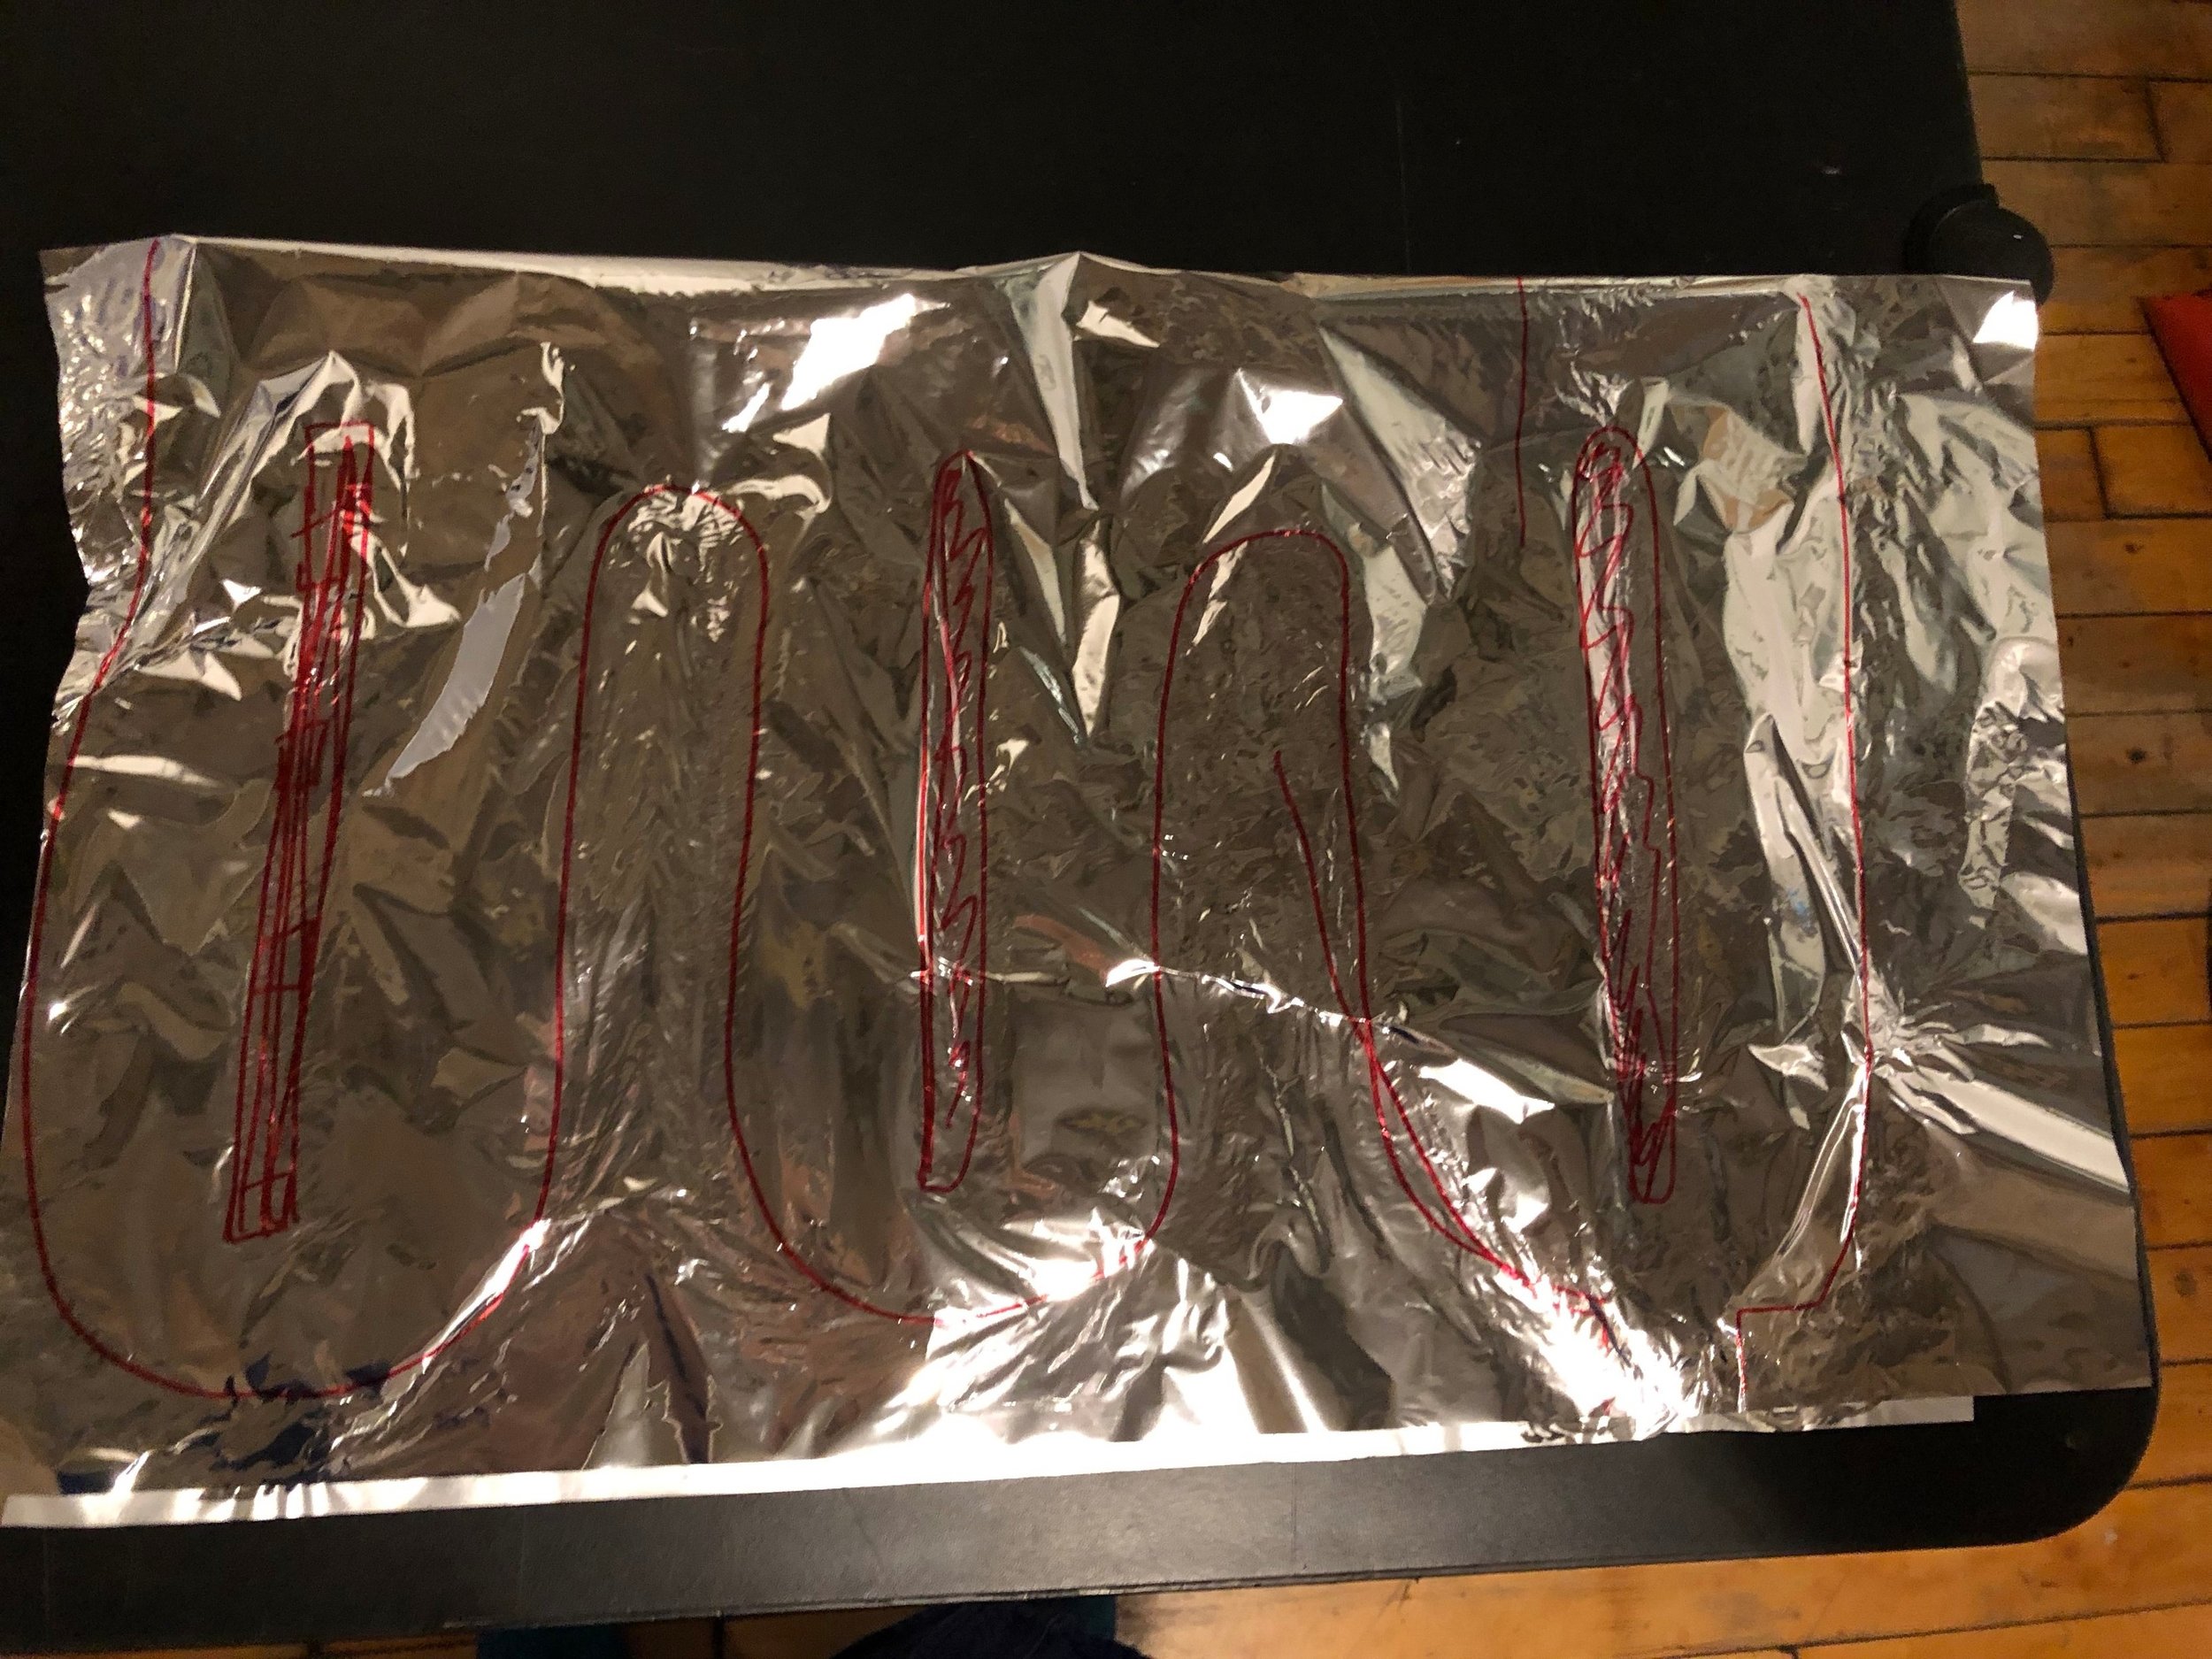
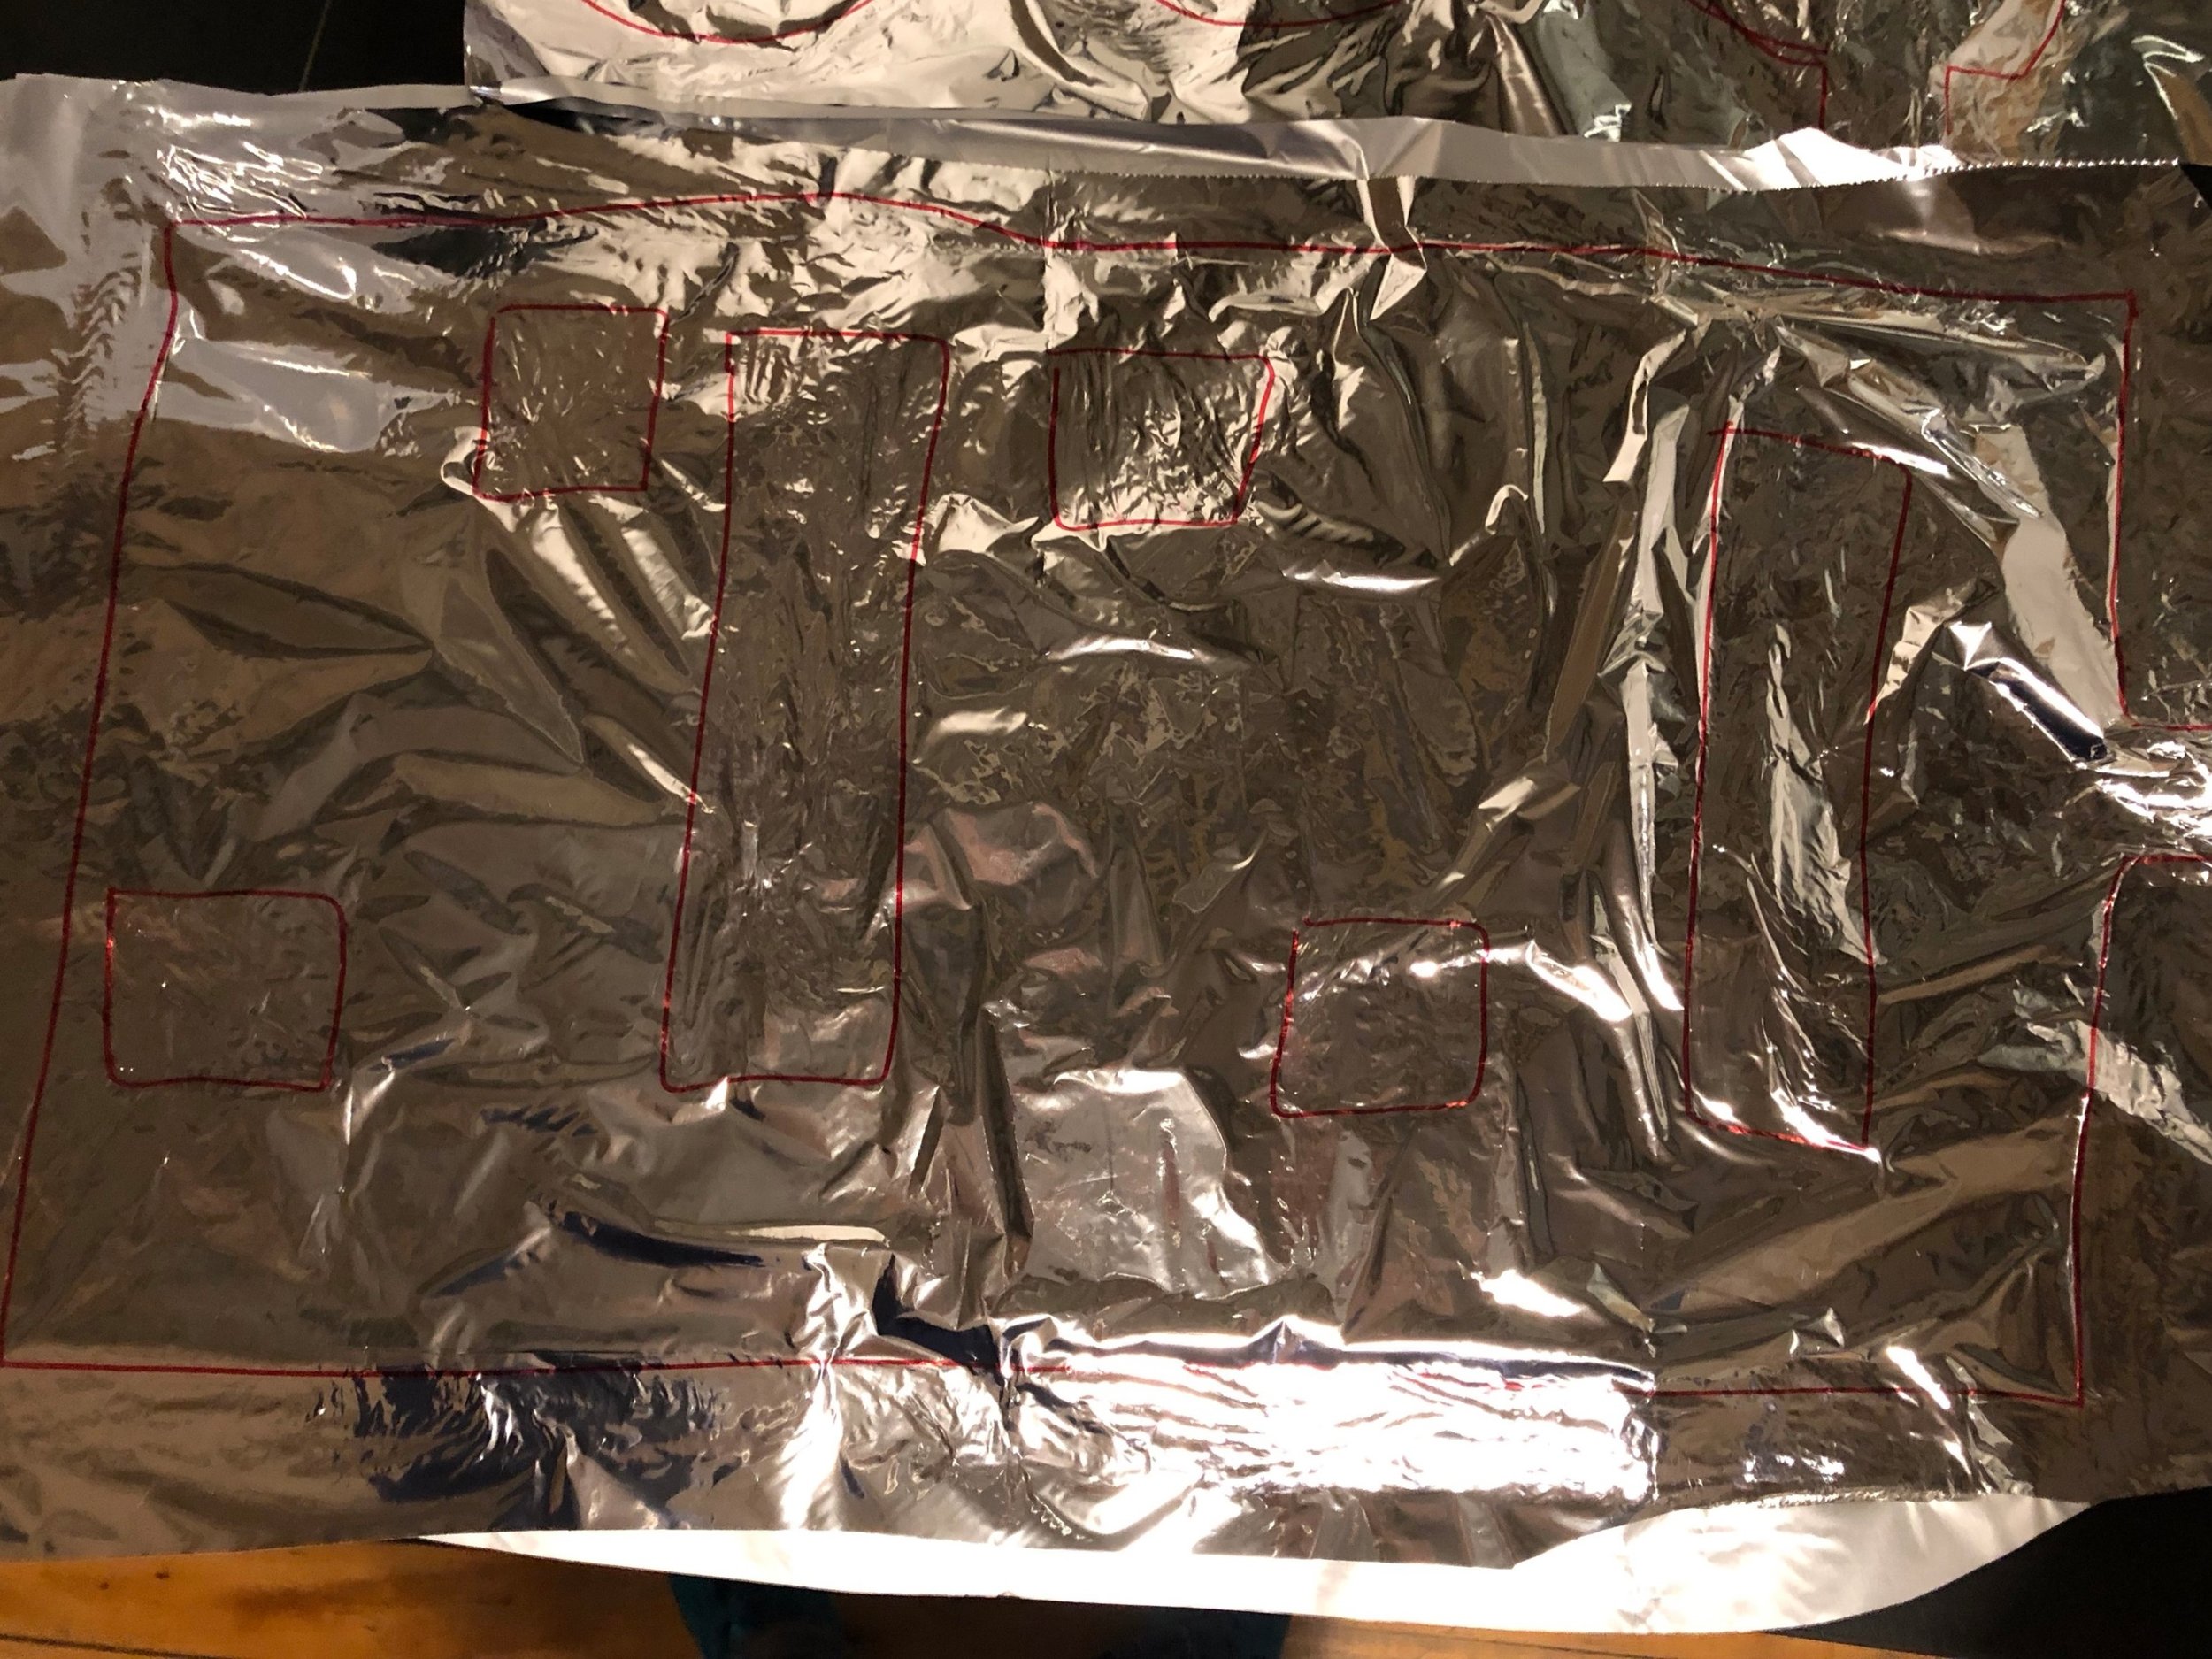
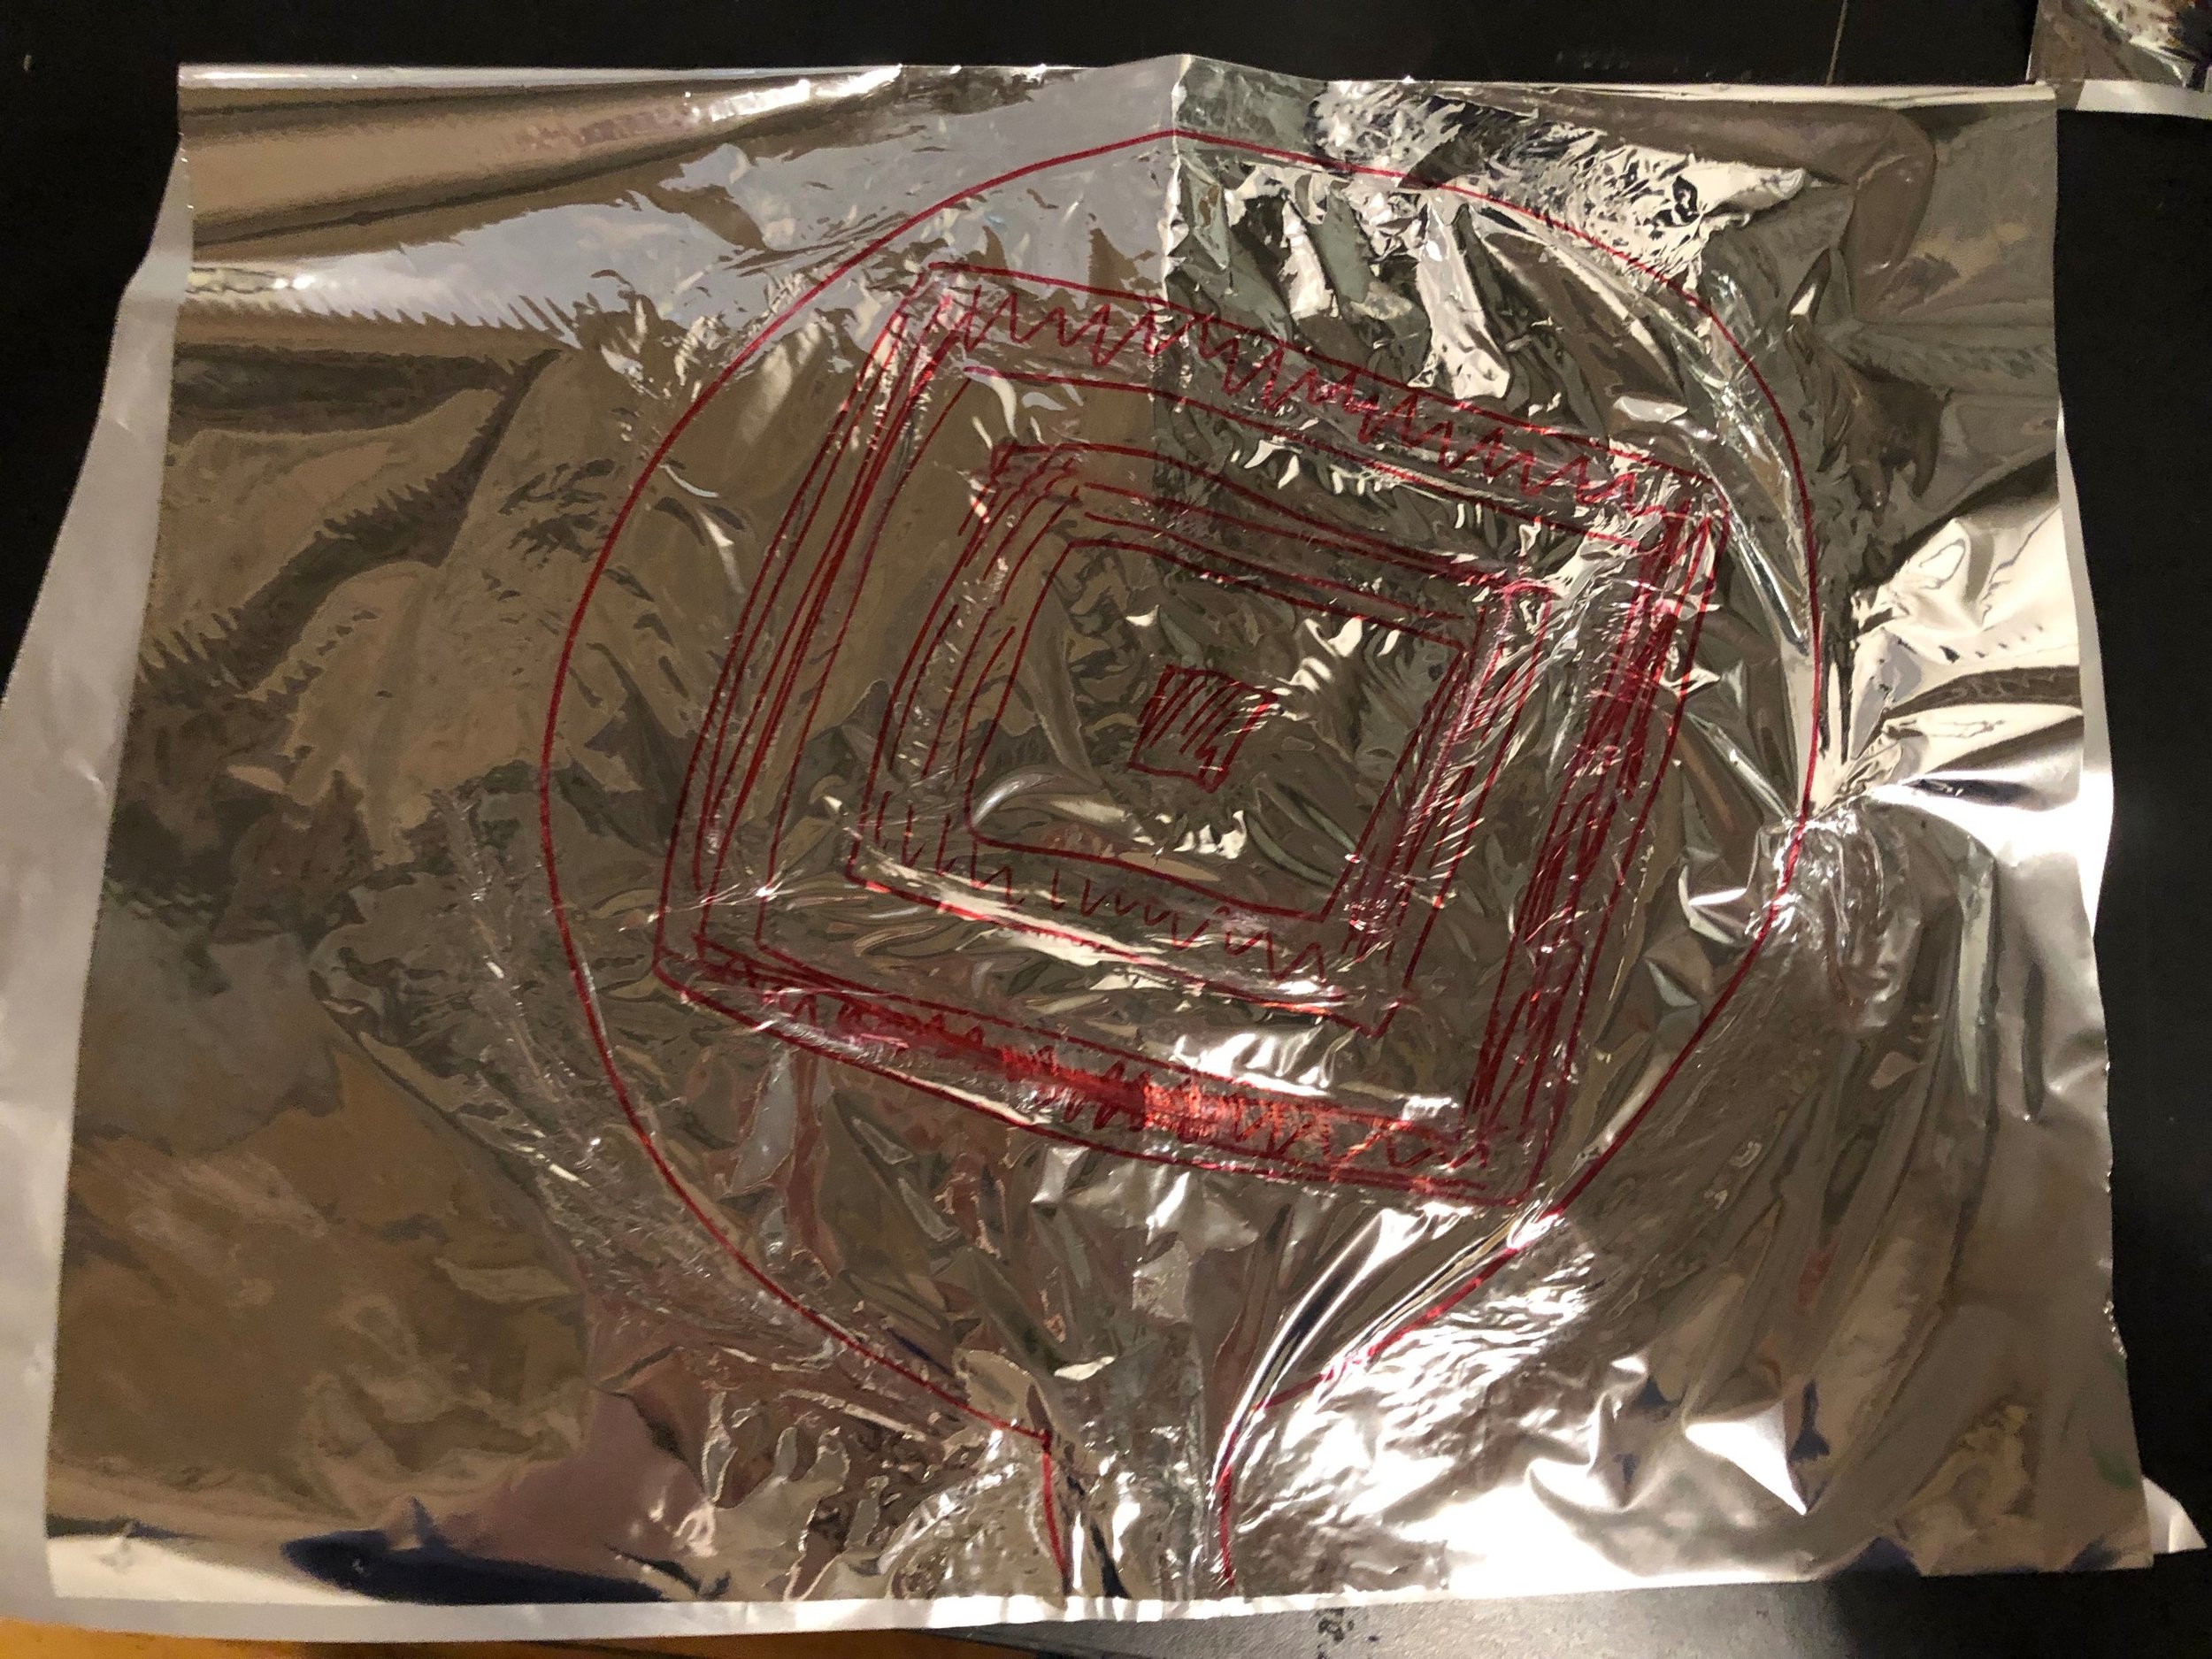
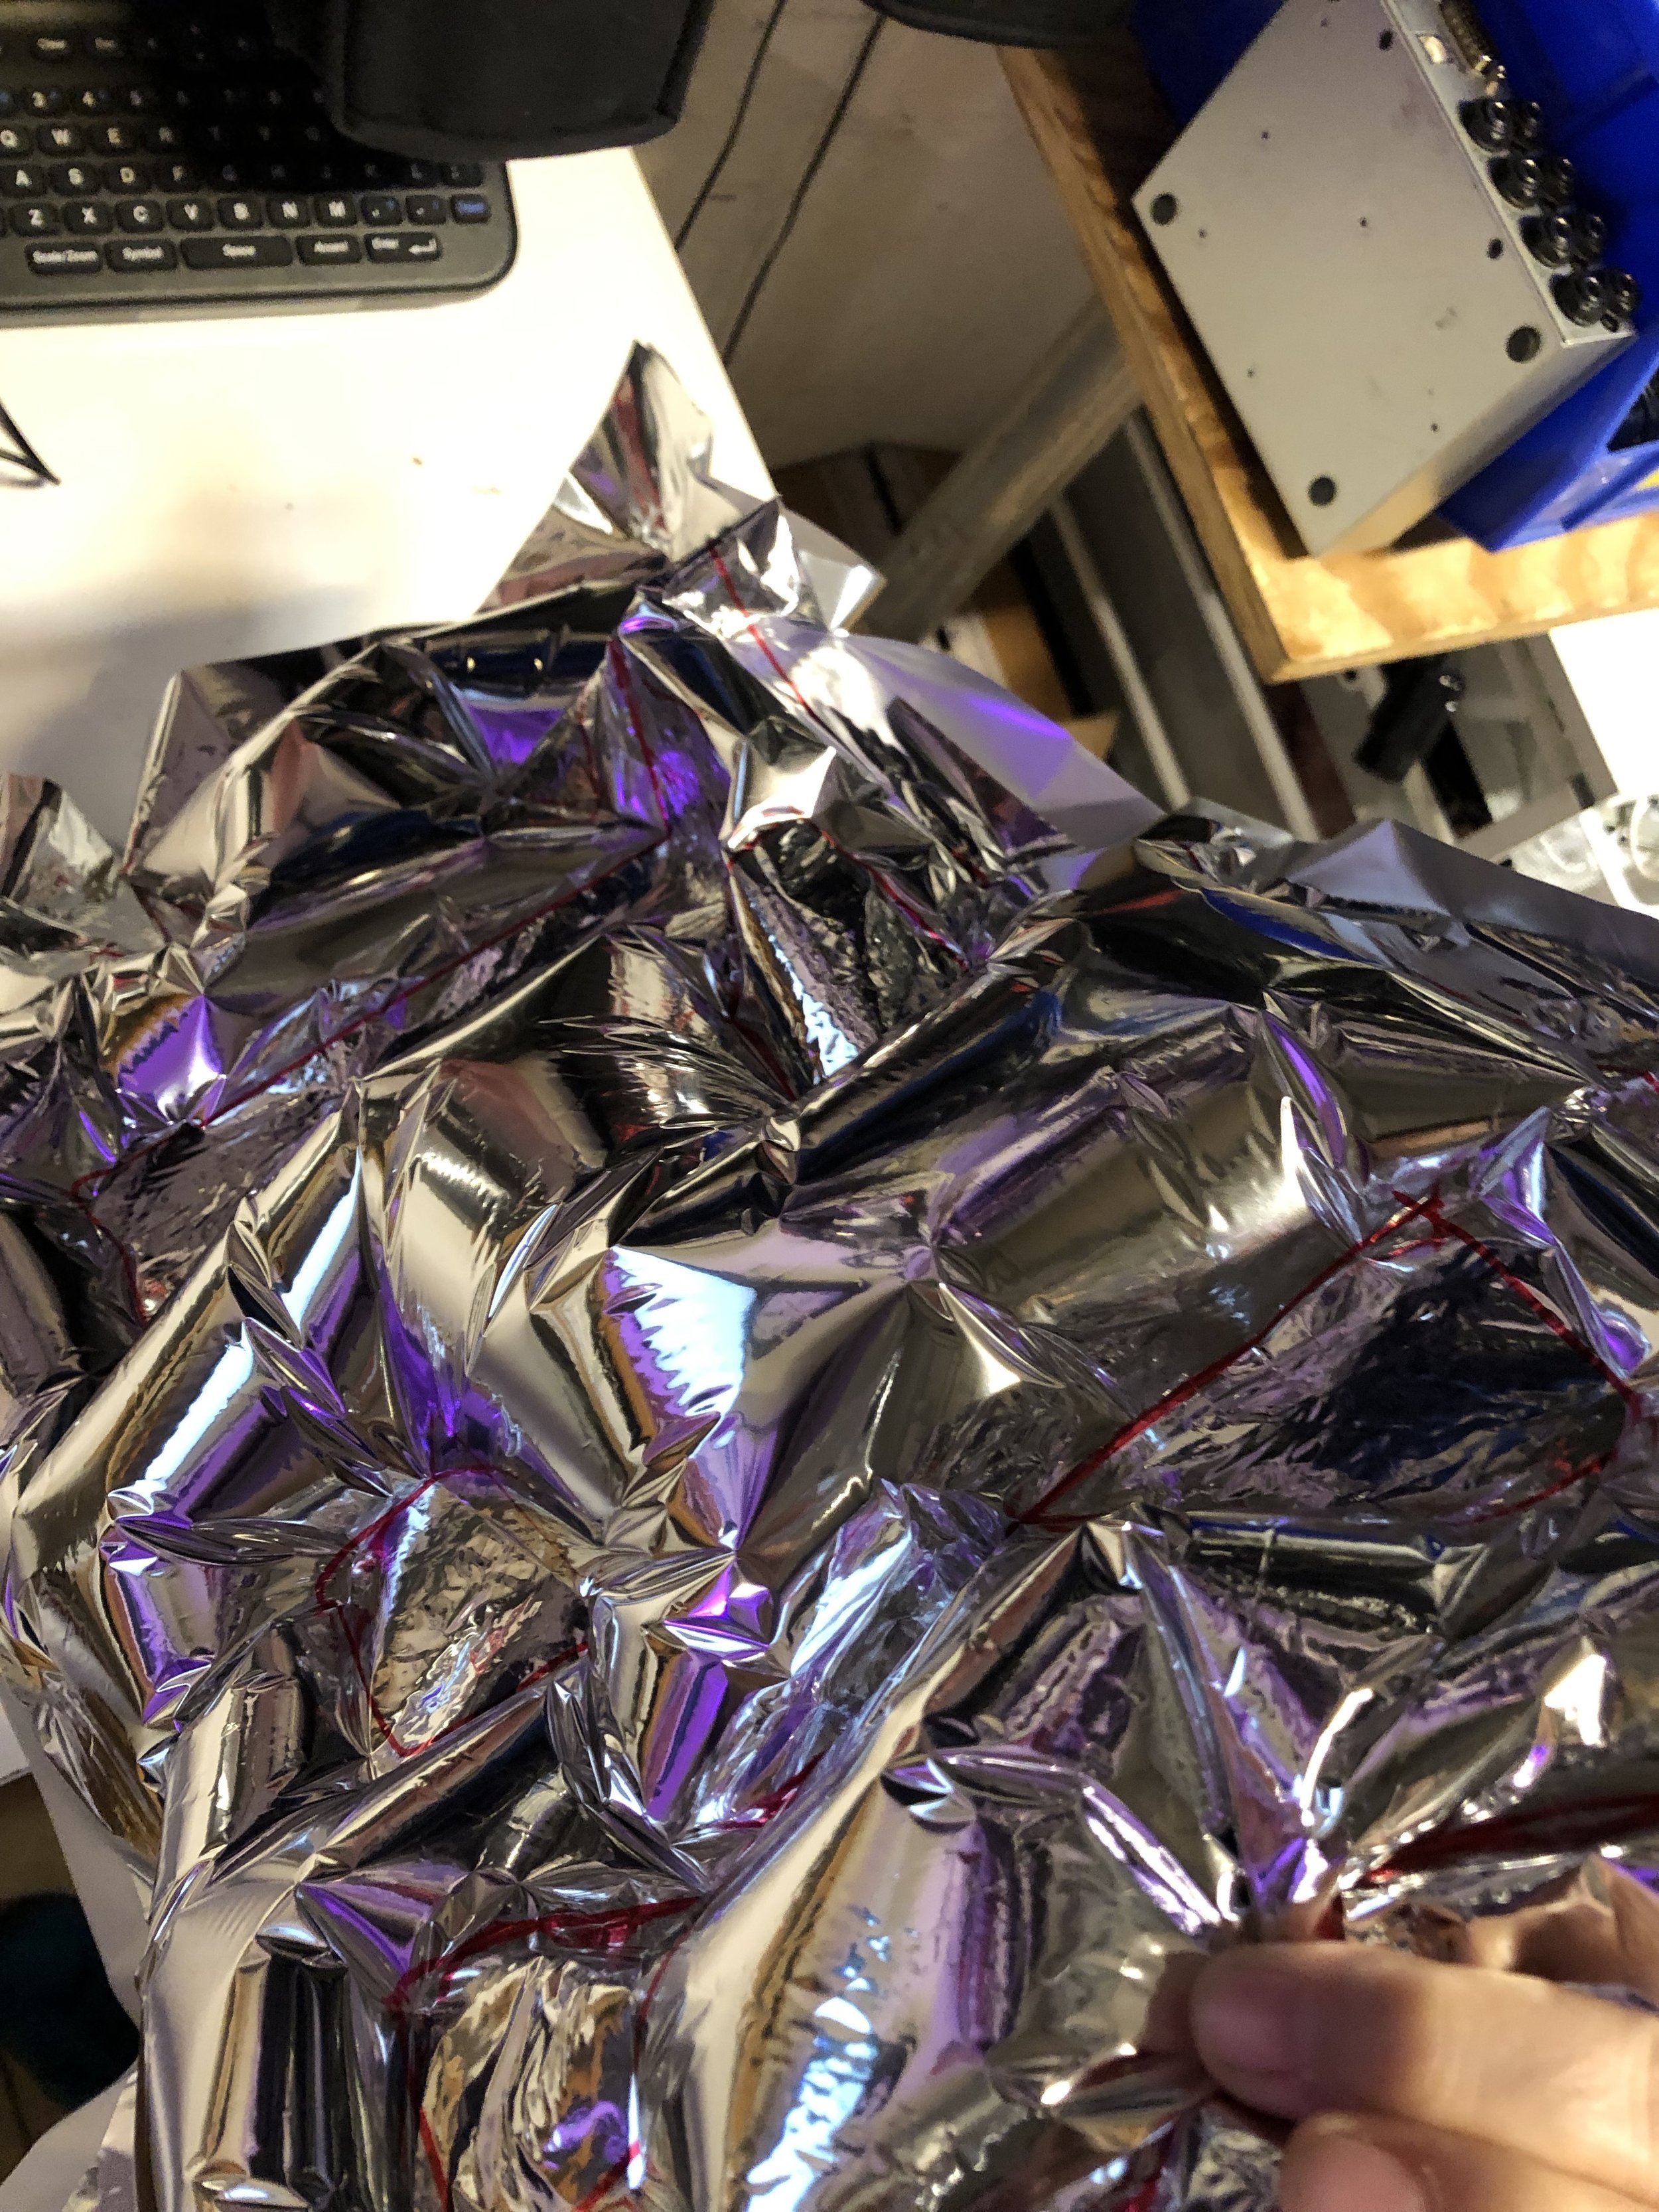
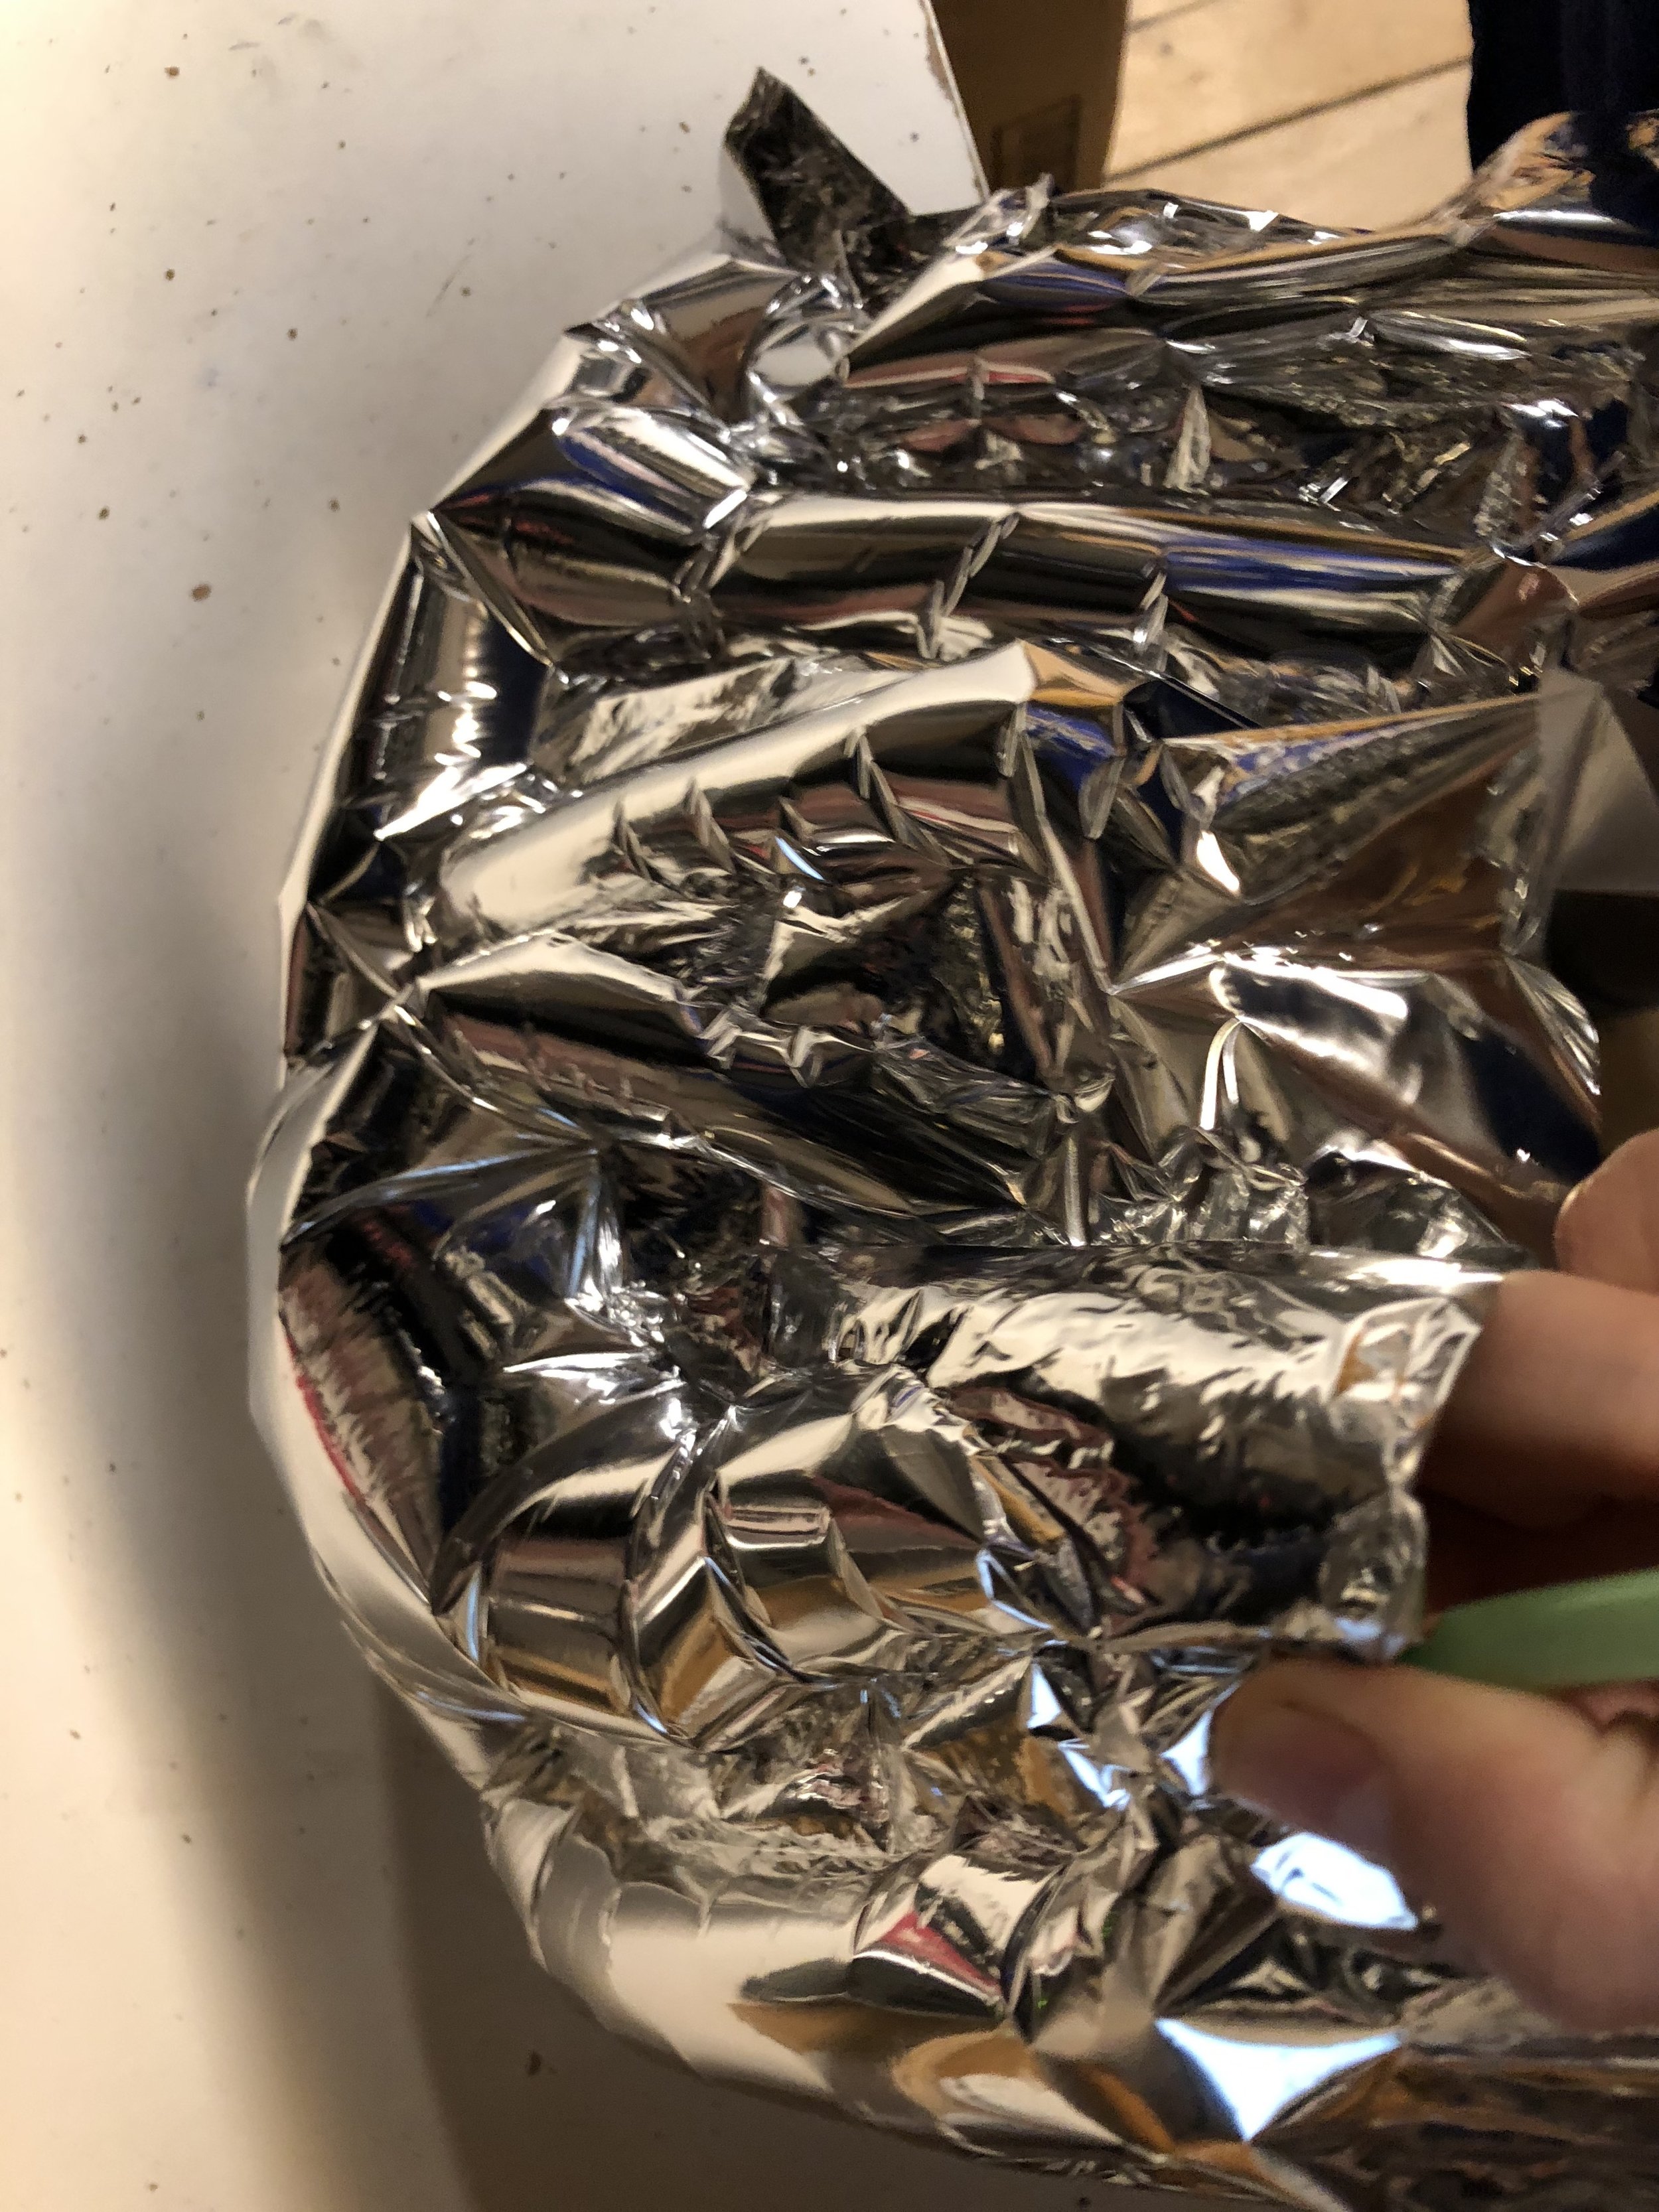
This week I experimented with a few different patterns with the mylar to create inflatables. It was tricky to design and I was successful with a few patterns and very unsuccessful with one that I realized was not designed with real physics in mind.. more on that later. For the successful ones, I explored a few different shapes and connections that were difficult in the end to work with.
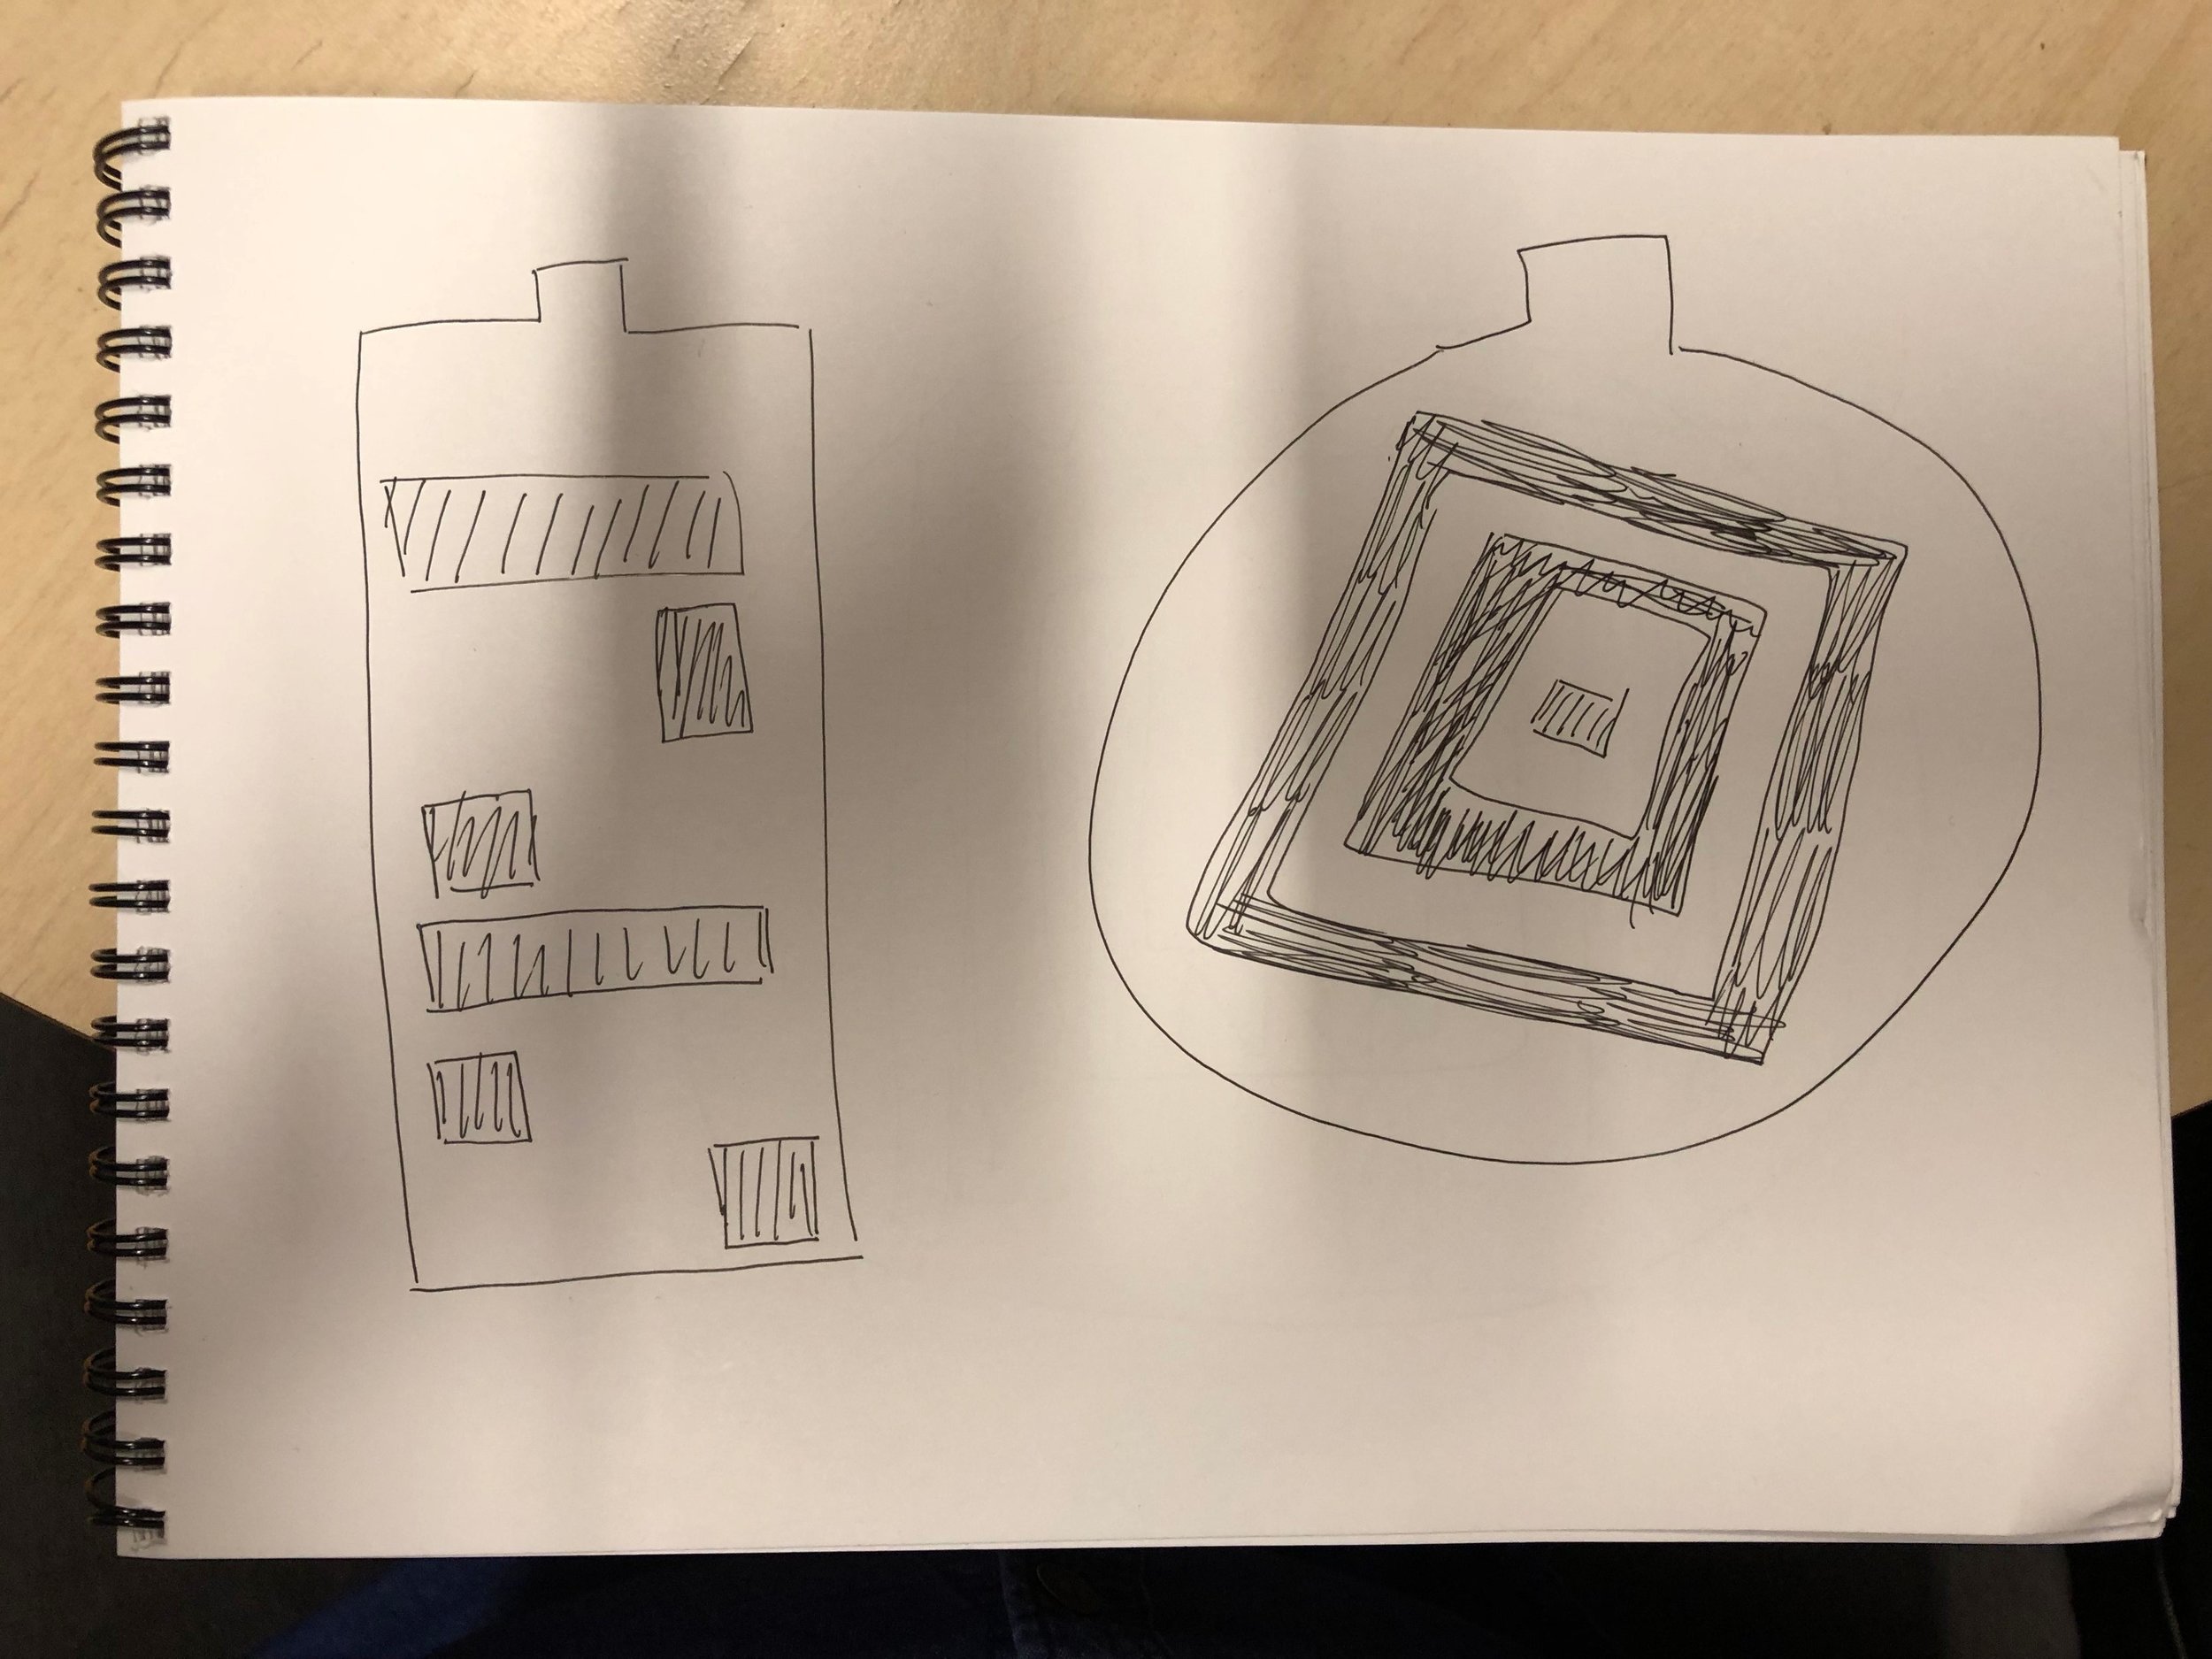
I started with a few sketches of ideas that I tried to transfer onto the mylar. The first was a rectangular shape with solid lines and boxes in a pattern down the tube-shaped mylar. Using the provided tools proved to be a bit difficult but I think I was able to push through and make something to express my understanding and make it shape out.
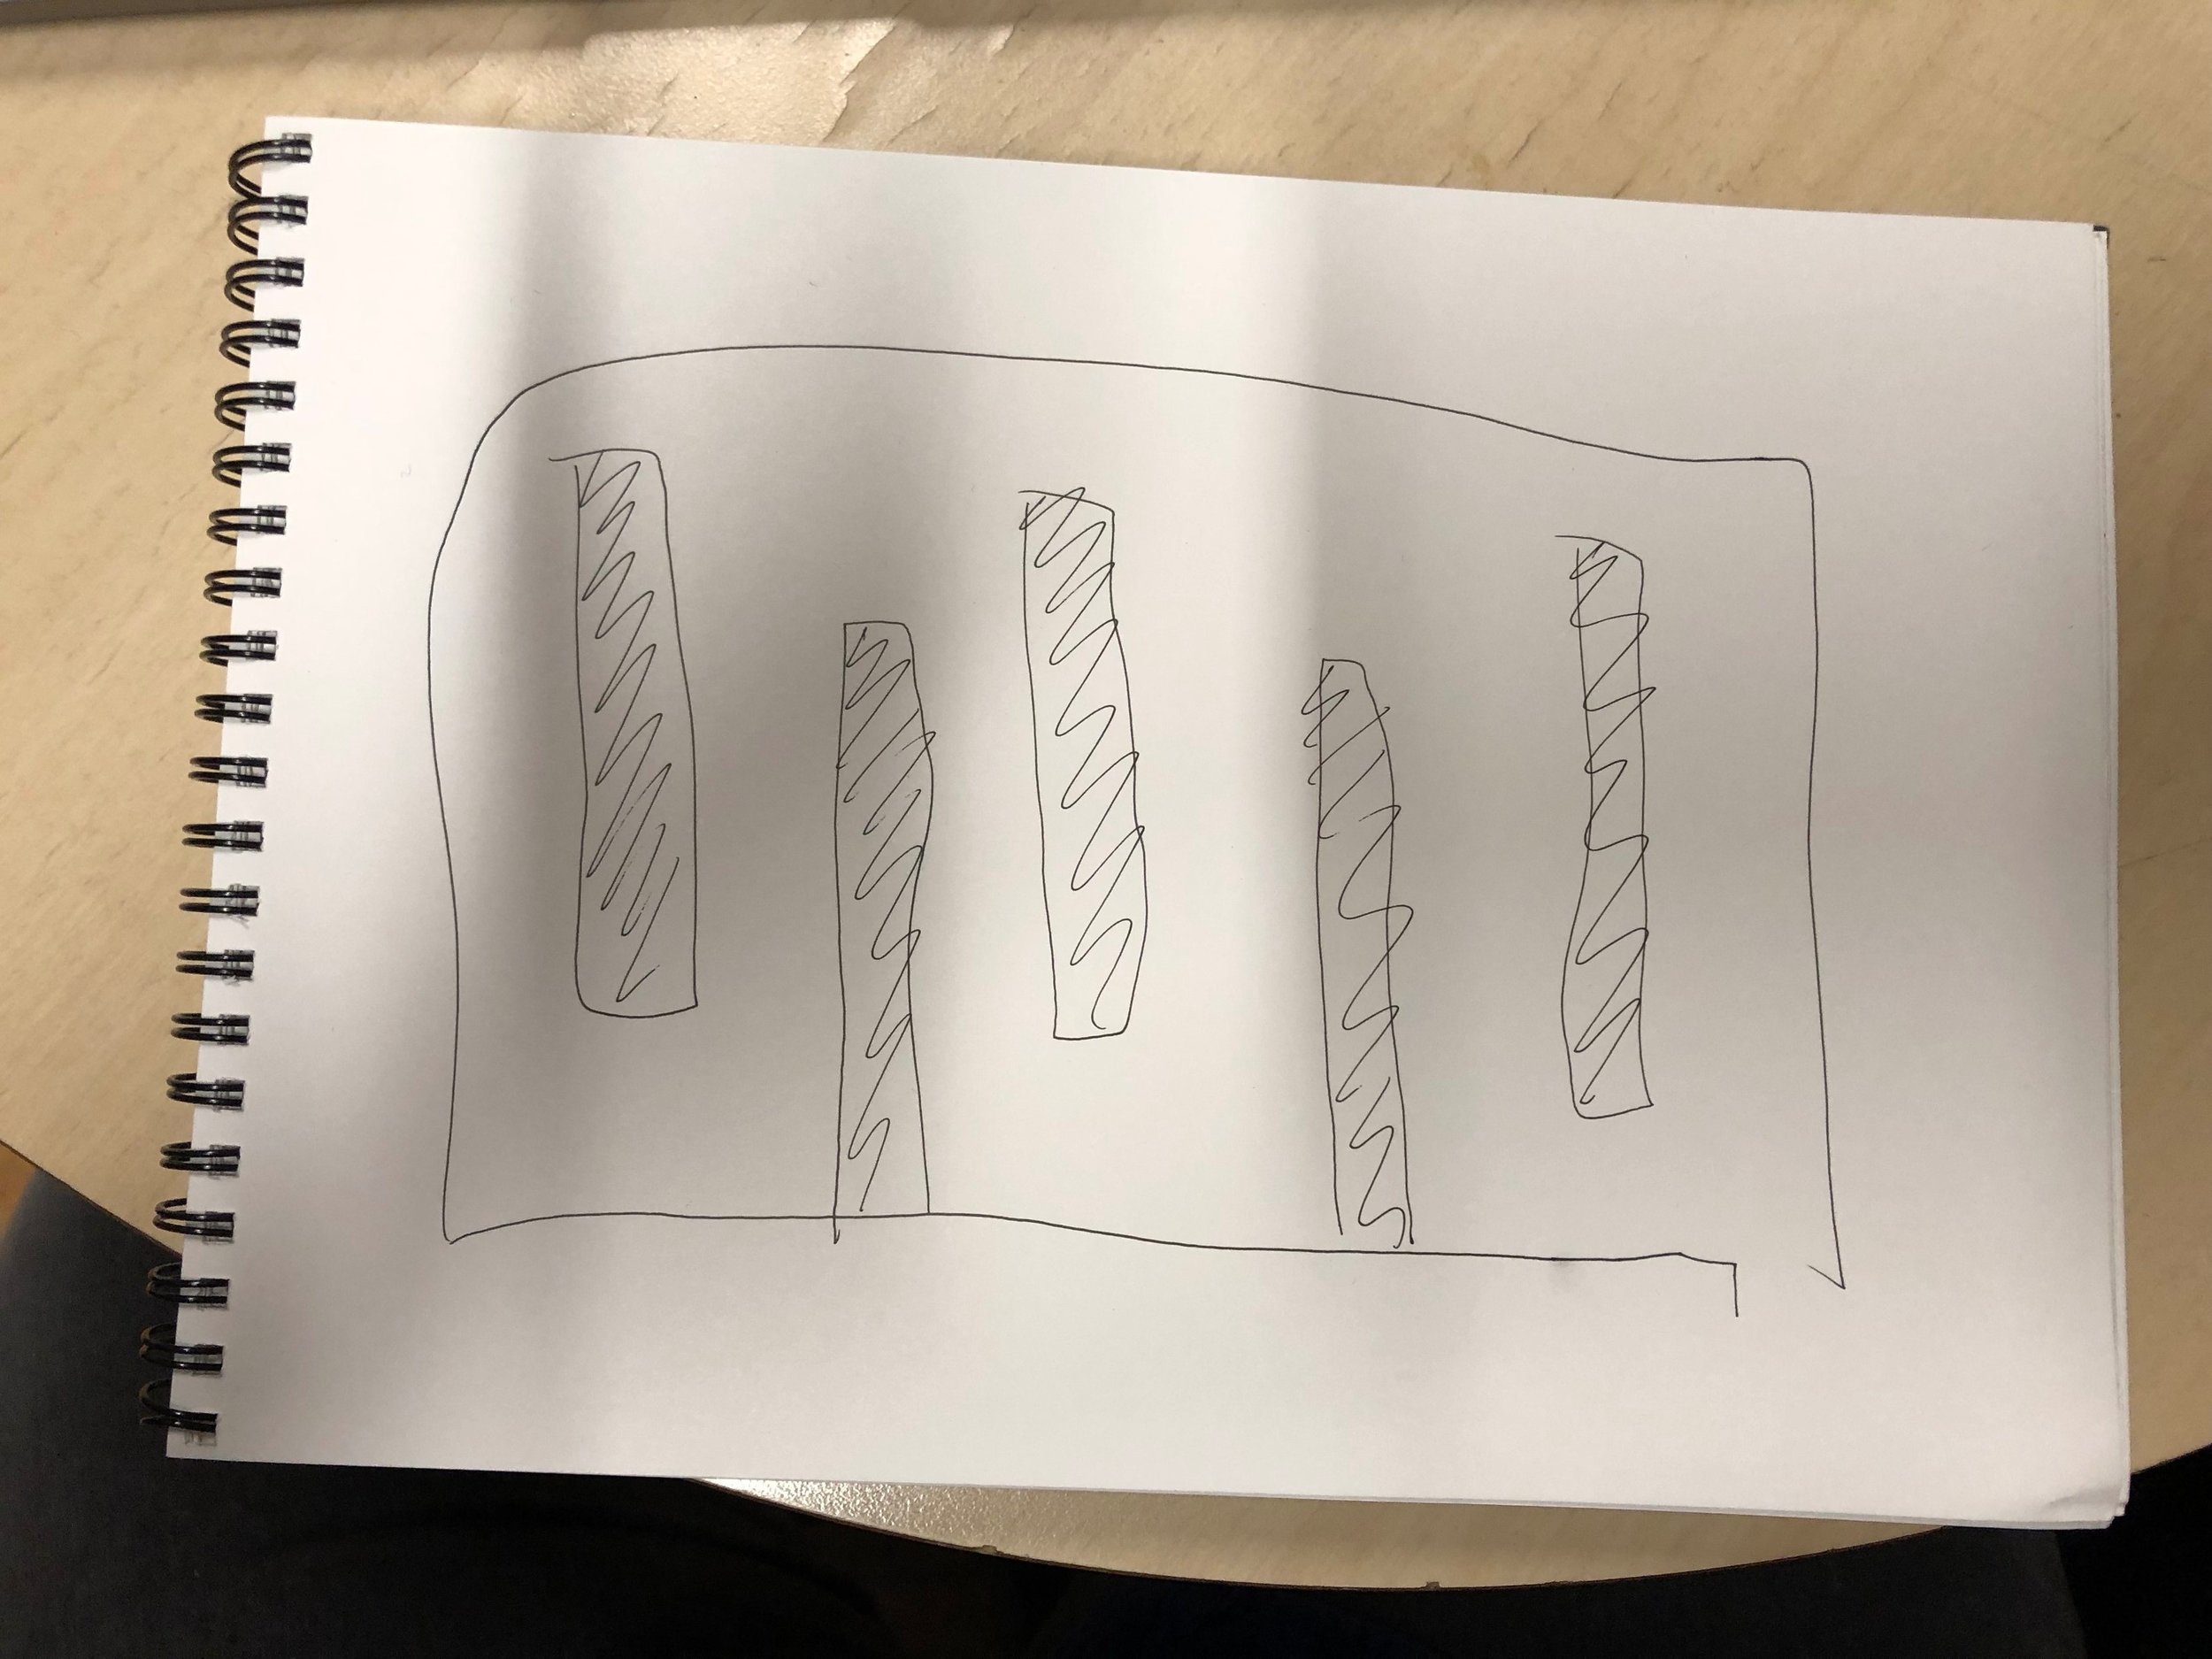
The next attempt was a circular shape with boxes — the problem here is that the boxes don’t have any pathways for air to travel through, so I ended up with a pretty weird donut-shaped thing. The last attempt was to create an inflatable ‘M’ but I mis-calculated the distance on the supports so I ended up getting a bit of a zig-zag shape. Problems here were that the entry point of air tended to blow through the support seams.
All and all, it was a fun exercise and may try a few more if time allows in the future.
x.
three cable
experiments
Week One | Cable Experiments
In this week’s exploration I decided to experiment with 3 different systems and 3 different layers of paper. The first sheet (white) uses a kitchen string and has some cross-interference; the middle layer (blue) is using a thin sewing thread and uses angular directions; and the last layer (green) has parallel directions with also thin sewing thread.
Week One
Soft Materials Exploration @ Michaels
Week One | Soft Materials Exploration @ Michaels
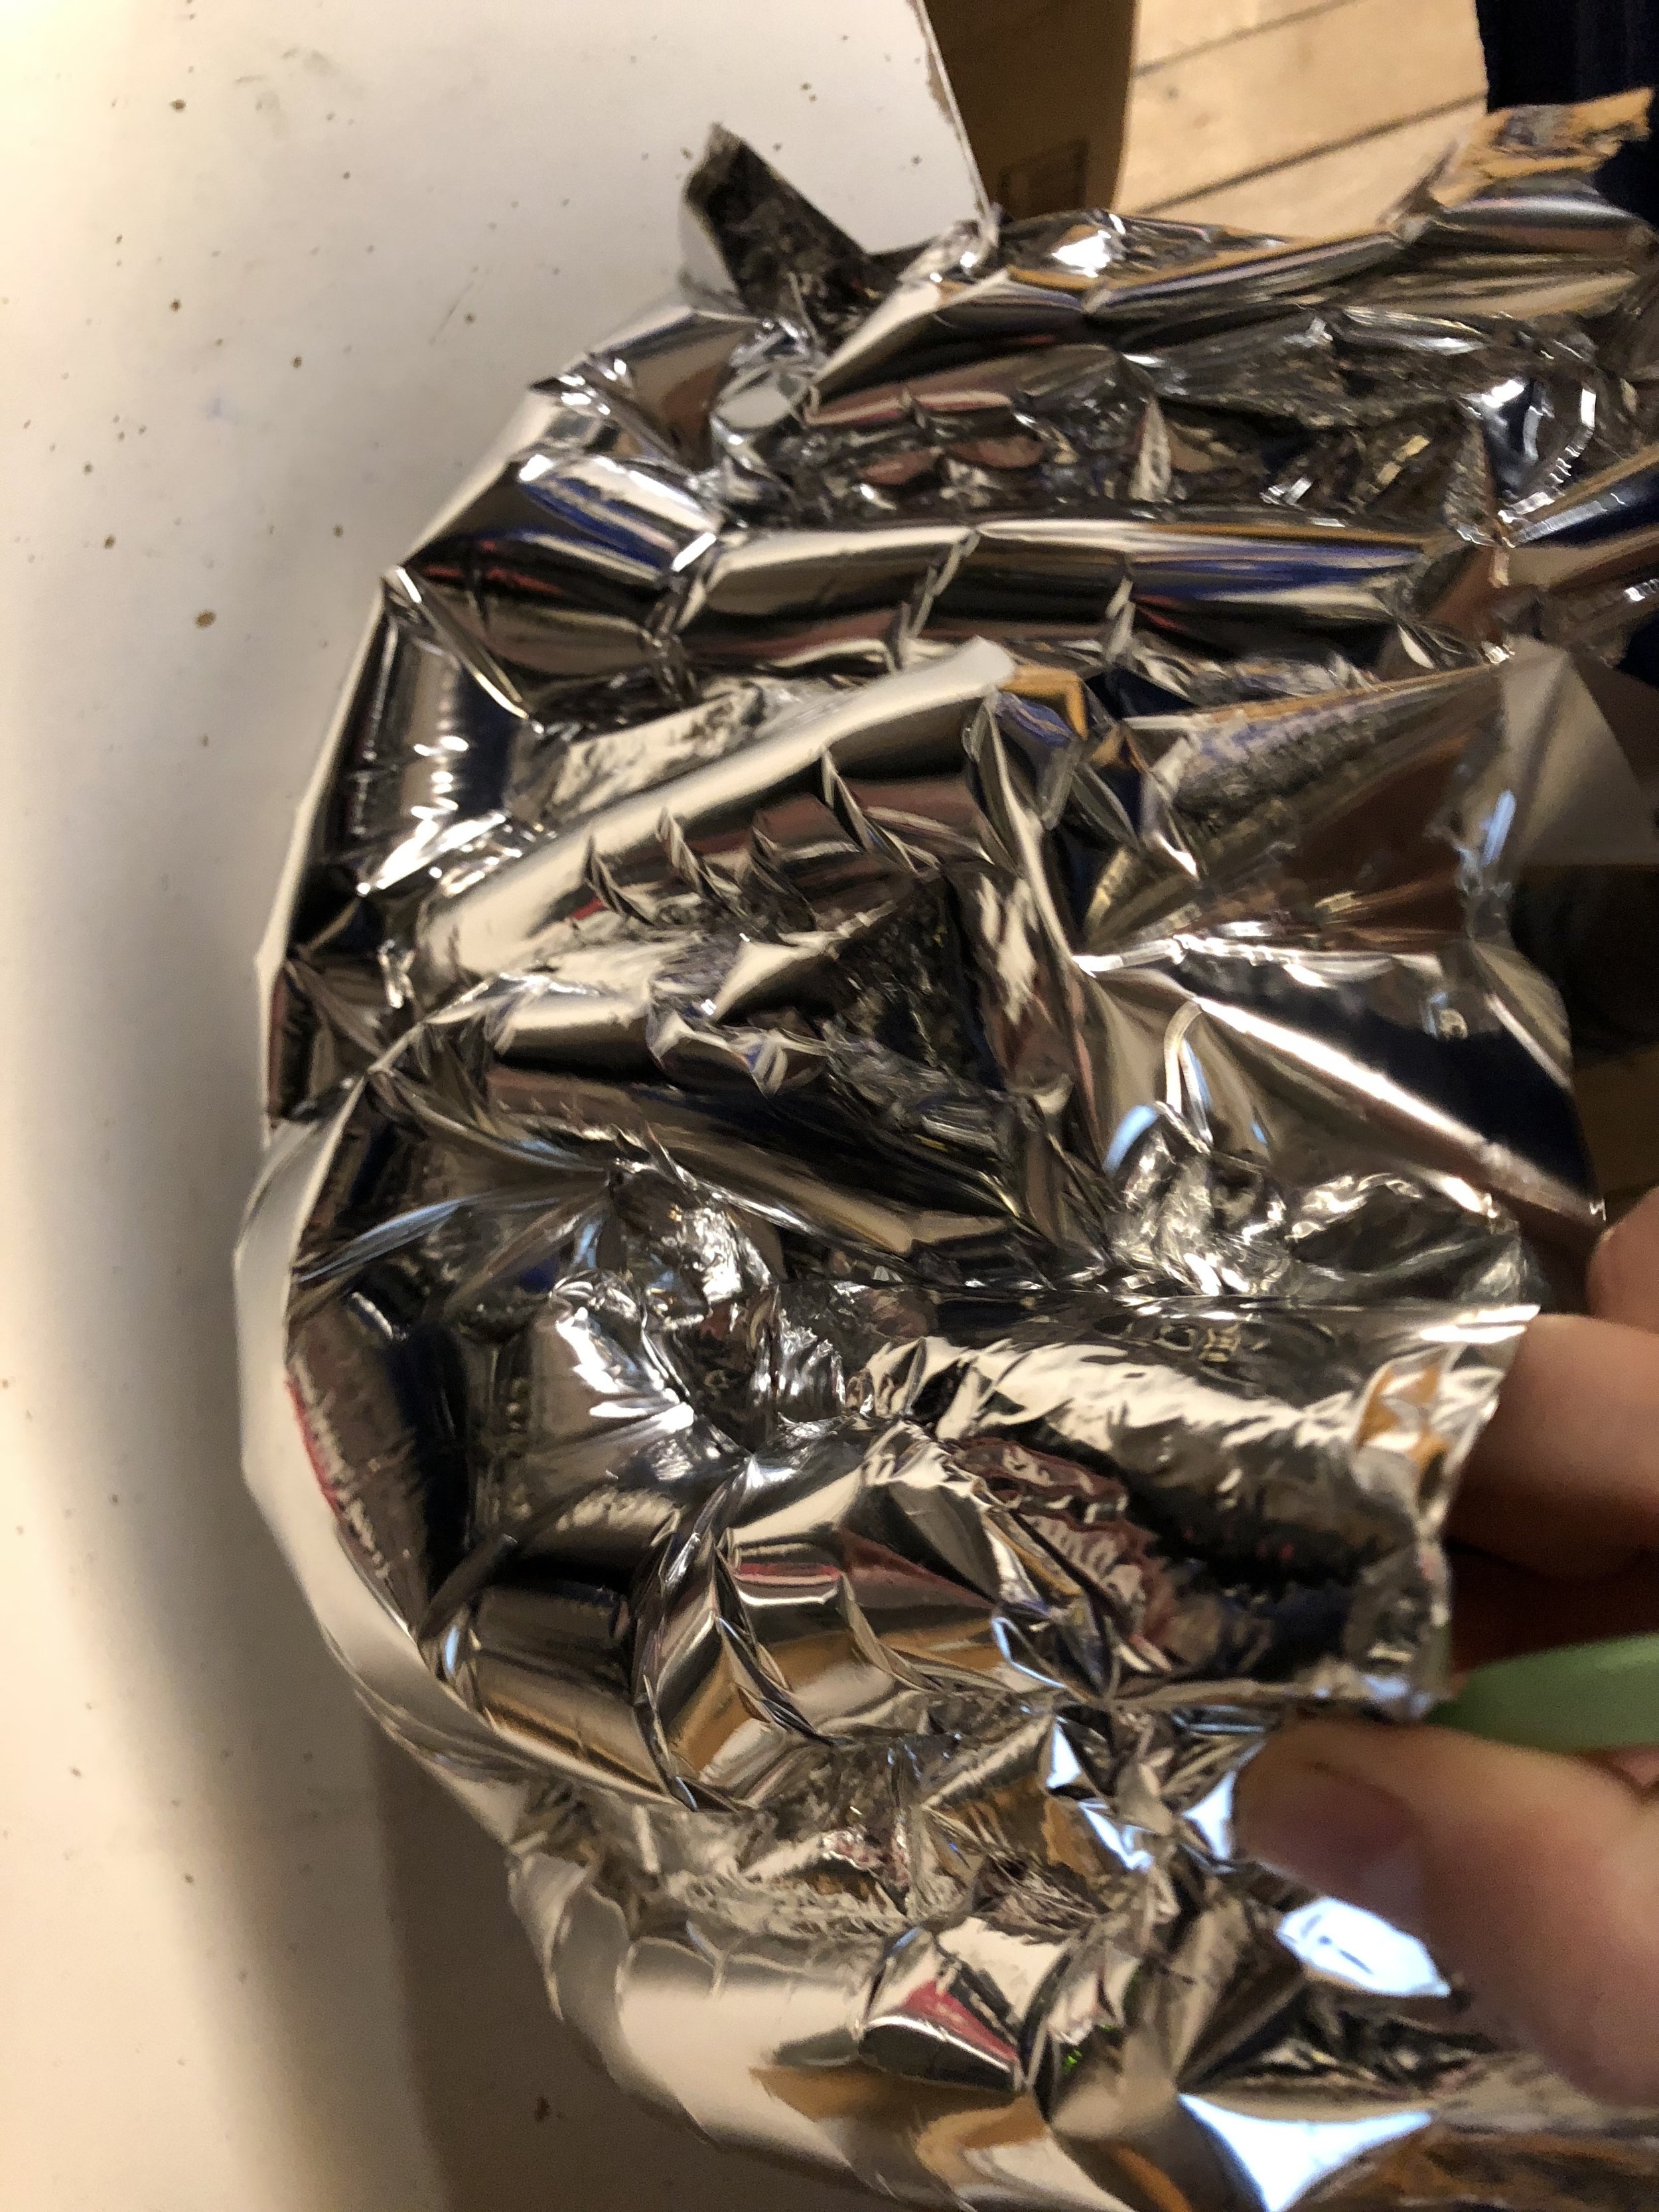
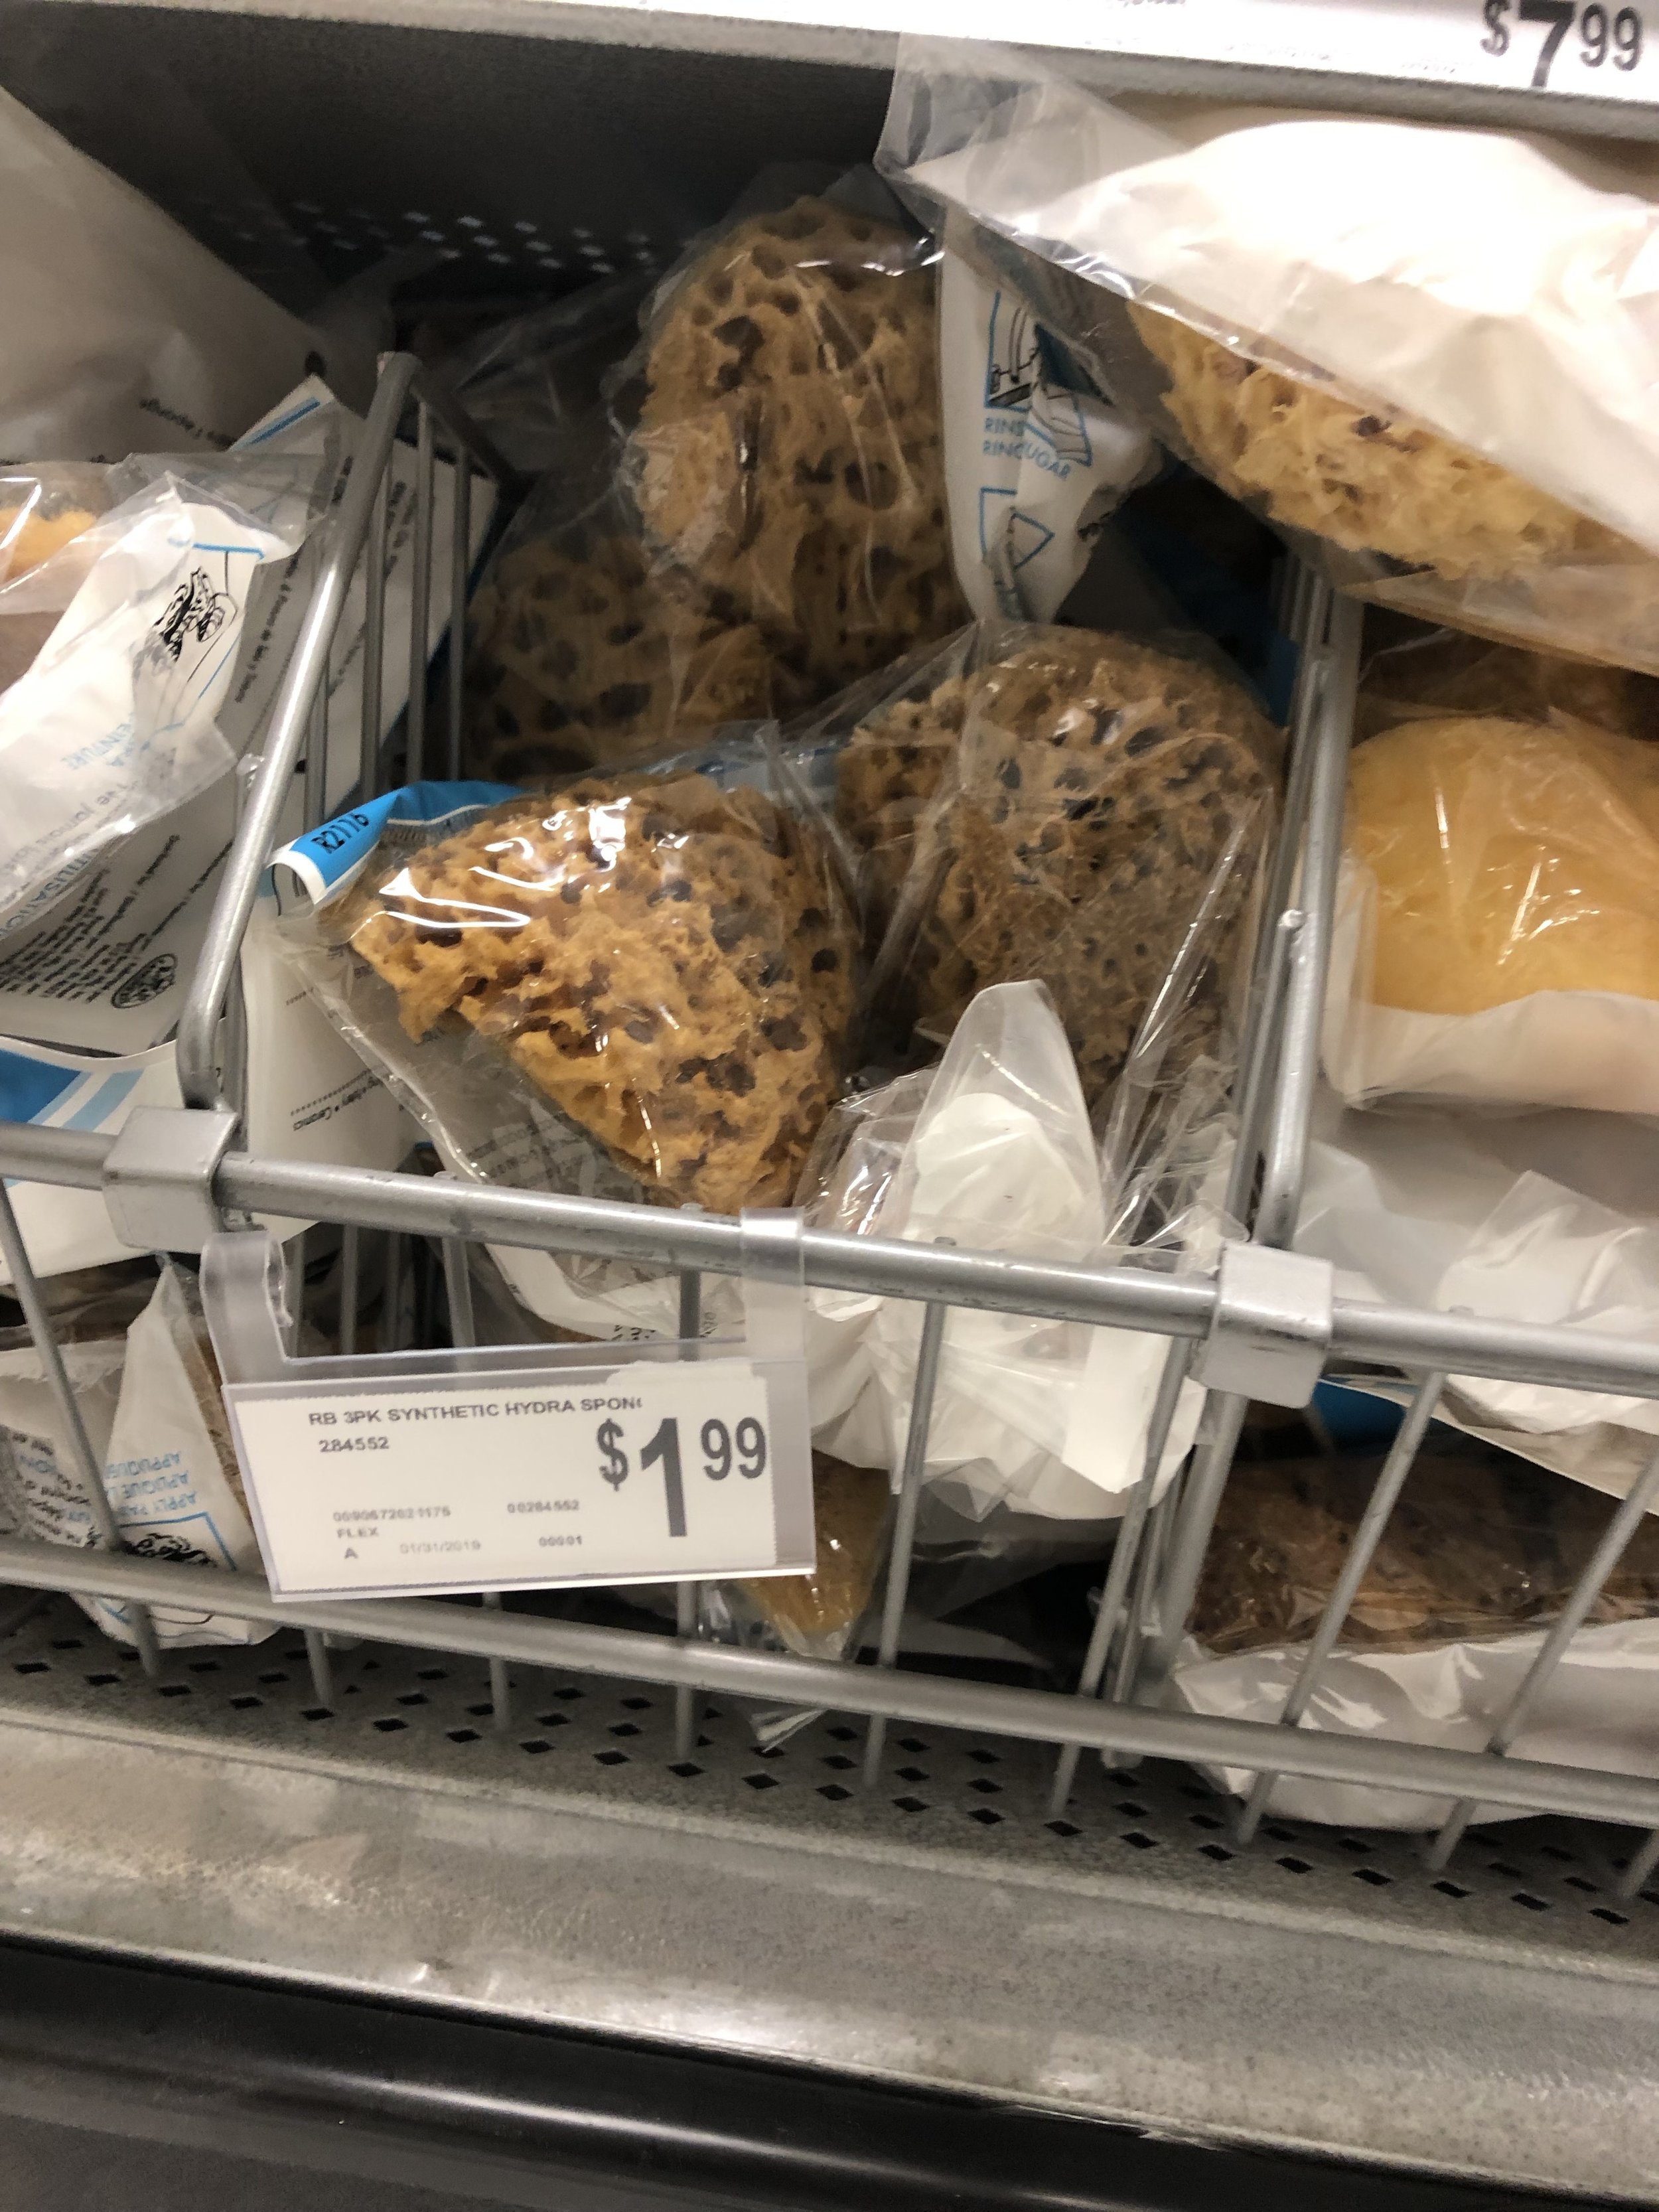
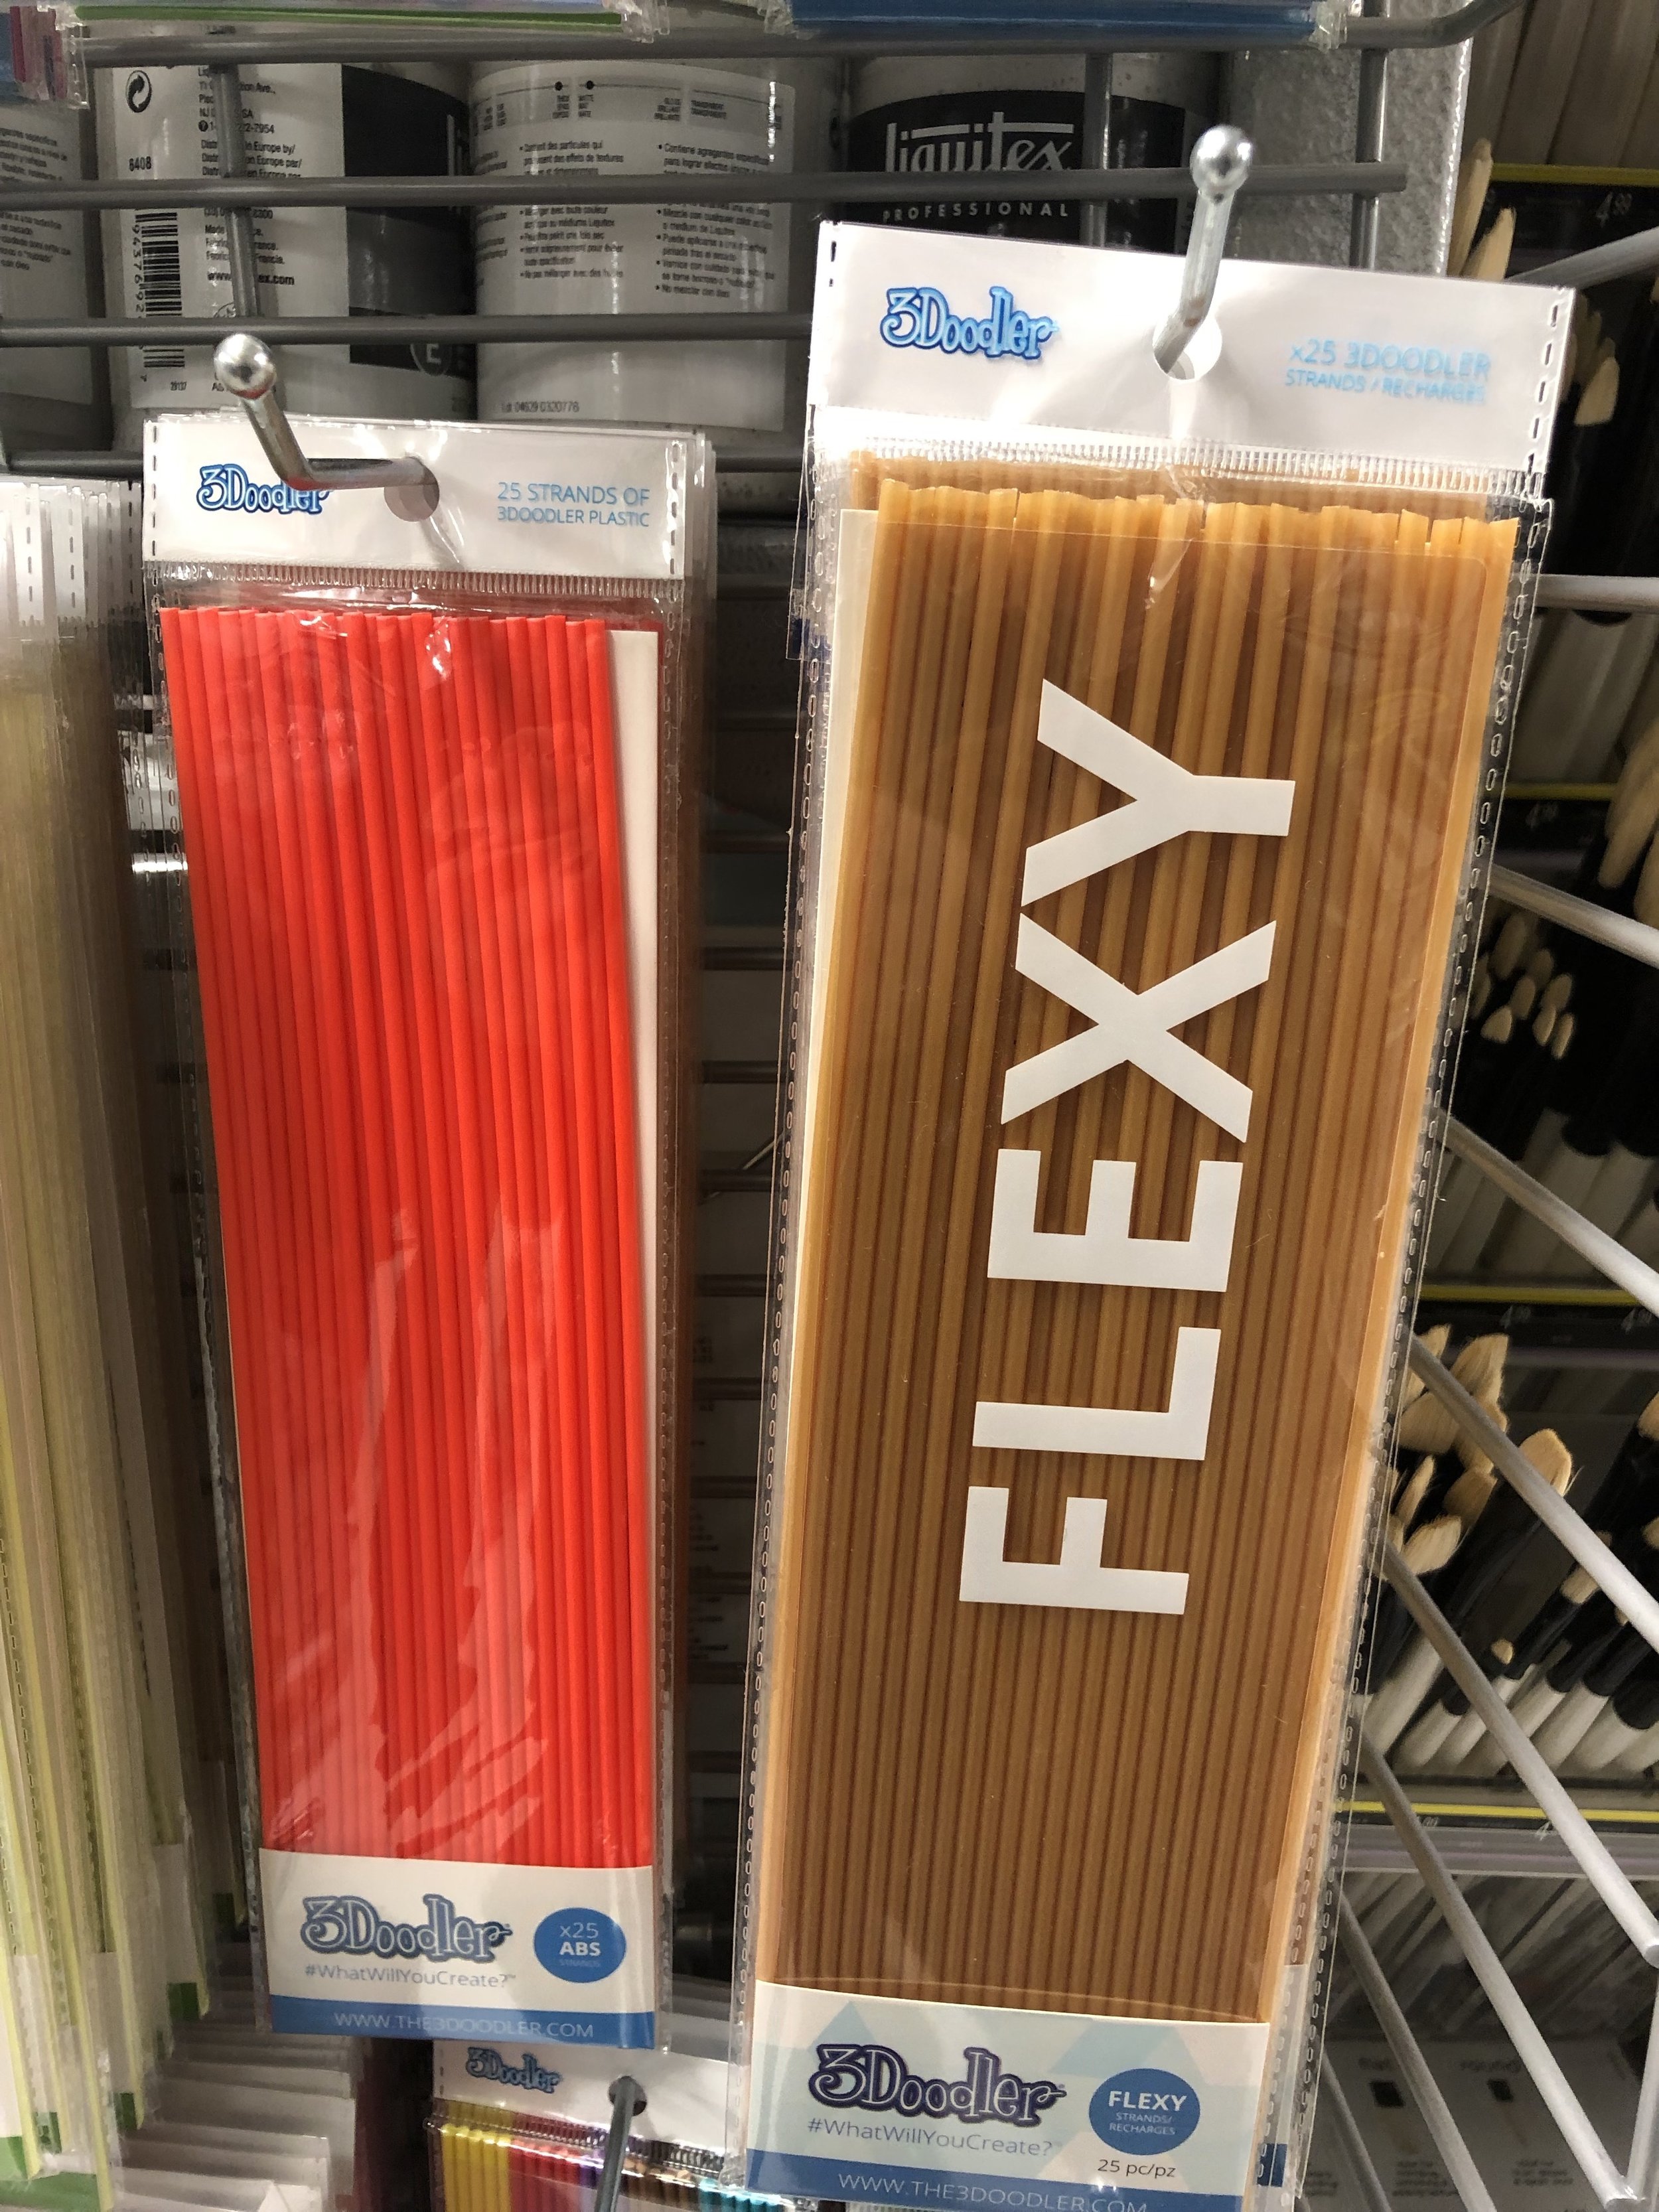
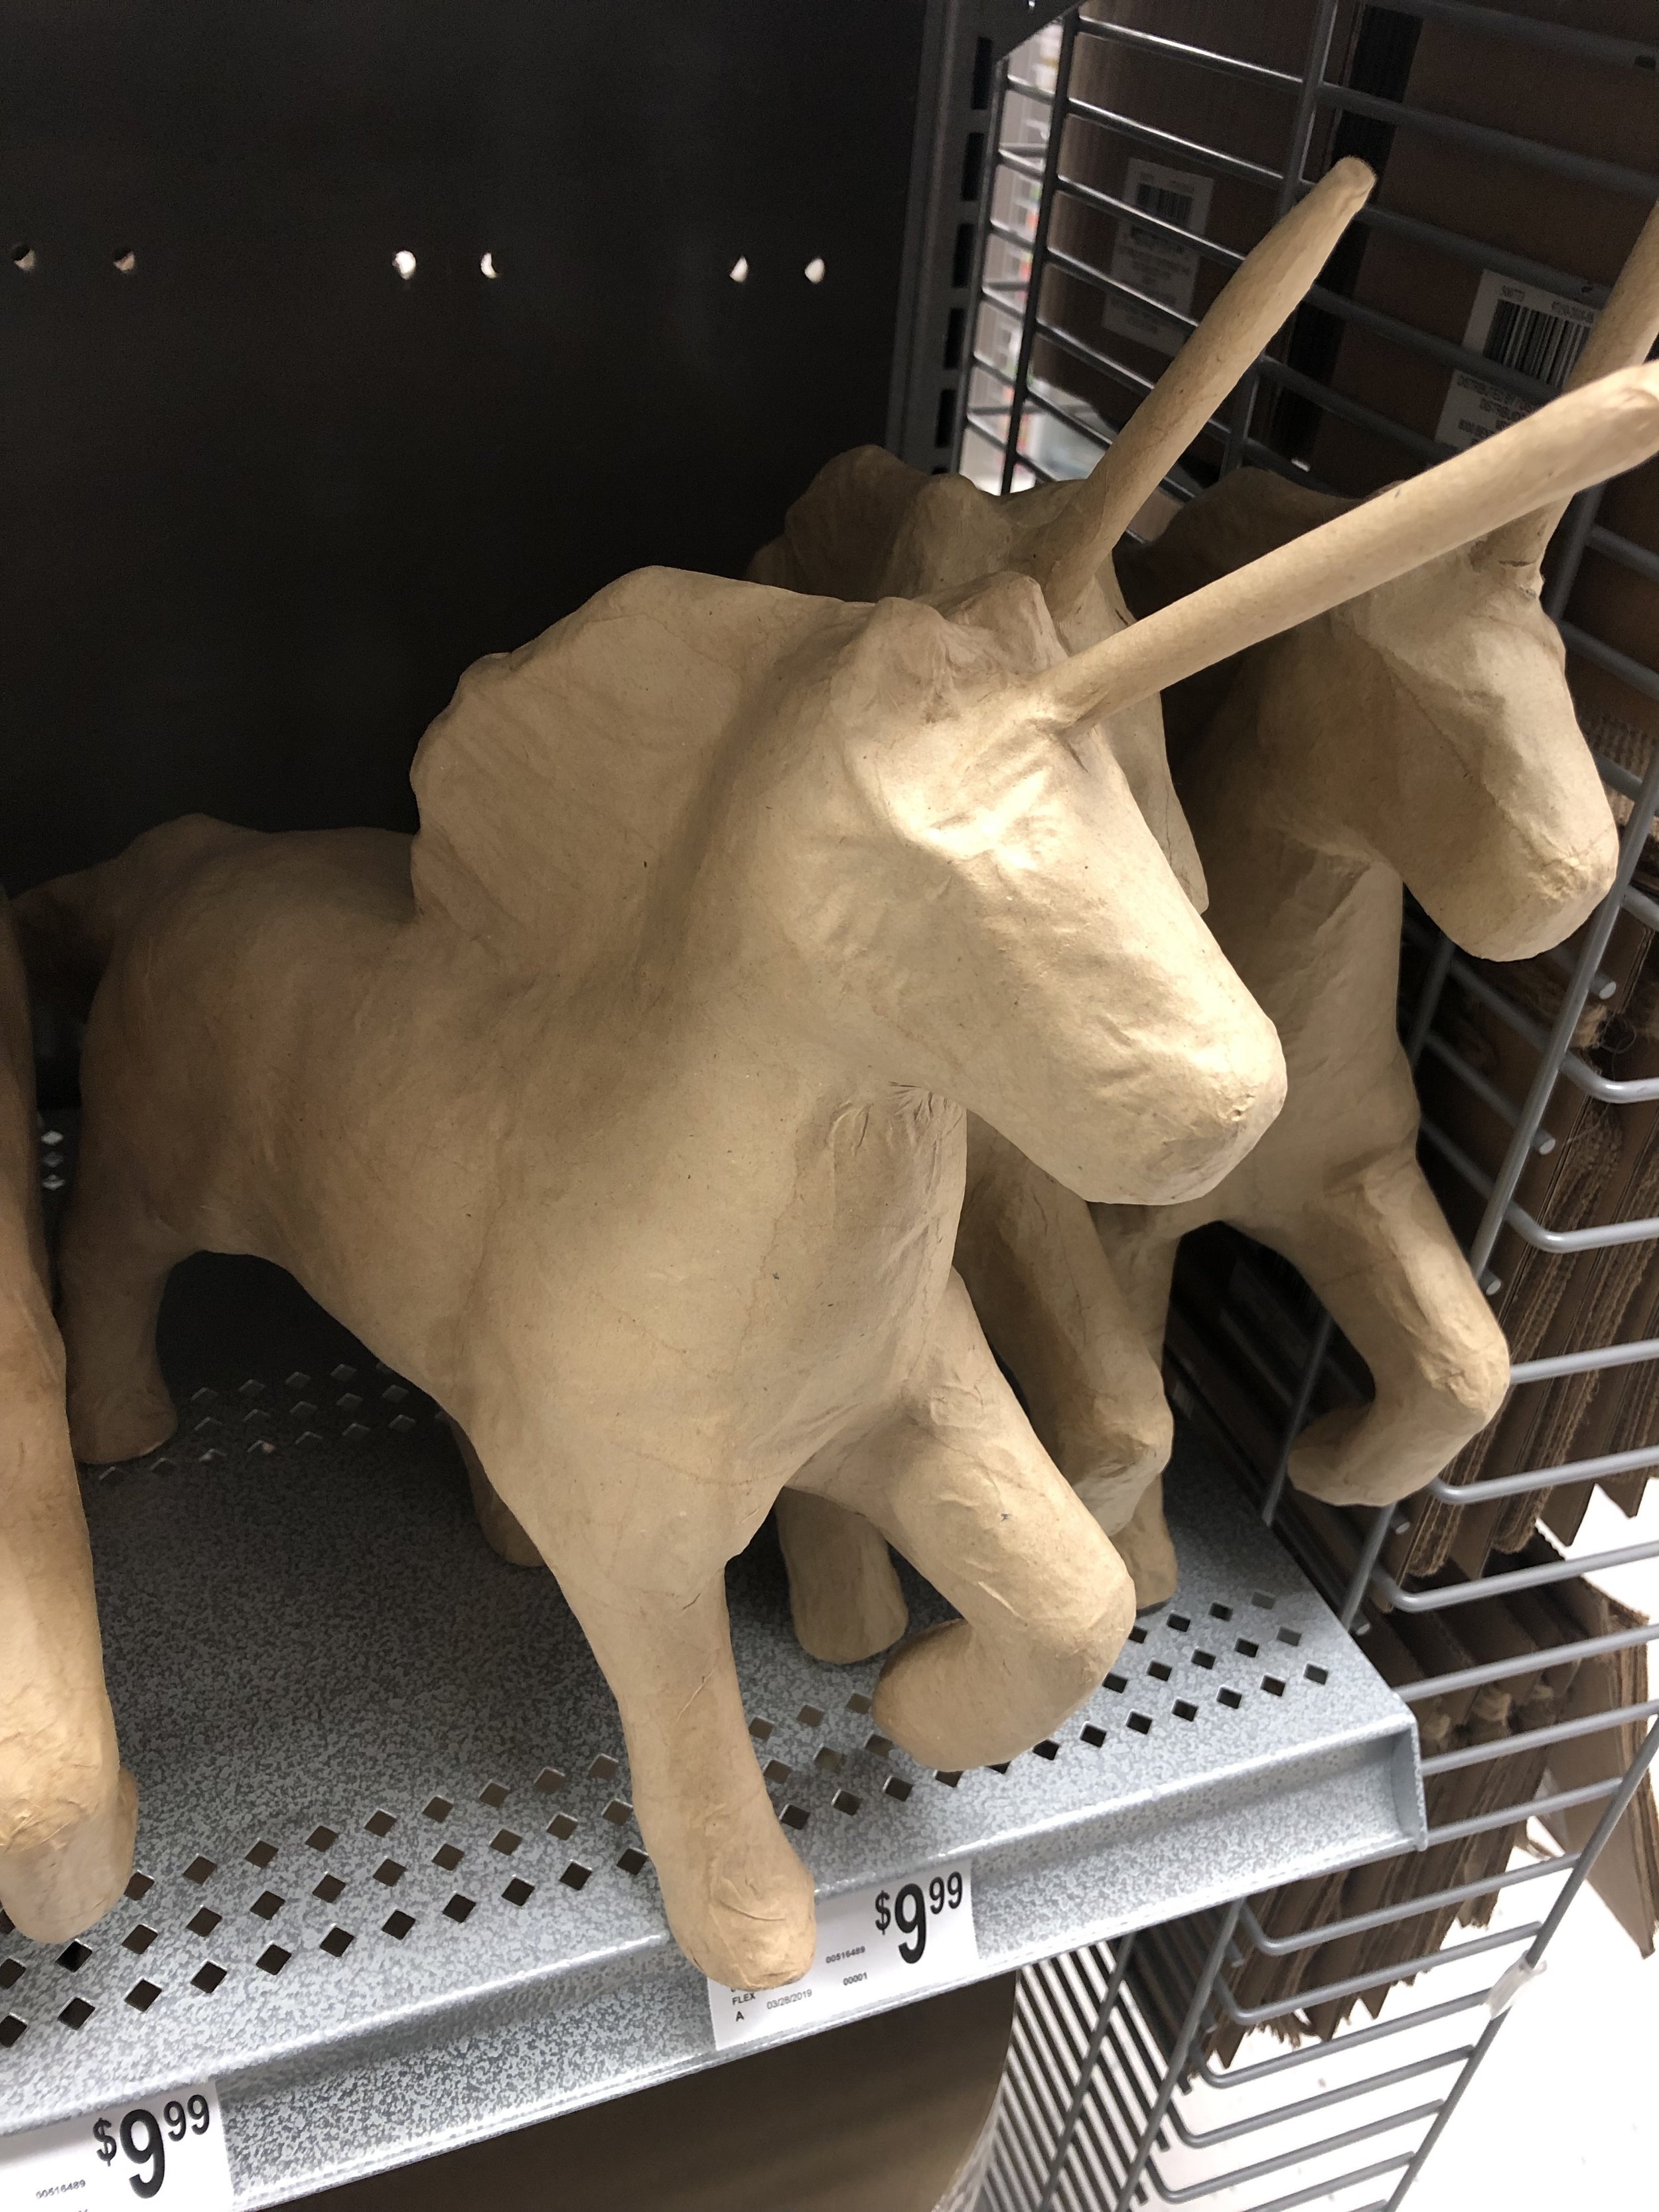
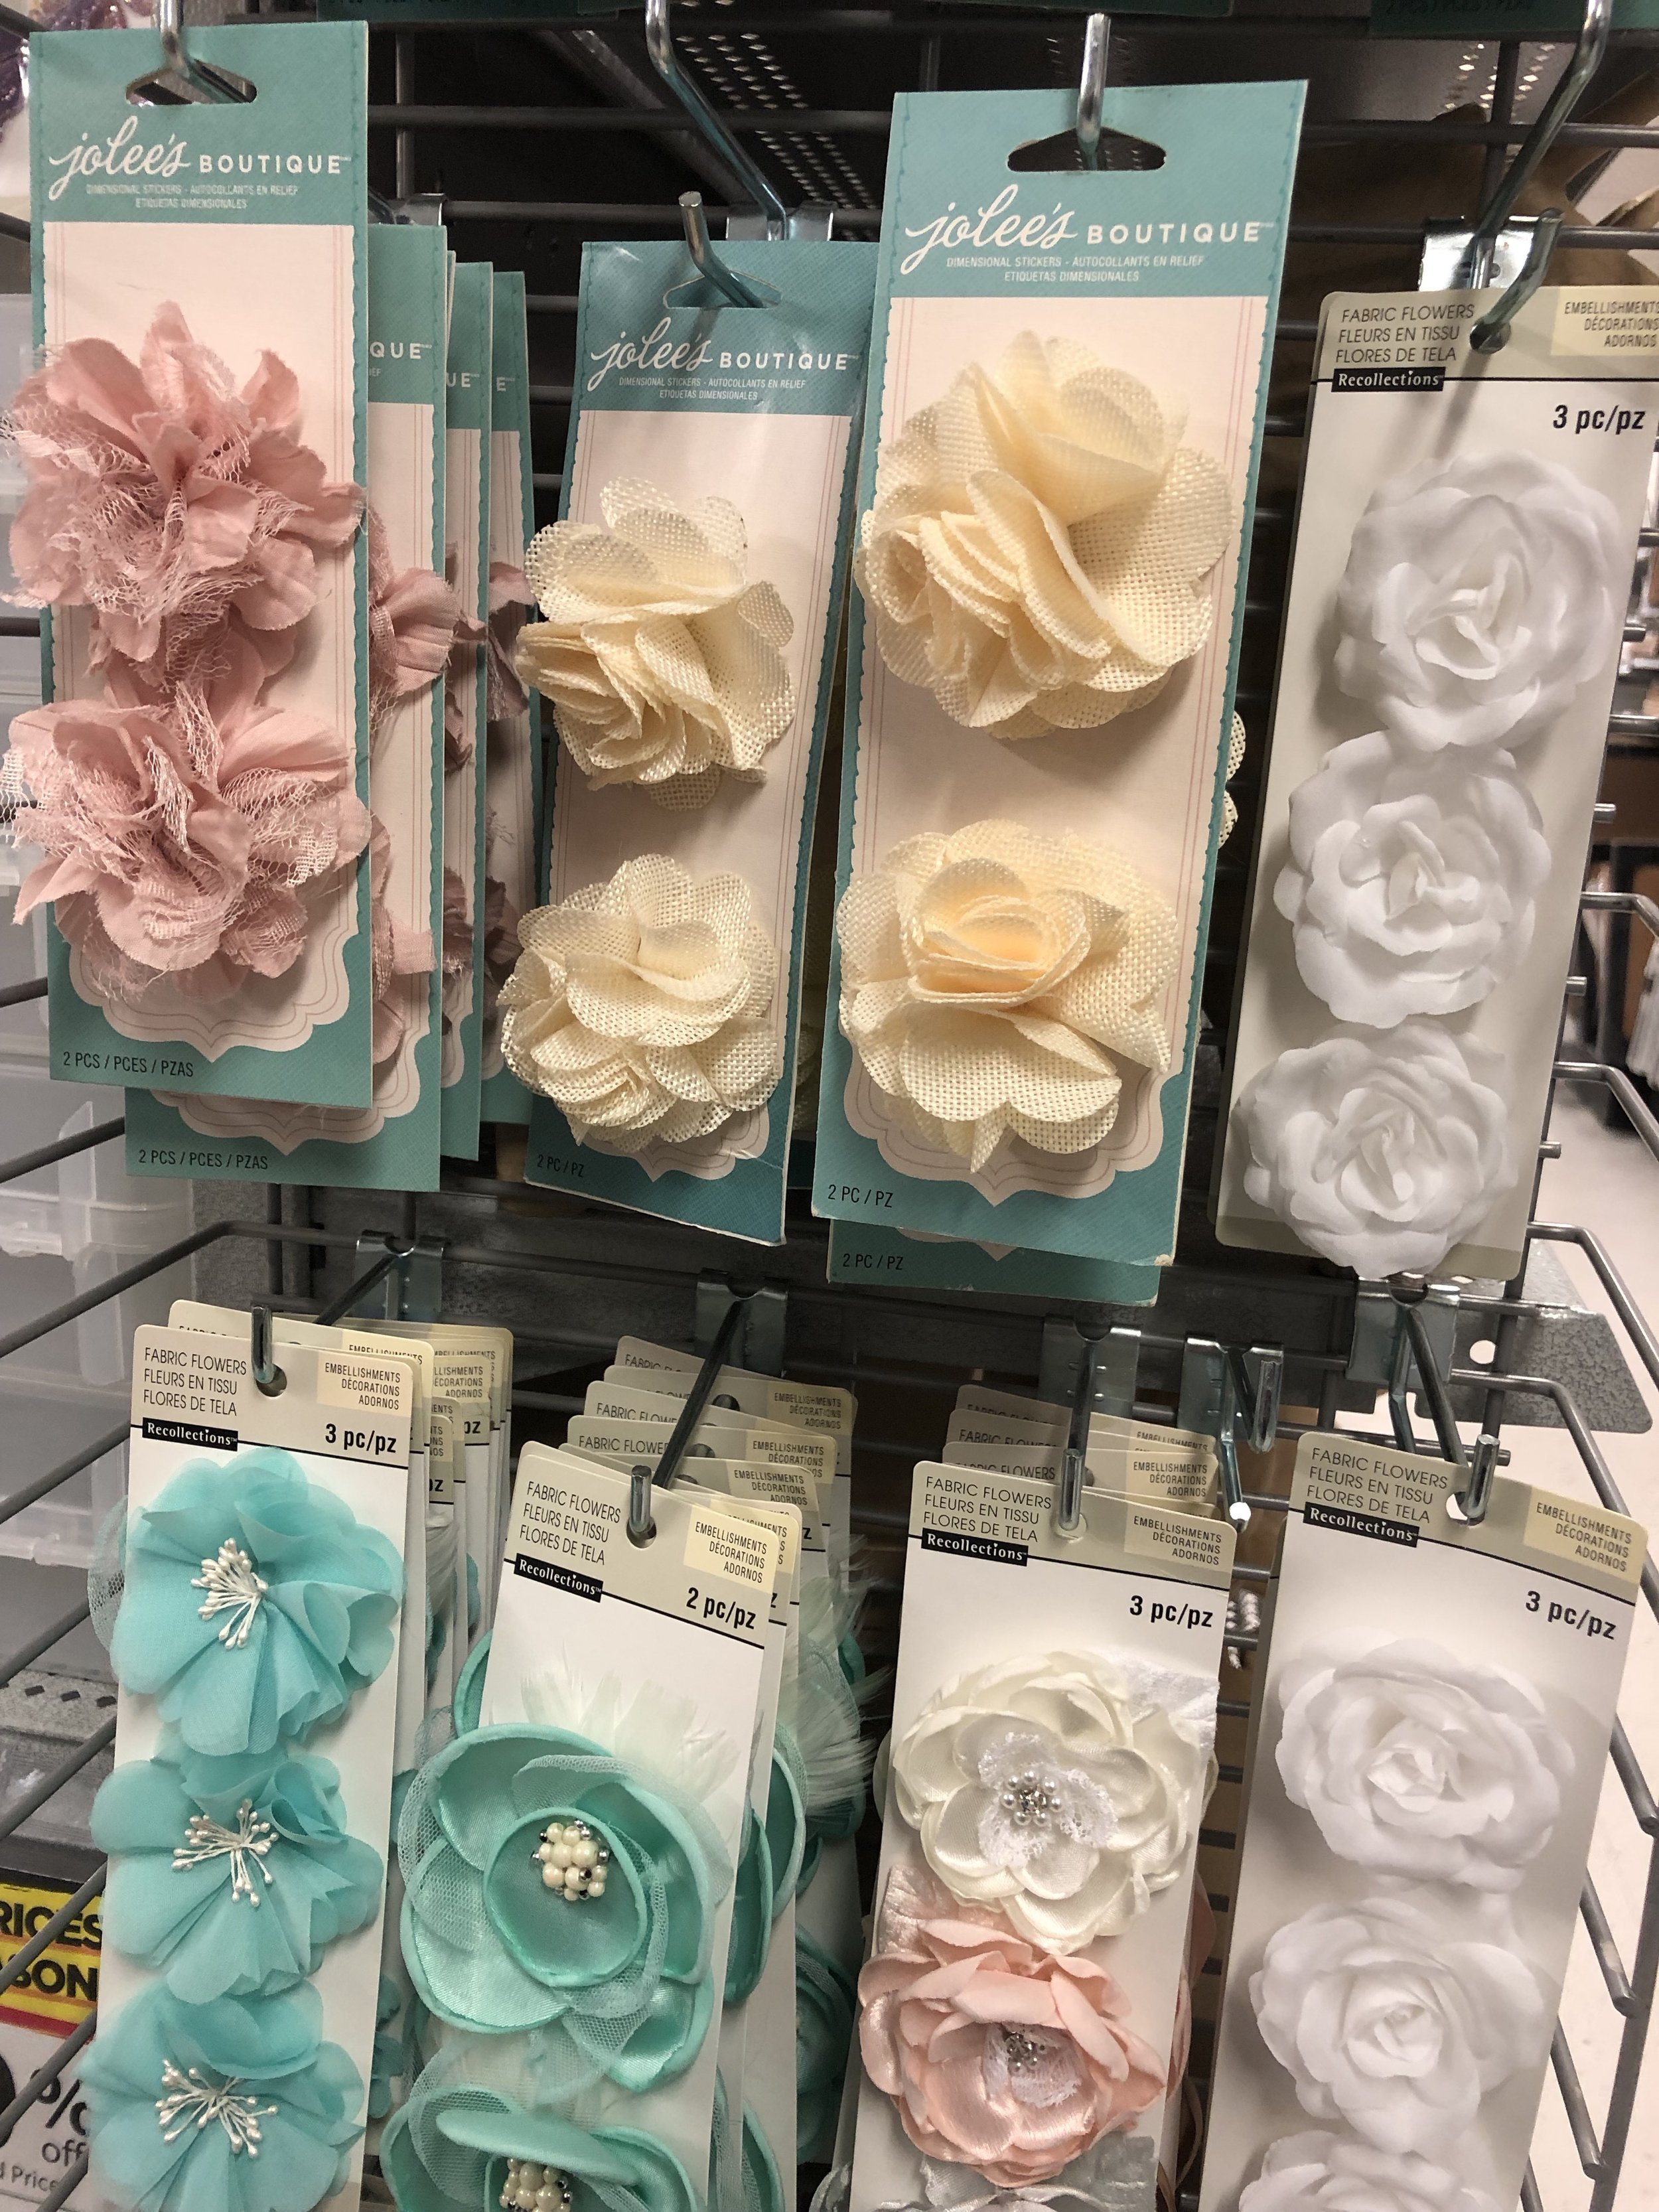
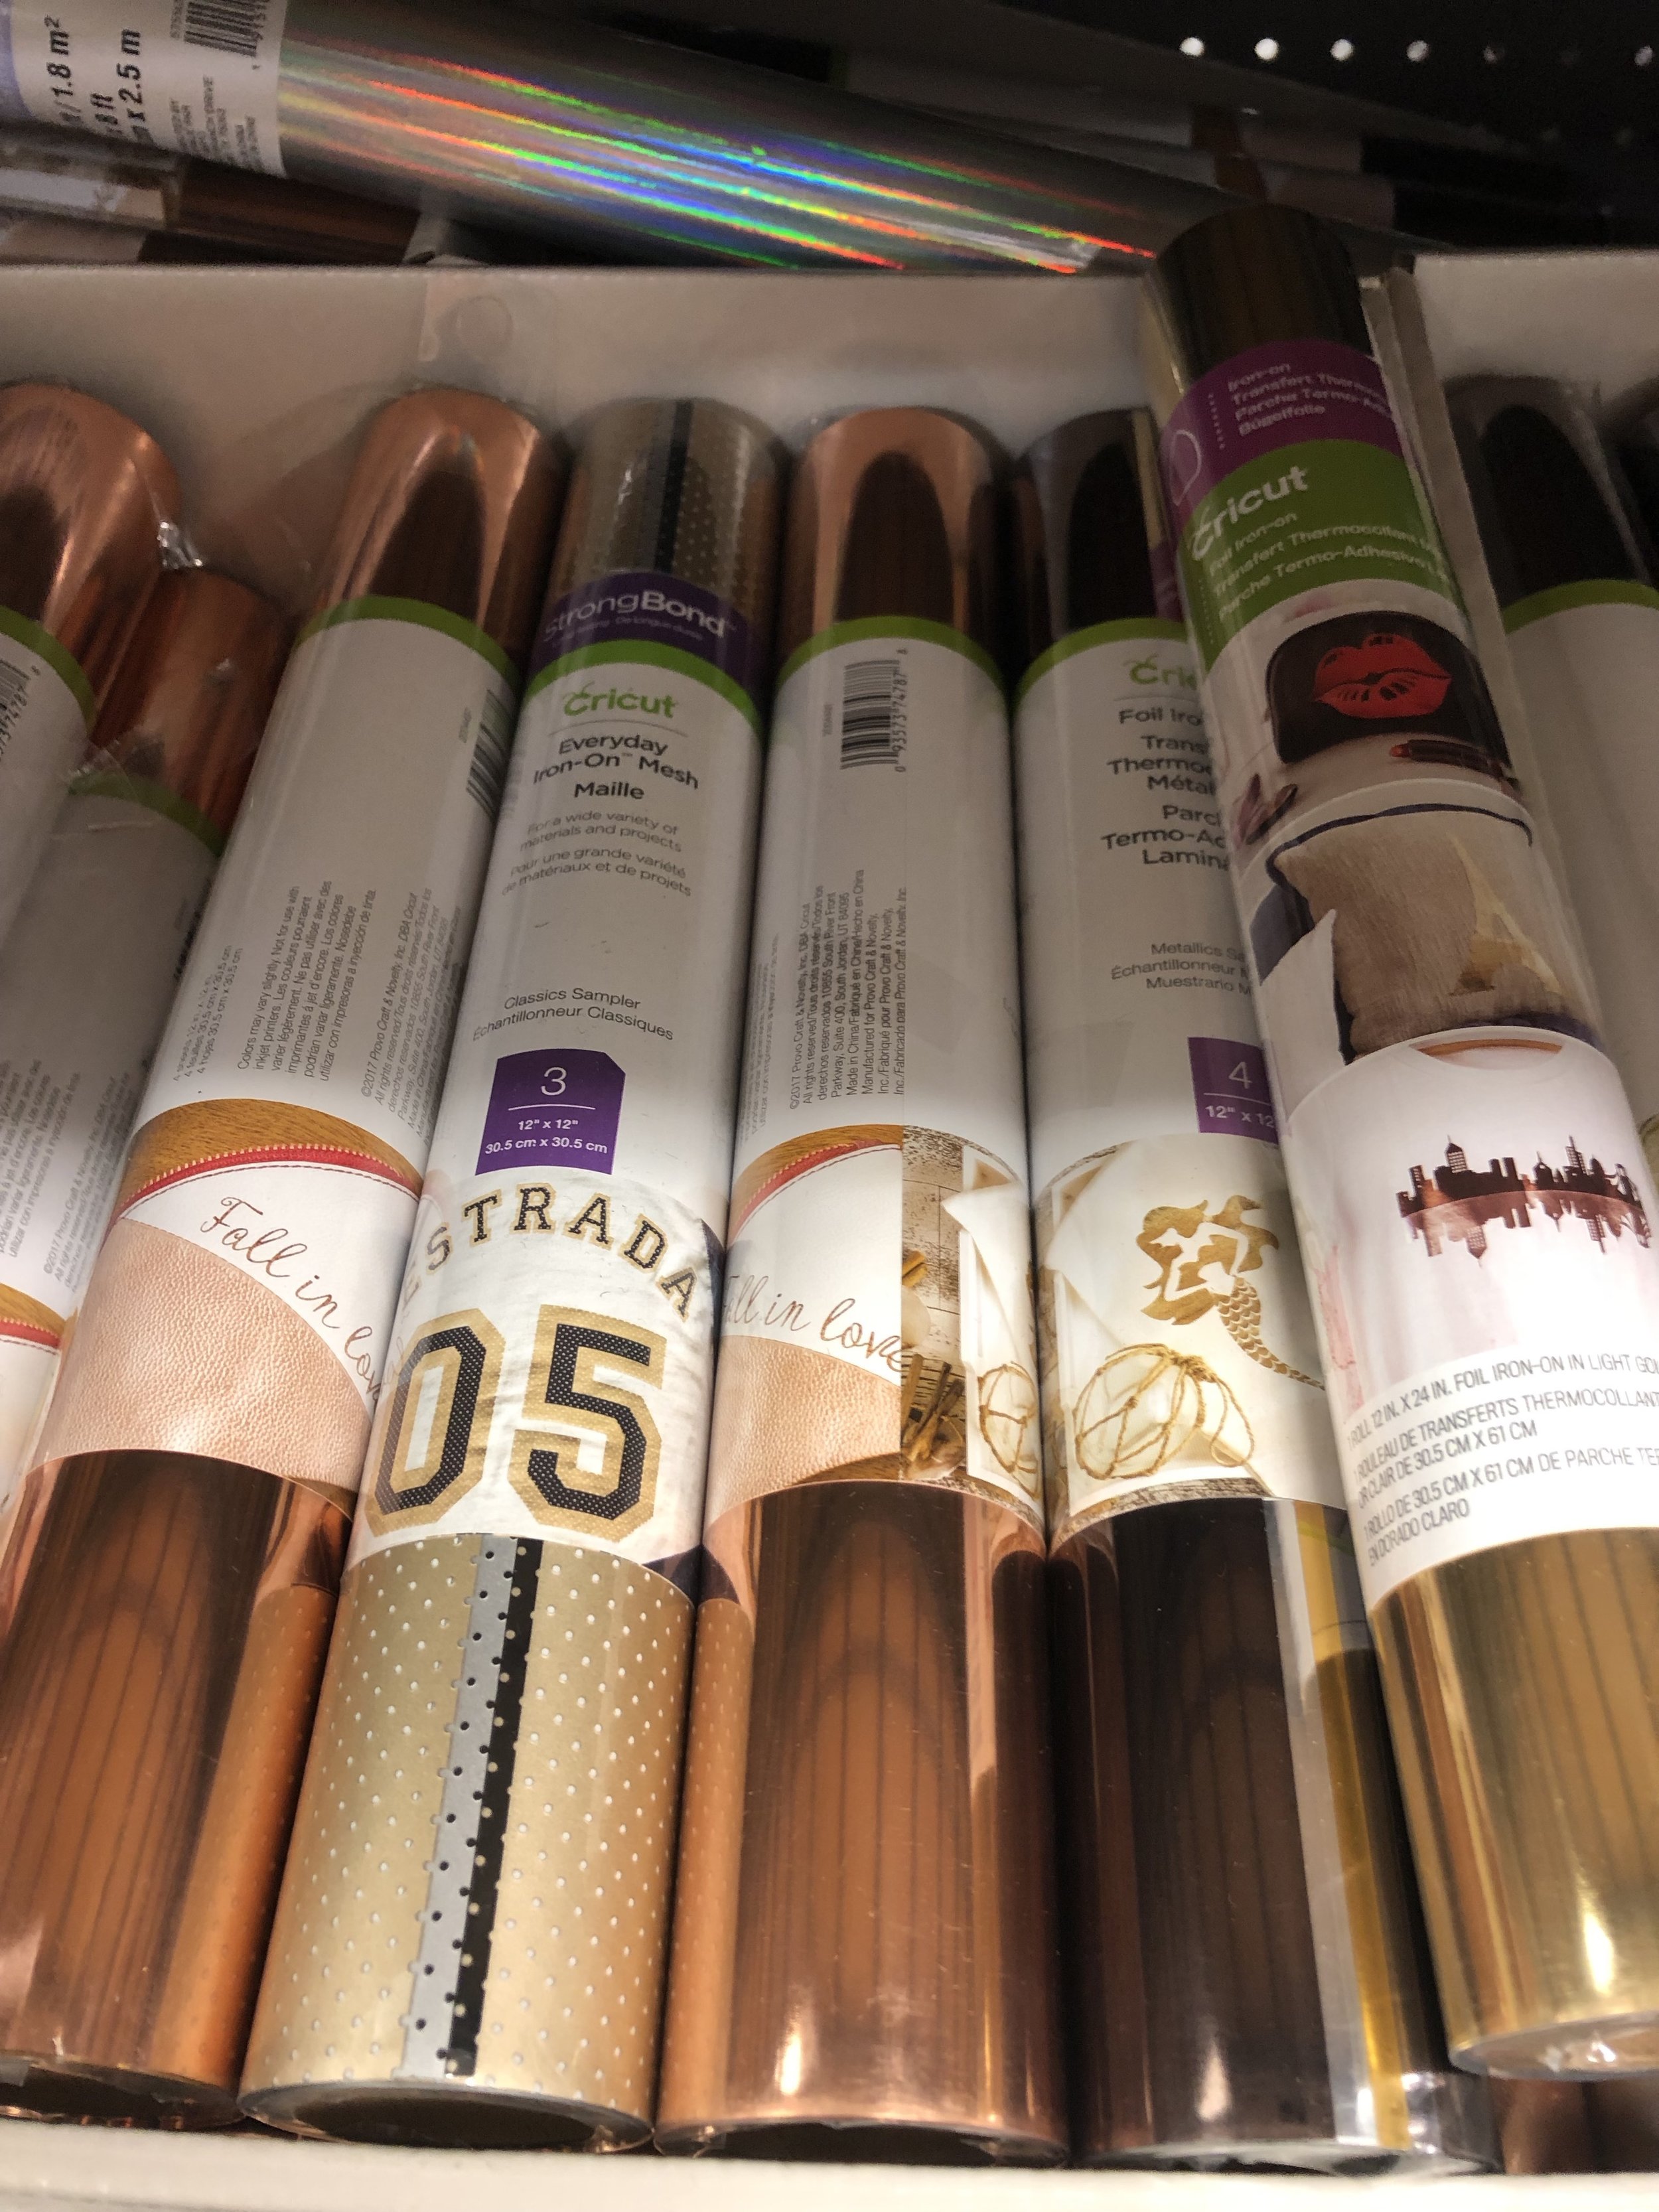
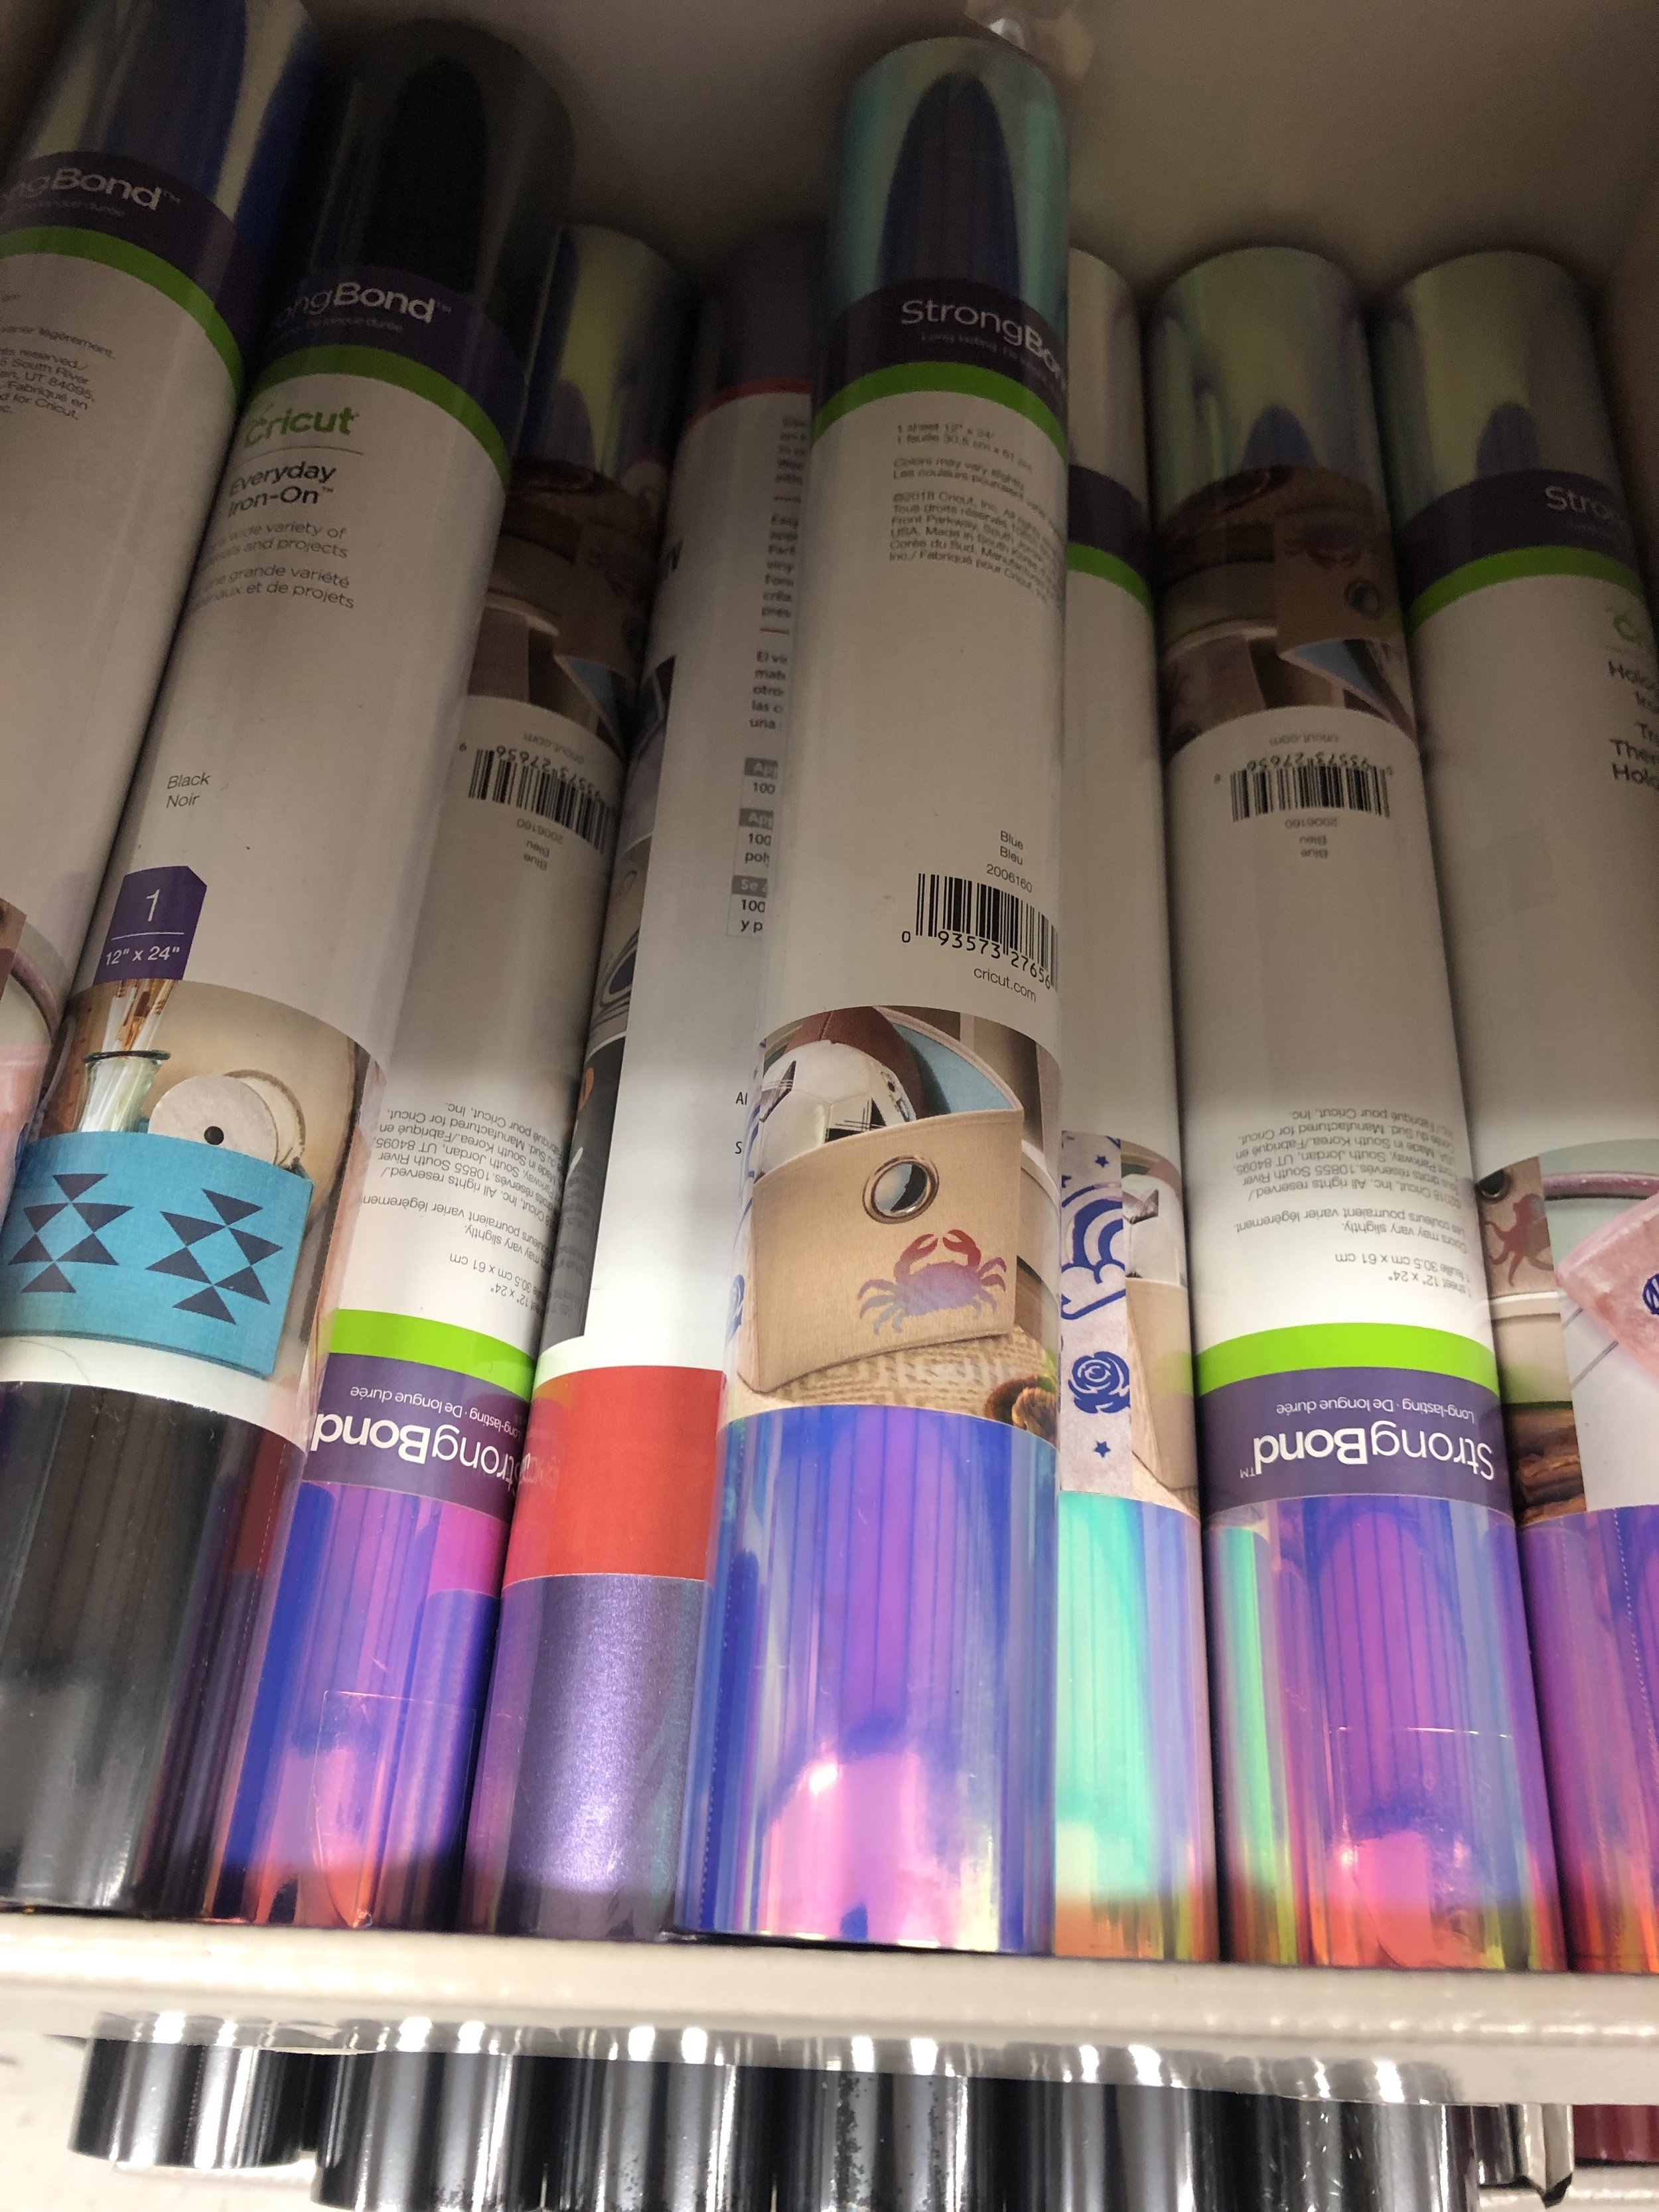
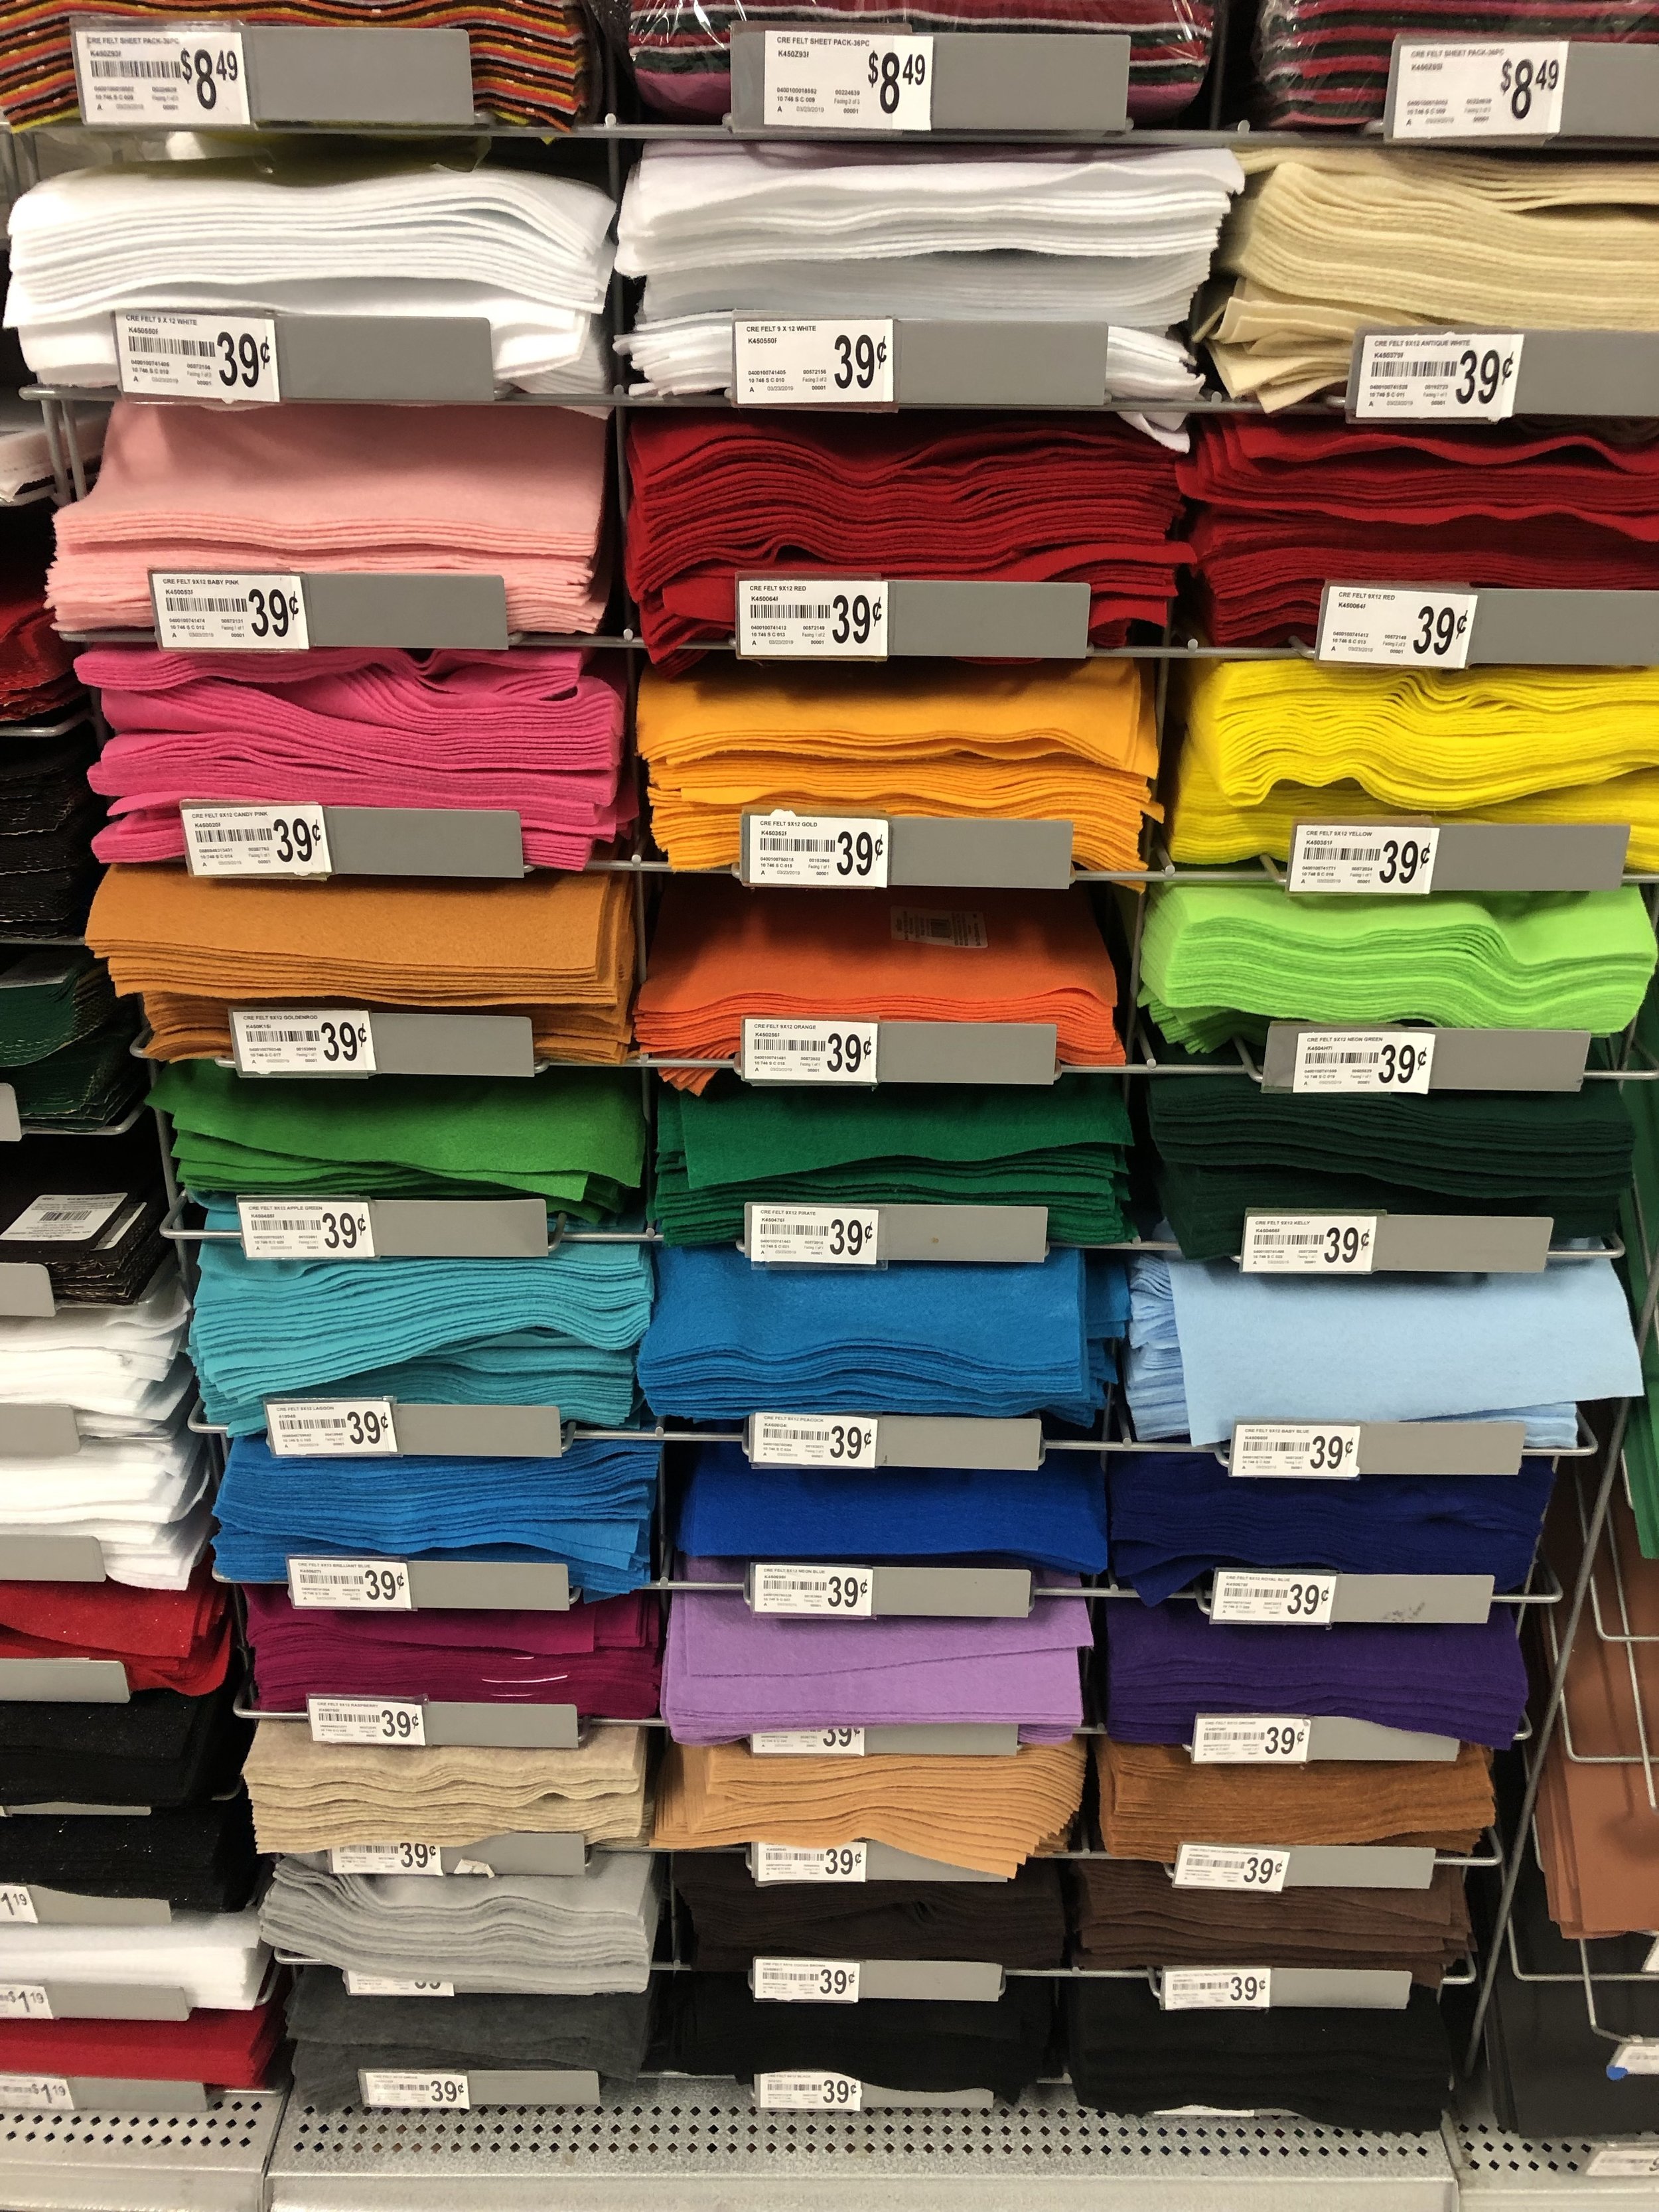
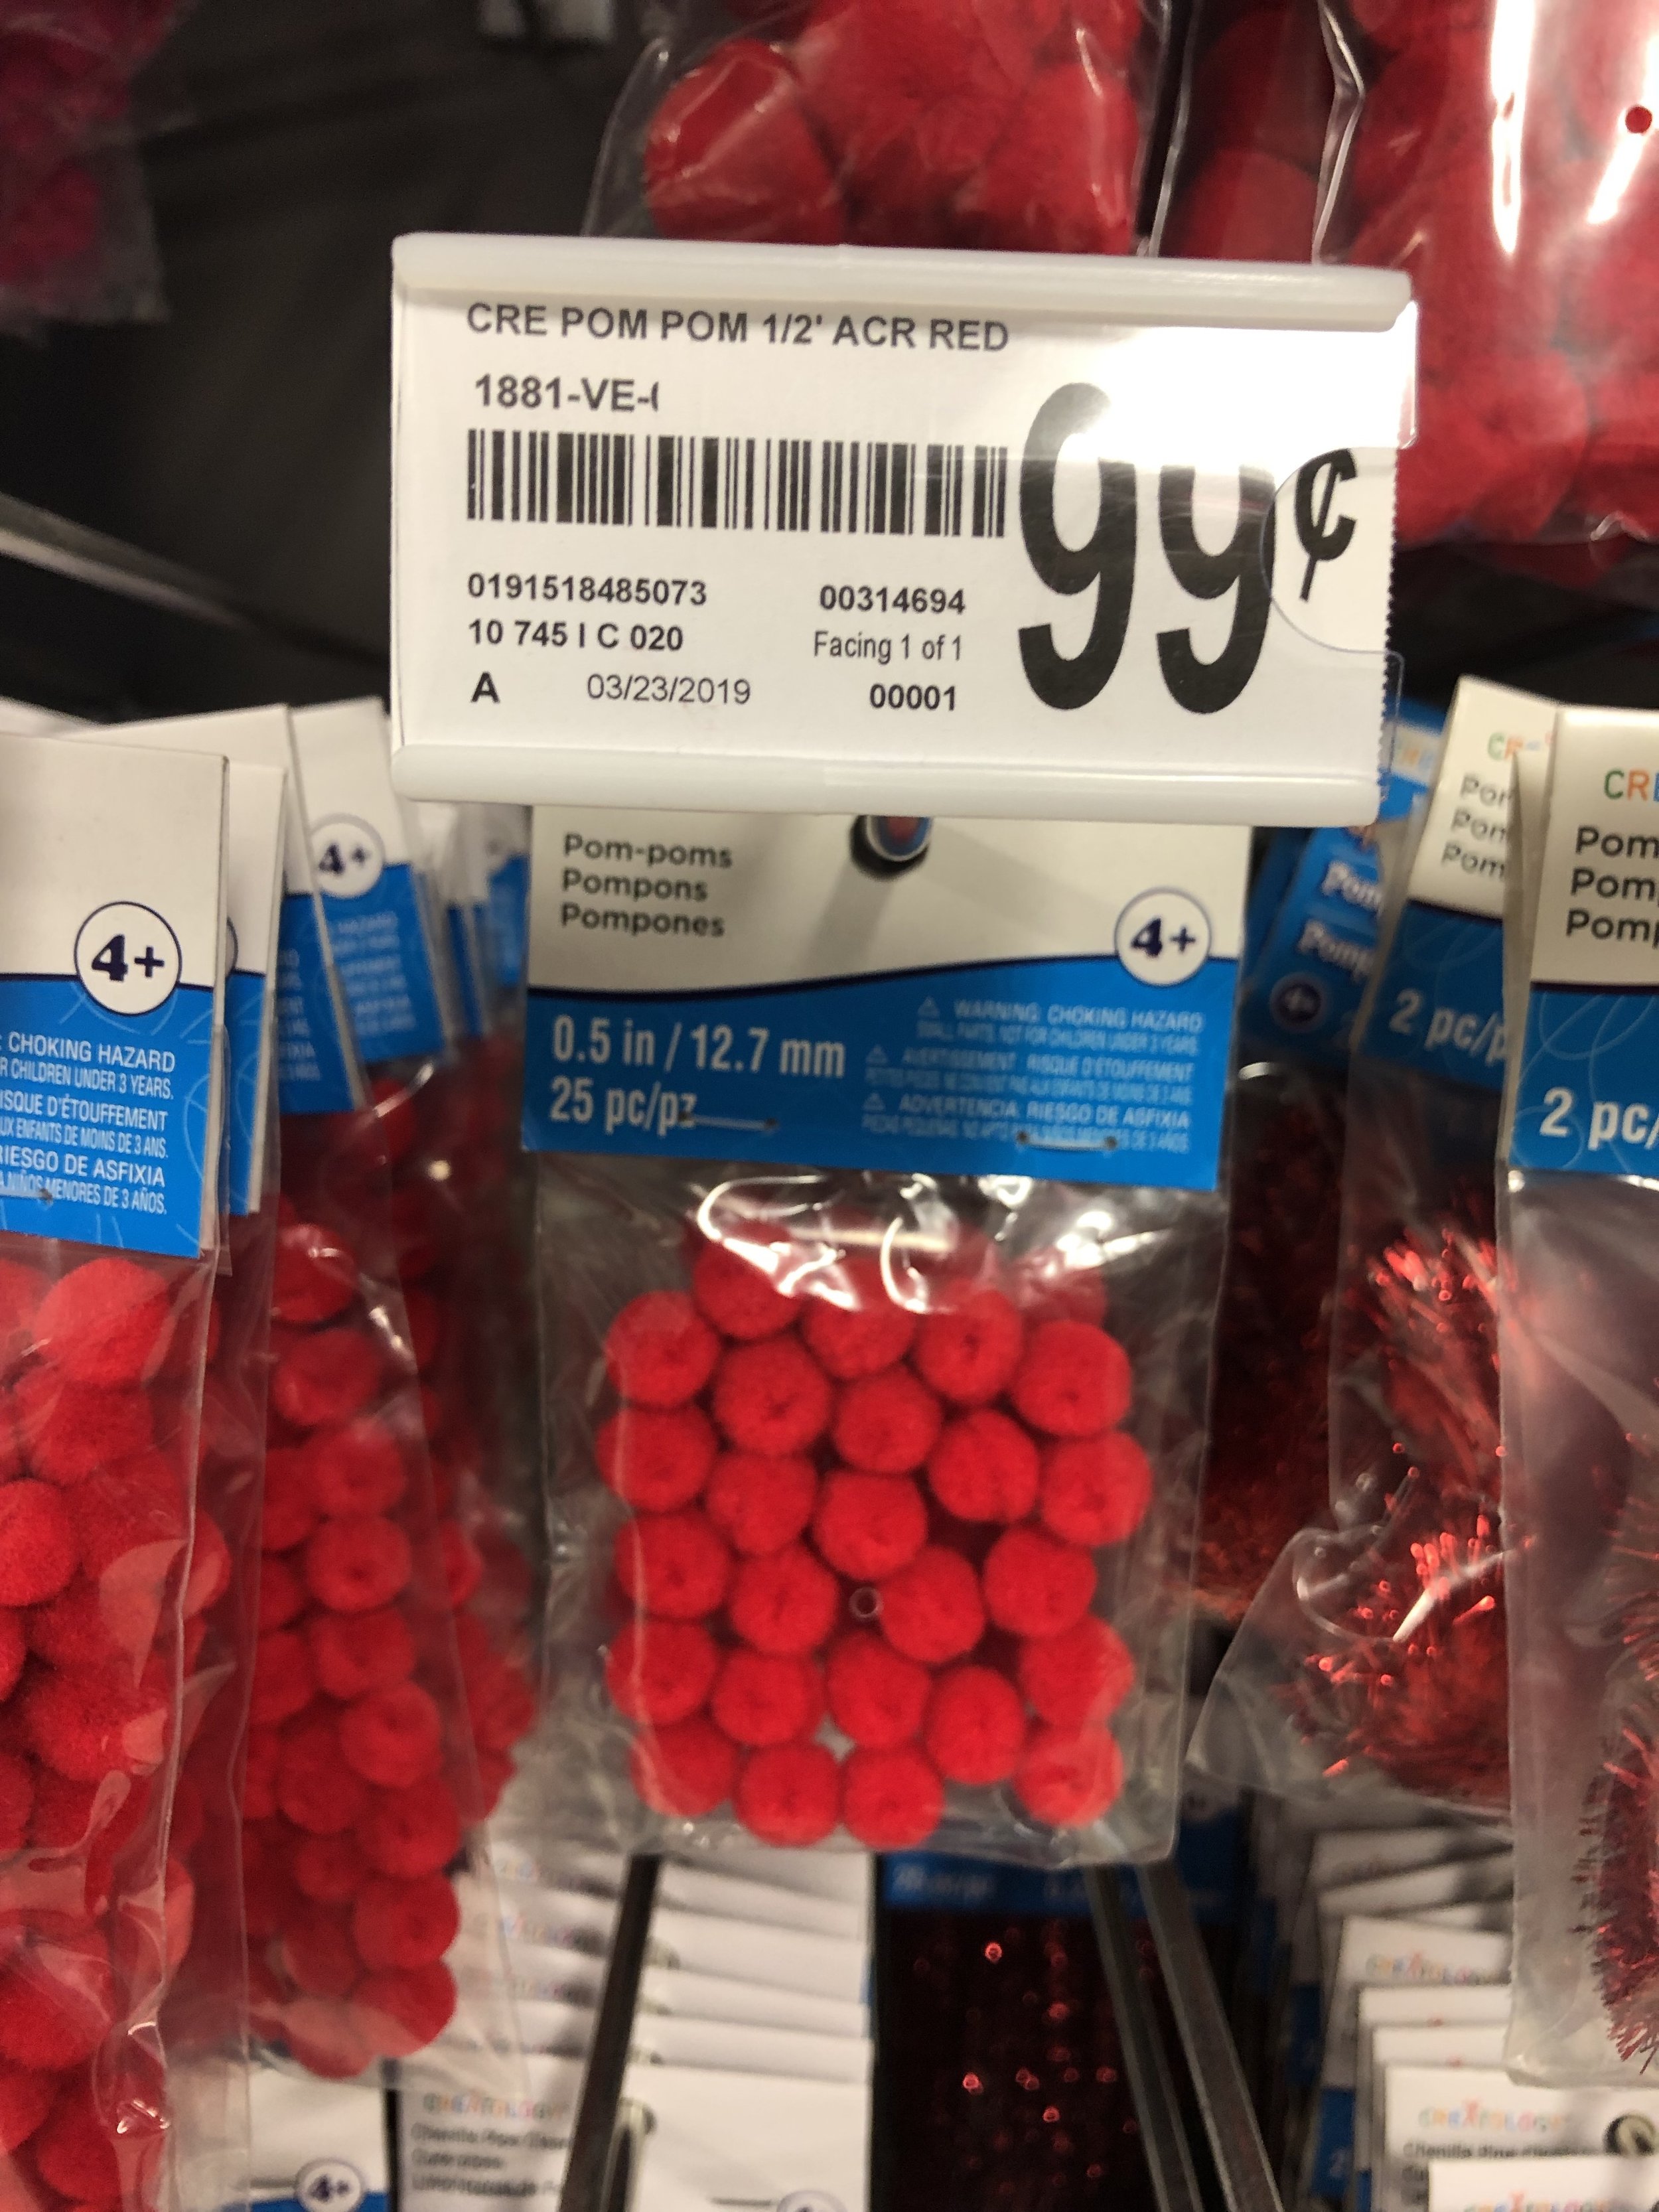
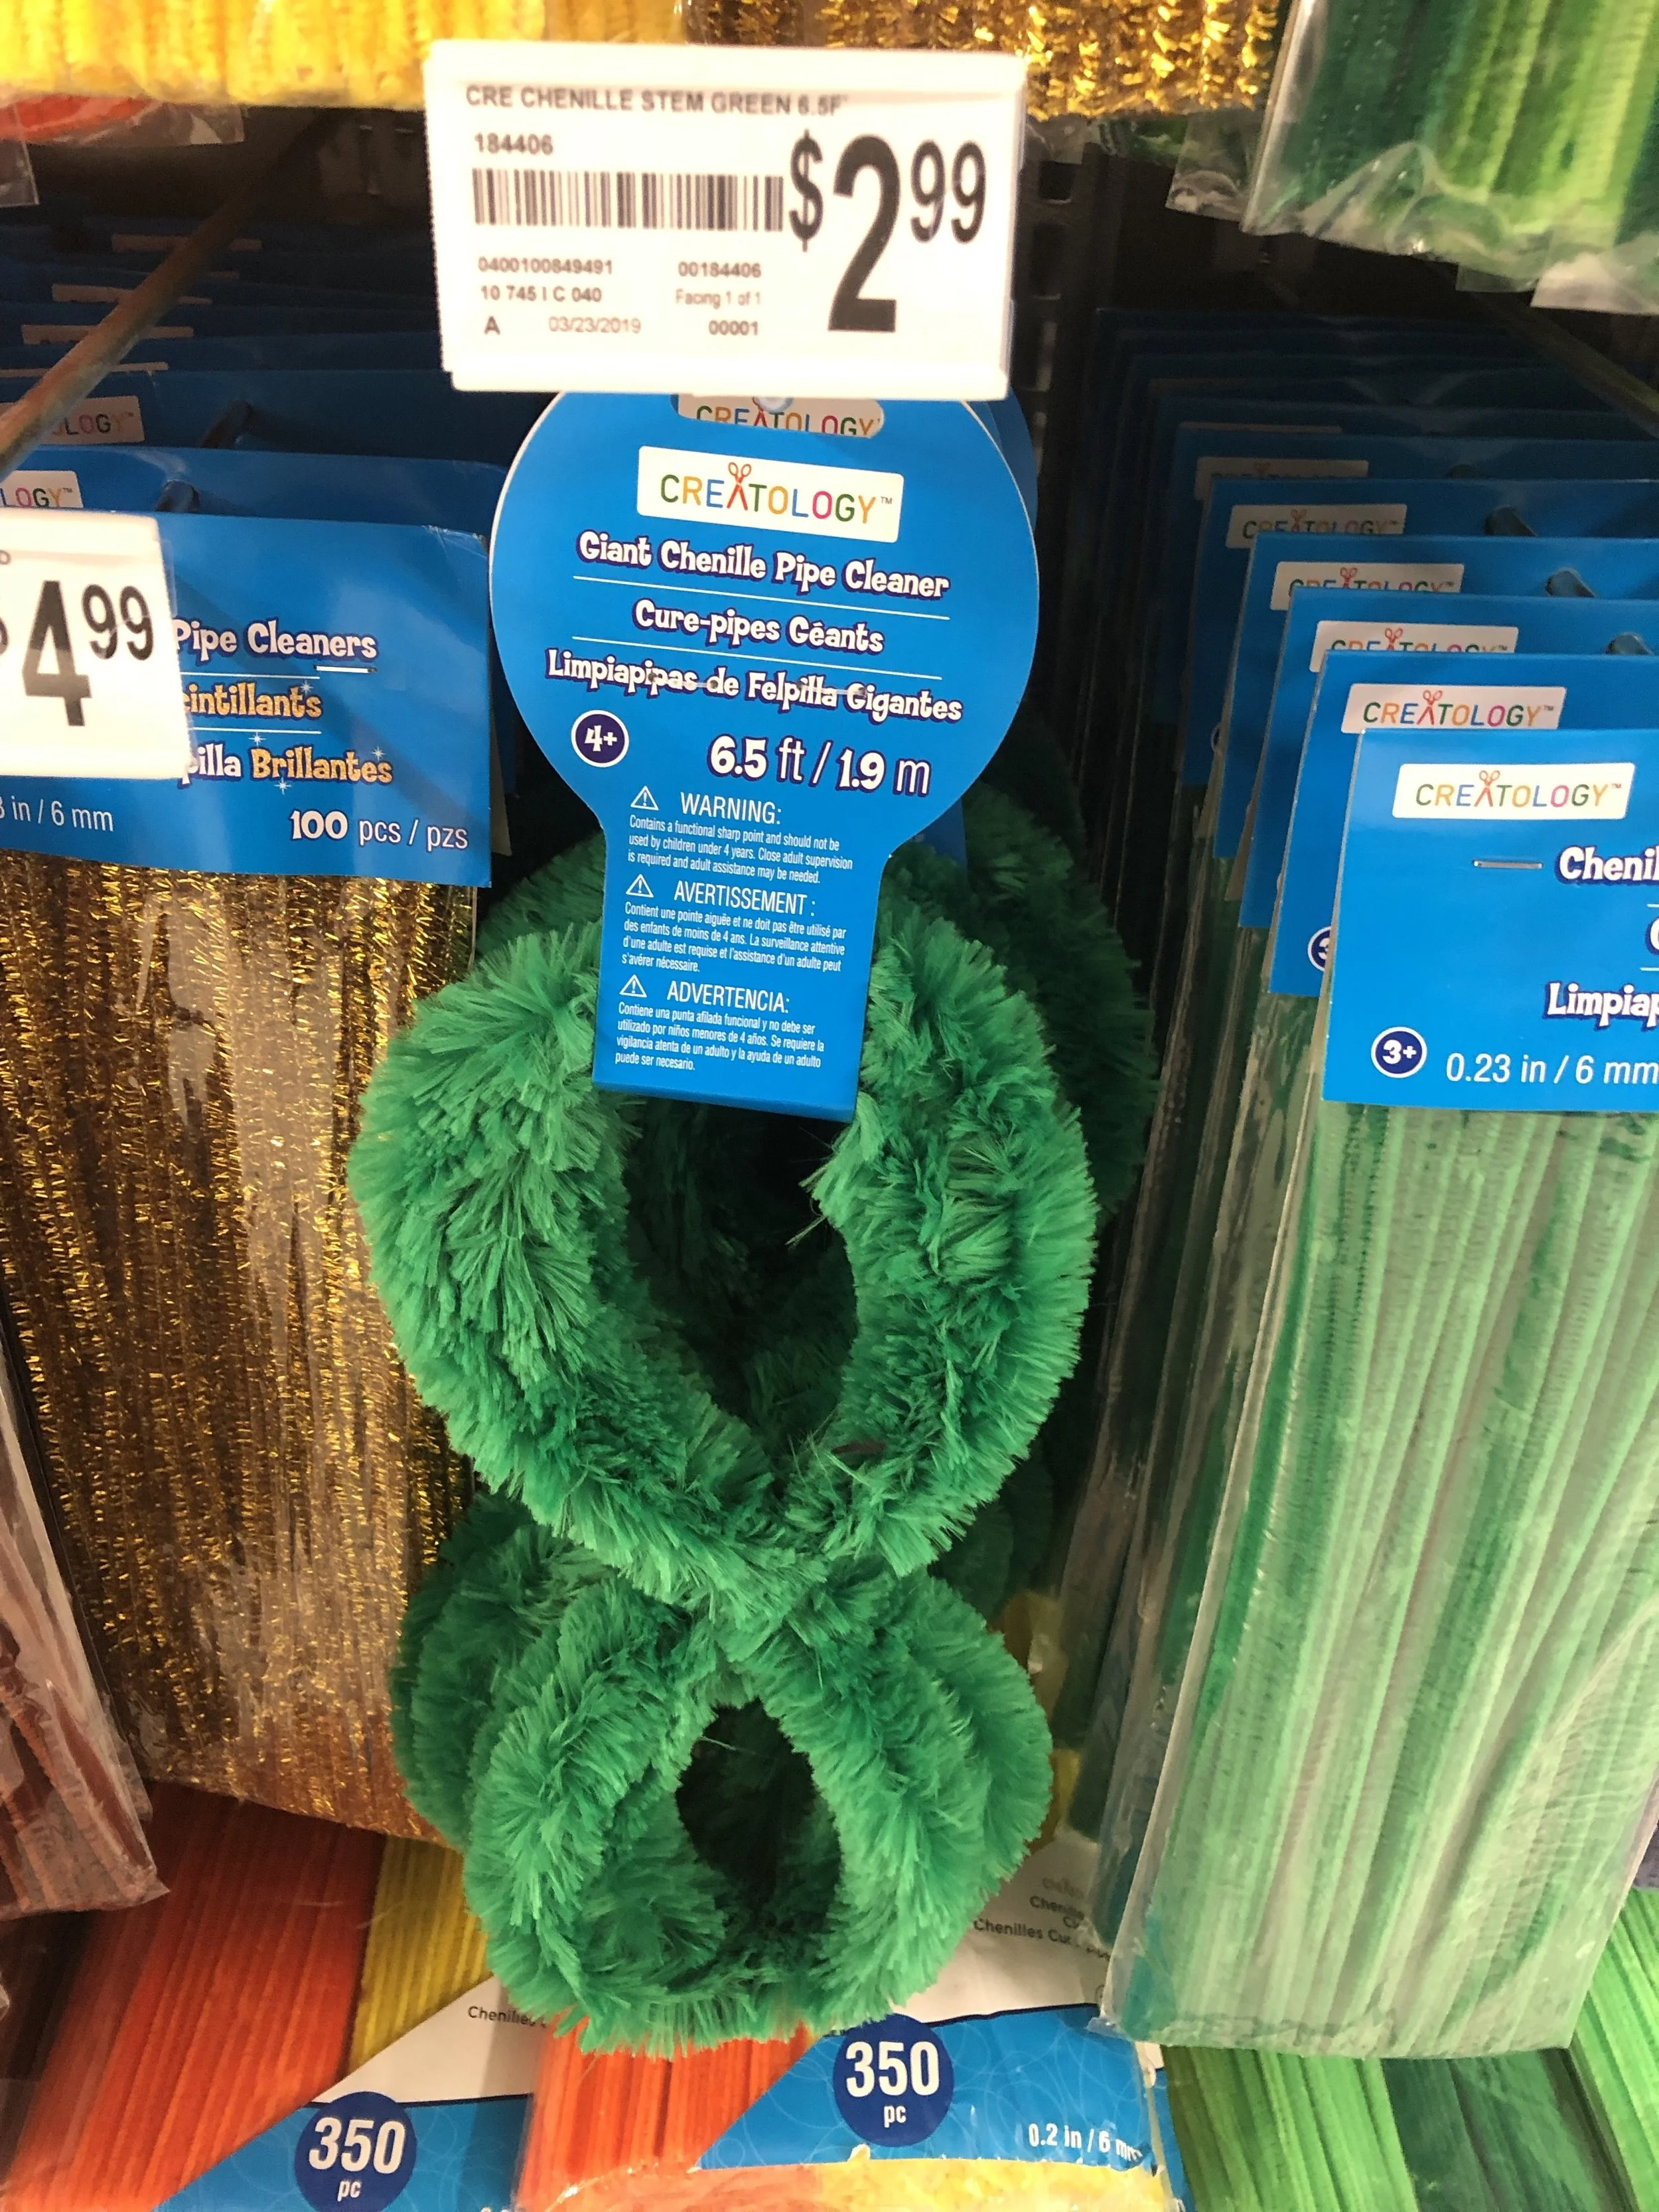
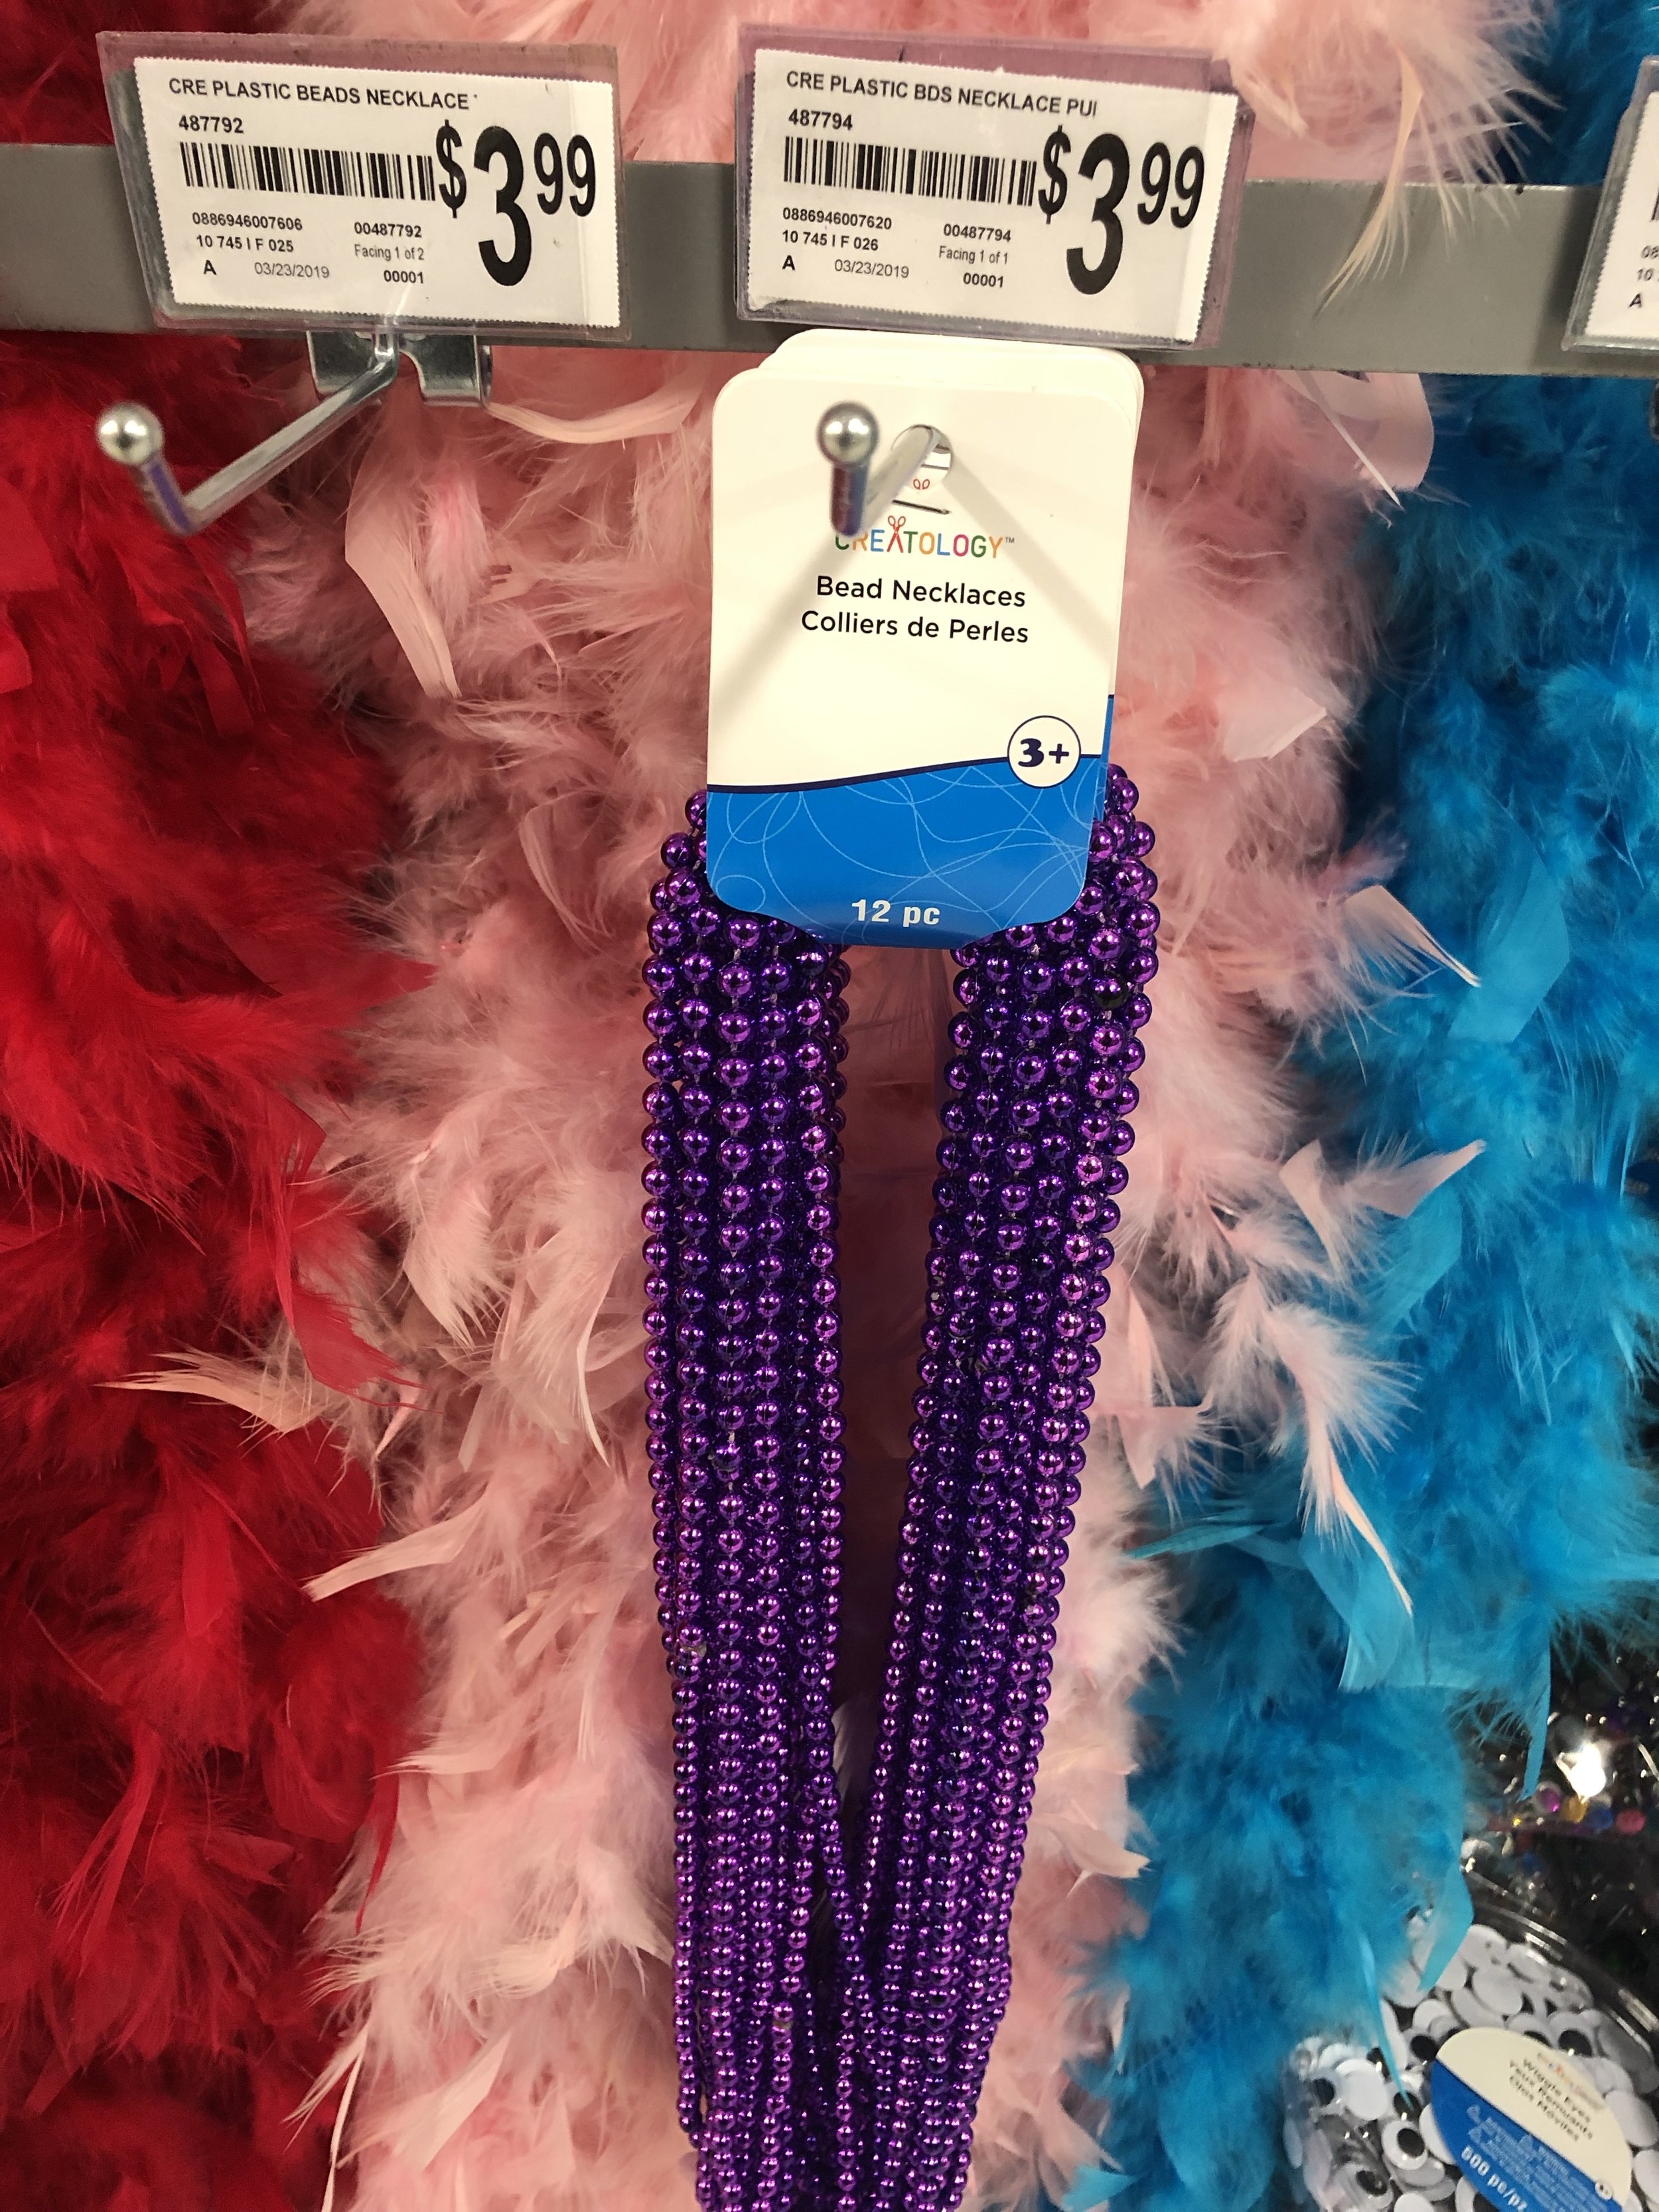
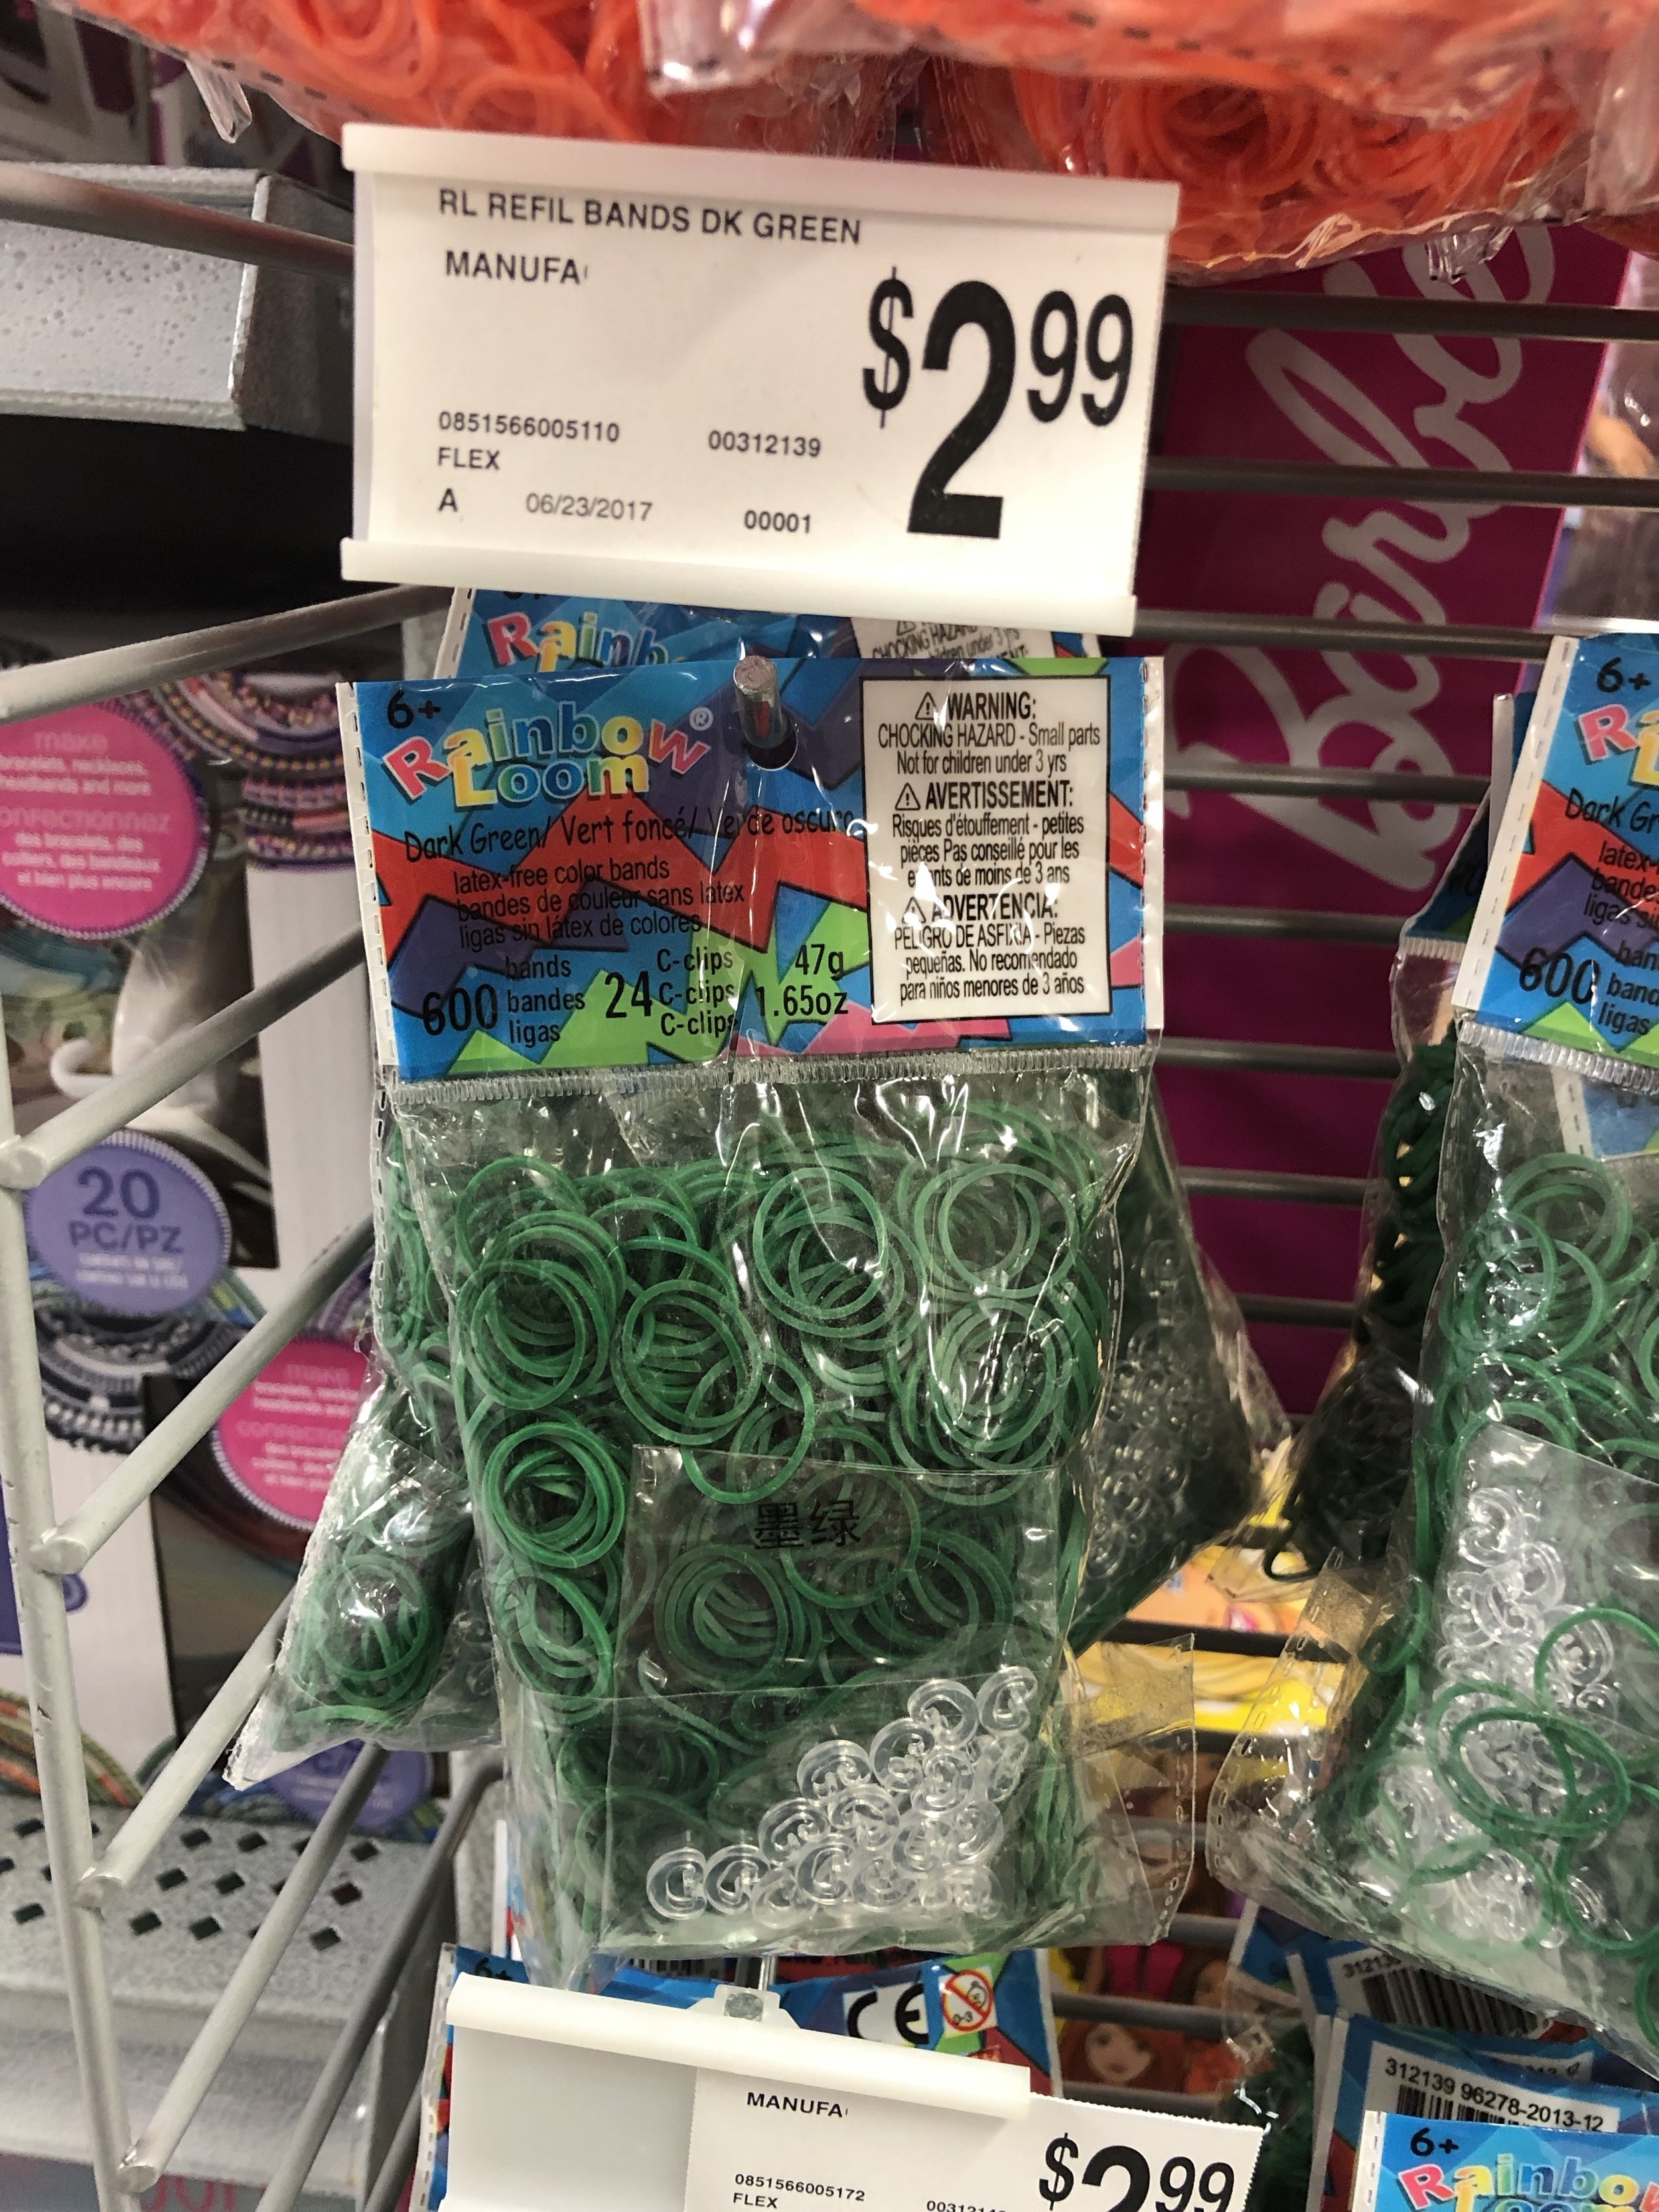
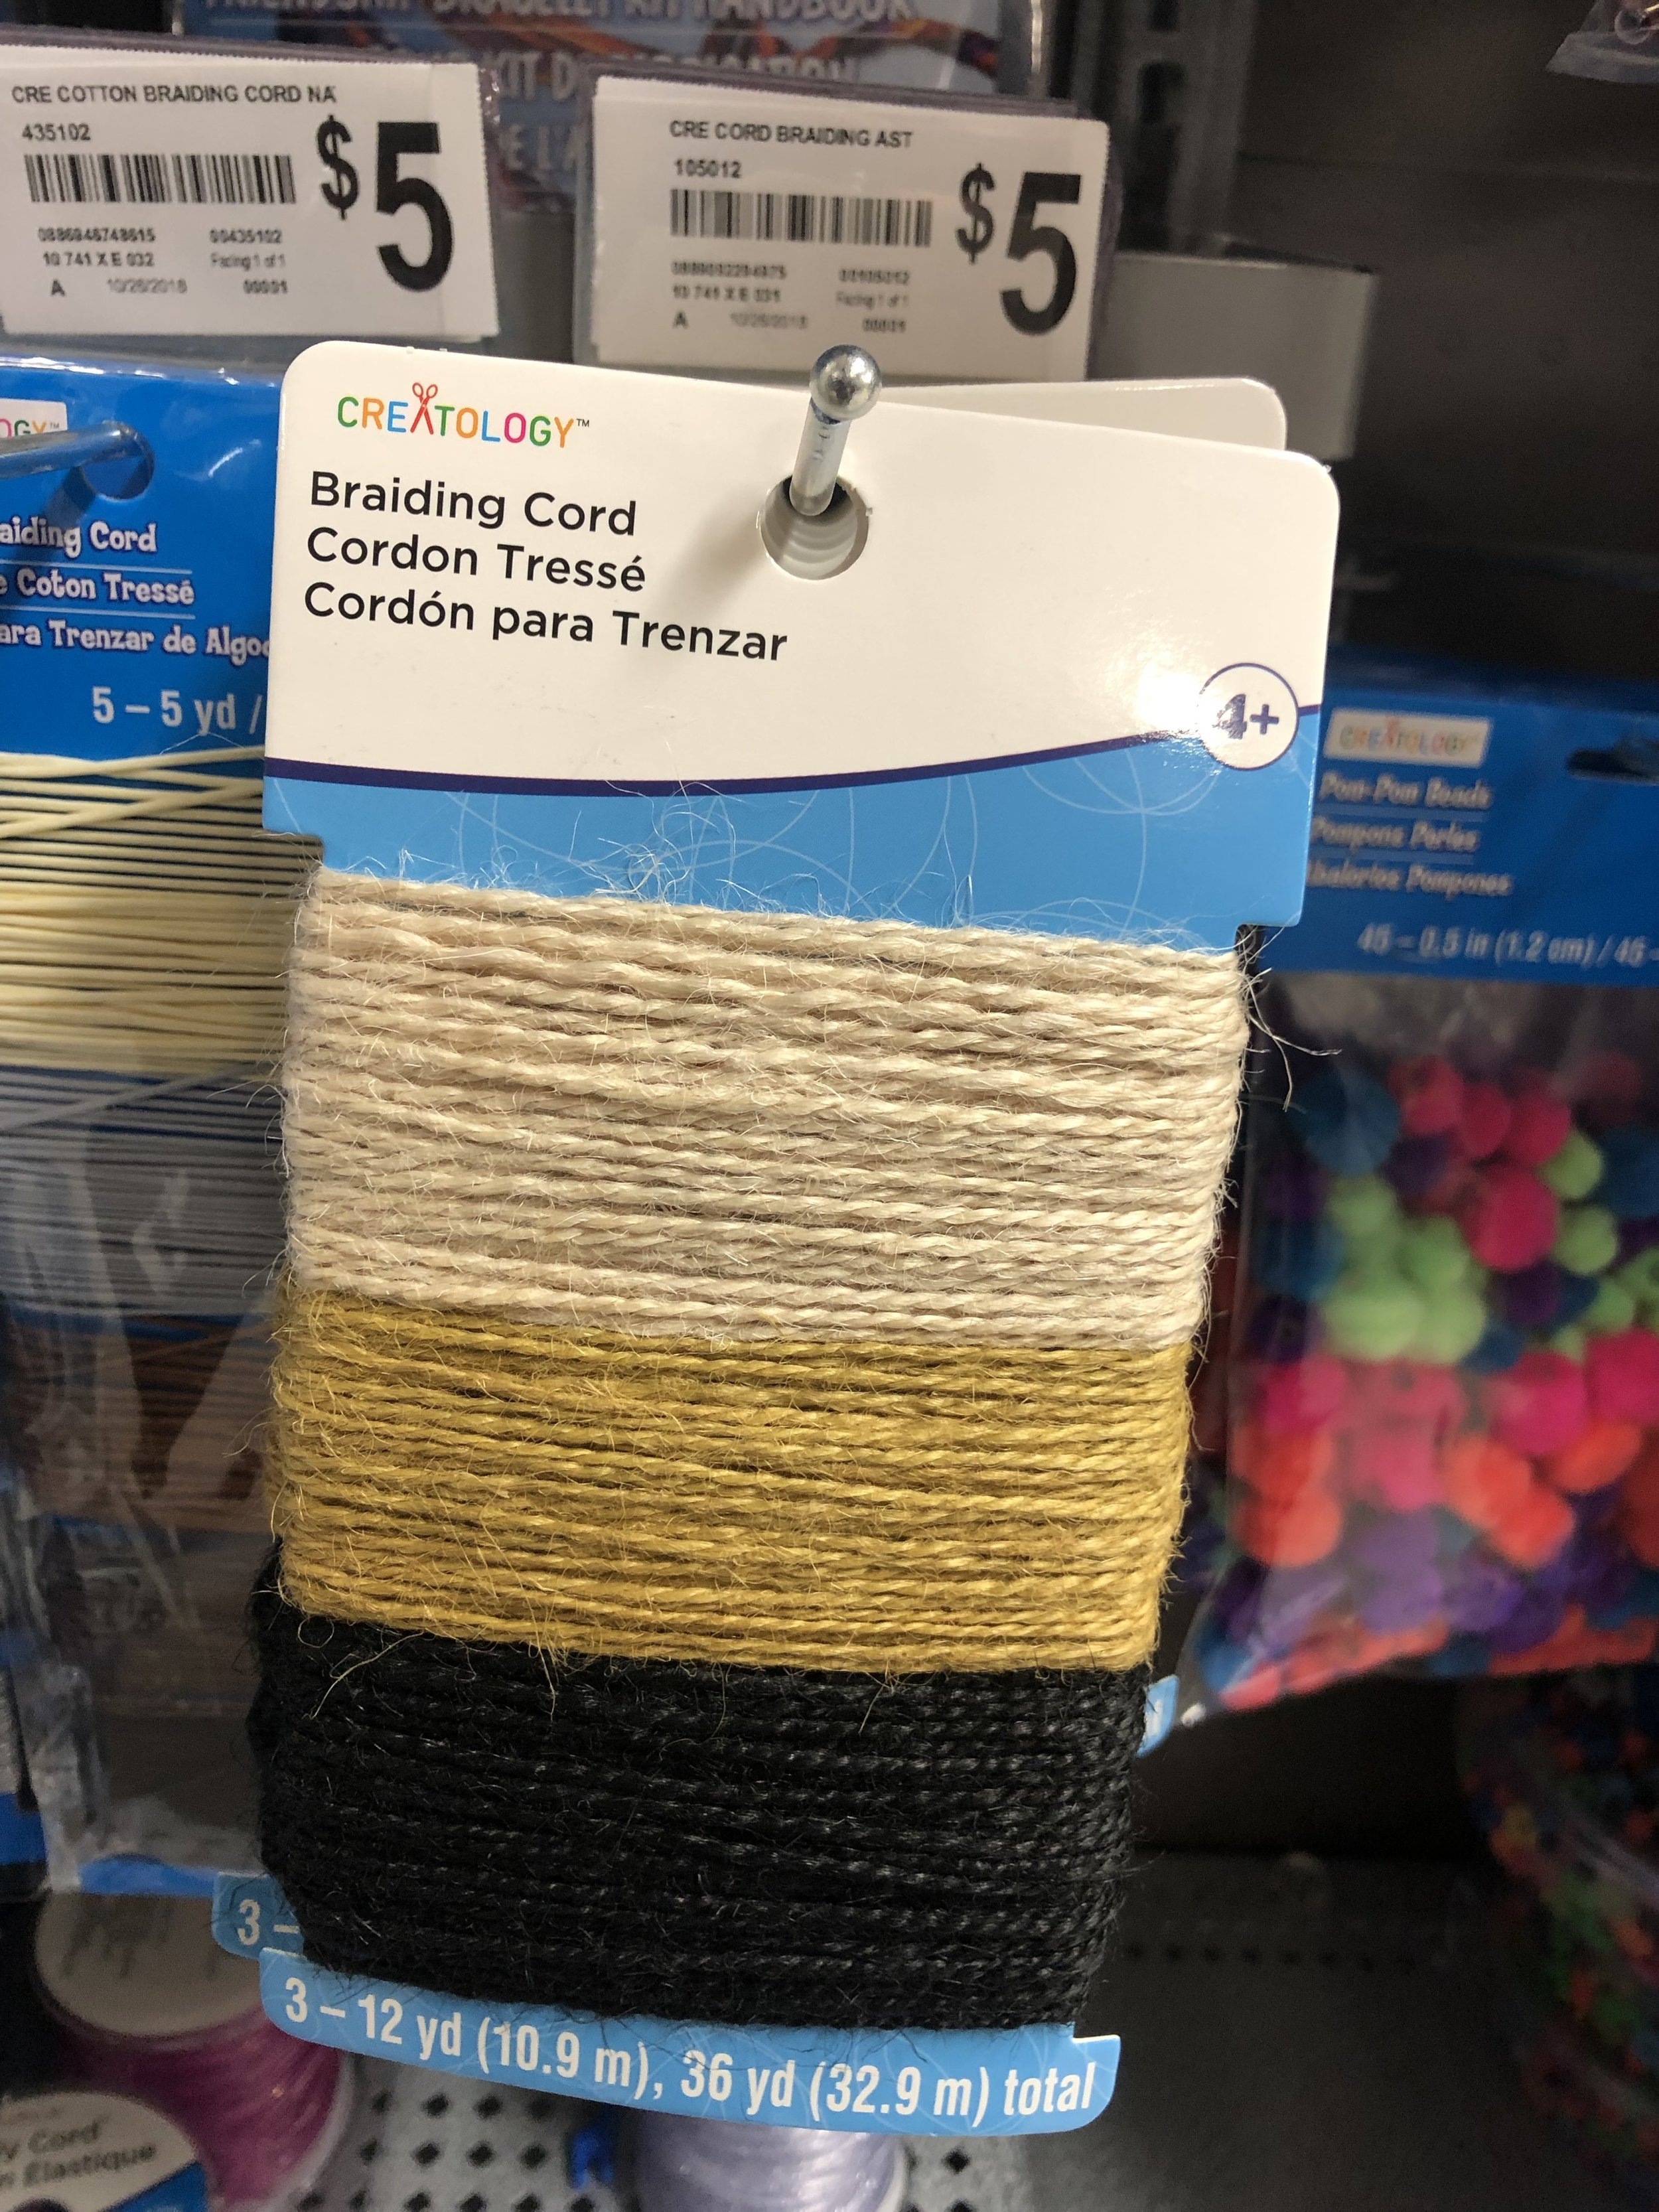
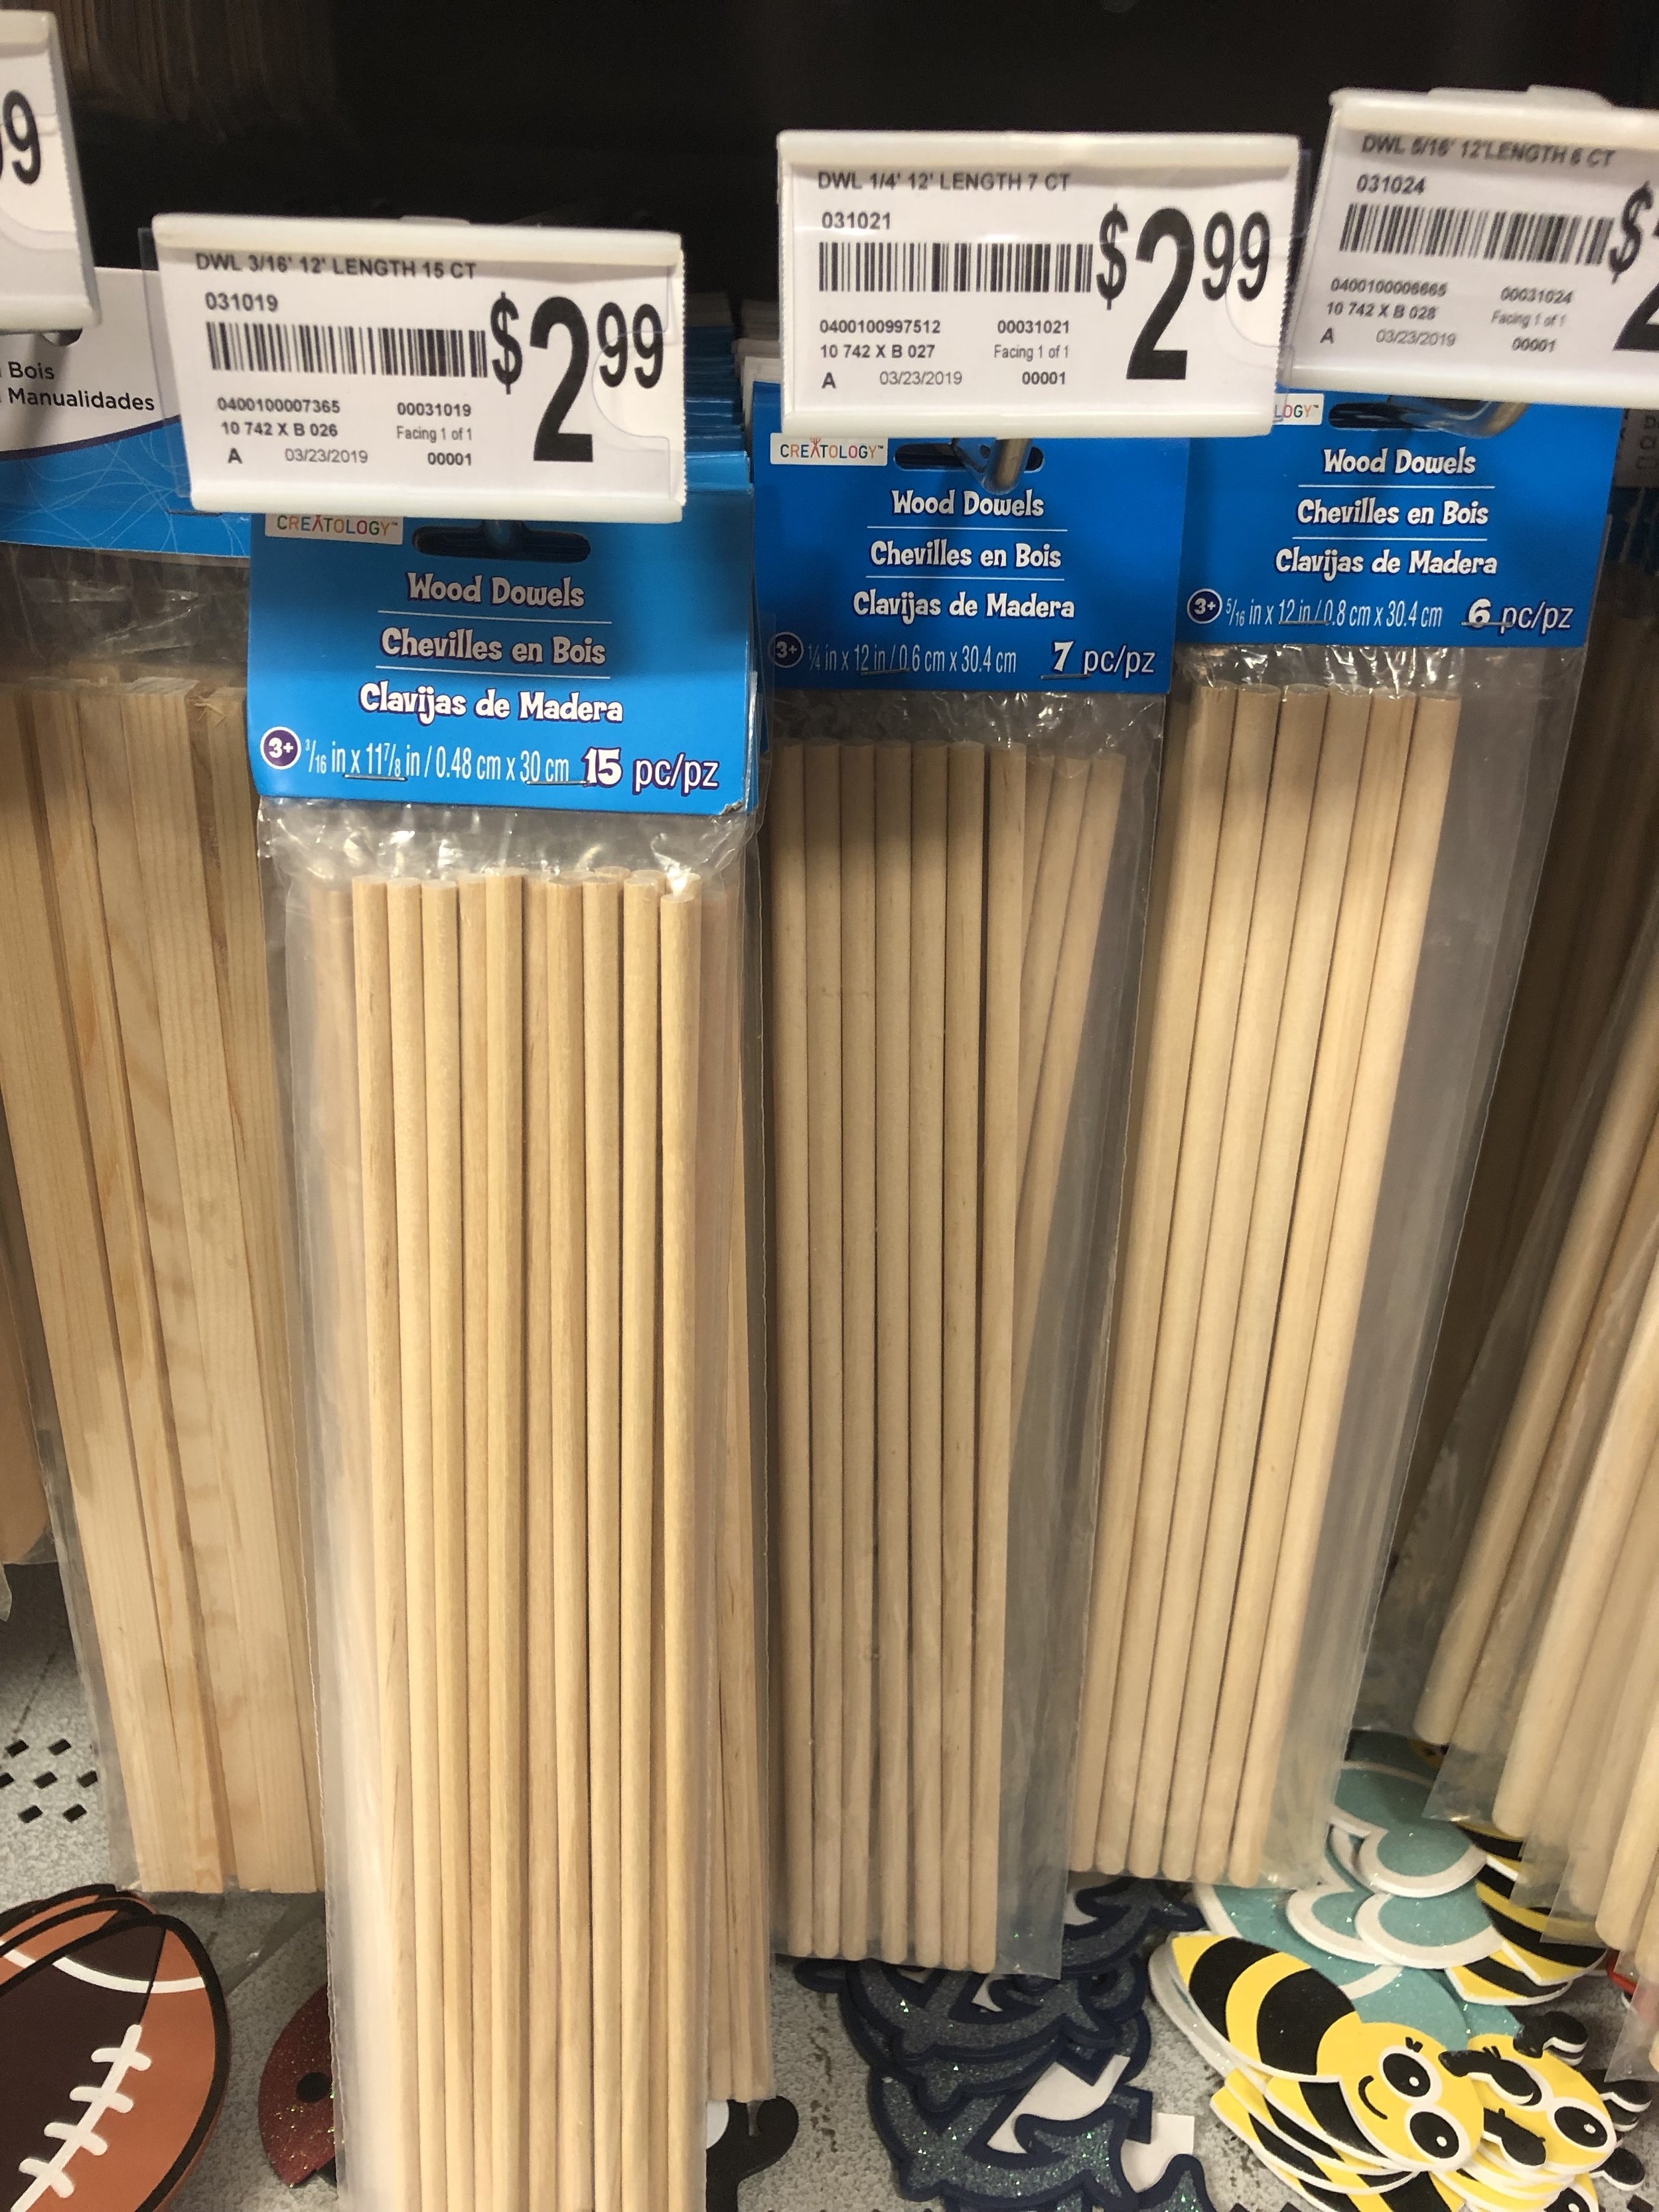
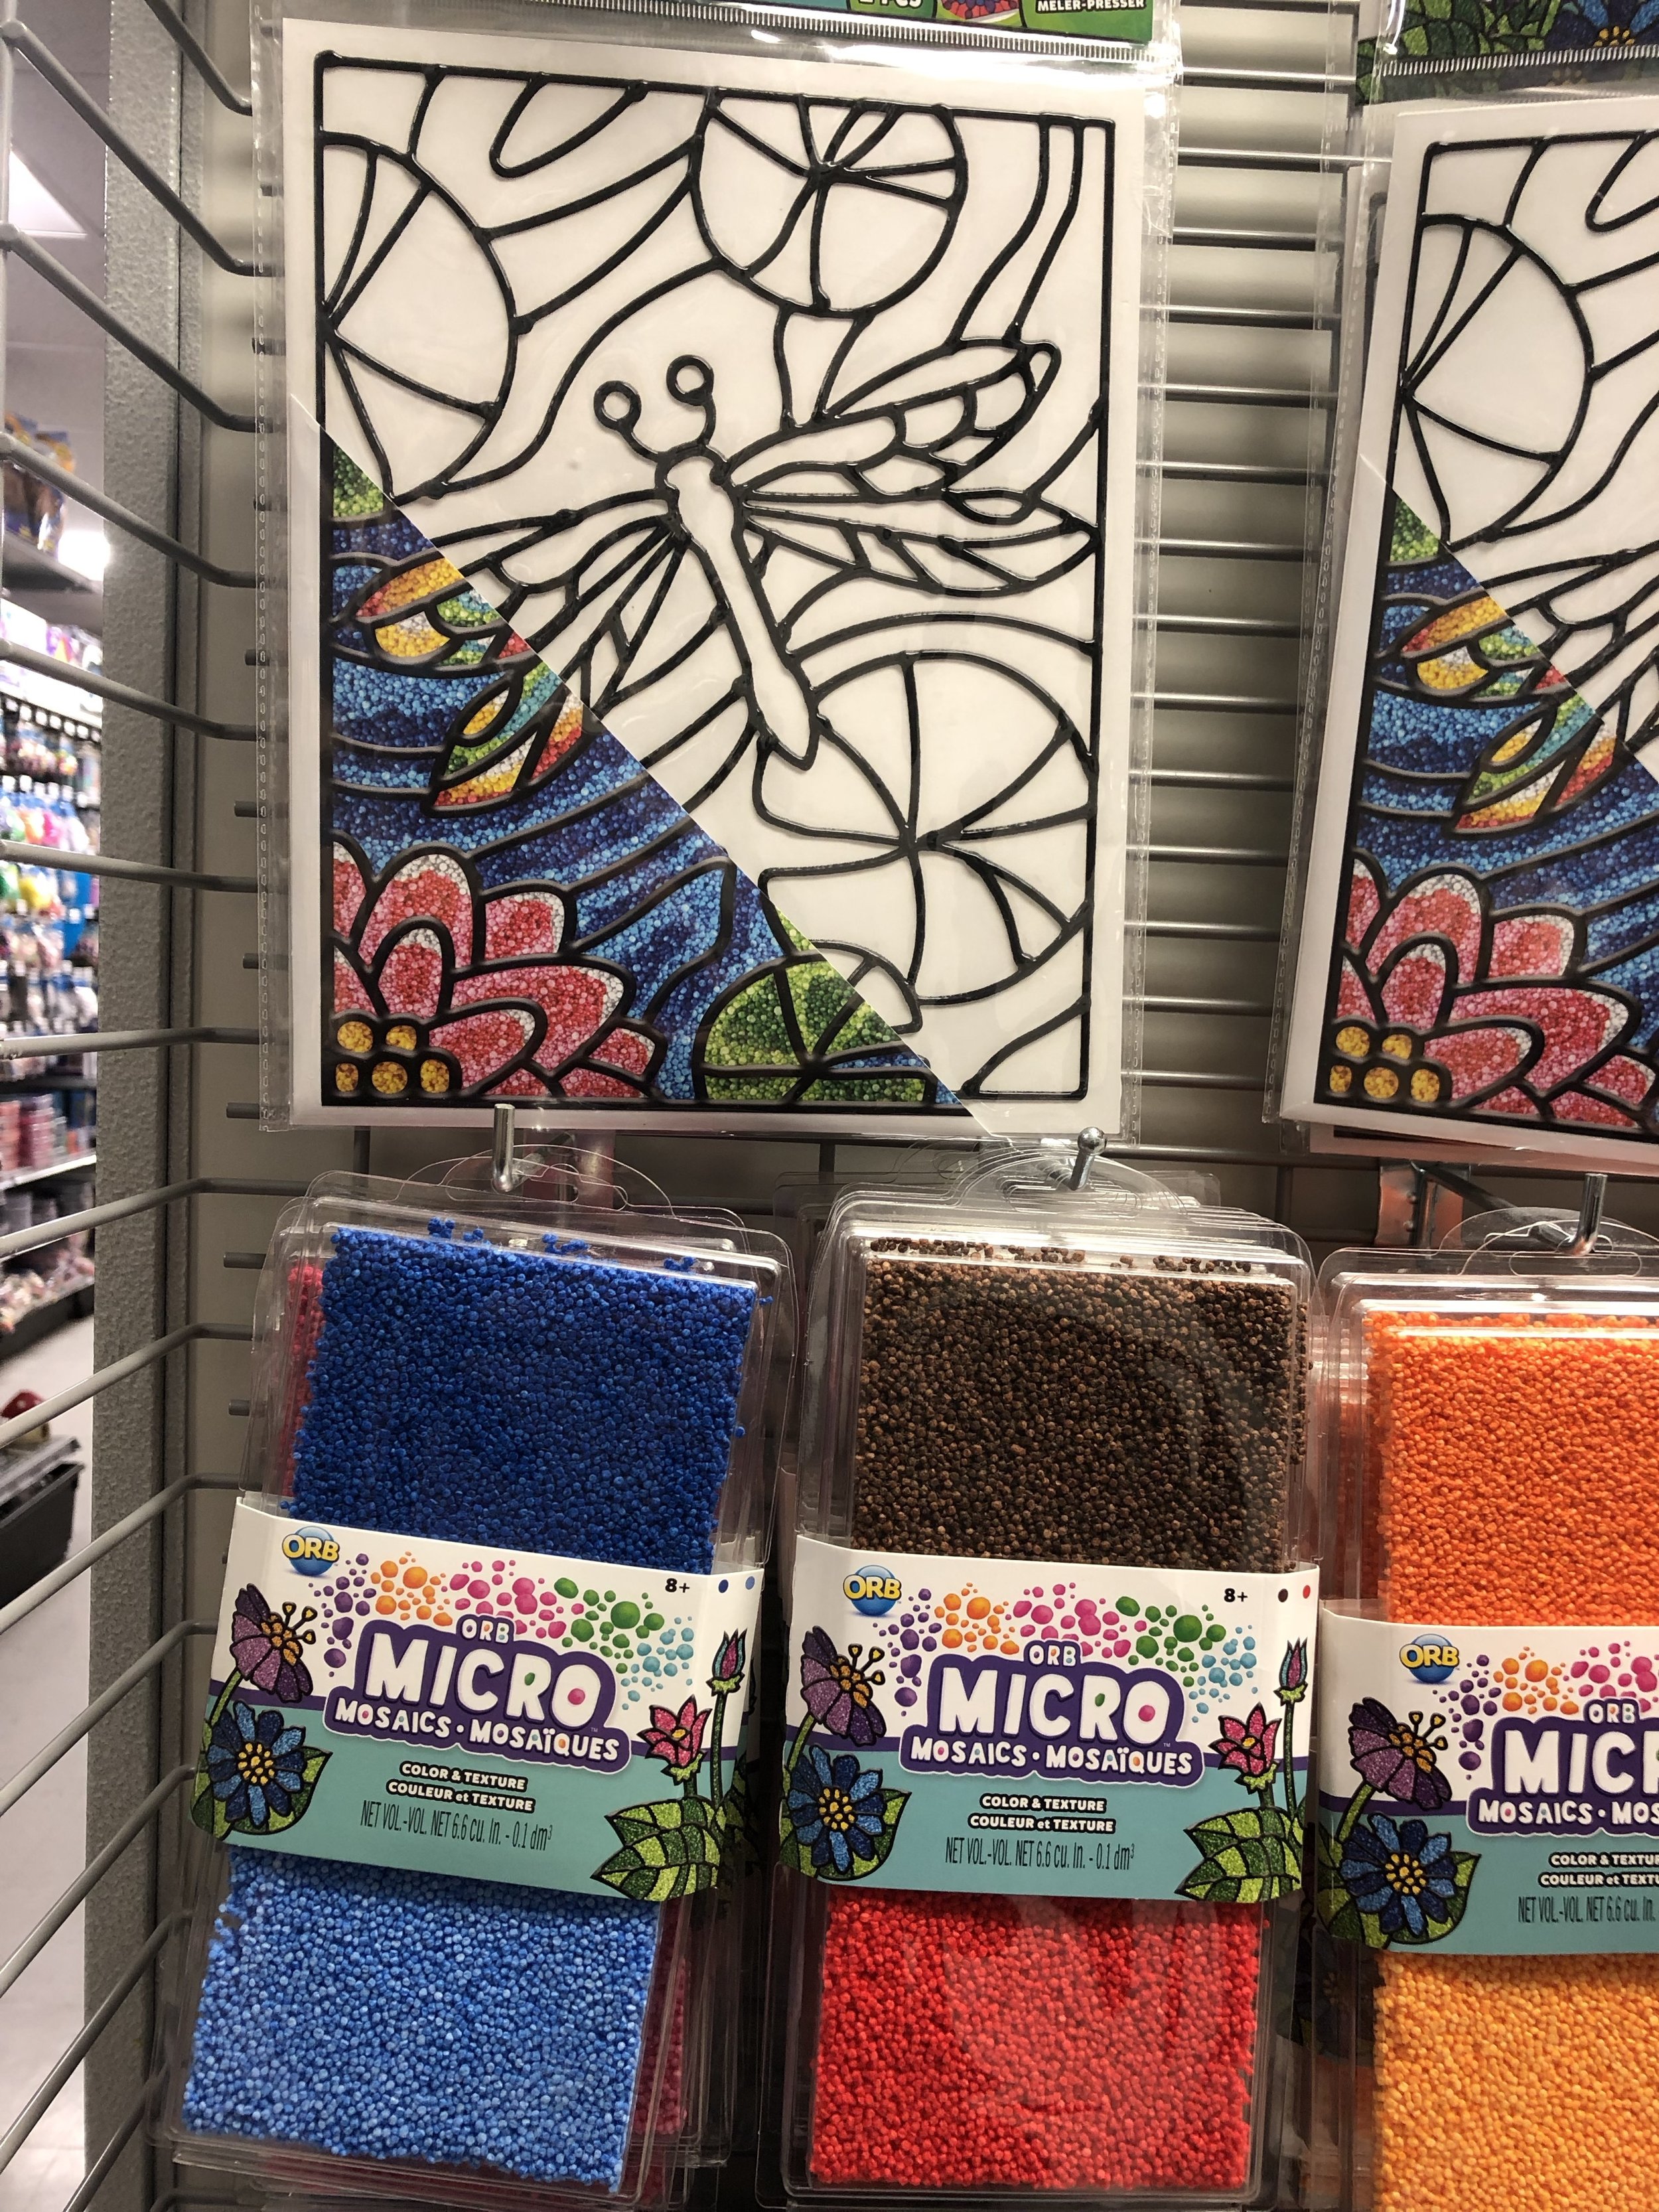
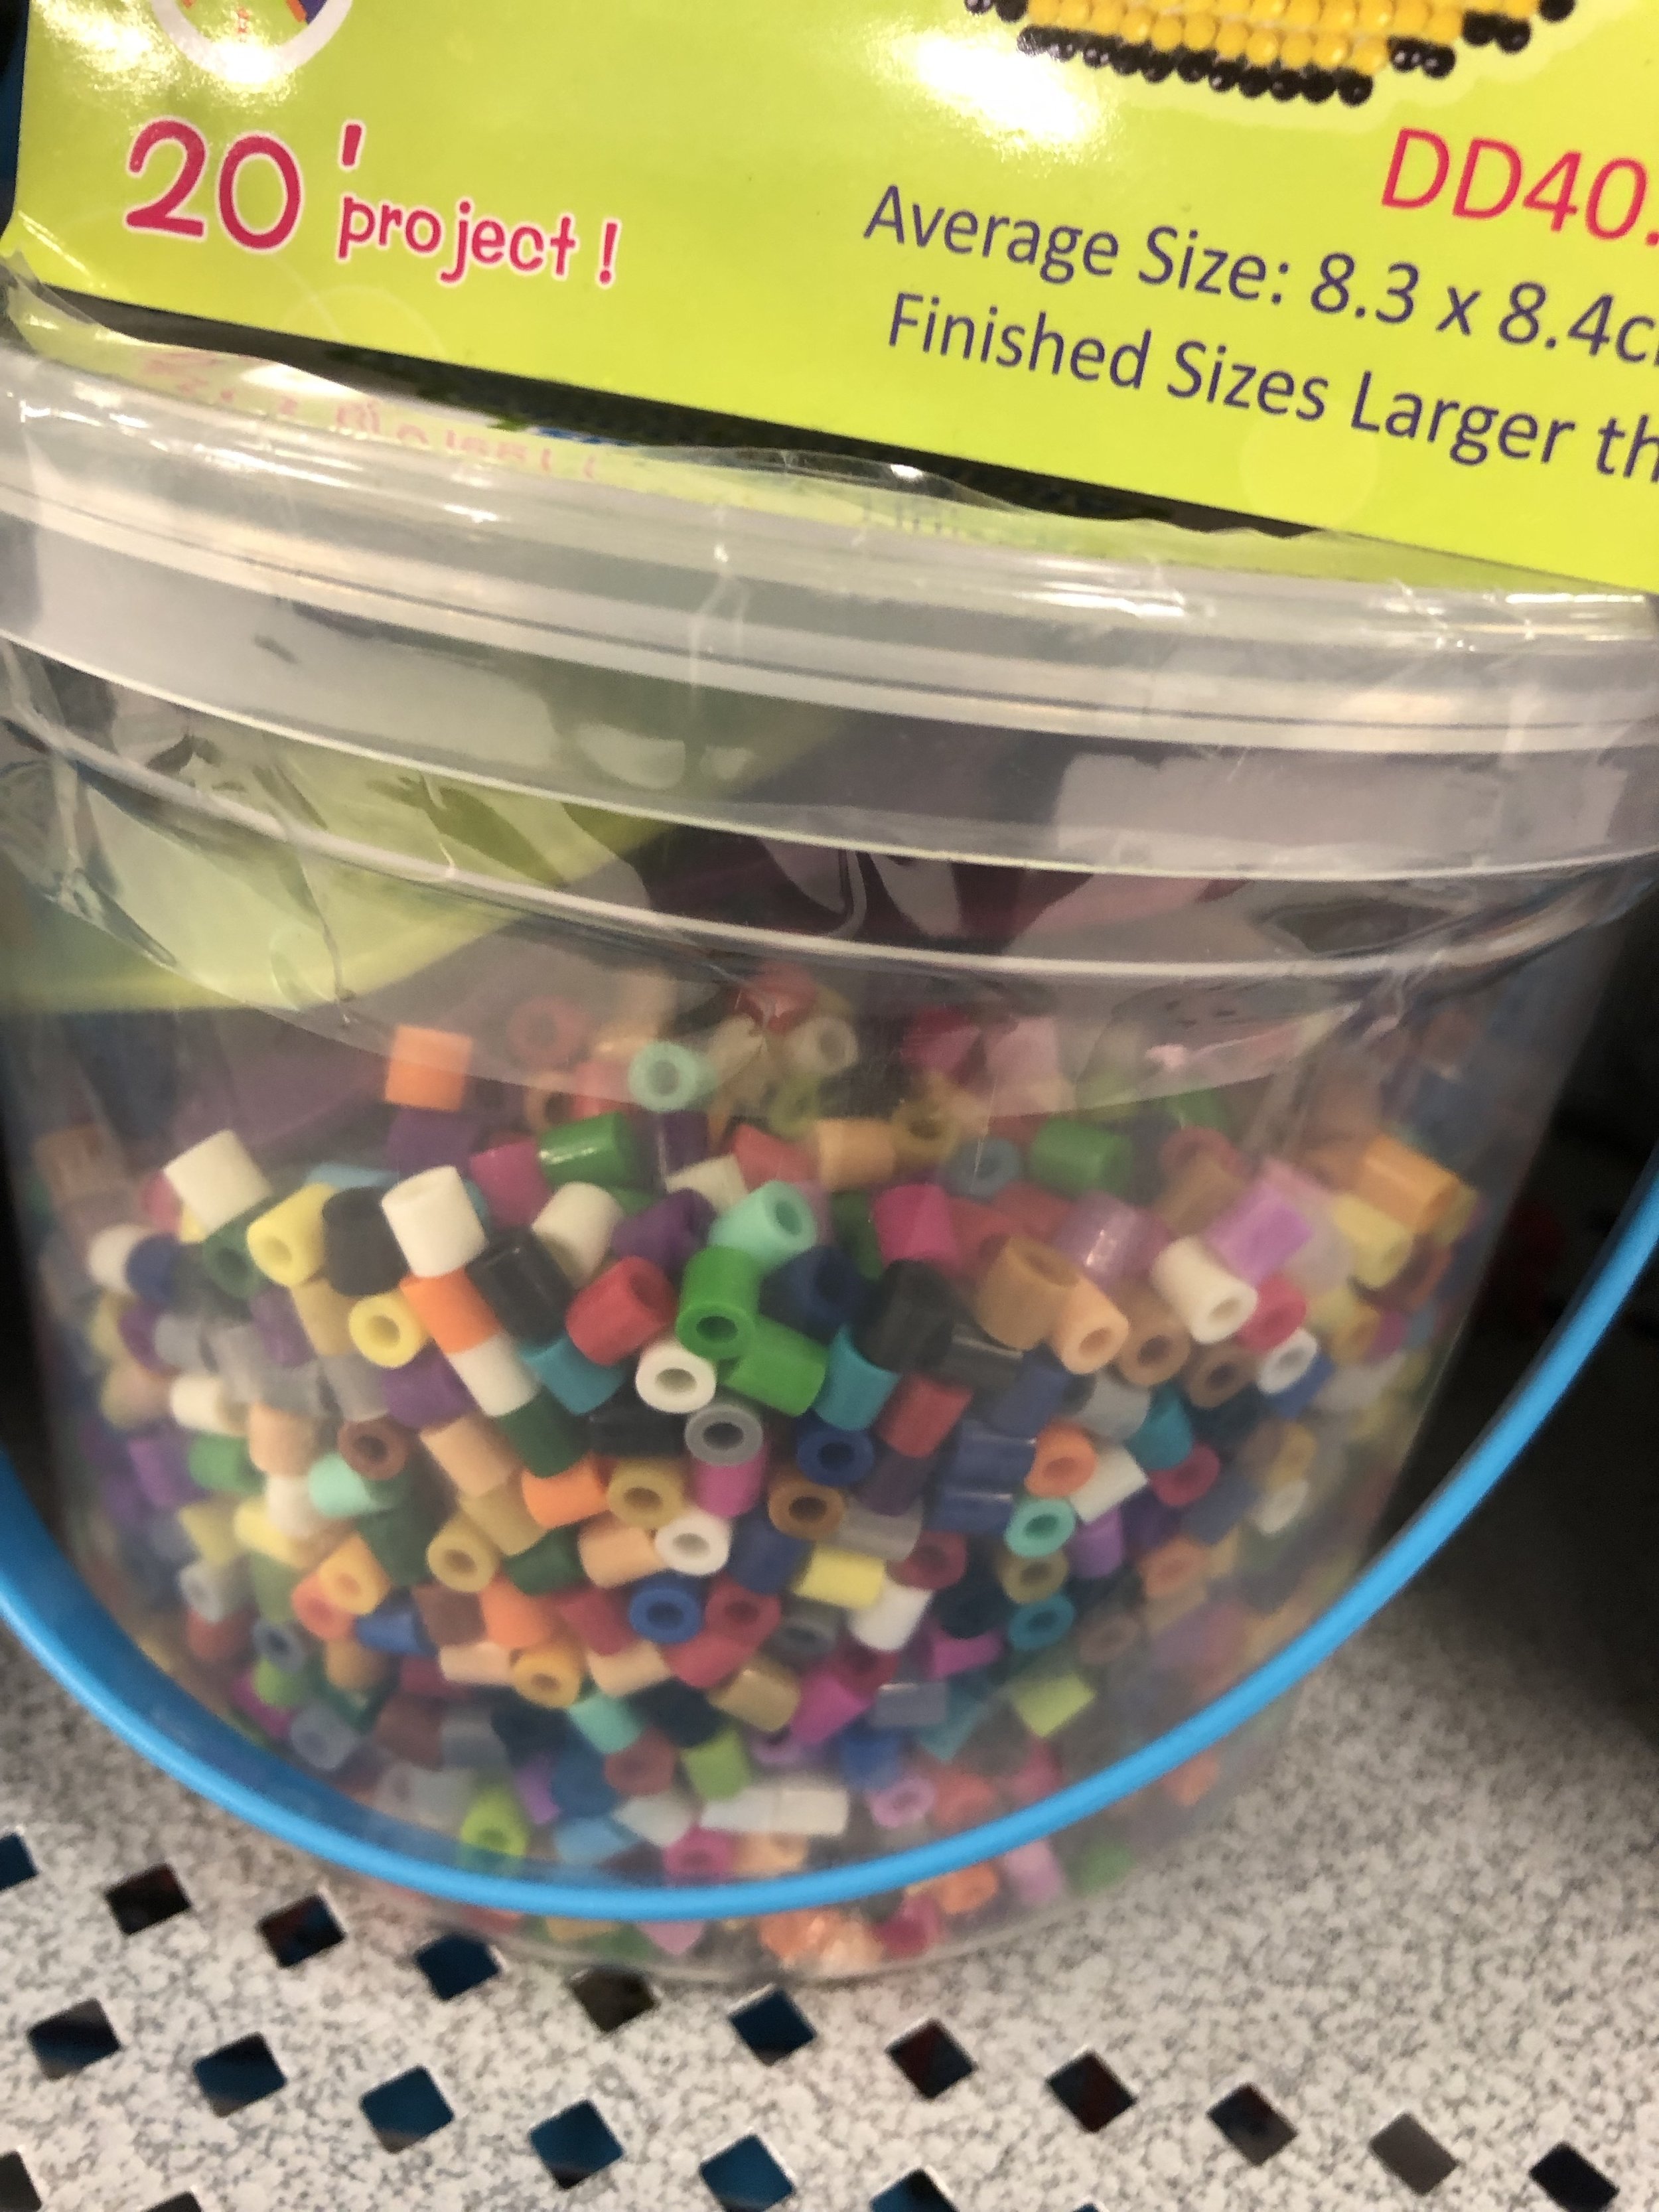
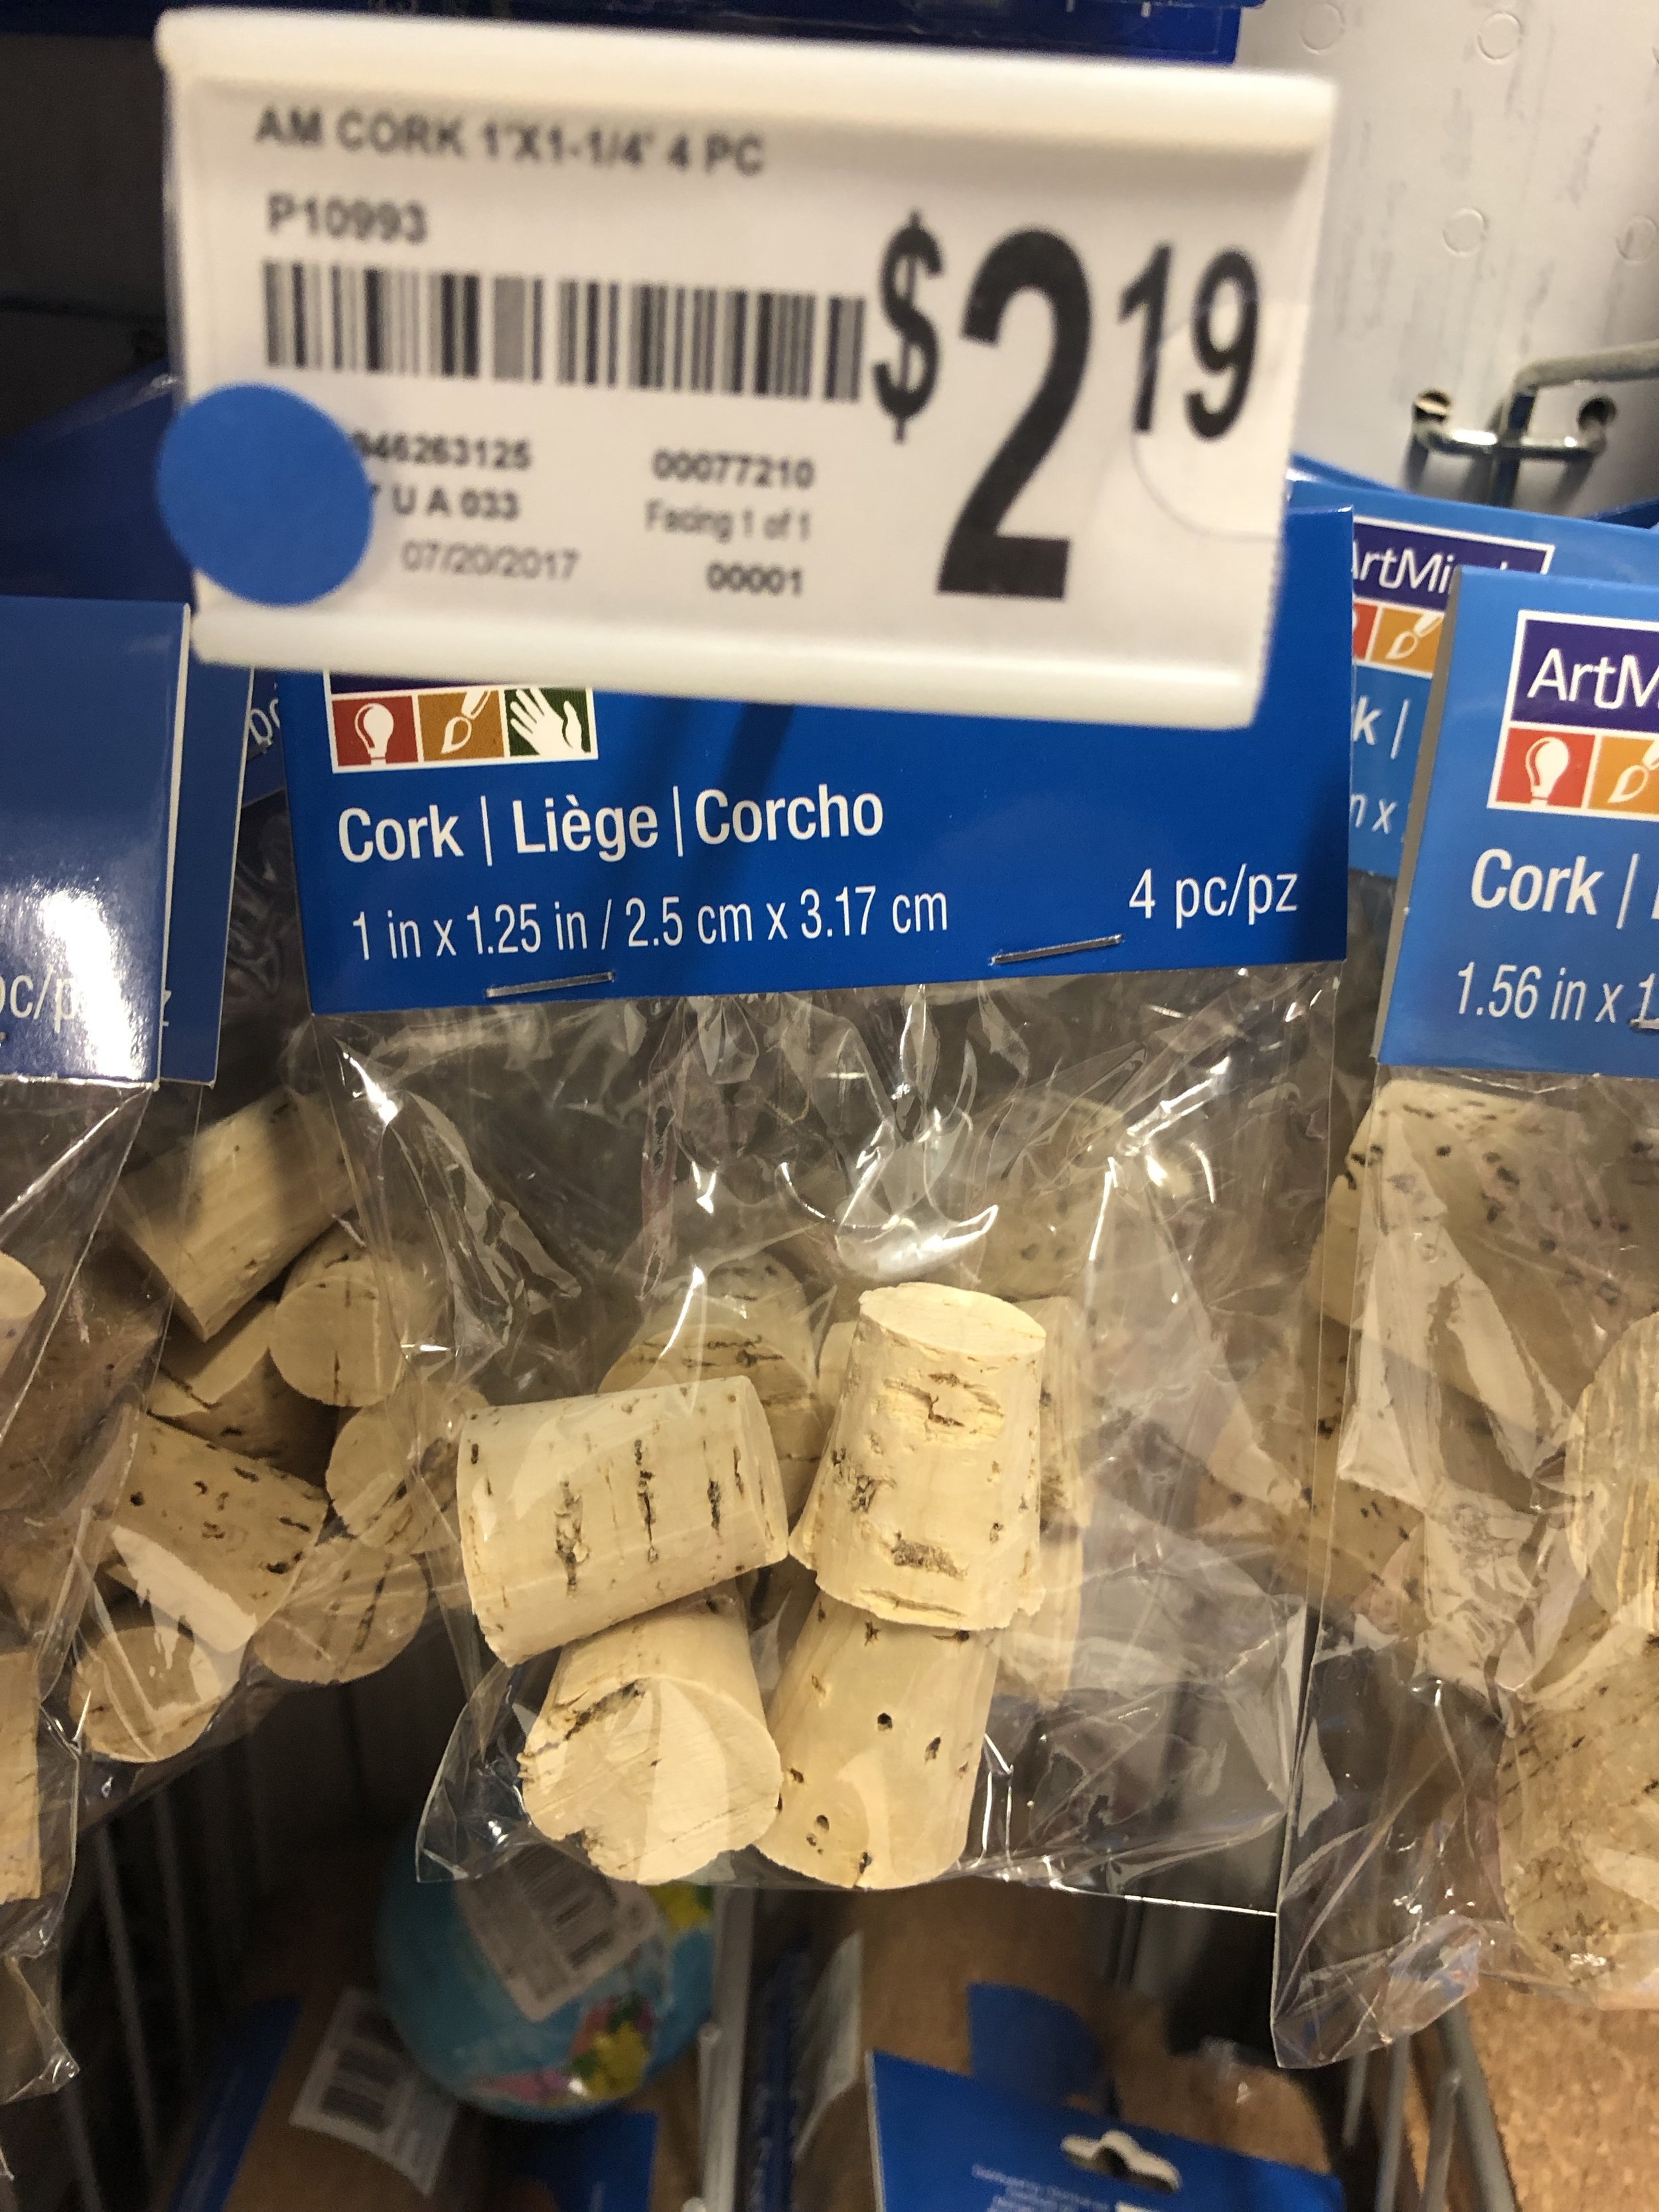
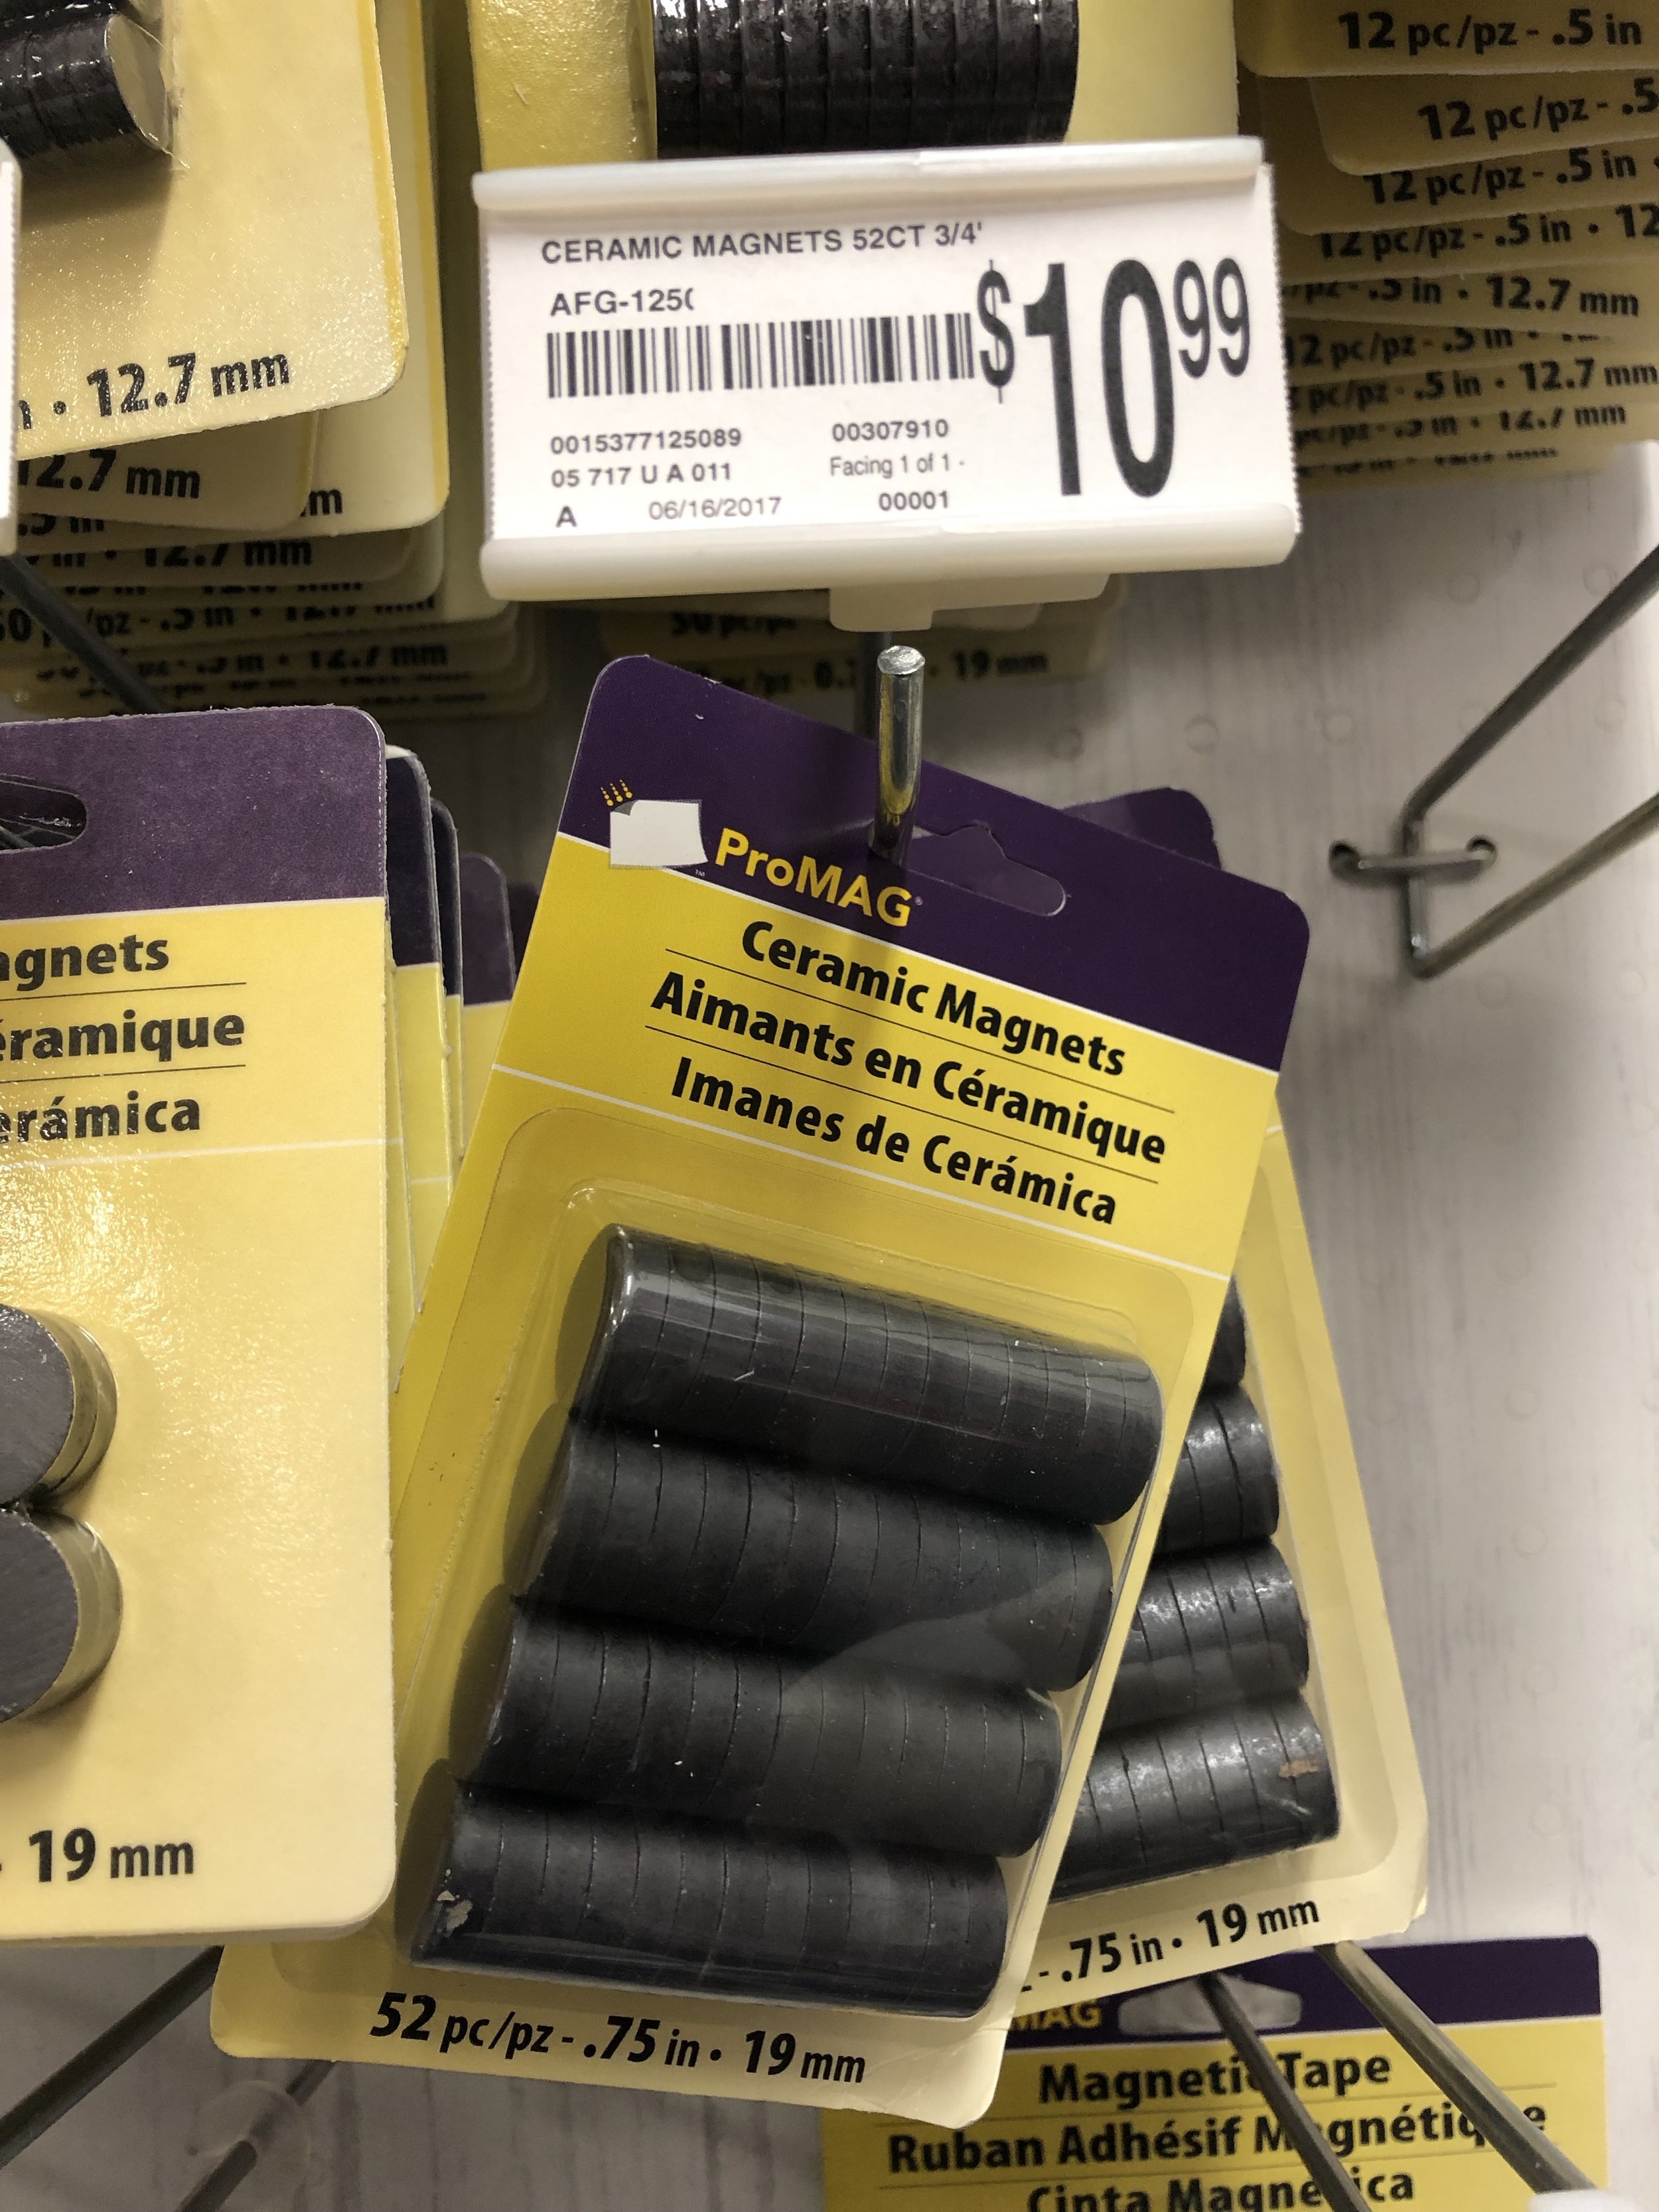
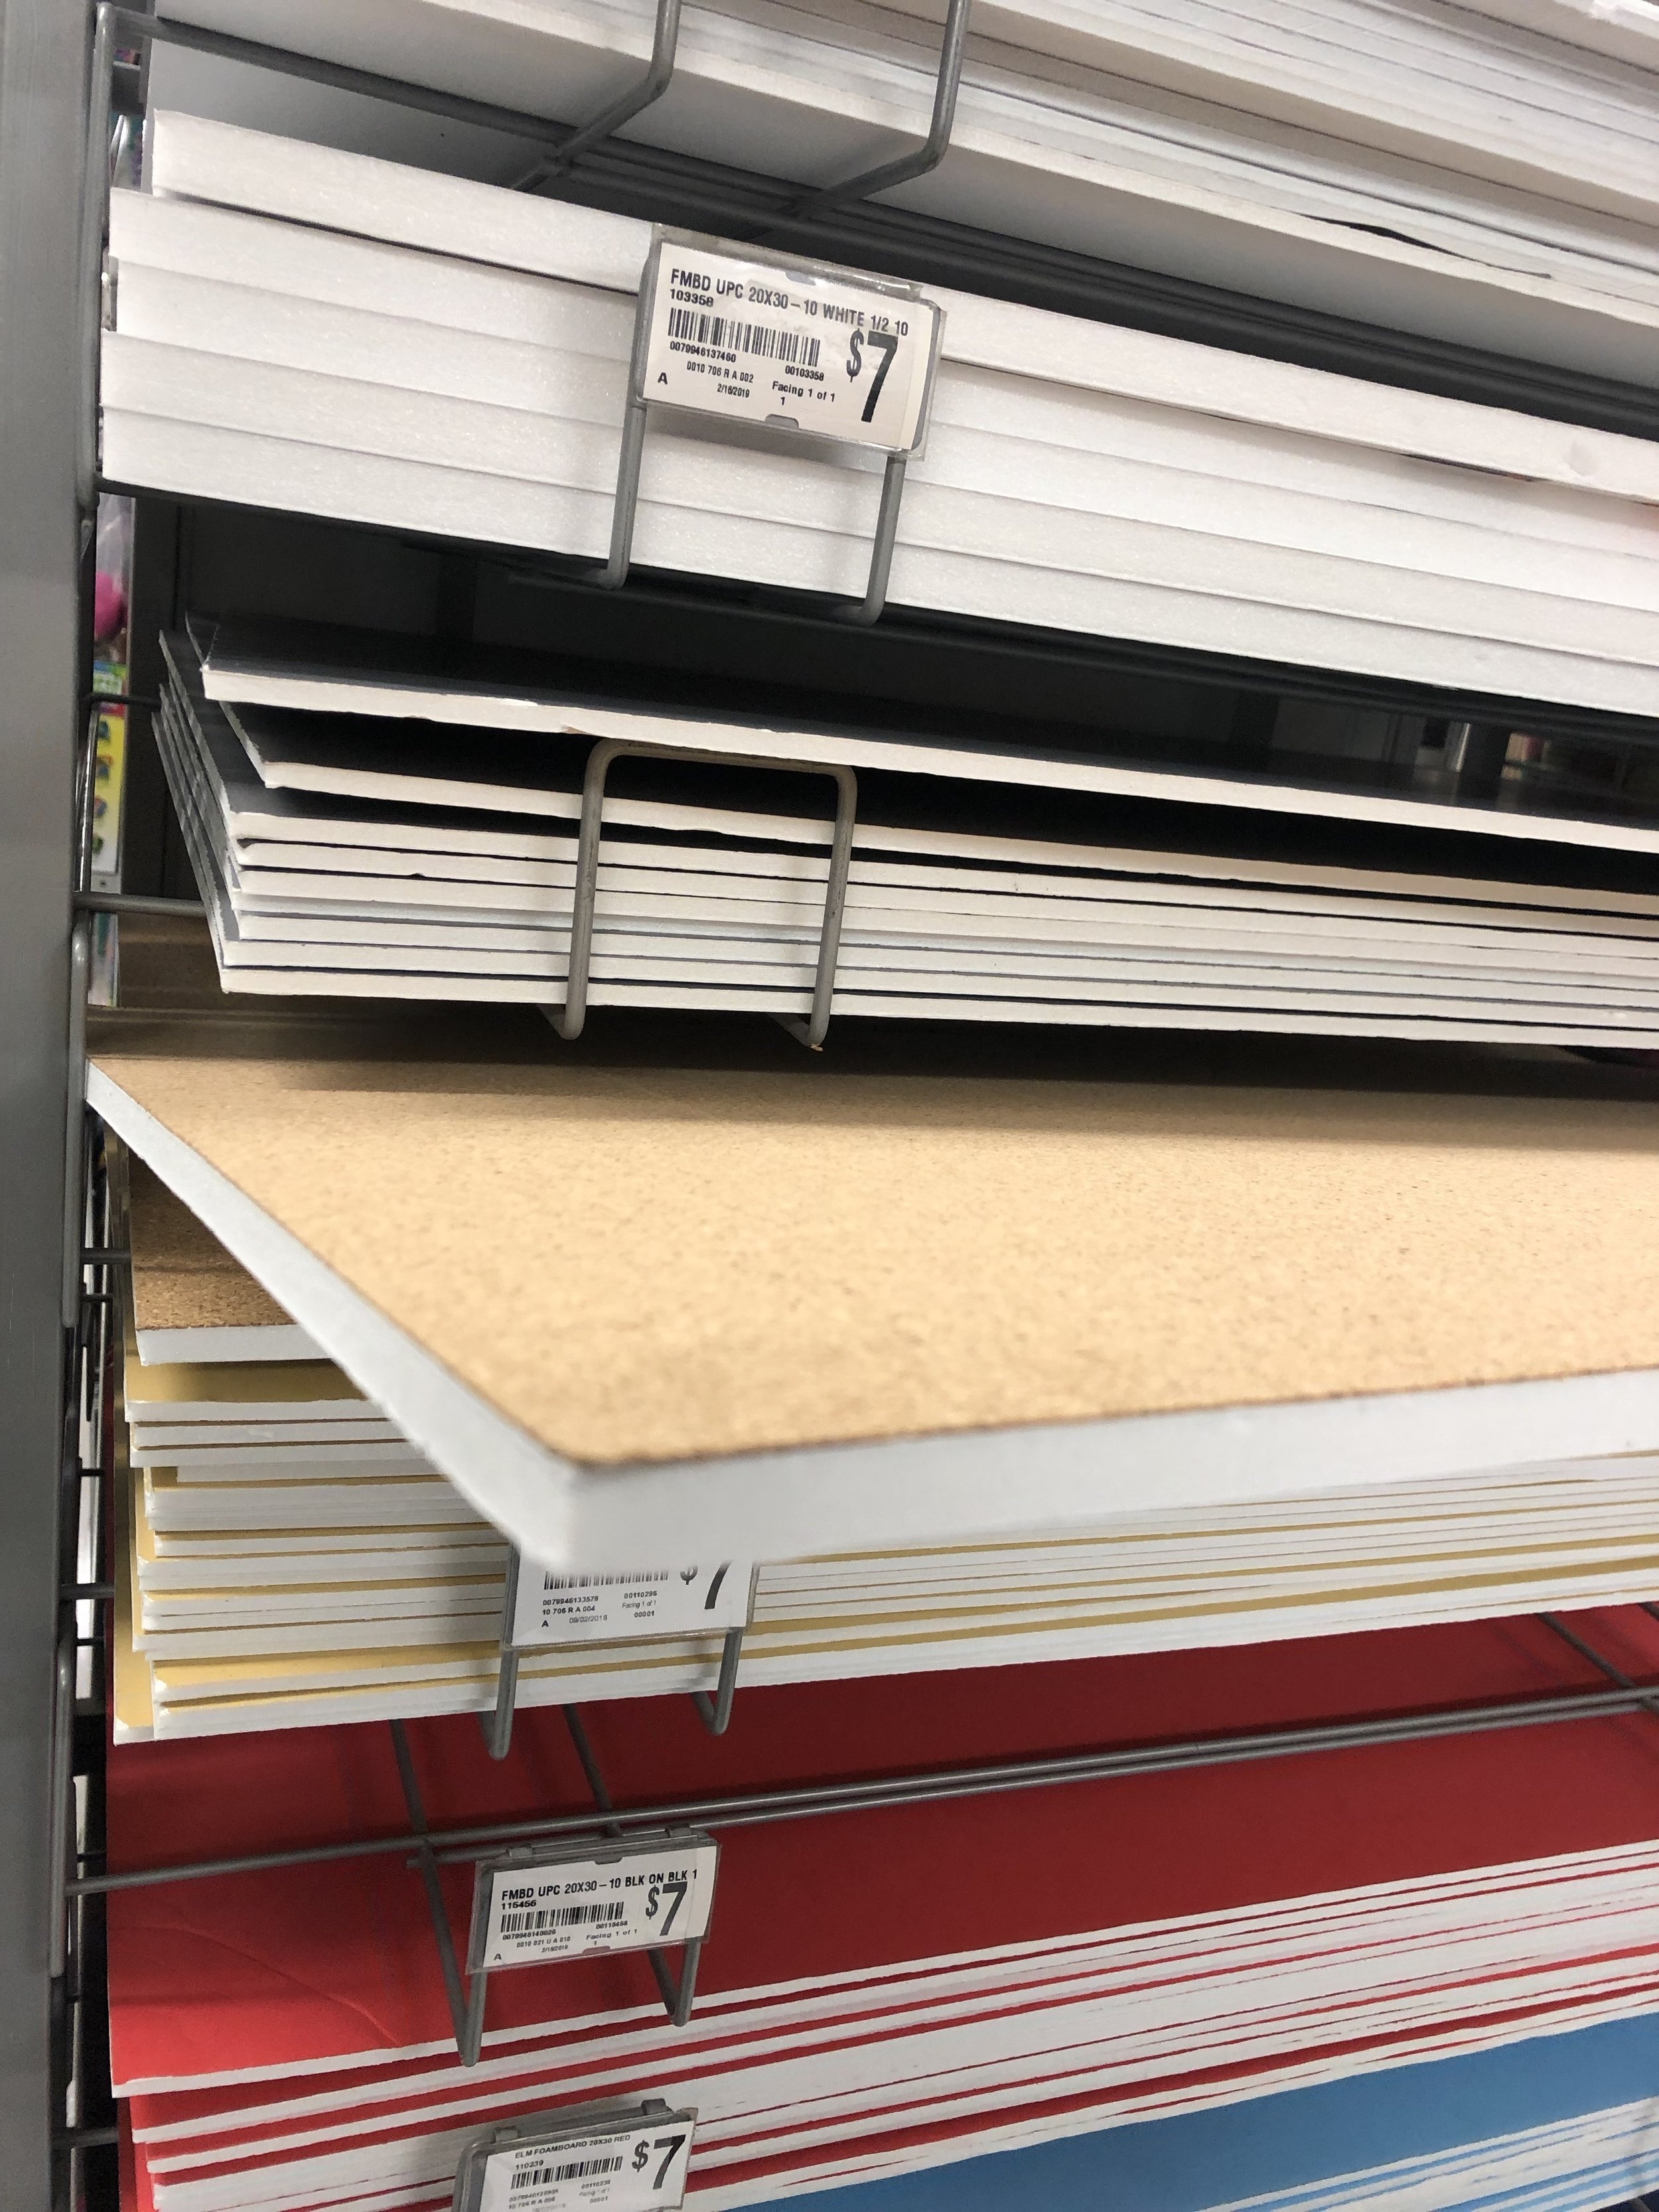
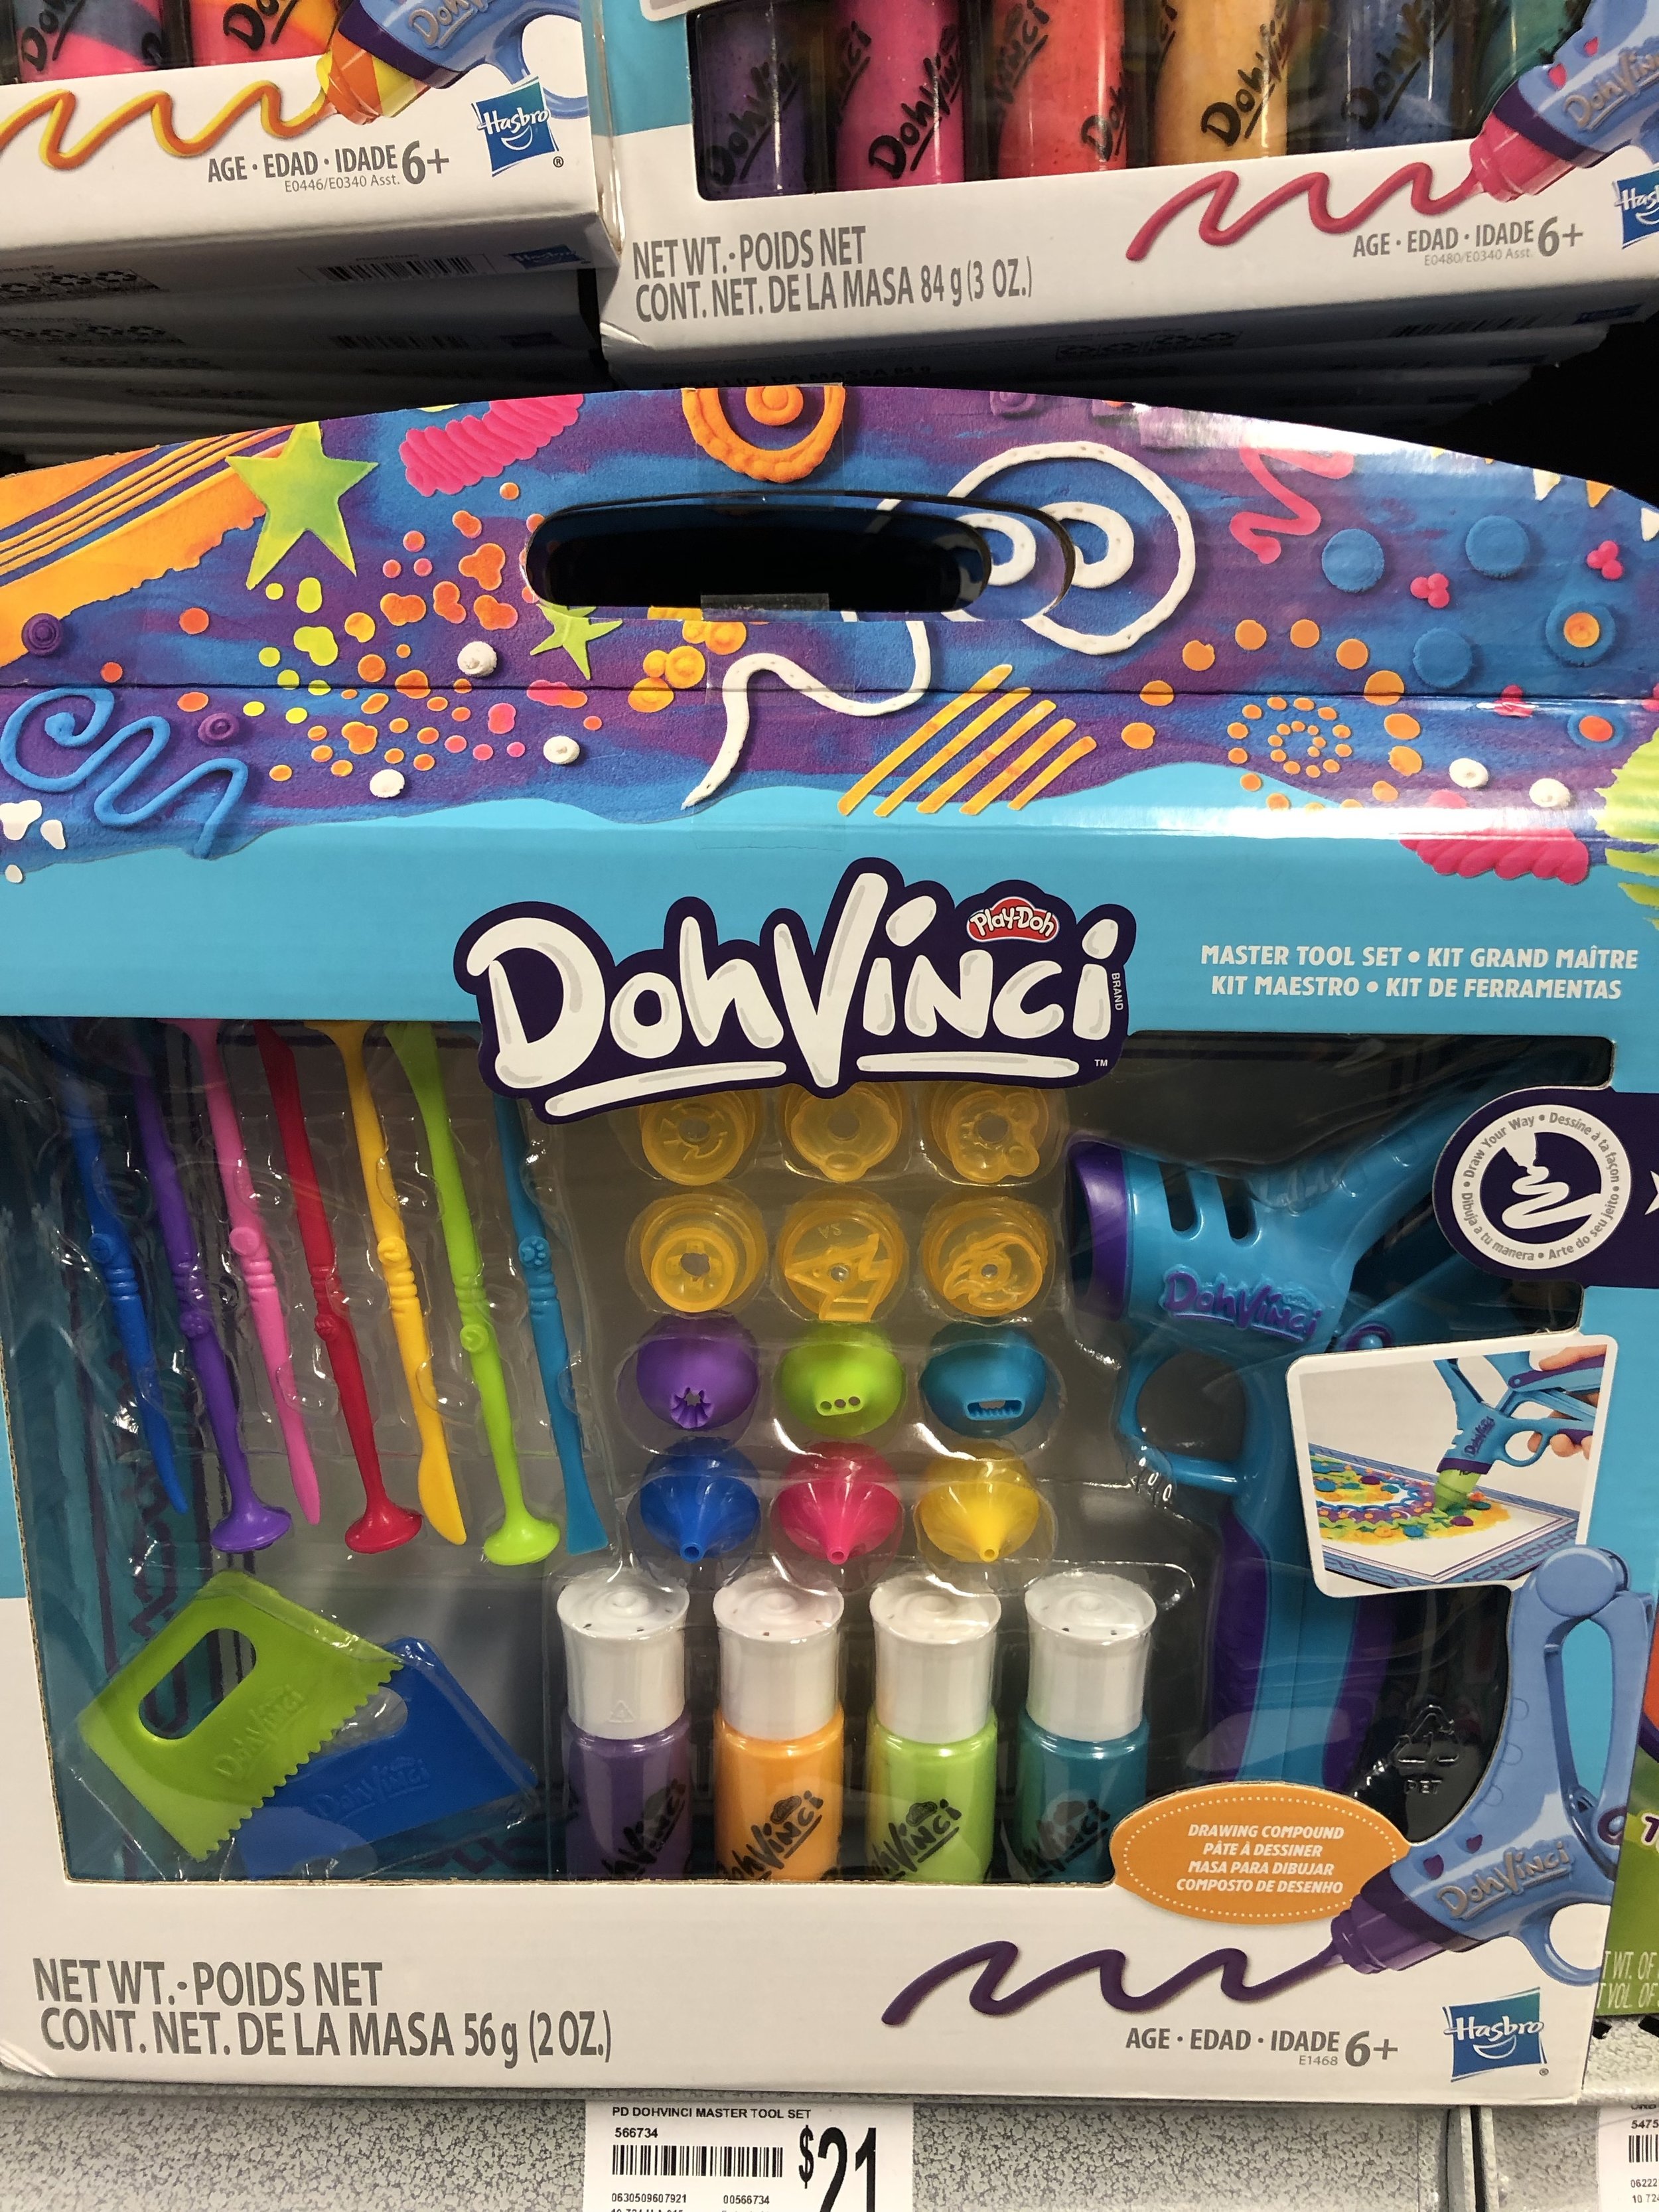
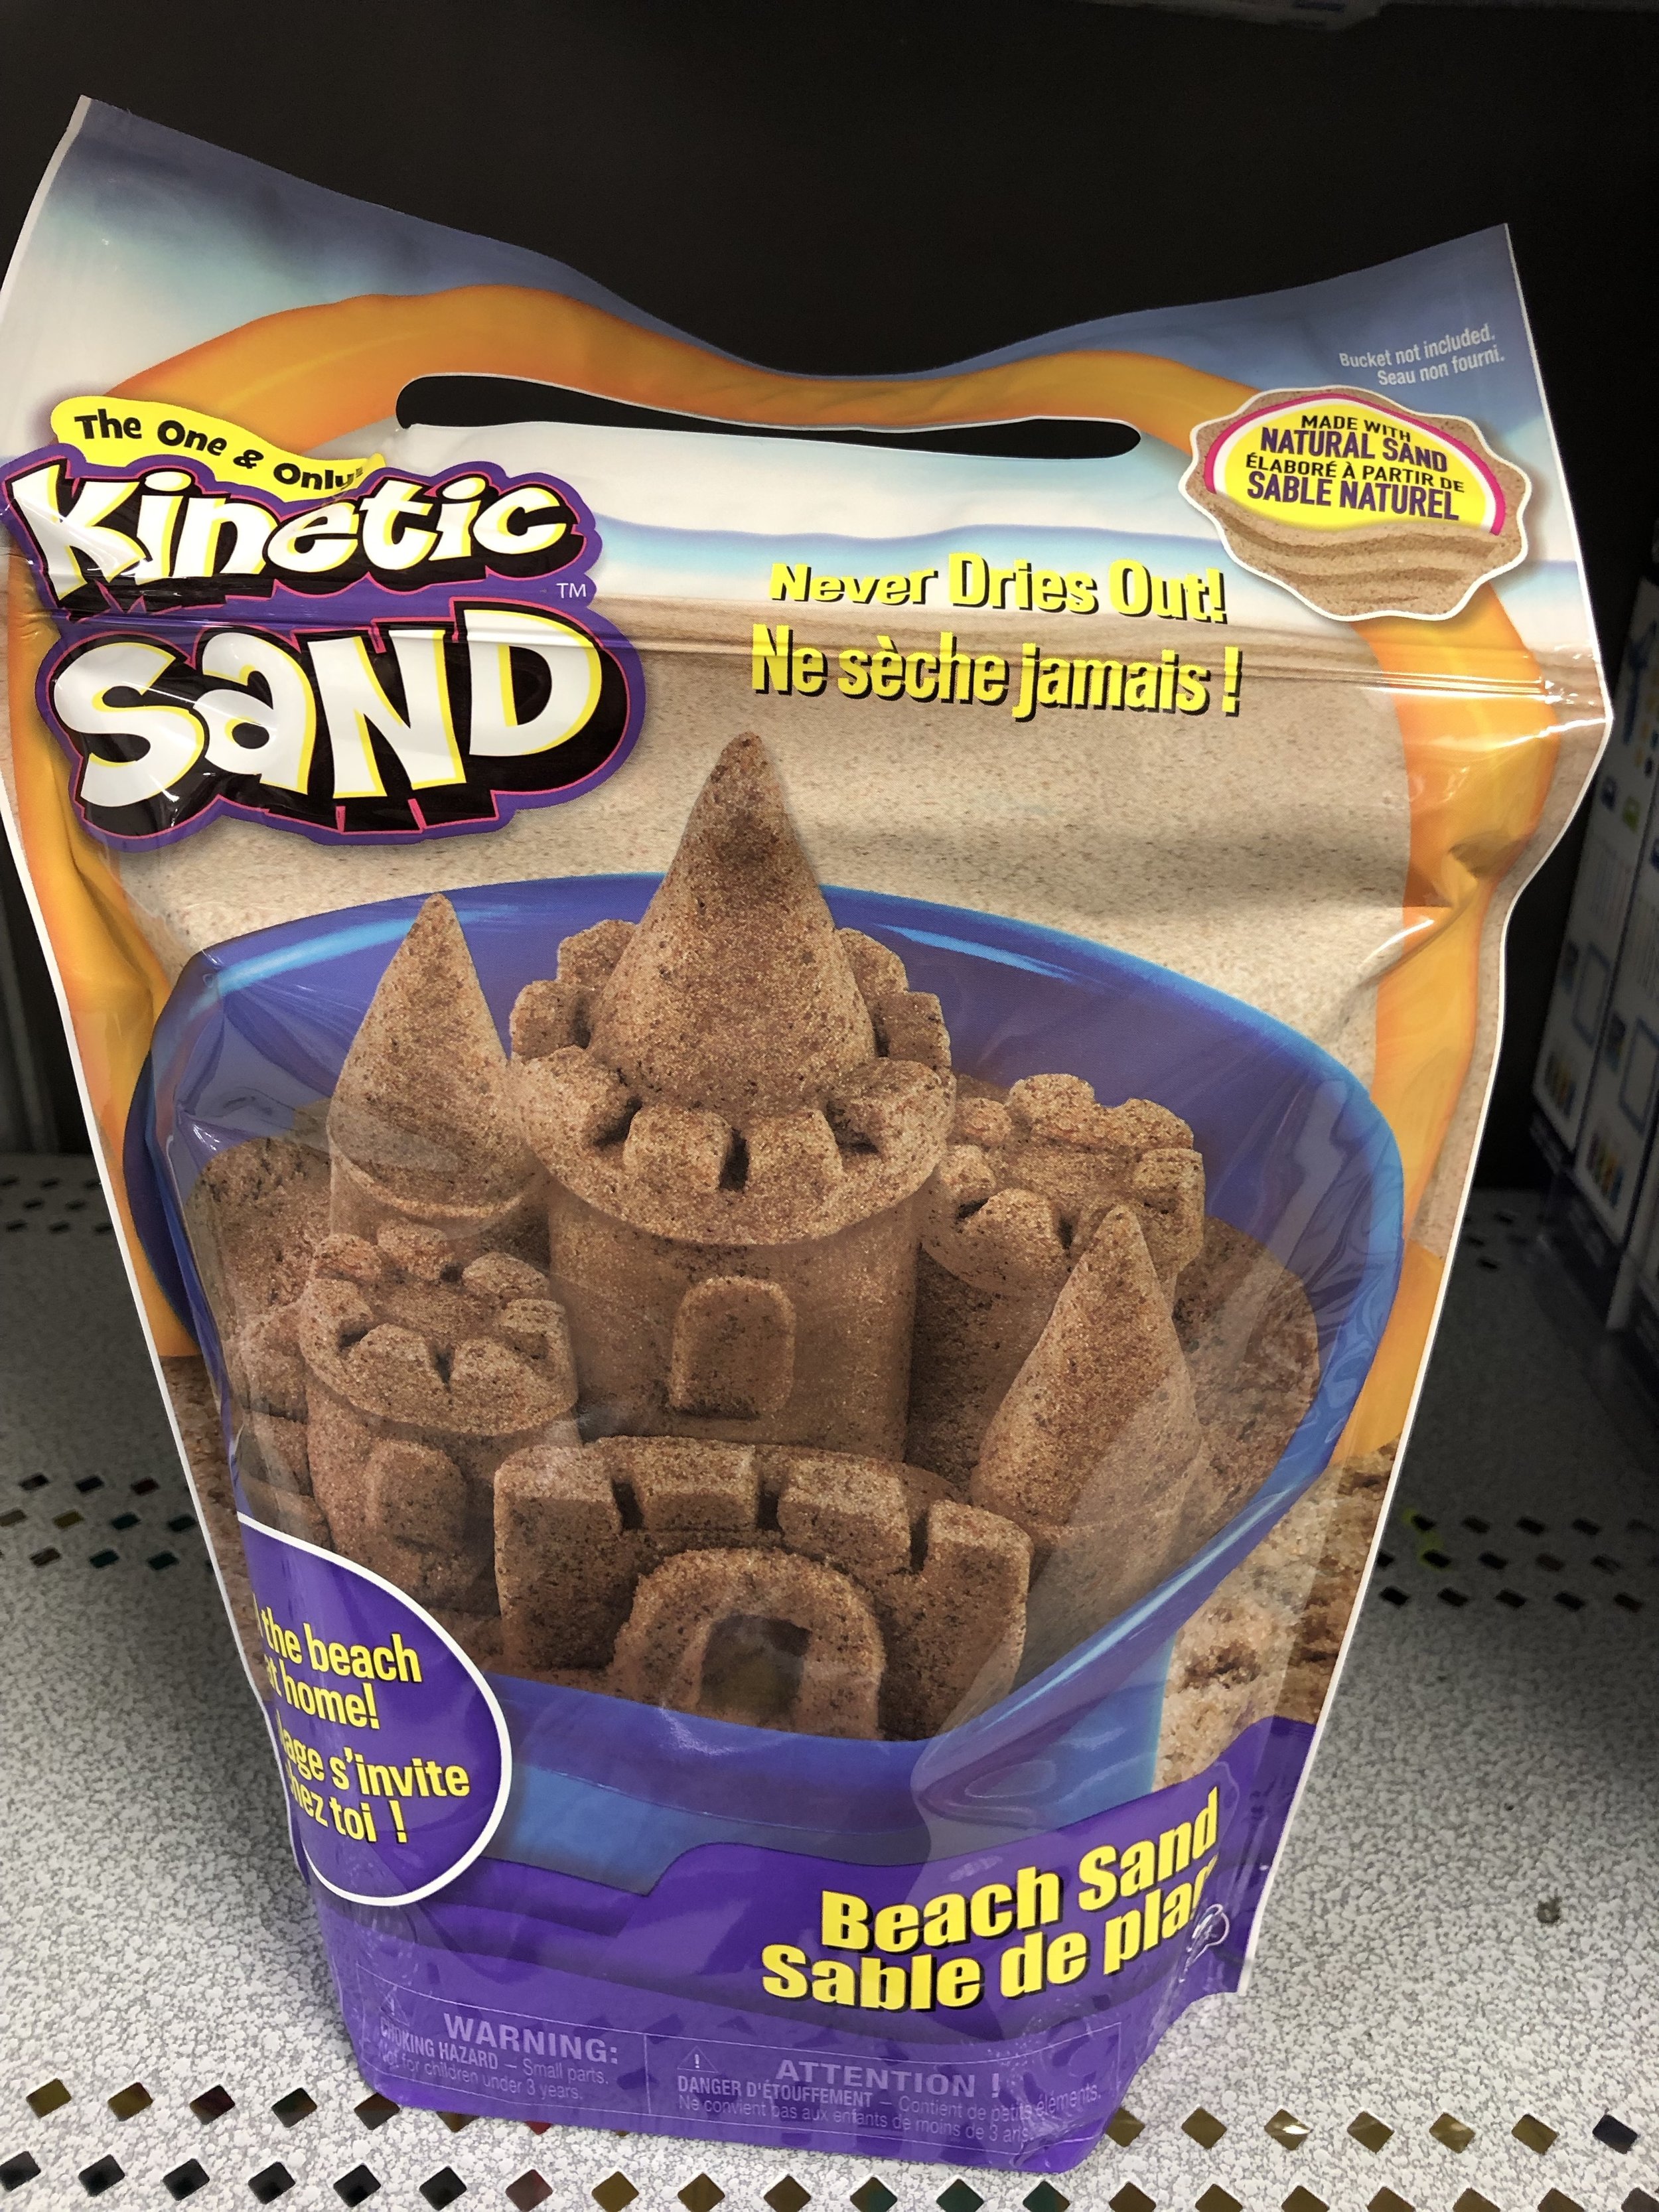
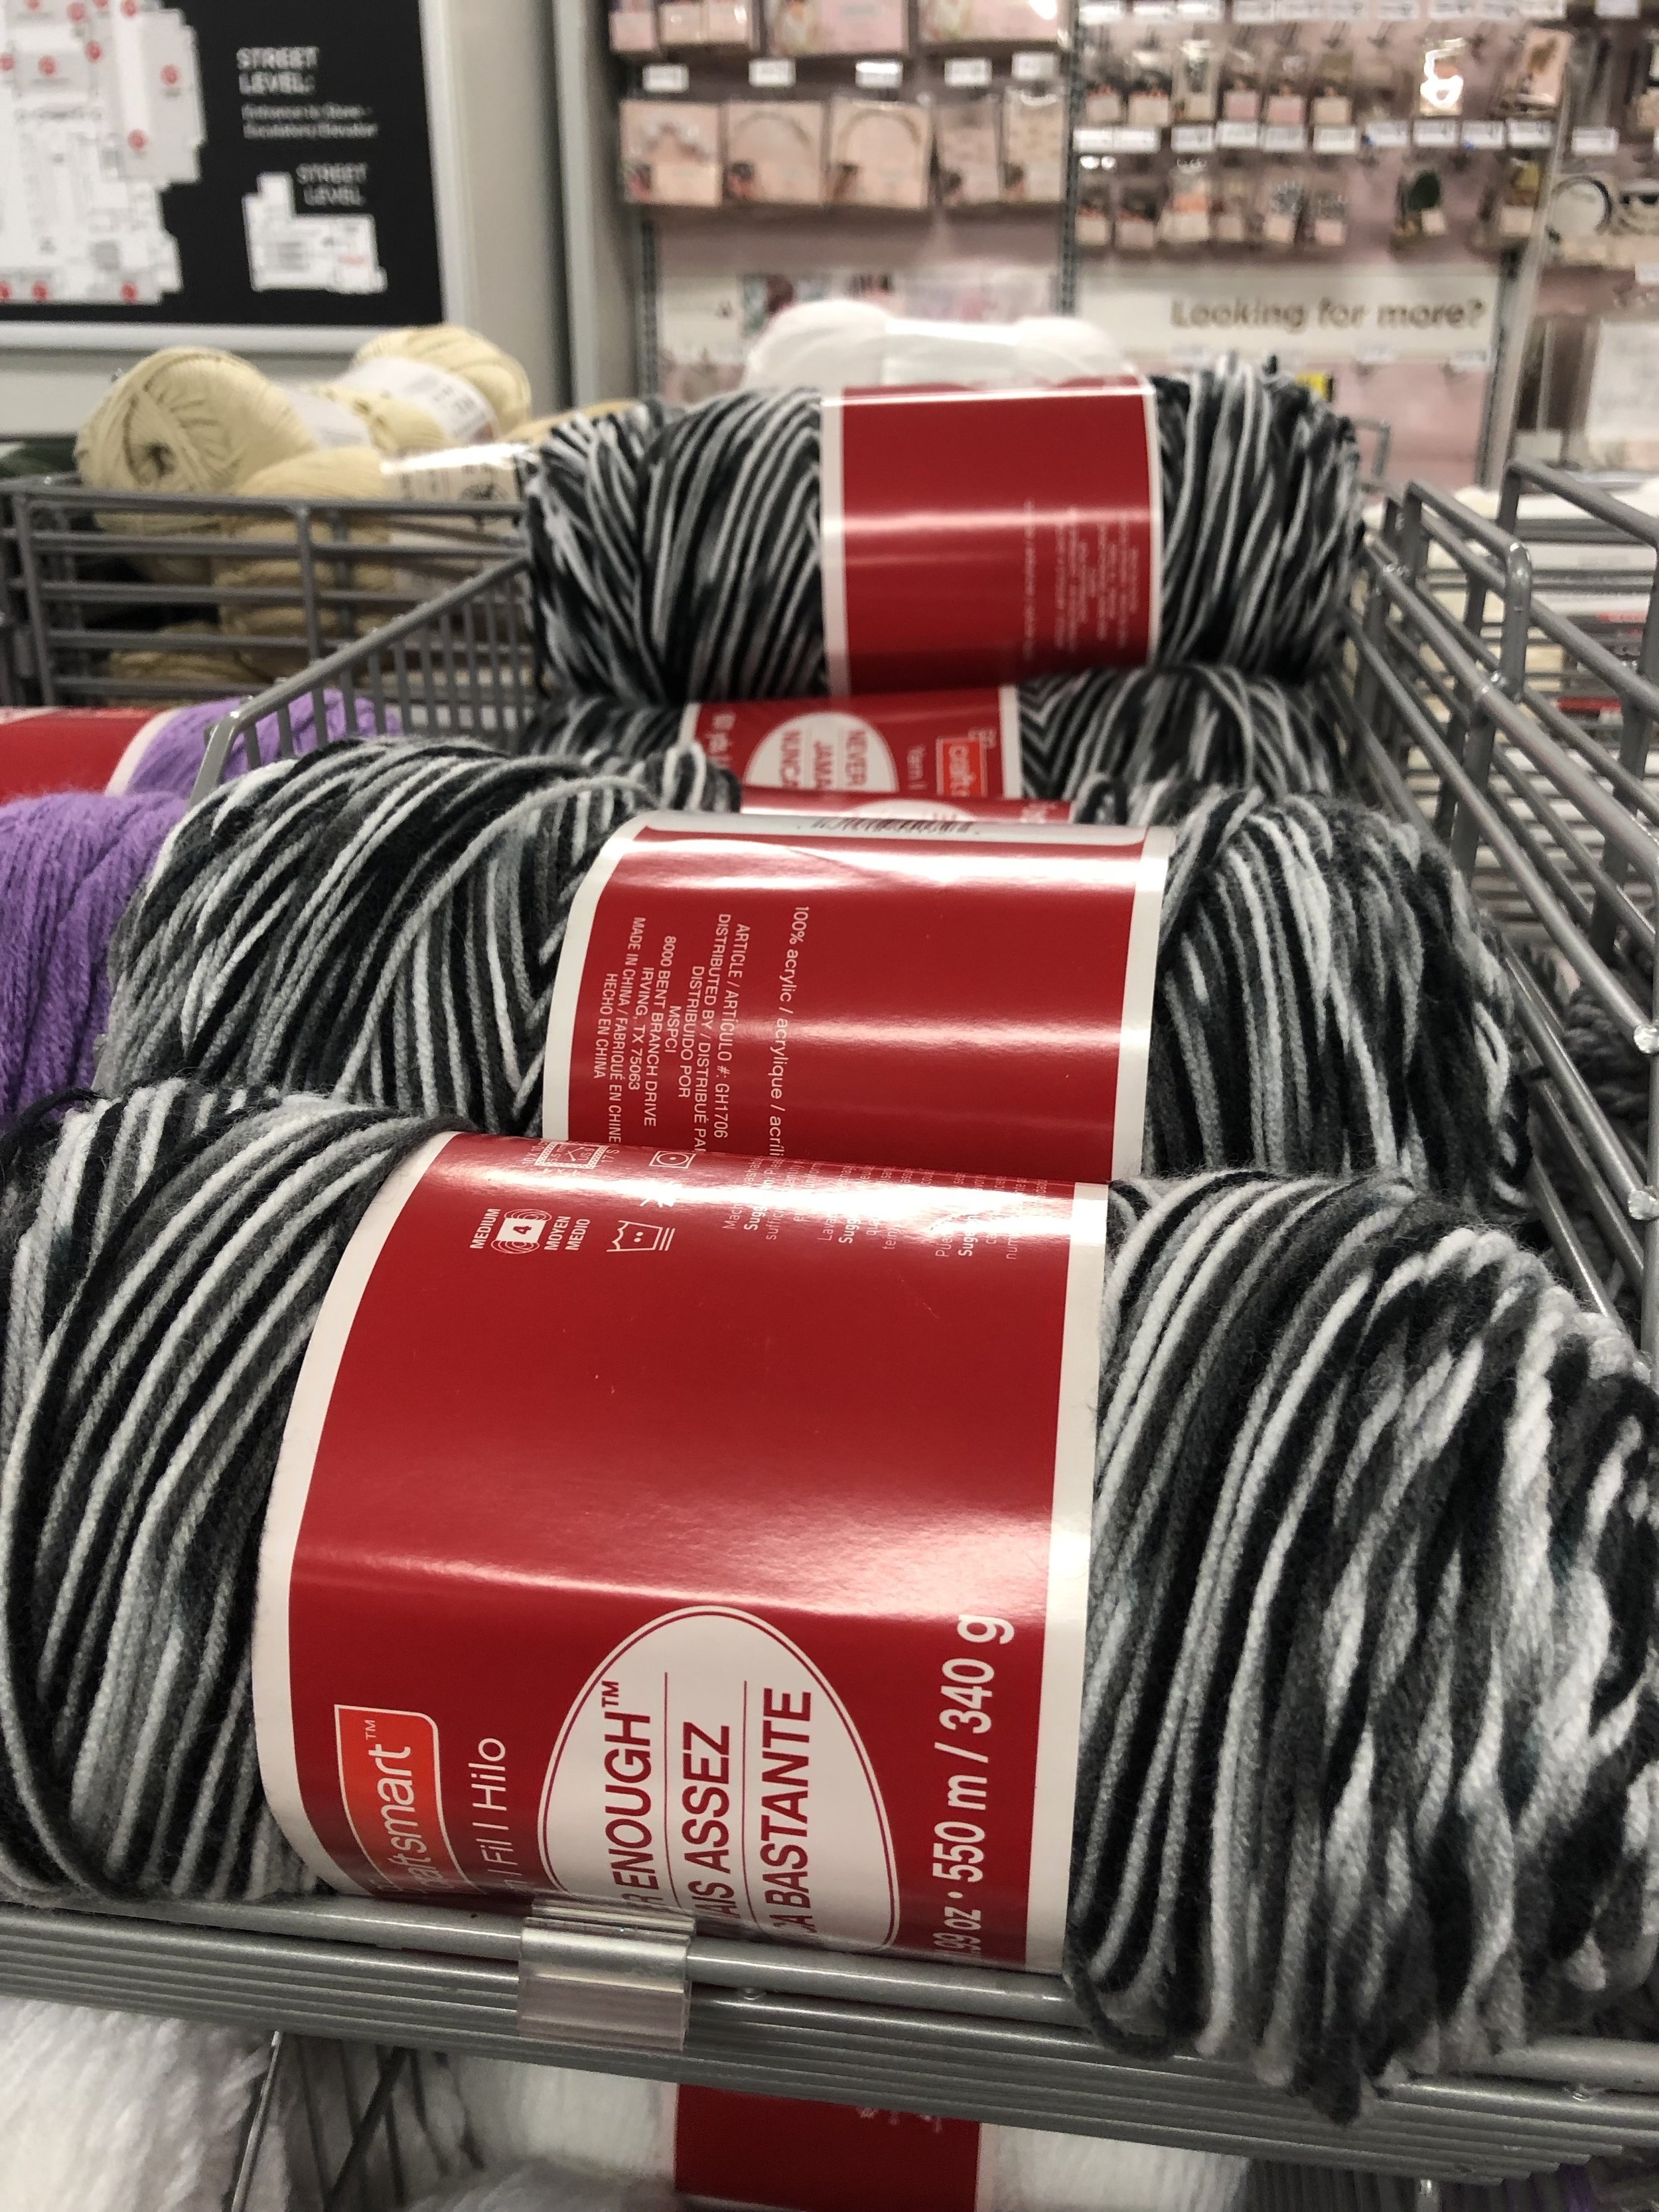
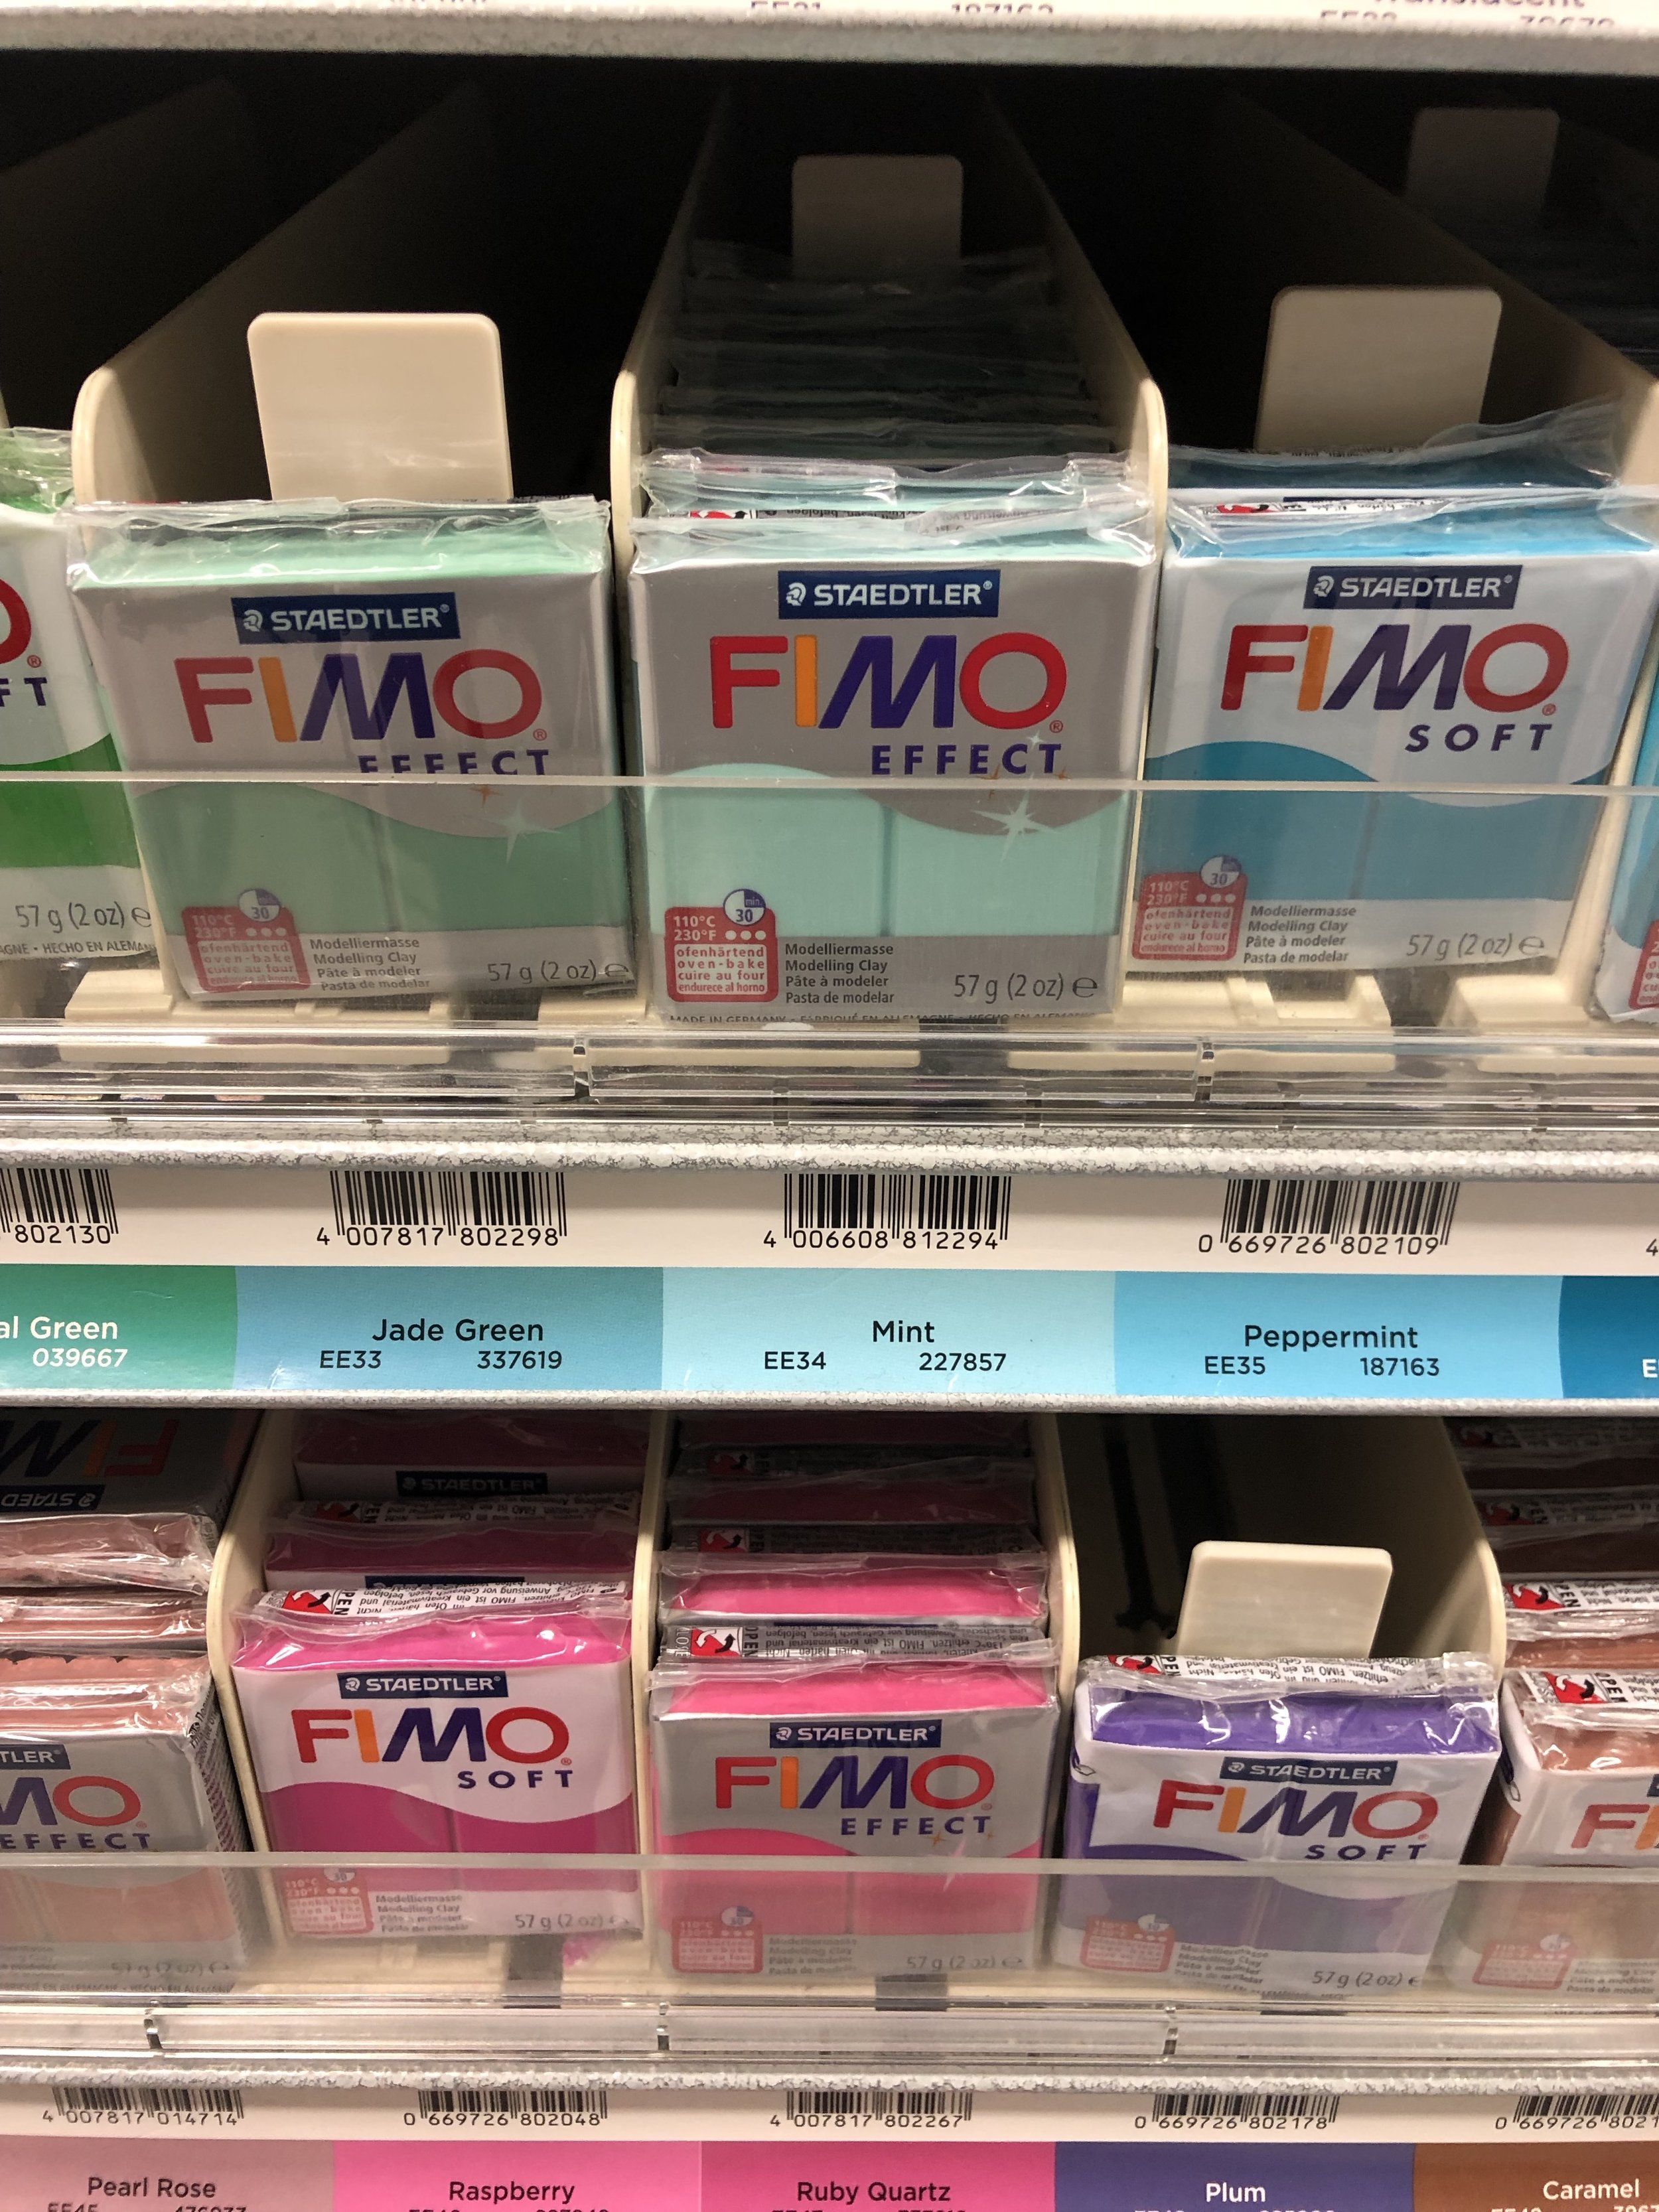
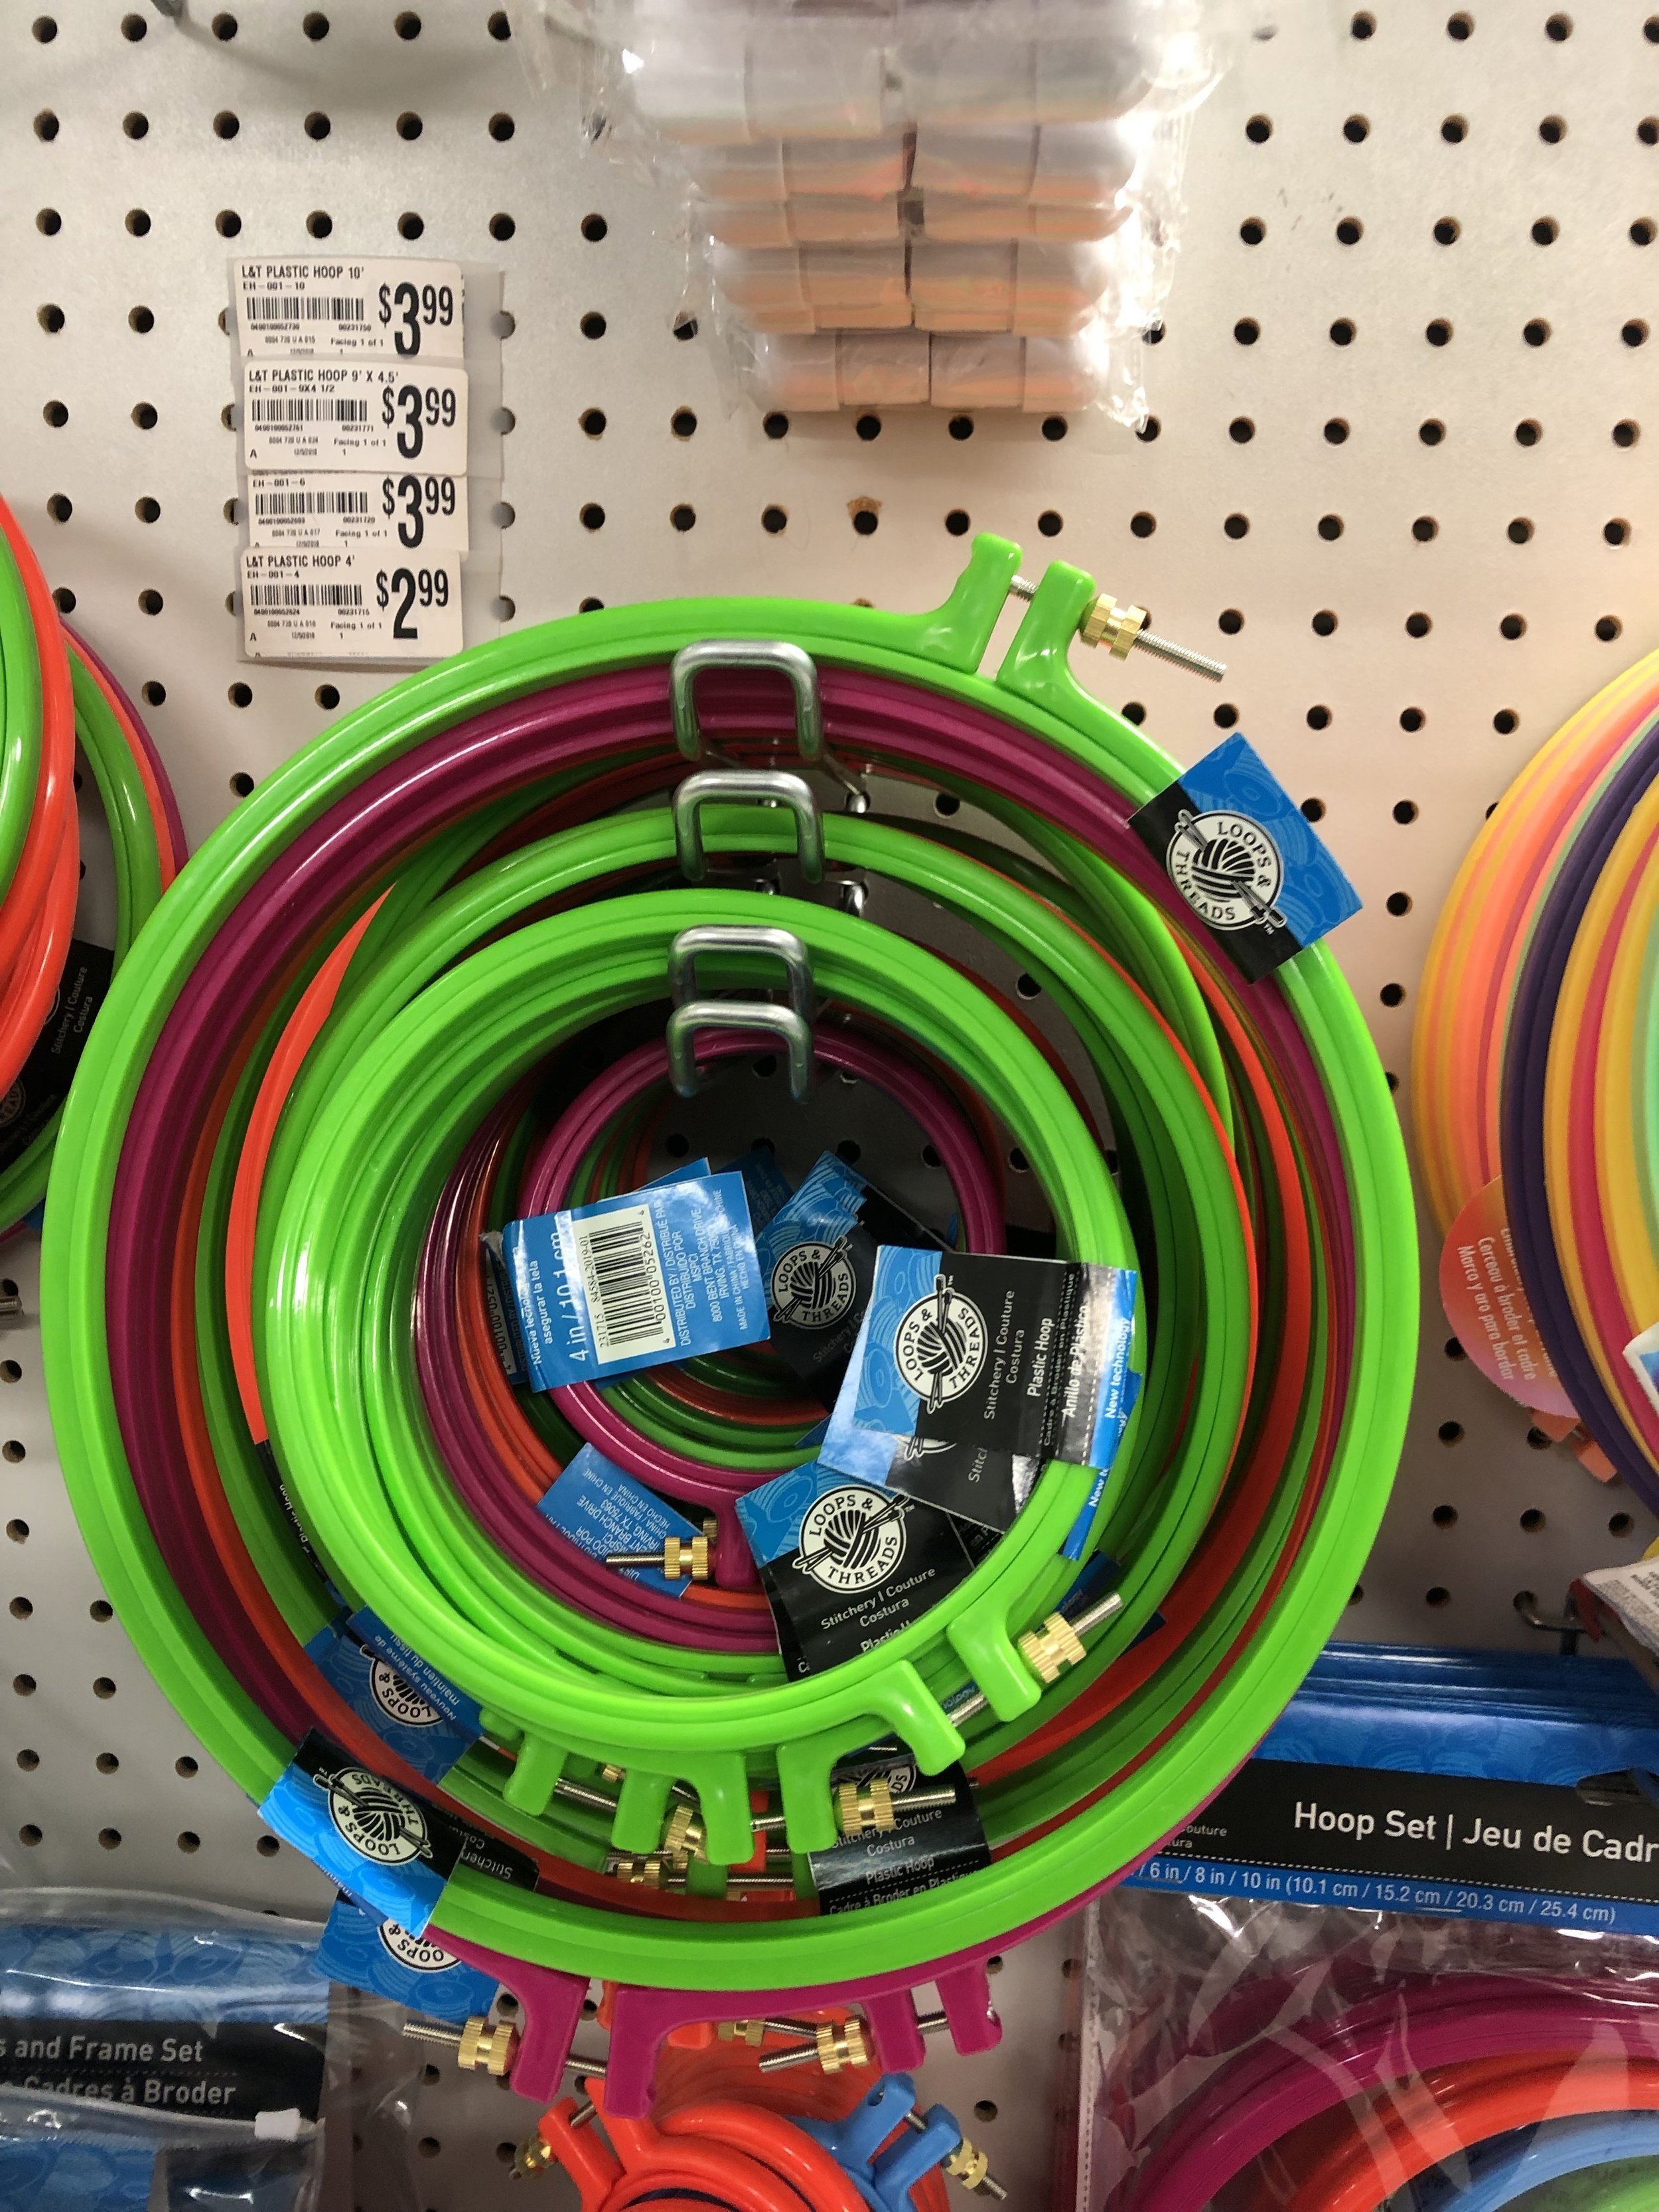
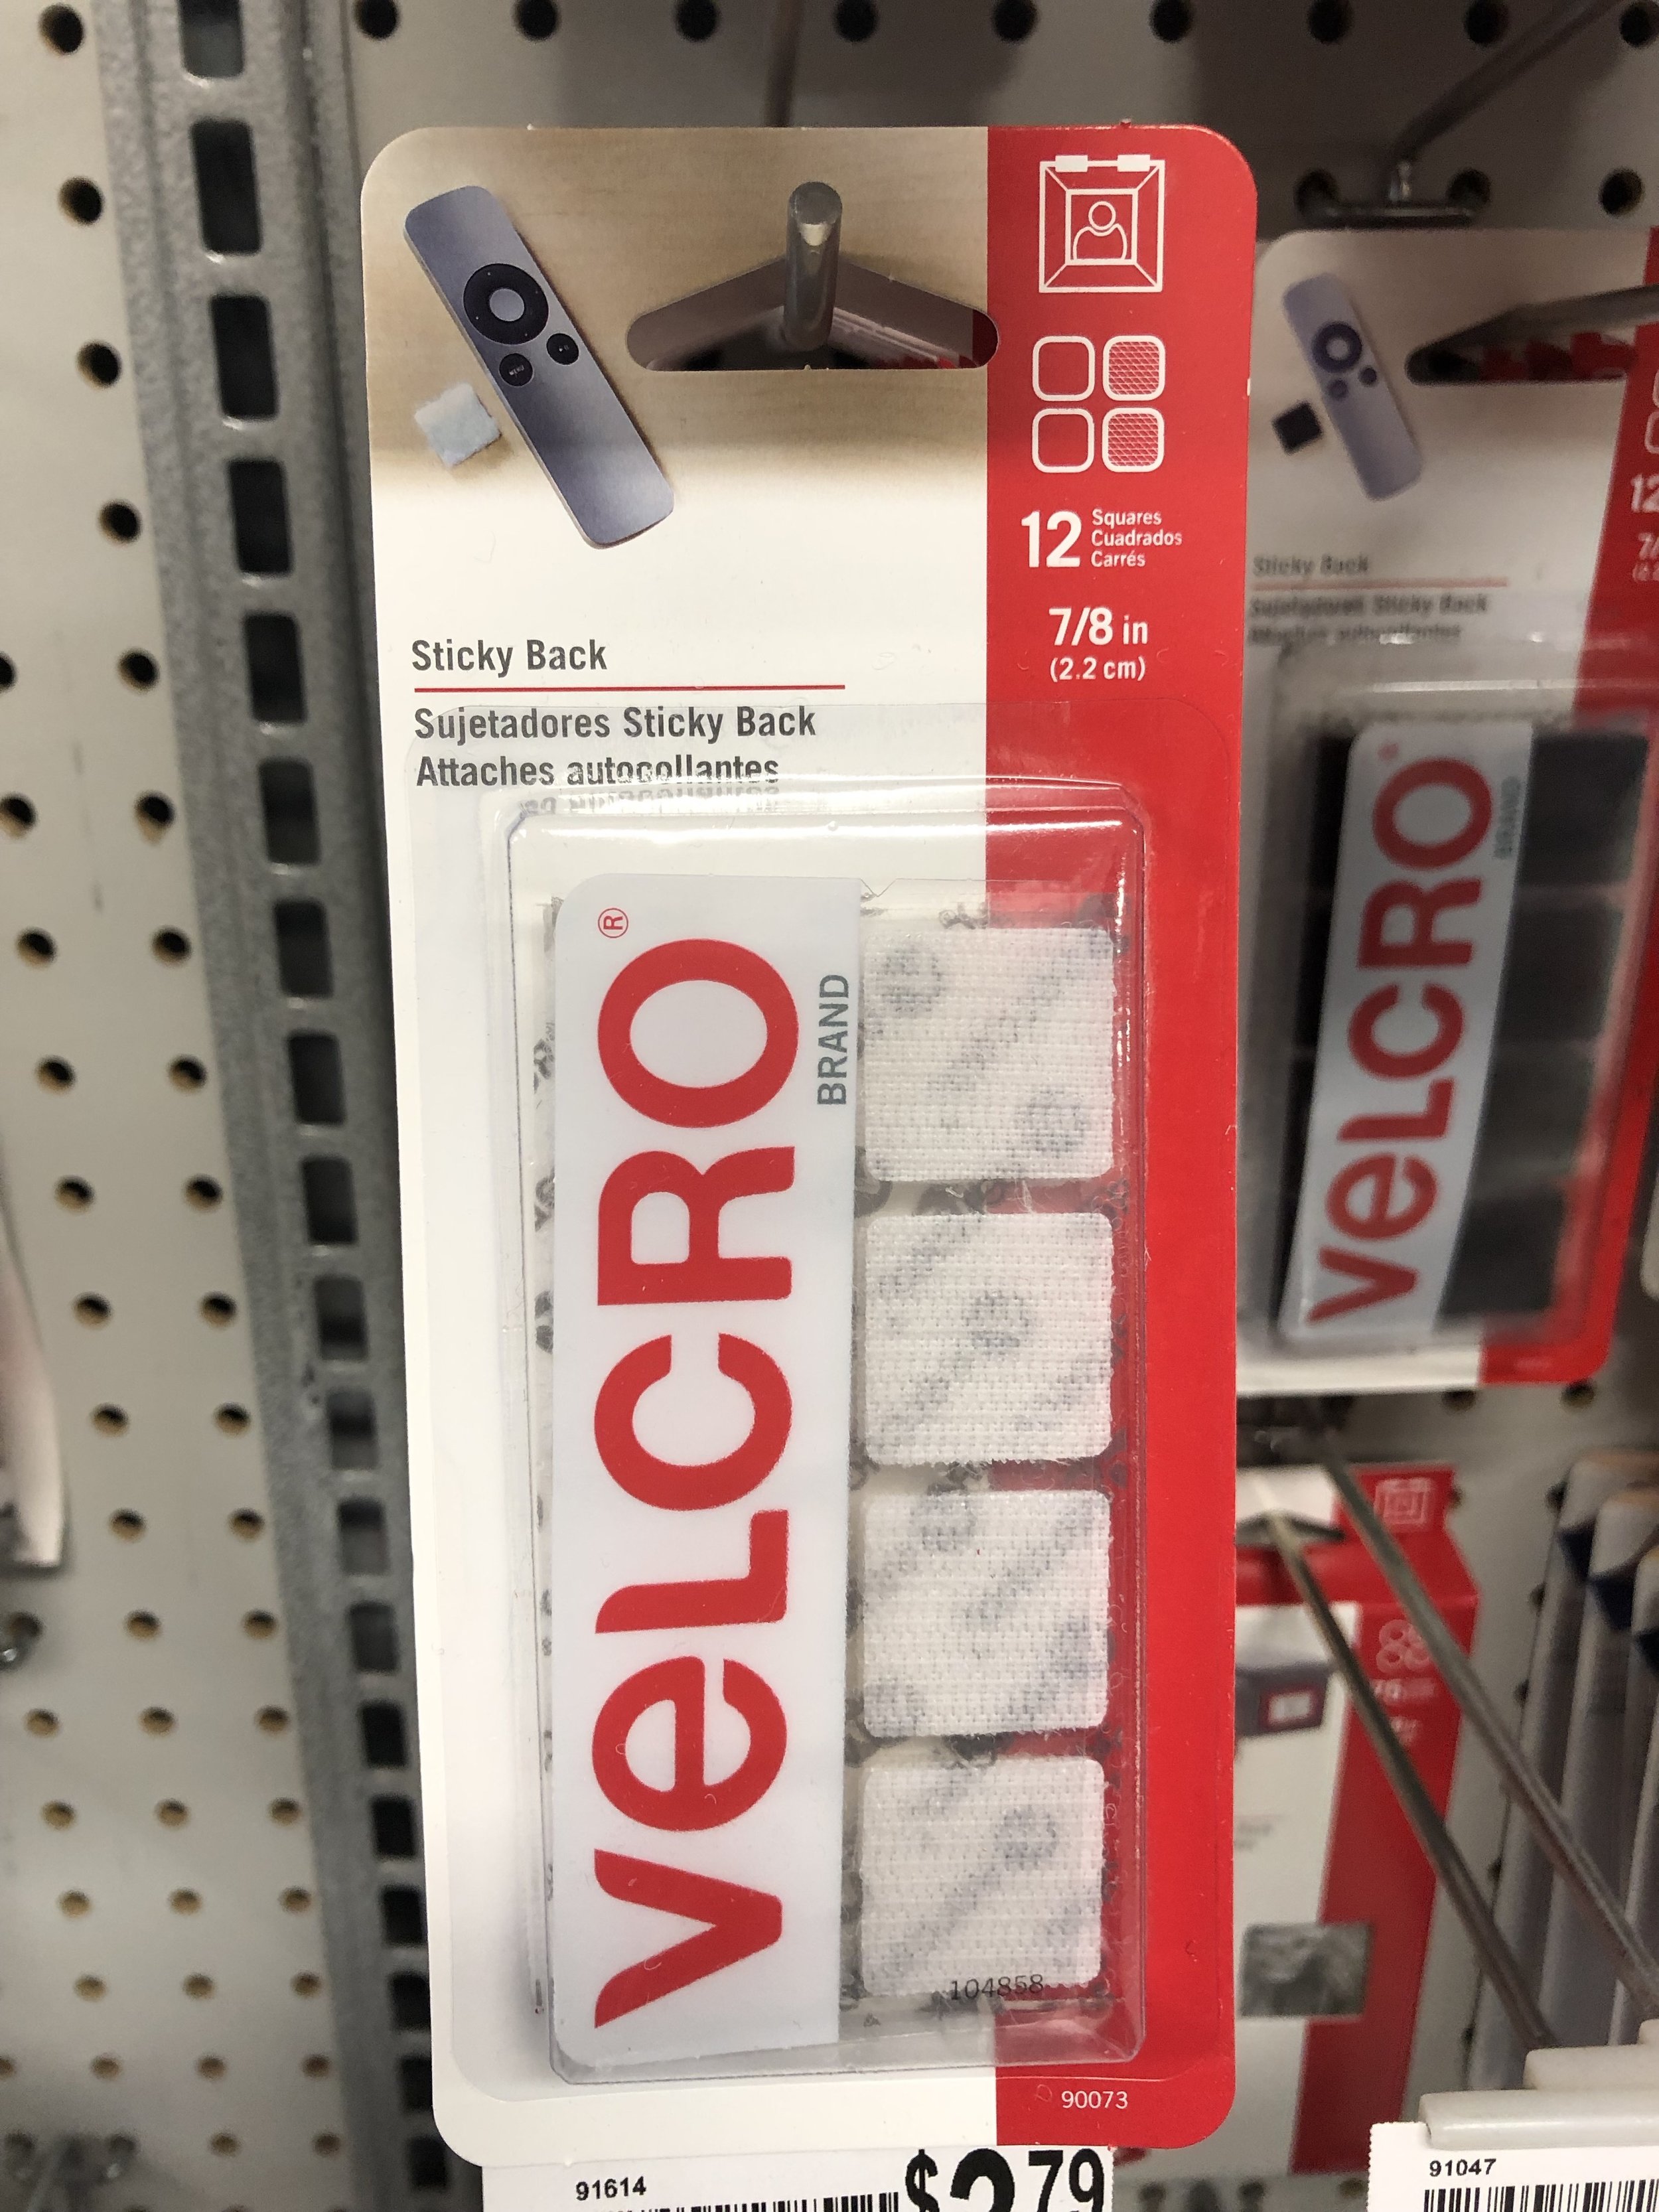
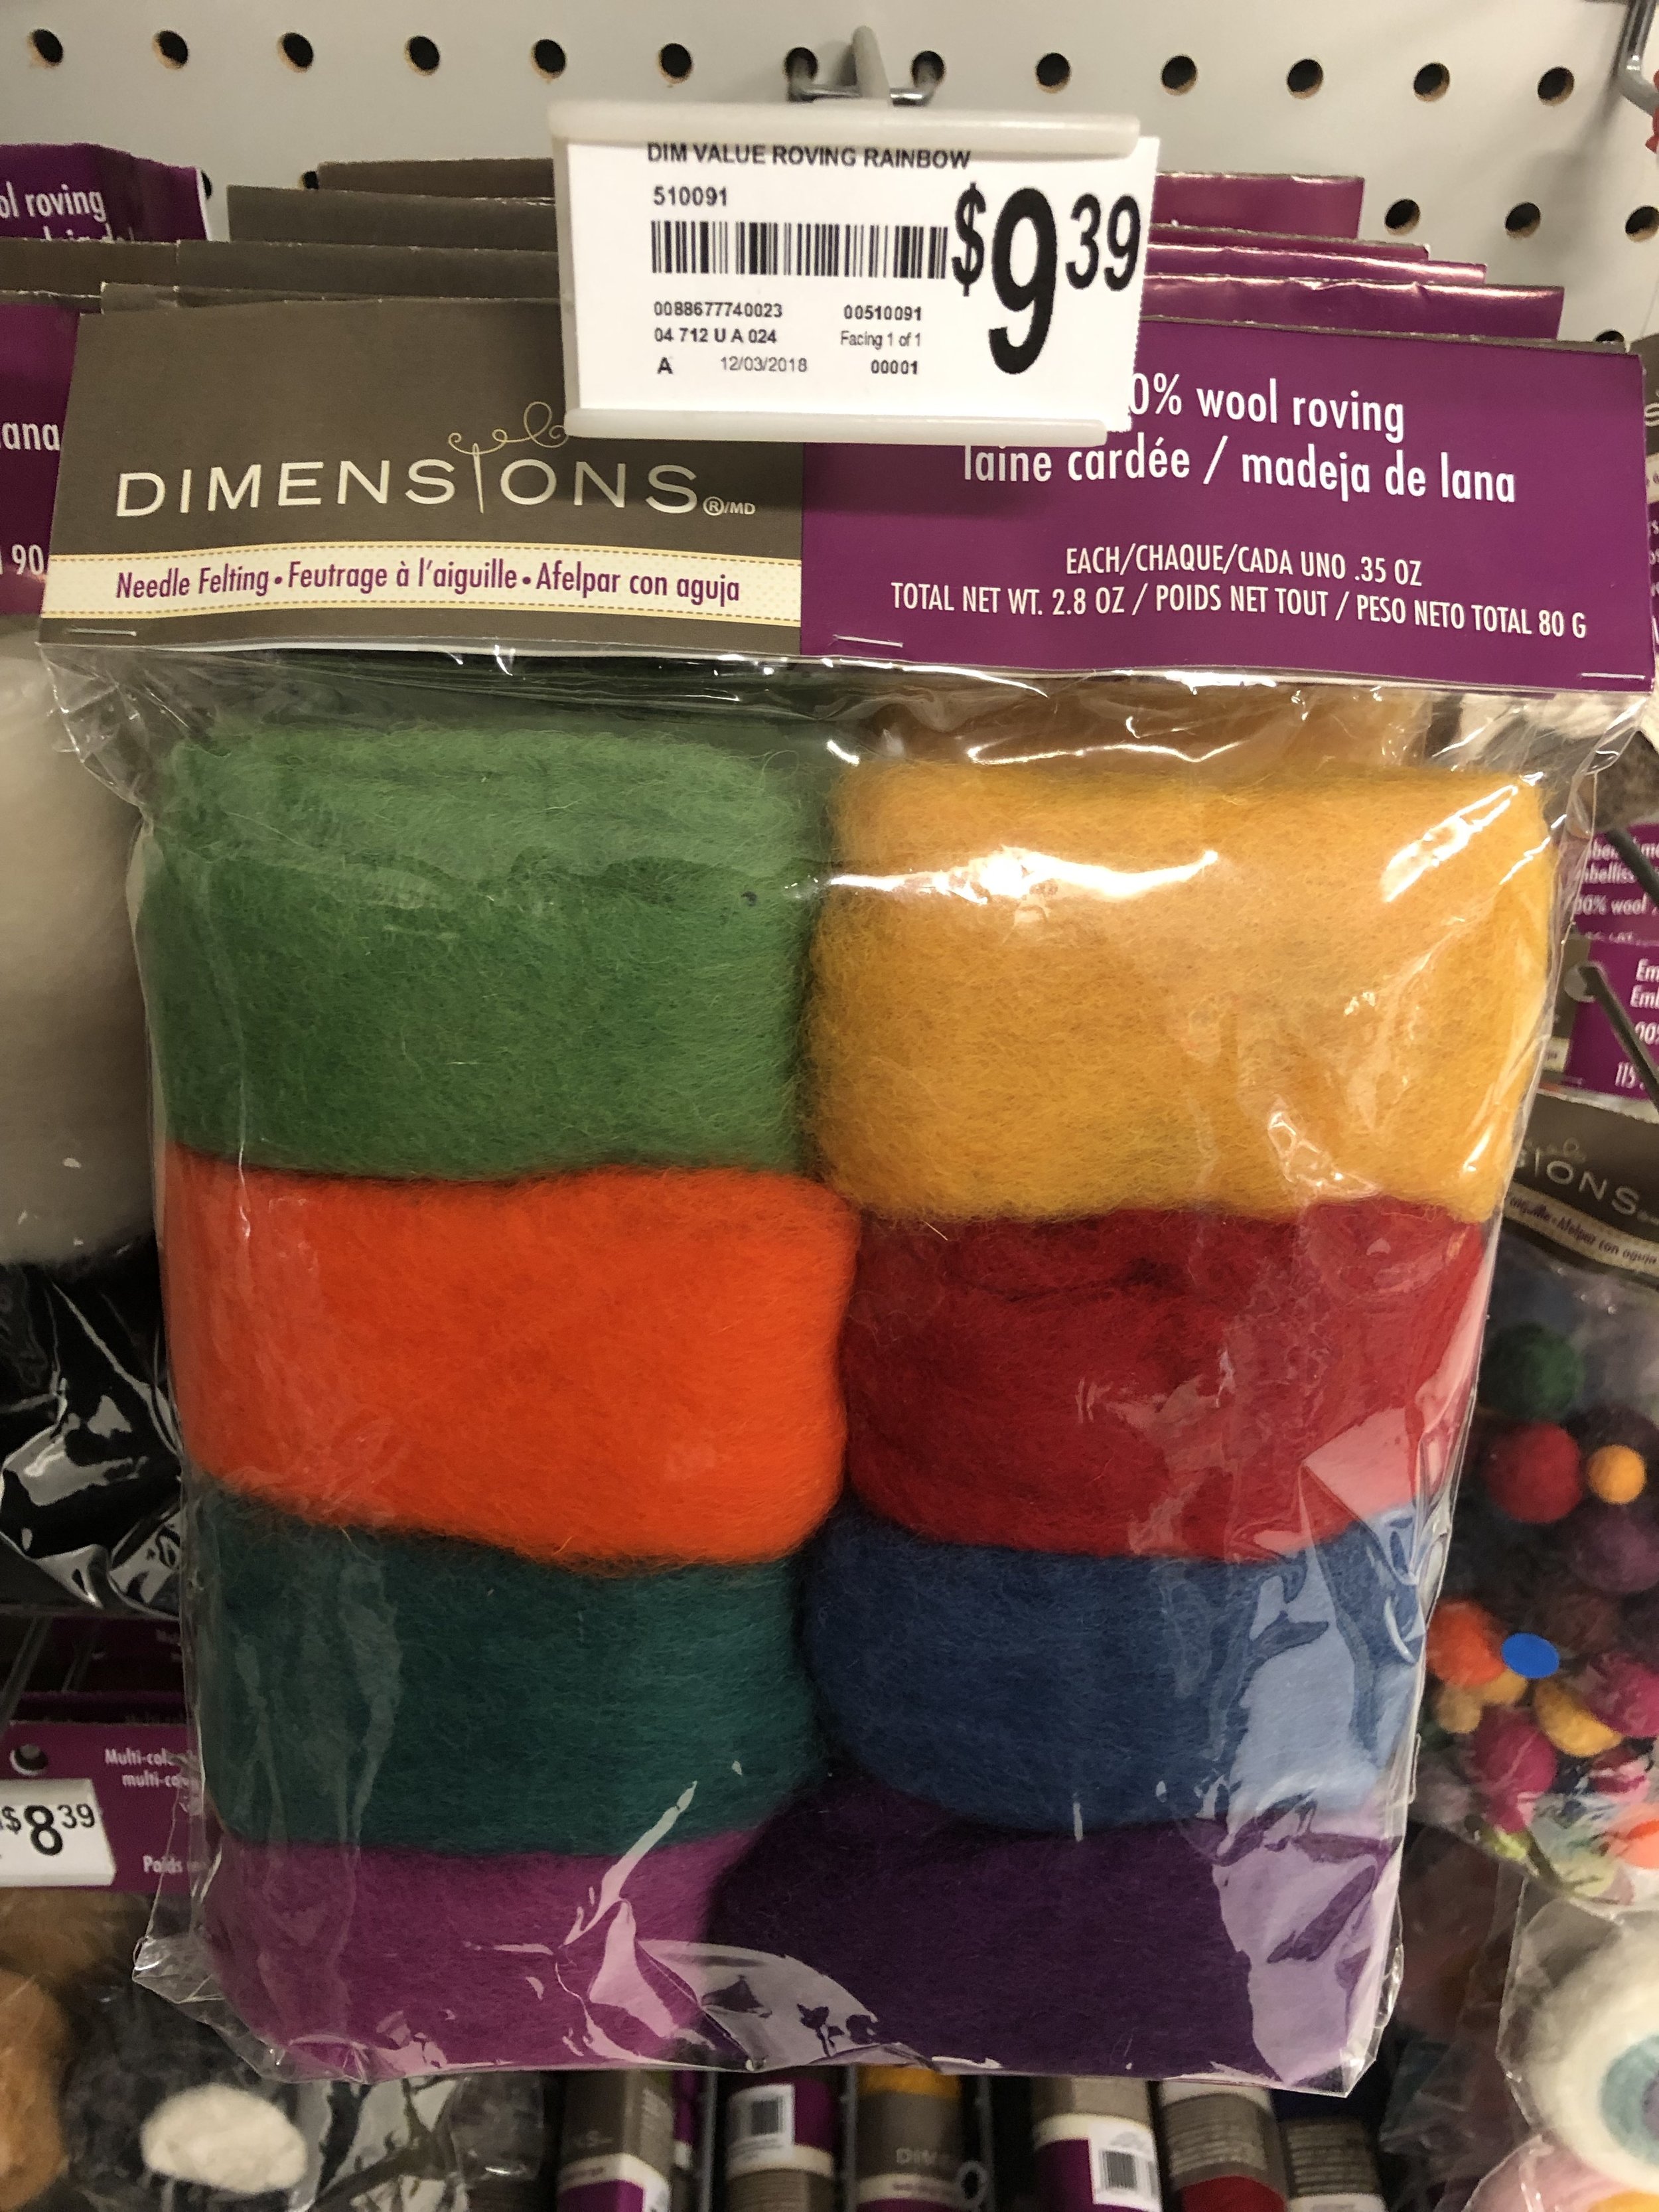
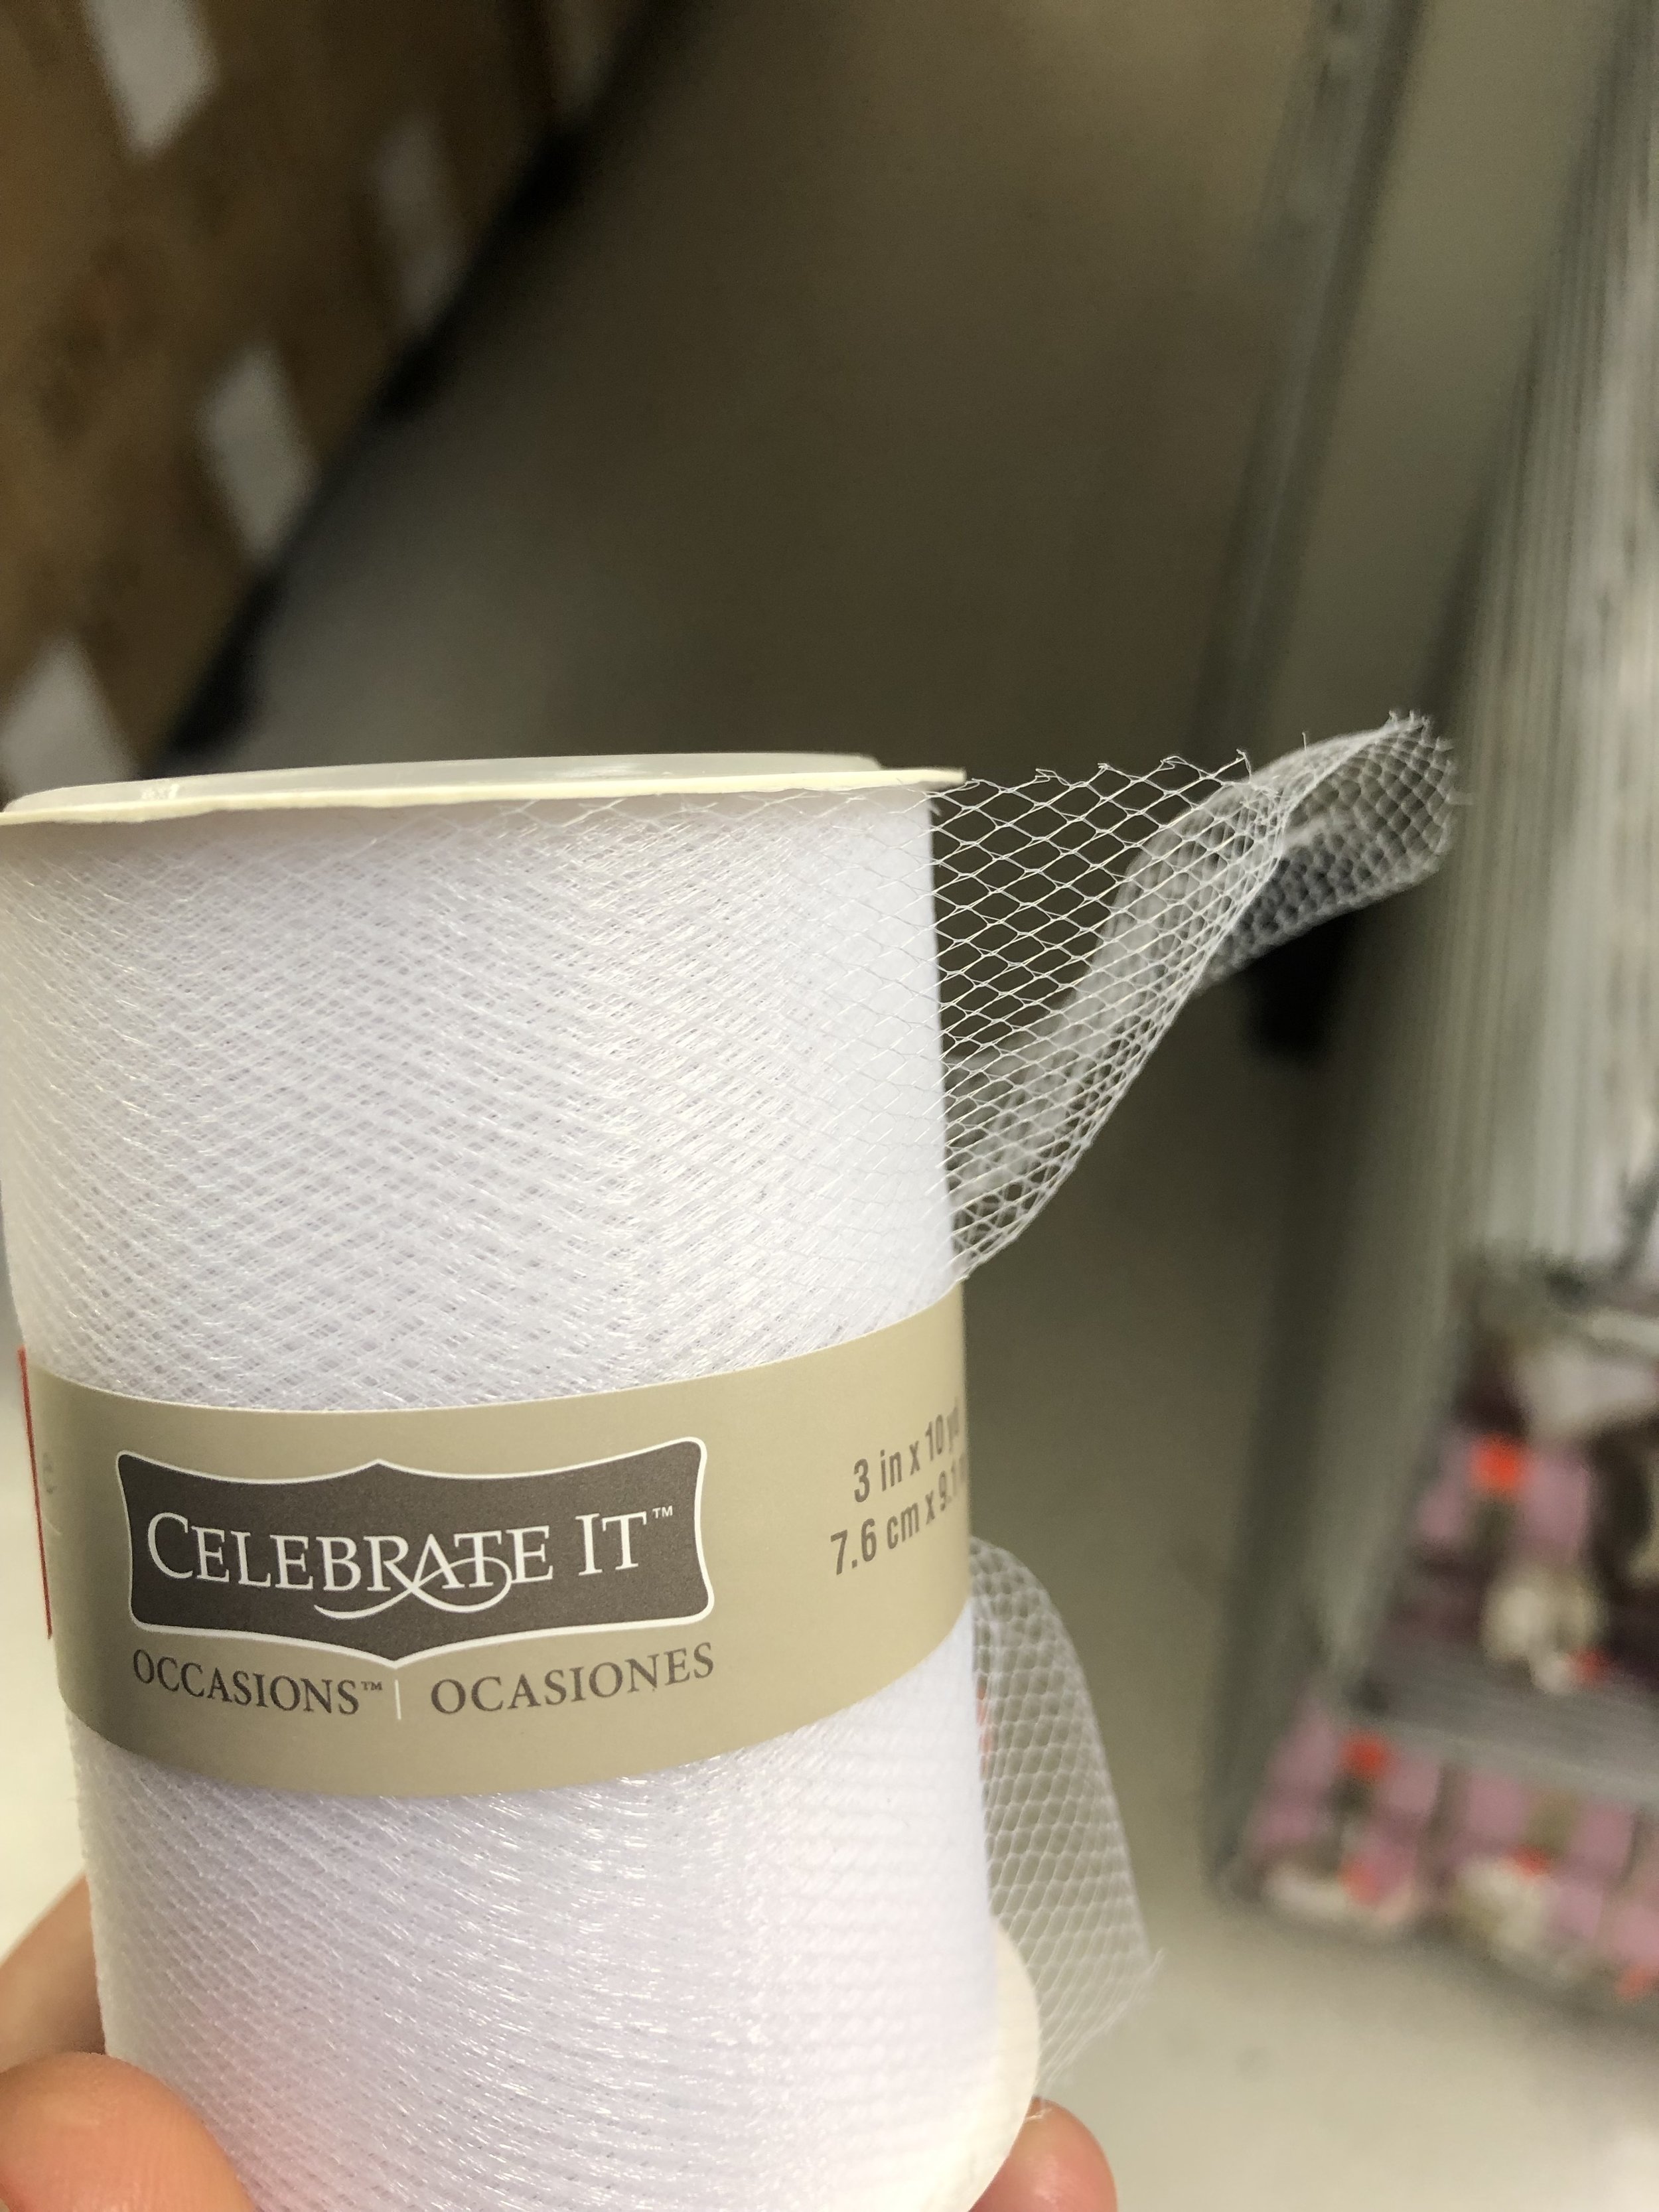
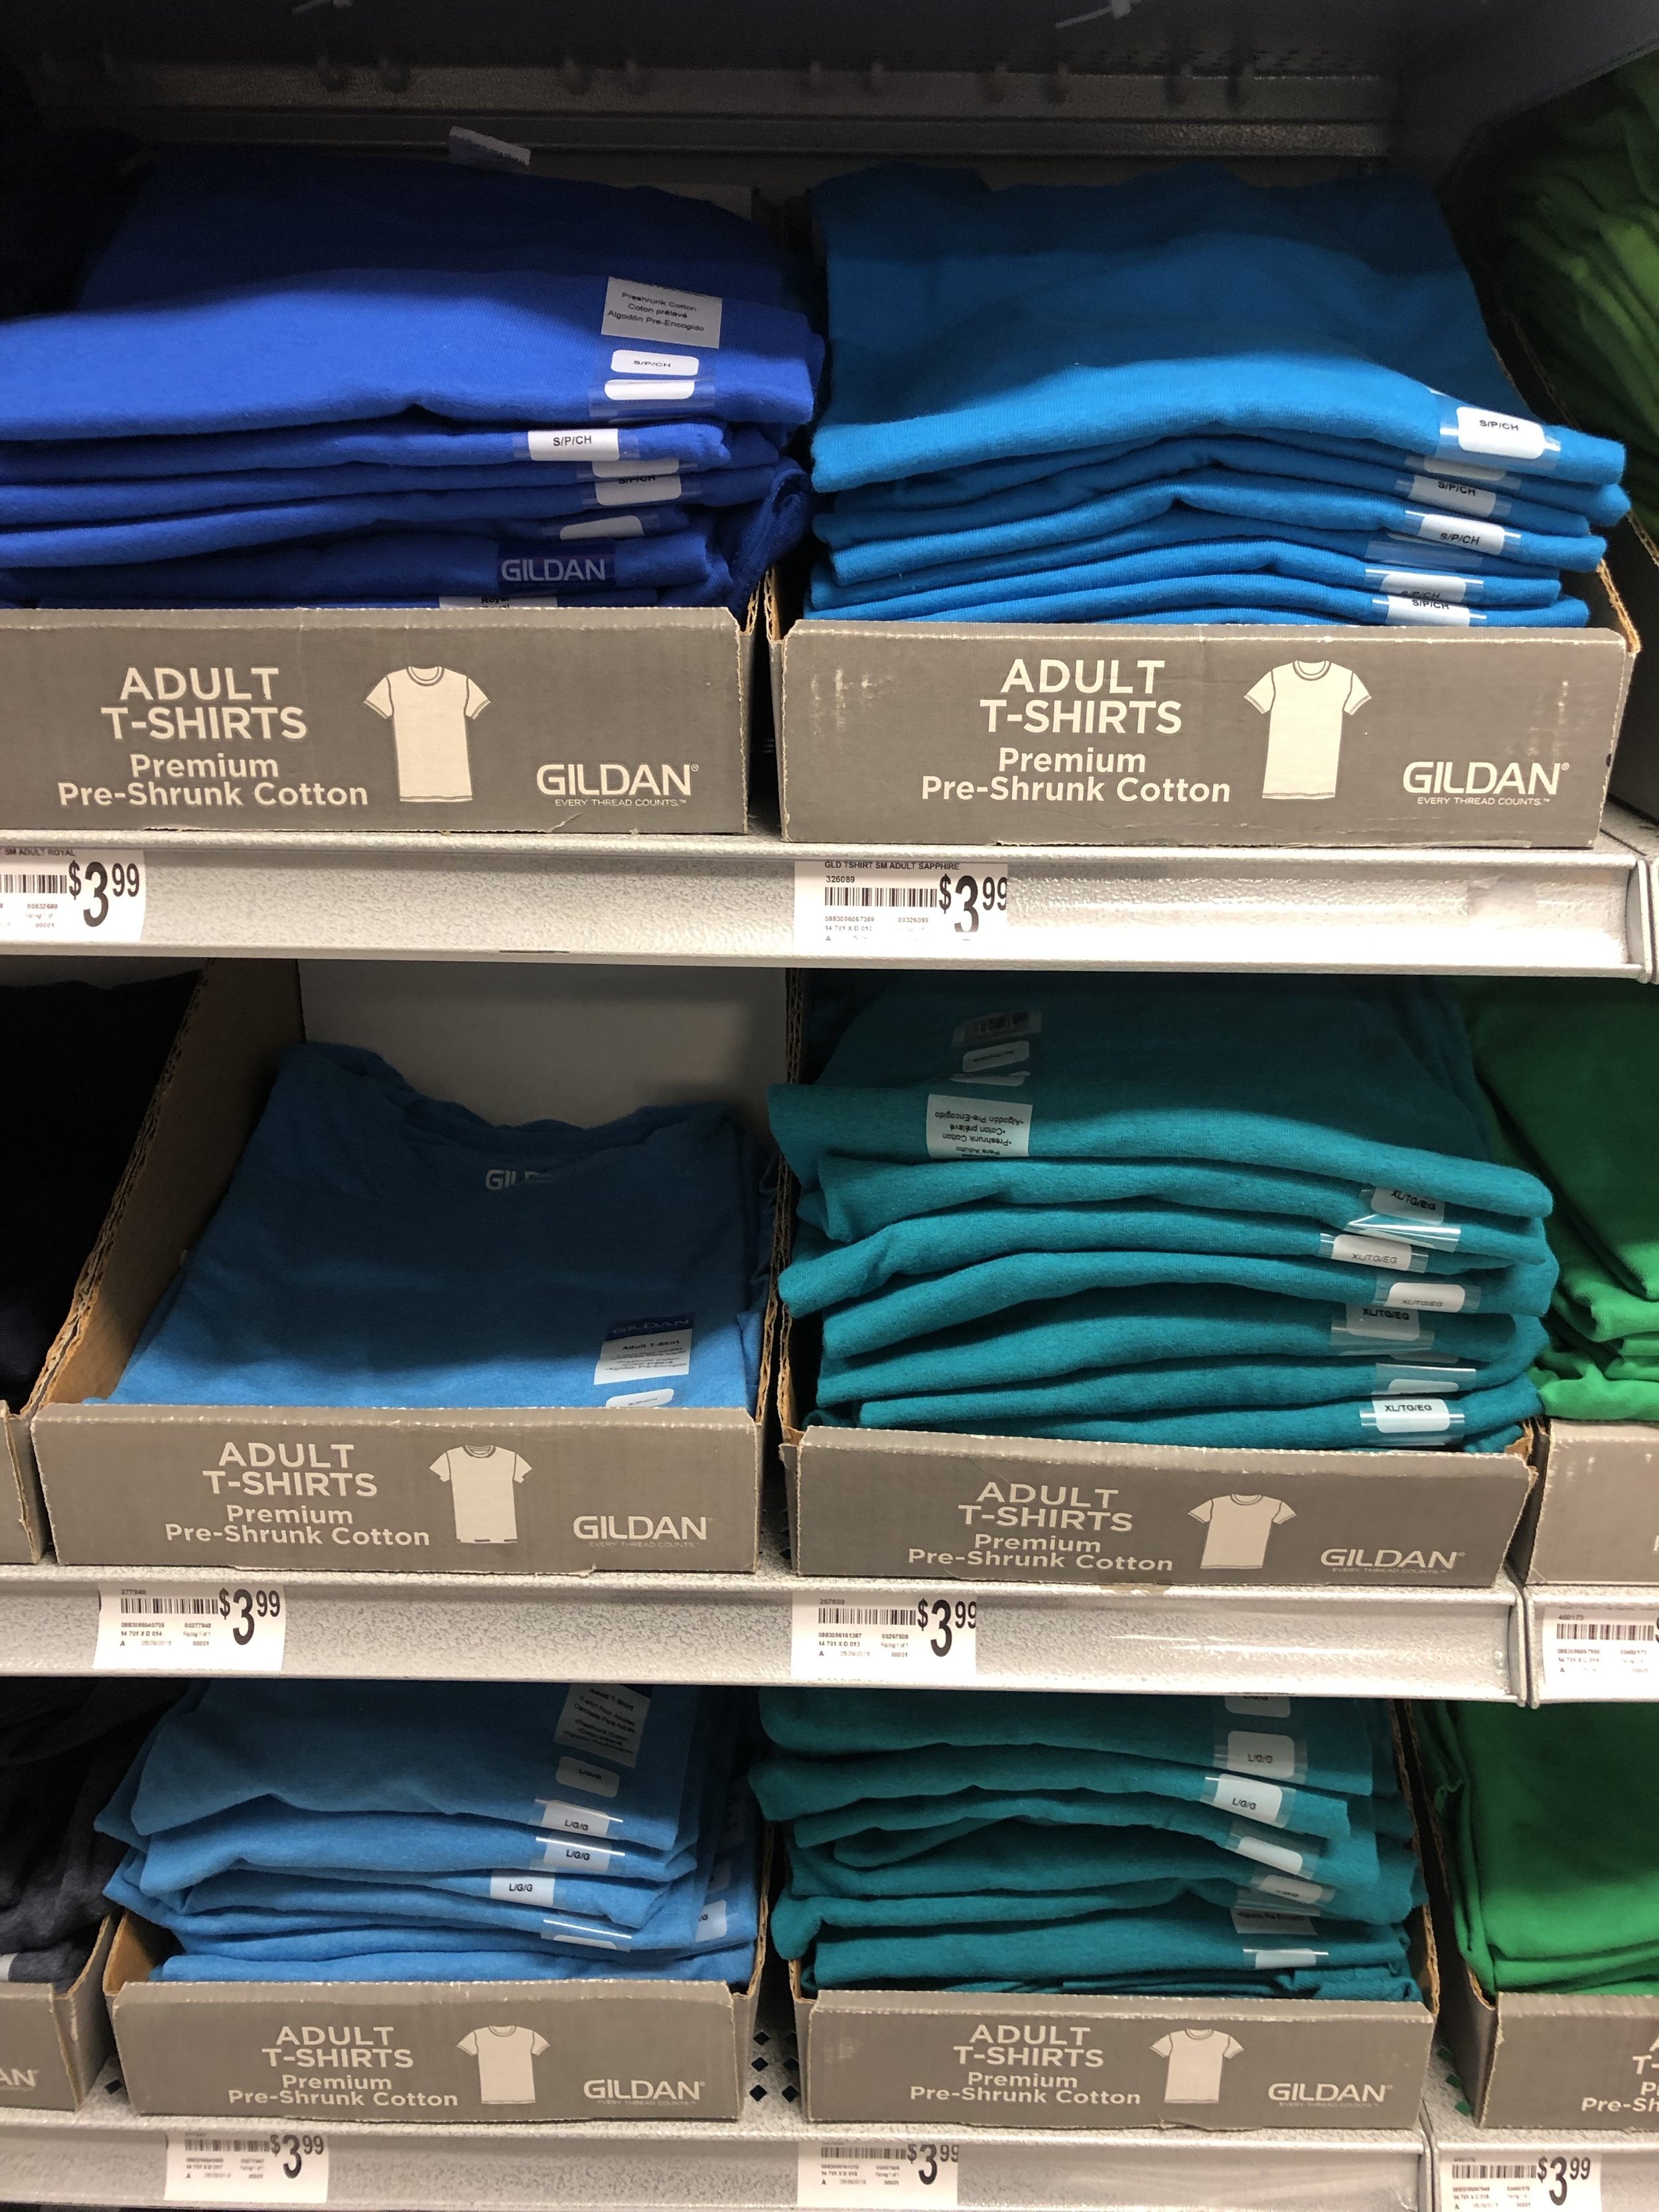
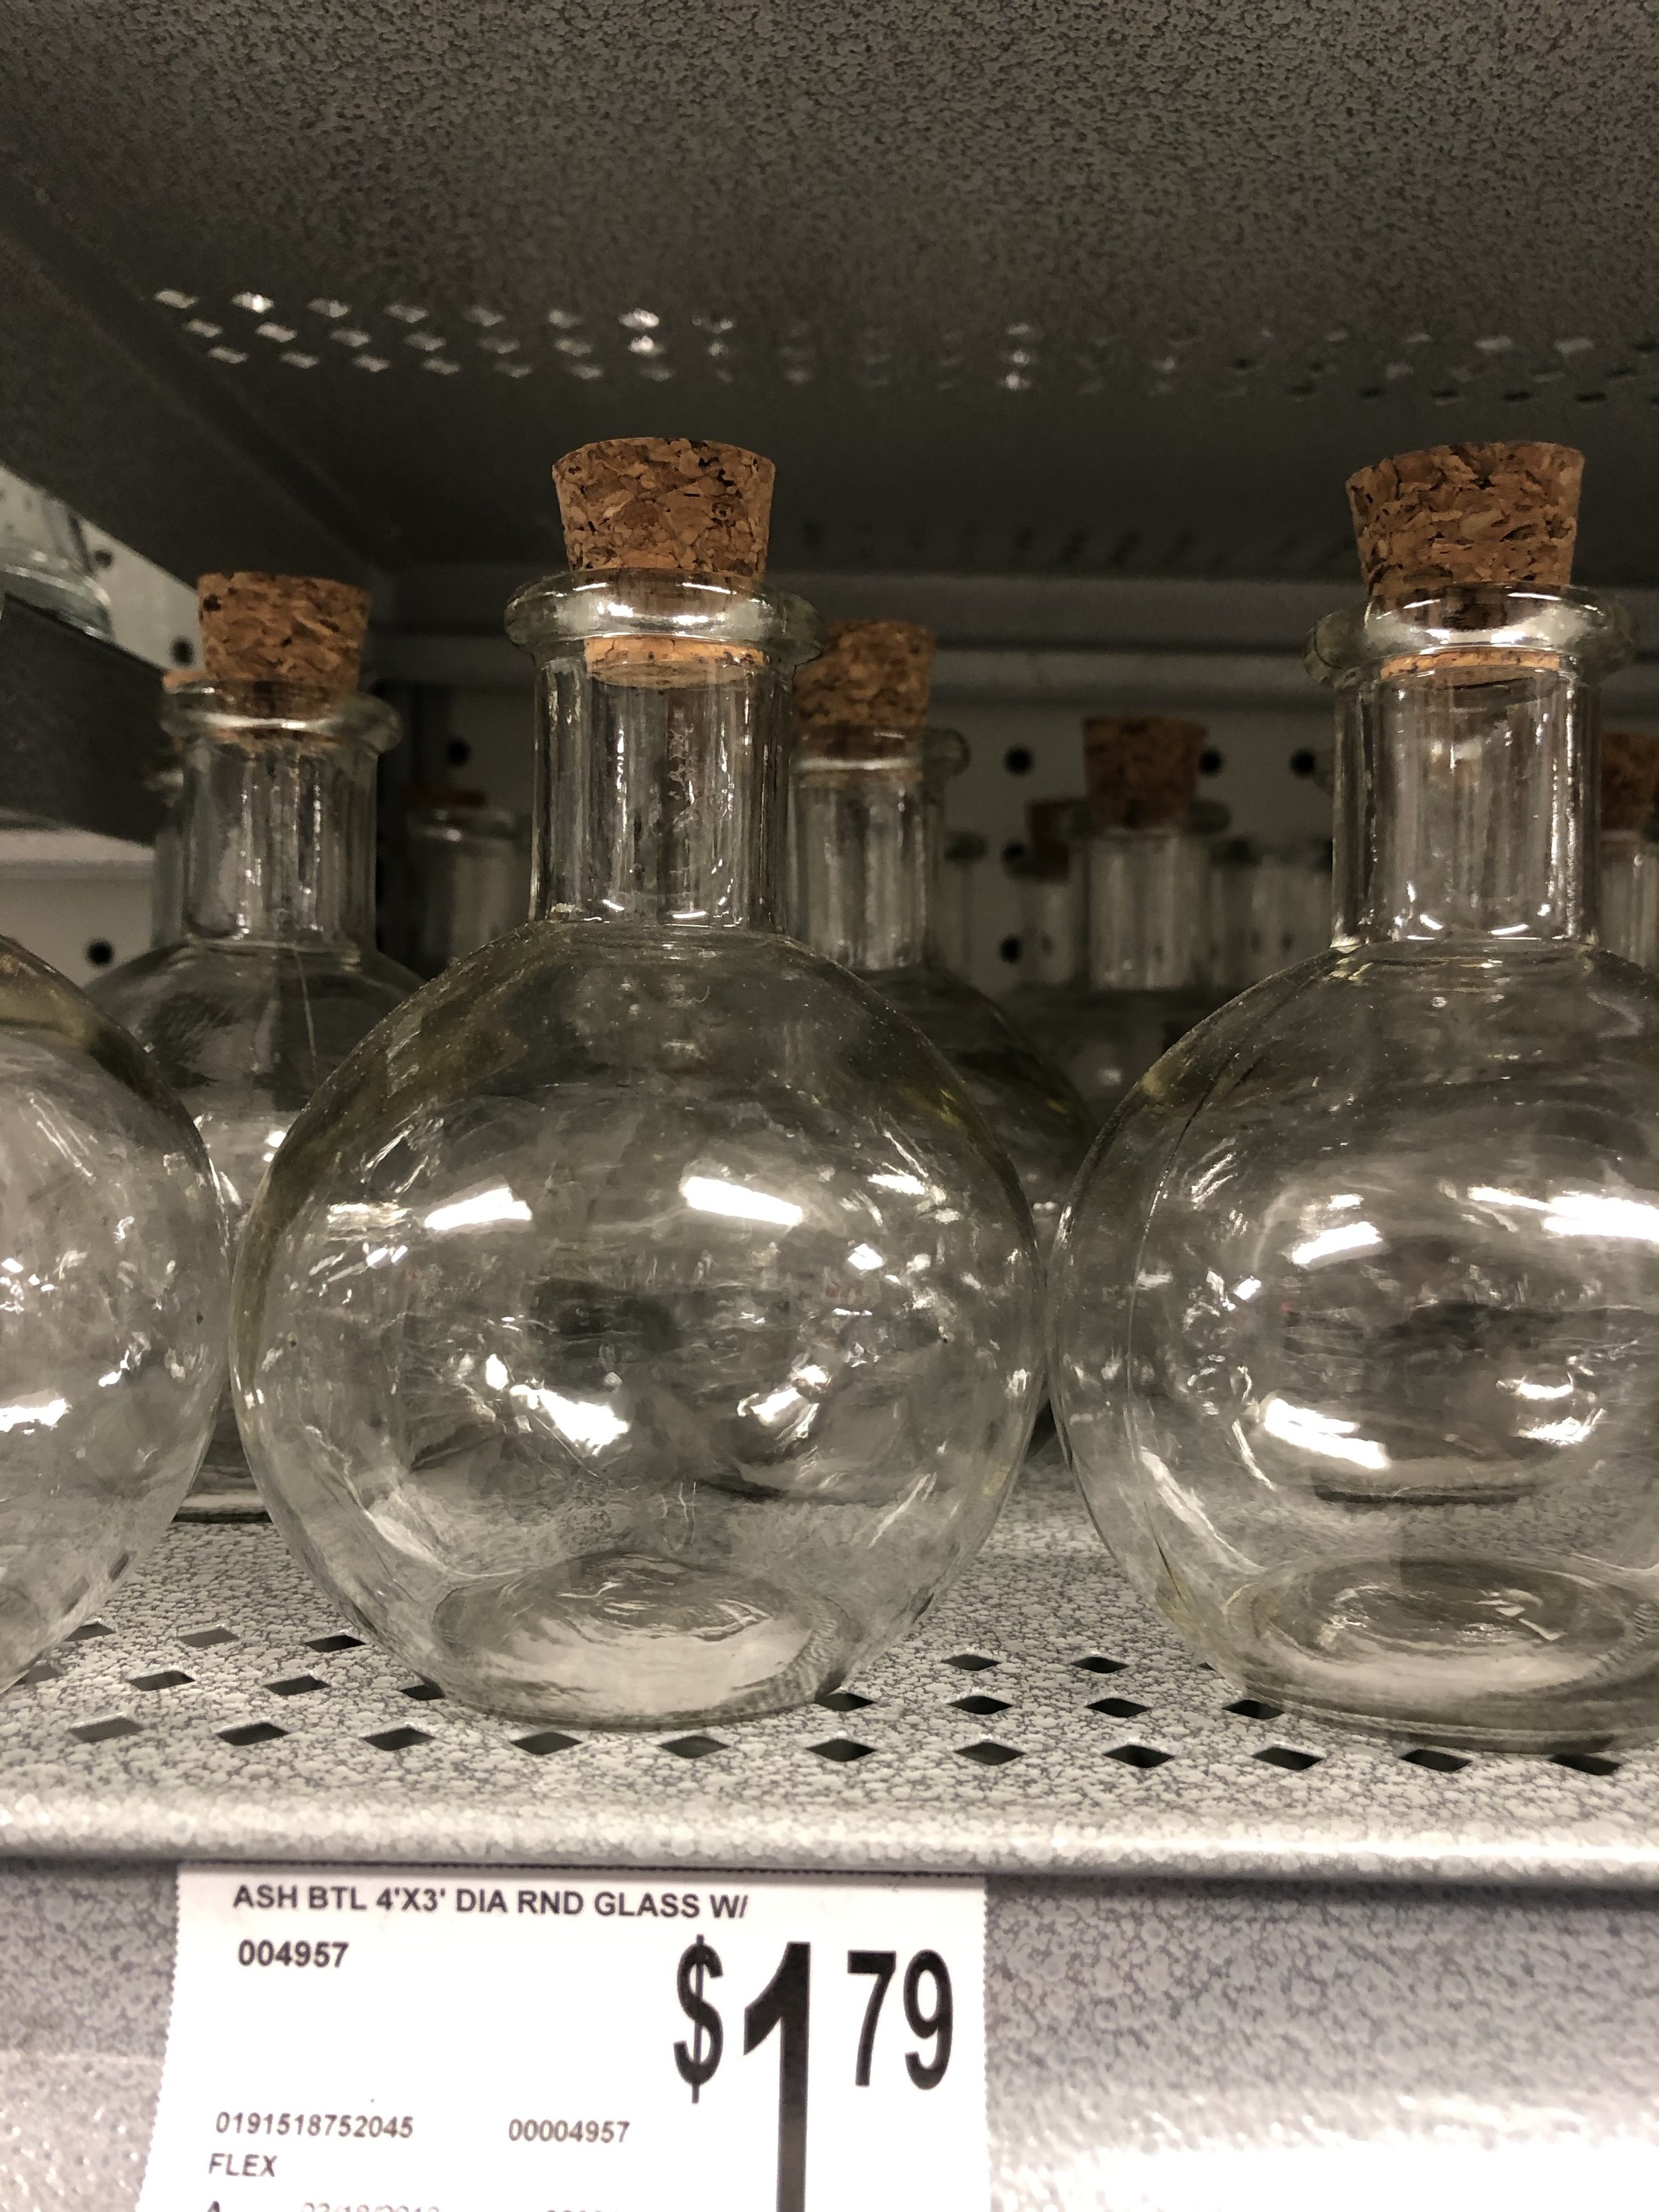
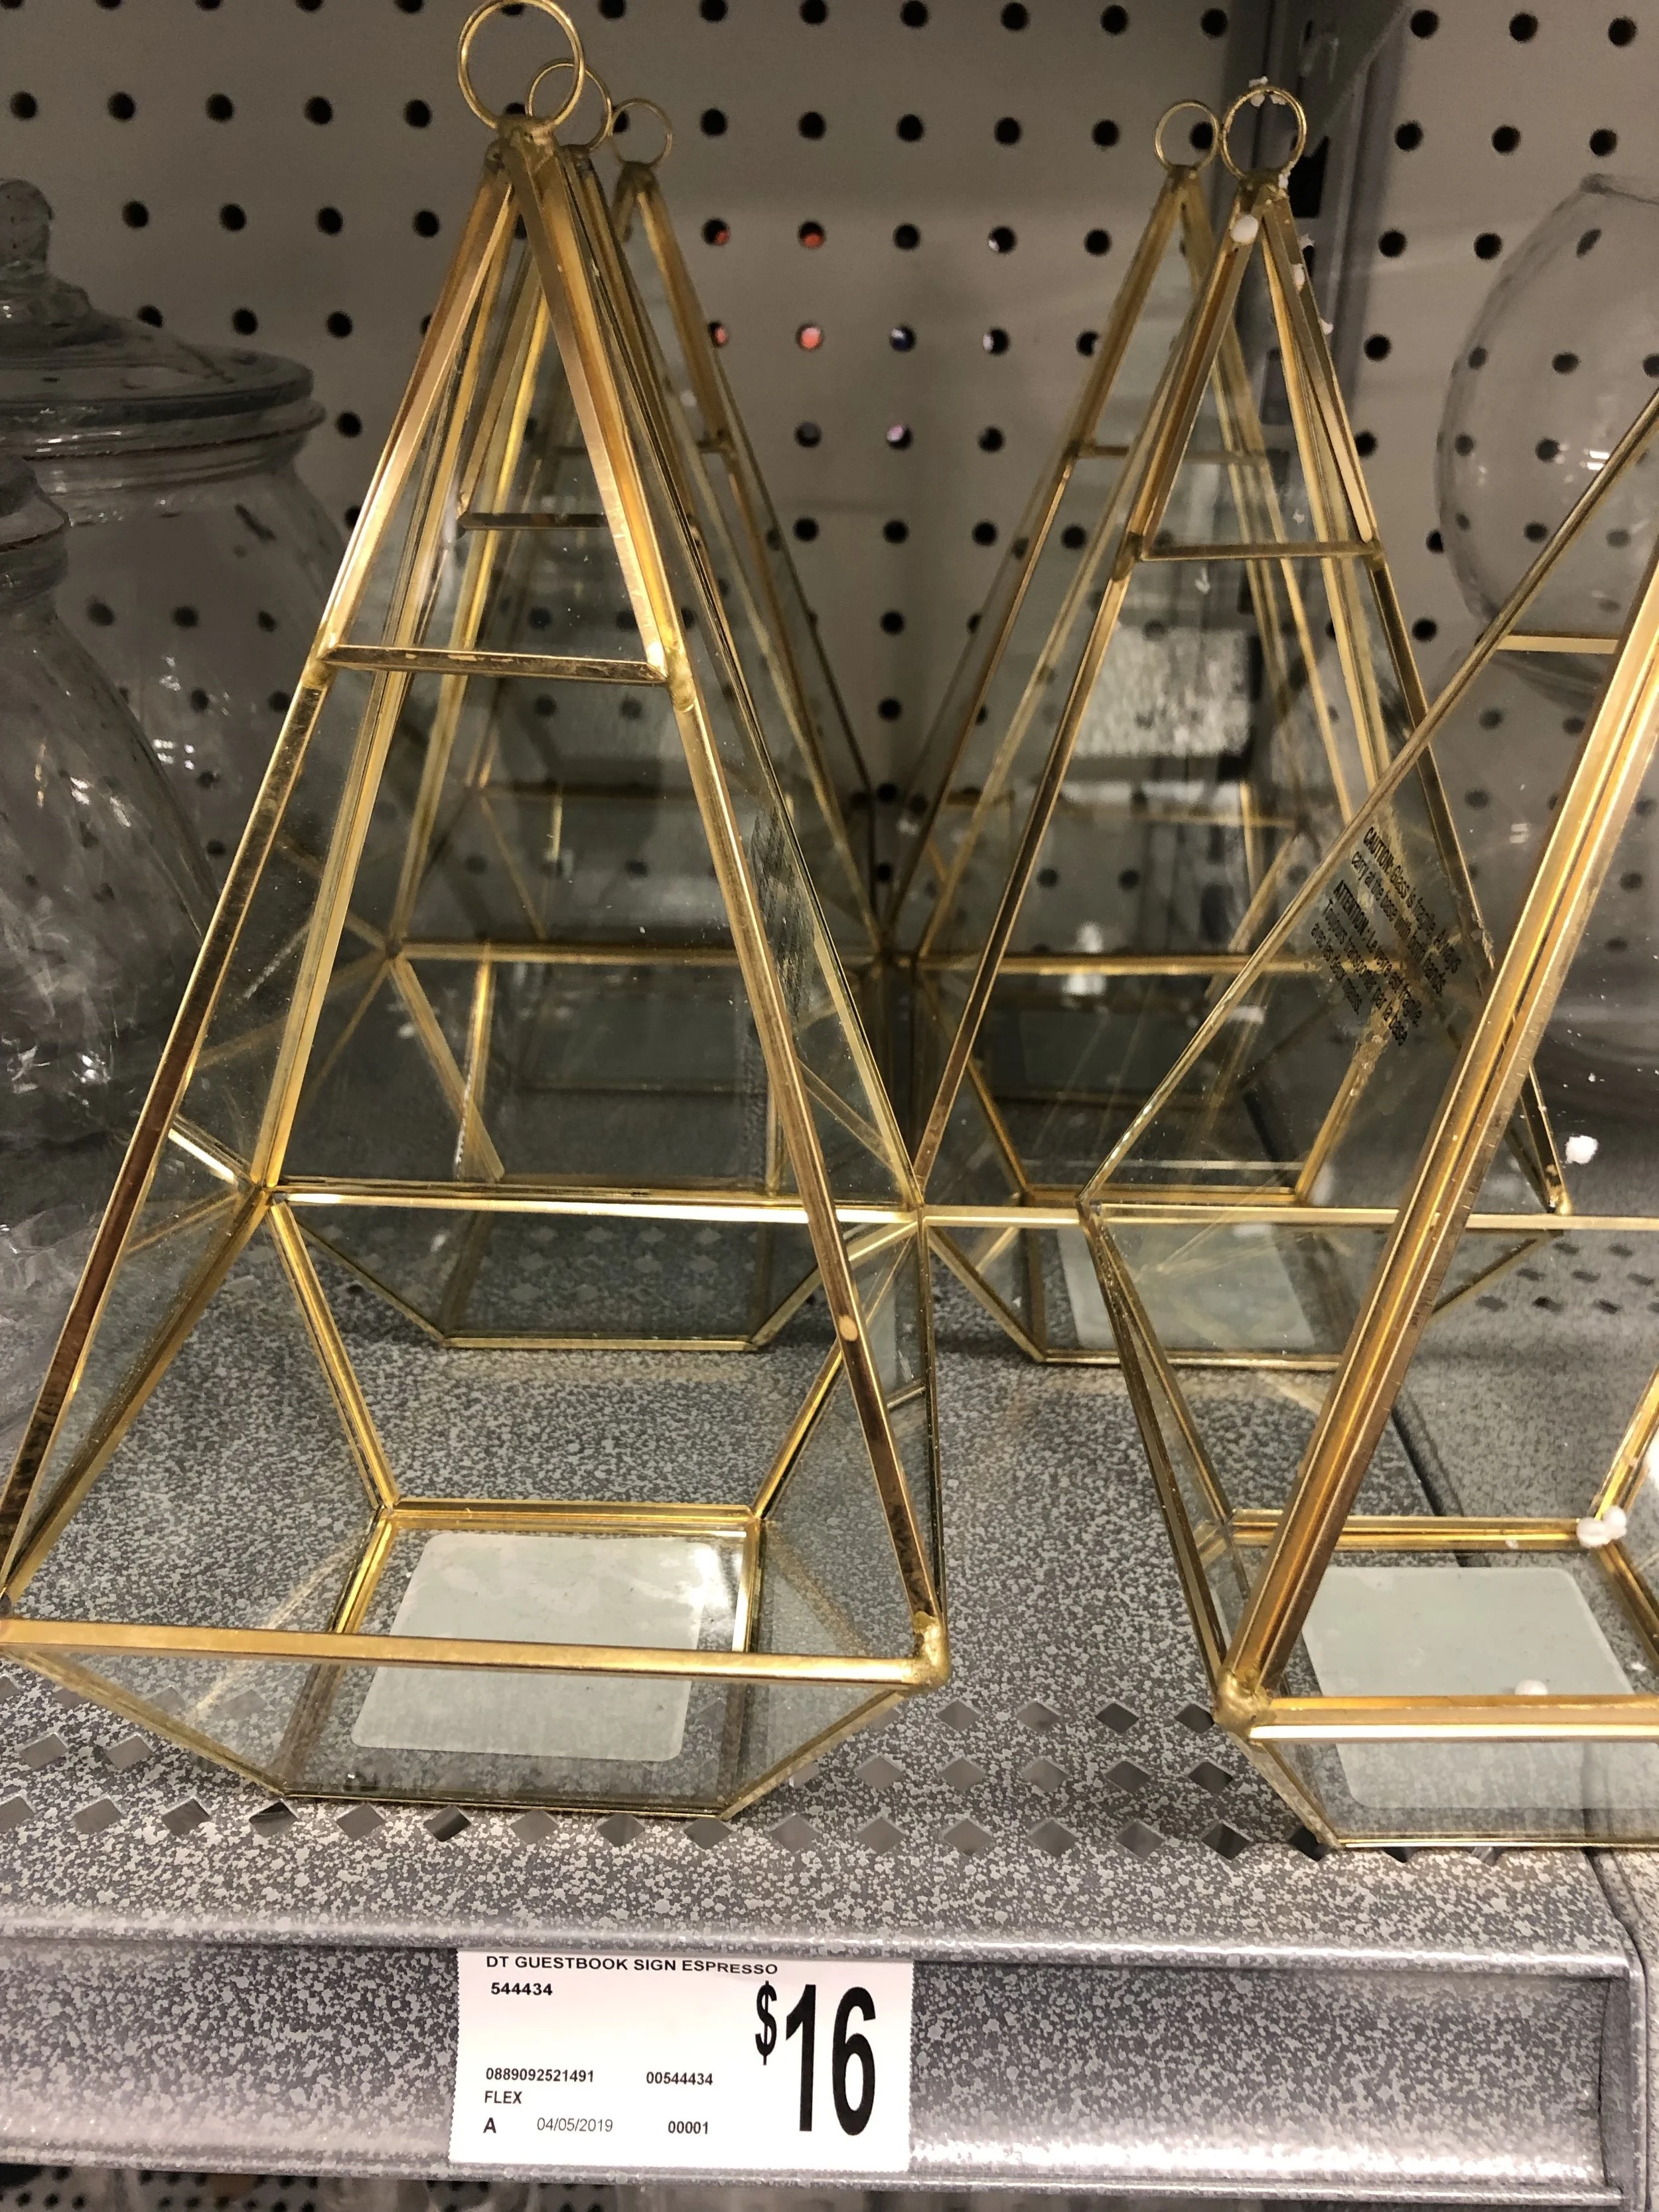
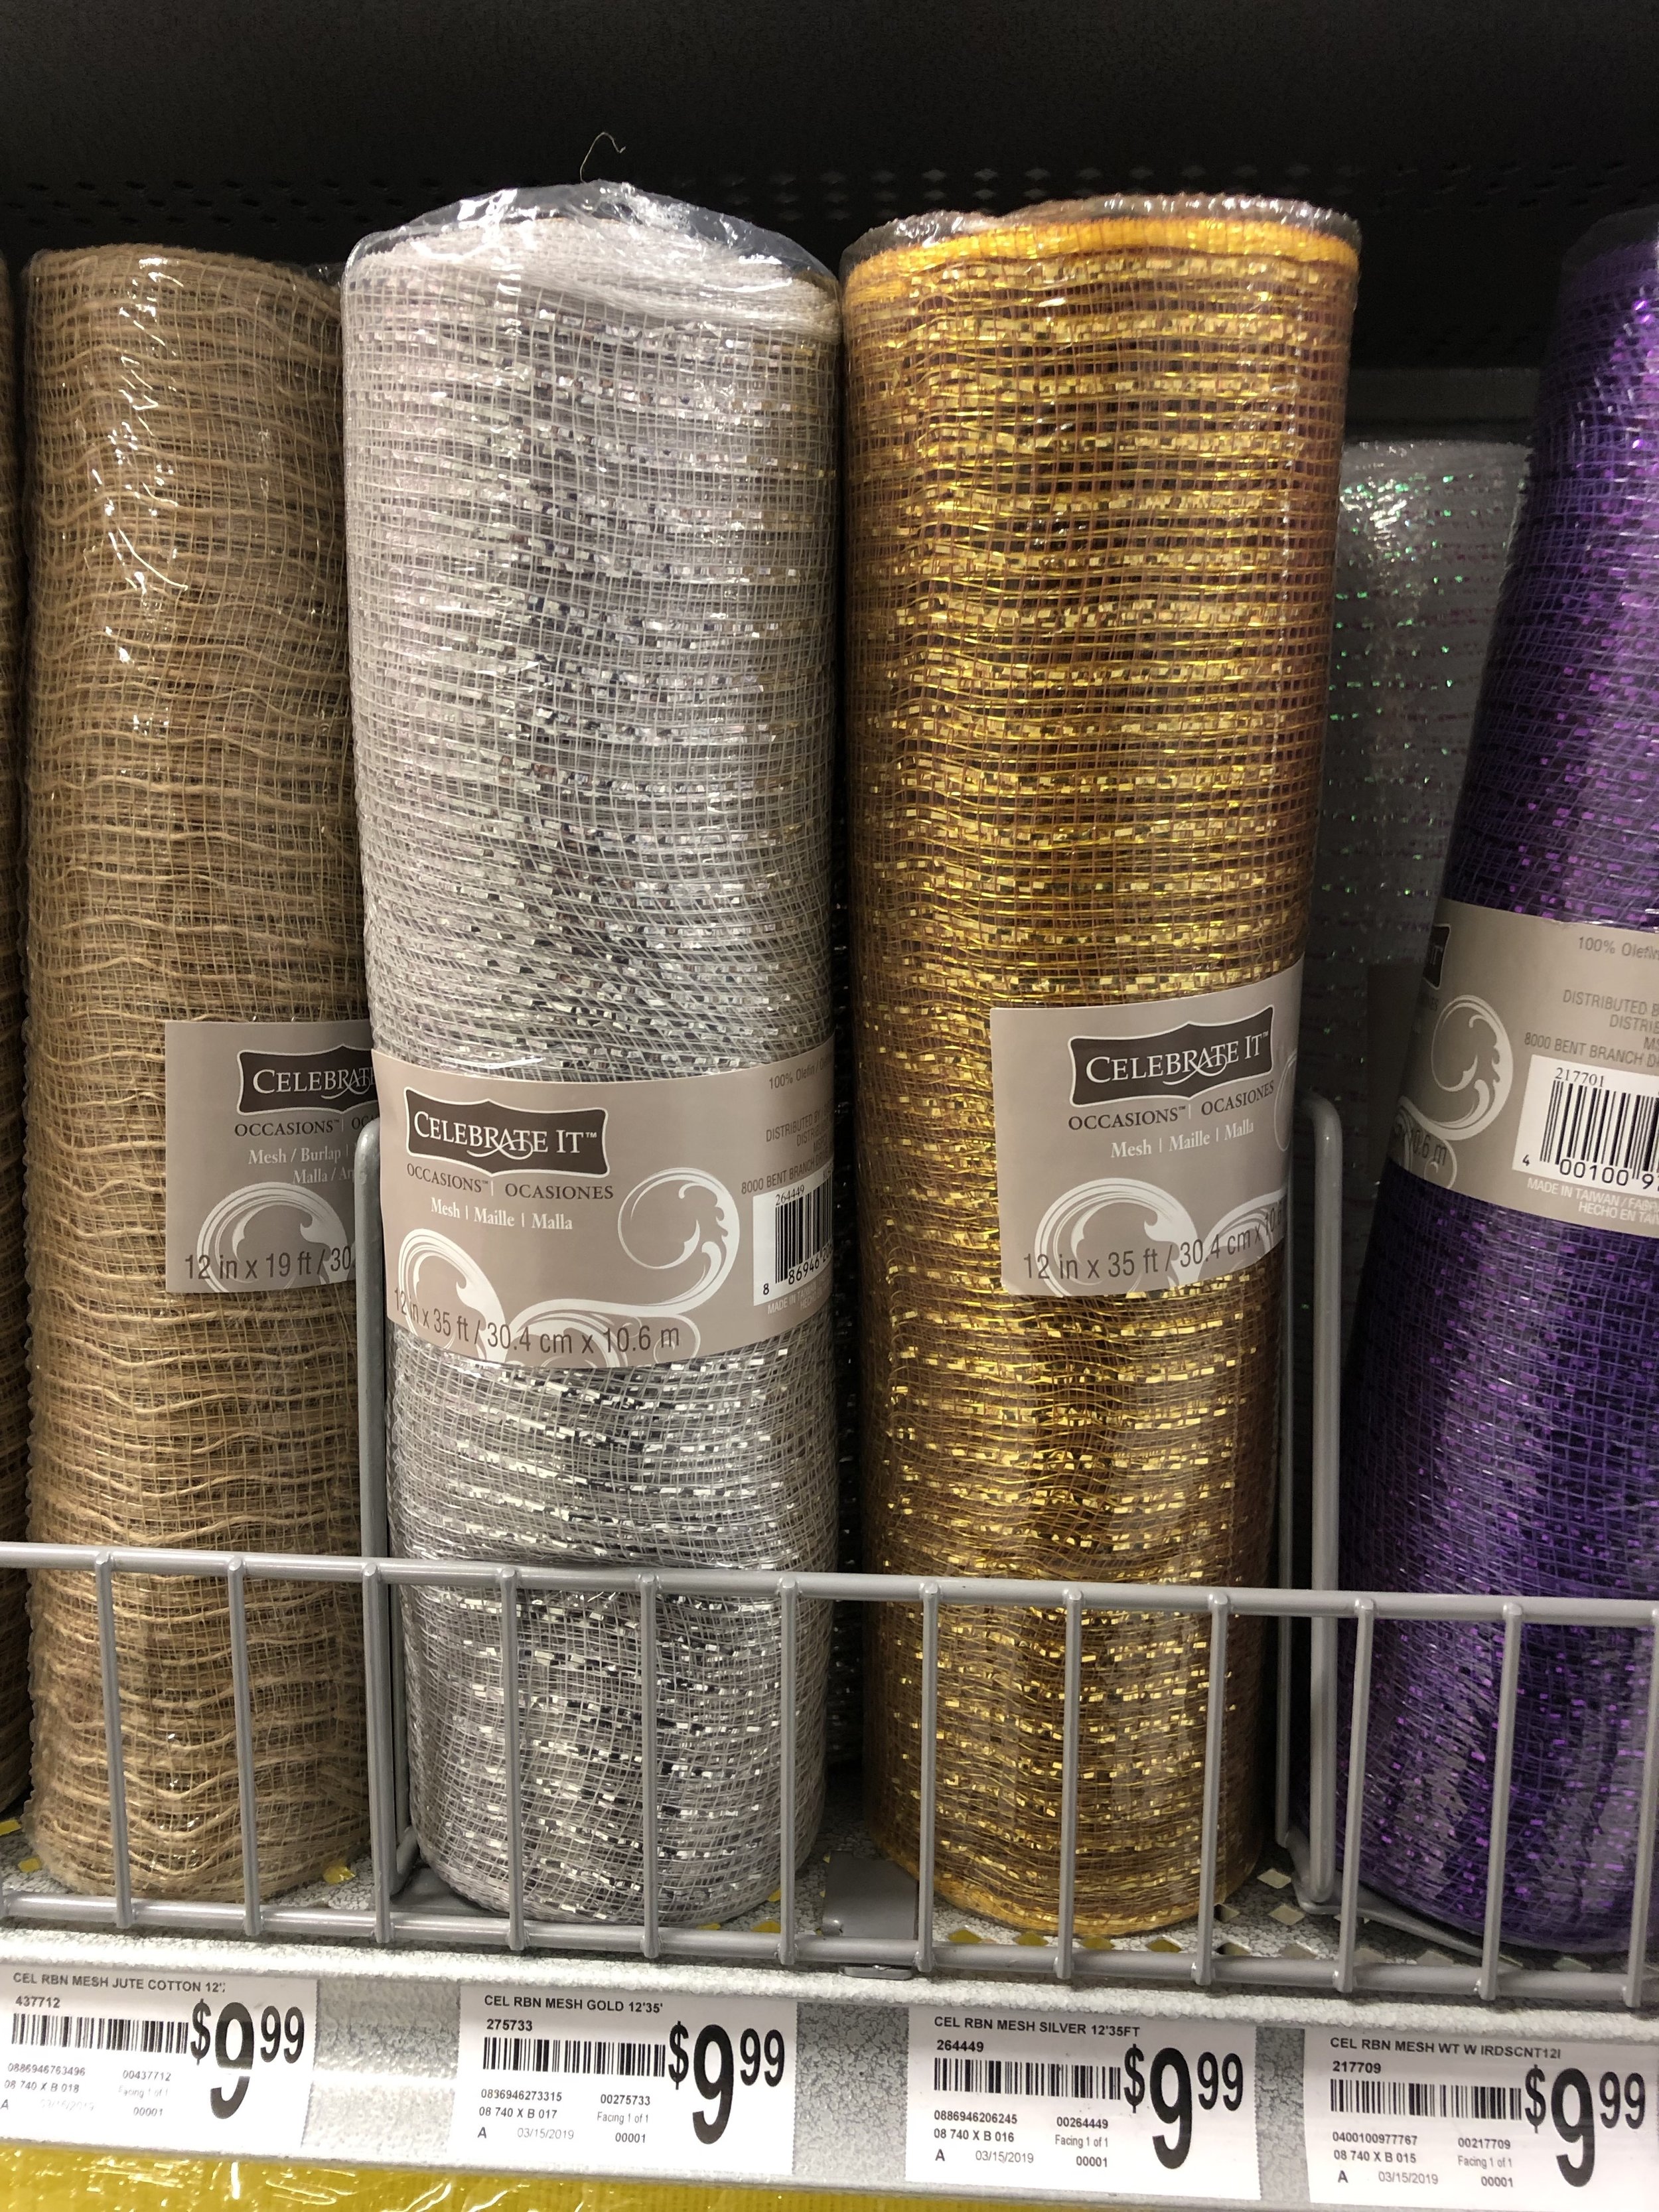
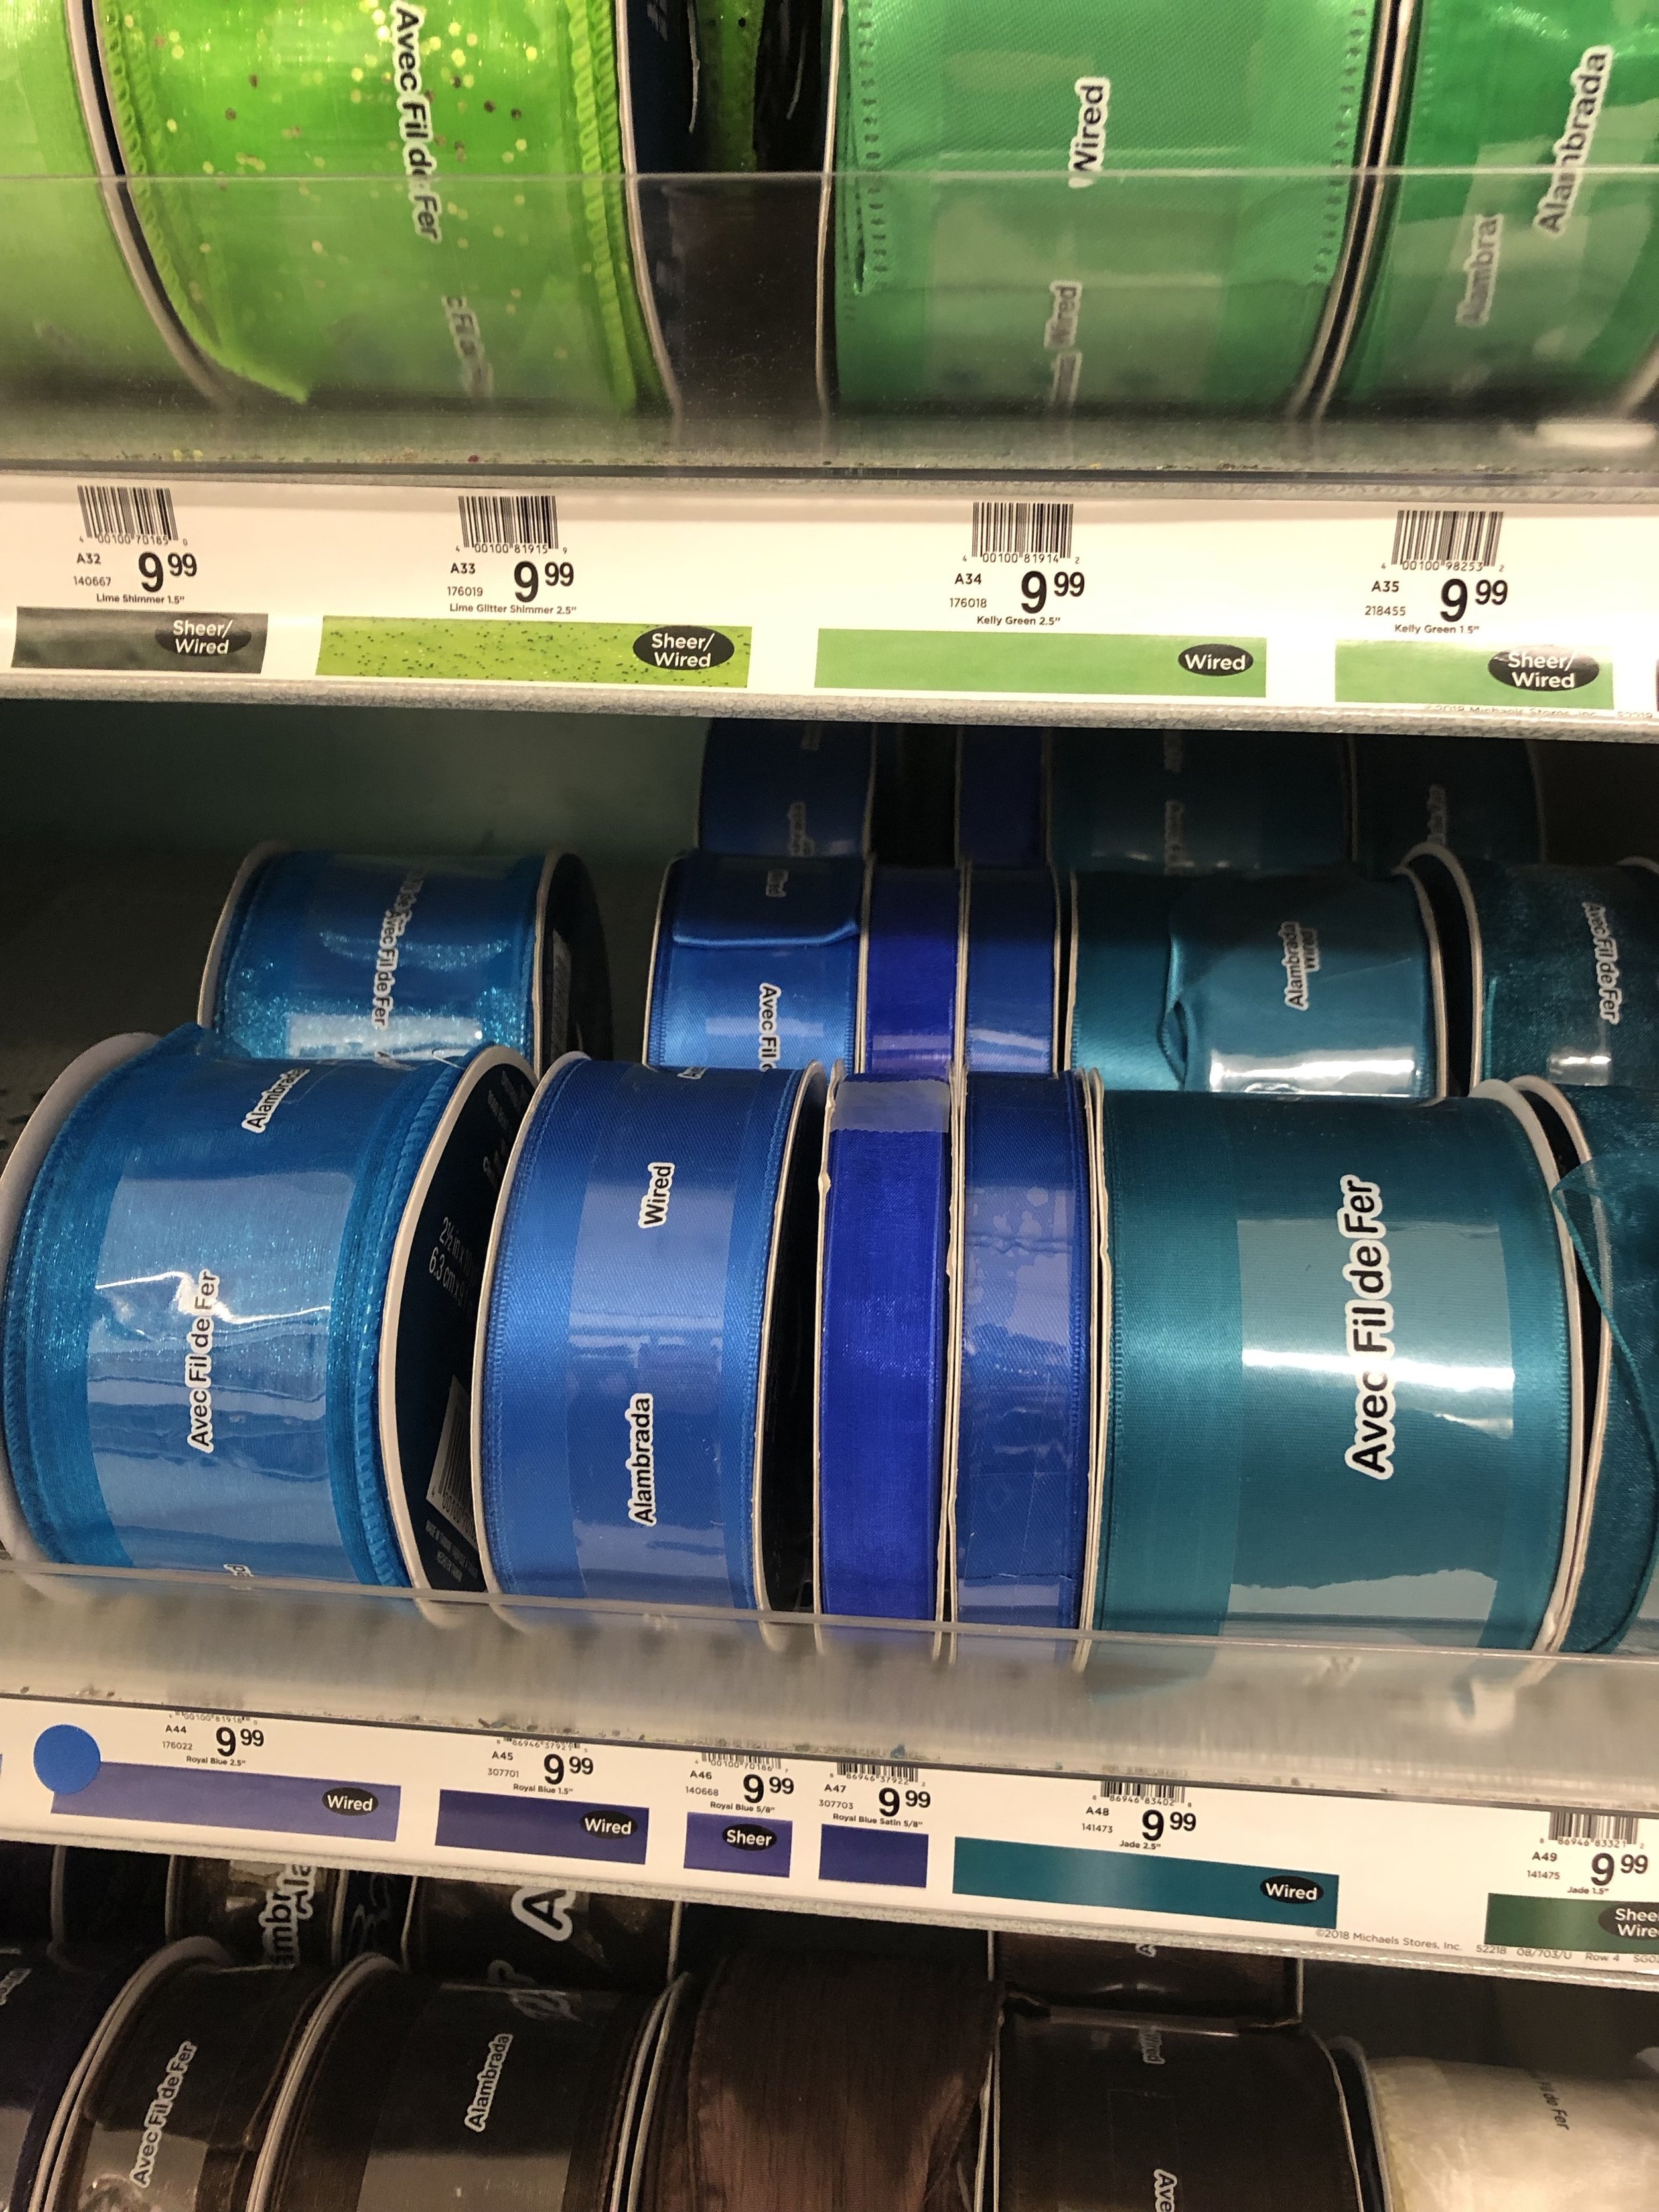
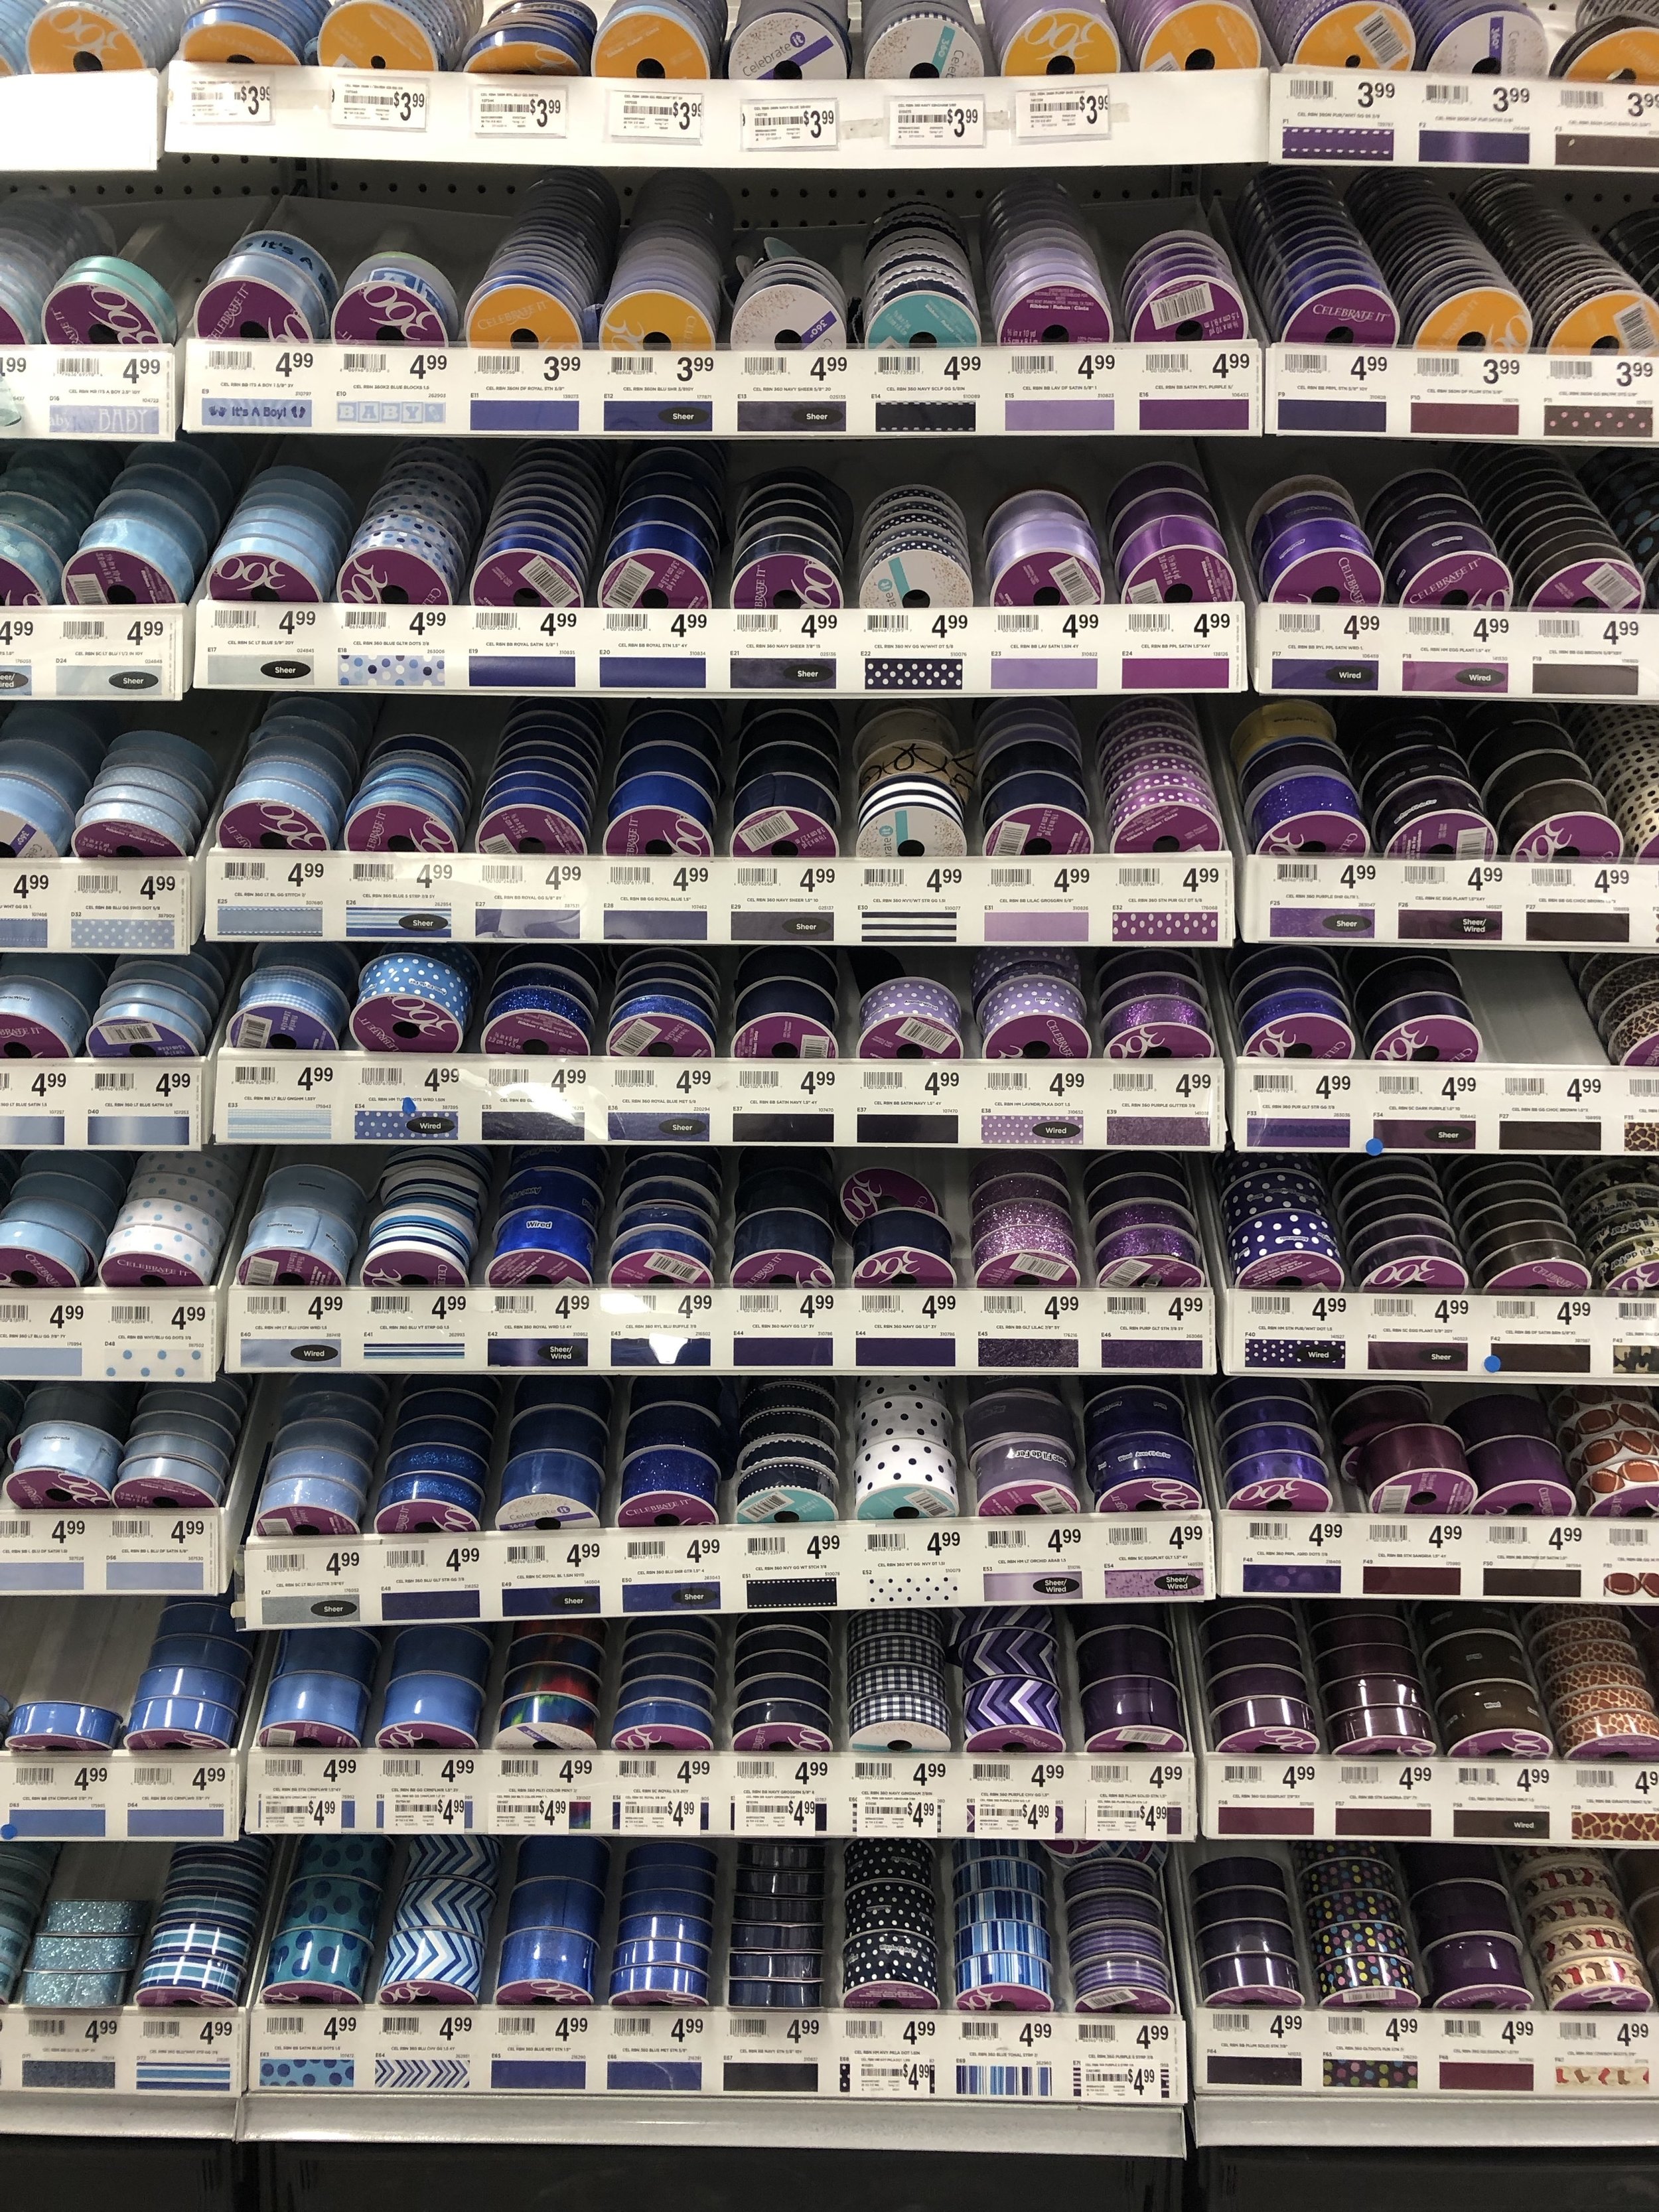
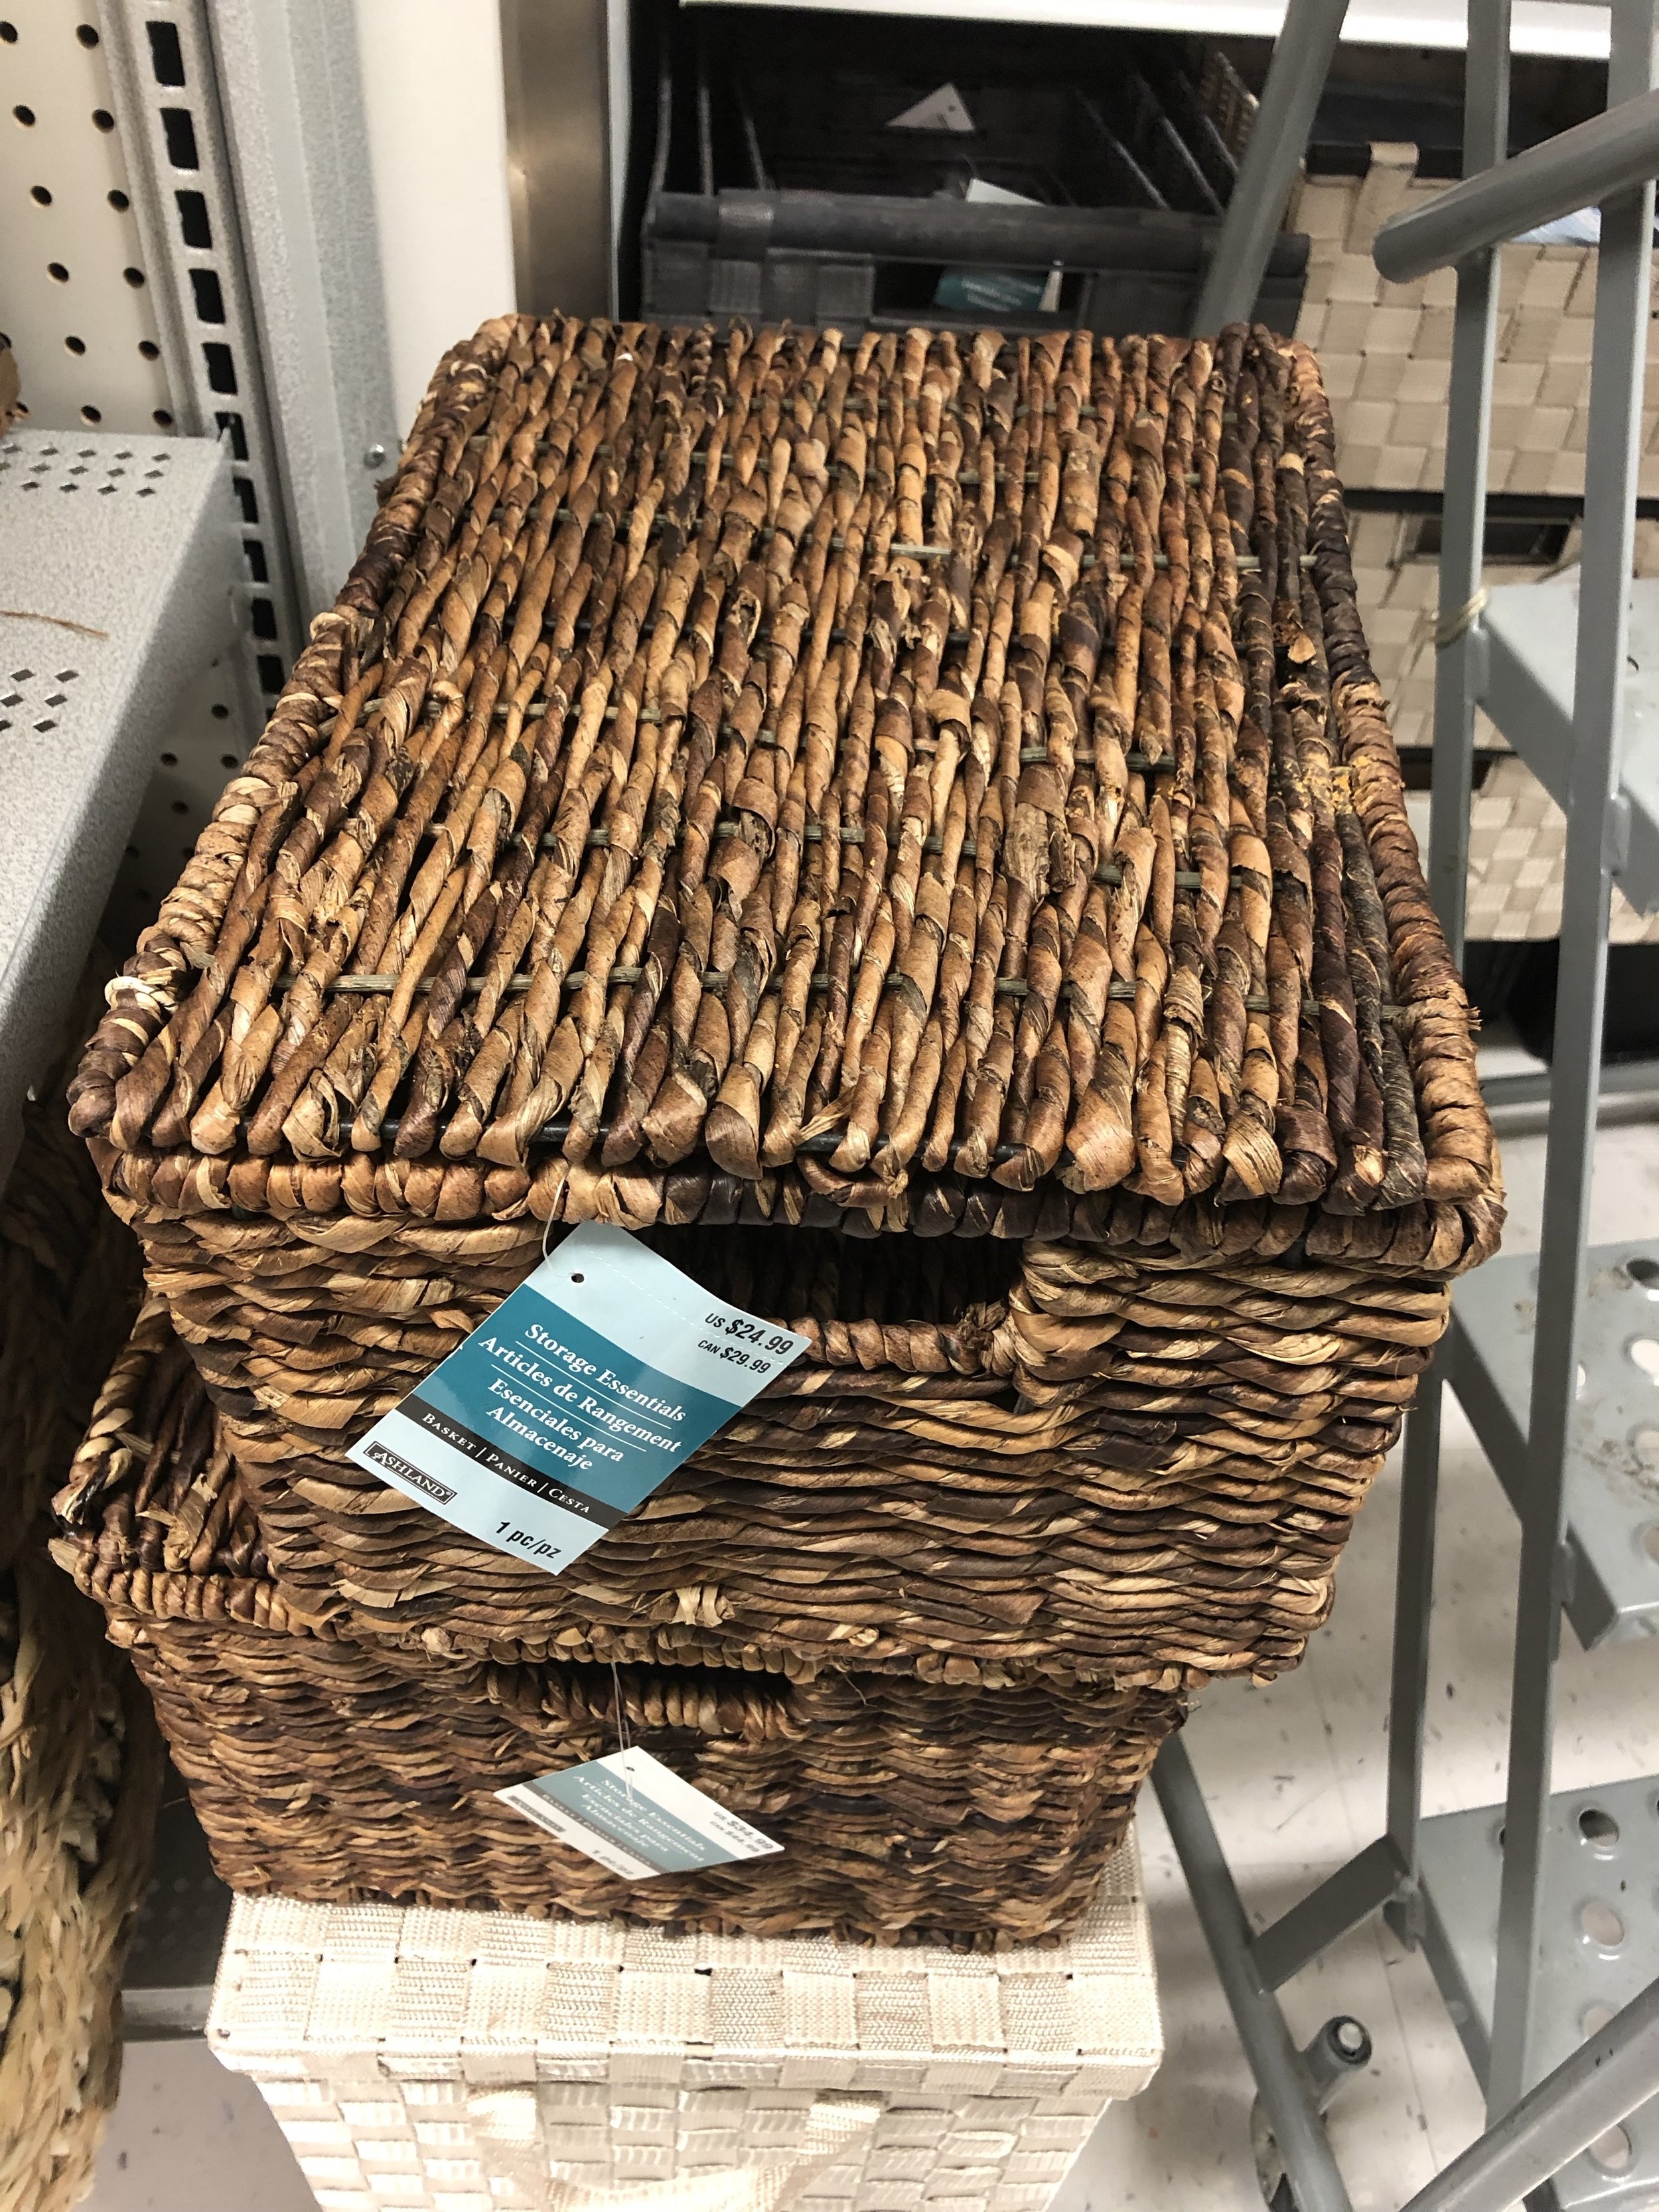
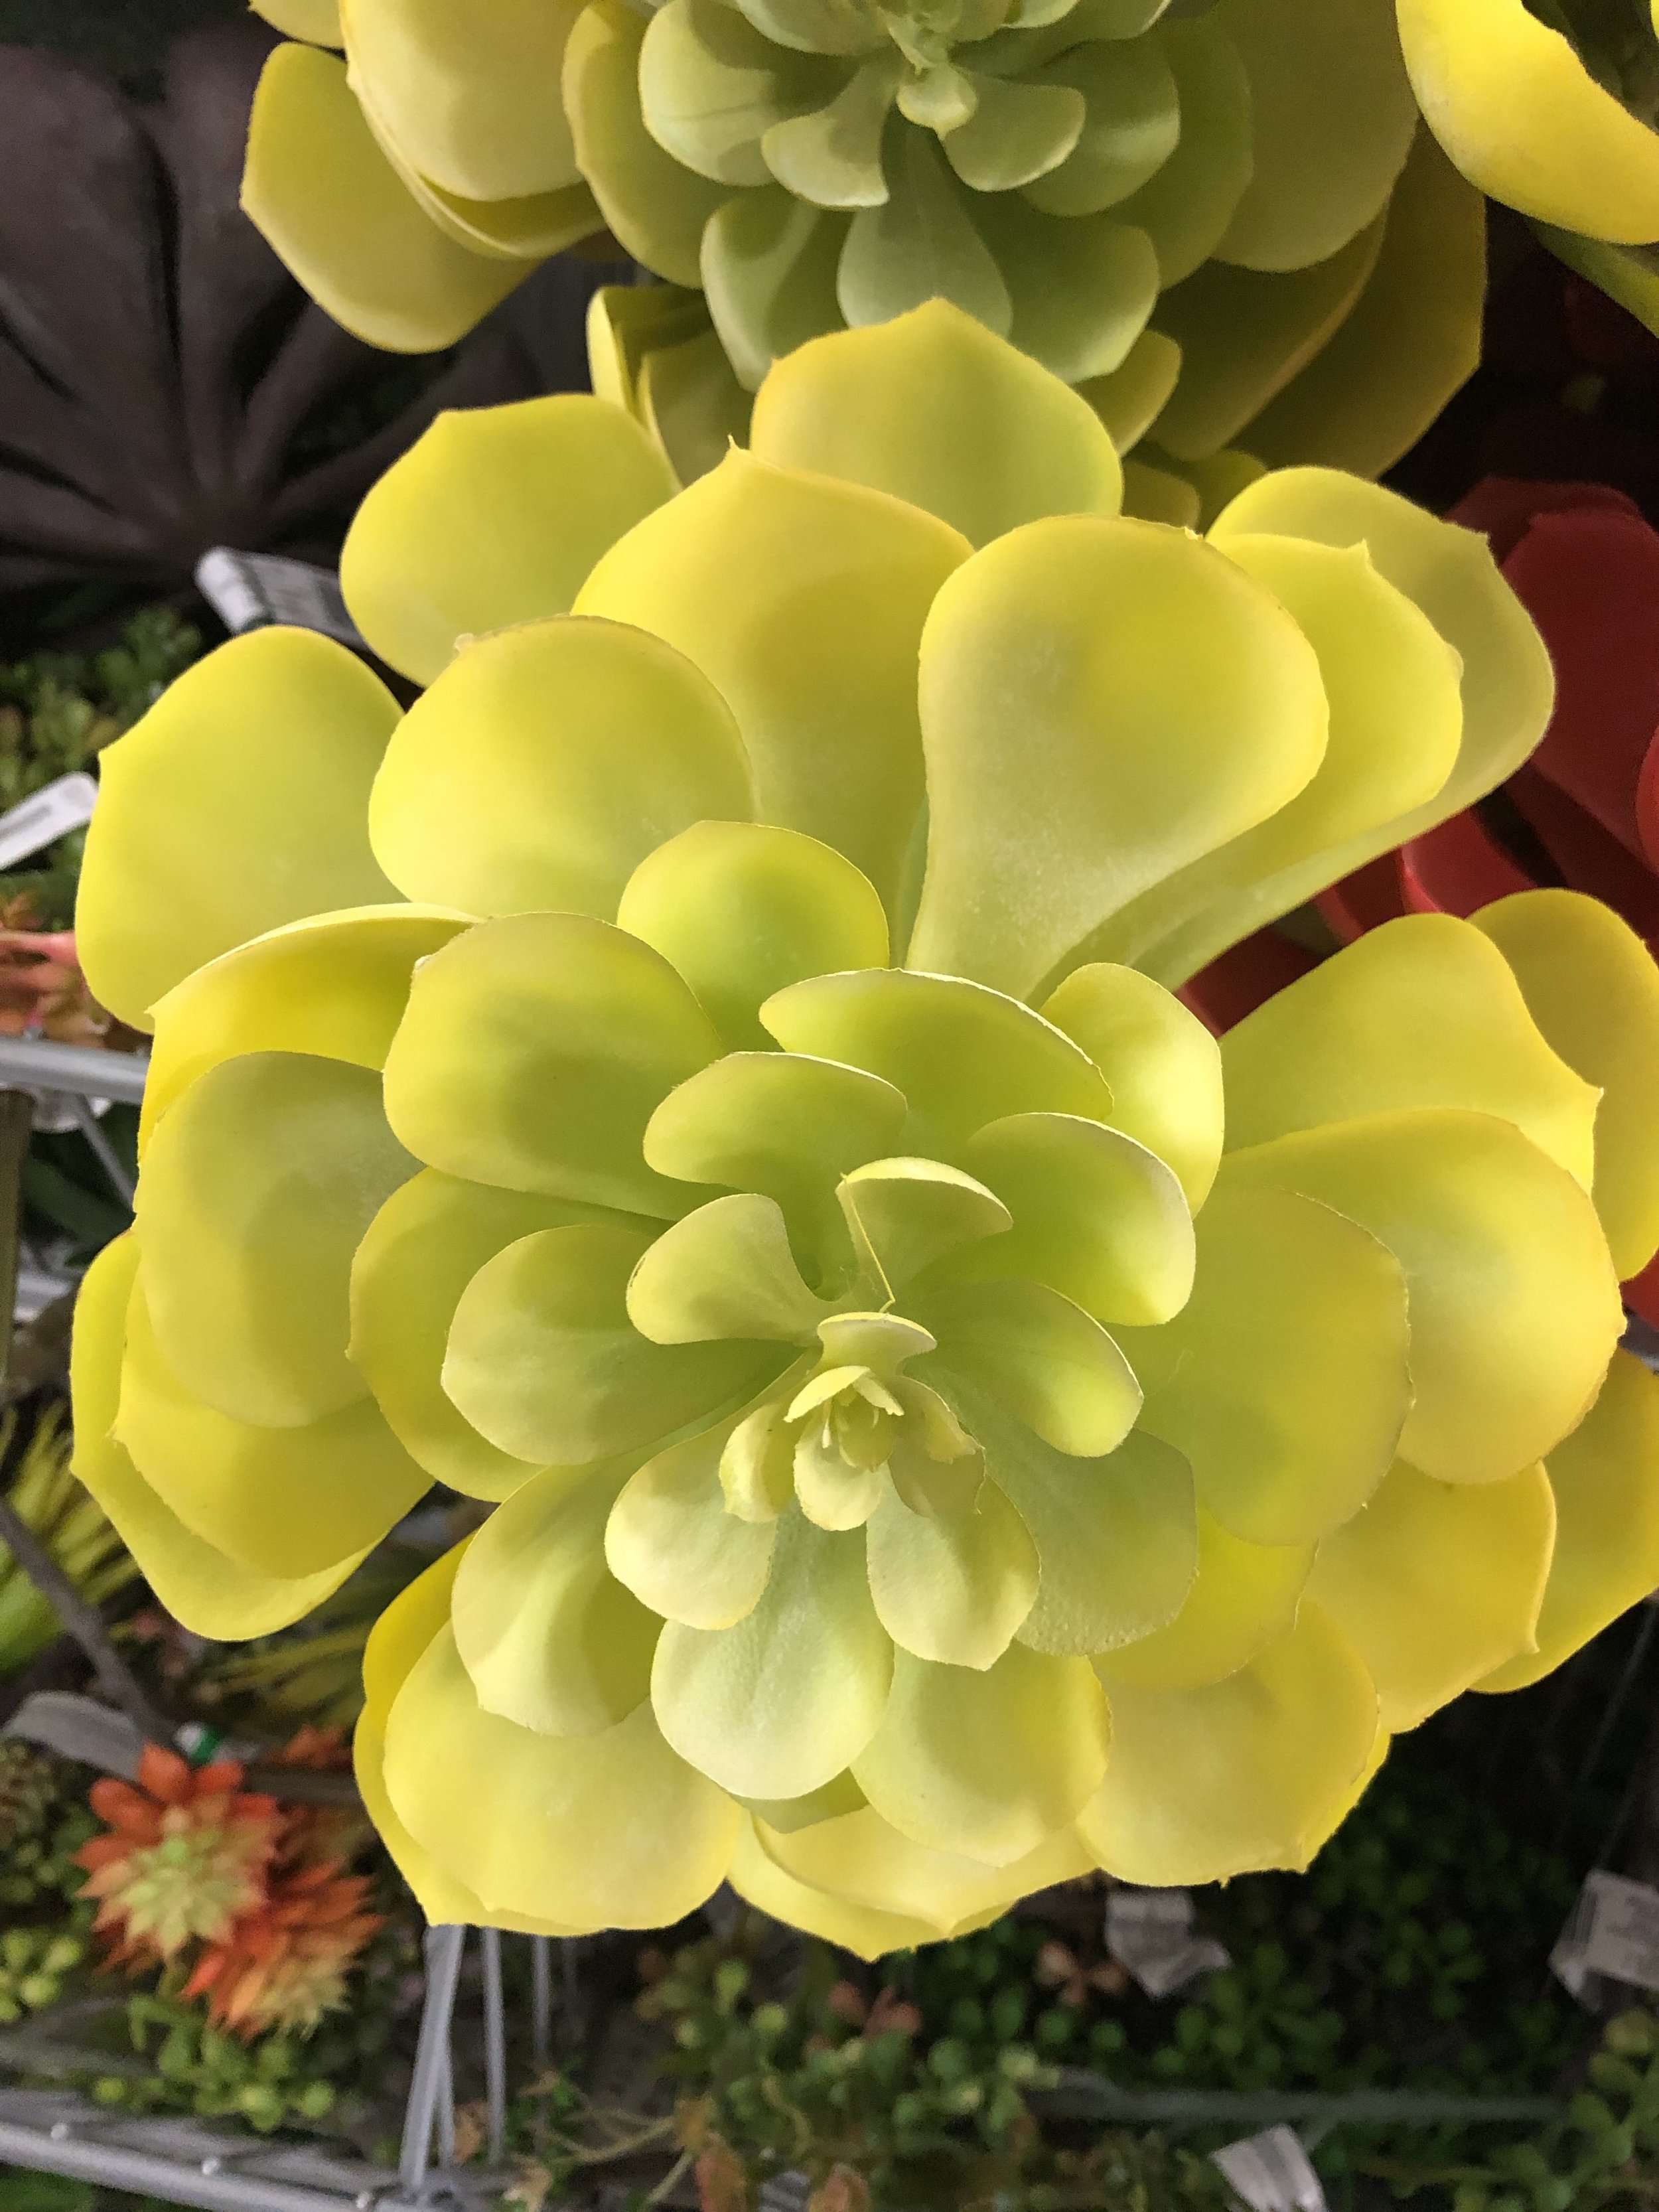
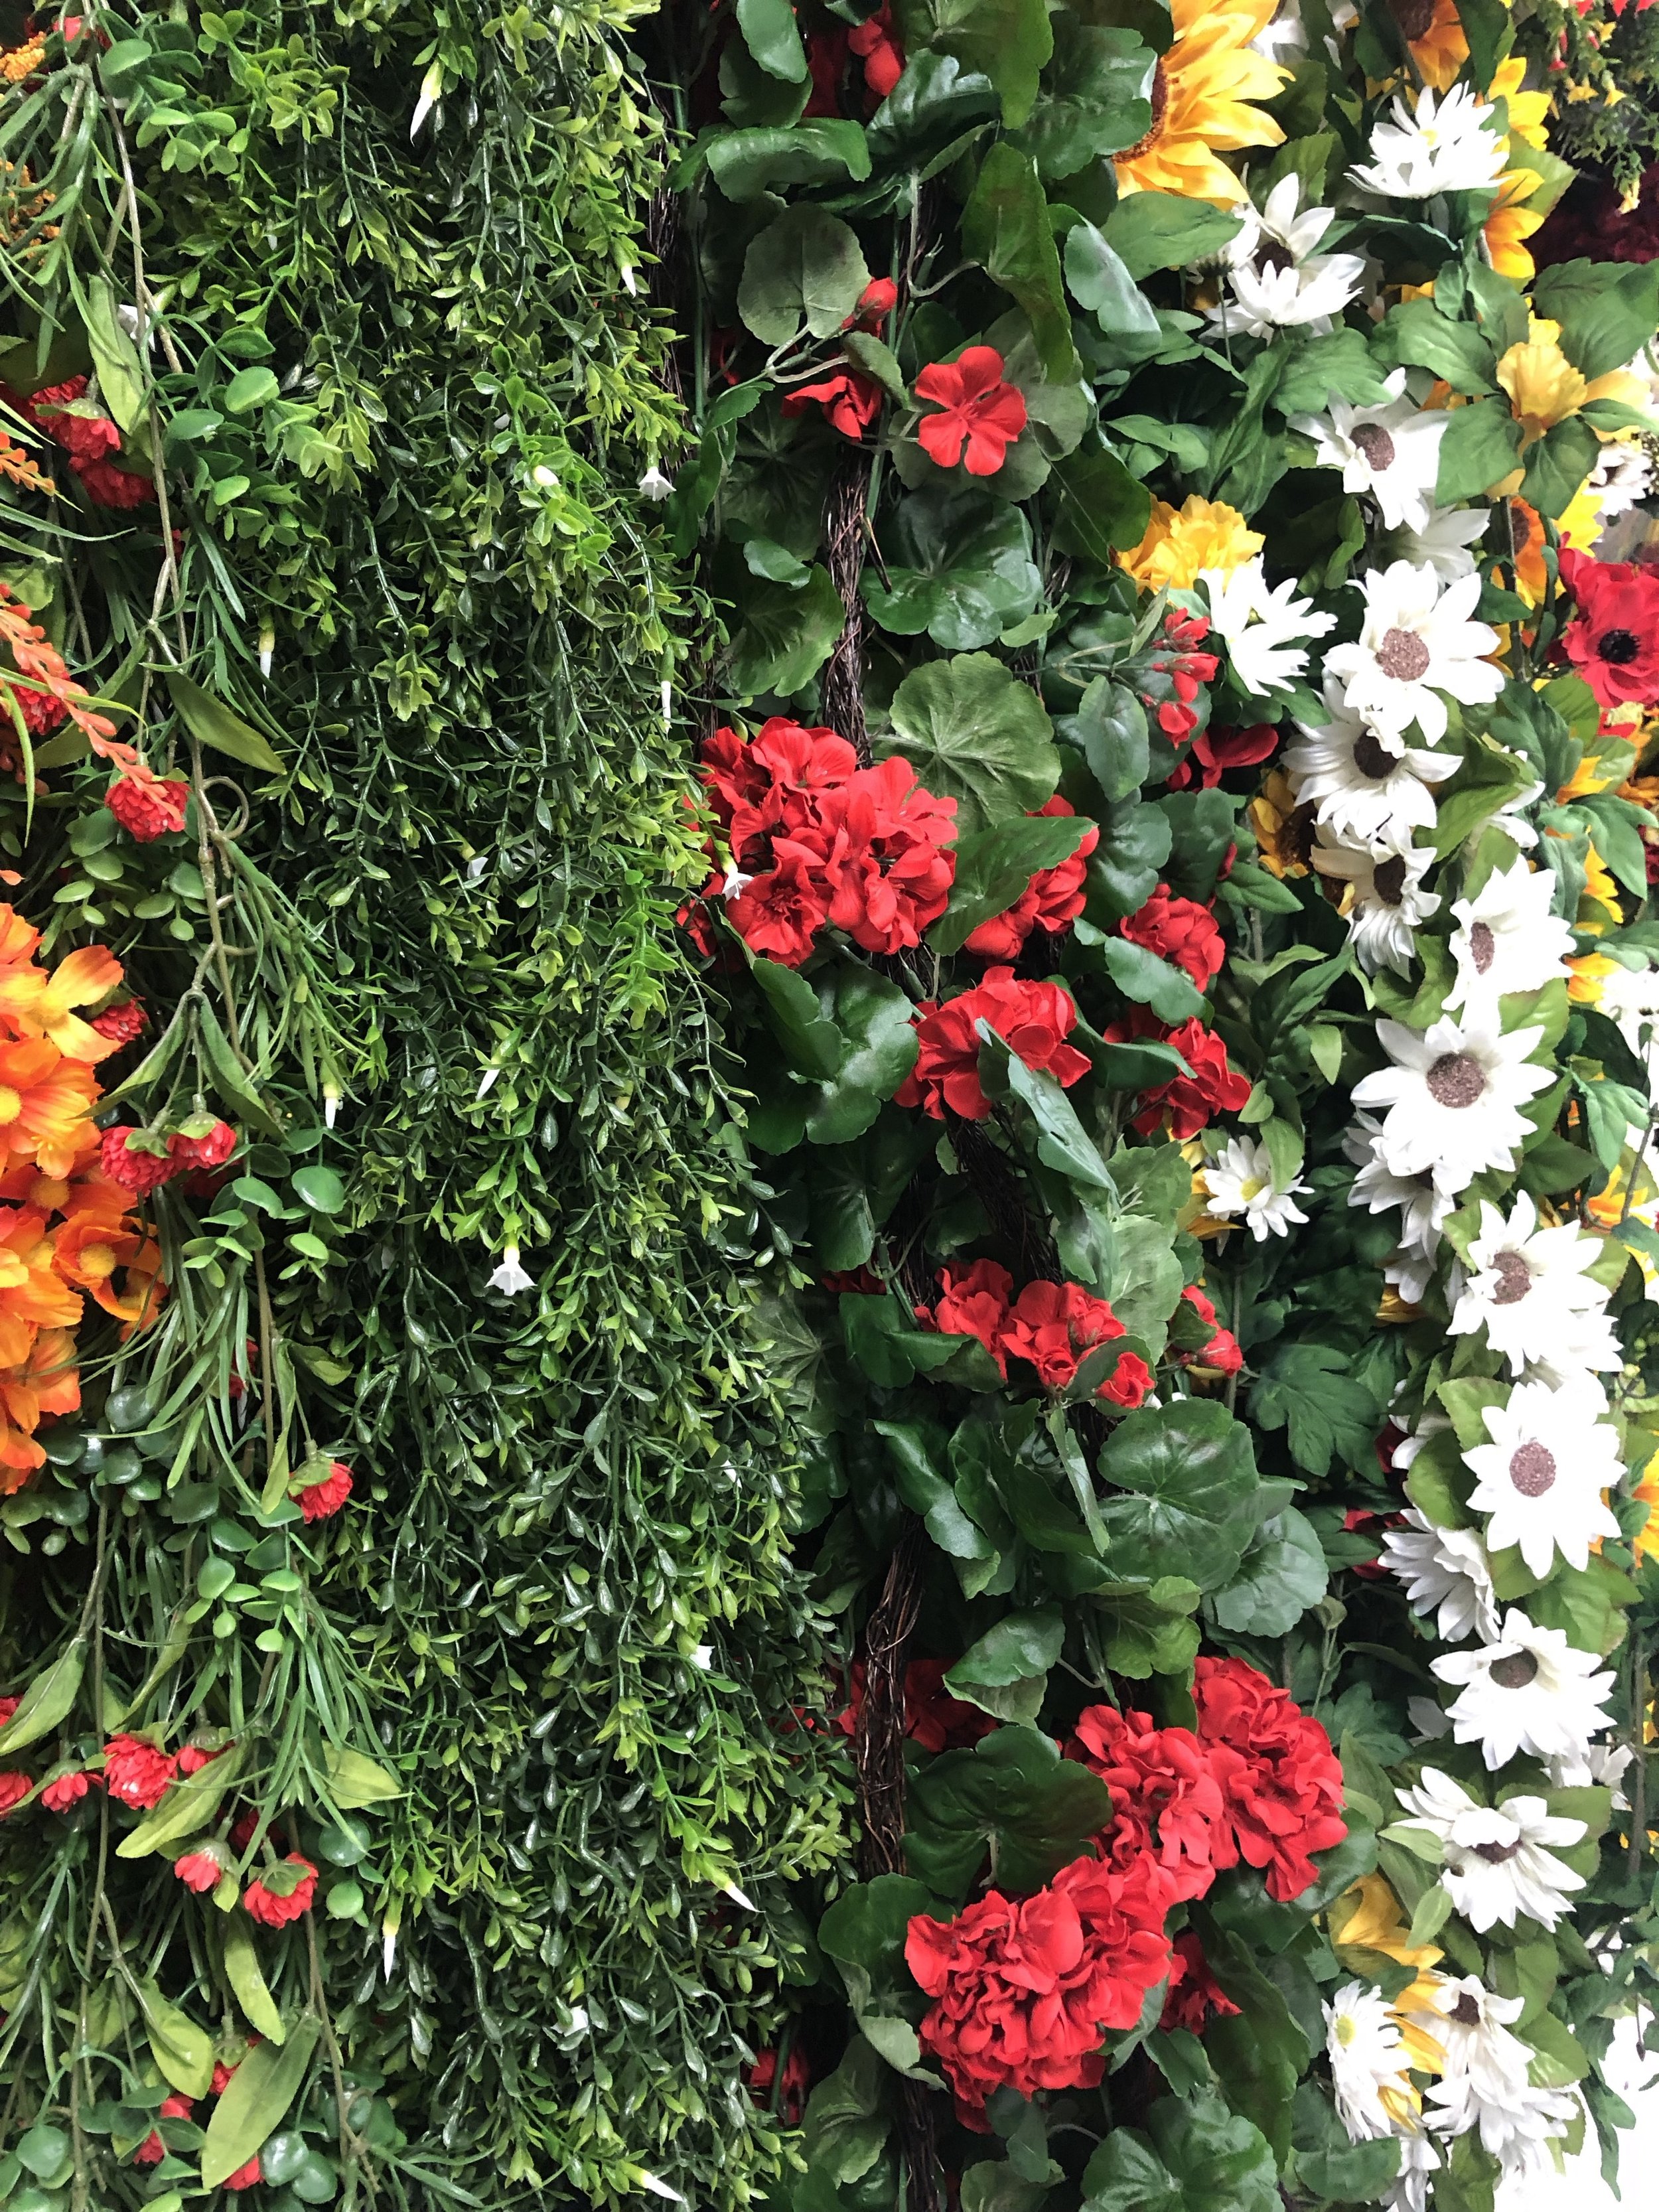
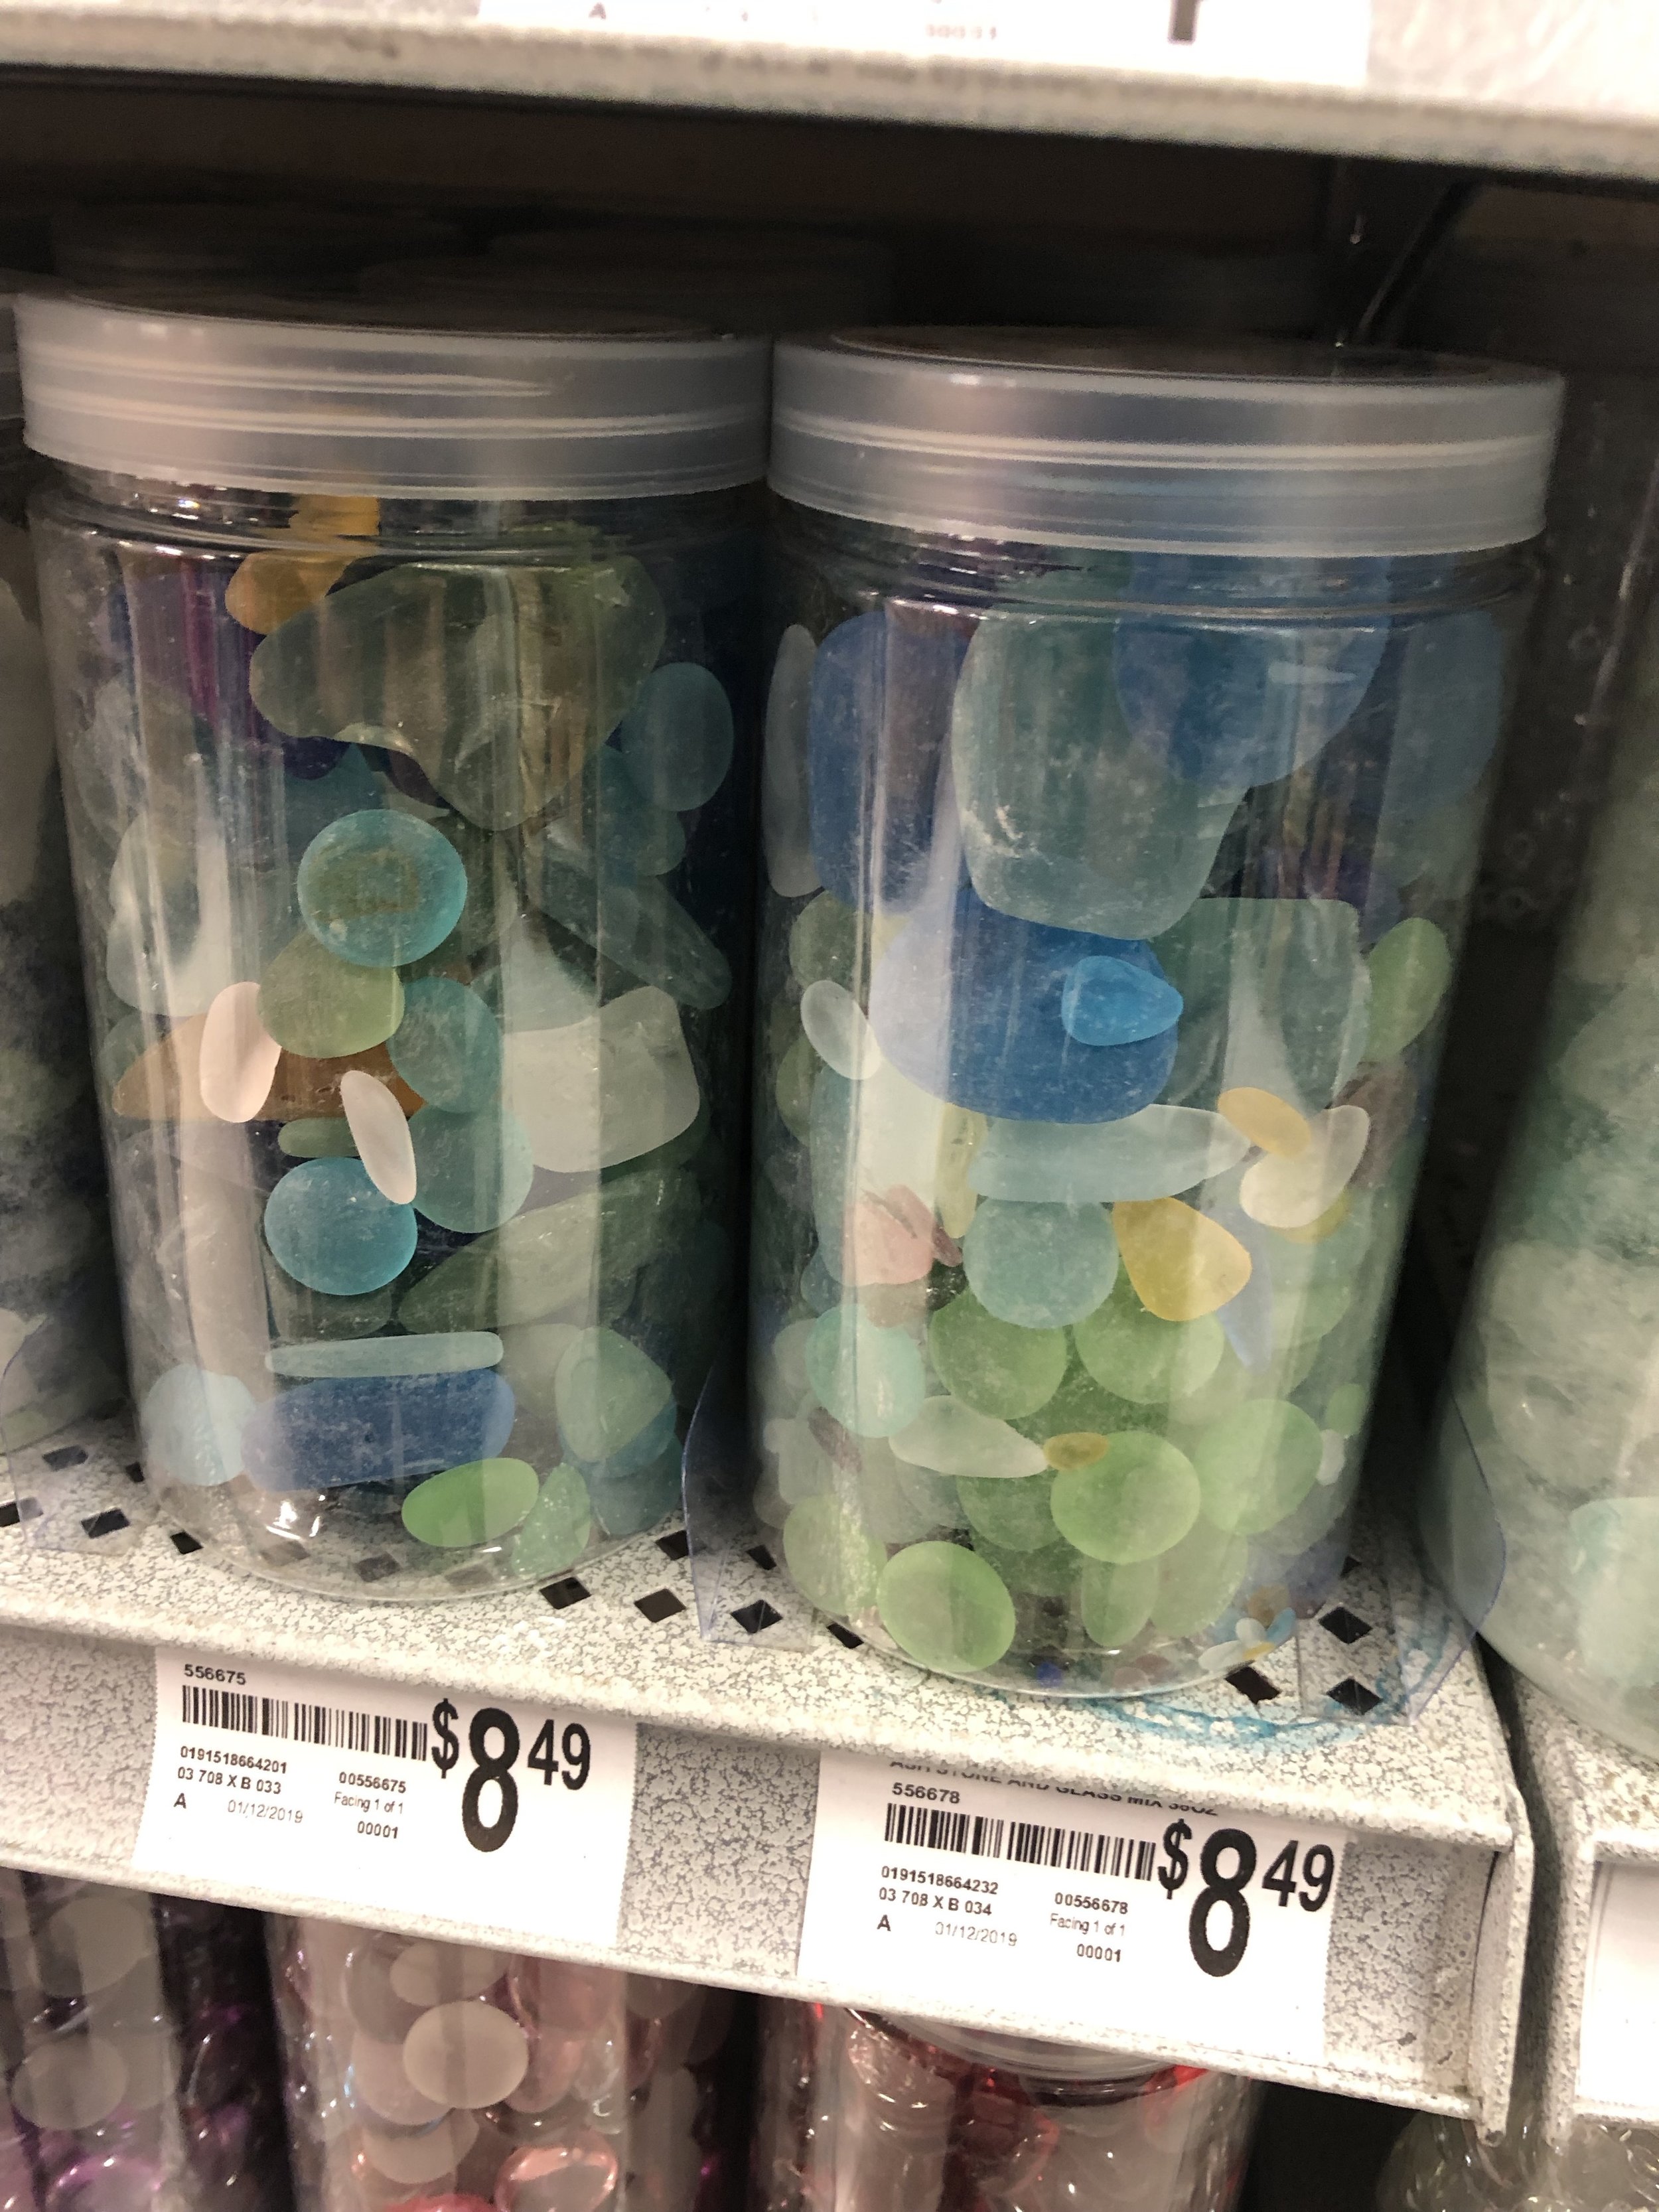
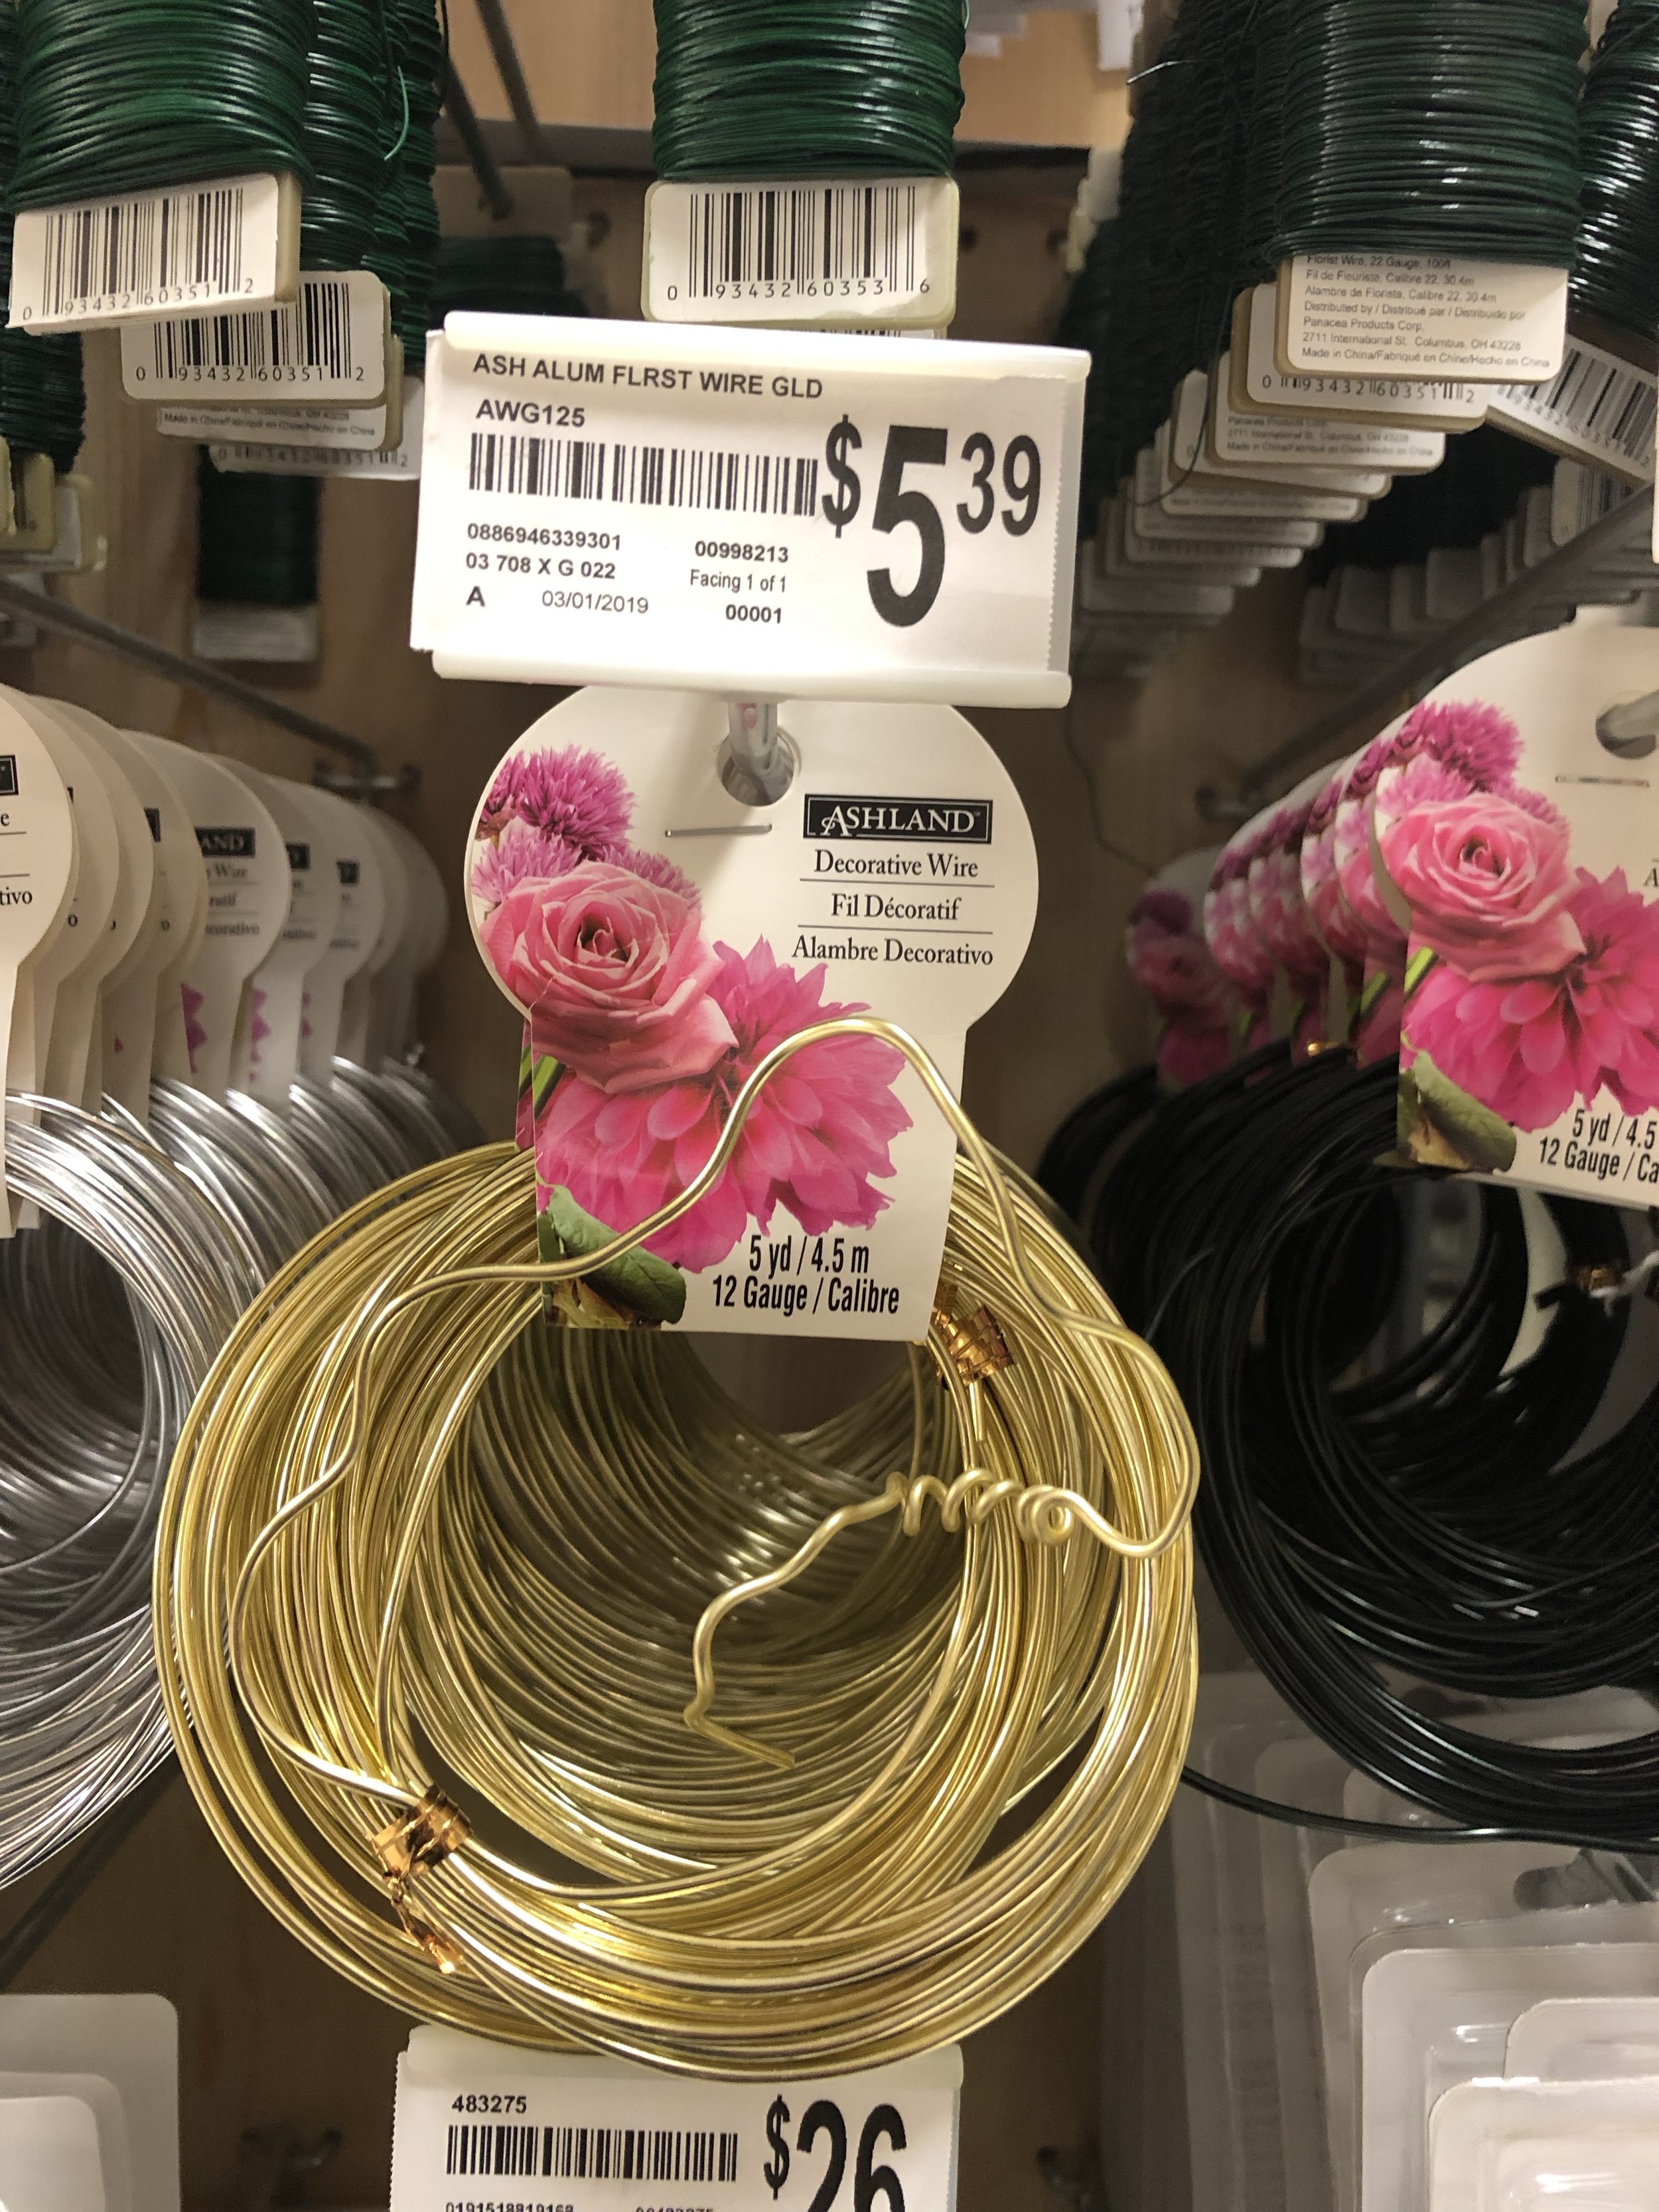
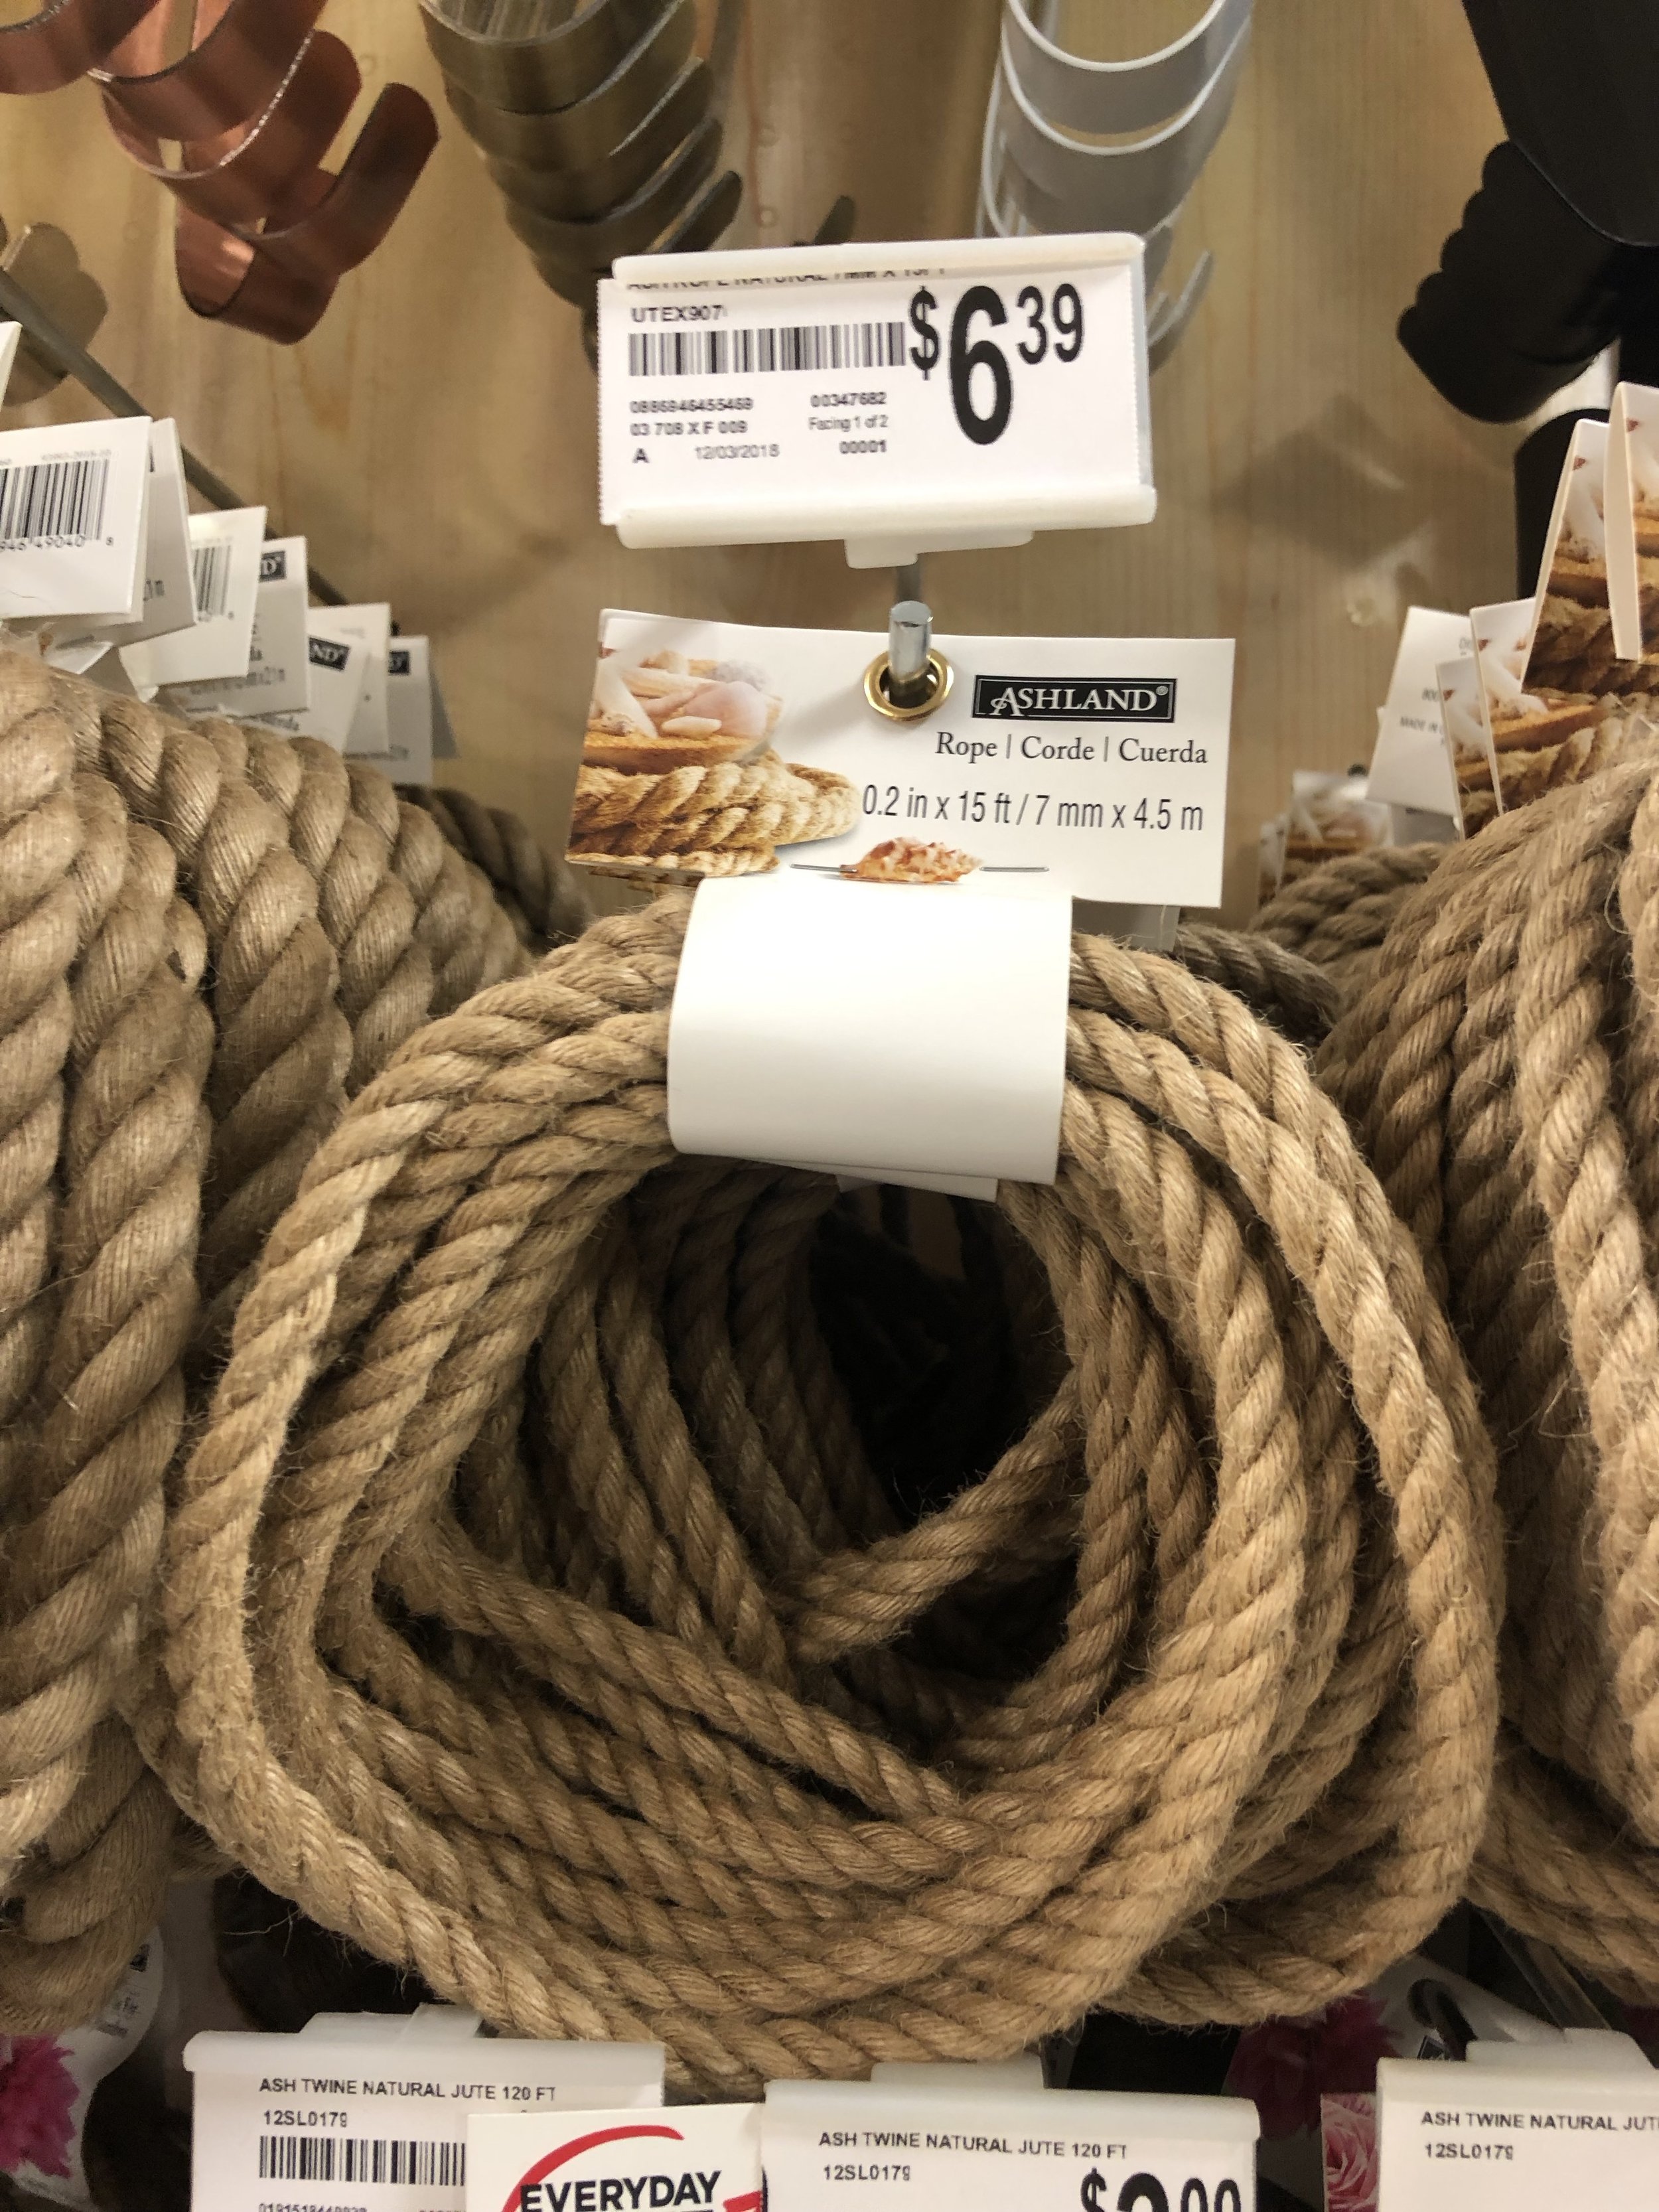
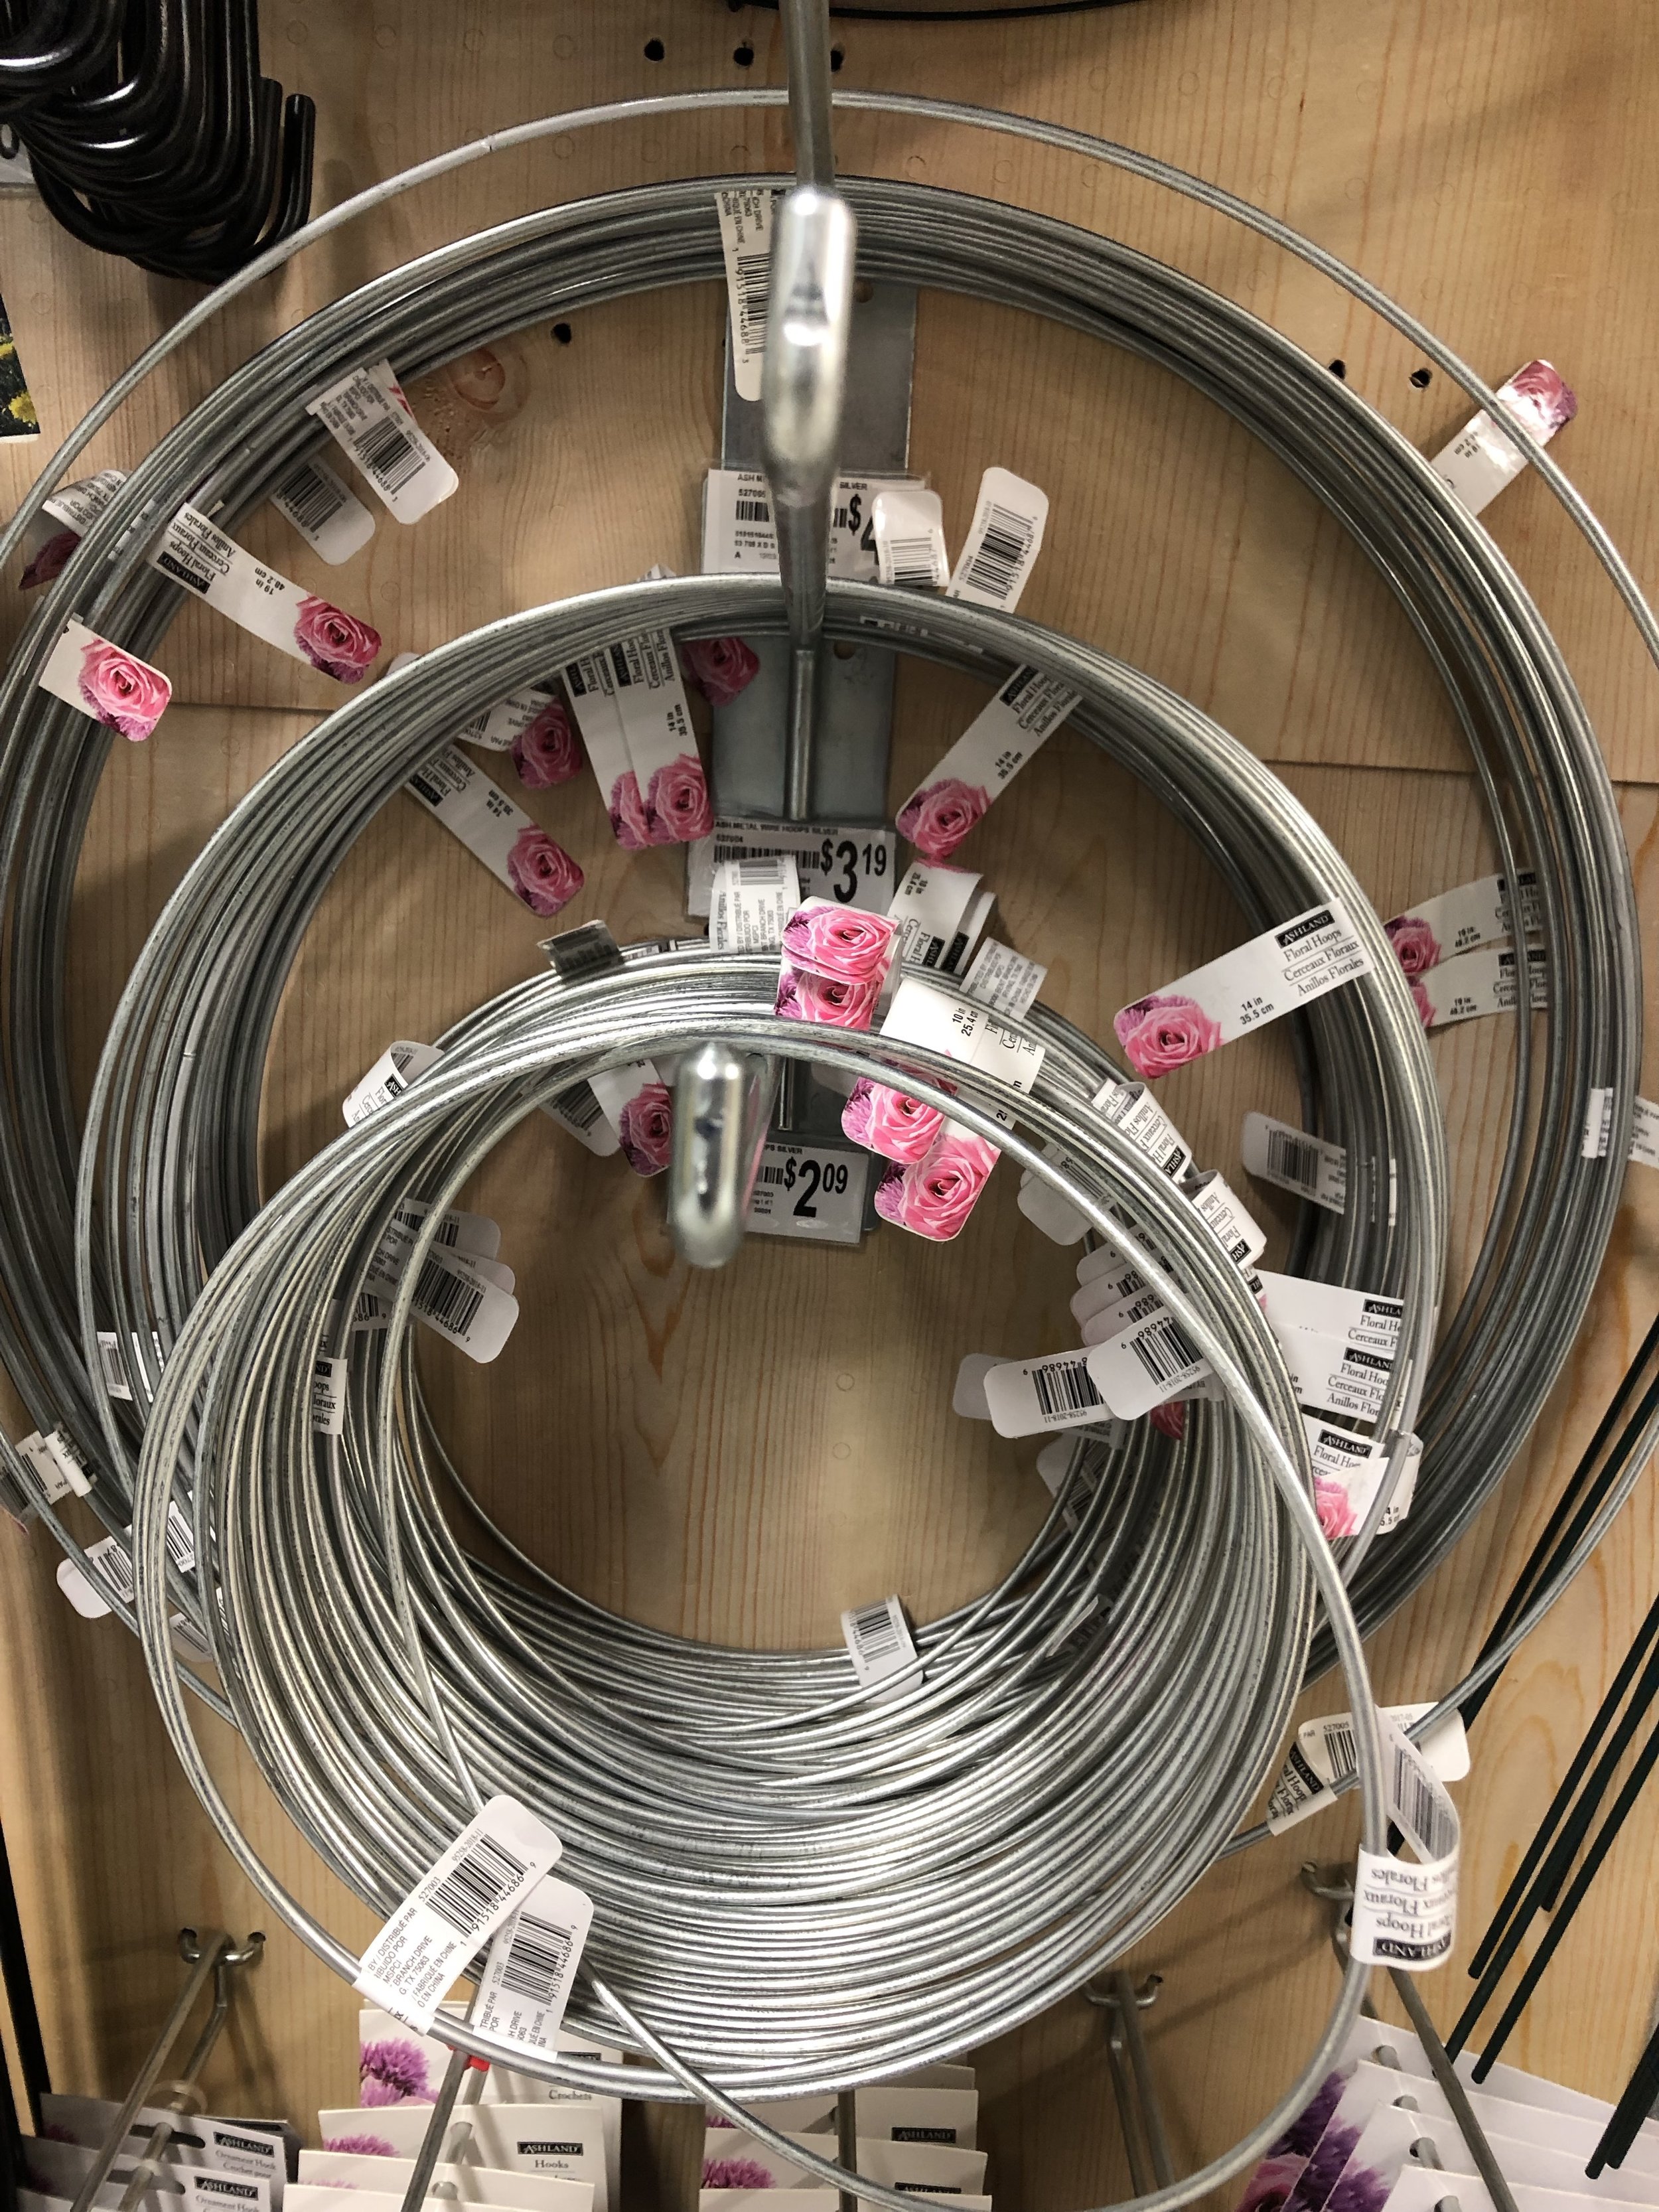
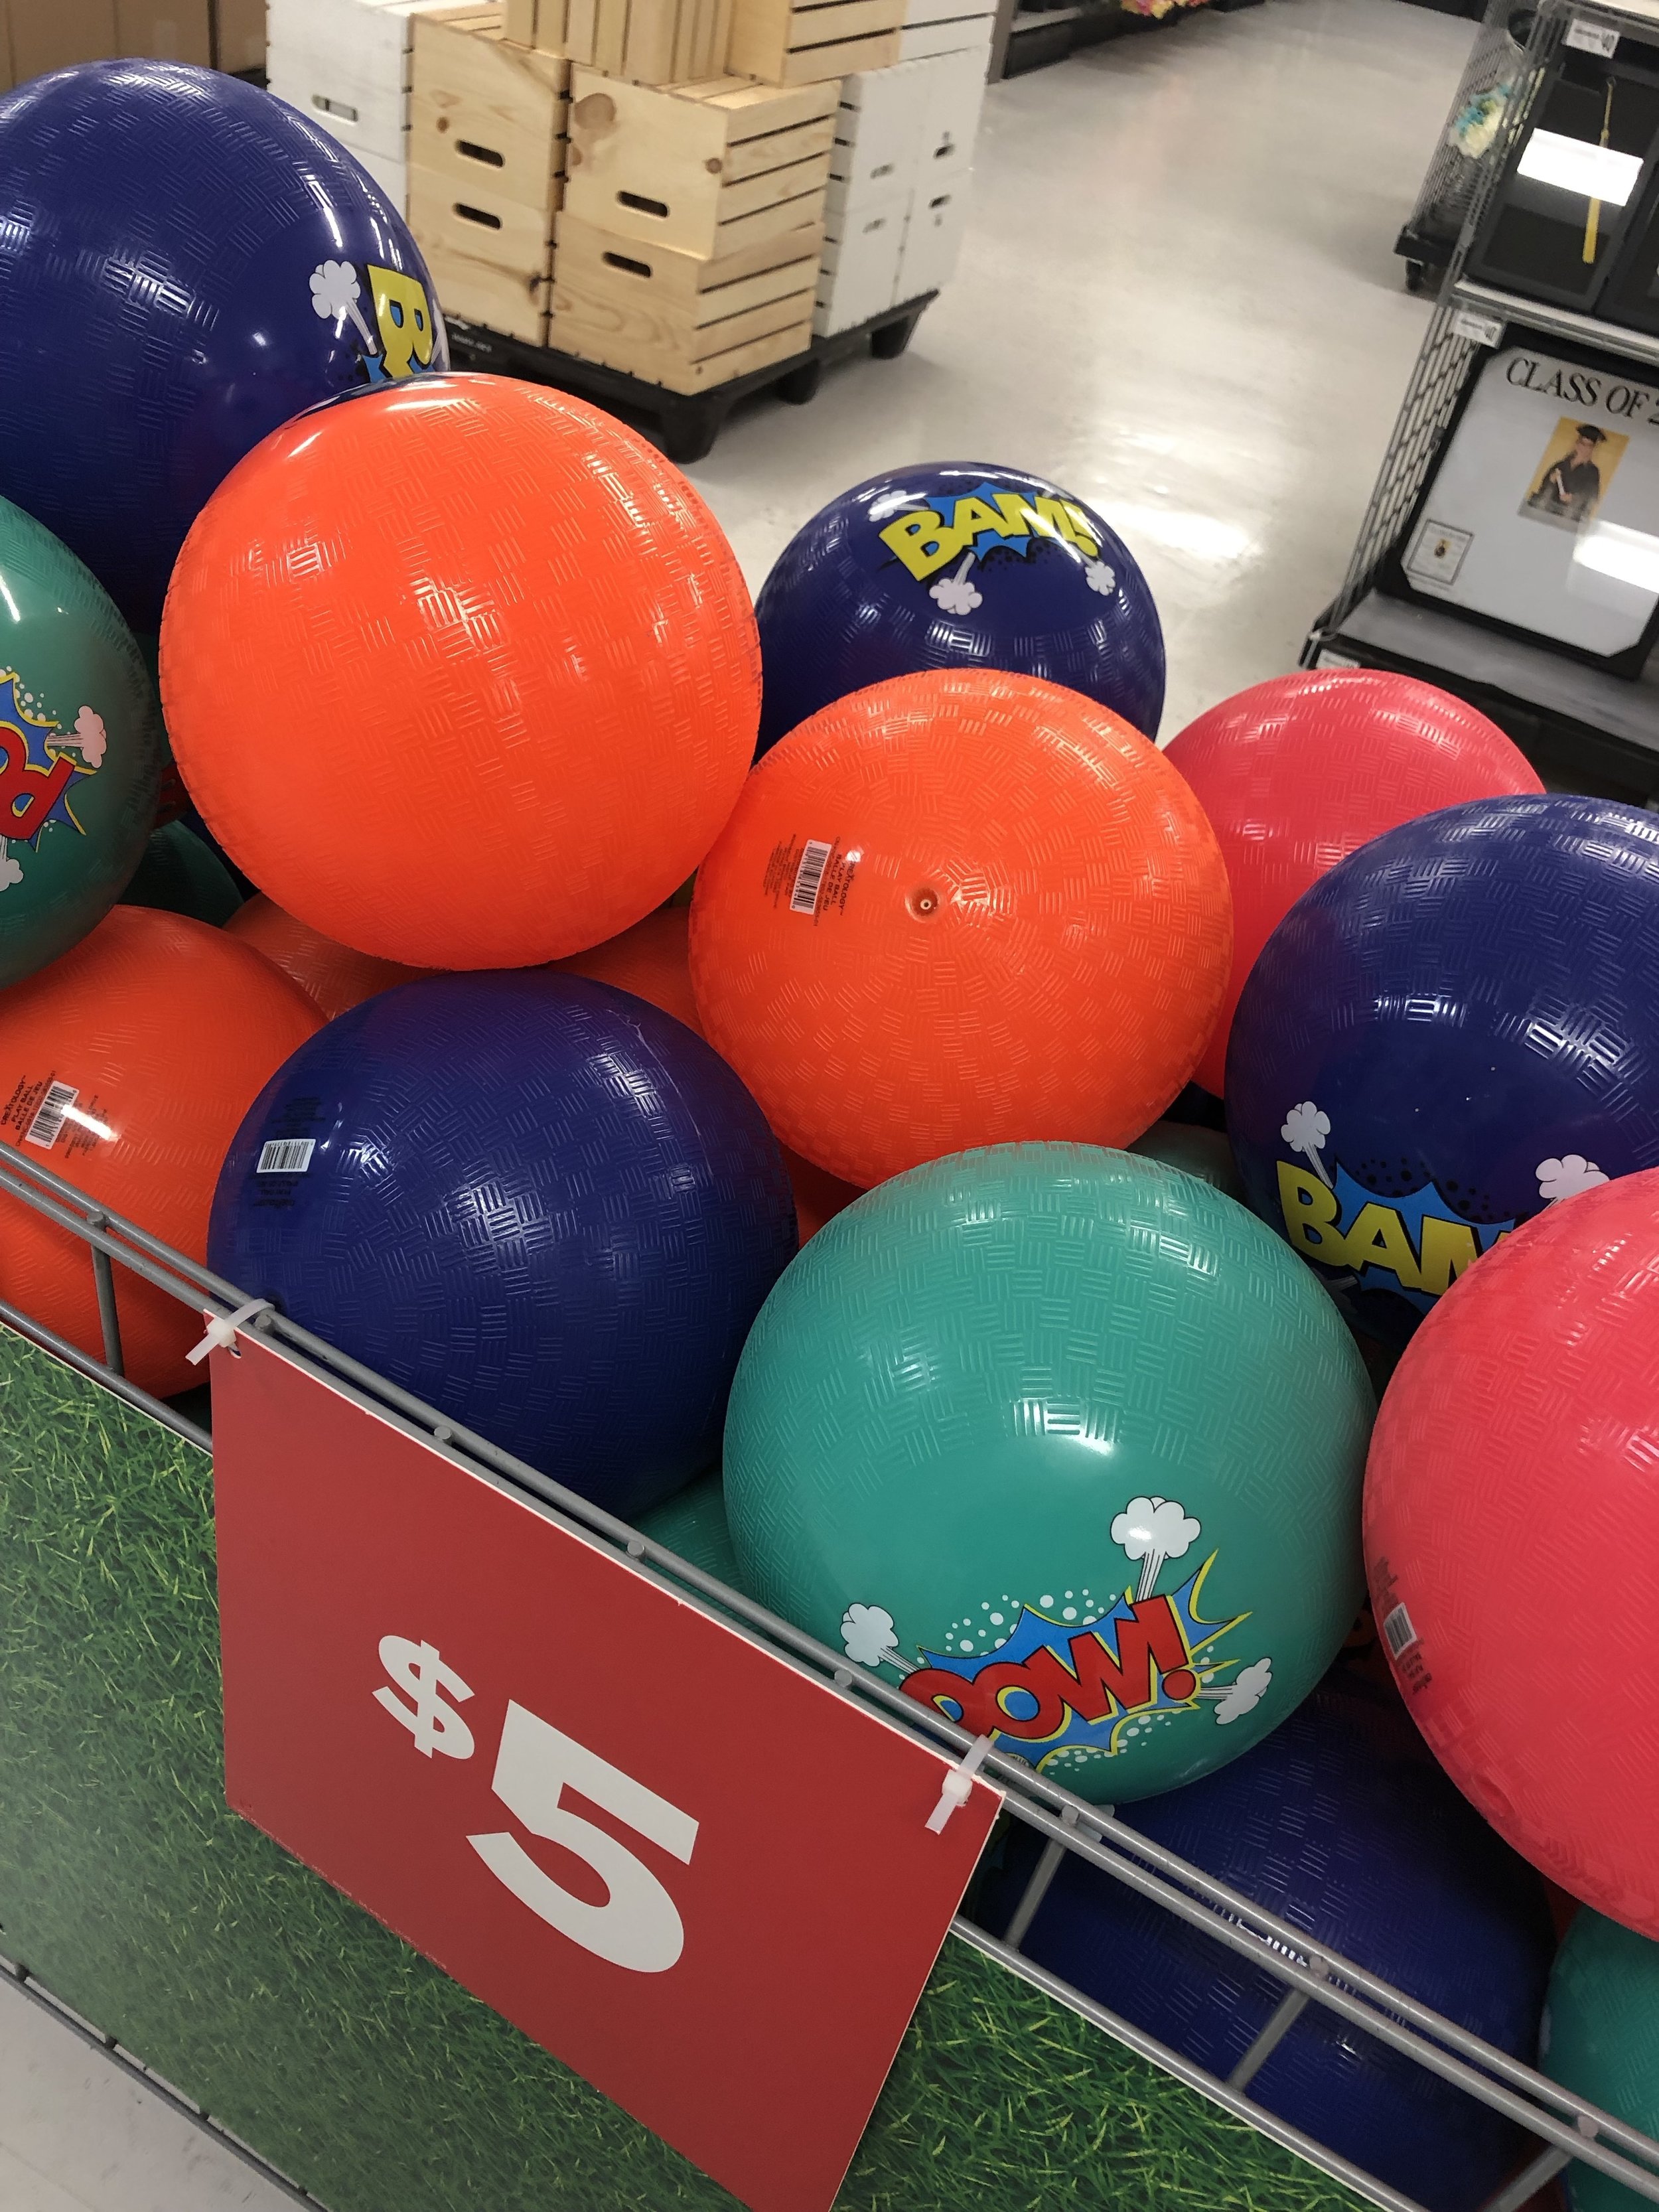
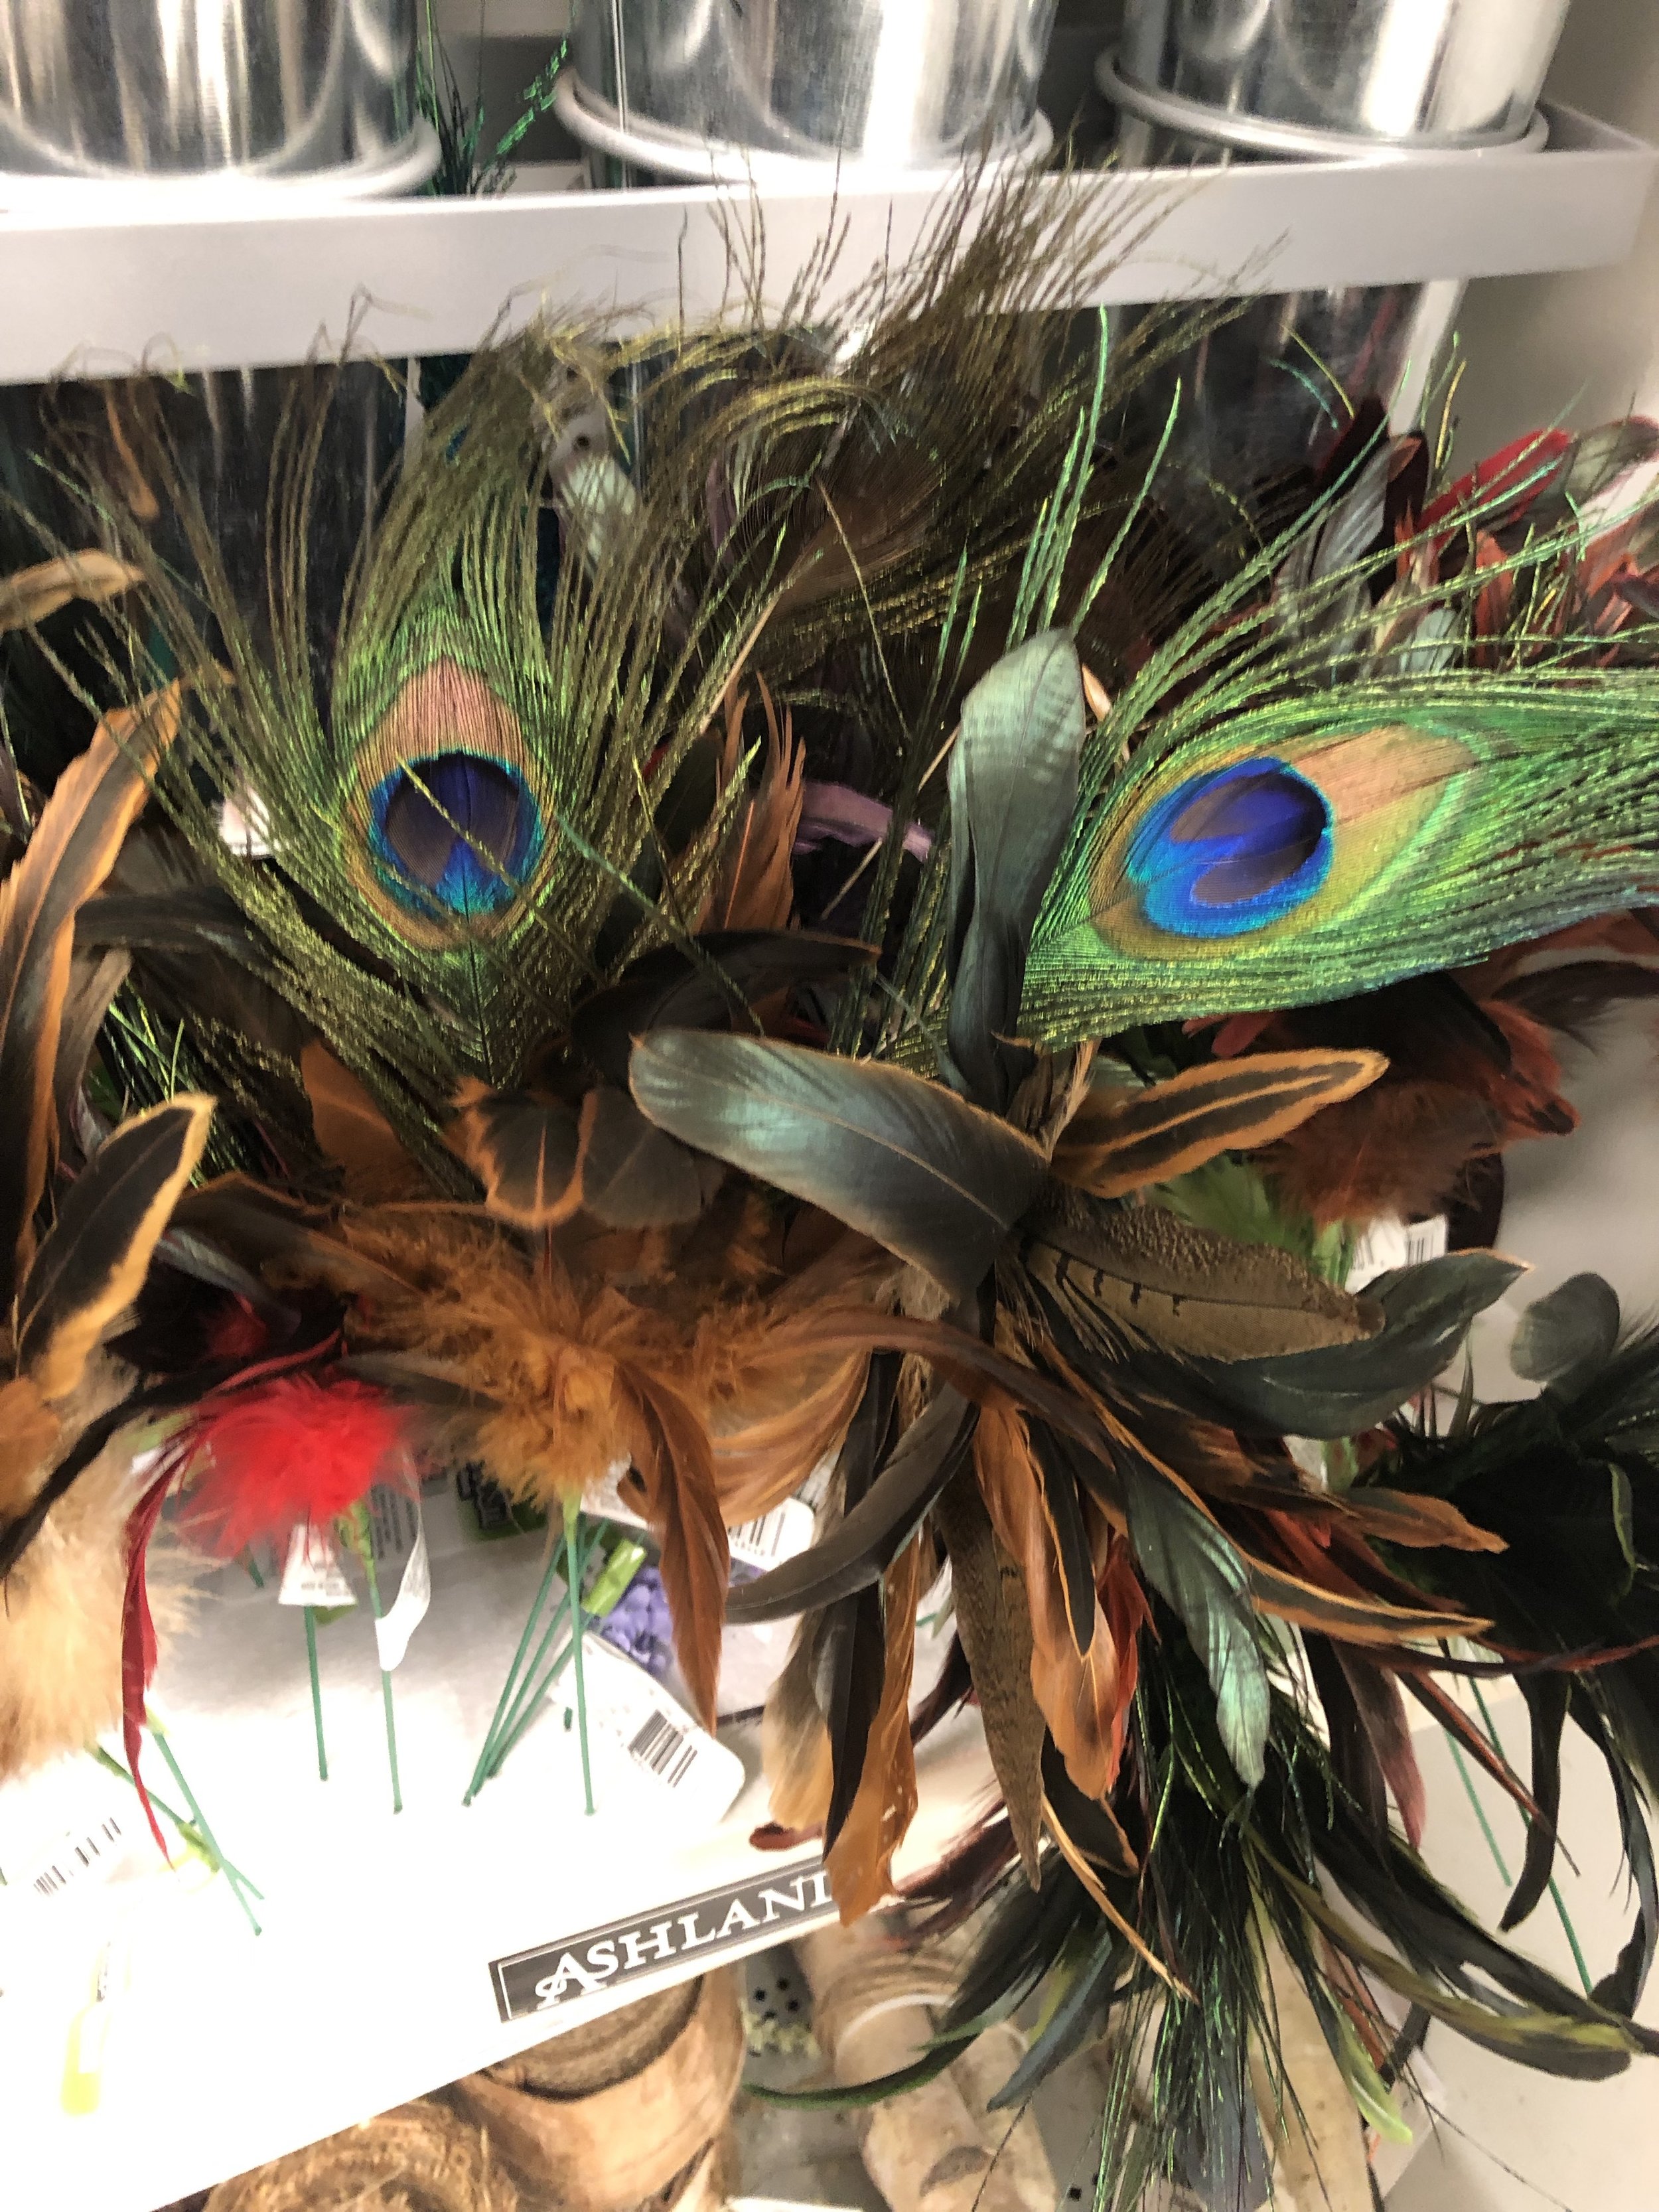
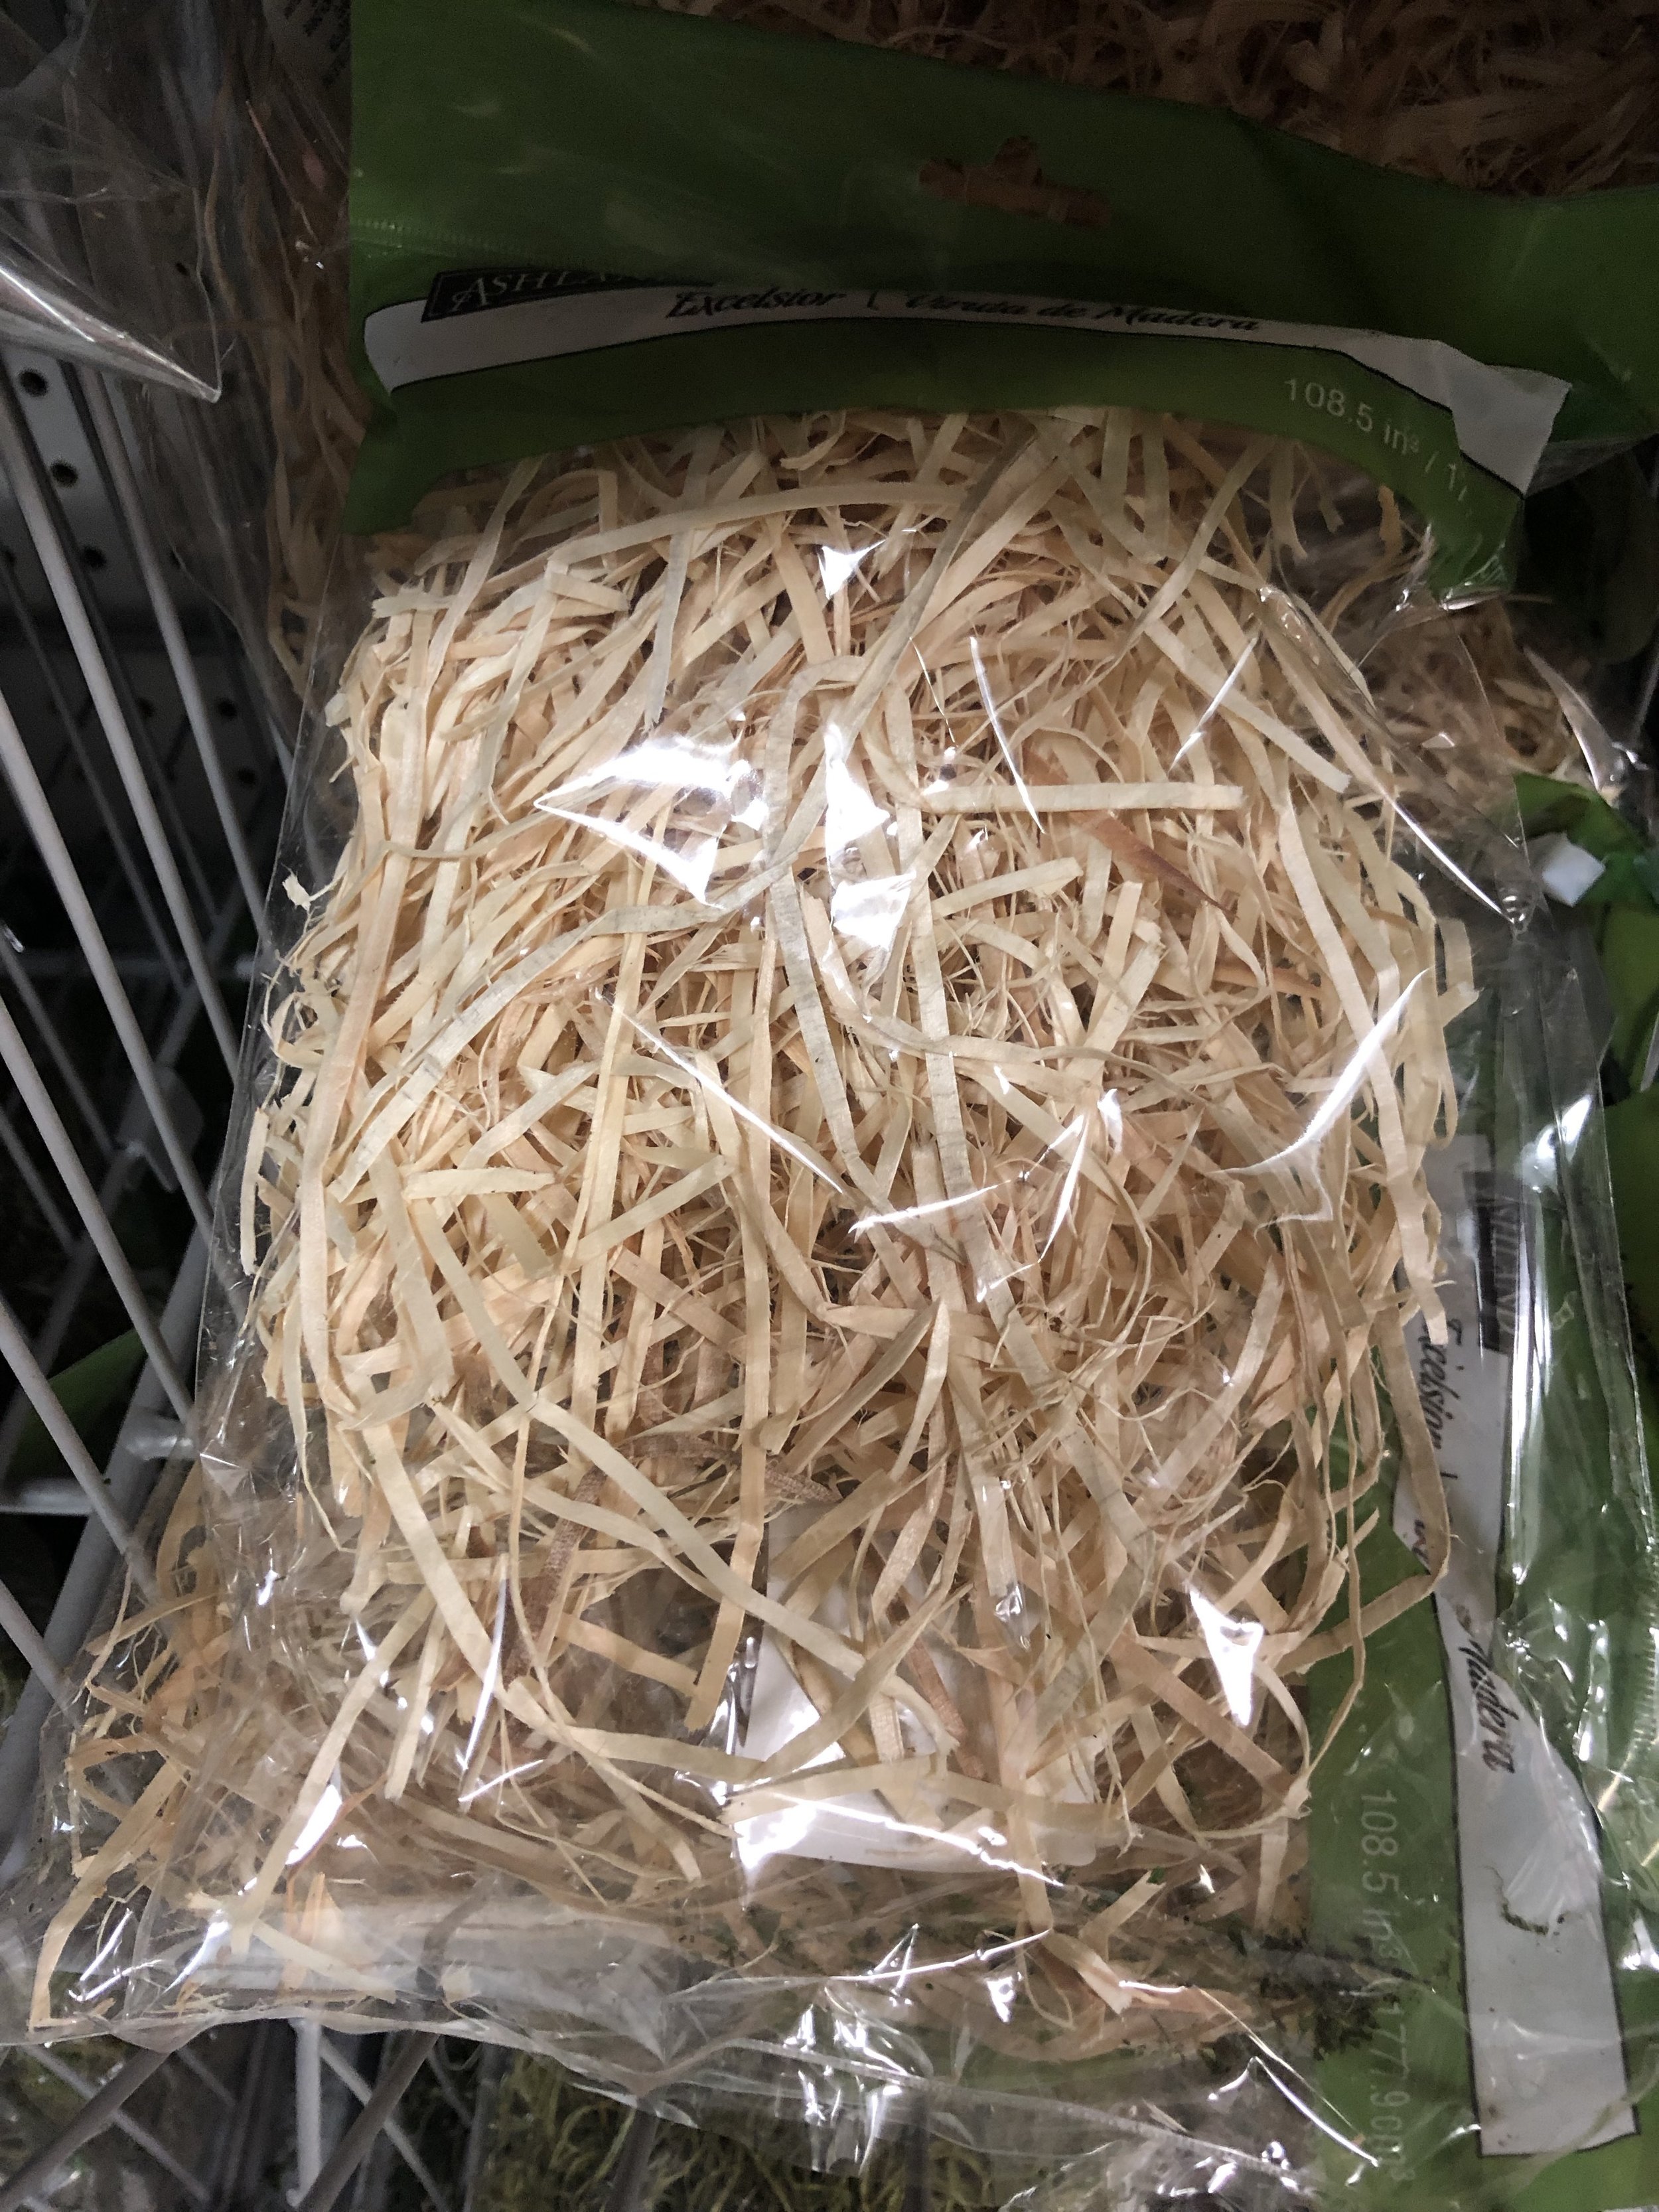
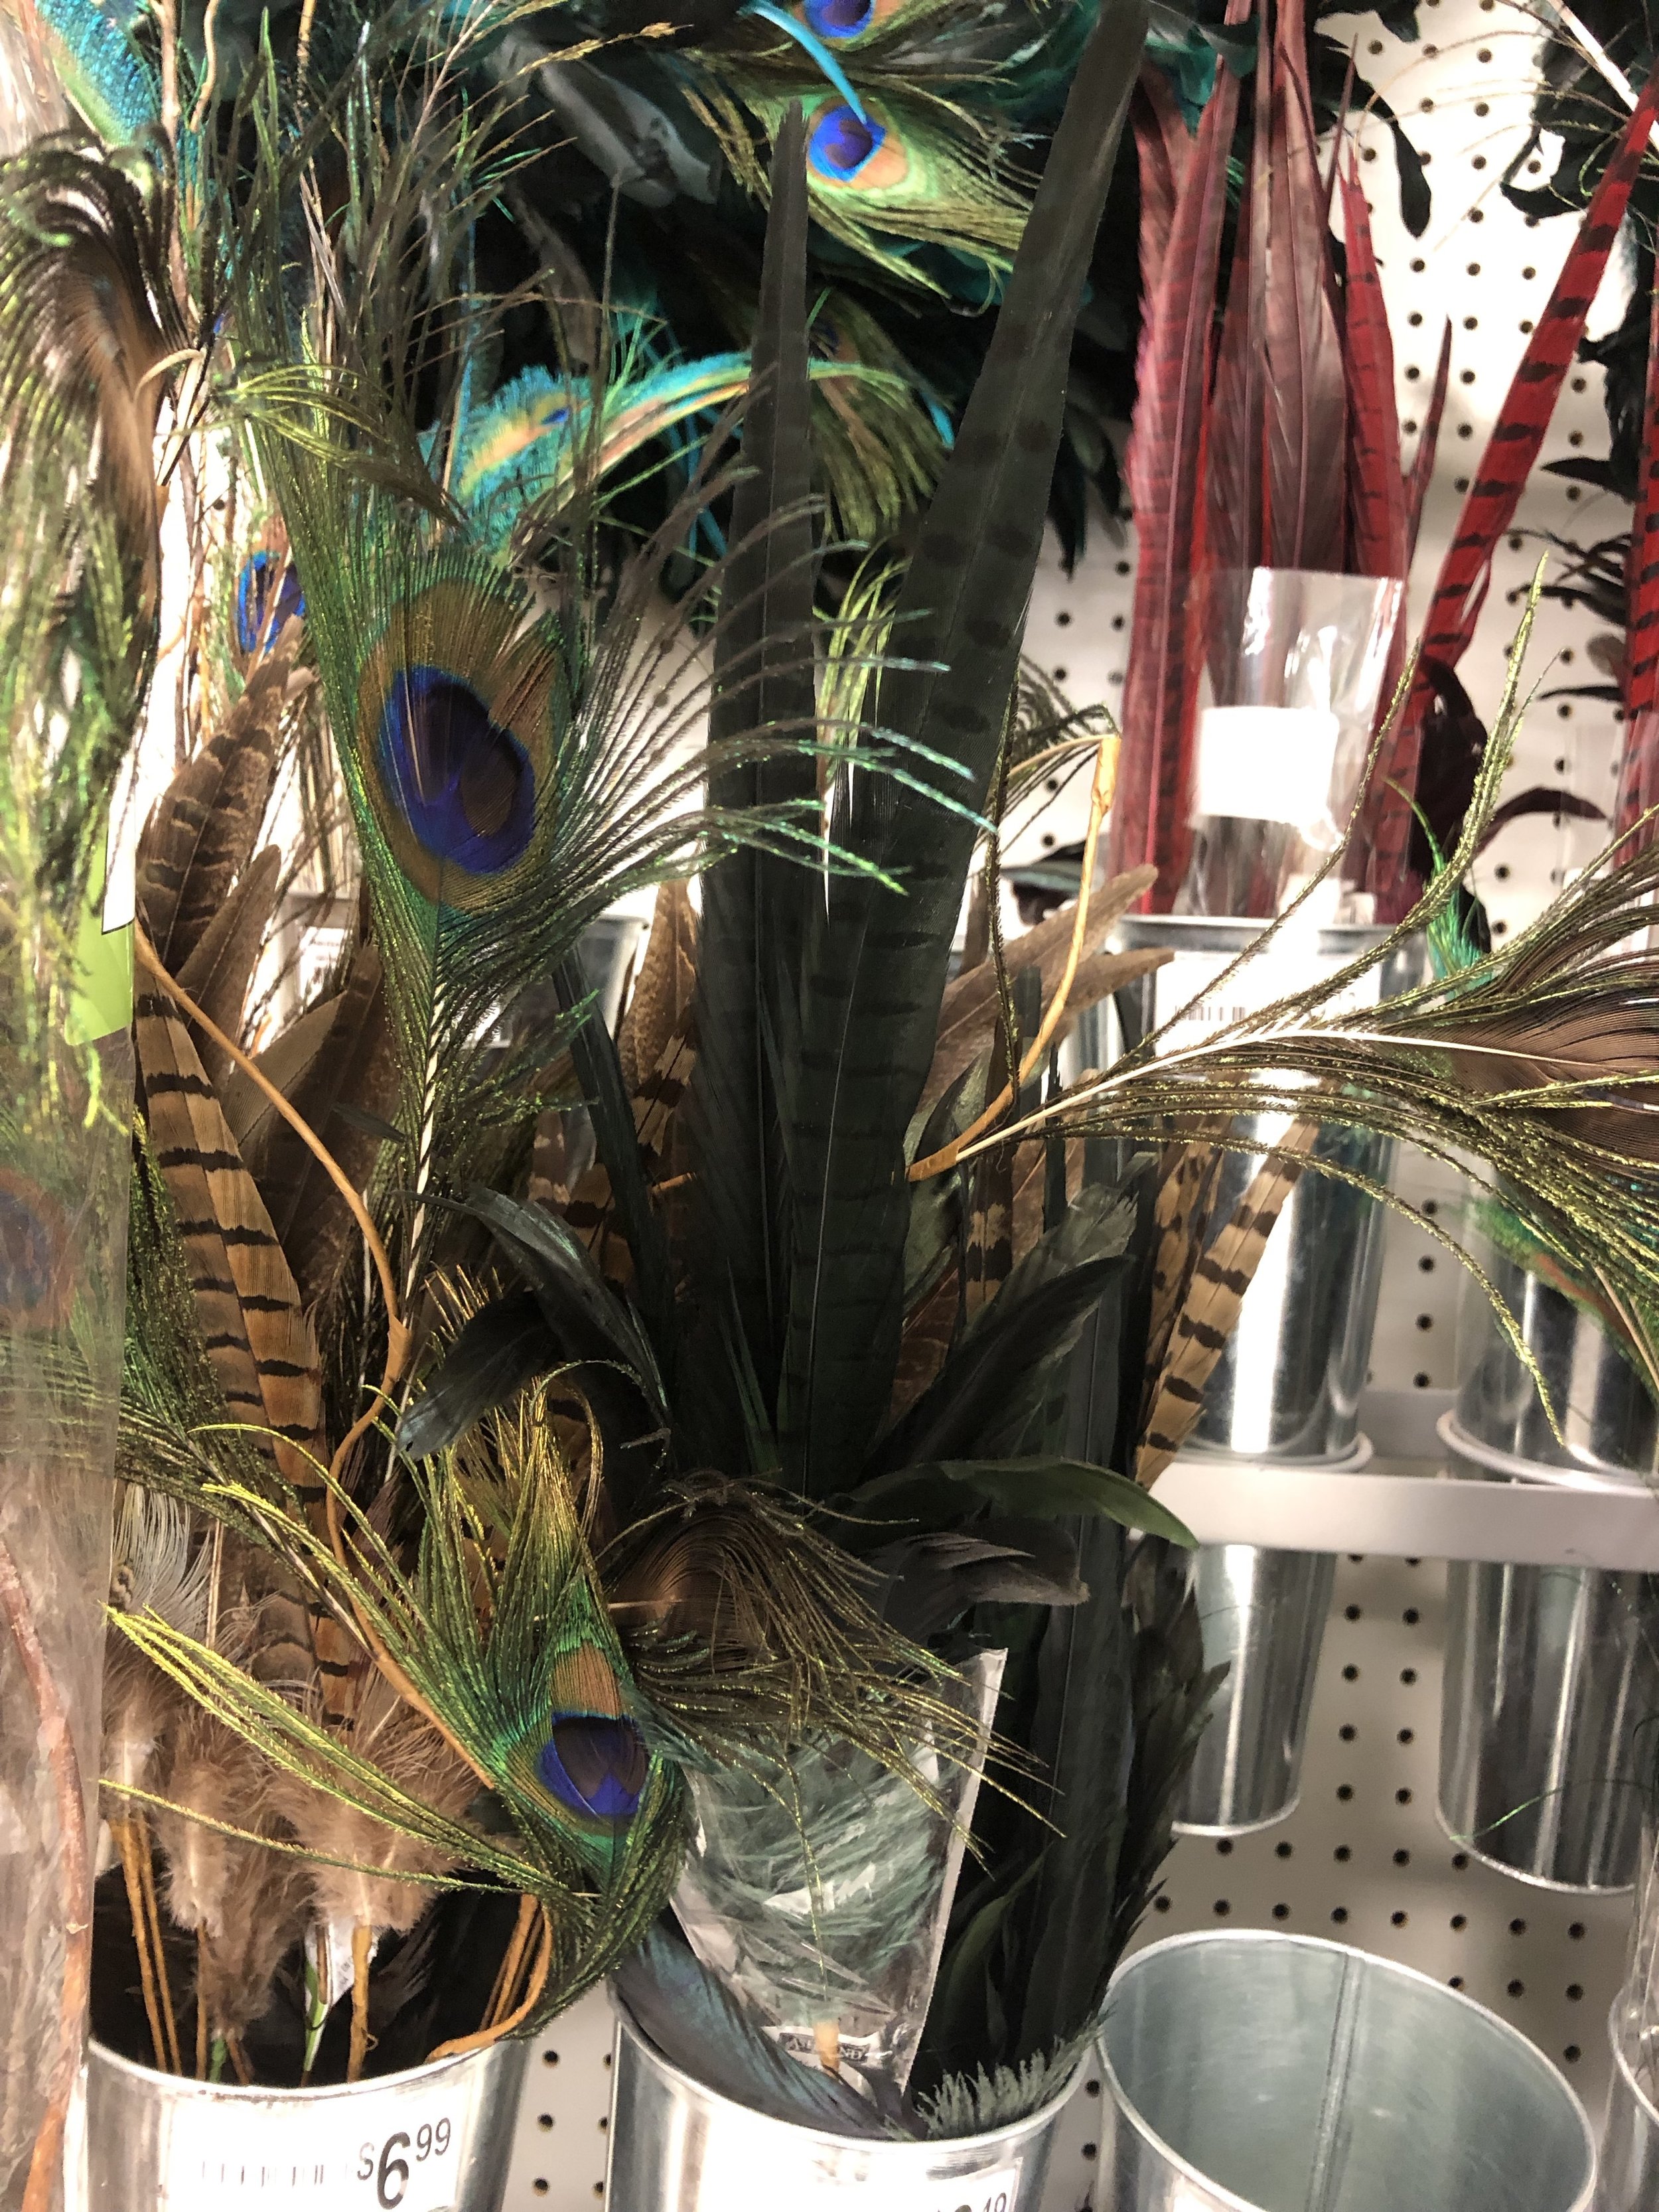
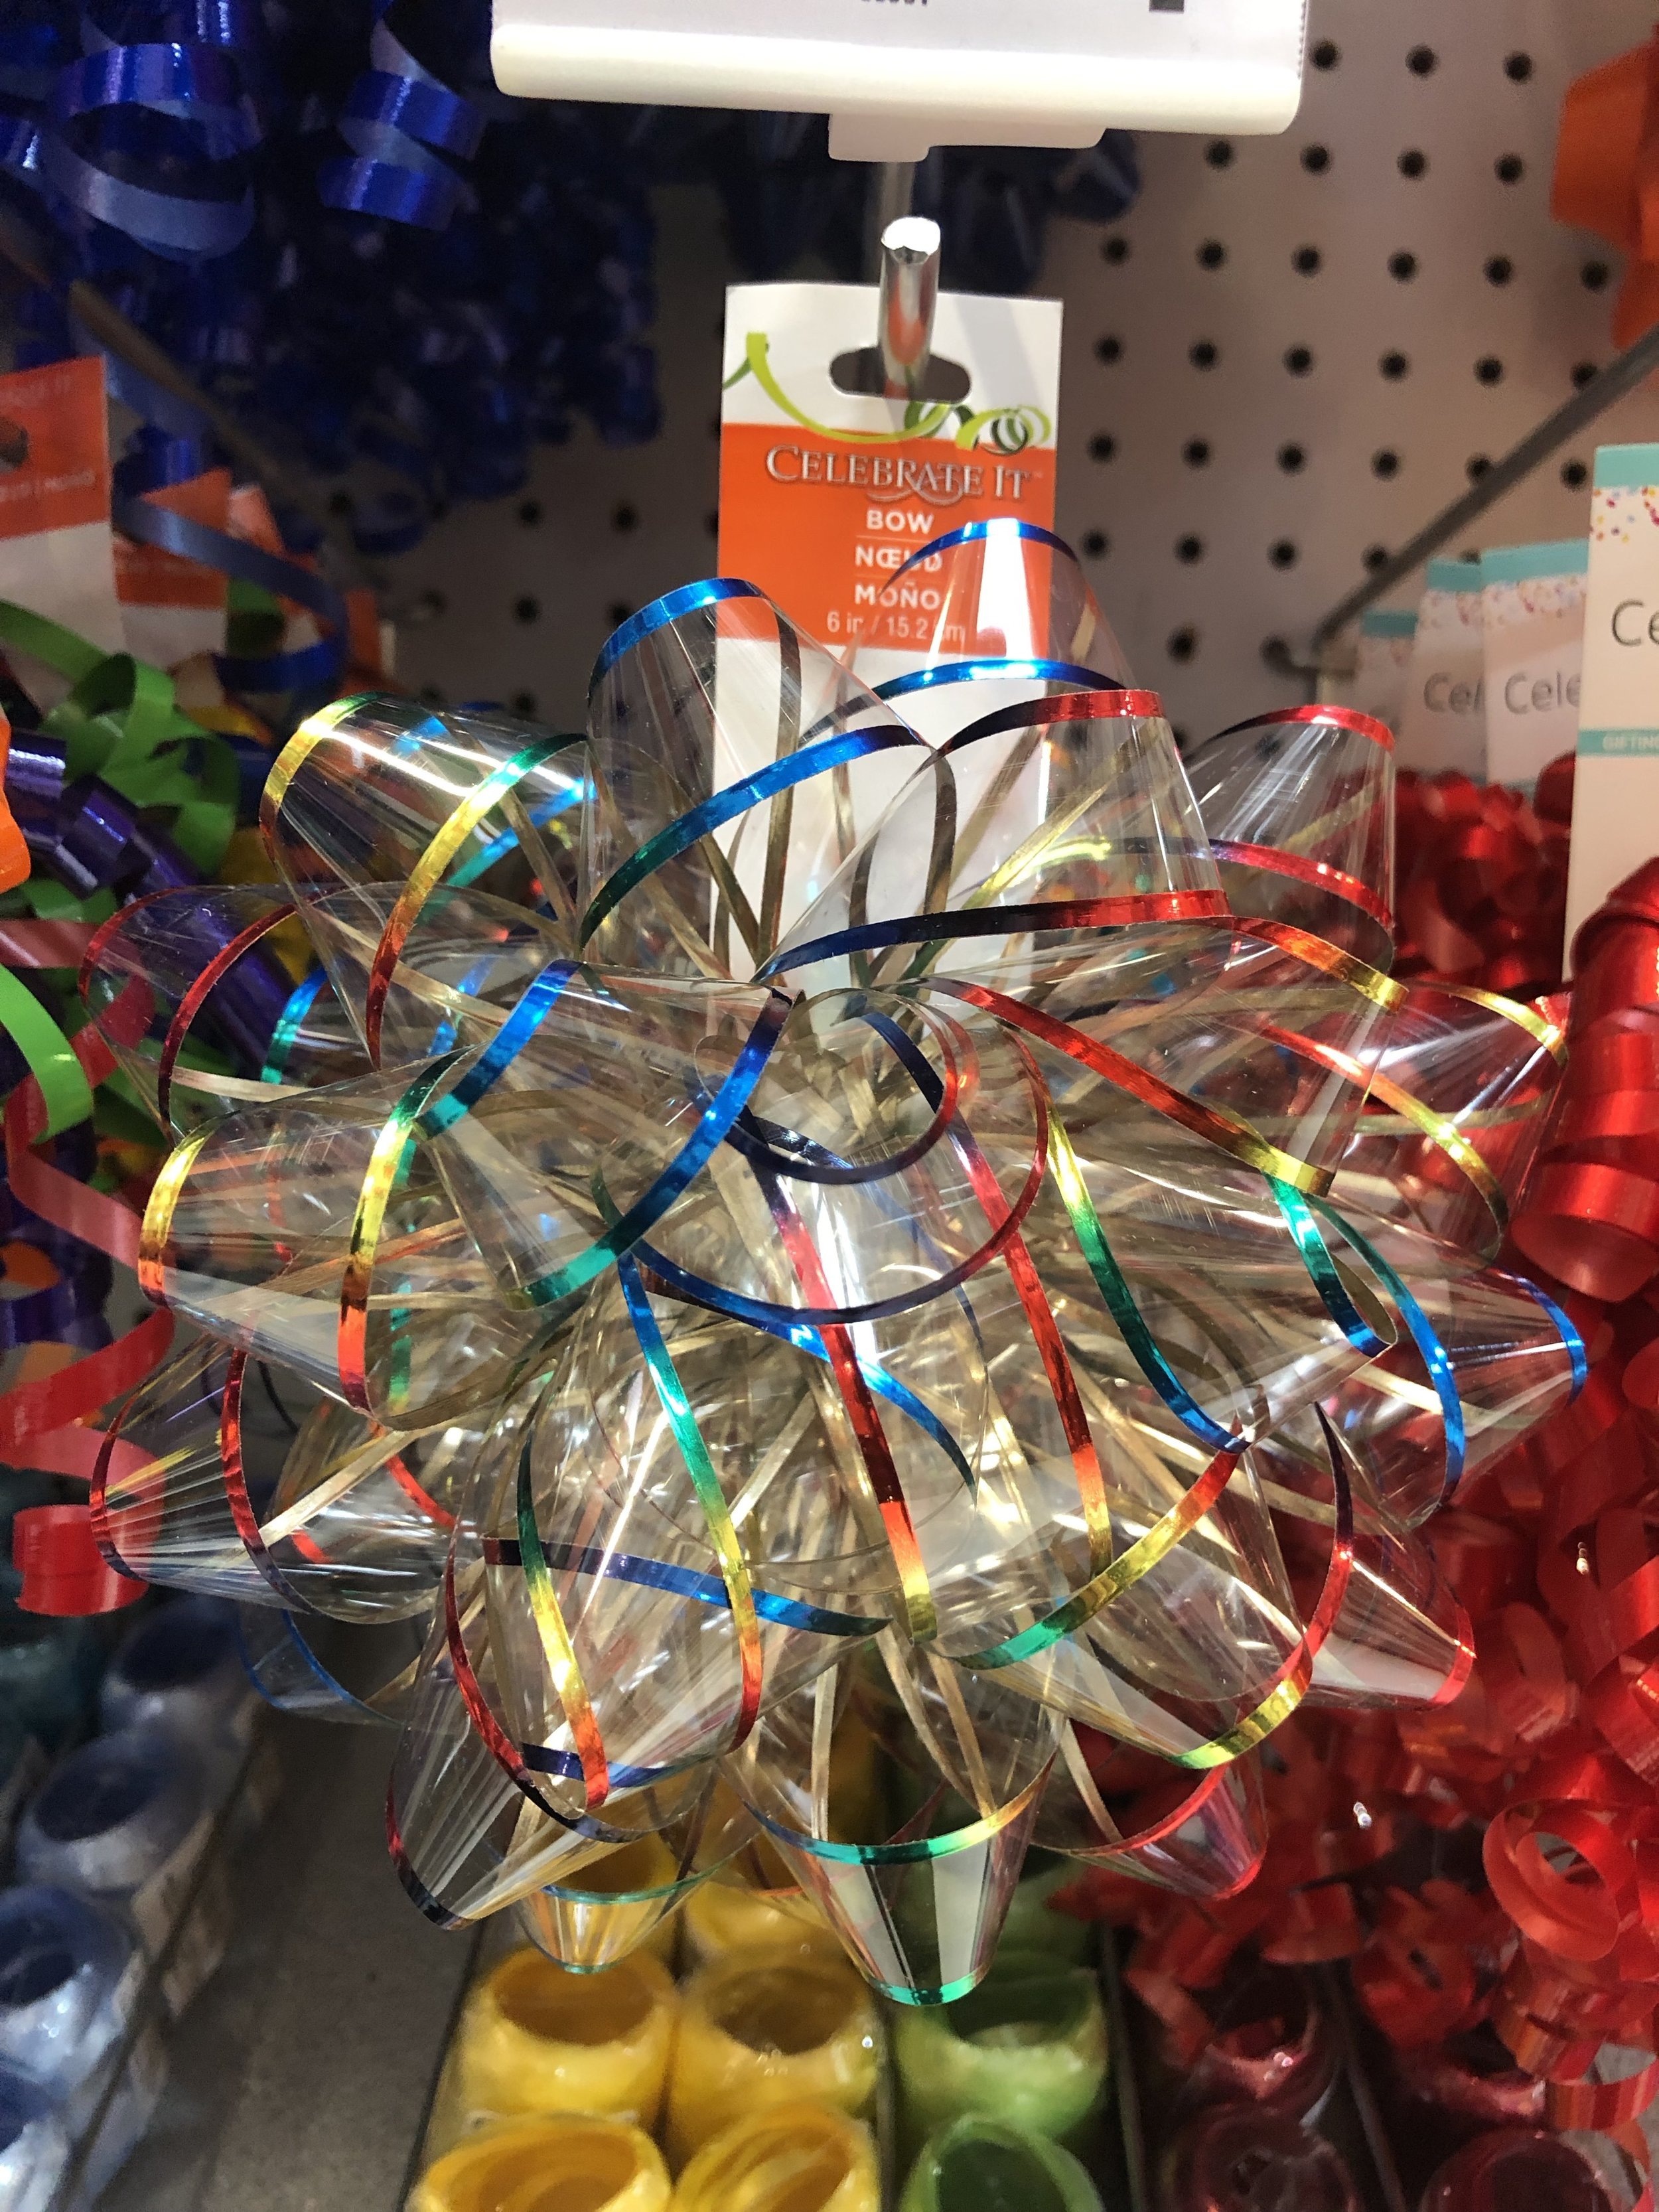
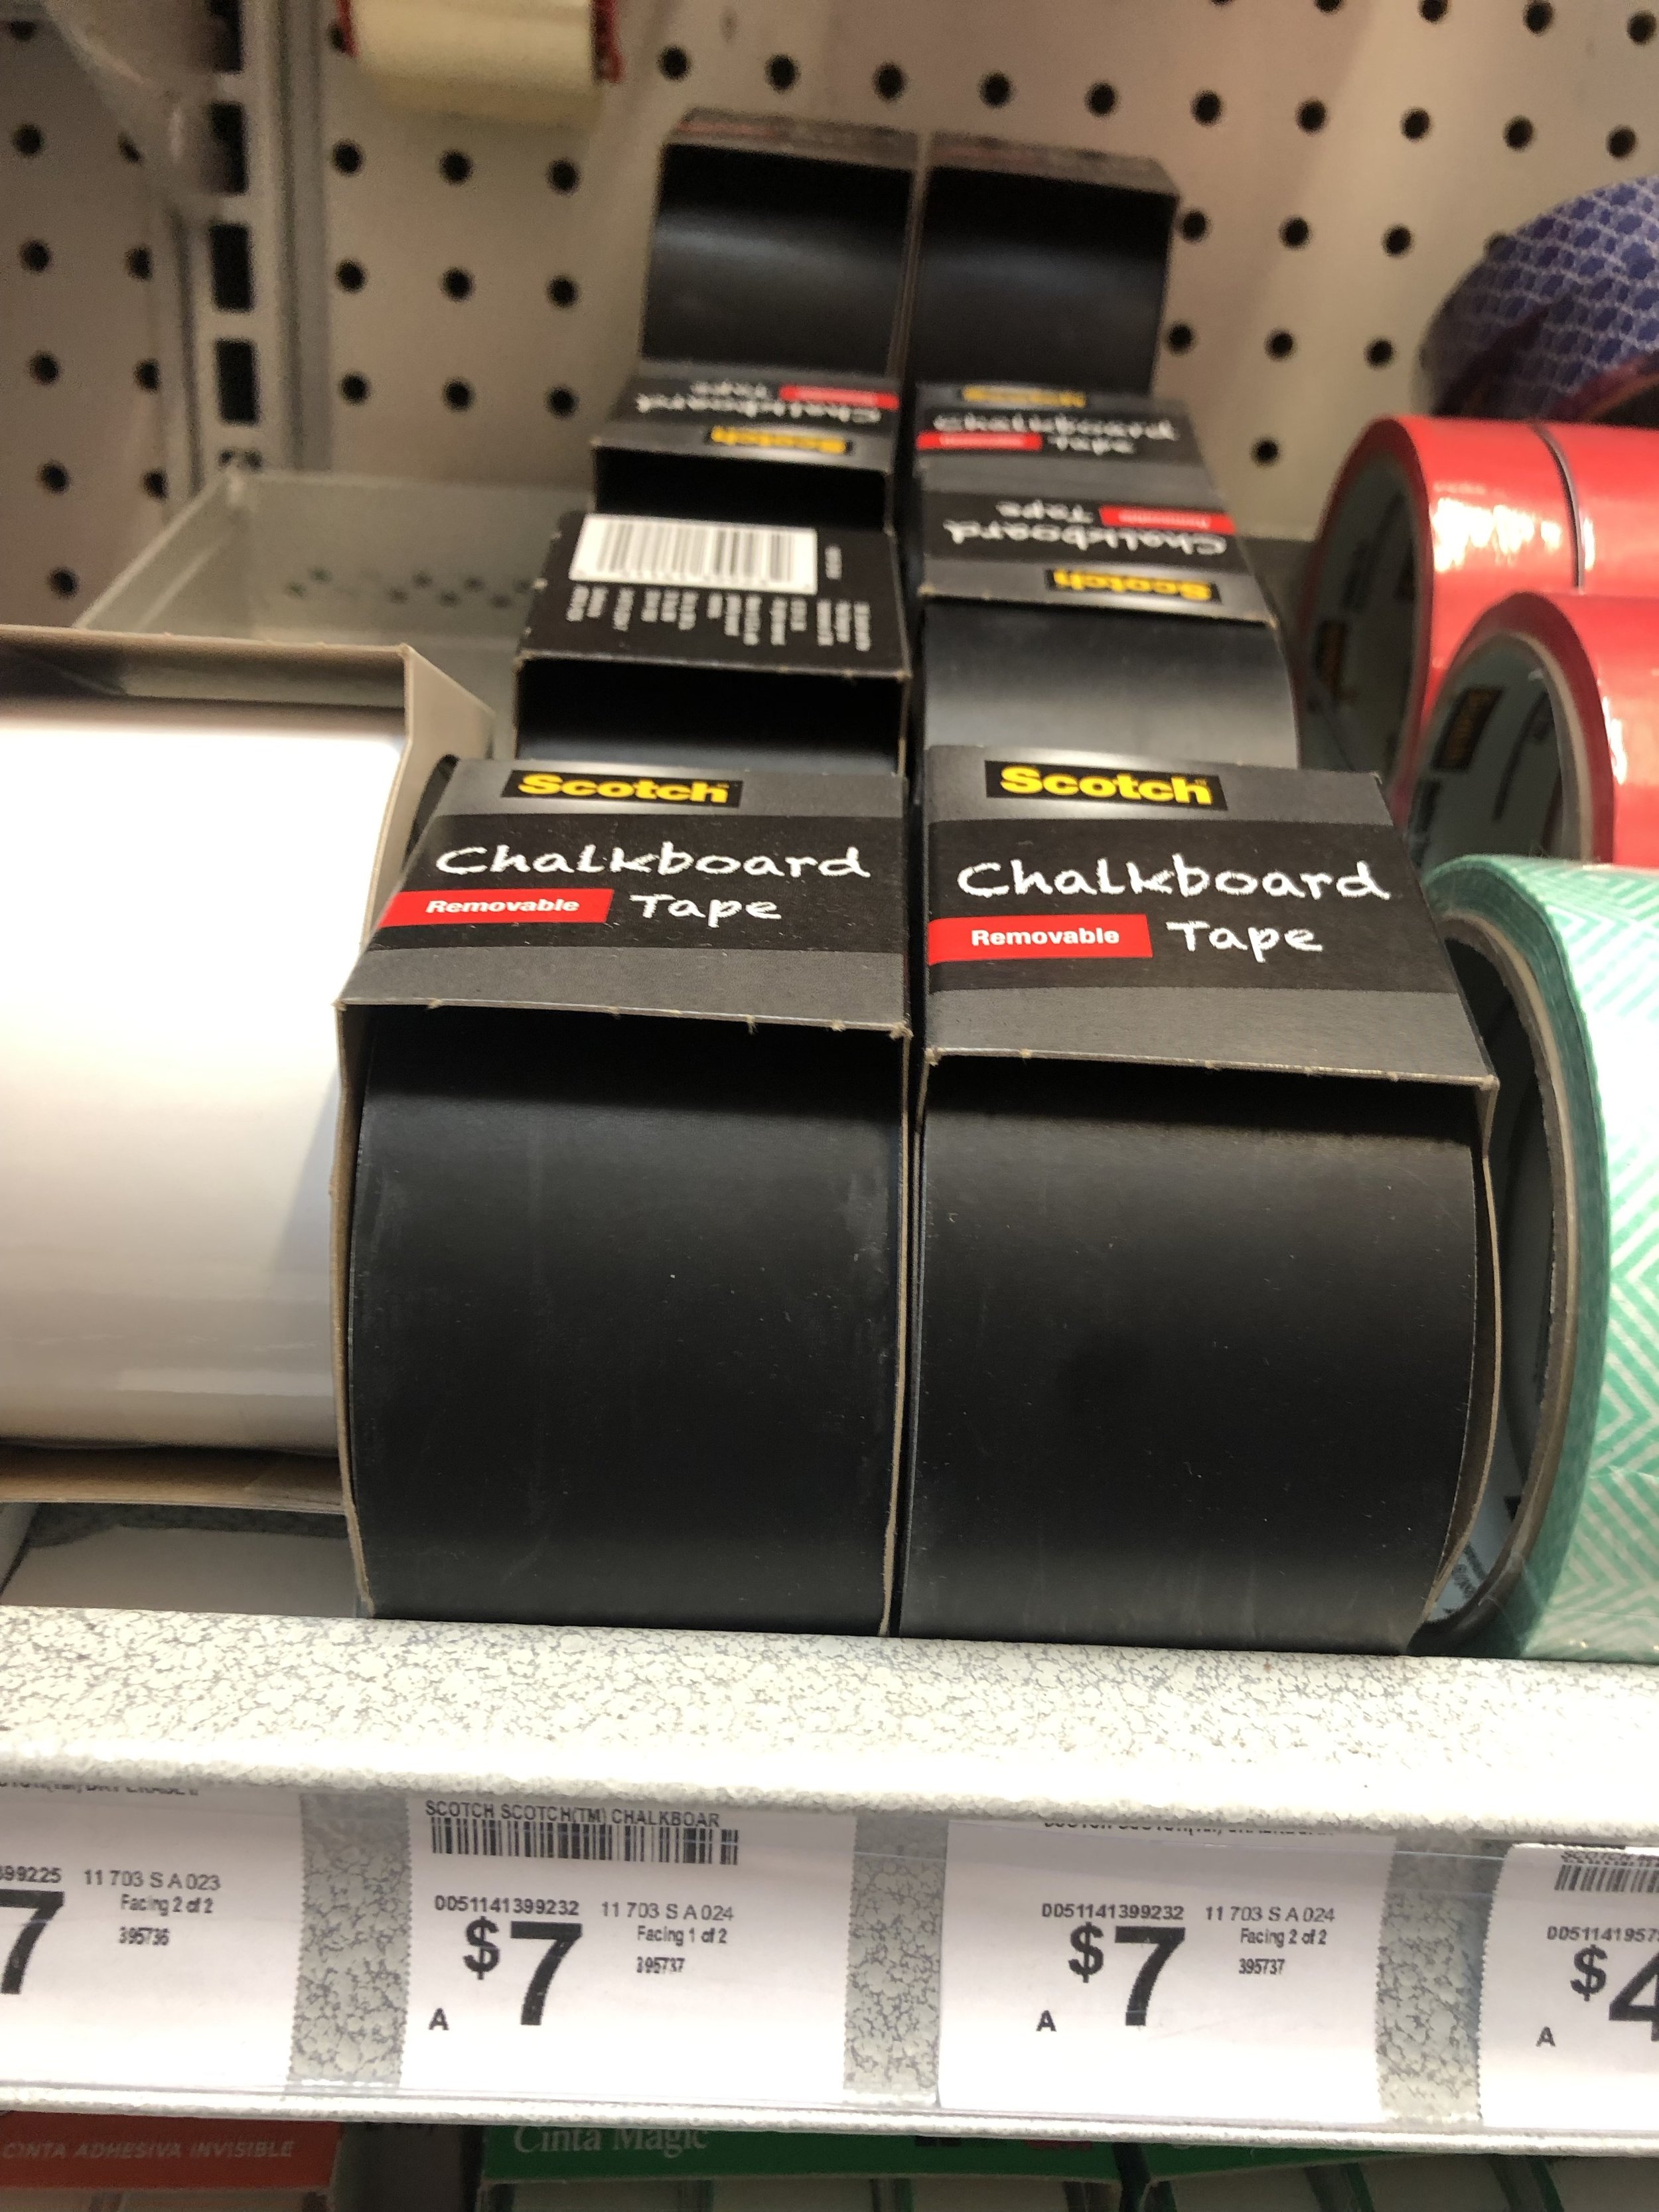
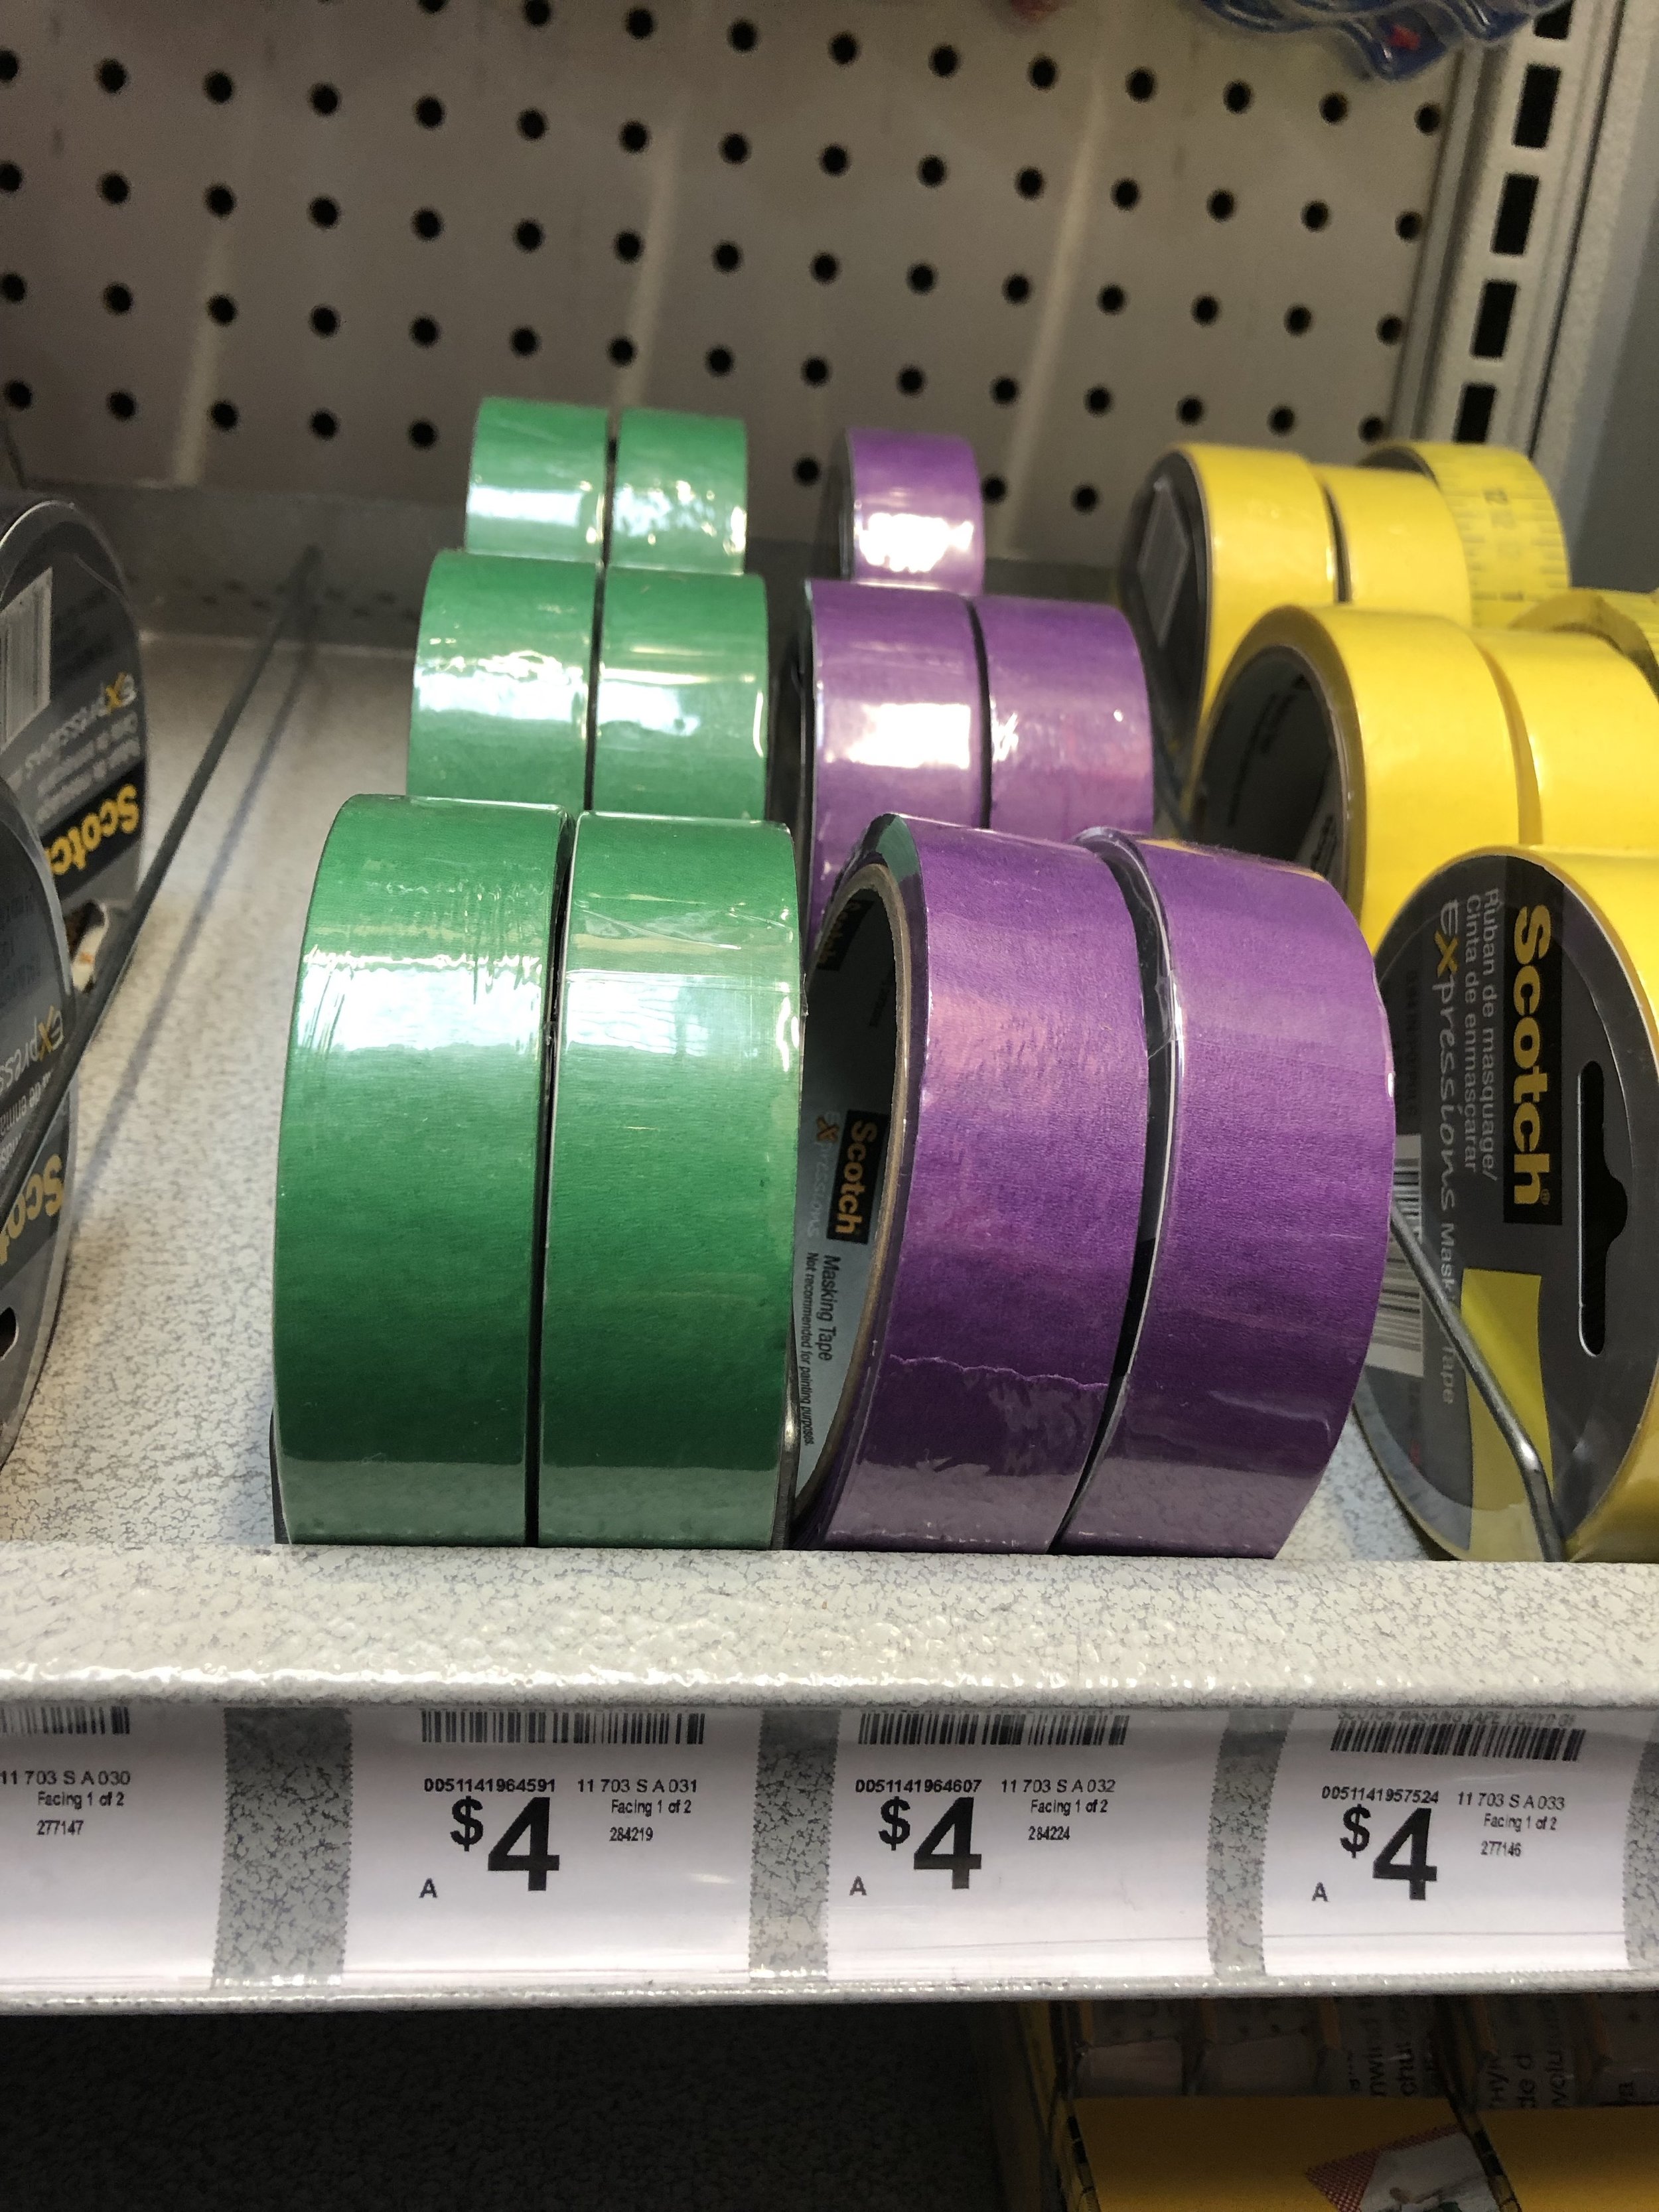
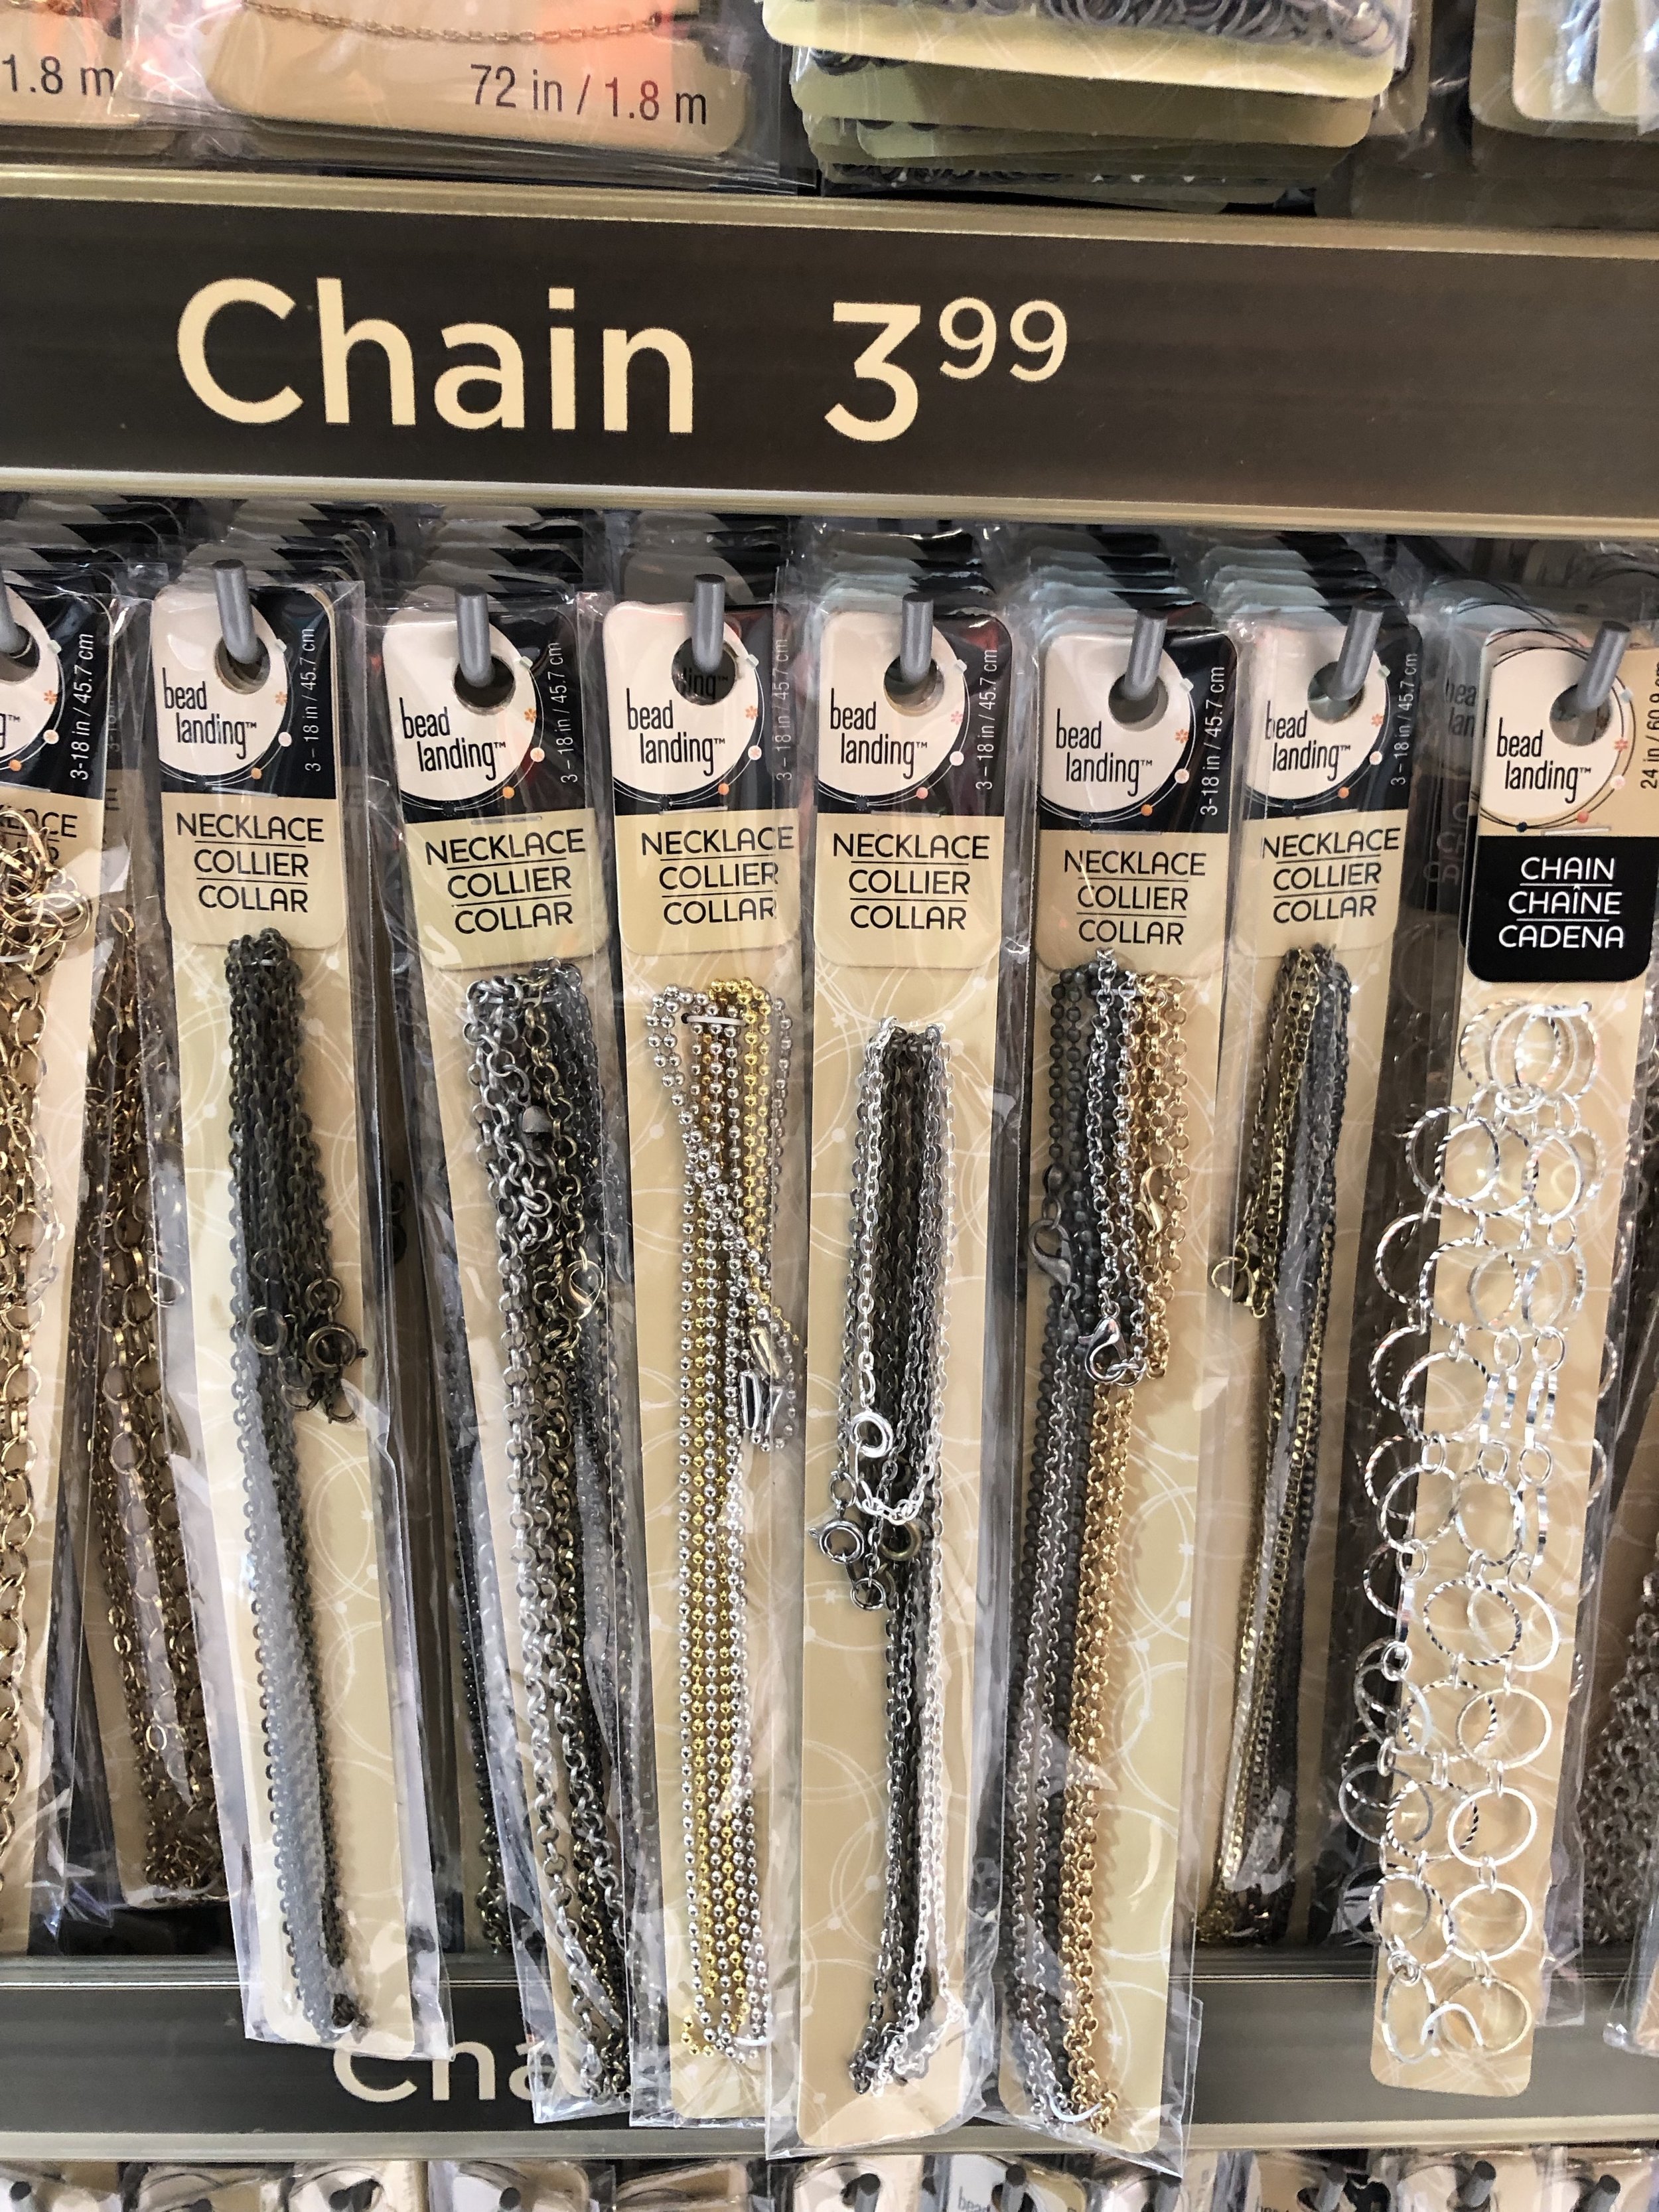
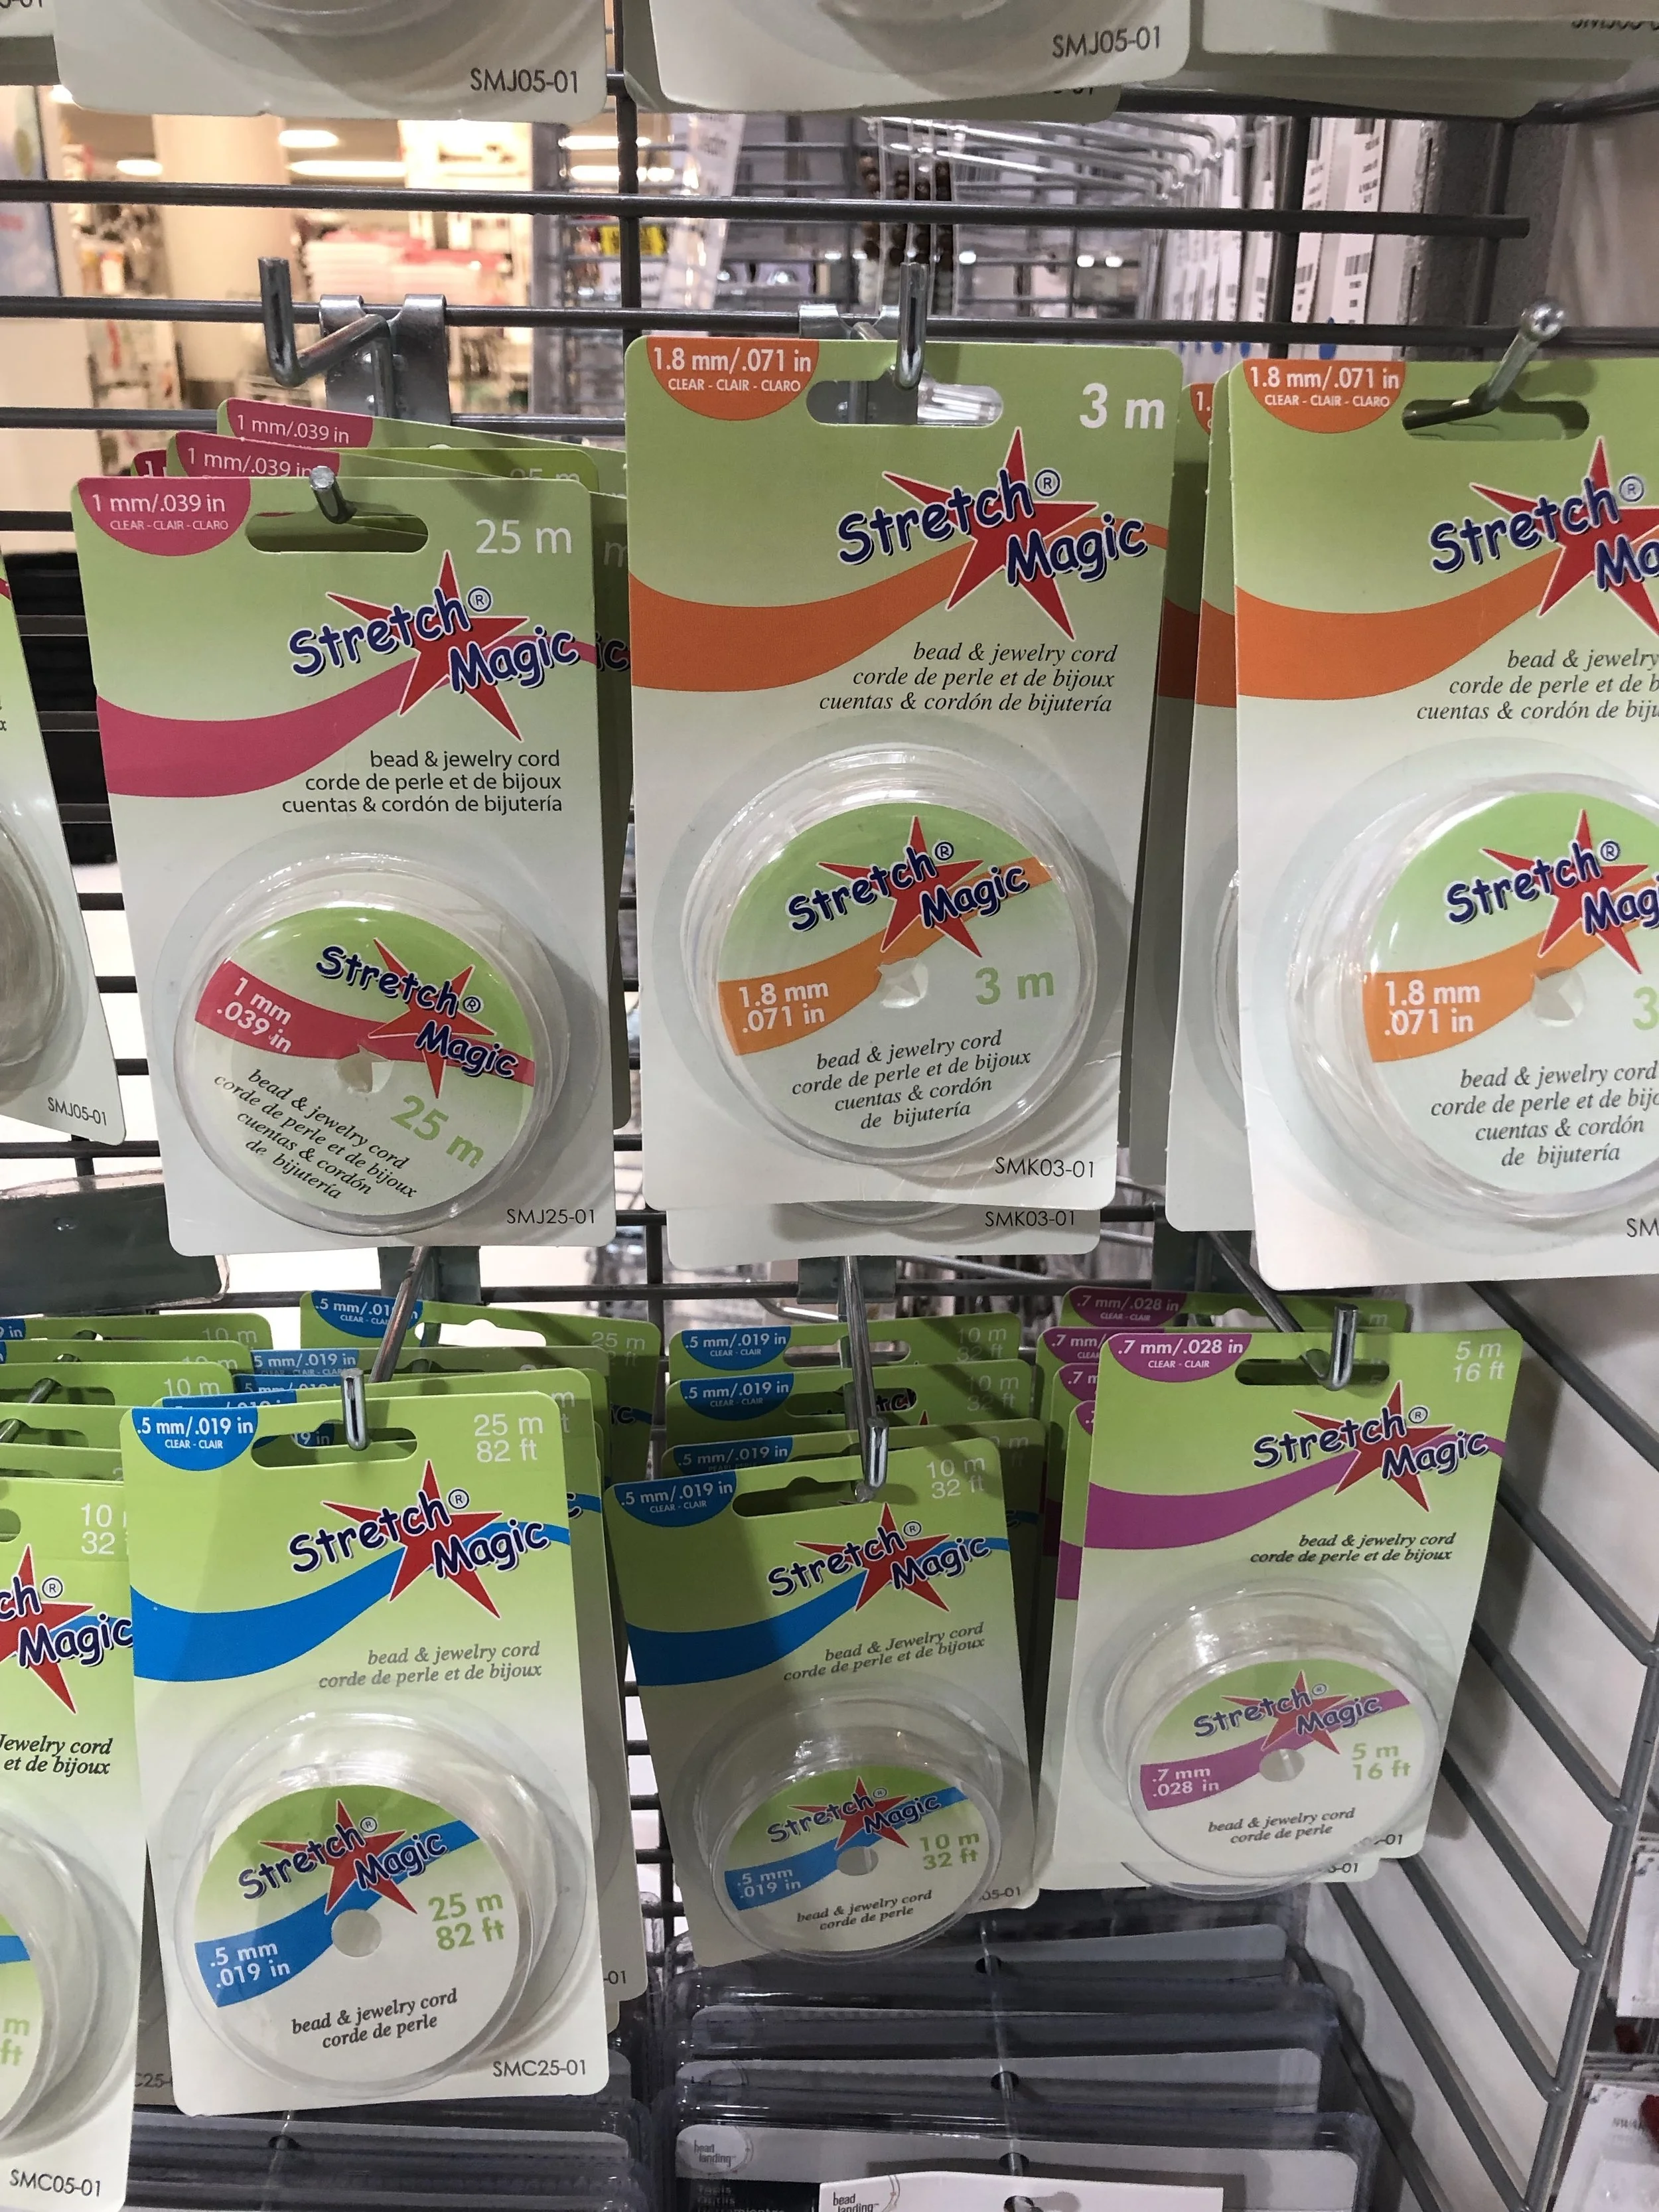
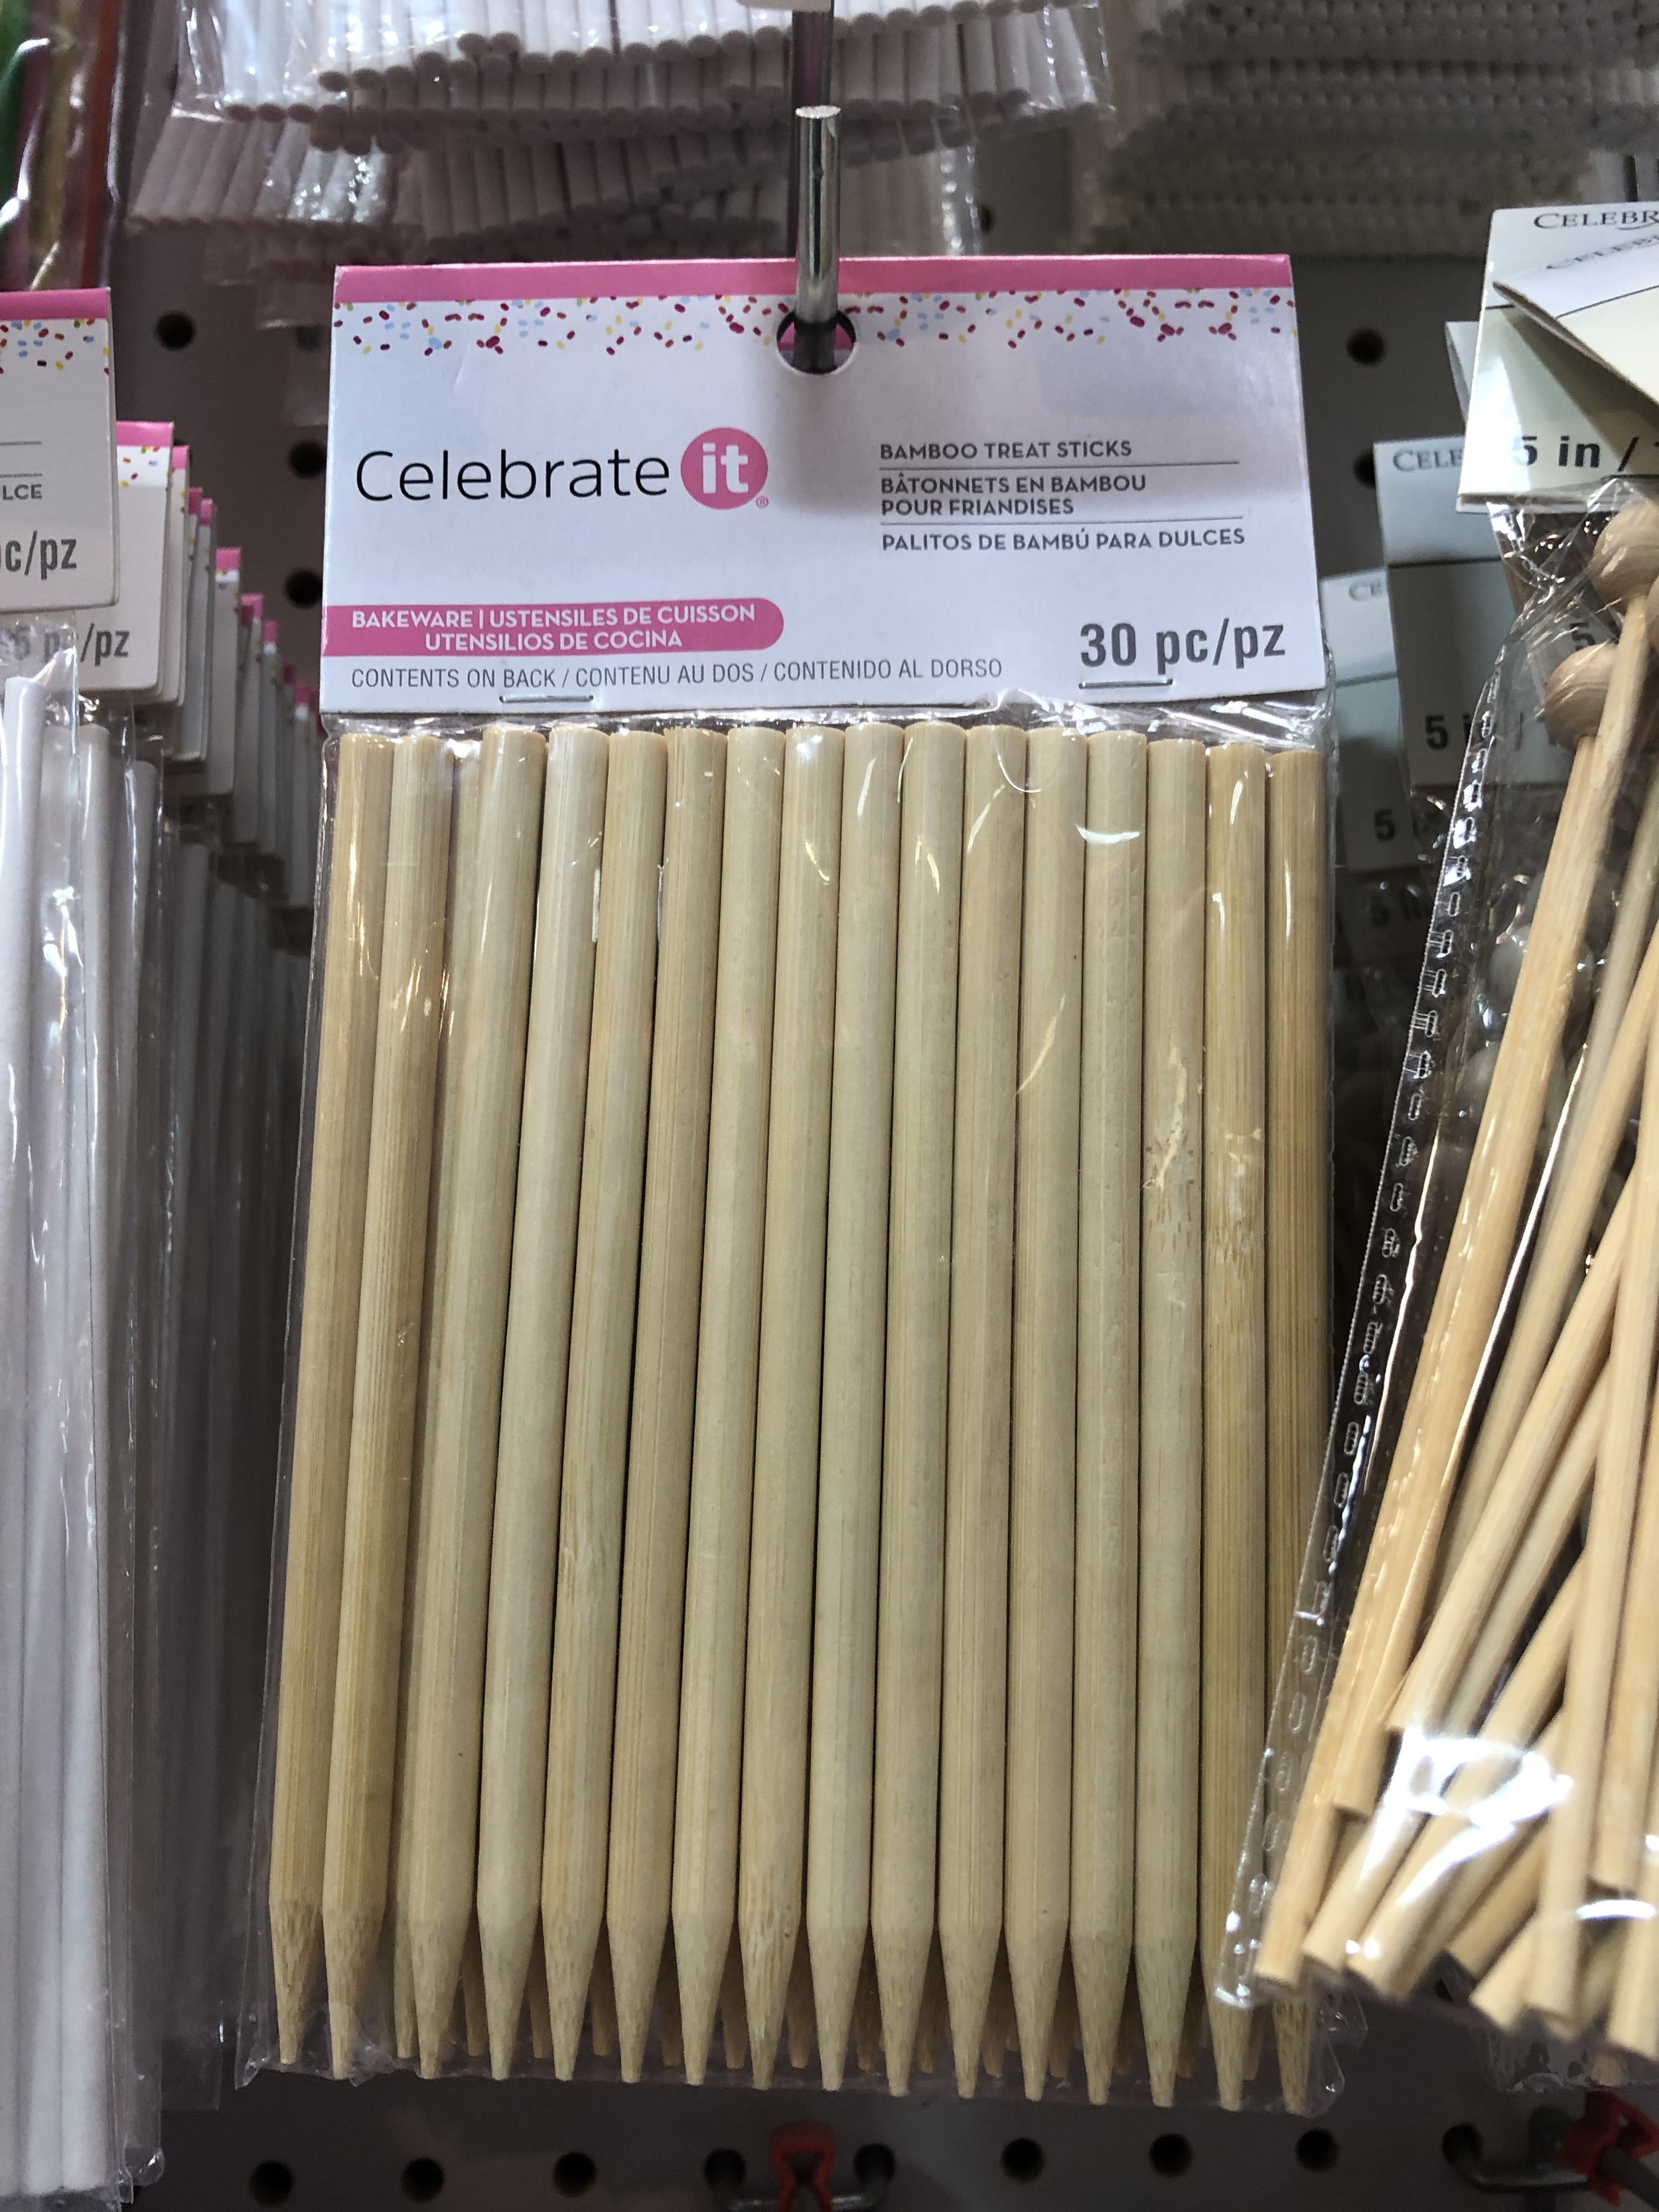
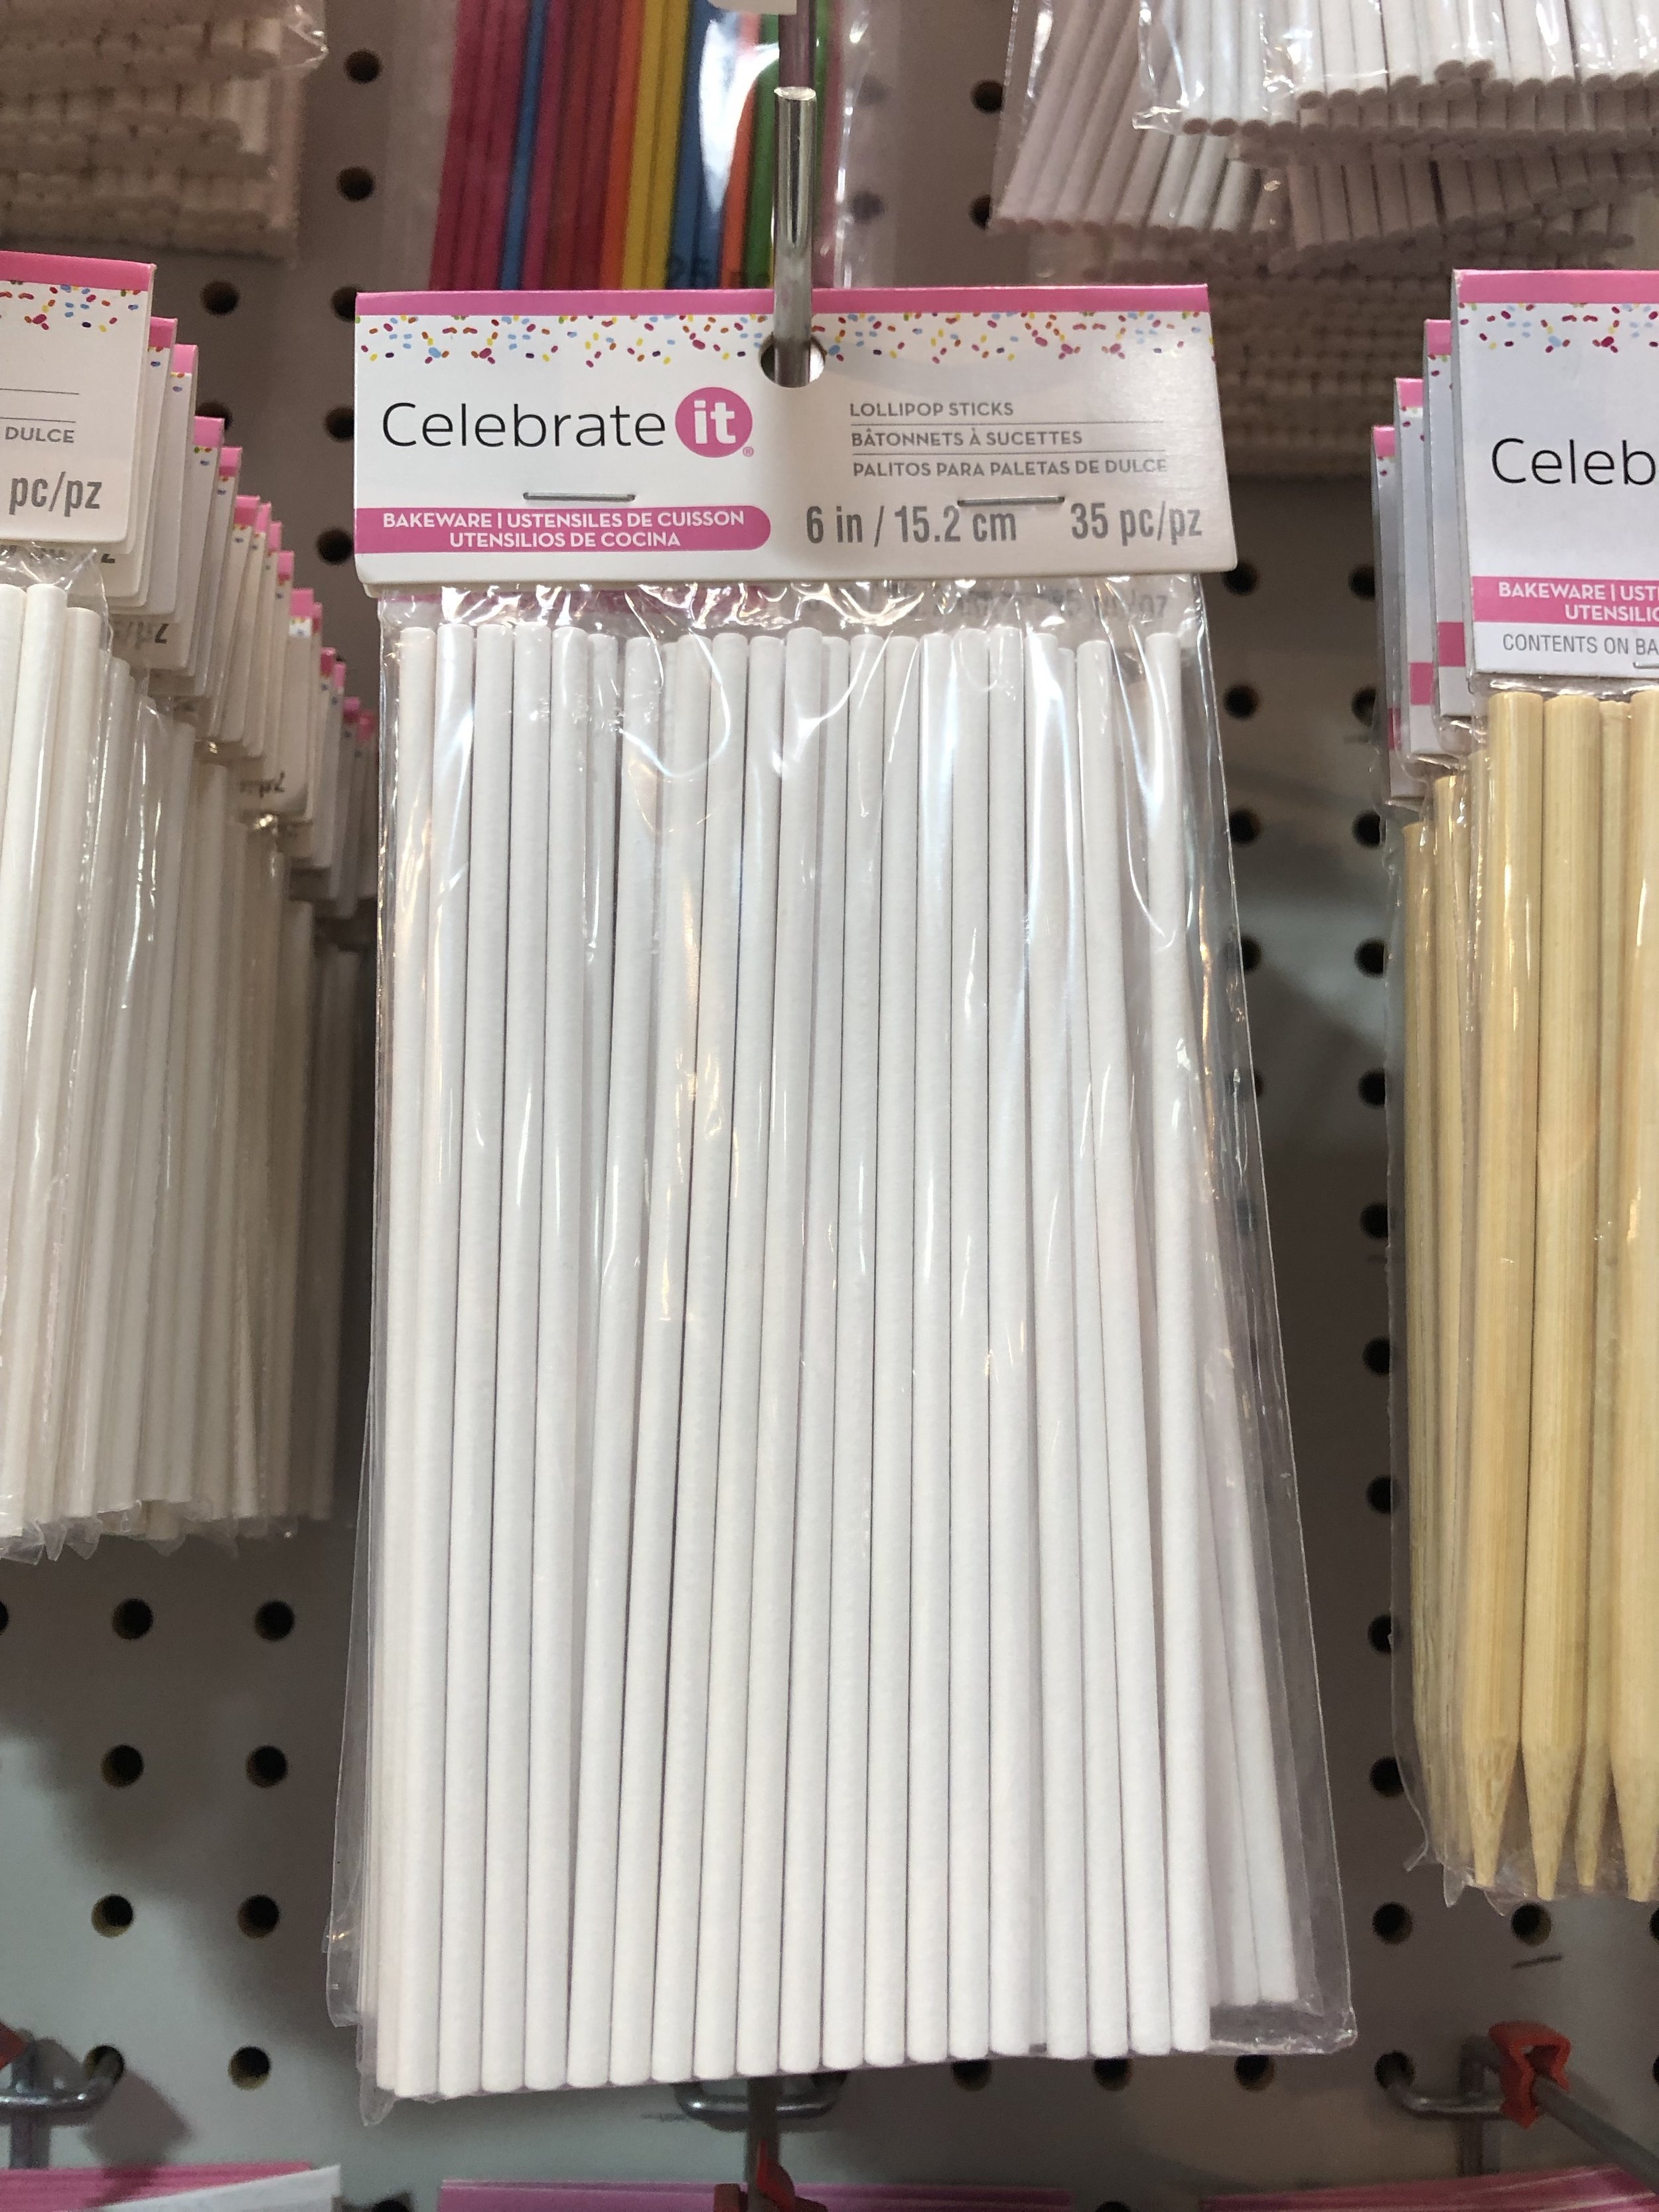
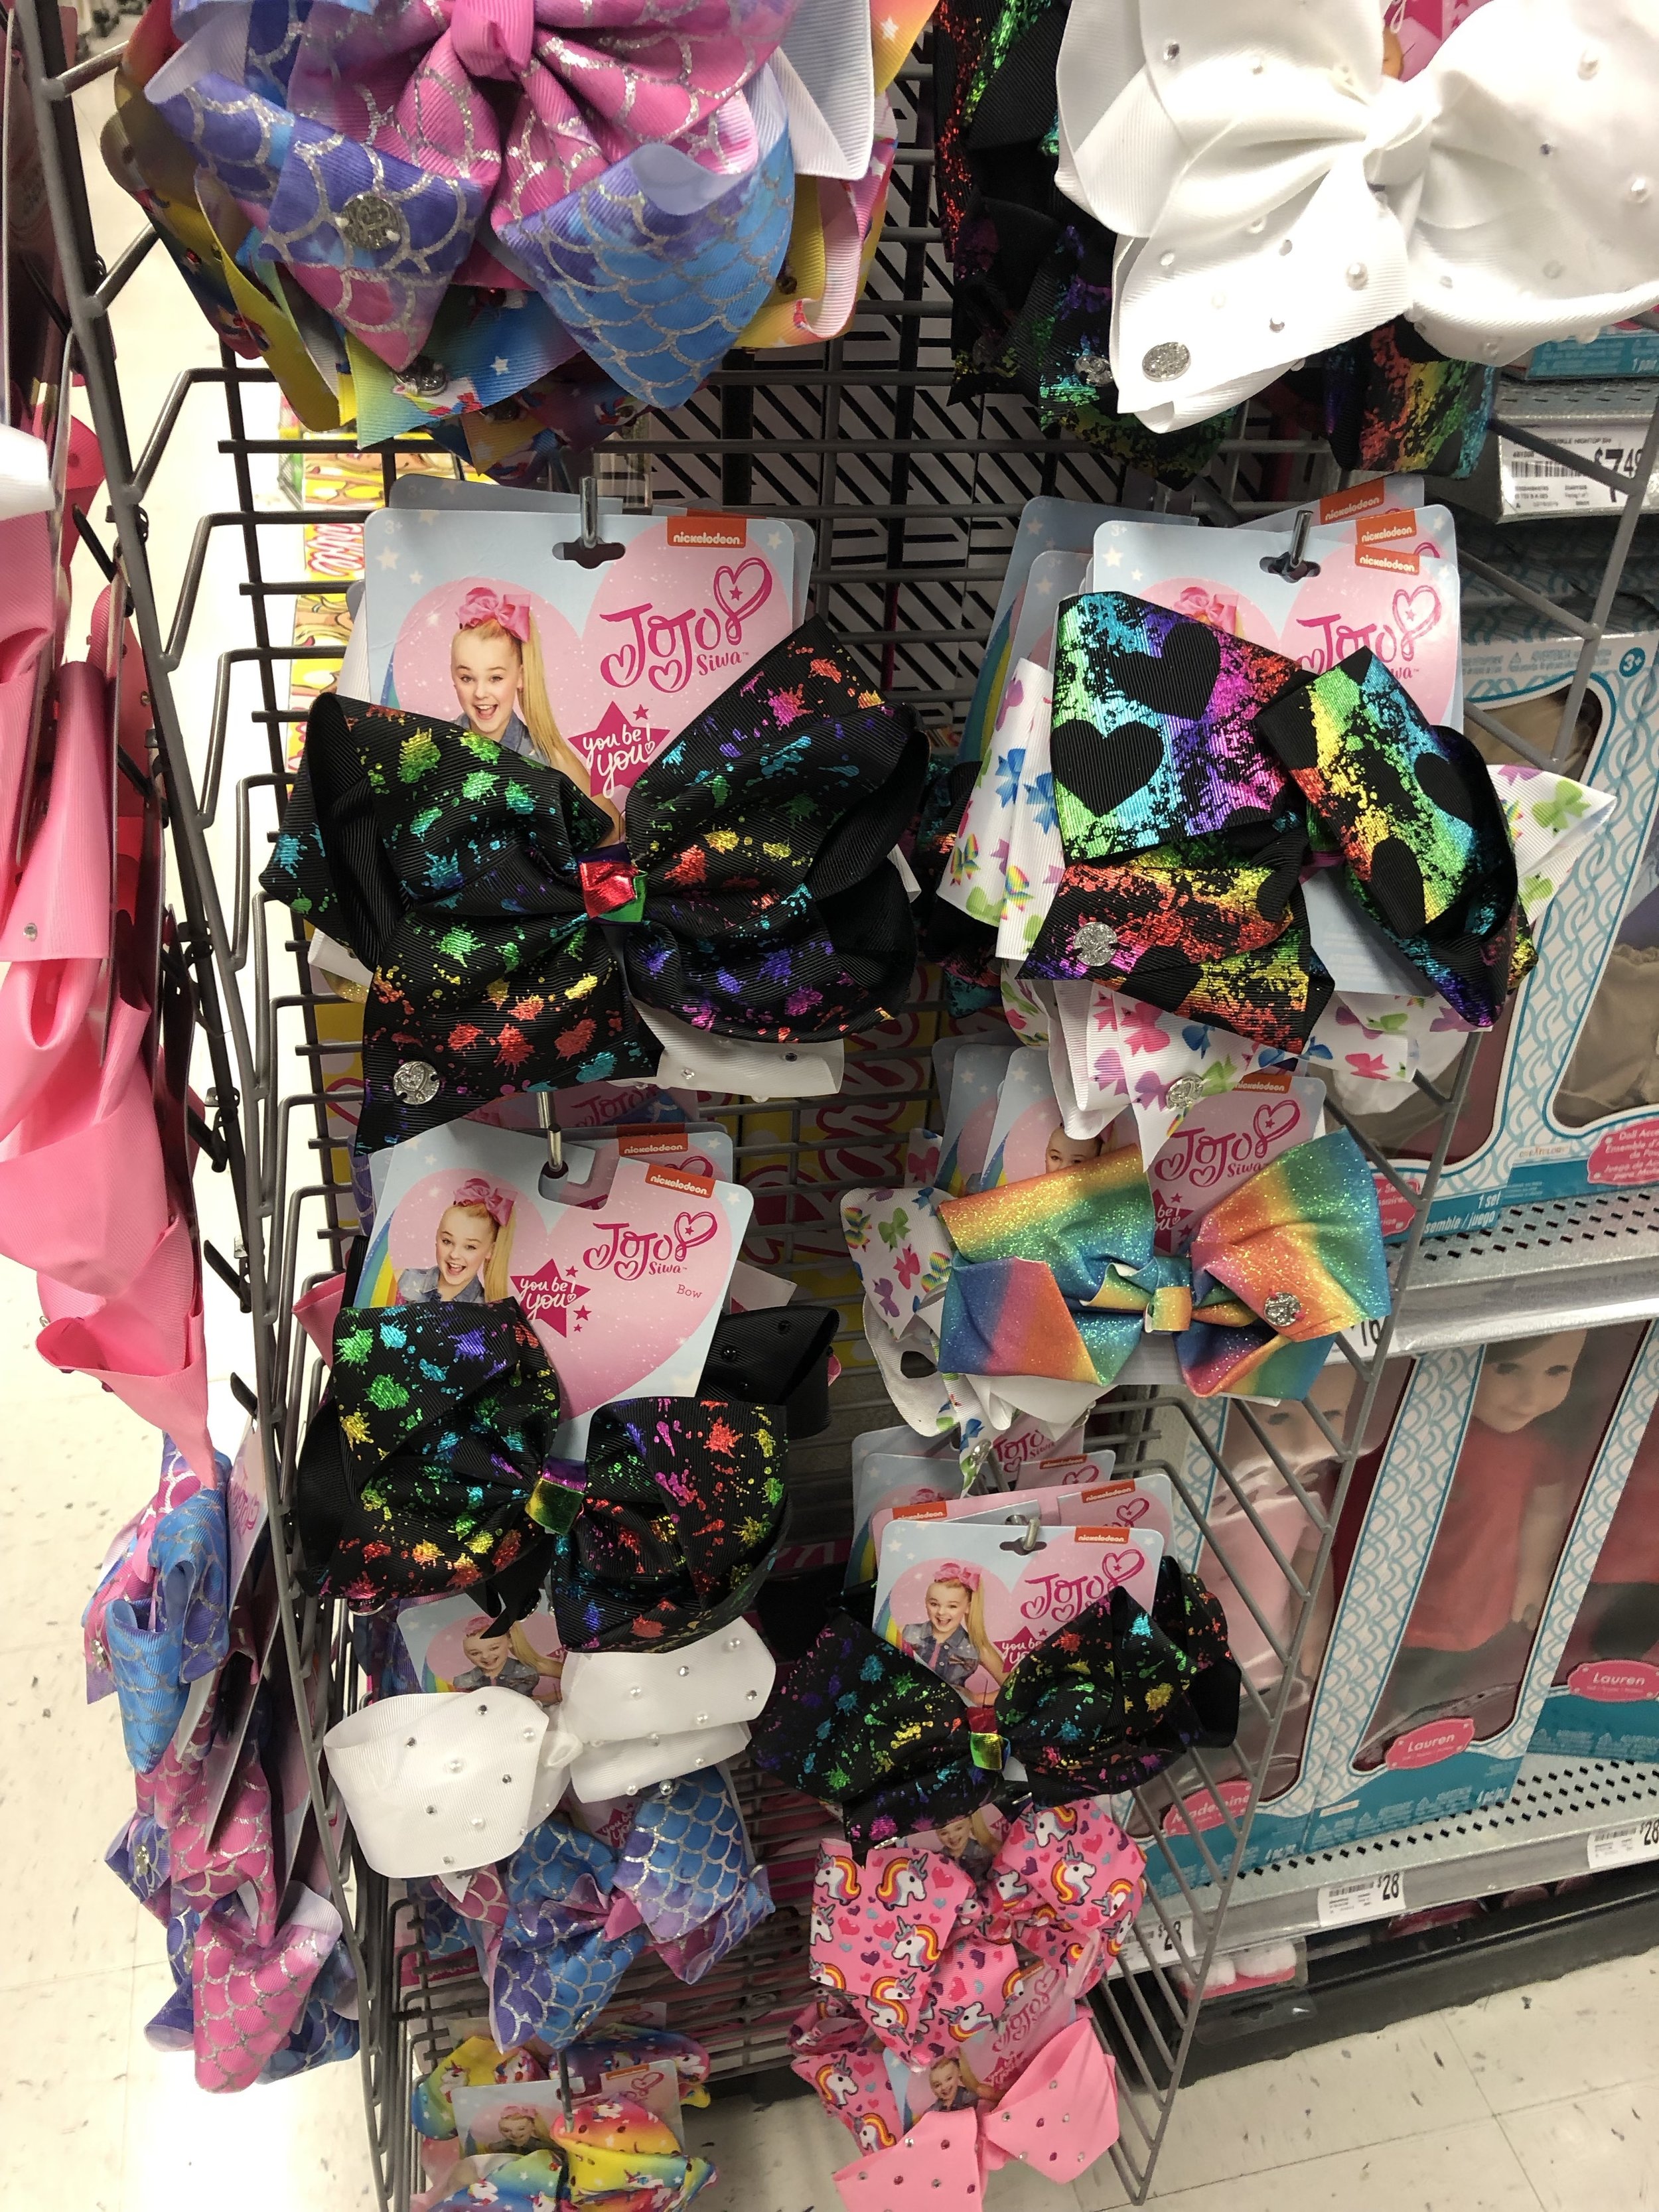
I decided to take on Michaels as my big box exploration for soft materials hunt began. I found that the Manhattan location was the best and preceded to loose an hour exploring the depths of the store. I found a new adventure at every aisle and saw so much project potential with all that I surveyed.
Michaels is the epicenter of all things crafts - most materials used to craft are found within these walls and a good majority of the store can be utilized for soft materials projects. I included photos below of some of the more interesting items that caught my eye and inspired a spark of further exploration.


