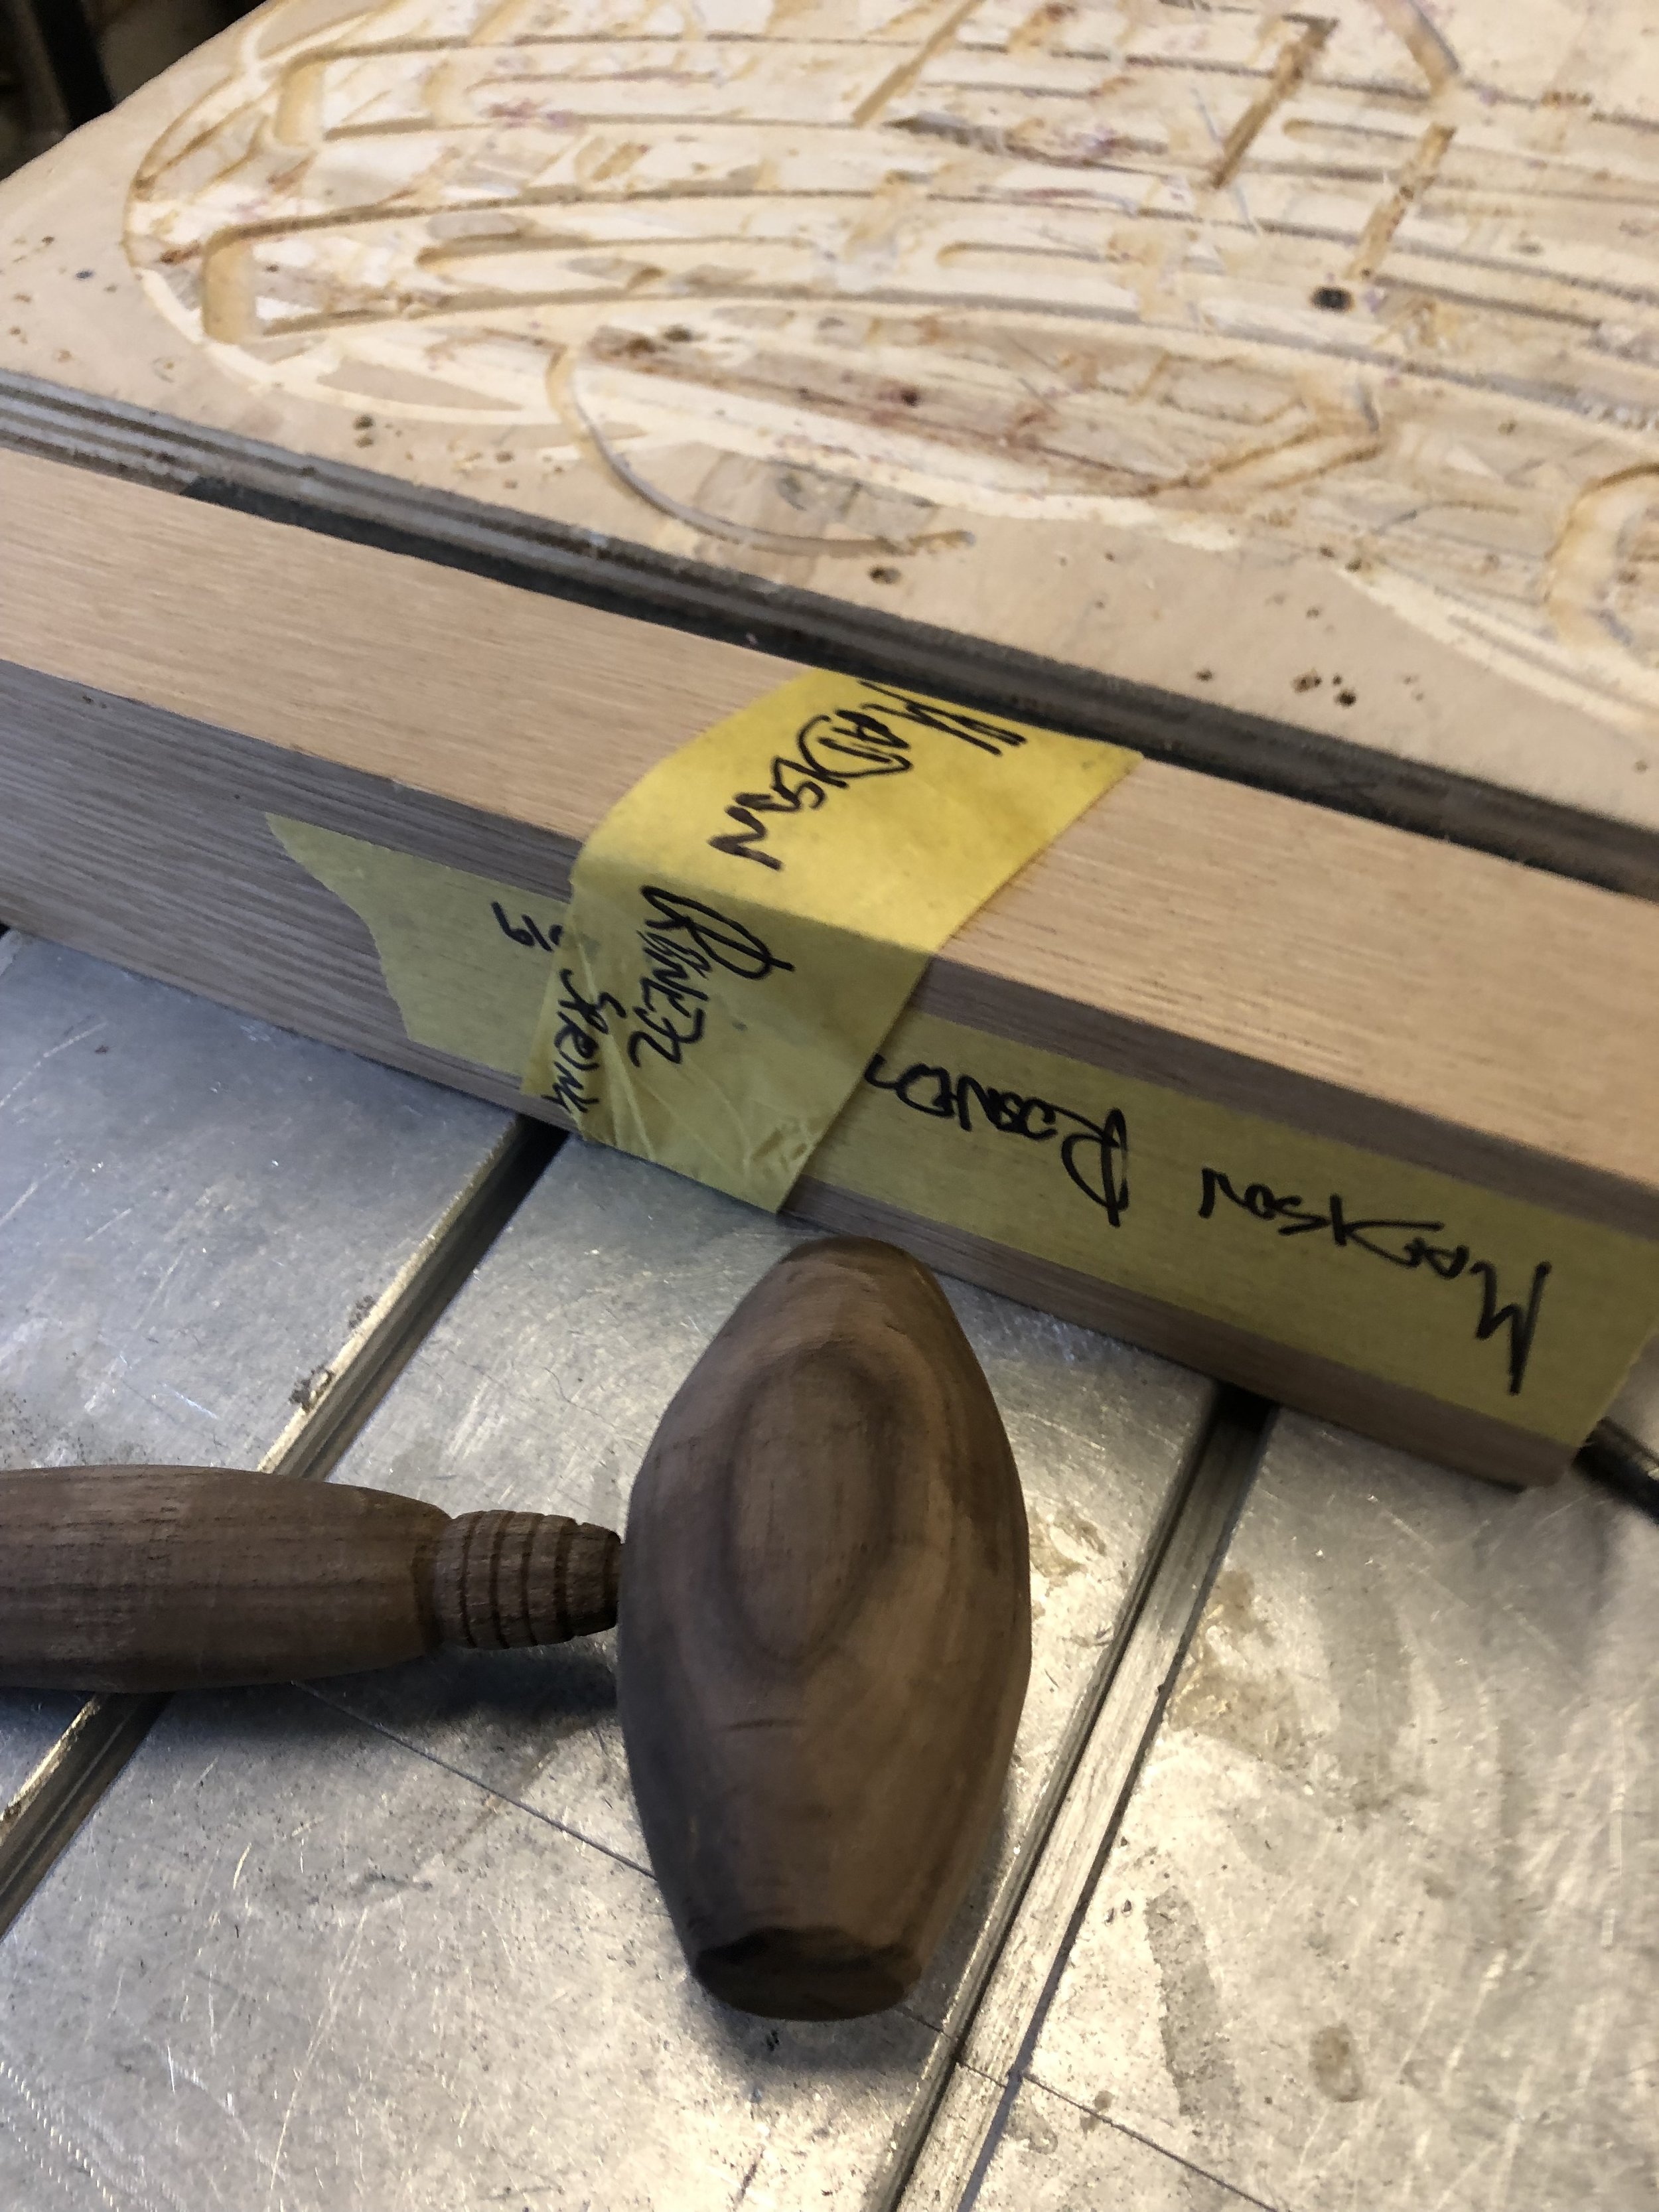
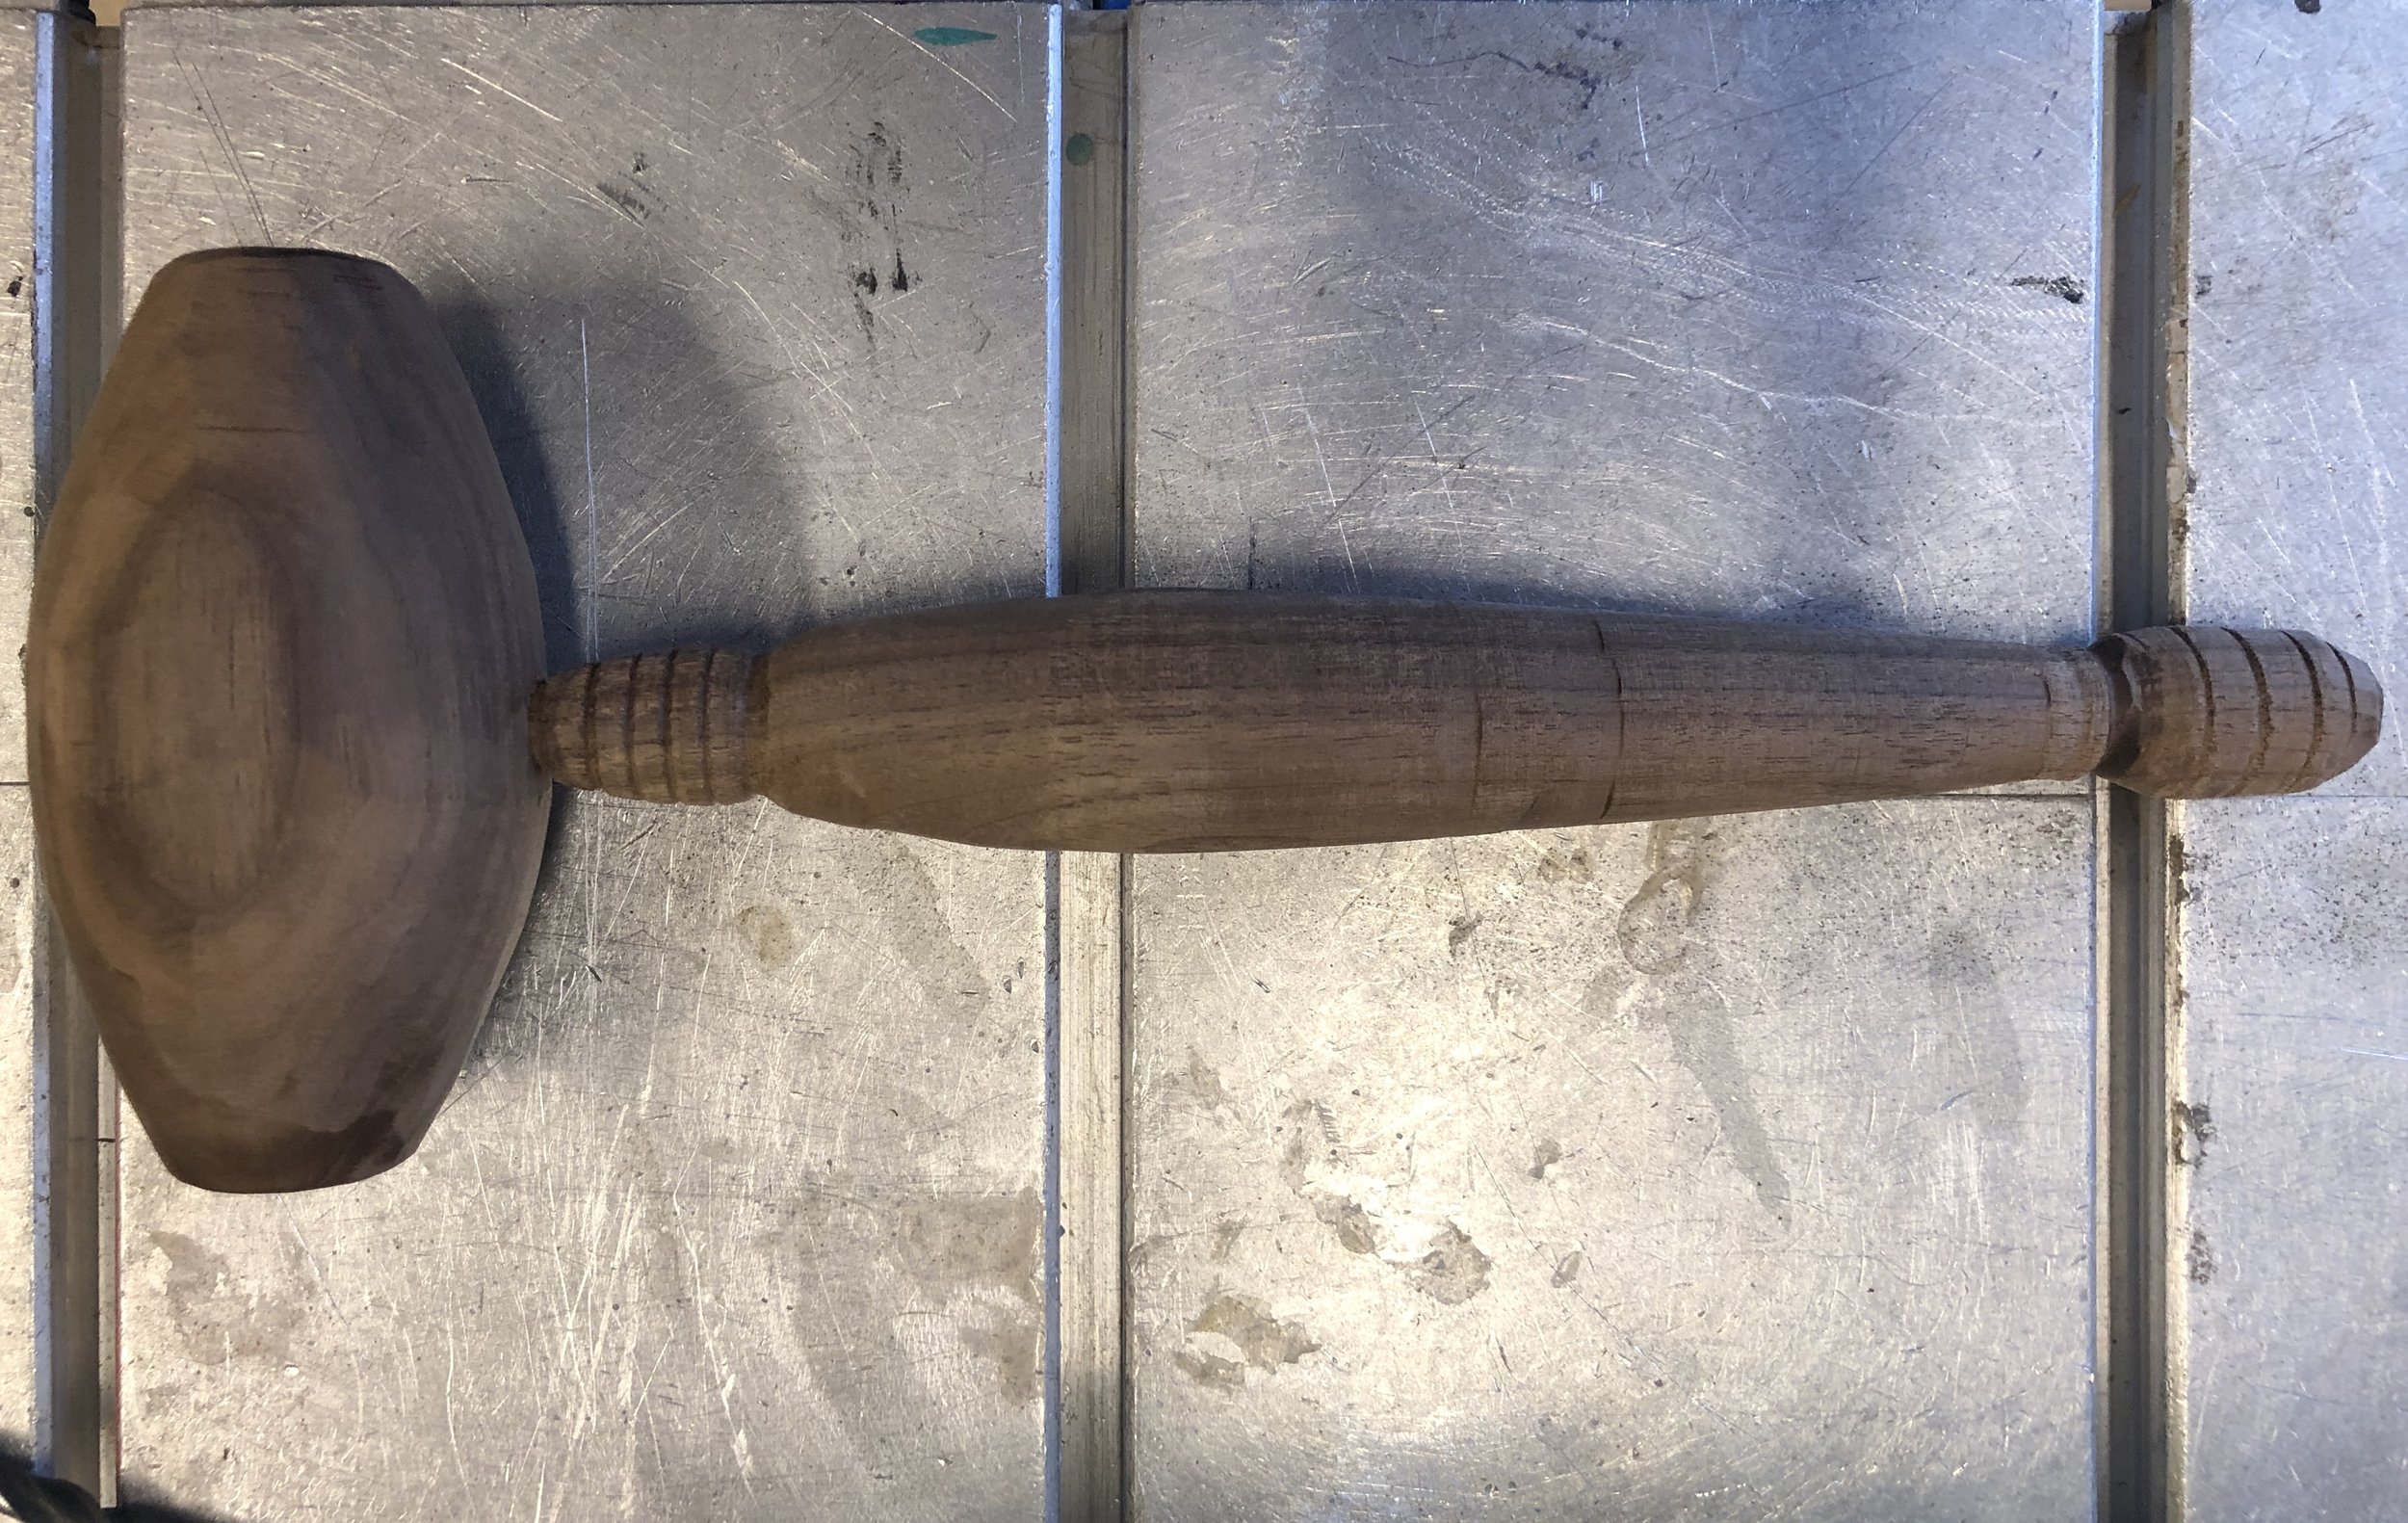
This week, we were assigned a project to turn a mallet on the lathe. This process involves several steps and separate turned pieces in order for it to come together into a finished product.
On Monday (2/11), I started out my journey of finding wood by heading up to the Bronx to go to Rosenzweig Lumber & Plywood Corp to see what my options were. I learned quickly after visiting the office that they only sold 8 foot long pieces and didn’t have any scrap wood or smaller pieces. When the puzzled look appeared on my face the kind woman at the desk mentioned that there was a carpentry shop next door and they could potentially cut the wood for me. I hadn’t seen any shops adjacent to the building, but trusted her guidance and entered the unmarked door next to the shop. Here in this warehouse was about a 20,000 square foot shop with every power tool possible to design any furniture piece anyone could ever conceptualize.
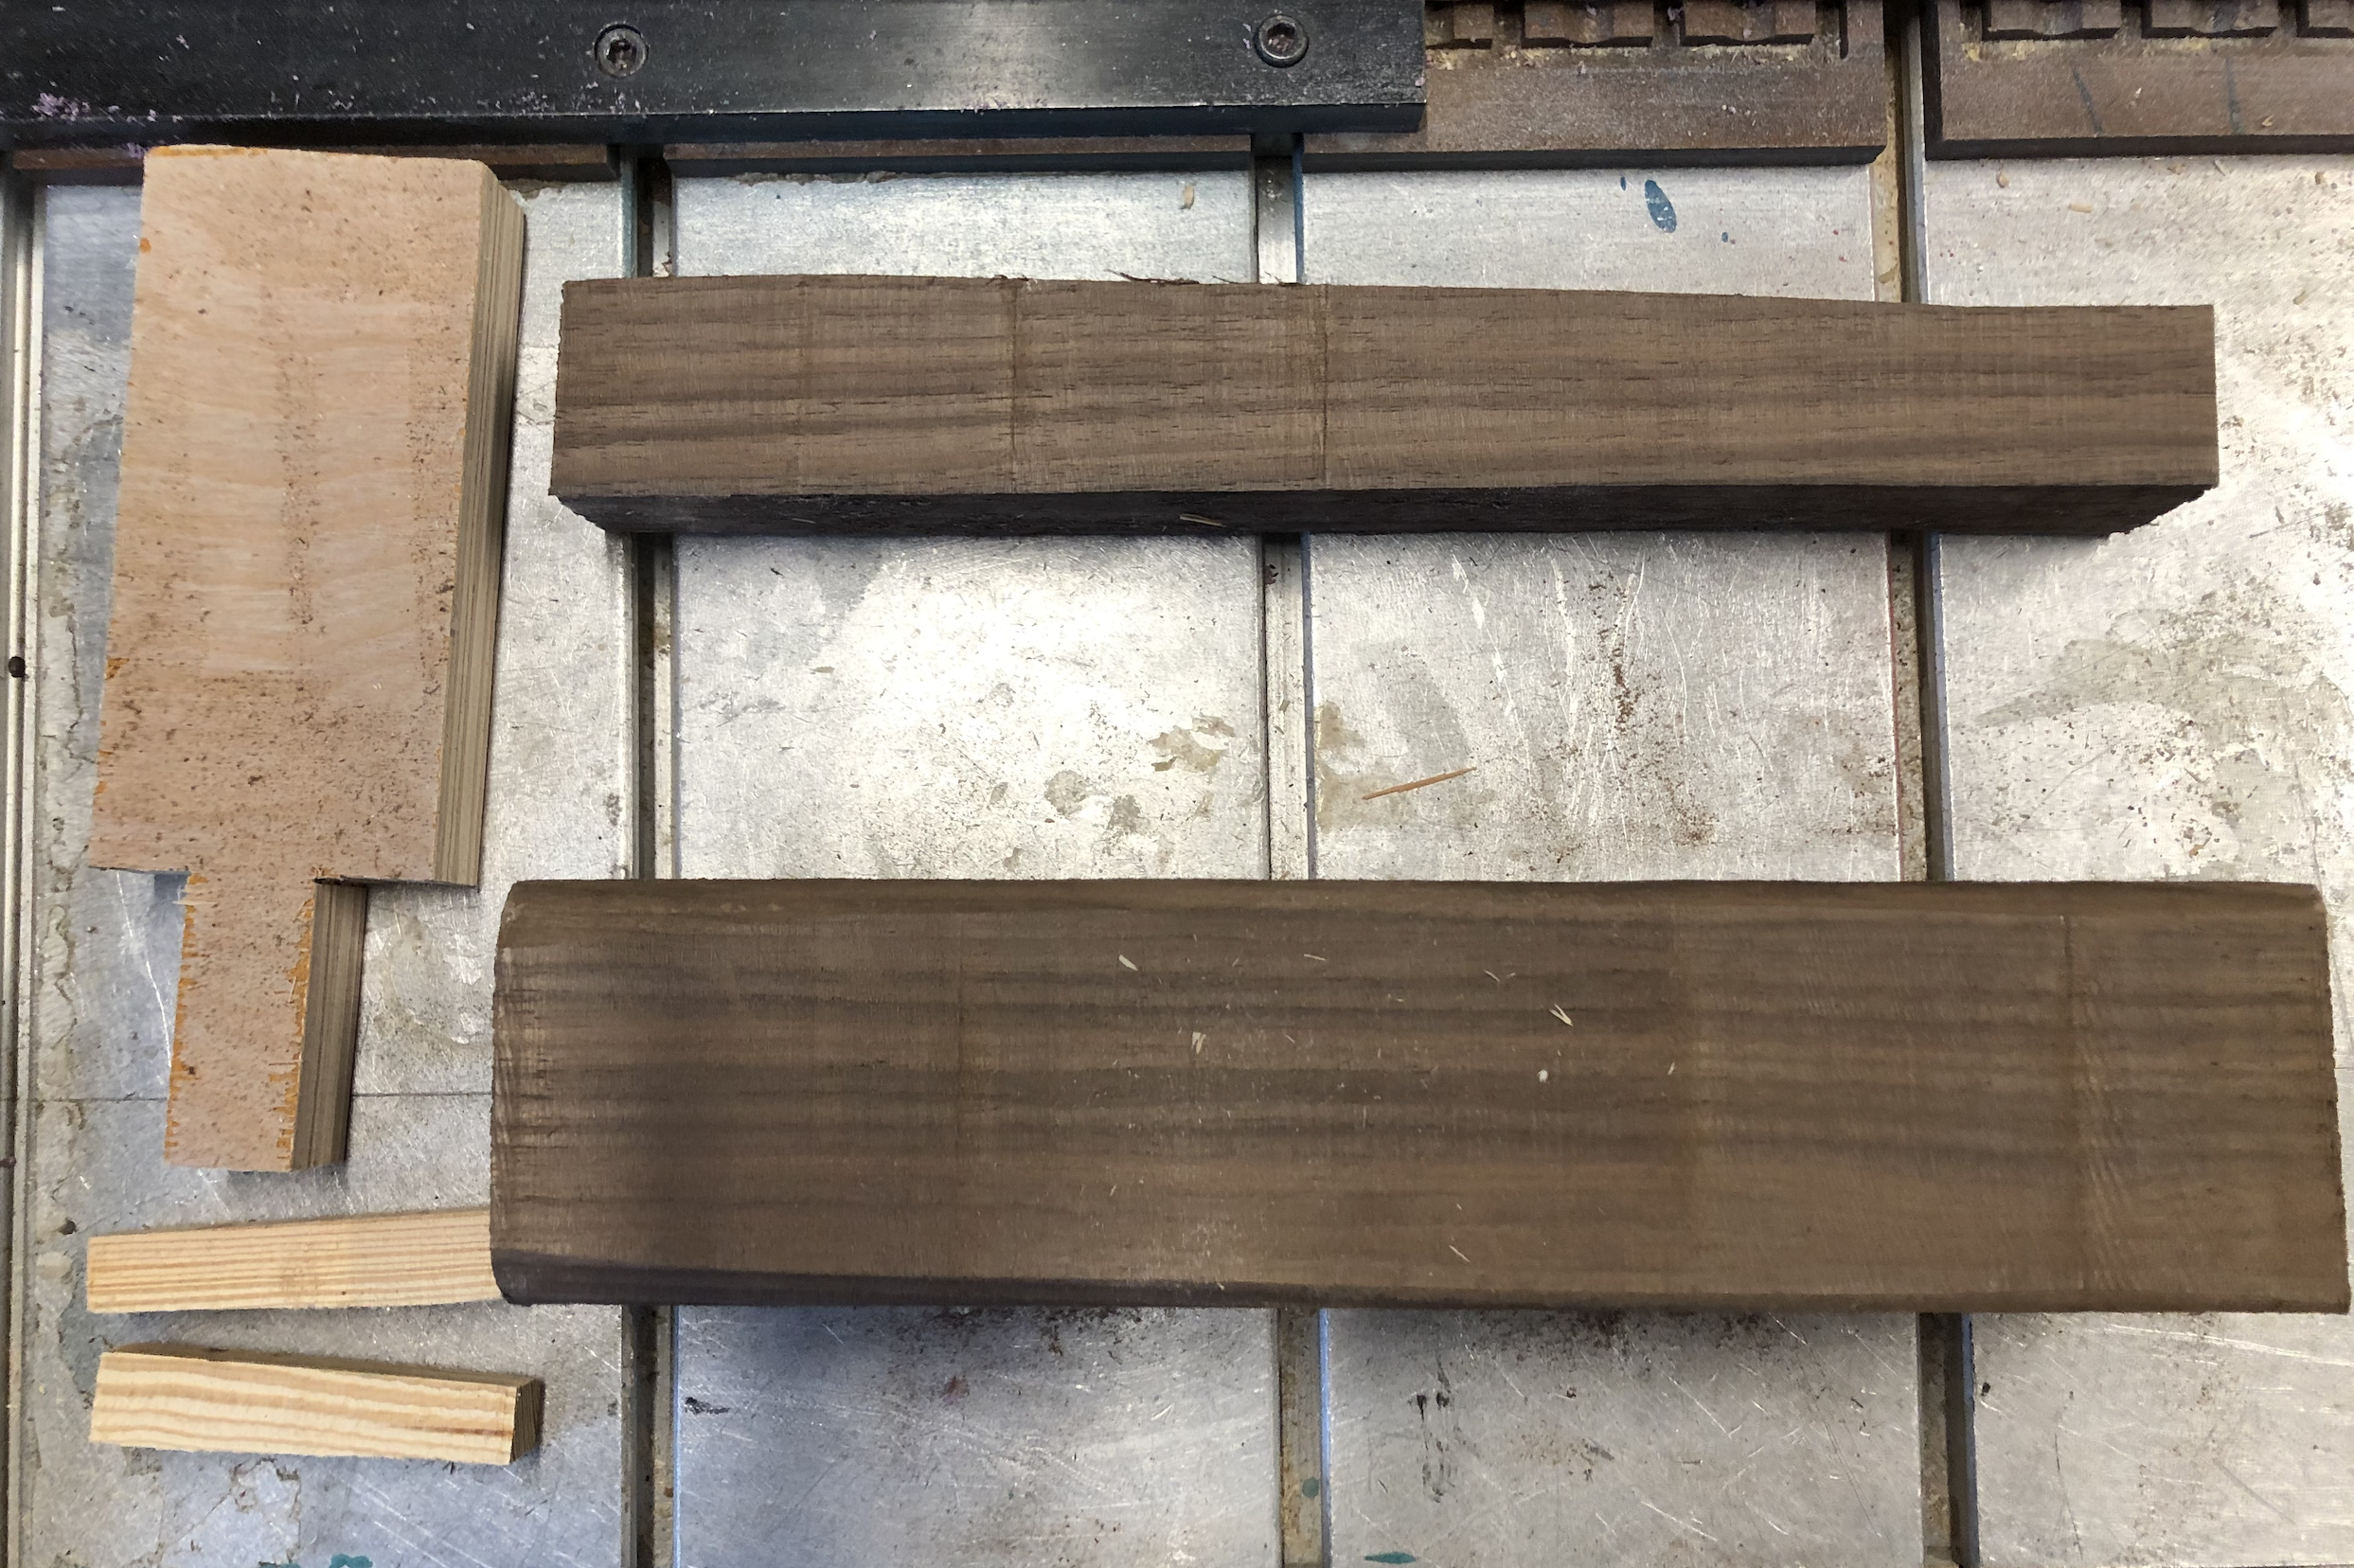
I quickly found a gentle shop worker by the name of Jorge and asked if he had any scraps around that I could buy off of him. First, he gave me a piece of pine, then some small oak planks, a large plank of poplar, and finally a huge chunk of walnut that looked as if it came from a beam or something — the piece was well-aged and had a rust stain on the side. I ended up walking away with all four pieces for $15. I asked Jorge for a card and found out a bit more about the company, Propylæa, which appears to and now have a contact for future projects that has some amazing talent and pieces to work with.
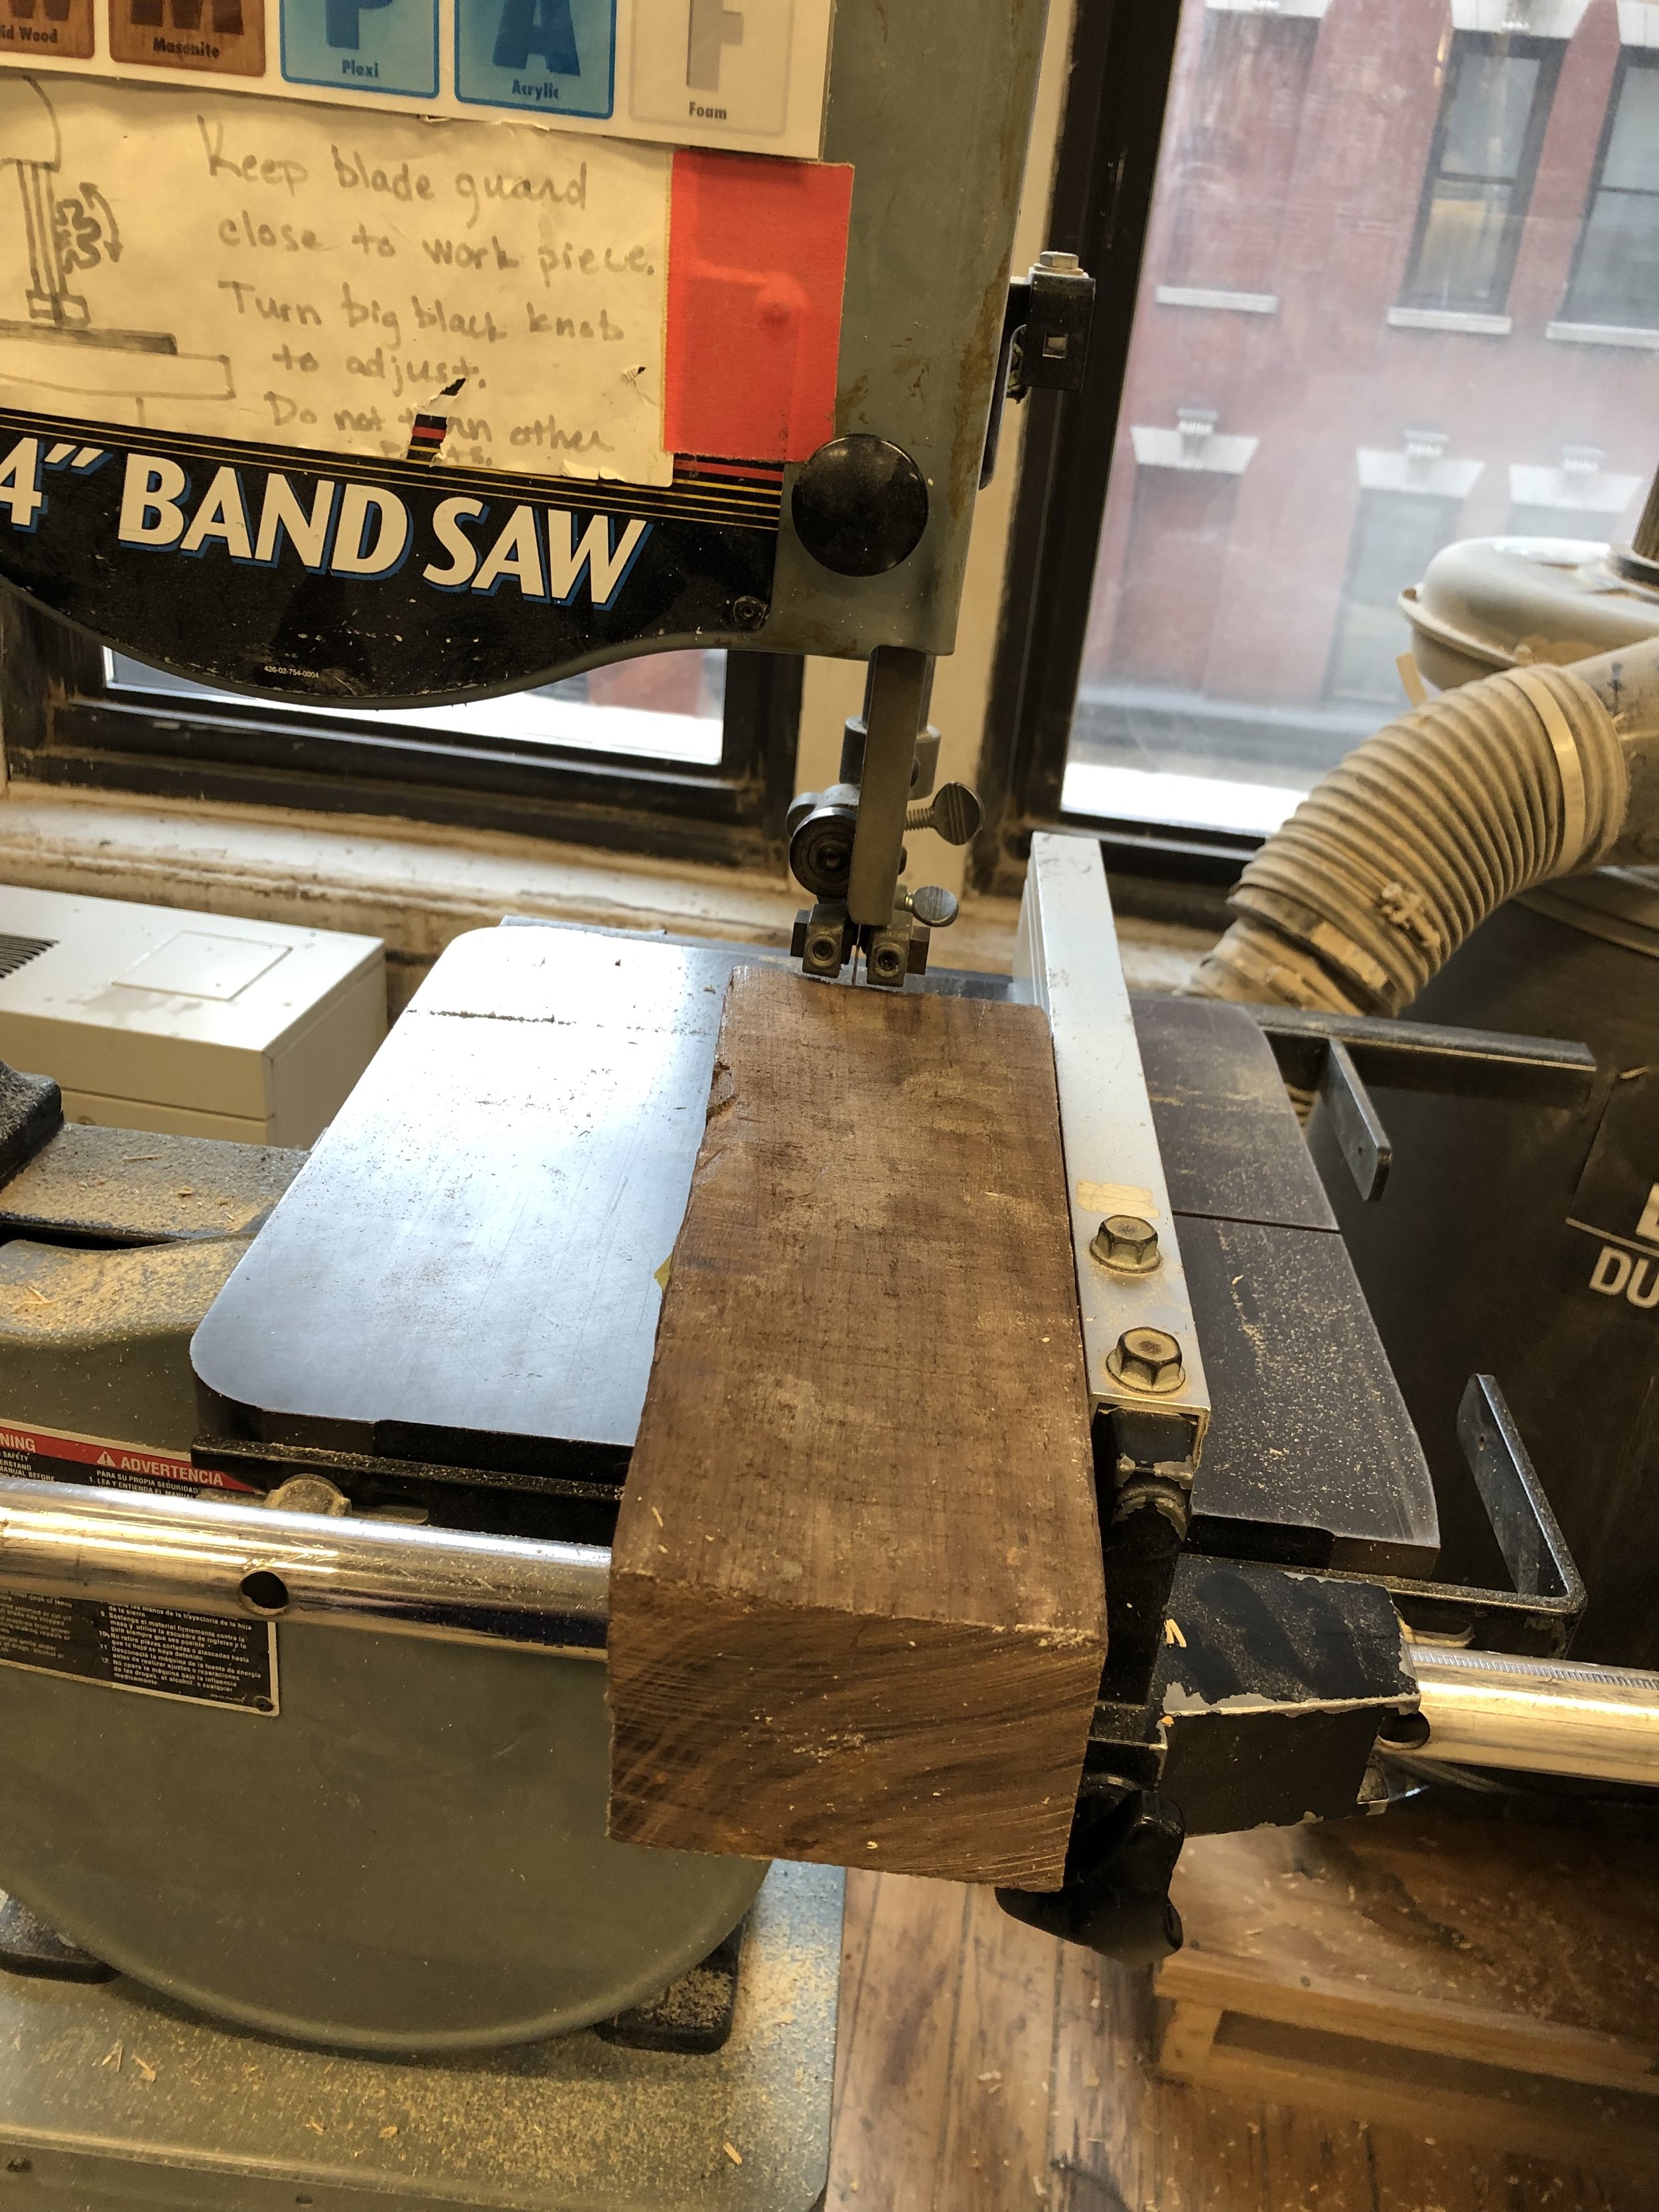
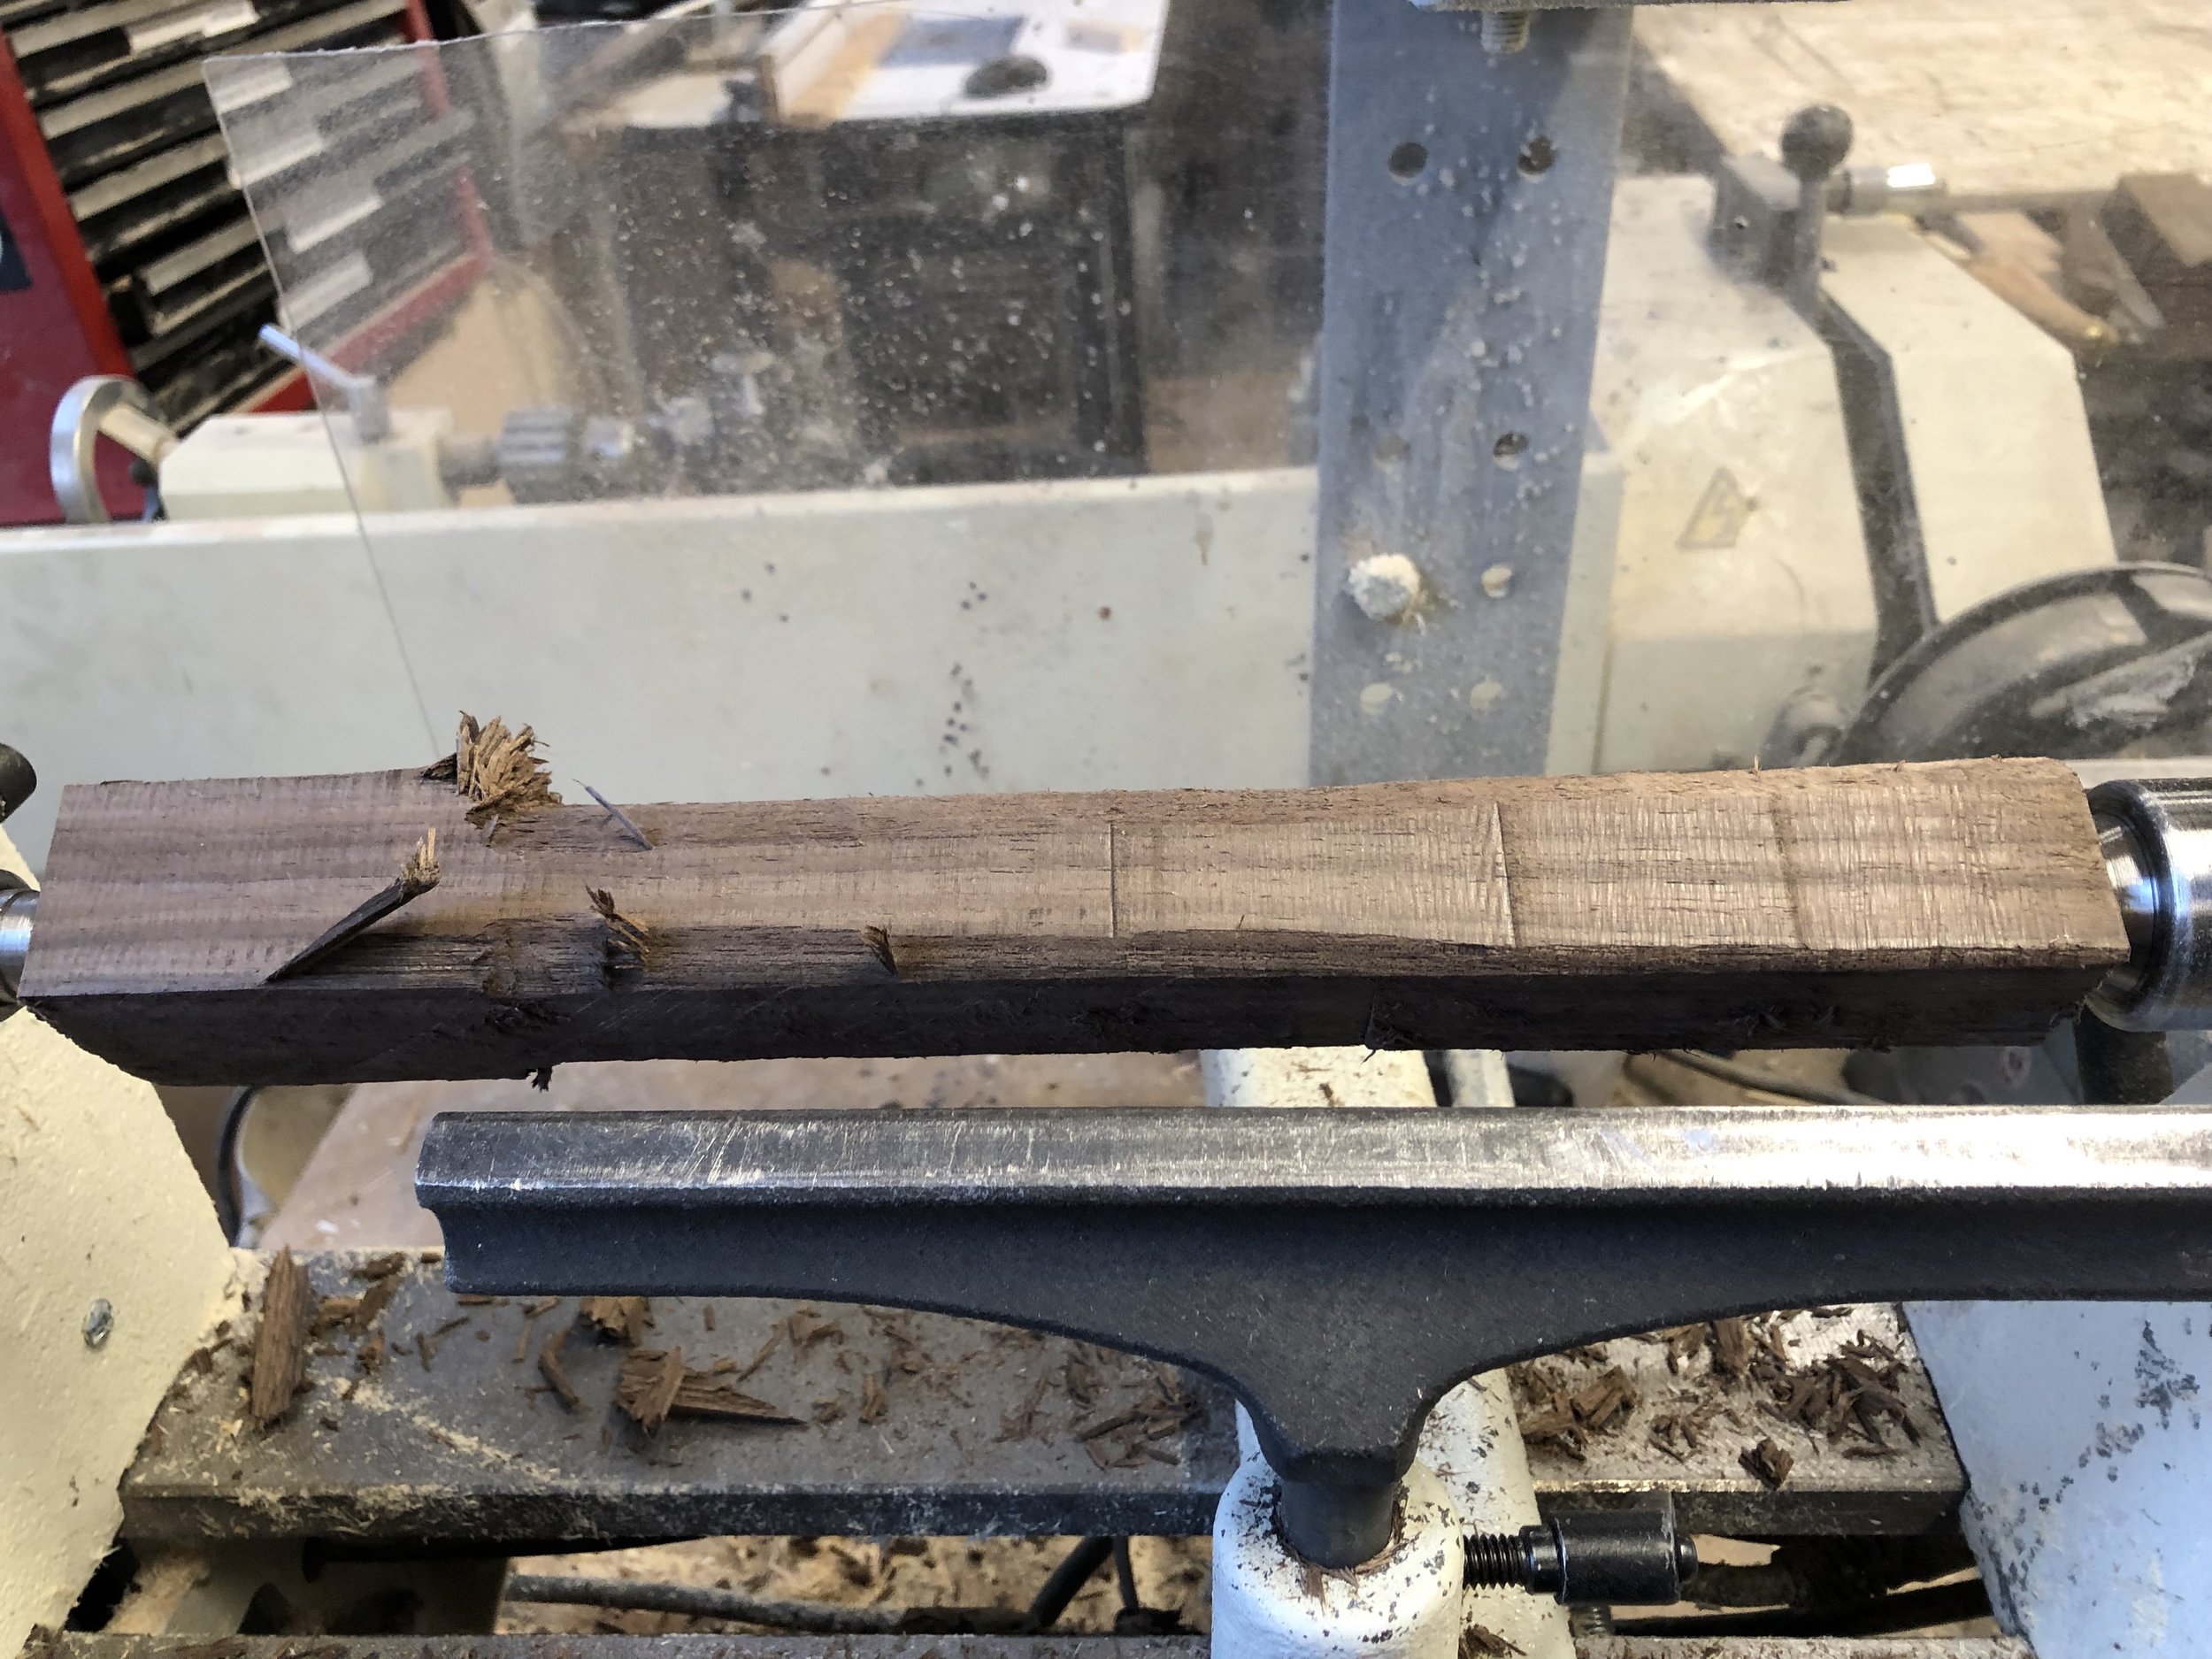
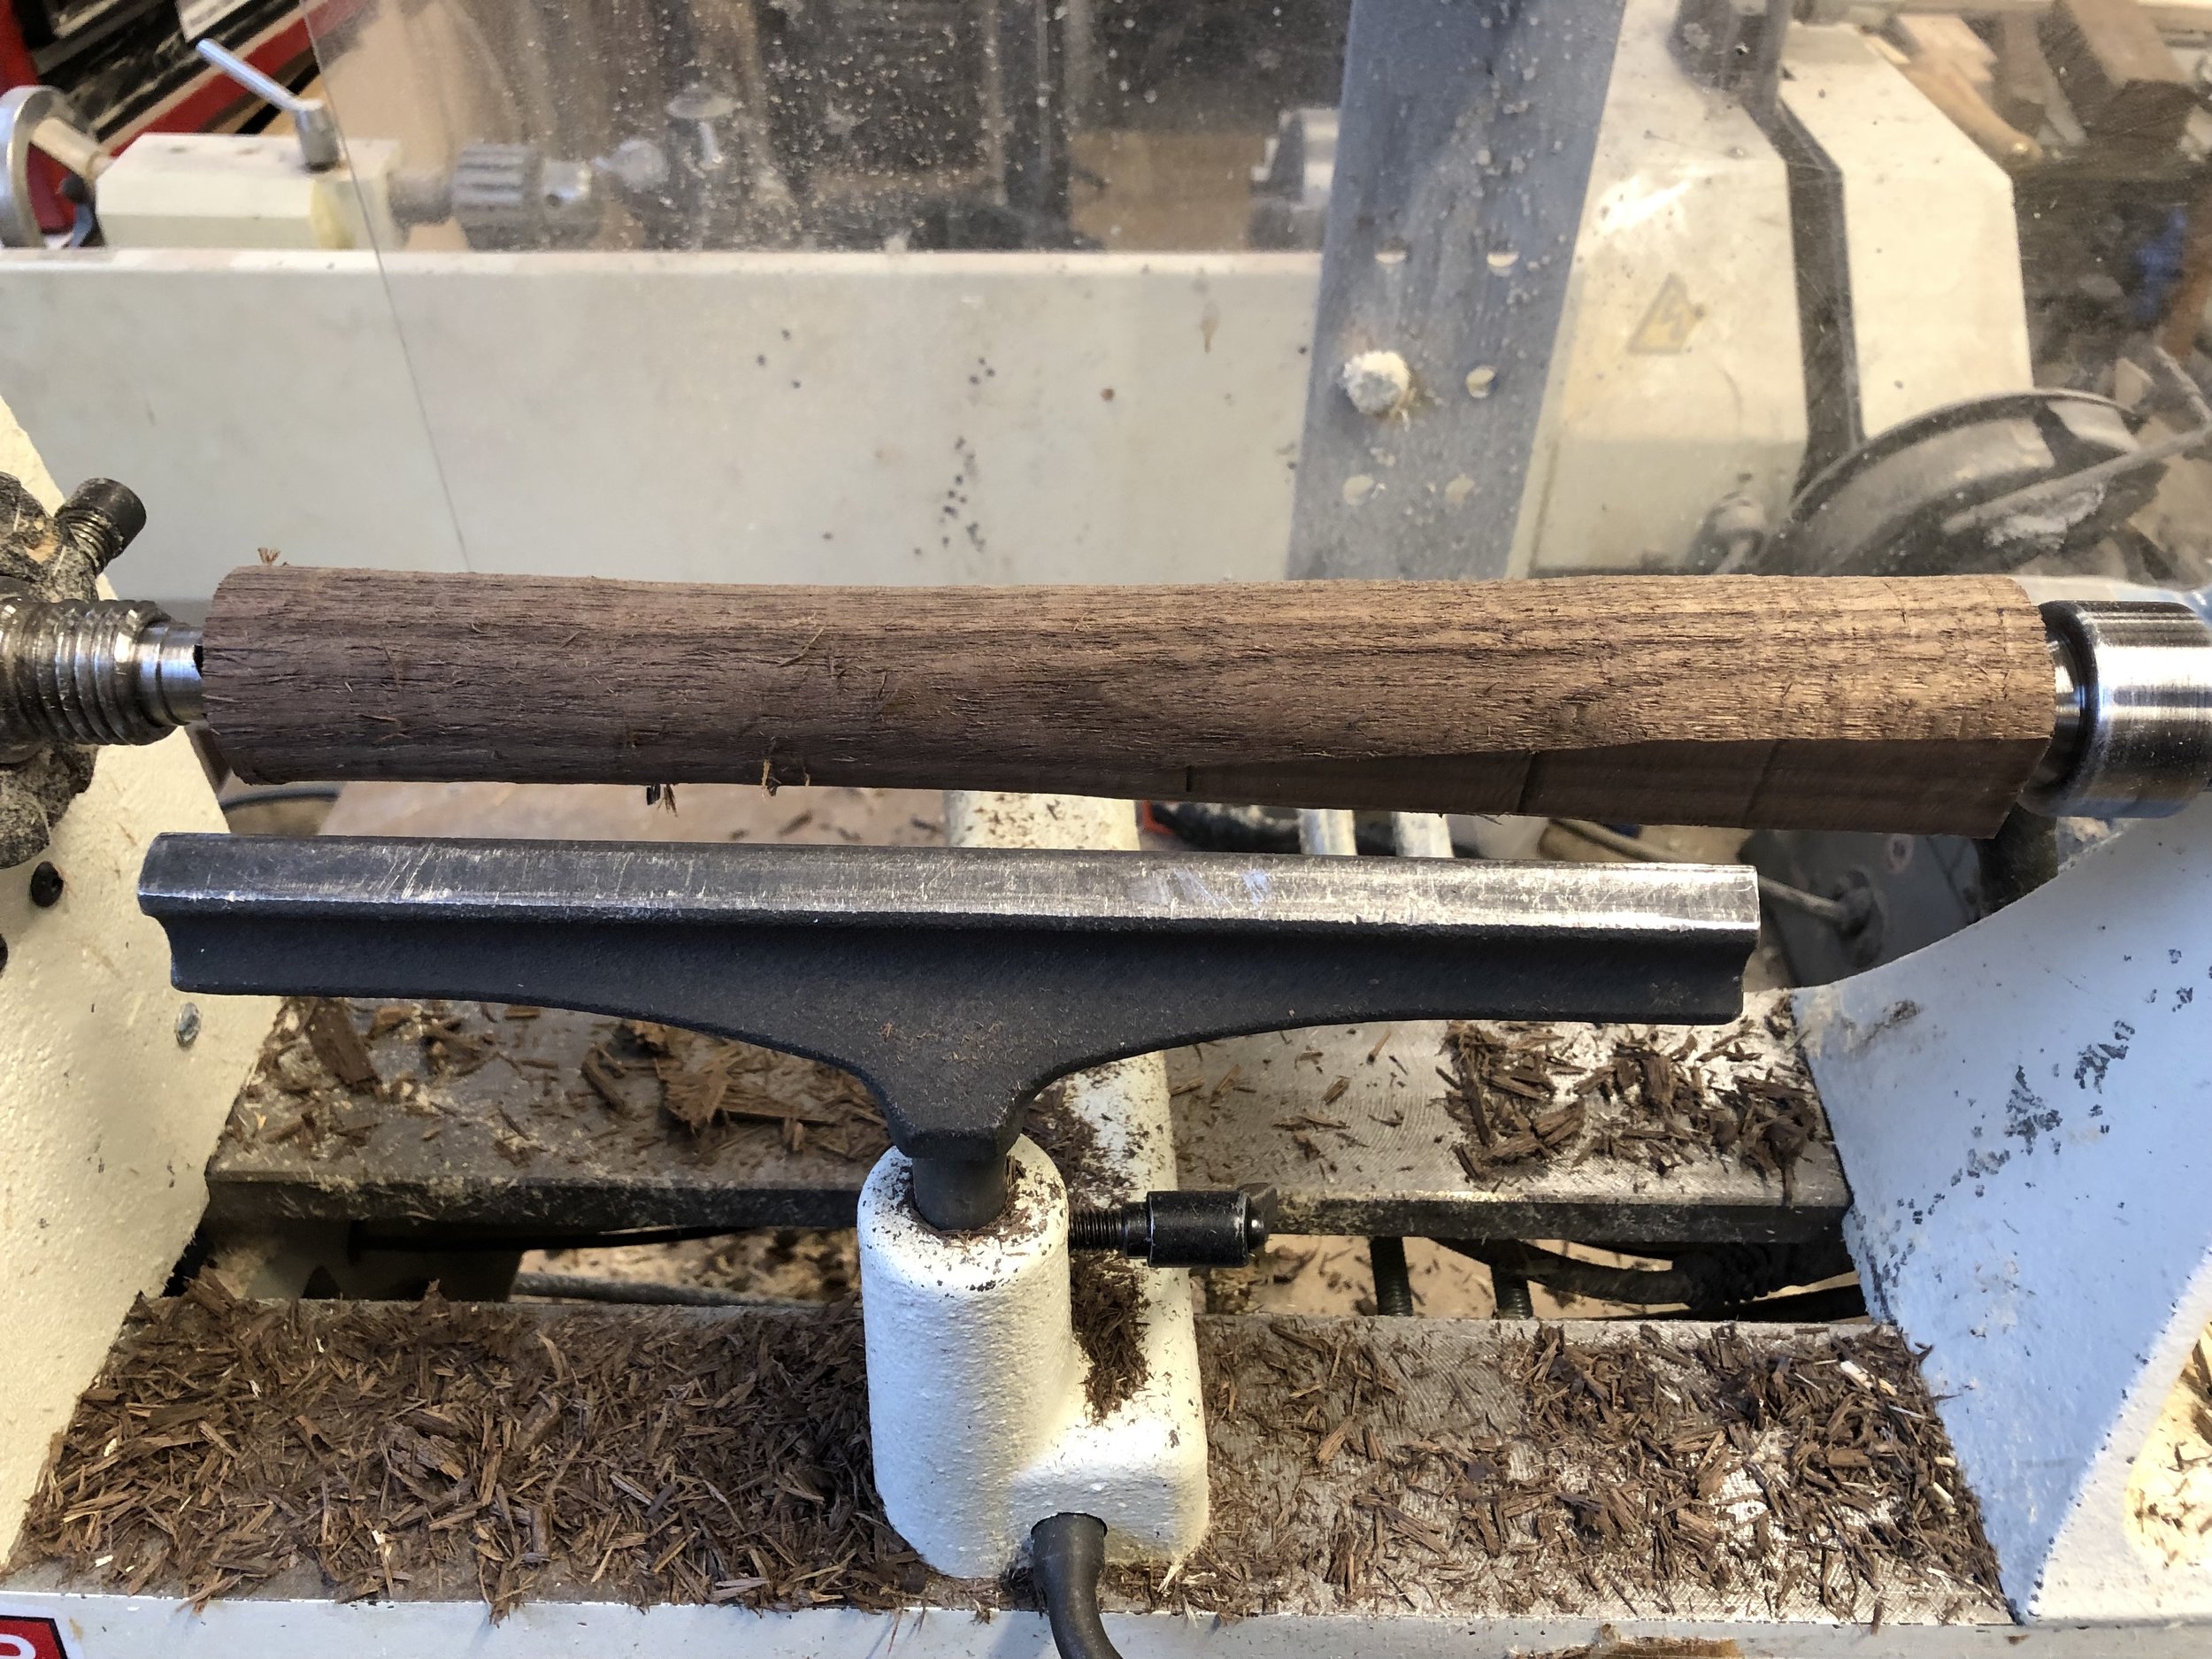
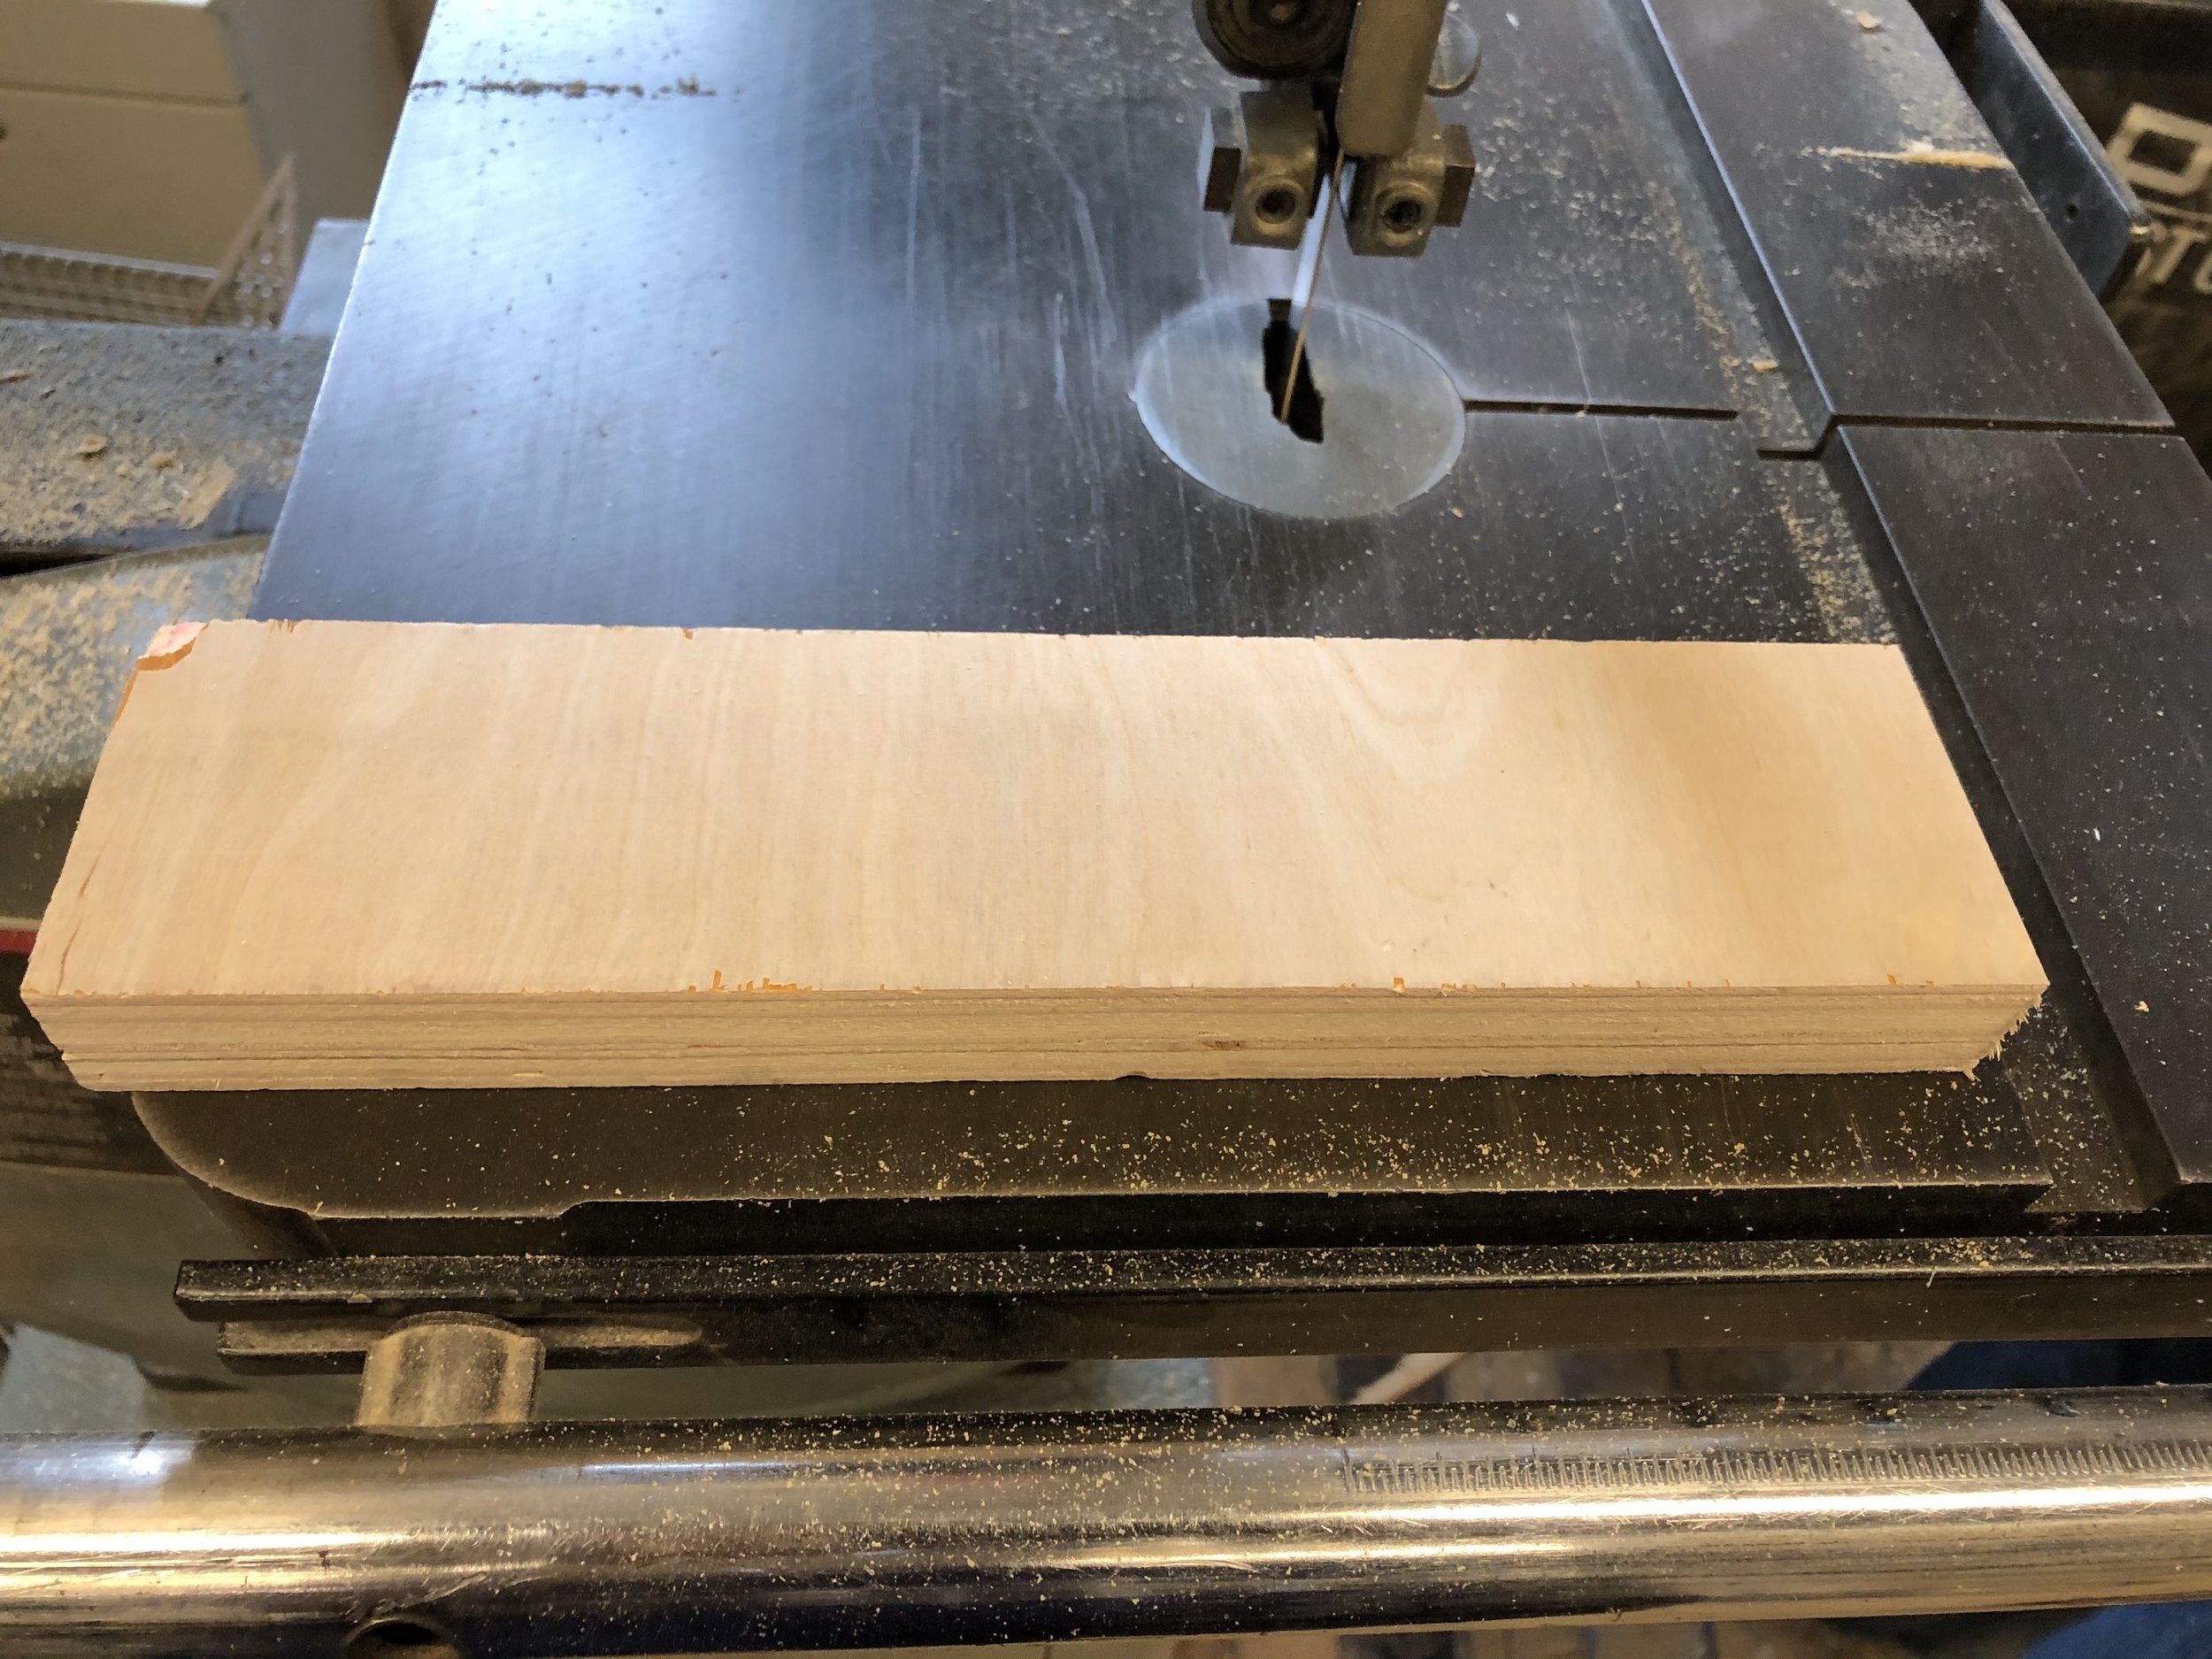
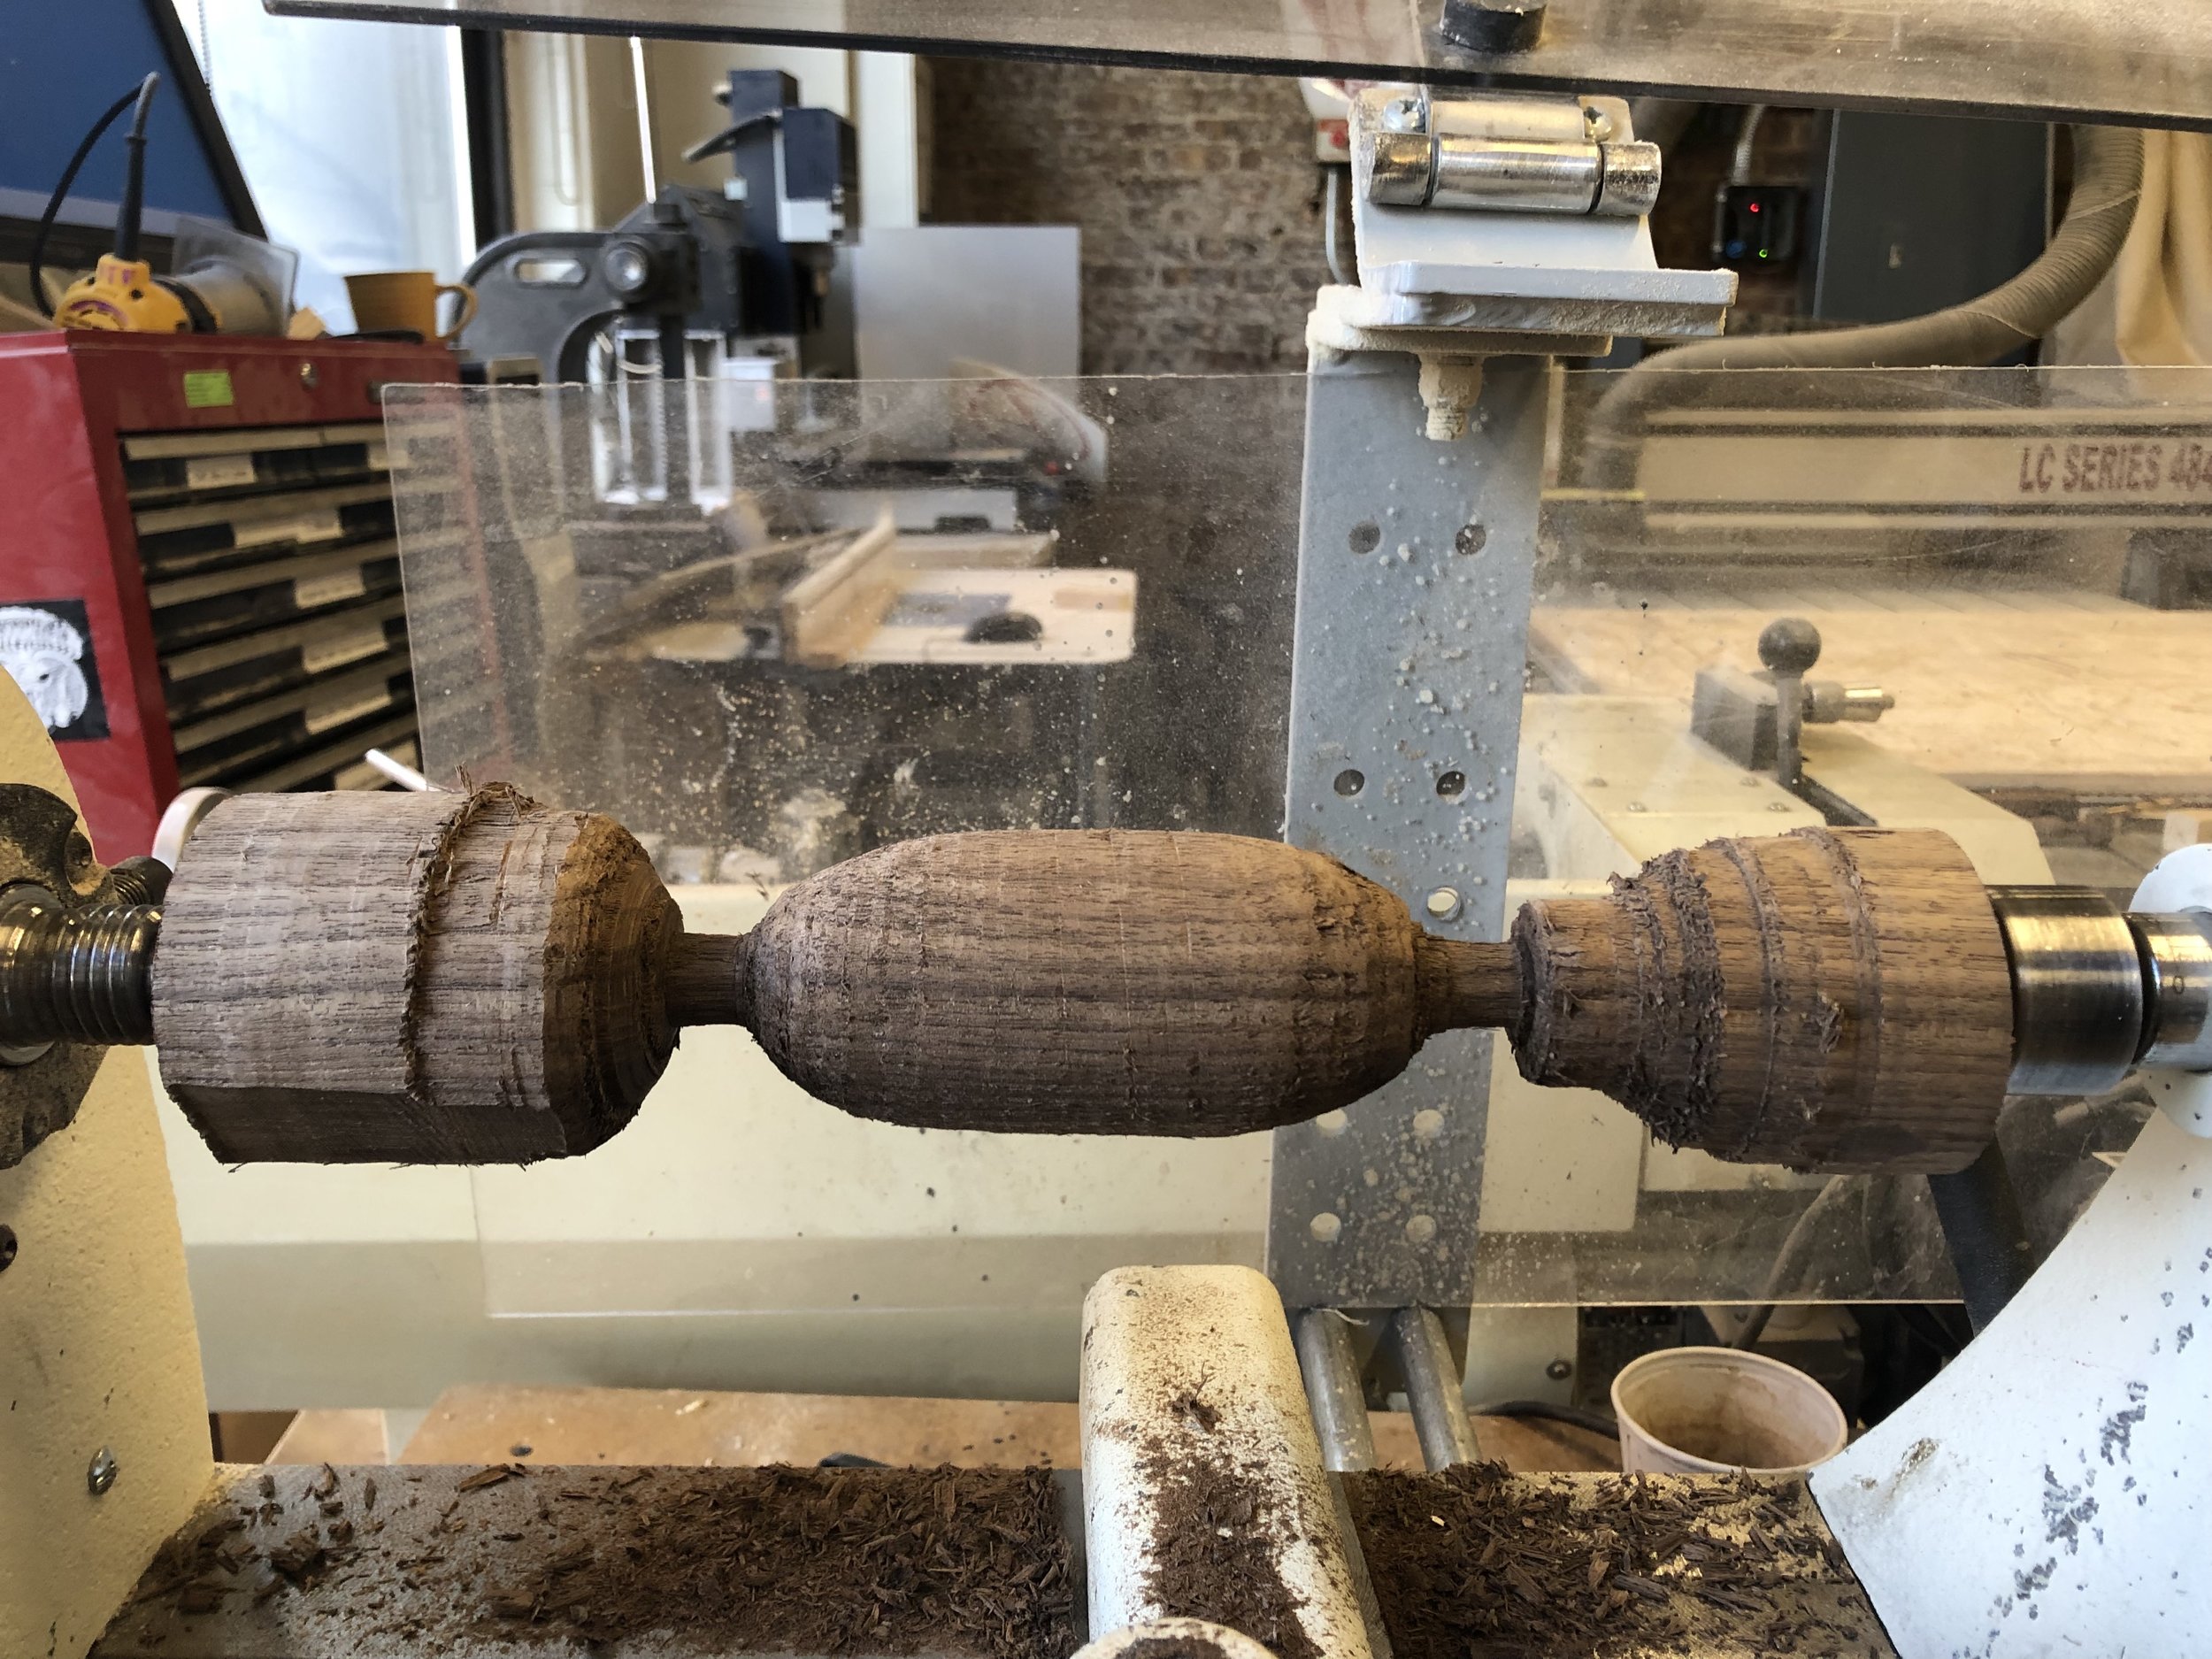
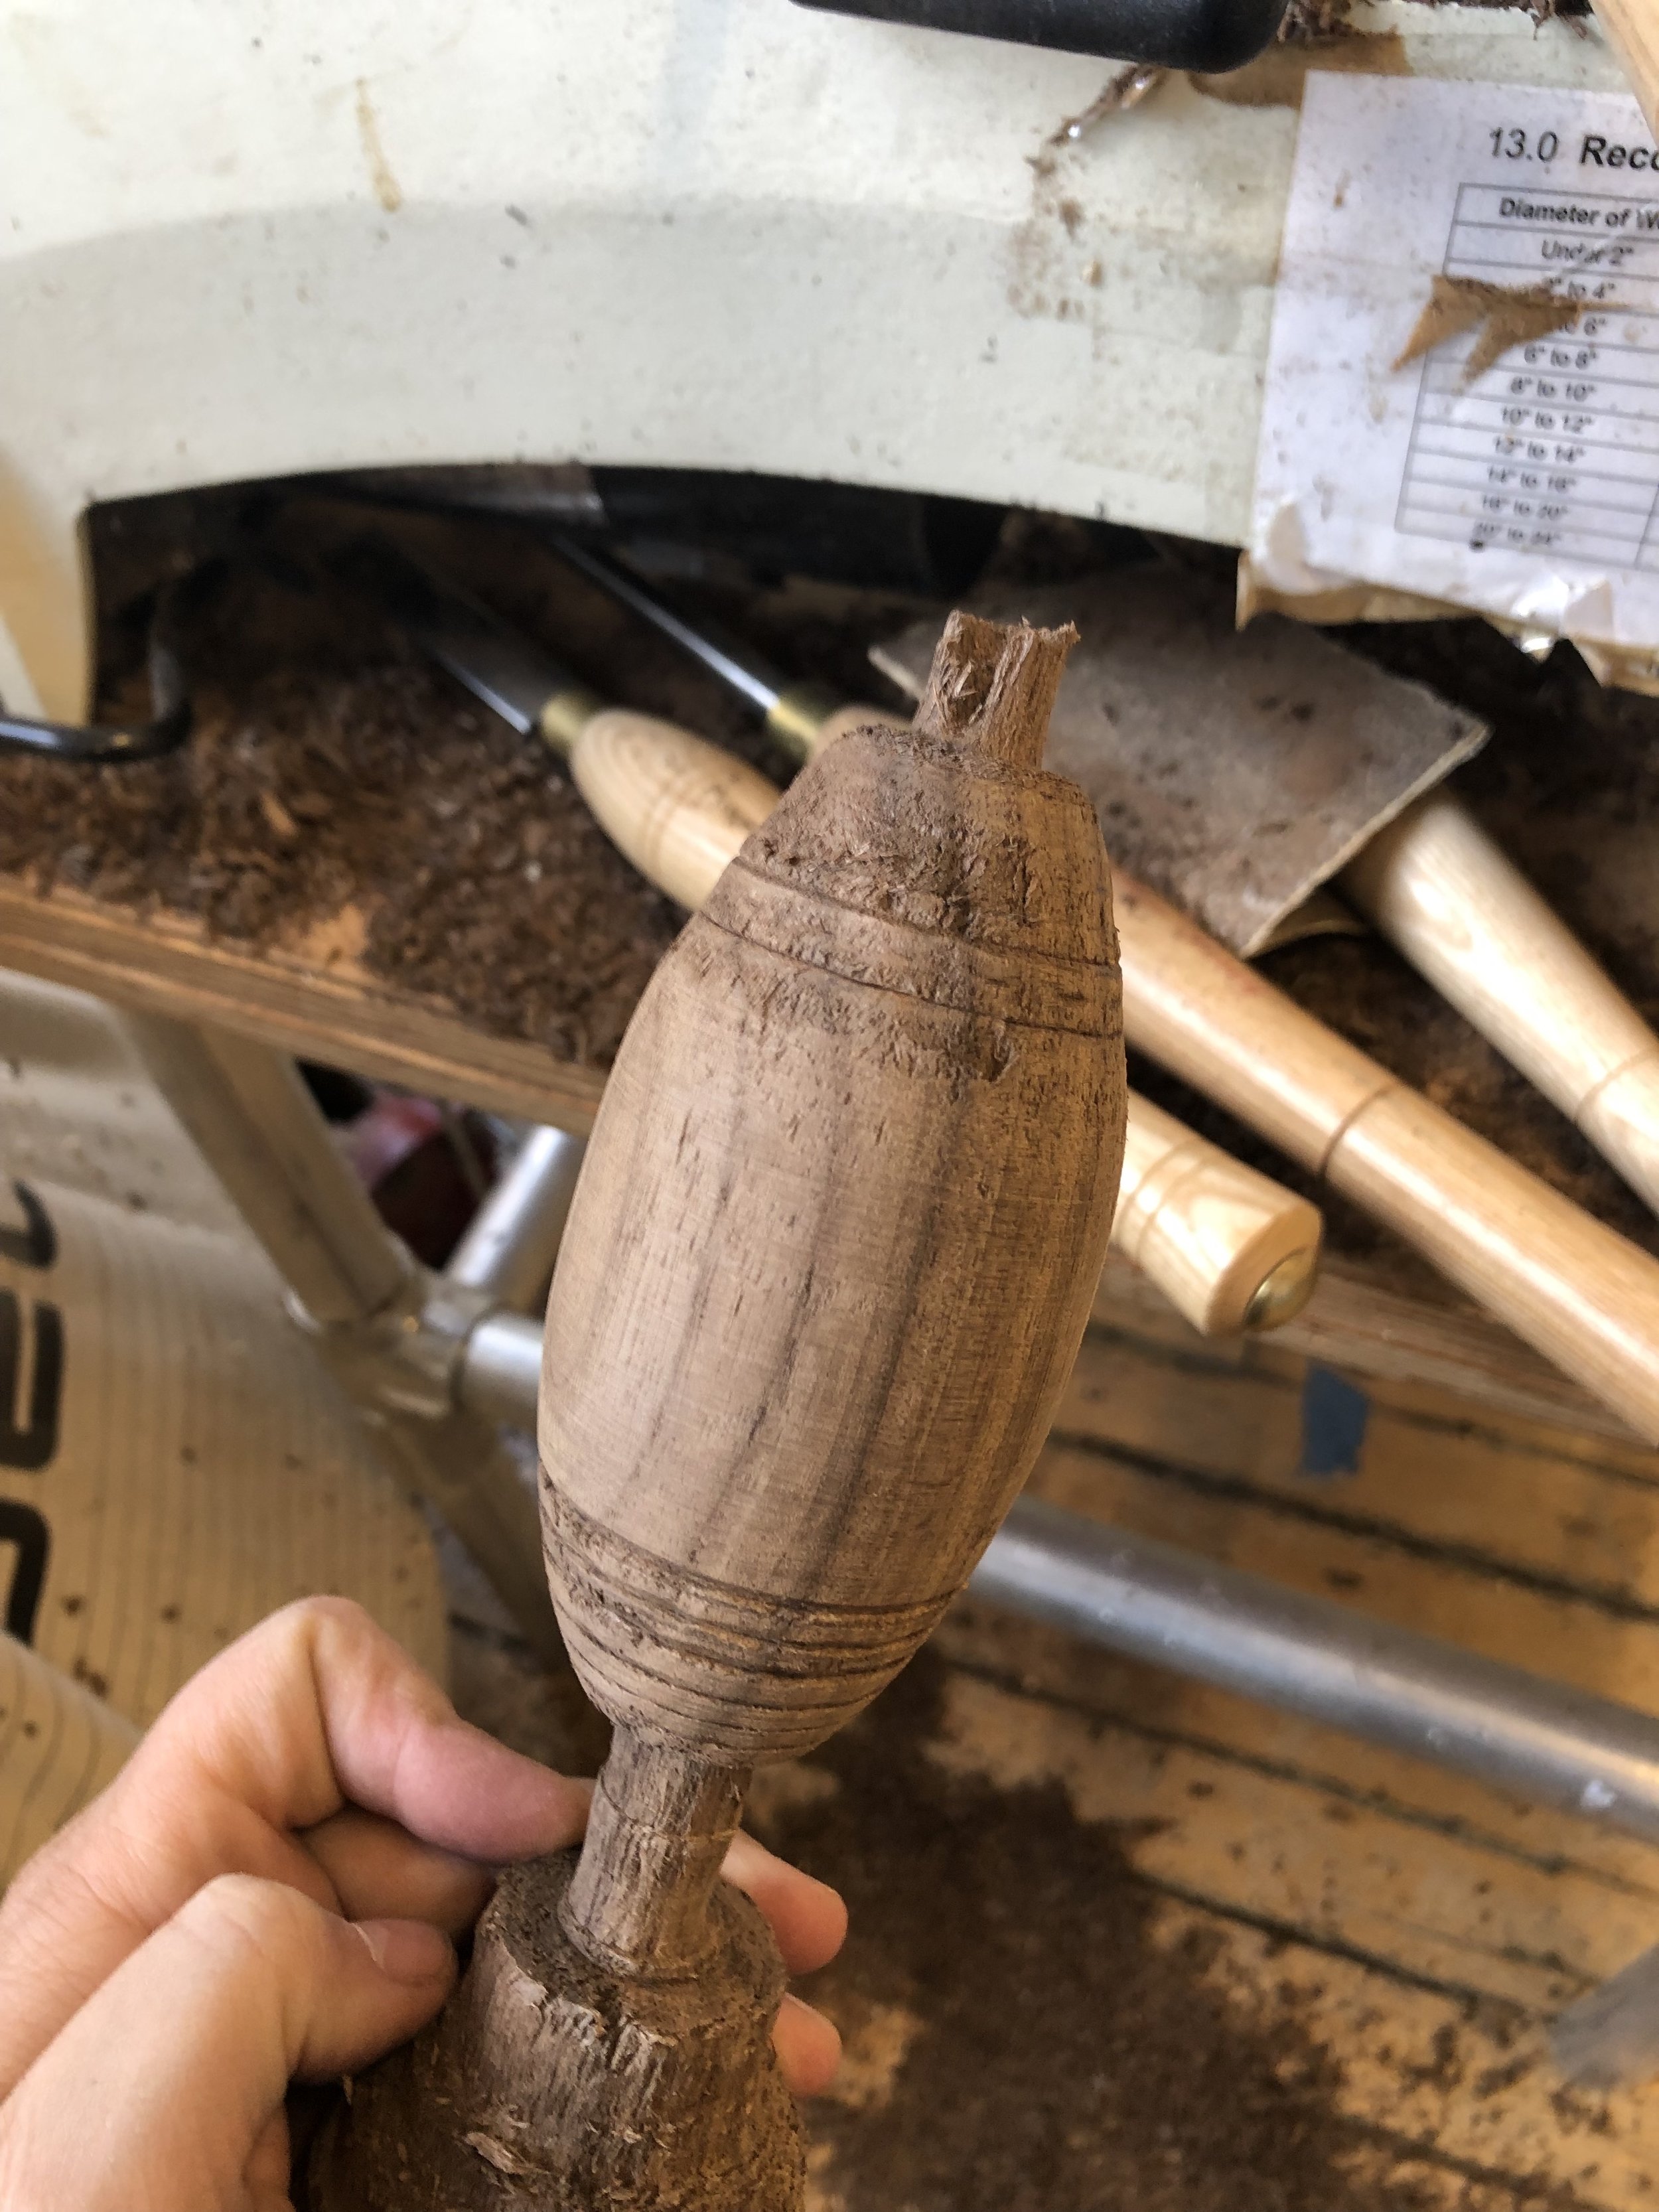
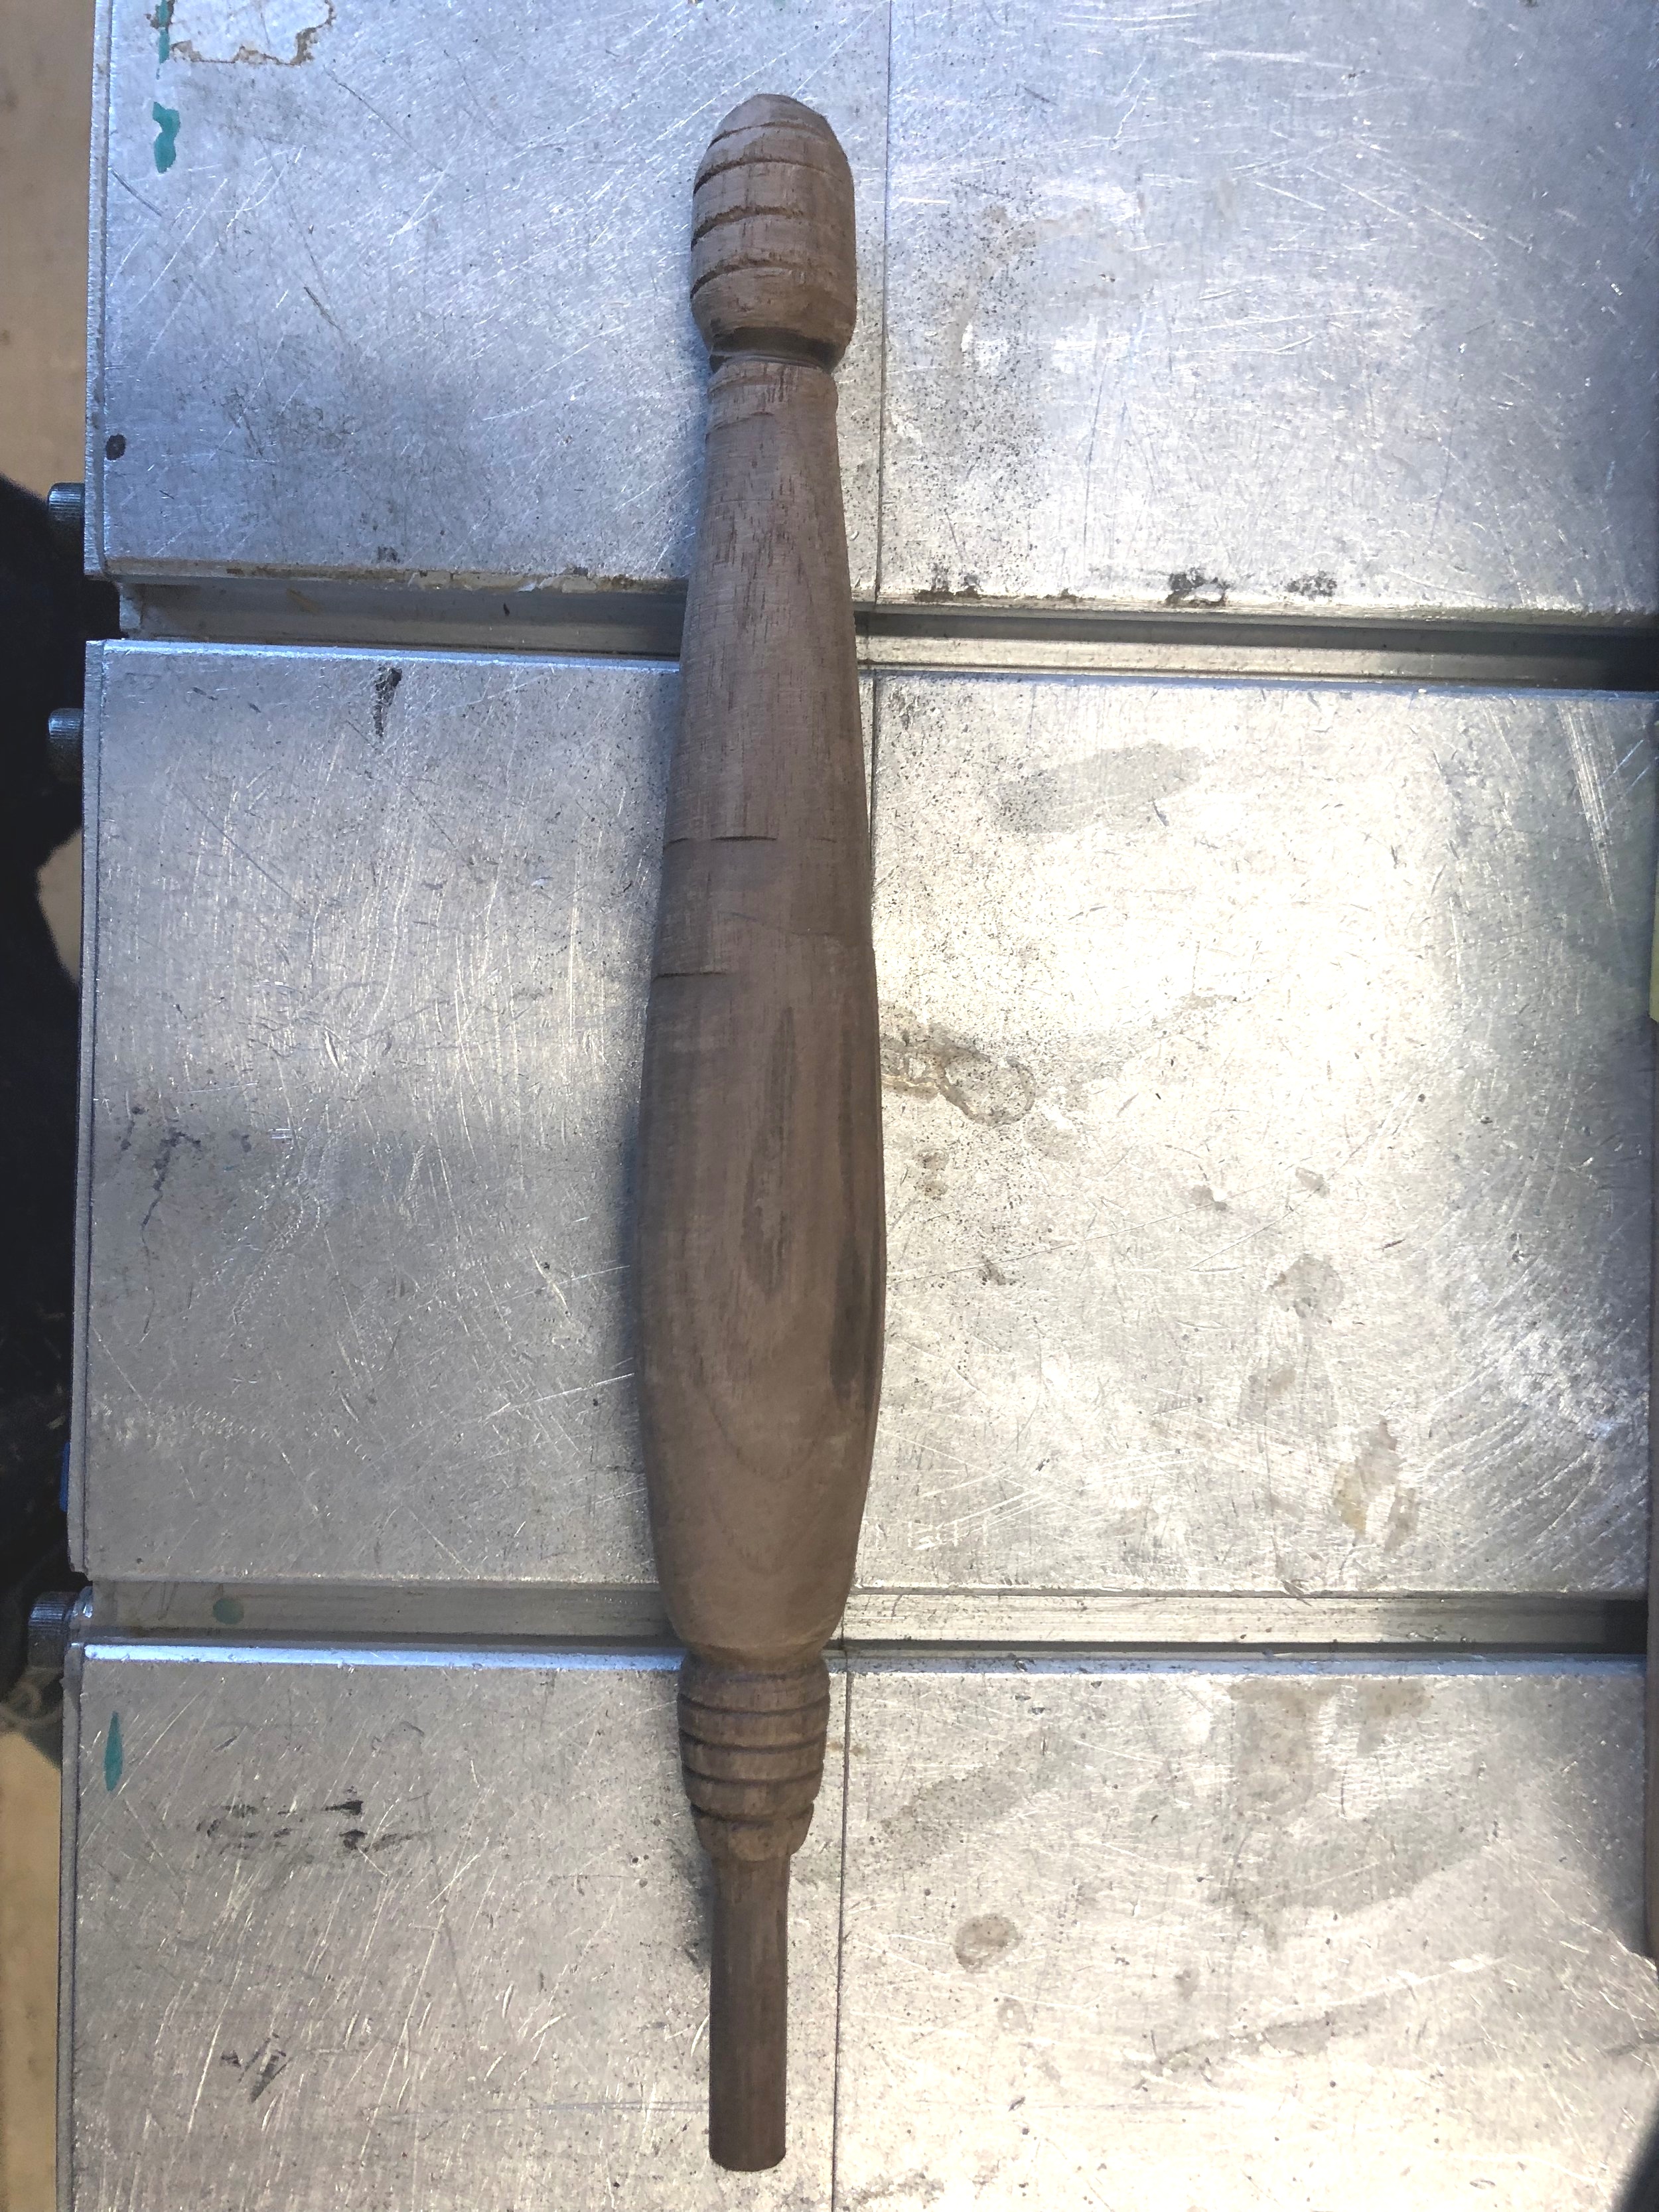
Next, I carried my newly pieces back to the train and was kindly offered a bag by a passer-by in the station. I got back to school and began to shape the handle. I cut about 1.5” x 3” X 10” off of the chunk on the band saw and cut that piece in half and was left with three pieces to work with. I next prepared the lathe and a smaller piece of walnut and began to shape it on the lathe. Right away, I could tell that this piece was going to turn well and was easy to round within just a few minutes. Next, I intuitively shaped a handle and got a gorgeous grain pattern to emerge in the process. I knew I was going to polish the wood with a bees wax and went wit a bit of a honey handle theme on the handle to begin with.
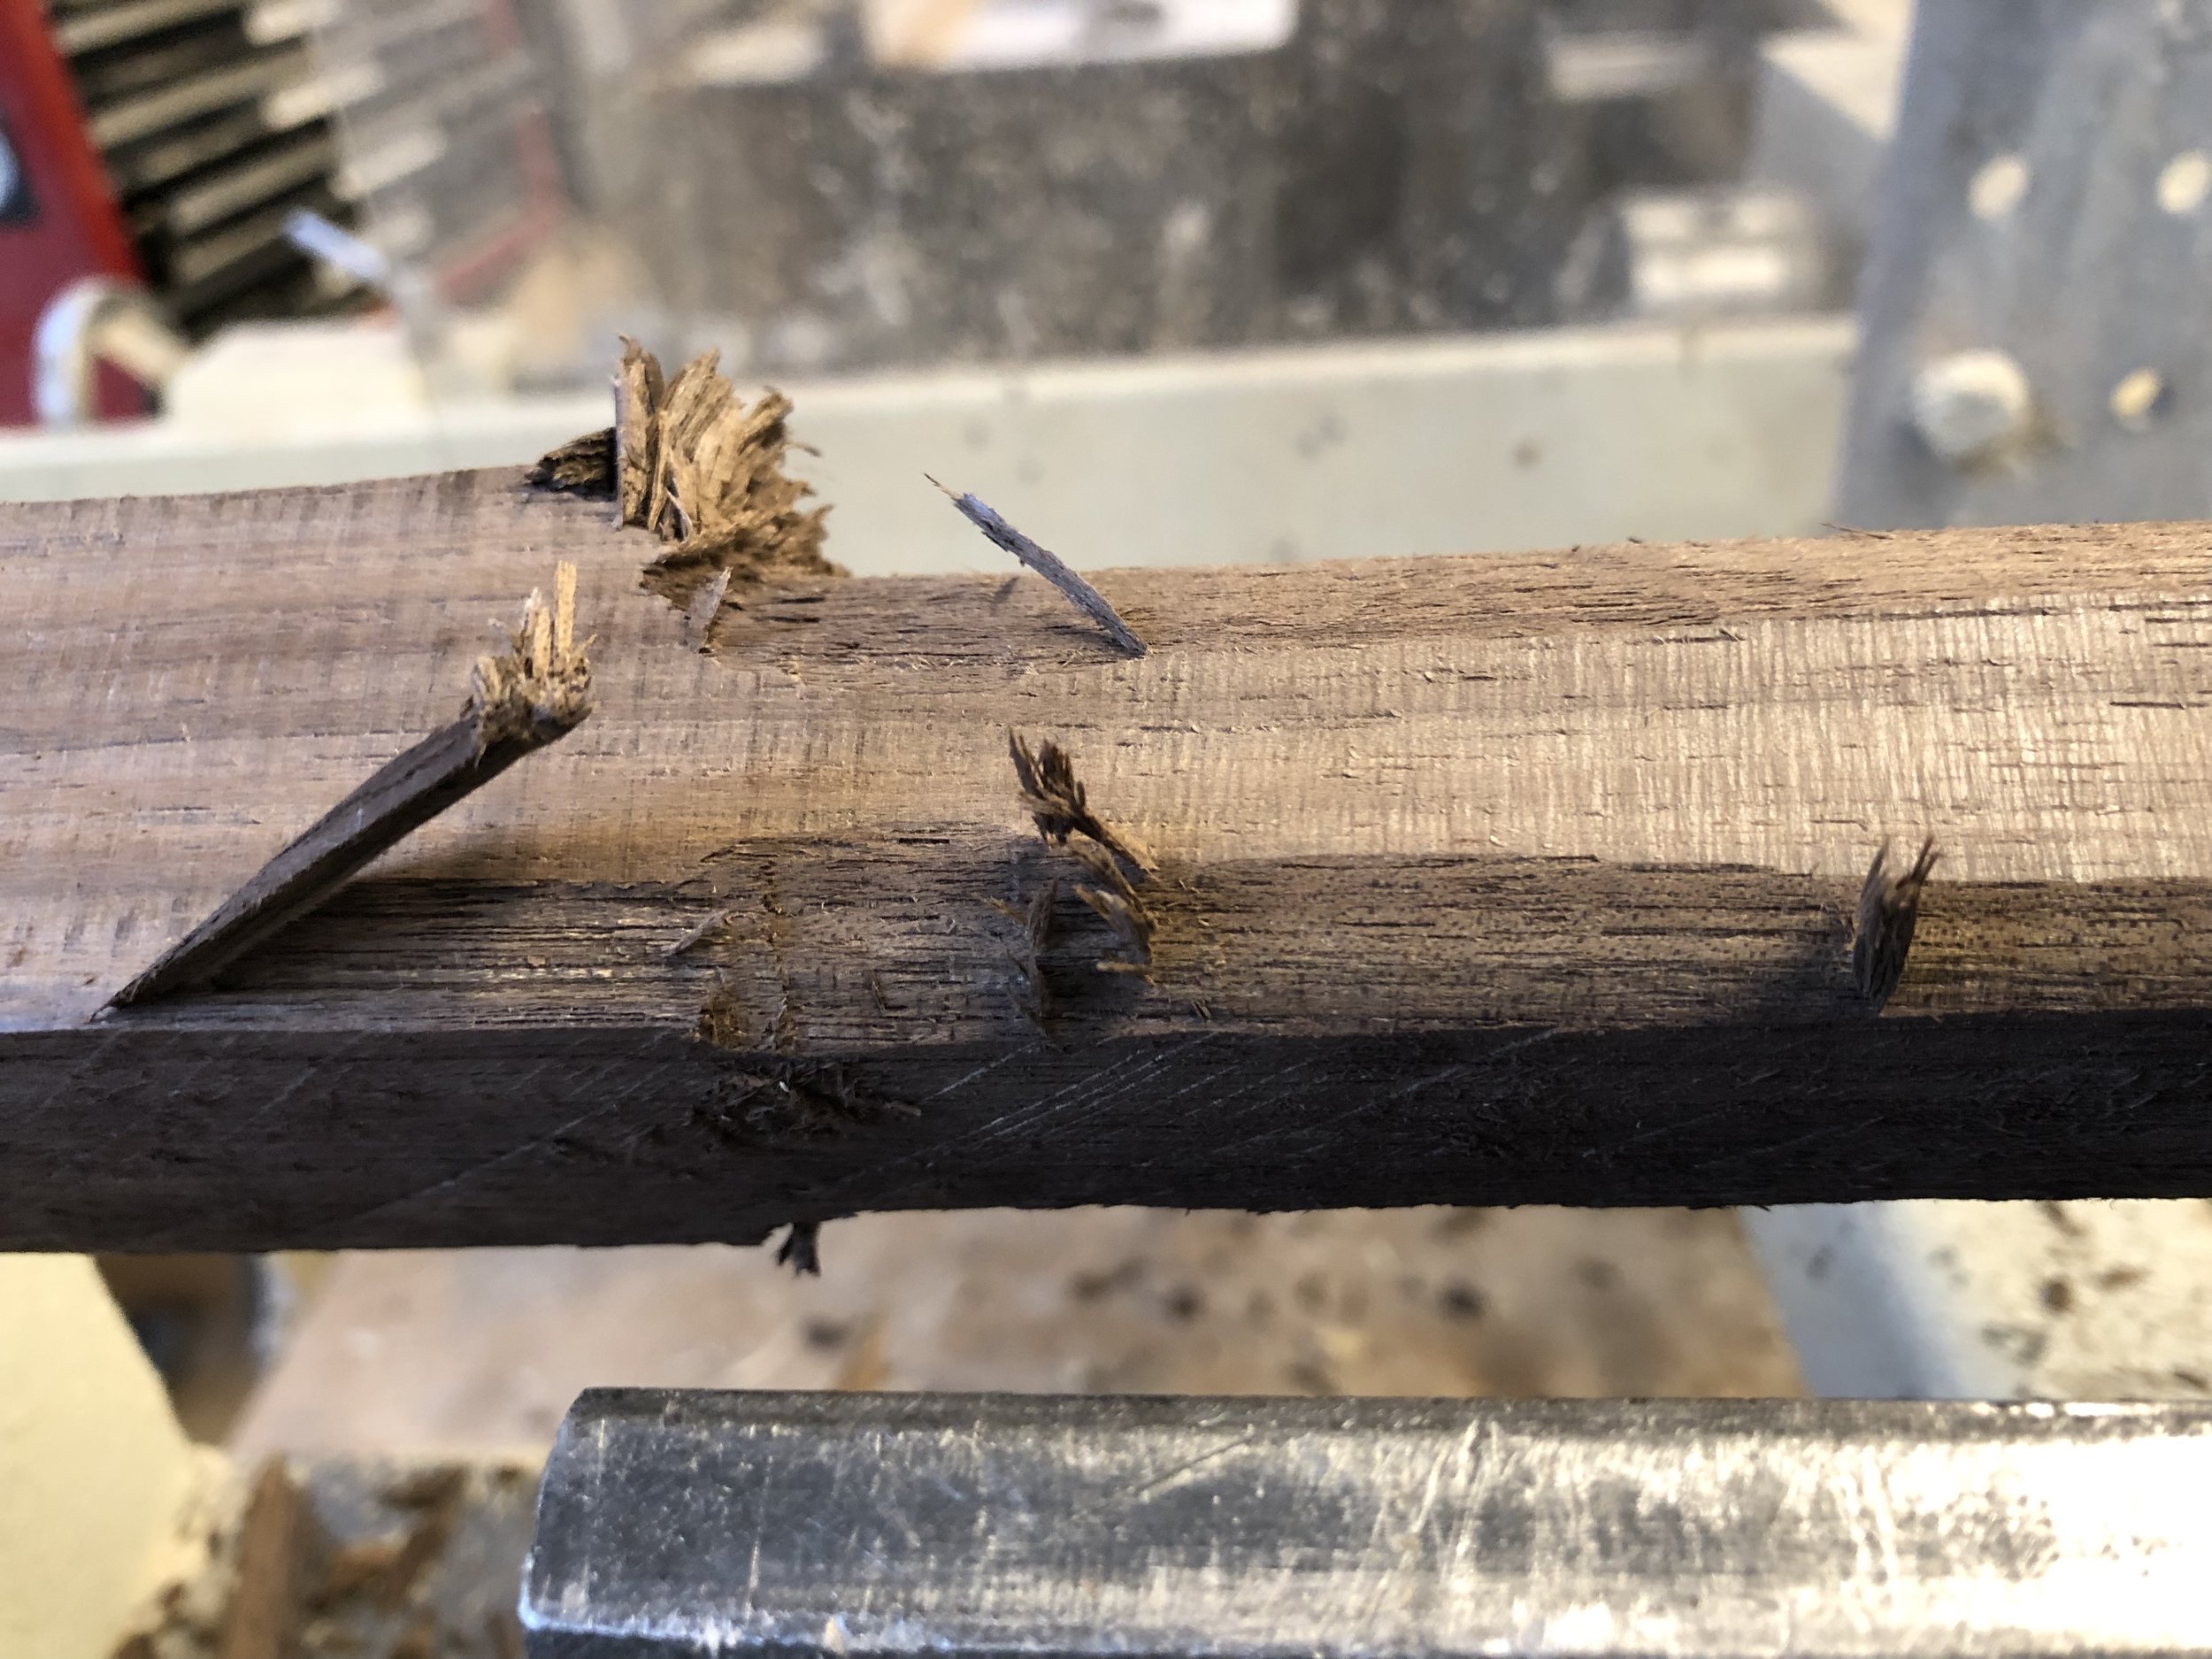
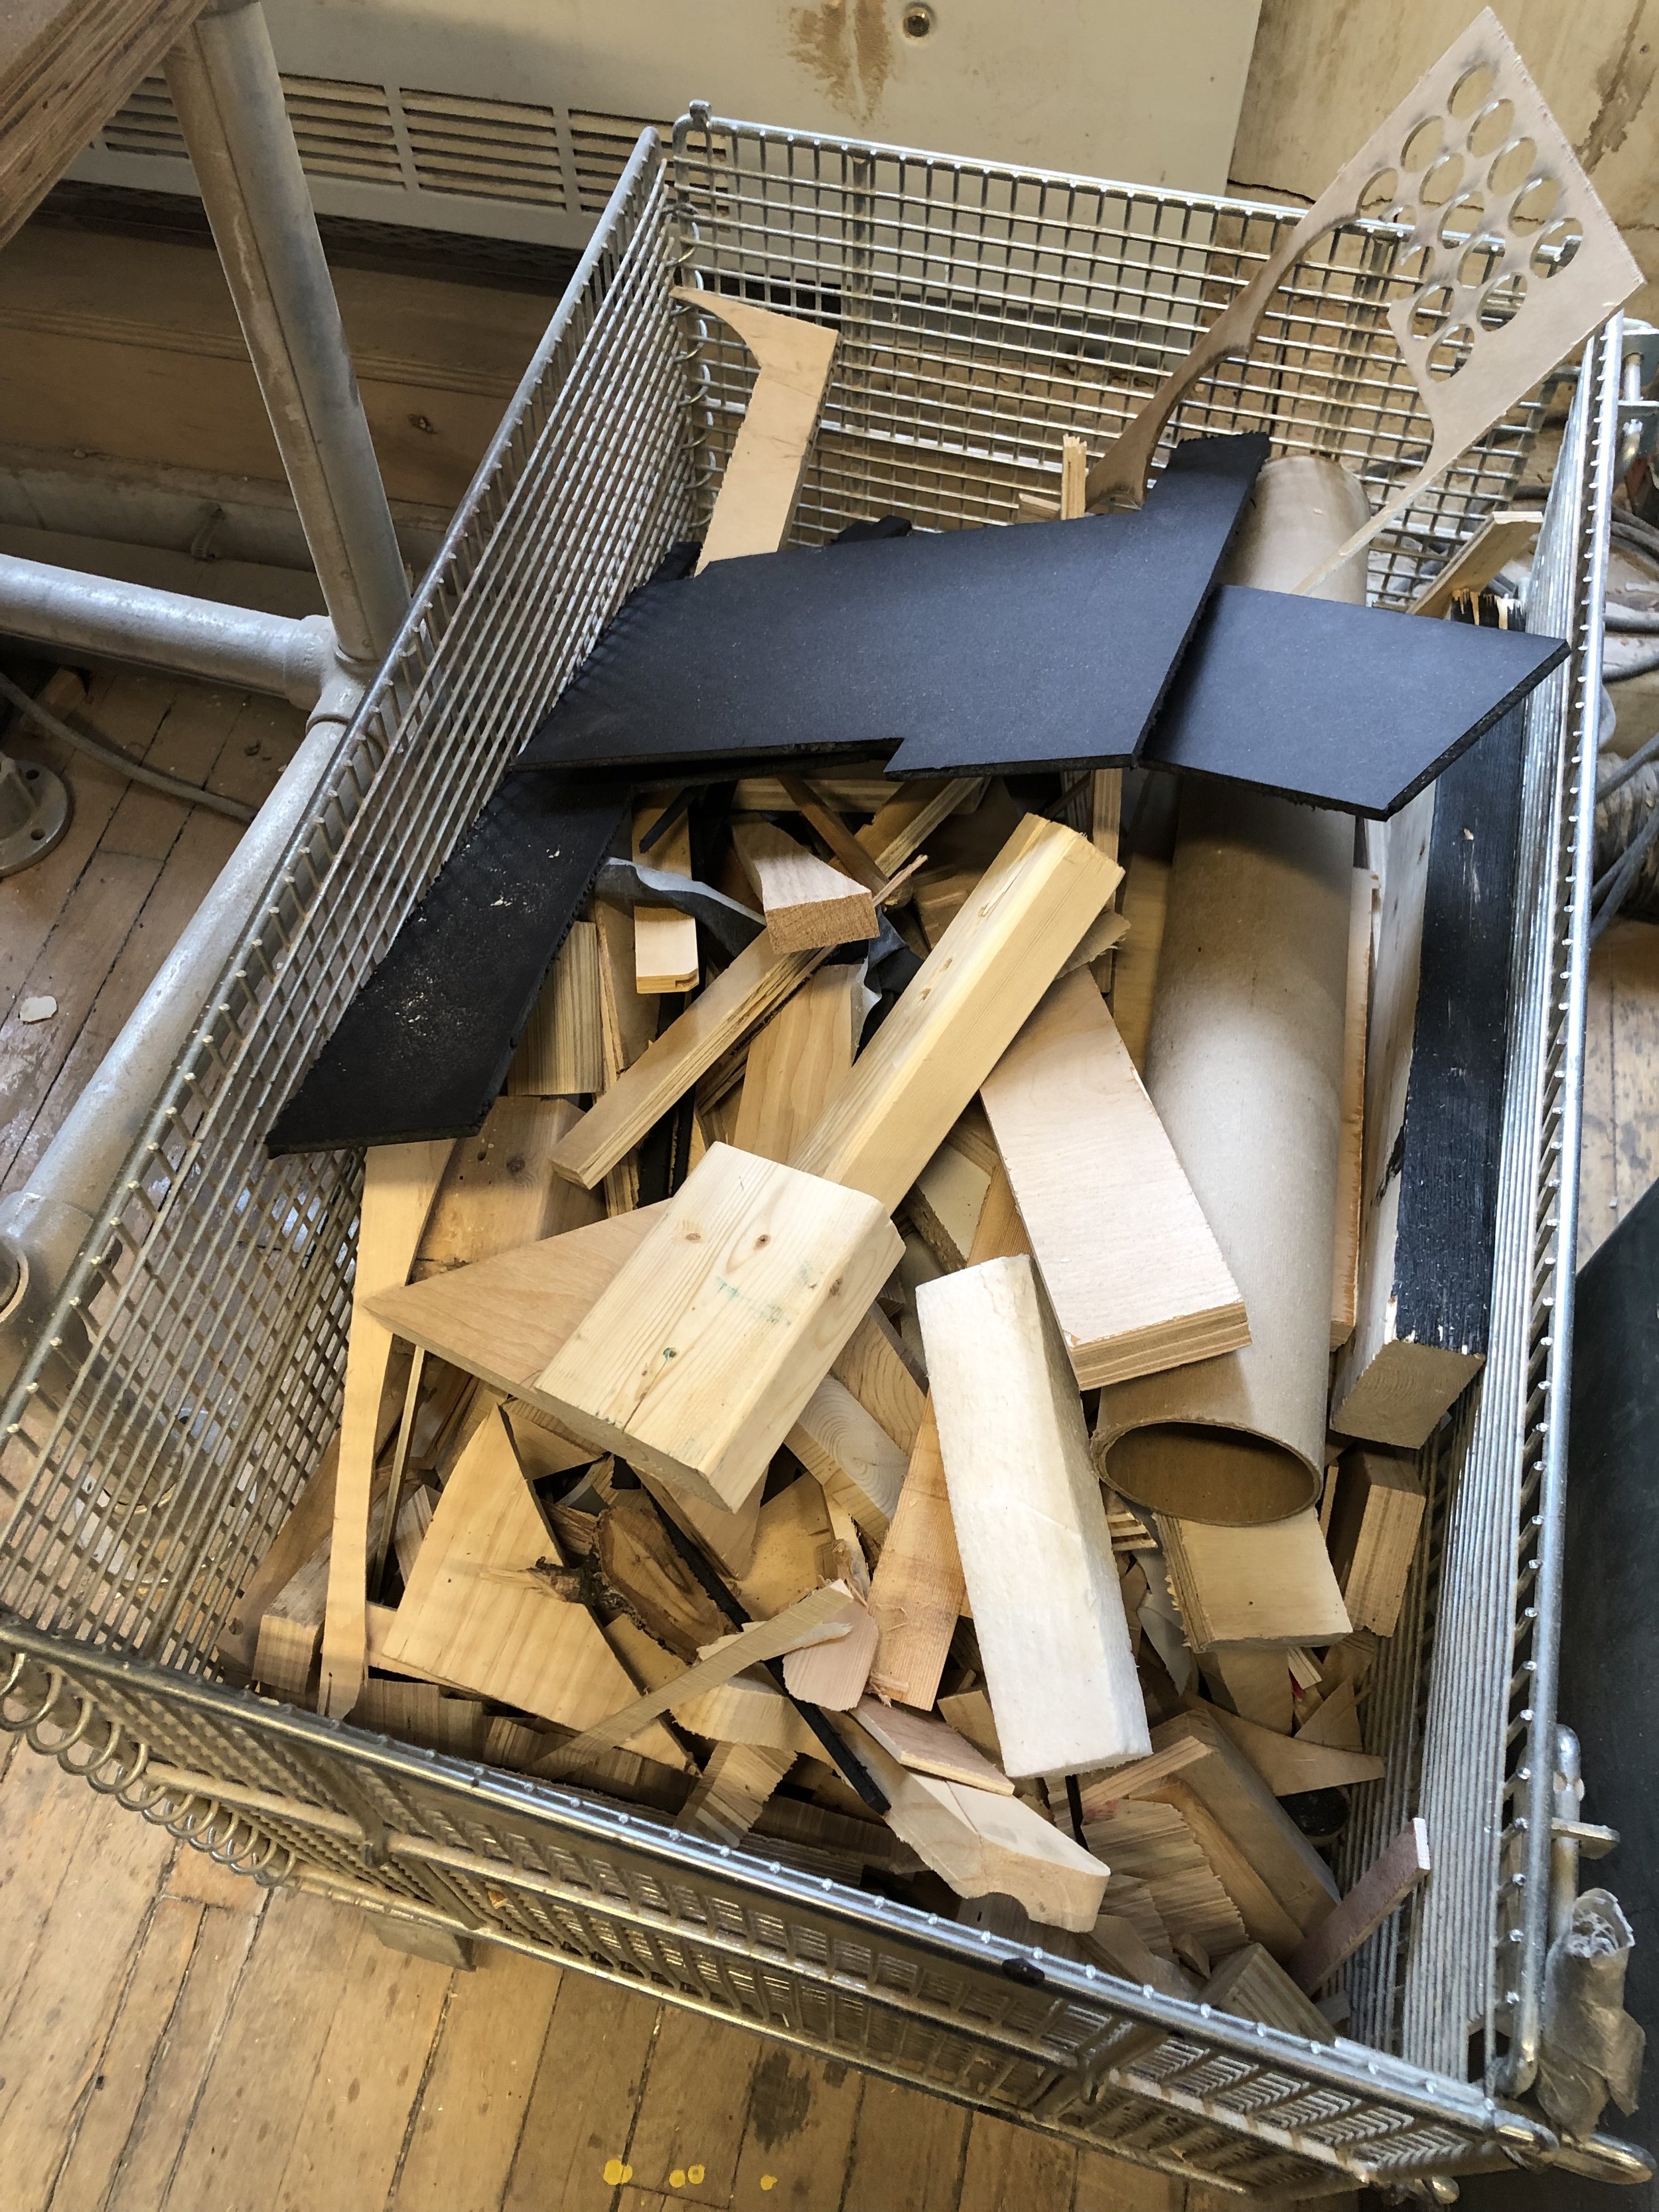
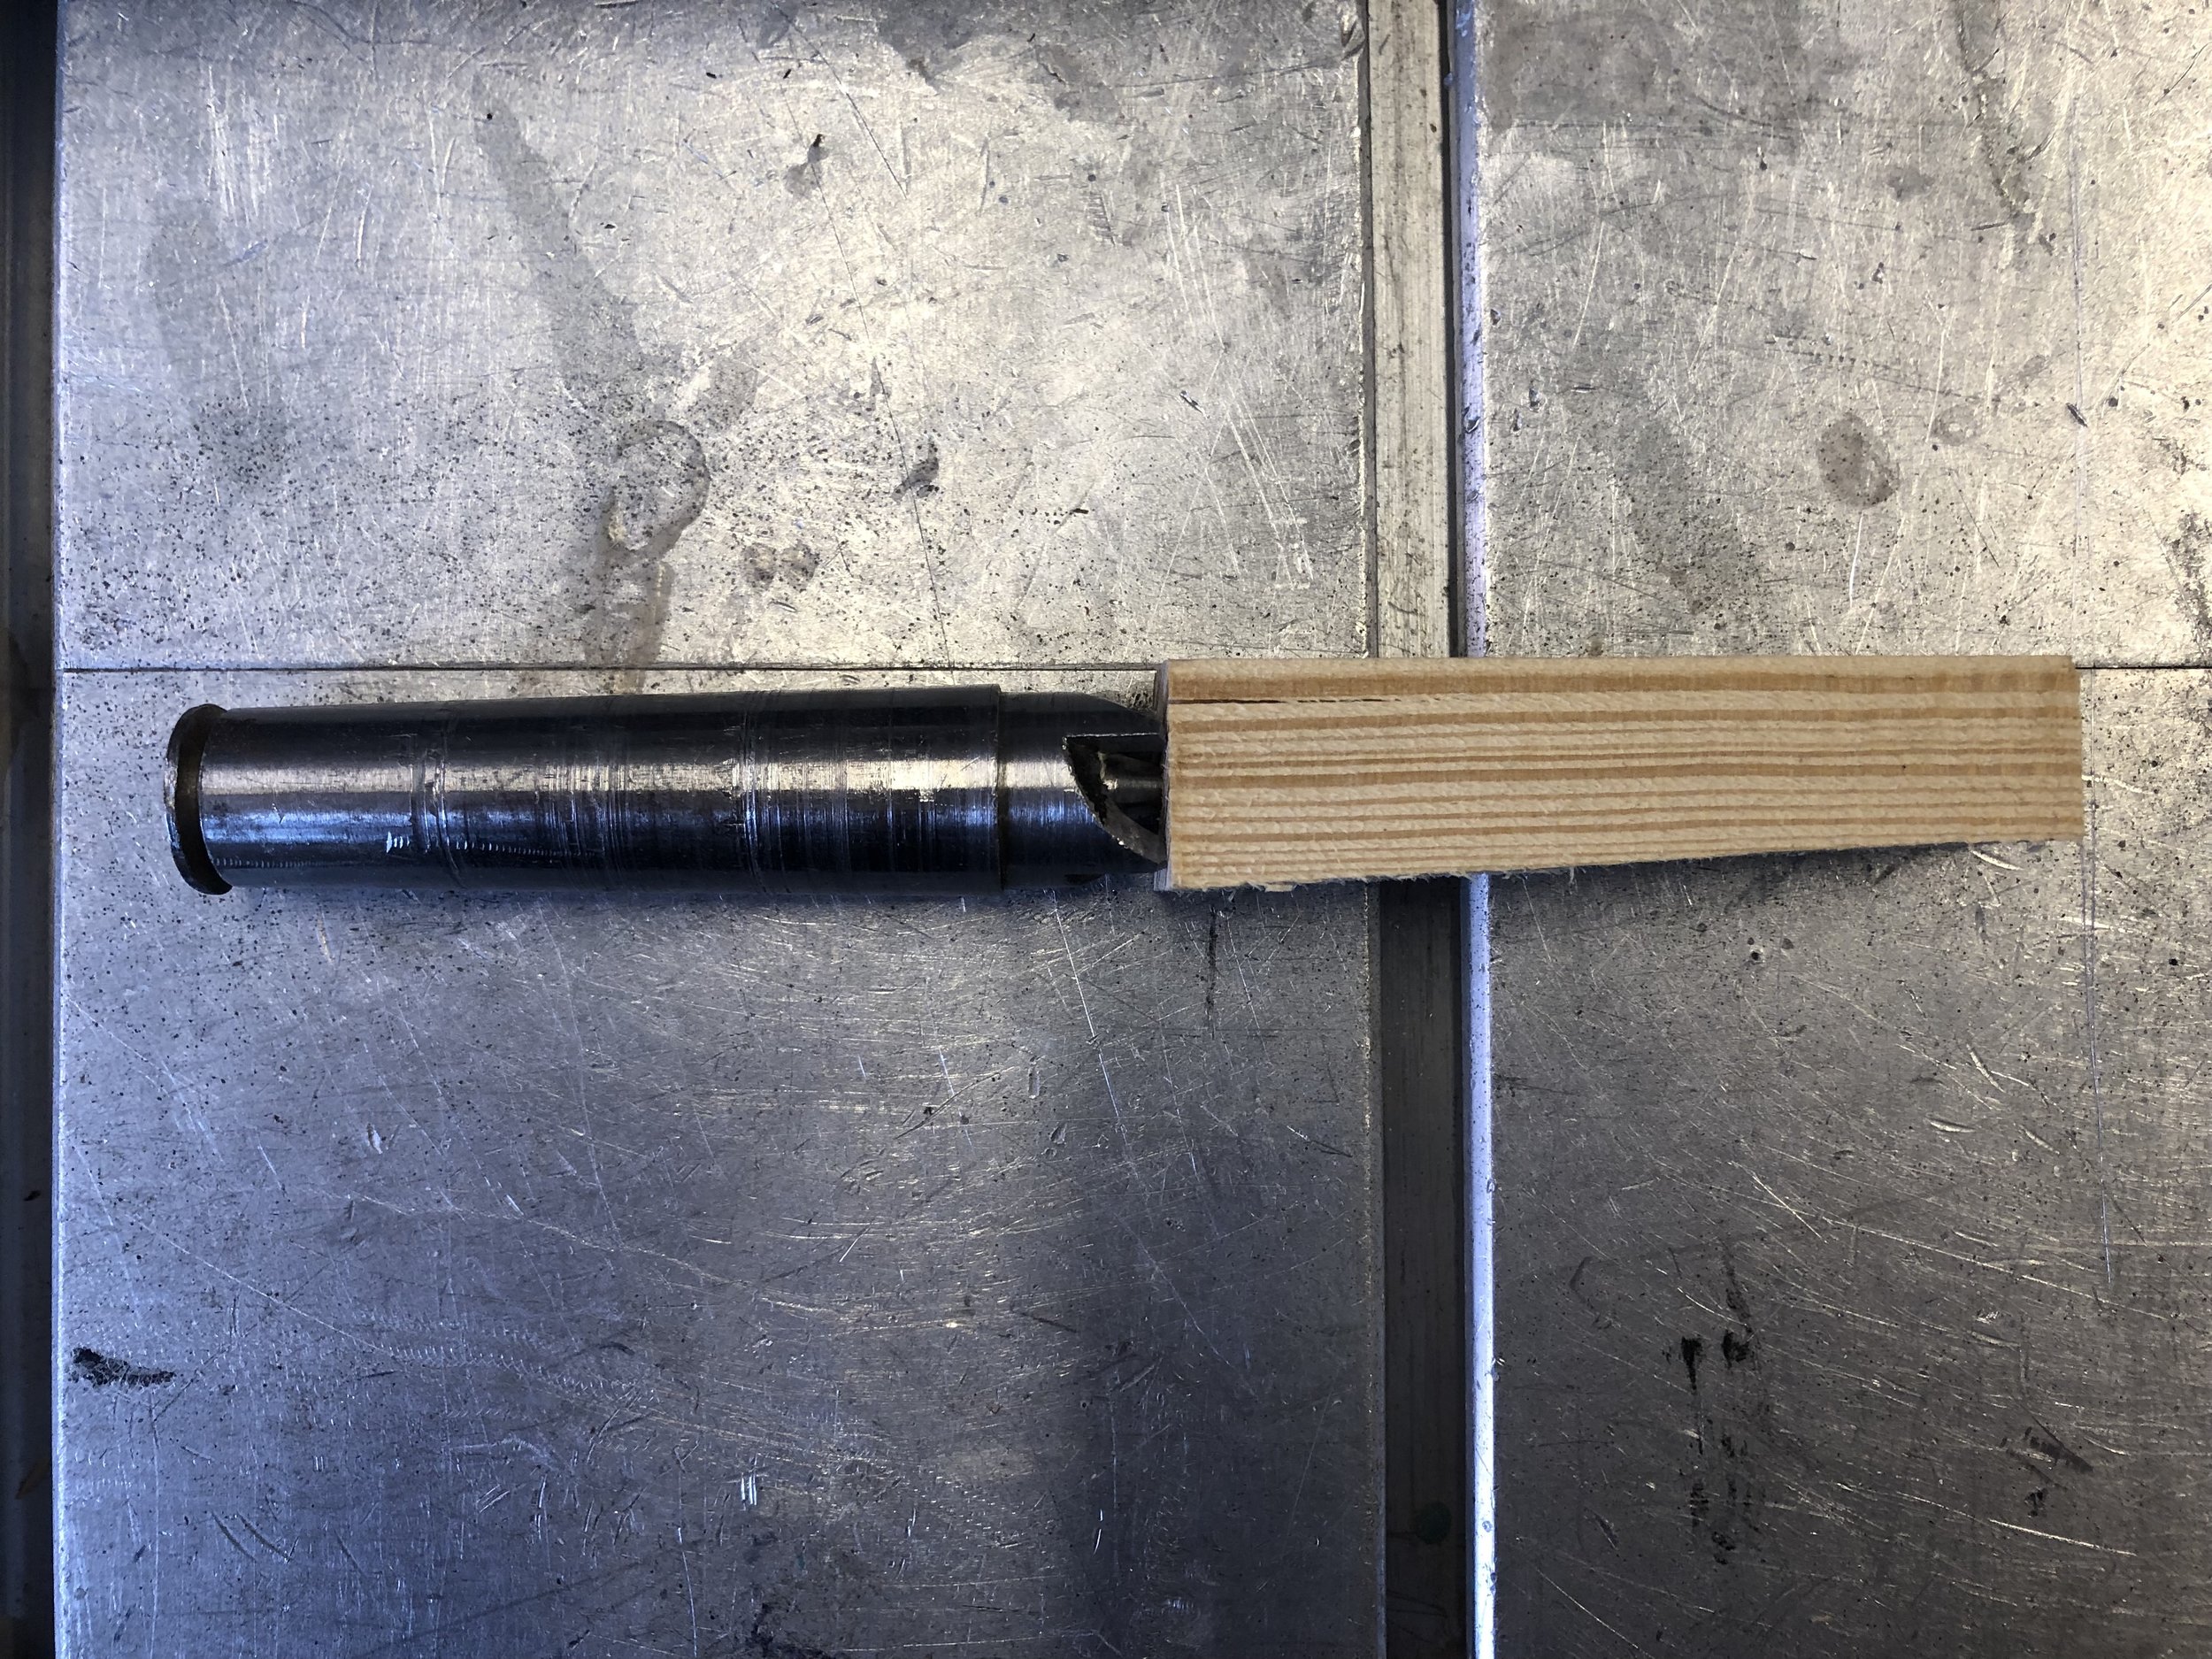
After the handle was shaped, I took a look in the scrap bin to create a jig to use to mount the drill to get properly angled pins for when the head was turned. I found a few different pieces of plywood and got them prepped for the lathe. Every time I tried to turn, the piece would break. I tried again with another piece of pine, and still was not right. Alas, after several attempts, I had something I could use and used the drill press to drill appropriately sized holes in the the new ‘tool’ I made for myself. For the pins, I wanted to make them on the lathe as well - I also prepped with some pine I found in the scrap bin and failed to make that piece turn without breaking. I learned in that process that soft woods are really not the best for narrow works — at least with the chisels that I was using to shape them.
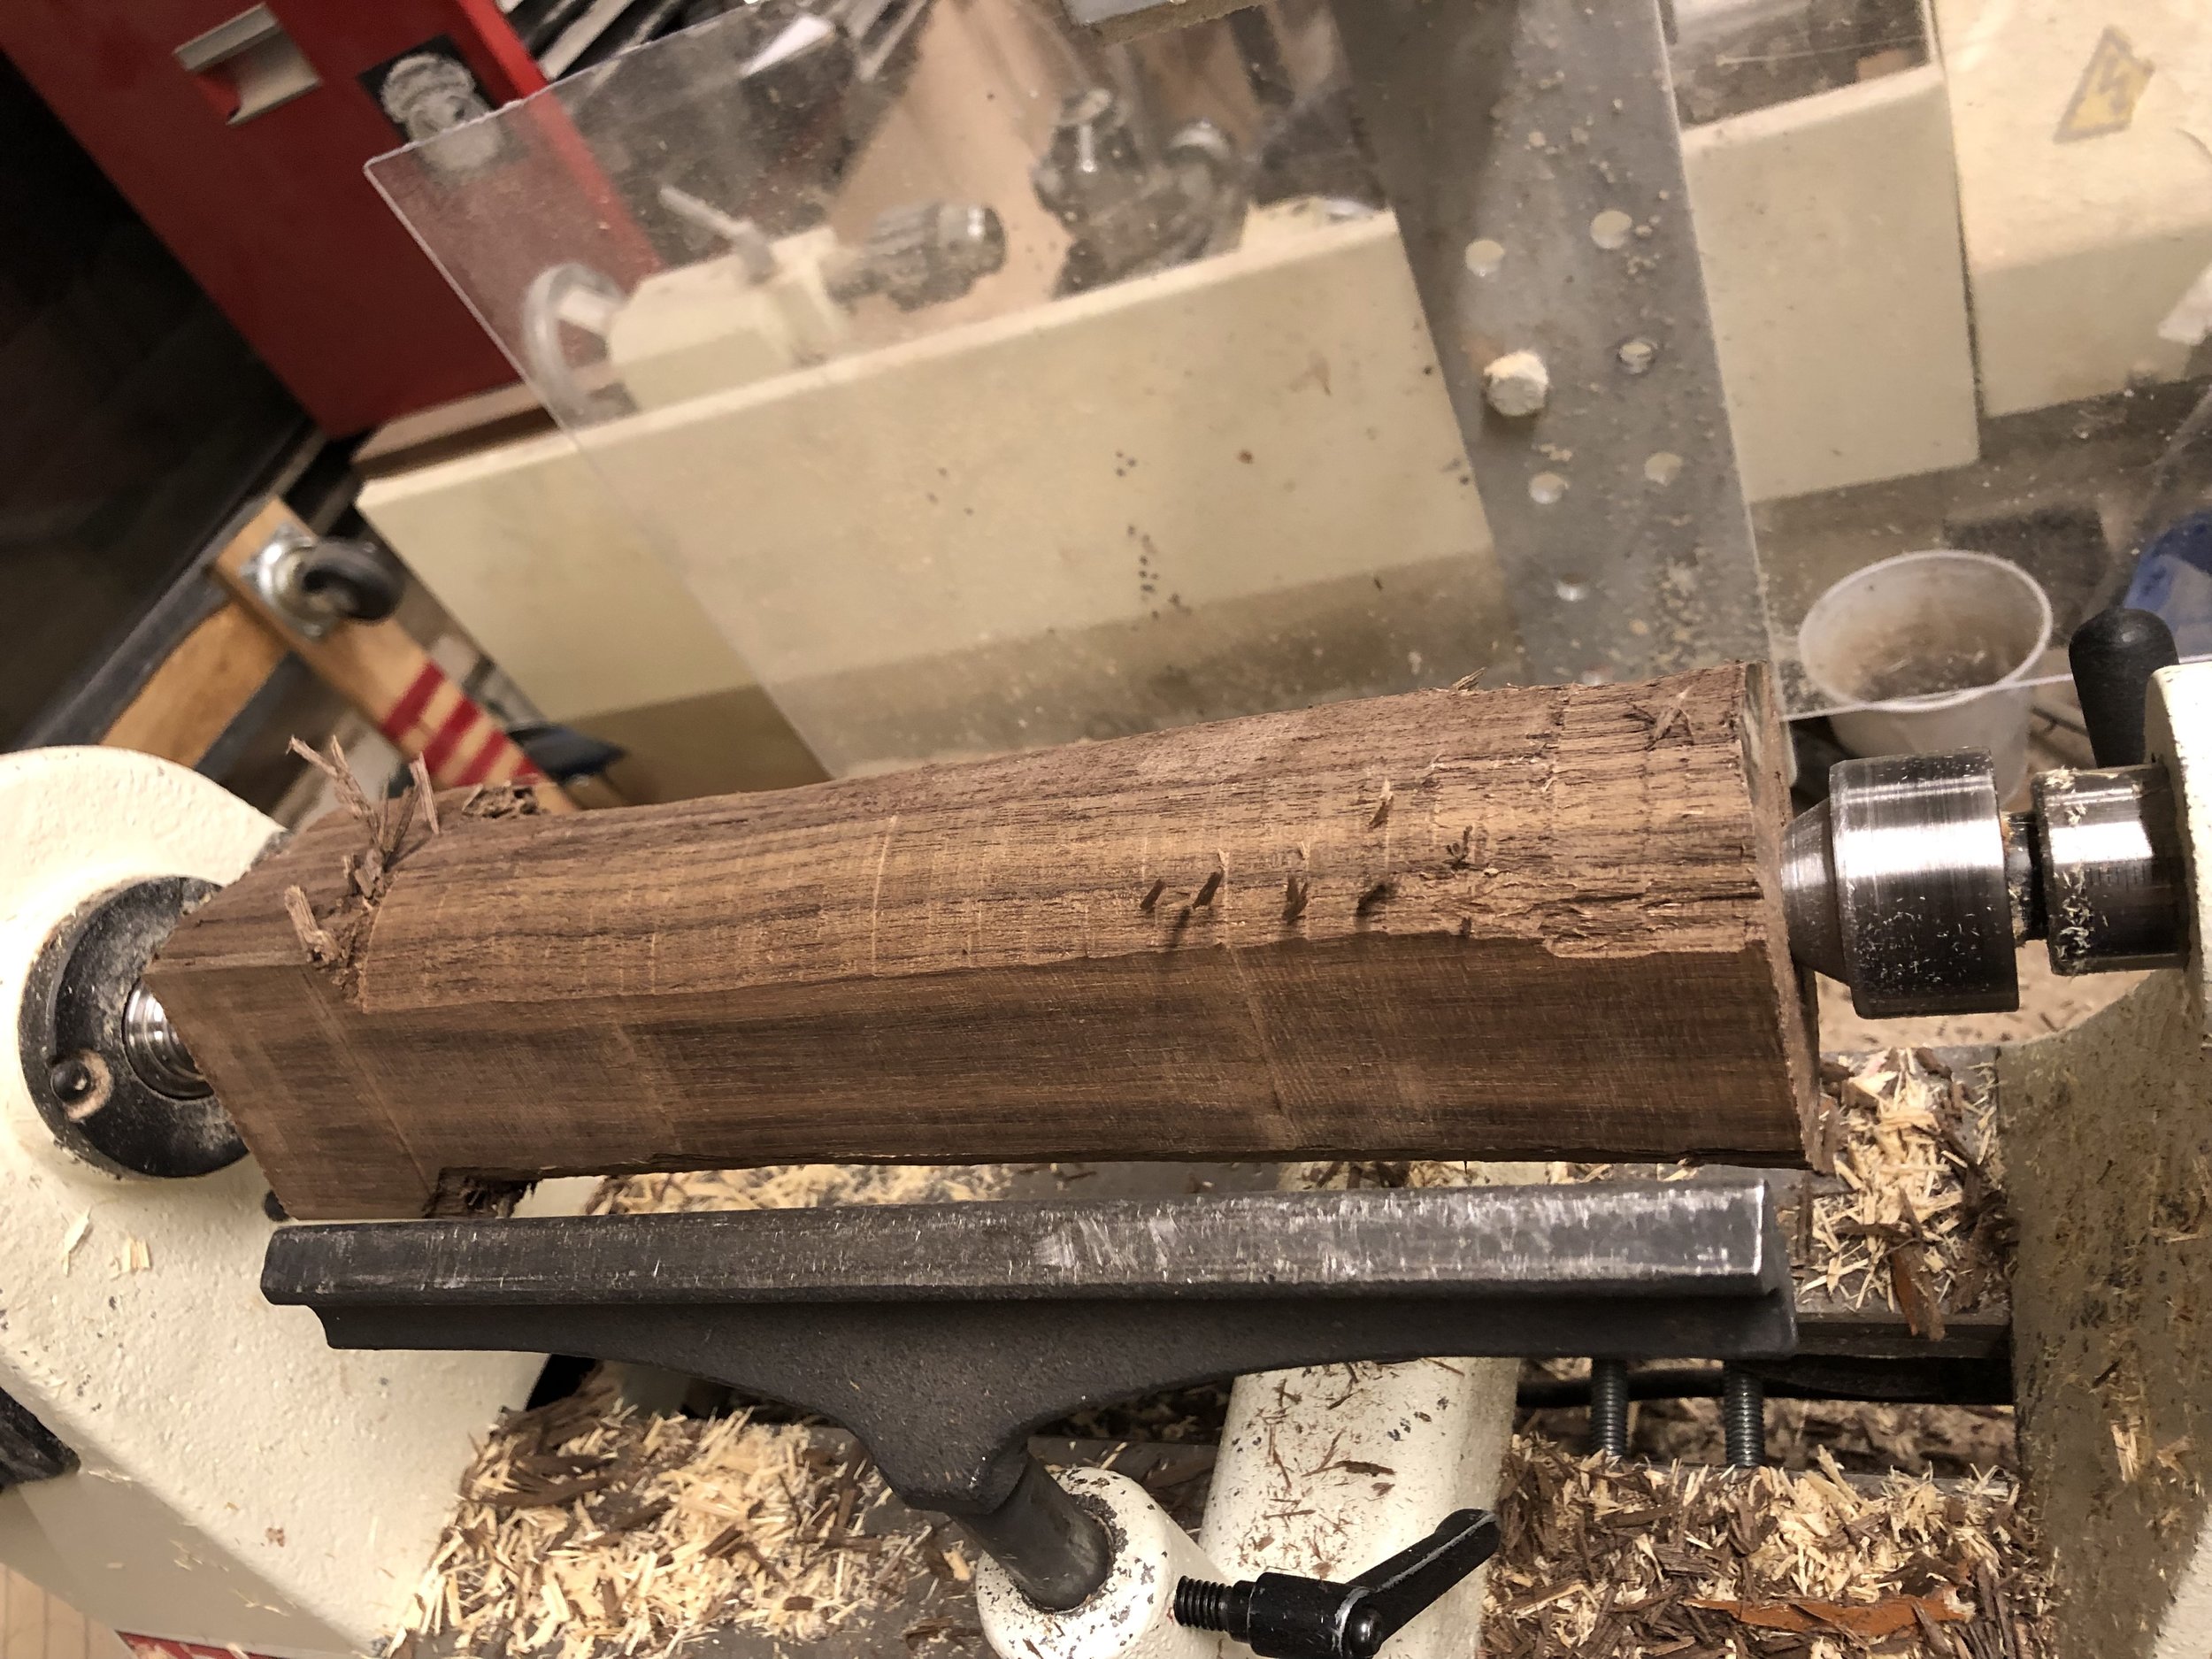
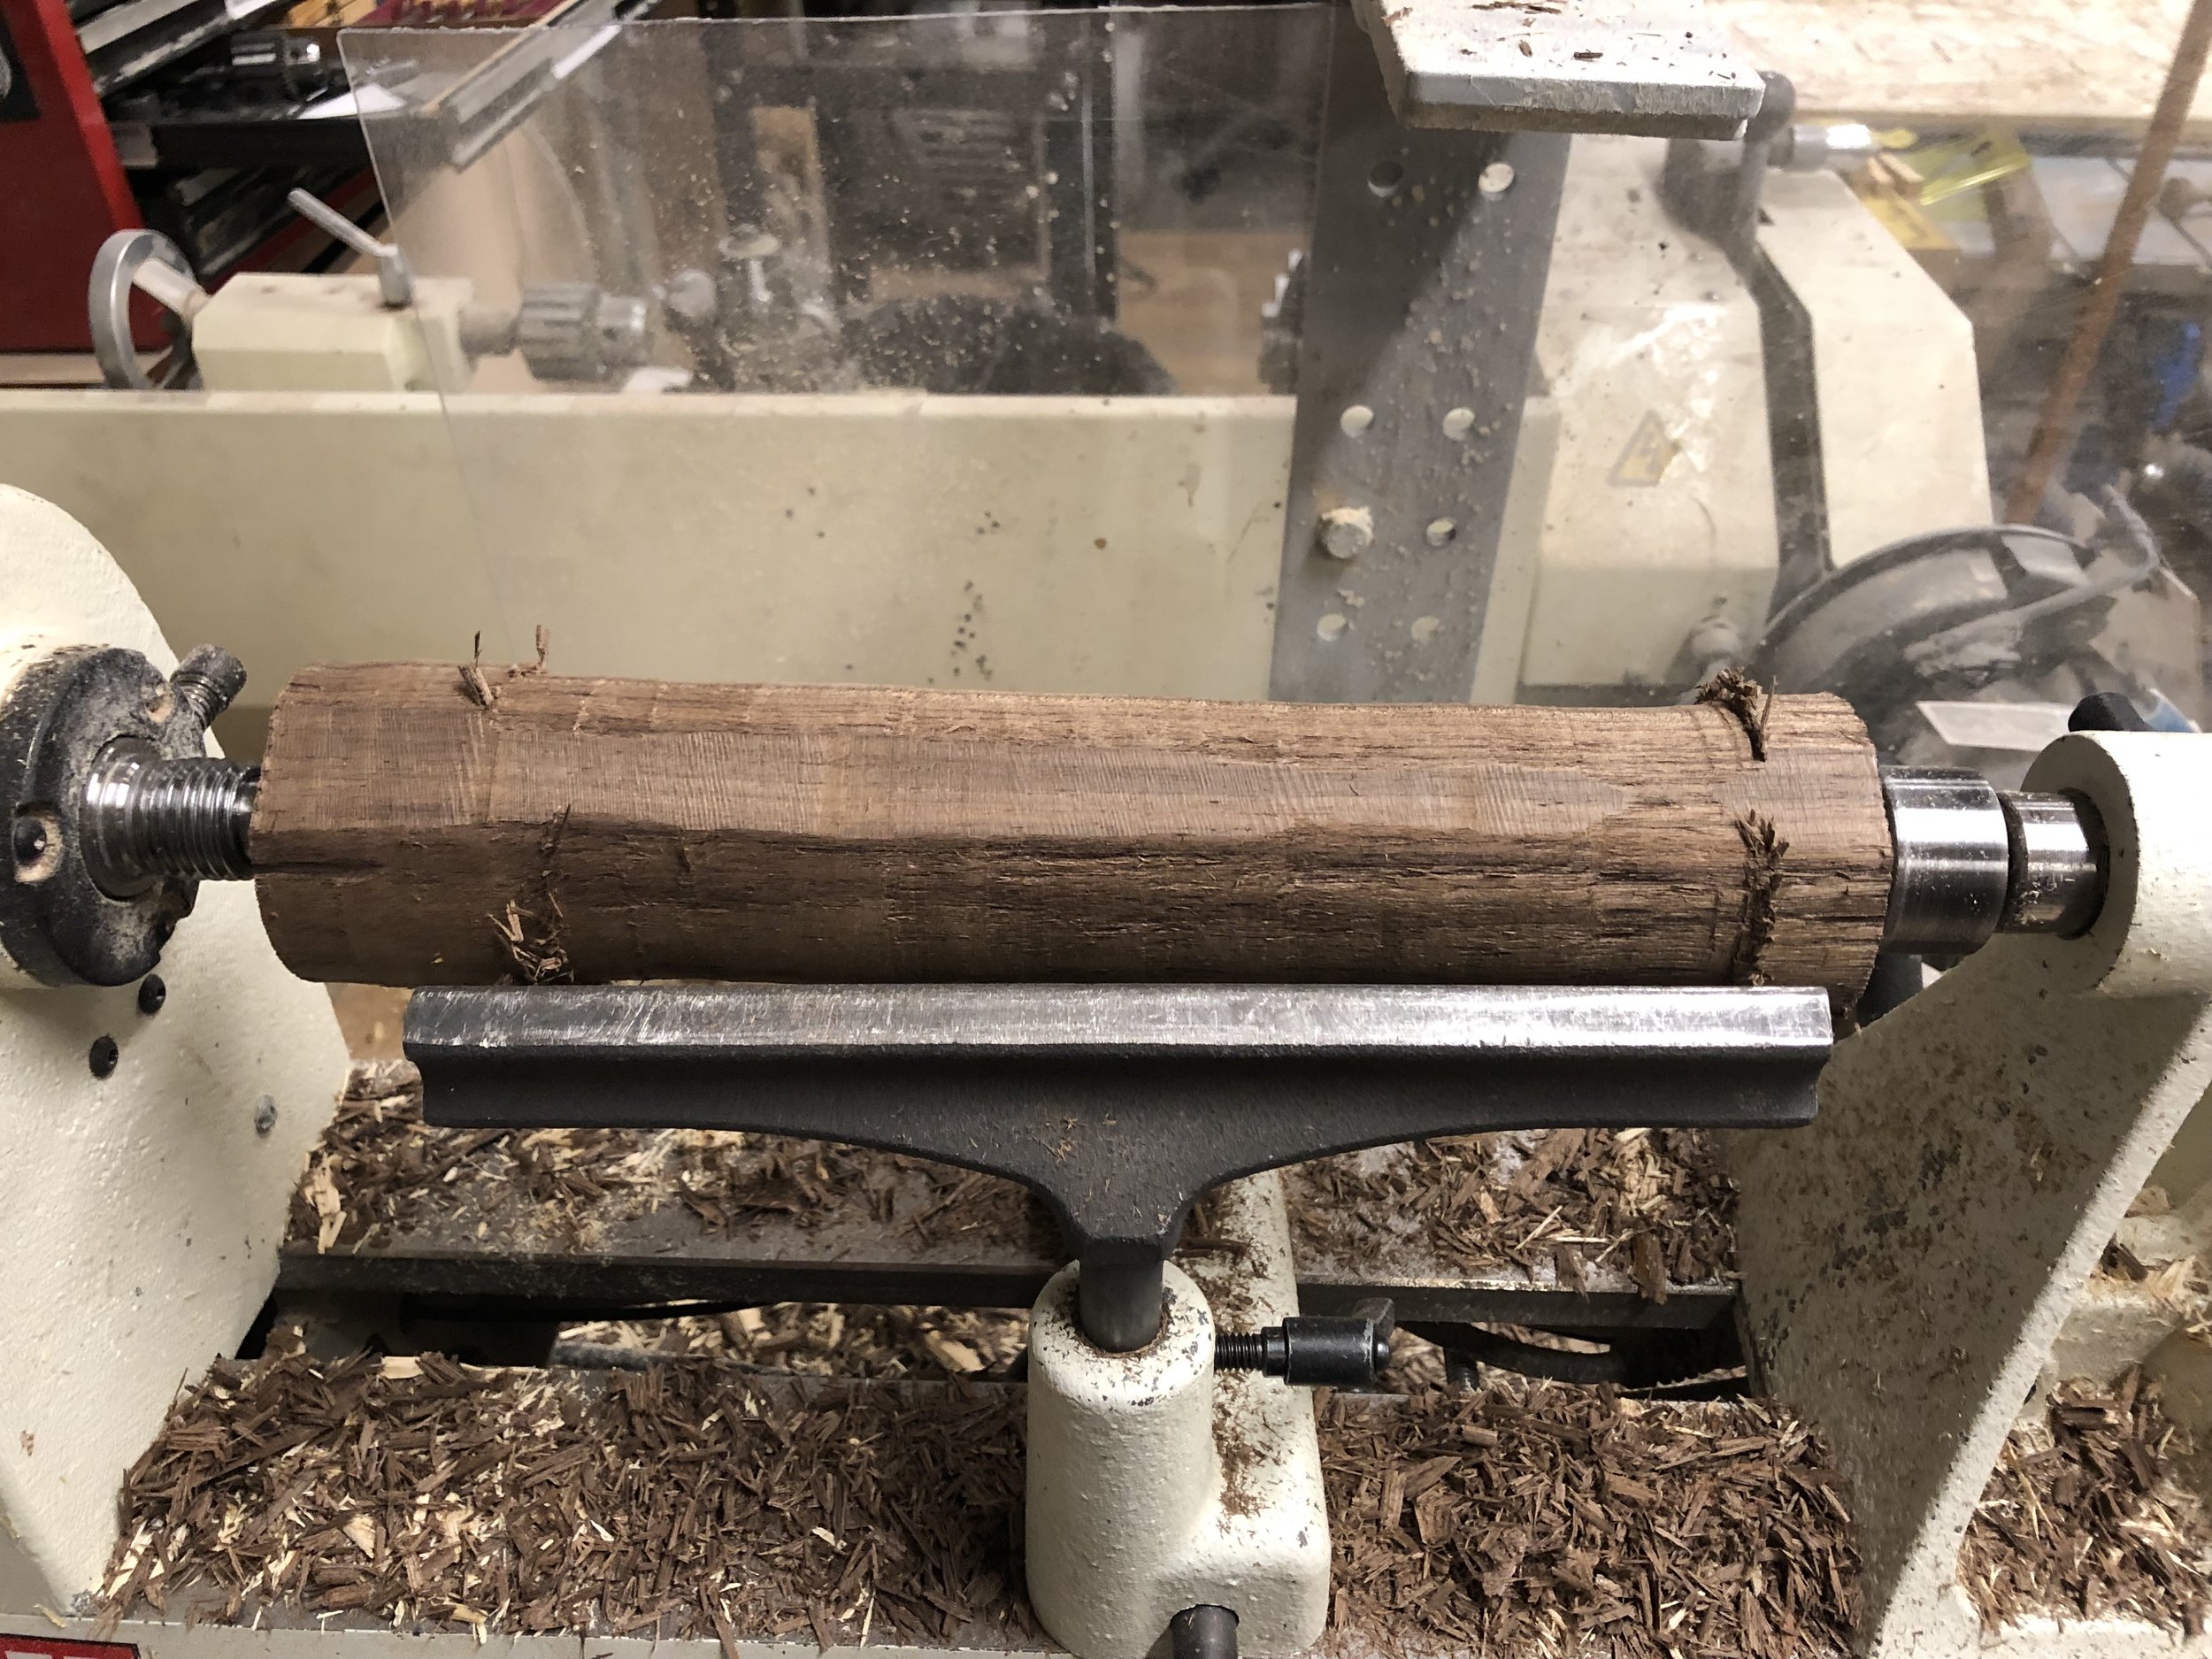
Post this prep work — that now looking back could easily be a wasted hour — I mounted and rounded the larger piece of walnut that would be used for the head of the mallet. I only had time to turn roughly to an almost perfect rounded dowel and then ran out of time and had to clean up for class. I purchased a tin of Vans Daddy Beeswax for Kitchens & Furniture on Amazon and had that delivered the next day so that I would have it in time to build and finish the mallet on Wednesday.
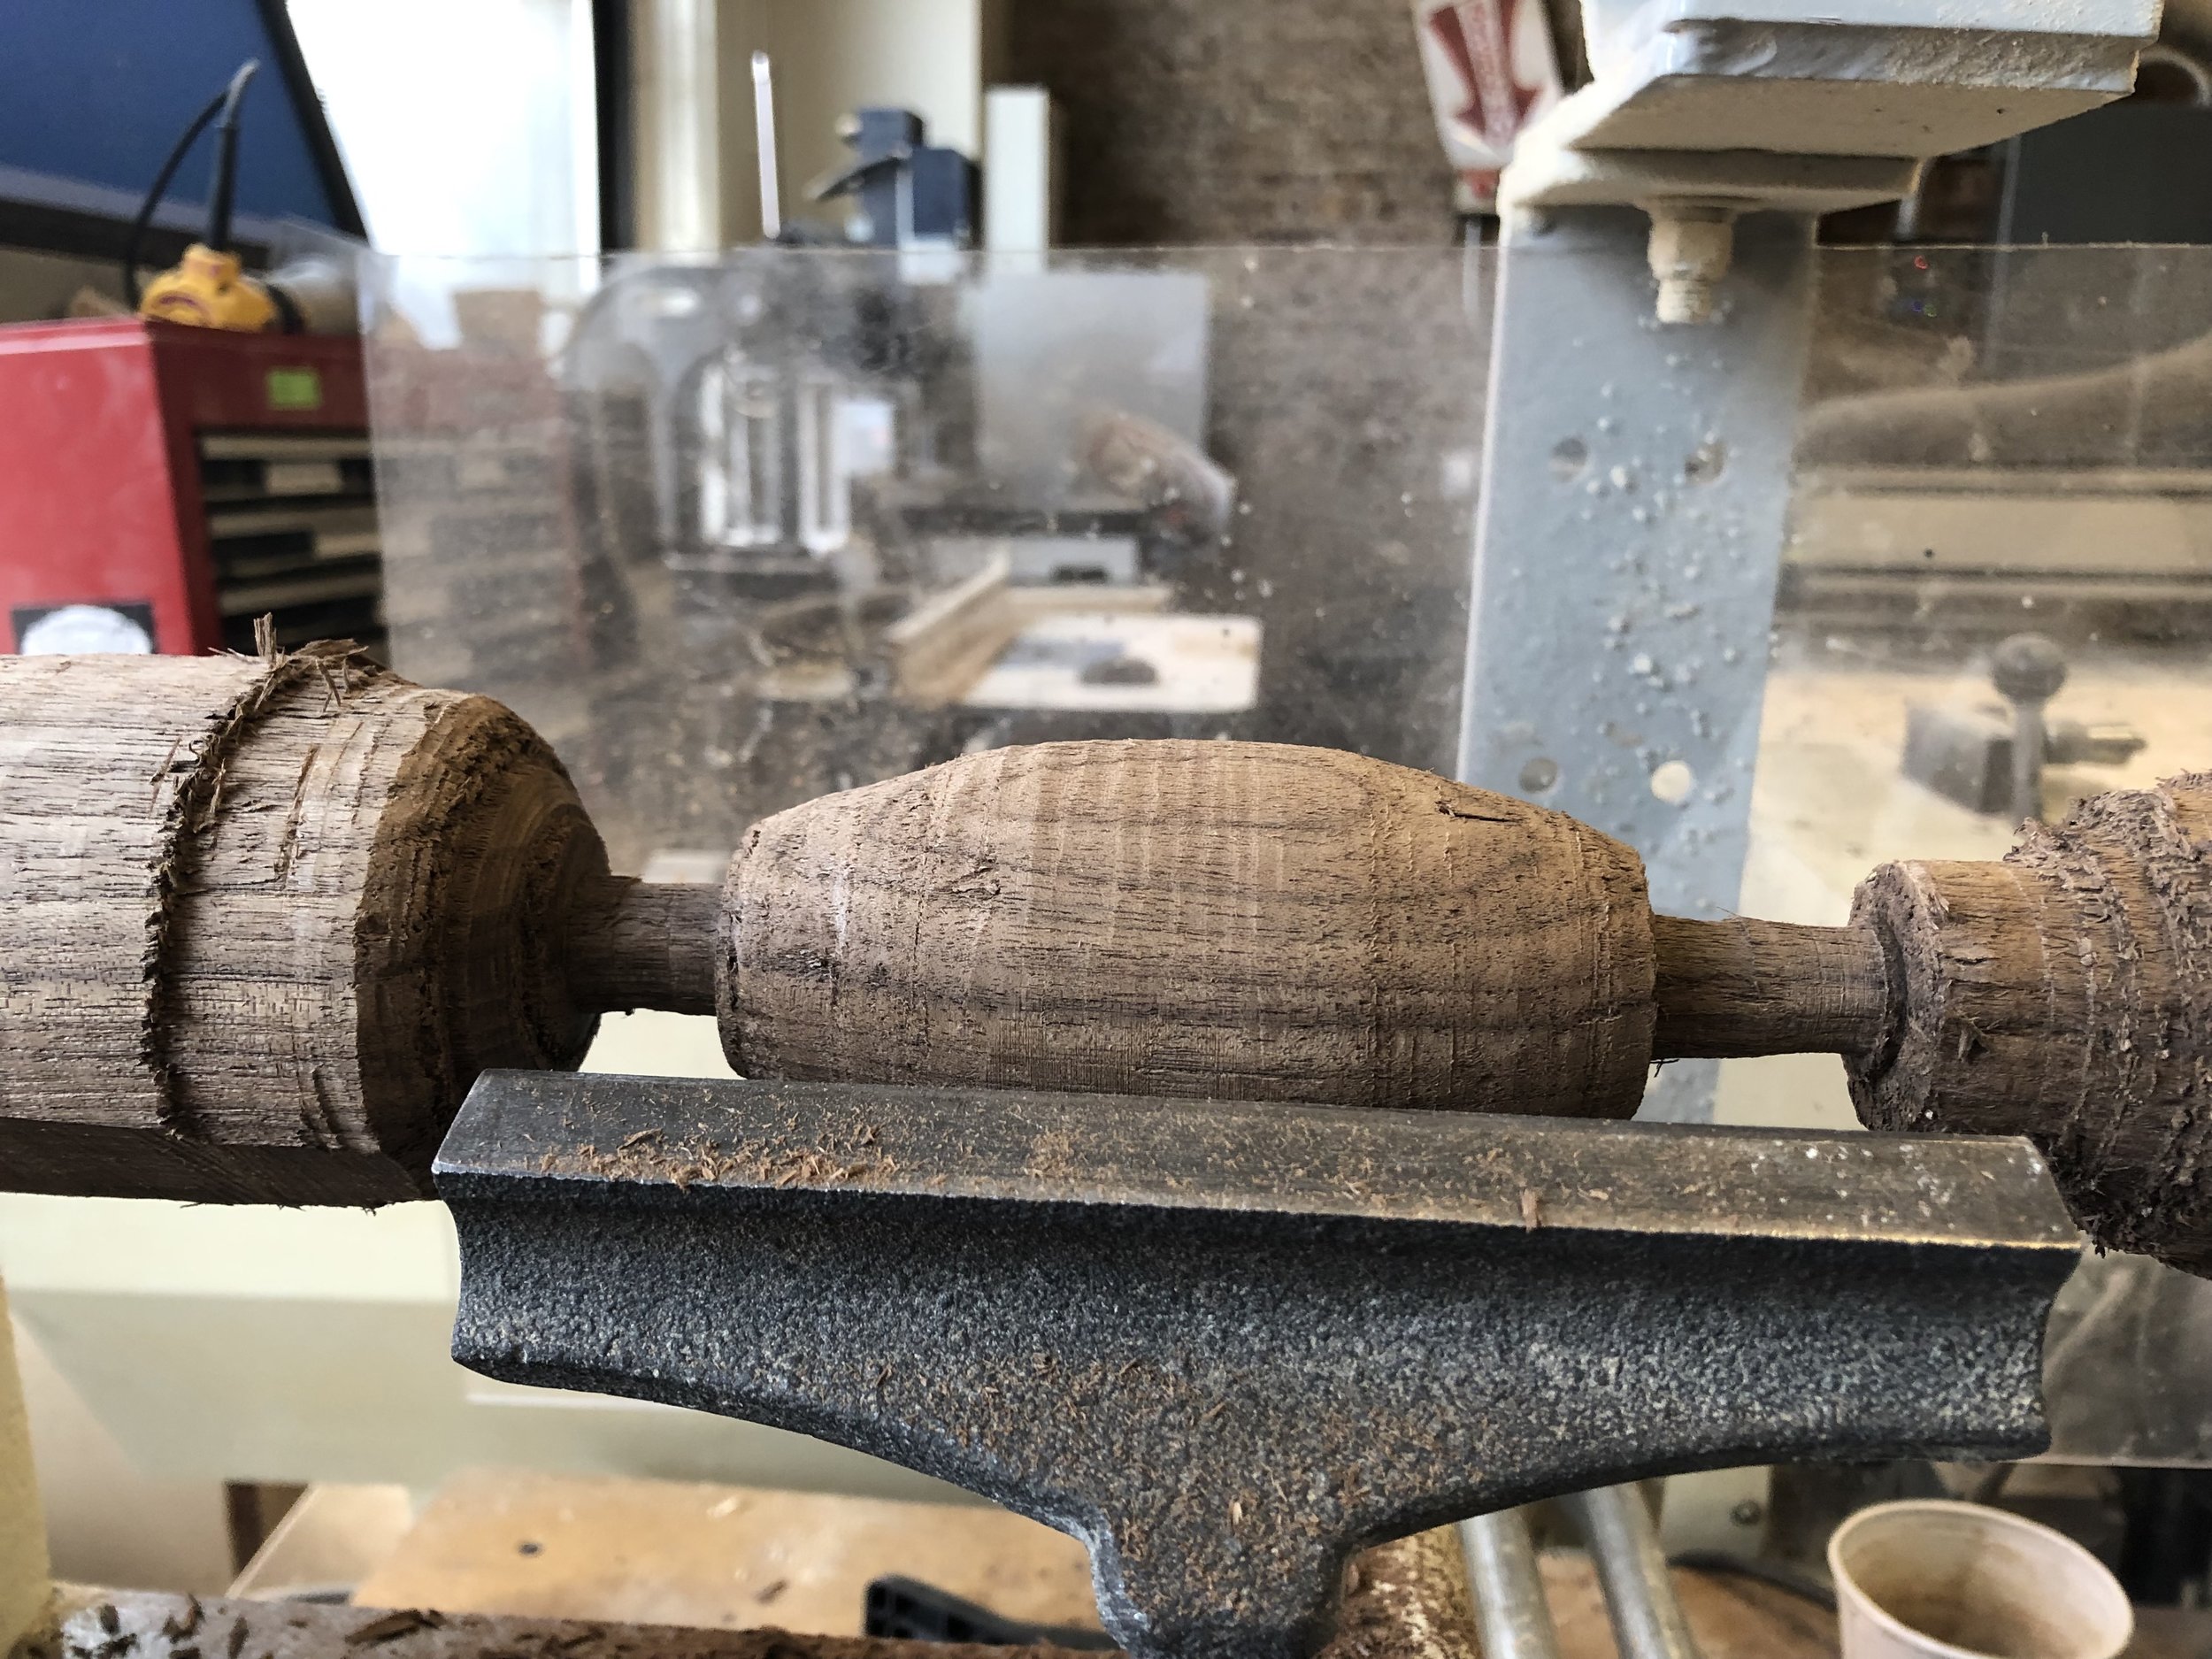
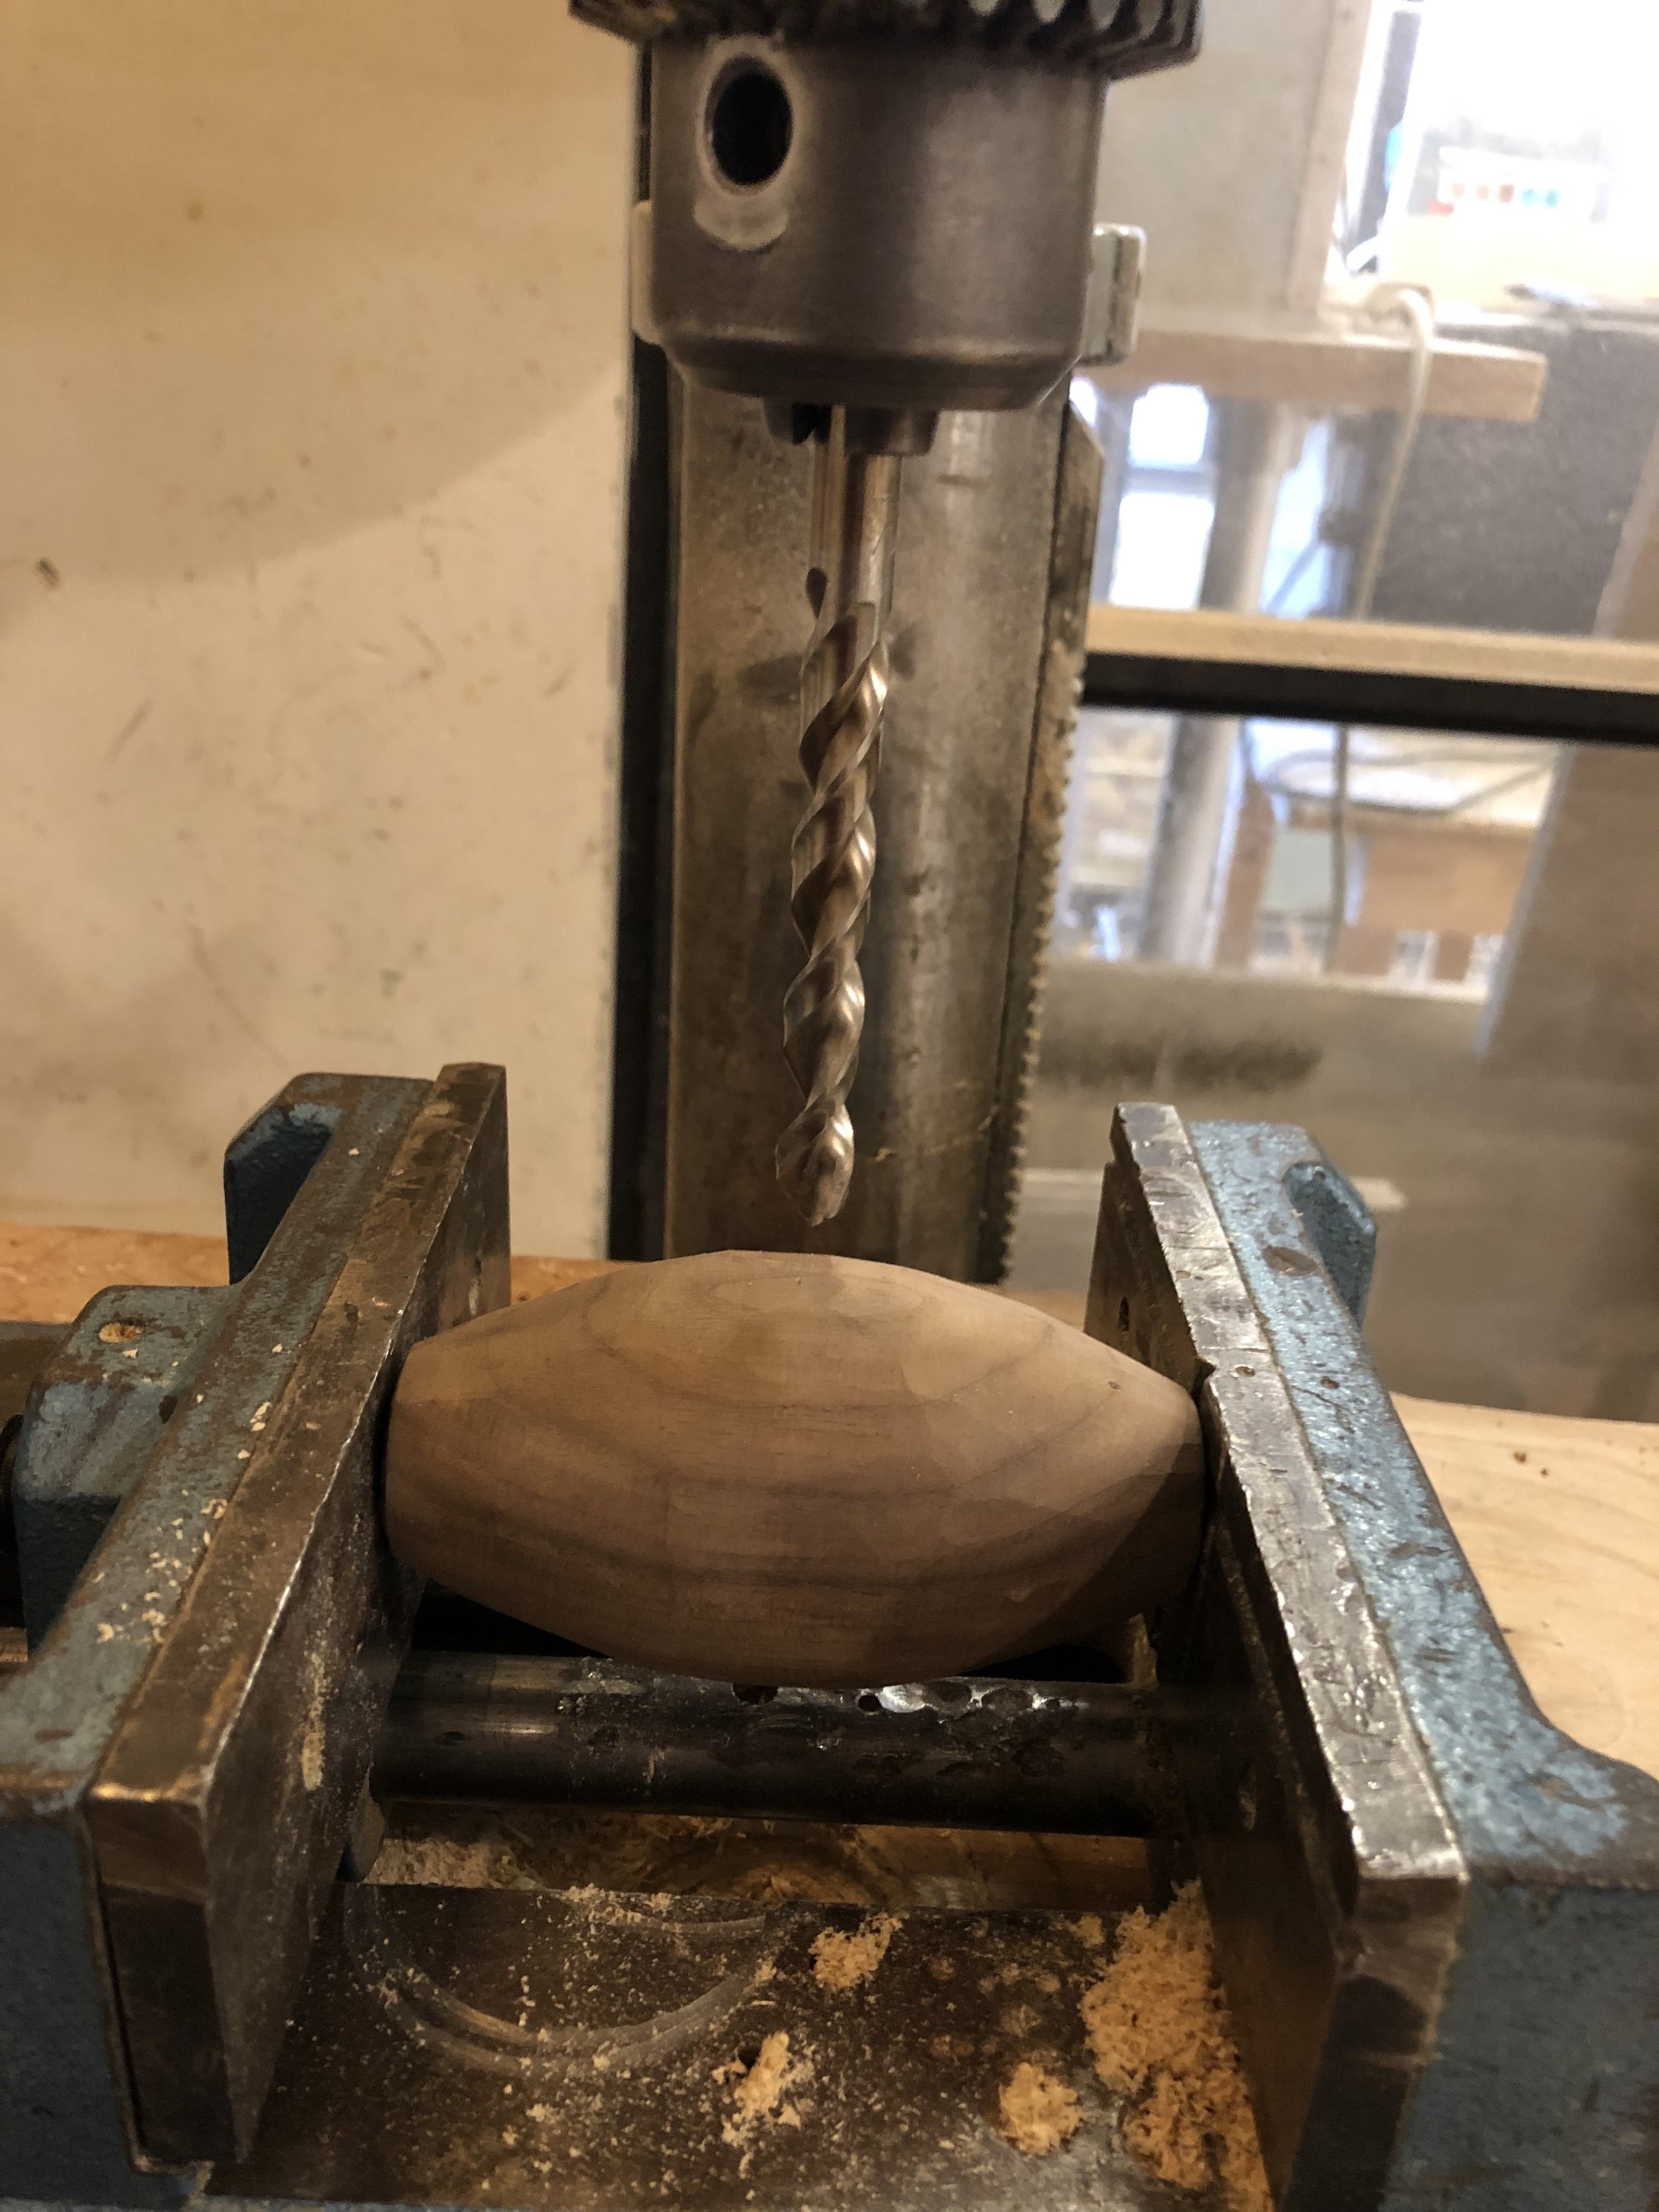
On Wednesday morning (2/13) , I returned to the shop and re-mounted the walnut to shape the head of the hammer. I had a pretty good experience bringing the piece down to almost symmetric and got to the shaping of the edges to match the handle with the bee-theme. In the process of shaping, the wood snapped and I lost the control on the piece to make it the way I envisioned. I decided to change directions, and took the head off the lathe, cut it down, and took it to the sander. I found that using the sander was another opportunity to shape in a different way and saw a hand-cut like pattern begin to appear and just went with it. I tried re-shape the handle the same way, but realized quickly that it wasn’t going to work the same way due to the physics of the piece and didn’t want to completely destroy what I created.
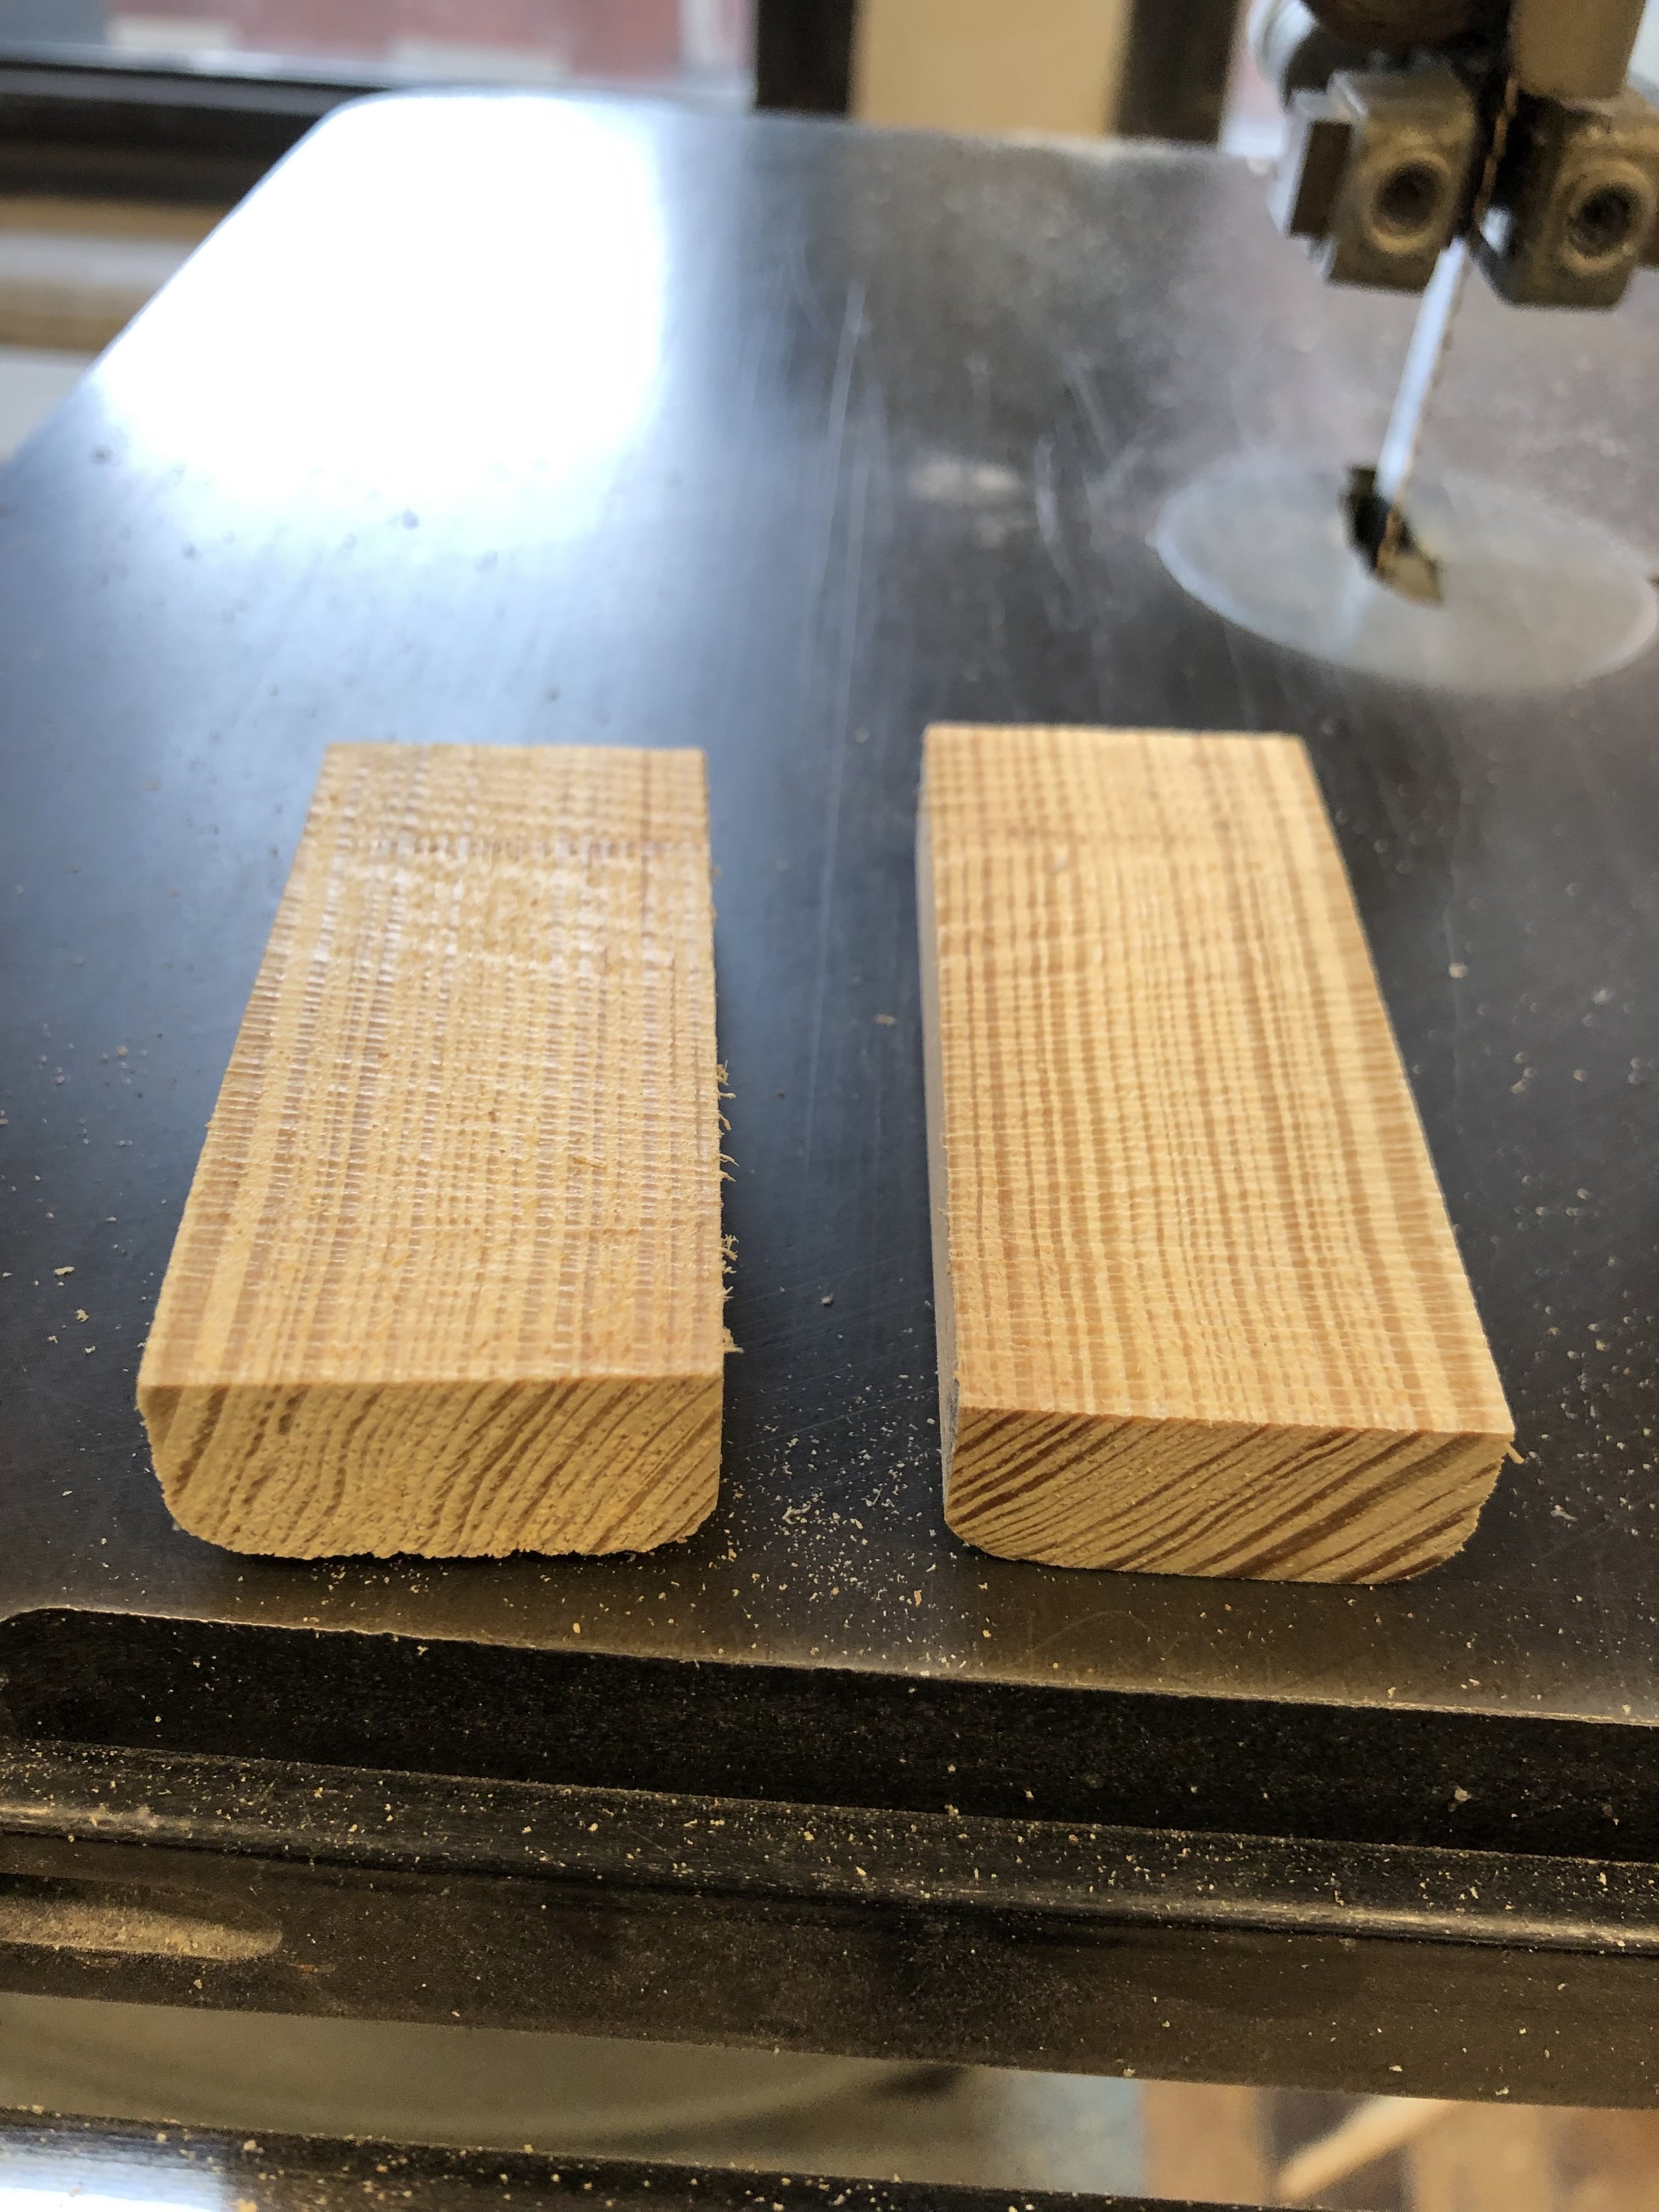
Since my idea around drilling the holes for the handle and pins from the lathe was no more, I moved onward to the drill press and placed the holes. I also created pins out of some oak and remaining walnut pieces. I glued all together and polished the mallet with the beeswax and let it dry. I applied another coat and voila, I made a mallet!
I really enjoyed this project — regardless of the ups and downs, this was my second piece ever on the lathe, and I thoroughly enjoyed the journey of how this all came together.
x.


