• projects.
    • neon space moon.
    • the shape of refractive memory.
  • places.
    • new york.
    • bali.
    • paris.
    • los angeles.
    • australia.
    • japan.
    • sedona.
    • england.
  • people.
    • sports.
    • portraits.
    • events.
  • things.
    • wildlife.
  • itp blog.
    • itp_general.
    • itp_icm_f18.
    • itp_physical computing_f18.
    • itp_video&sound_f18.
    • itp_visual language_f18.
    • itp_animation_f18.
    • itp_wearables_s19
    • itp_fandom_s19
    • itp_turning_s19
    • itp_uxdesign_s19
    • itp_fungus_s19
    • itp_softrobotics_s19
    • itp_augmentedreality_f19
    • itp_fabrication_f19
    • itp_light&interactivity_s20
  • connect with me.
  • Menu

Madshutter Photo

  • projects.
    • neon space moon.
    • the shape of refractive memory.
  • places.
    • new york.
    • bali.
    • paris.
    • los angeles.
    • australia.
    • japan.
    • sedona.
    • england.
  • people.
    • sports.
    • portraits.
    • events.
  • things.
    • wildlife.
  • itp blog.
    • itp_general.
    • itp_icm_f18.
    • itp_physical computing_f18.
    • itp_video&sound_f18.
    • itp_visual language_f18.
    • itp_animation_f18.
    • itp_wearables_s19
    • itp_fandom_s19
    • itp_turning_s19
    • itp_uxdesign_s19
    • itp_fungus_s19
    • itp_softrobotics_s19
    • itp_augmentedreality_f19
    • itp_fabrication_f19
    • itp_light&interactivity_s20
  • connect with me.
mcqCFcuSQF69aahKlcy8FQ.jpg

Embroidered Speaker

ITP, Spring 2019 Wearables Final

Final Project - Embroidered Speaker

May 13, 2019

I began my journey here with a goal to create a speaker in a beanie that would play music inside — two things happened that took me off this course.

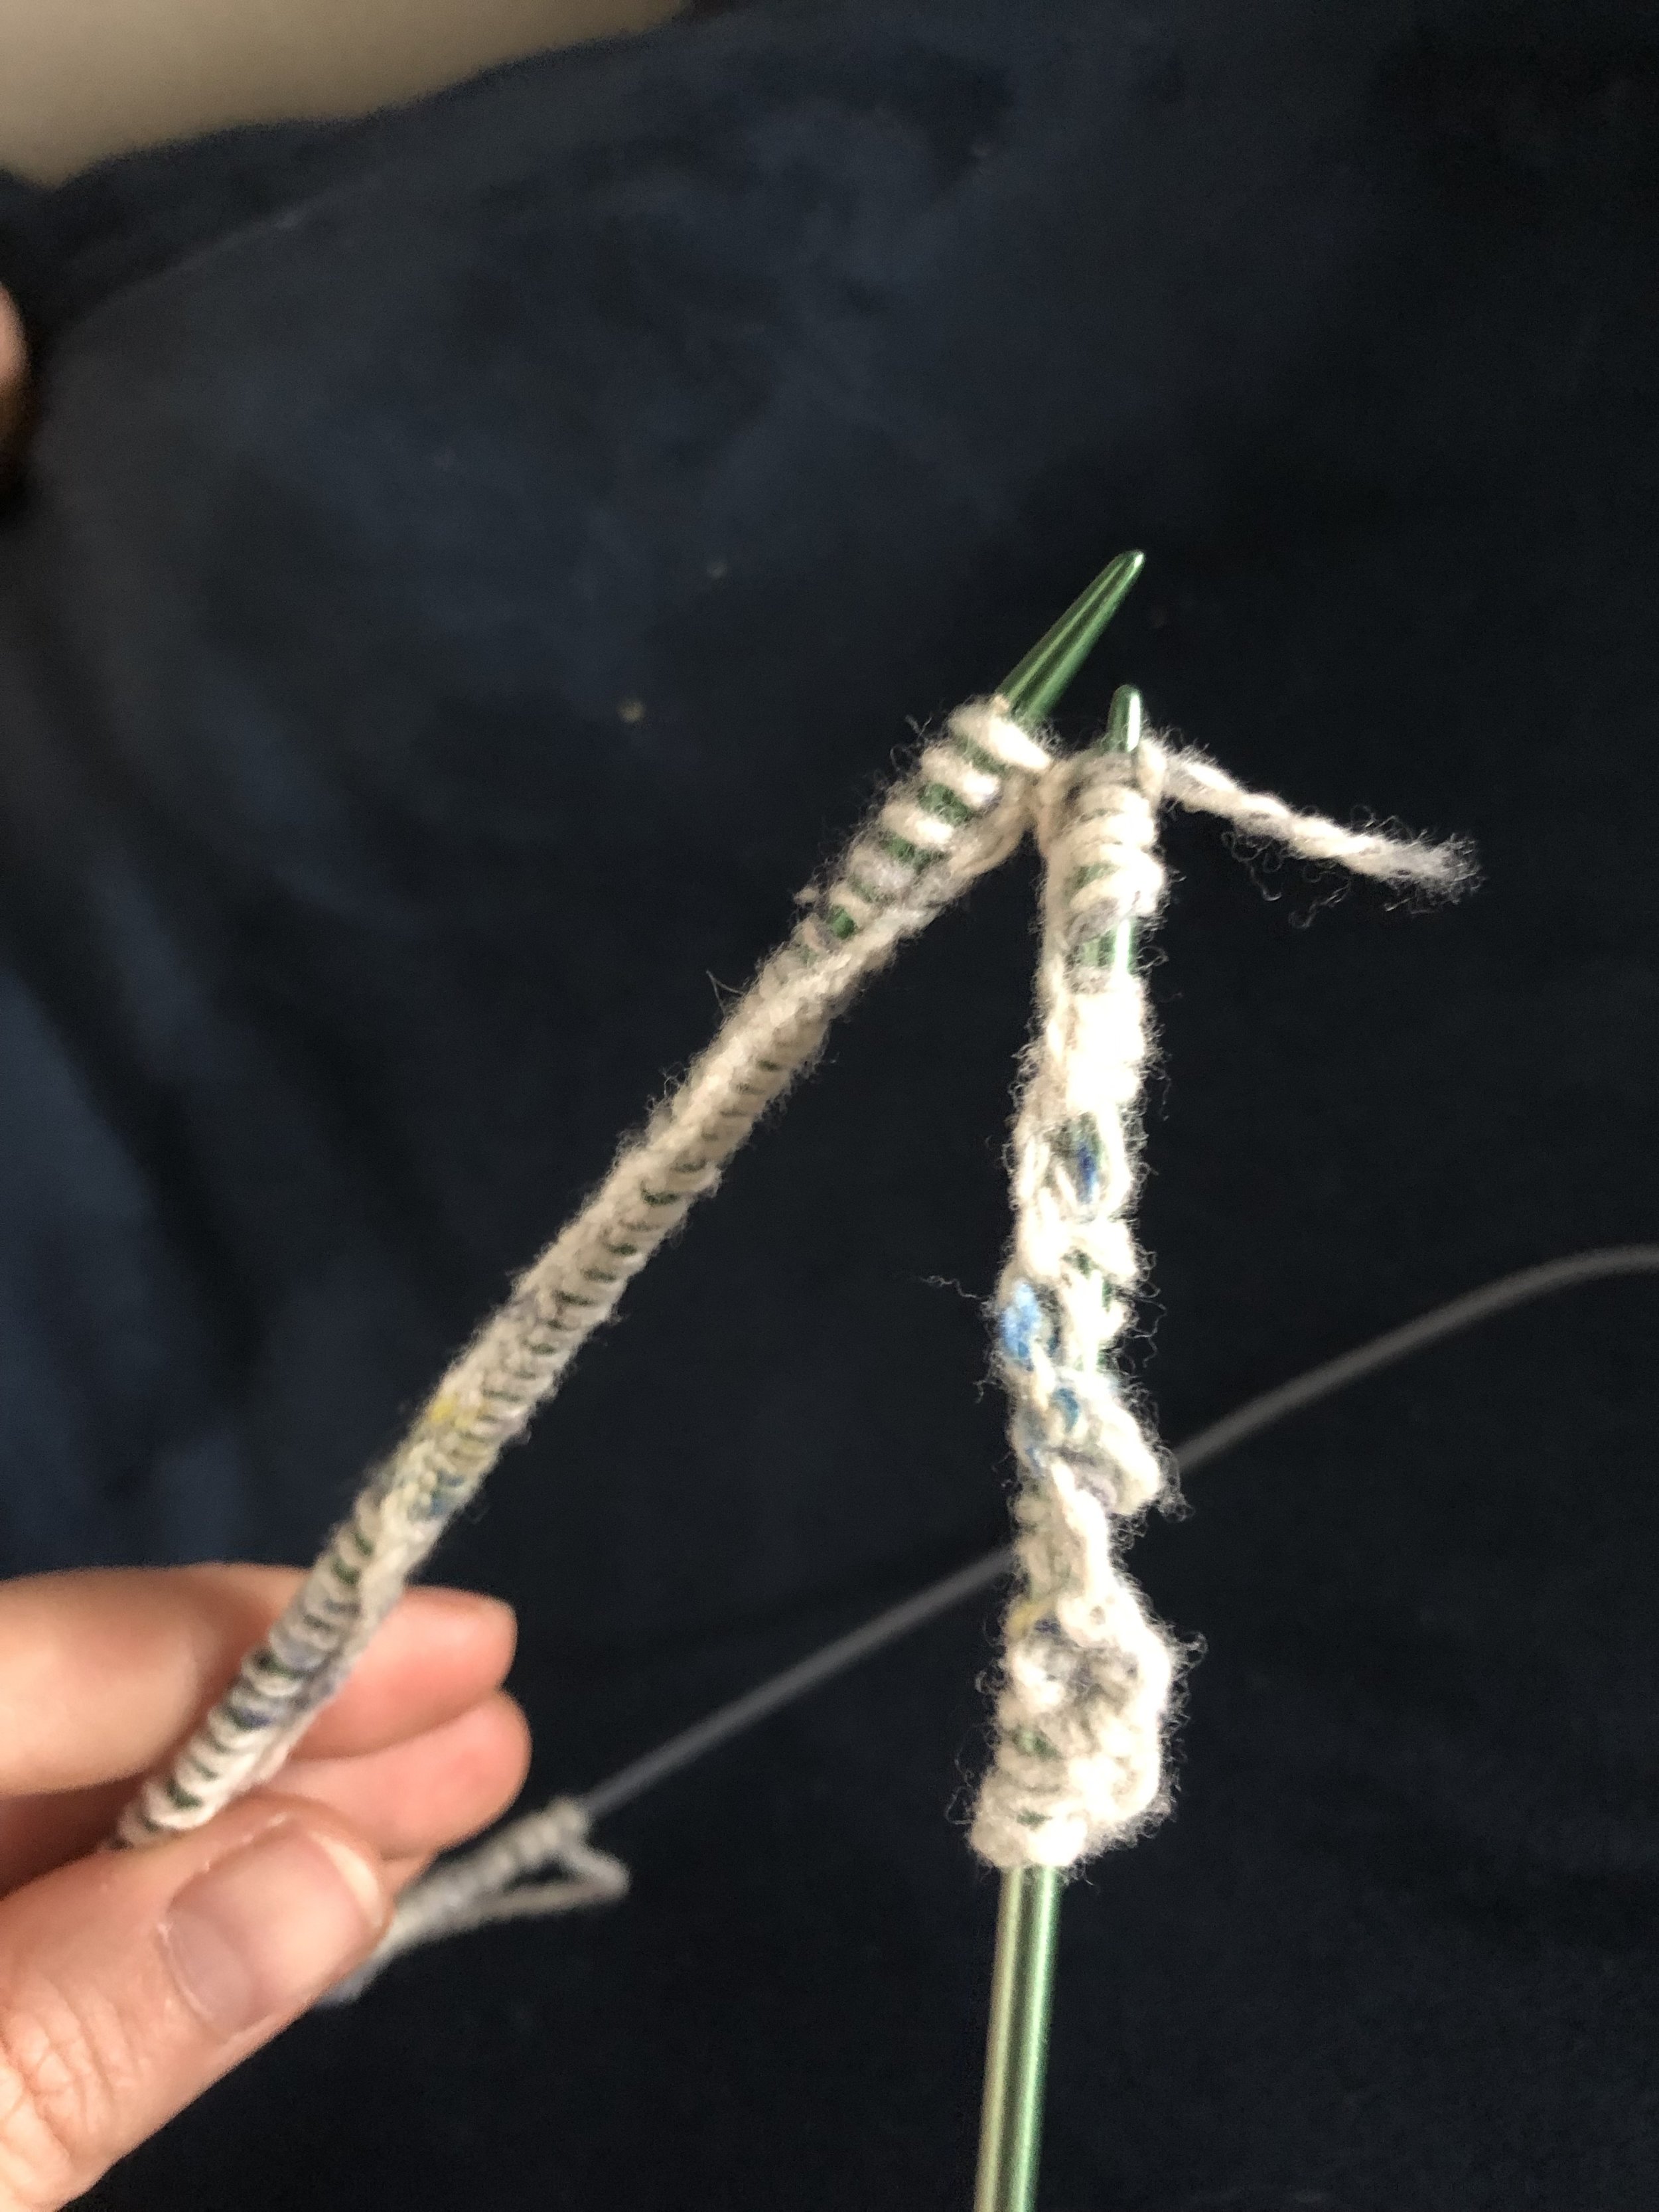
  1. I realized that knitting a hat is not a quick process — although not too complicated, 20 plus hours of knitting, yielded me about an inch out of the 10 I need for the hat.

  2. The speaker is a bit more fragile than I anticipated, so wearability in this form is not the best idea

Nonetheless, here’s my deep dive into knitting followed my adventure into speaker creation.

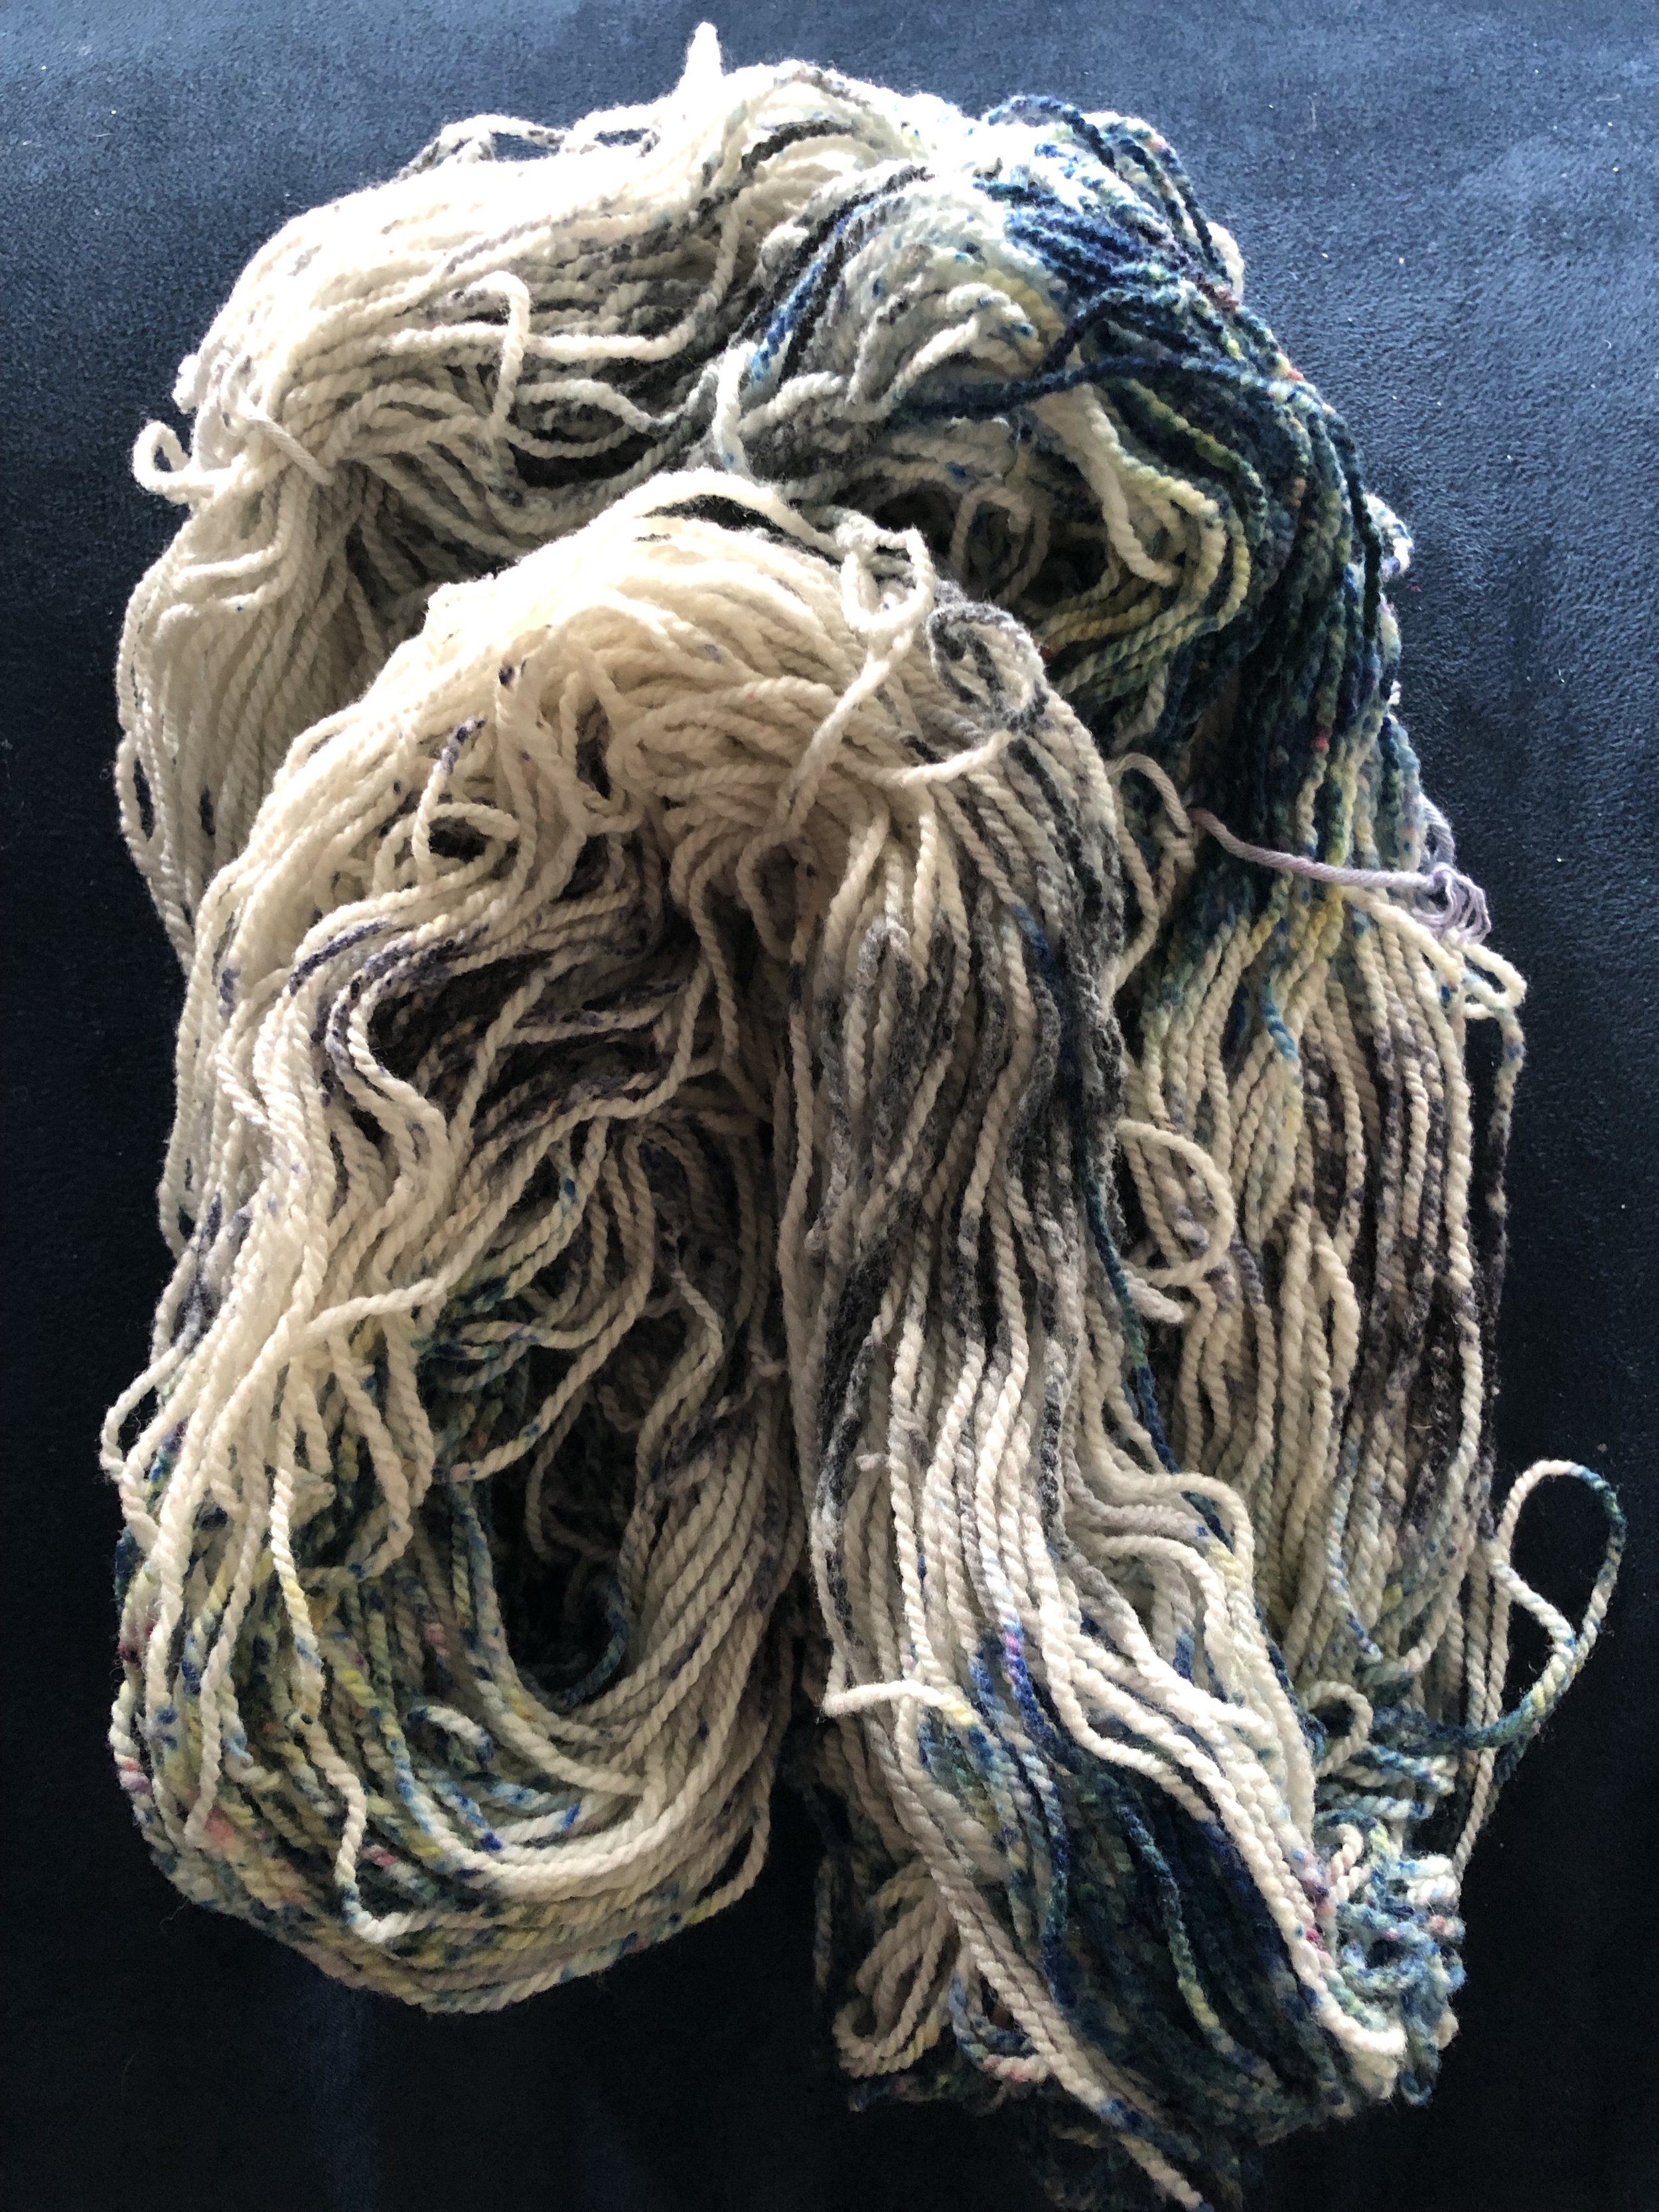
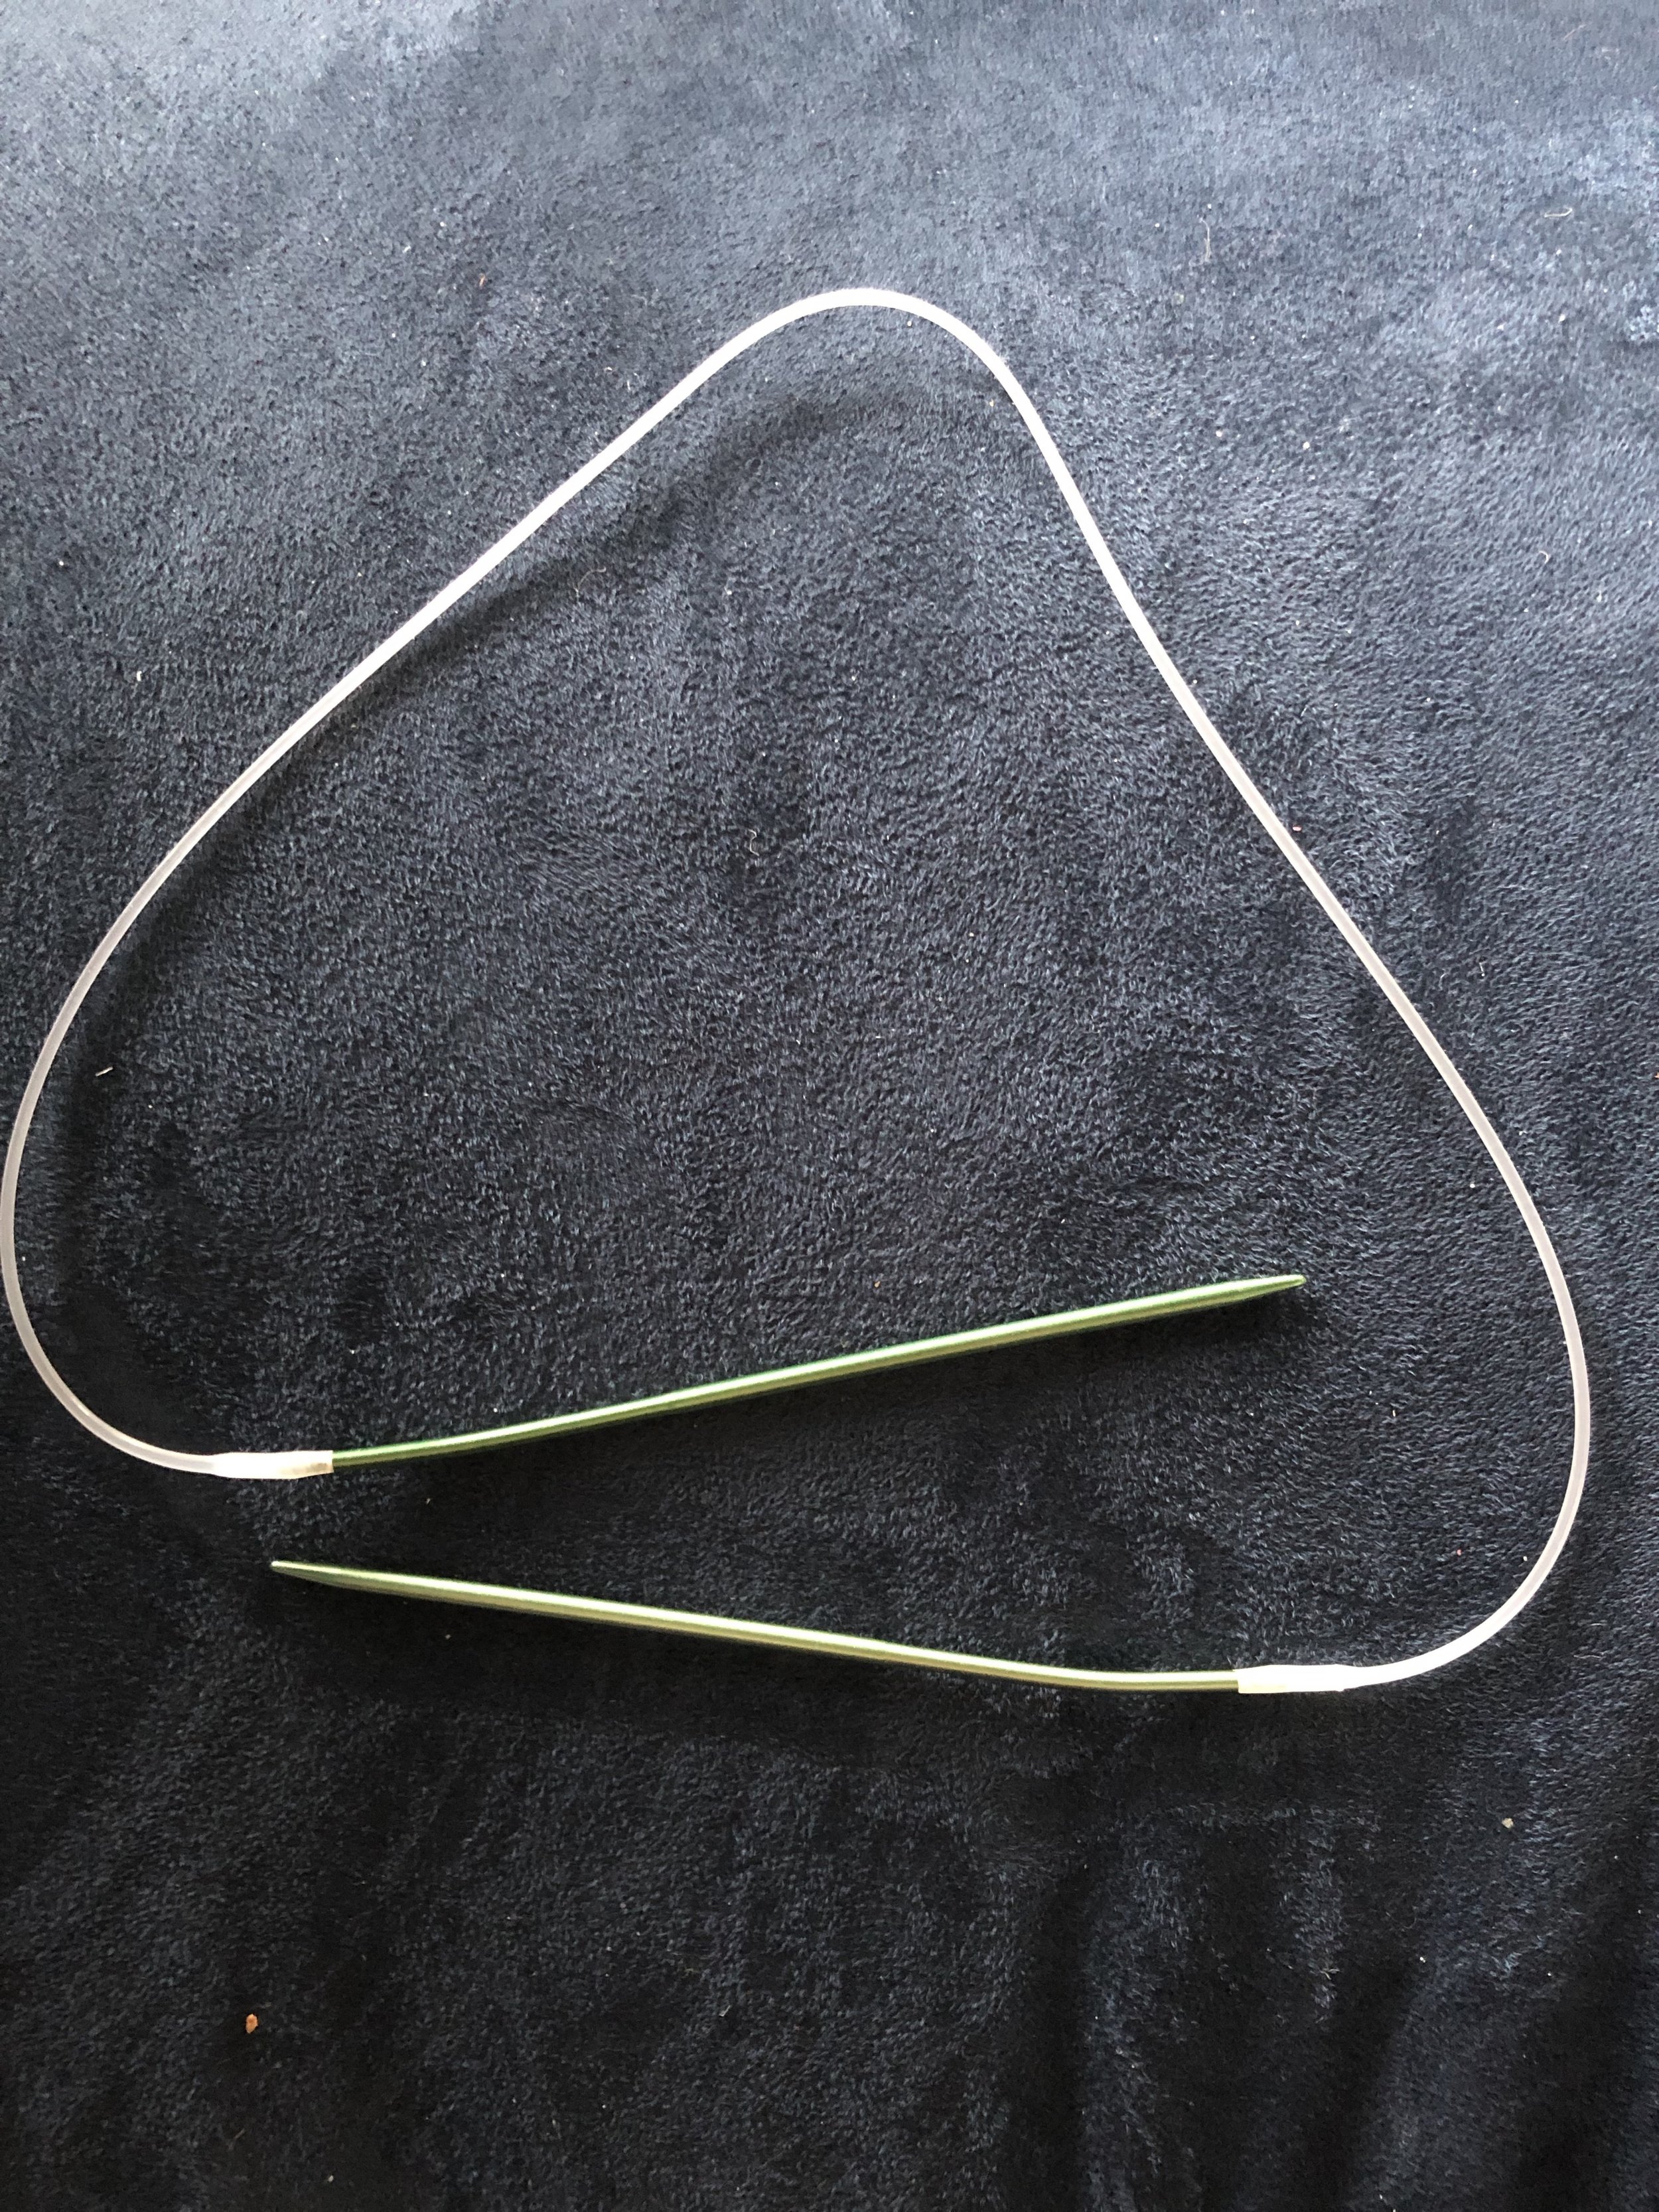
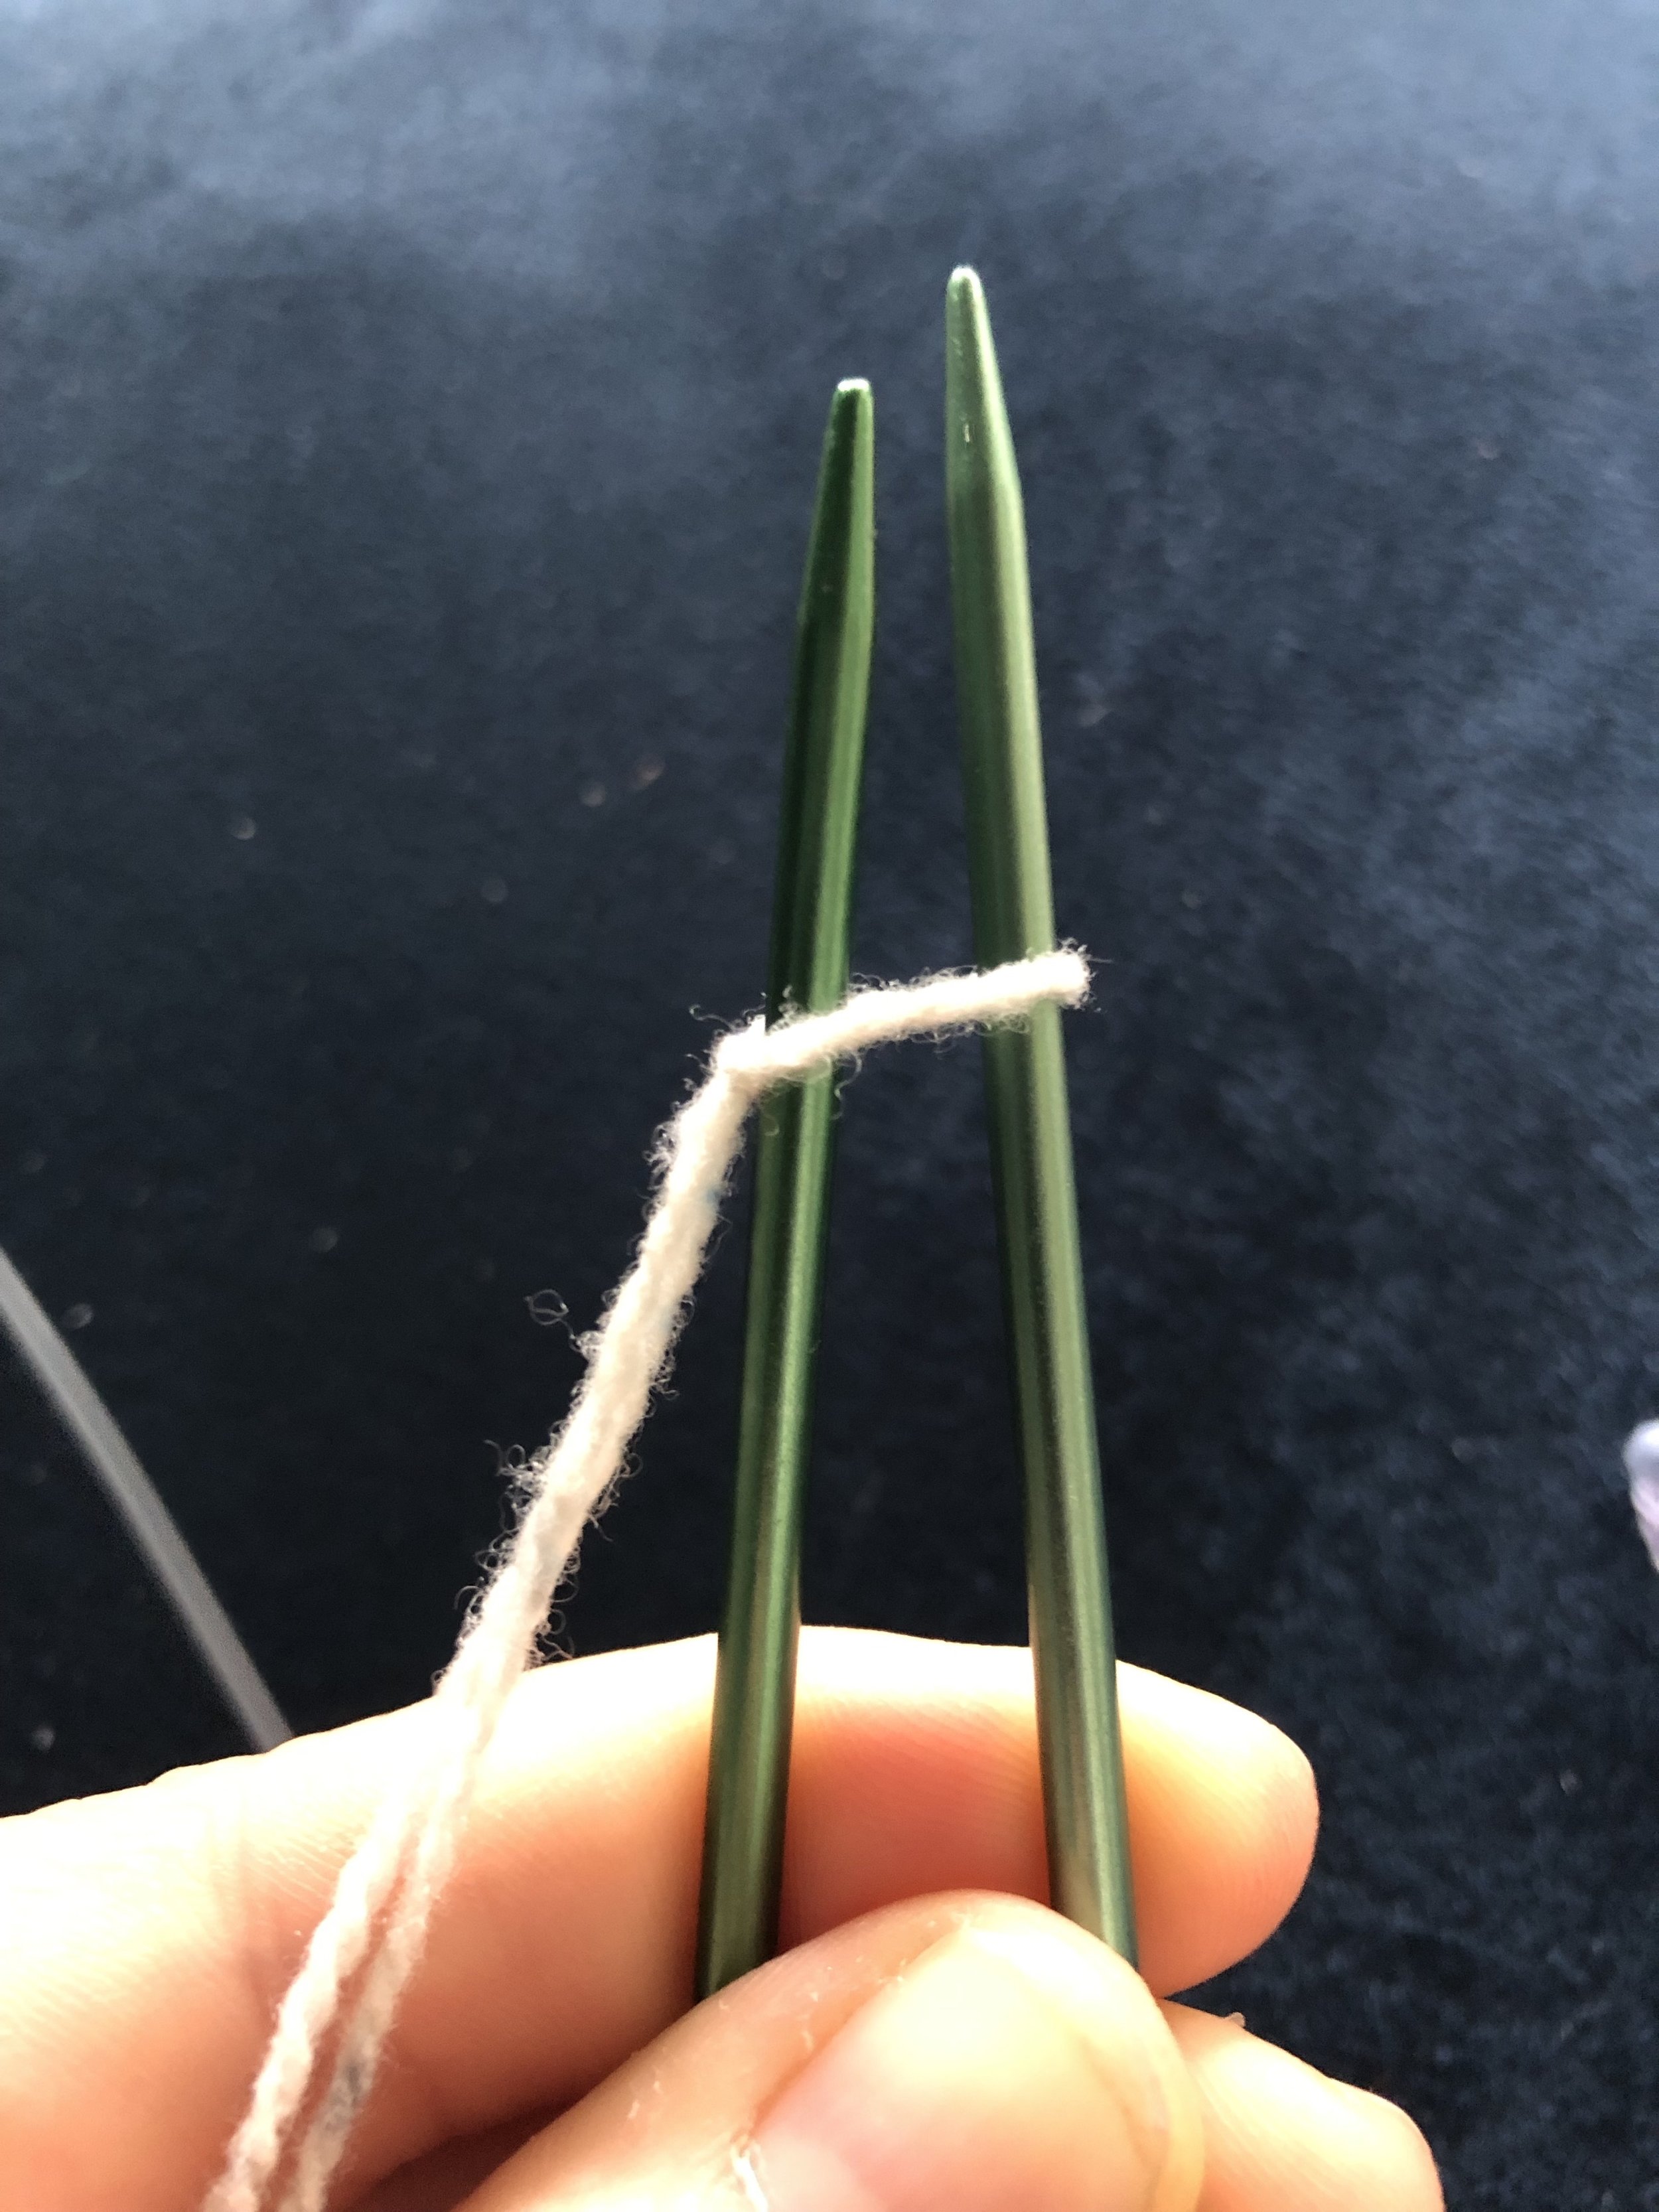
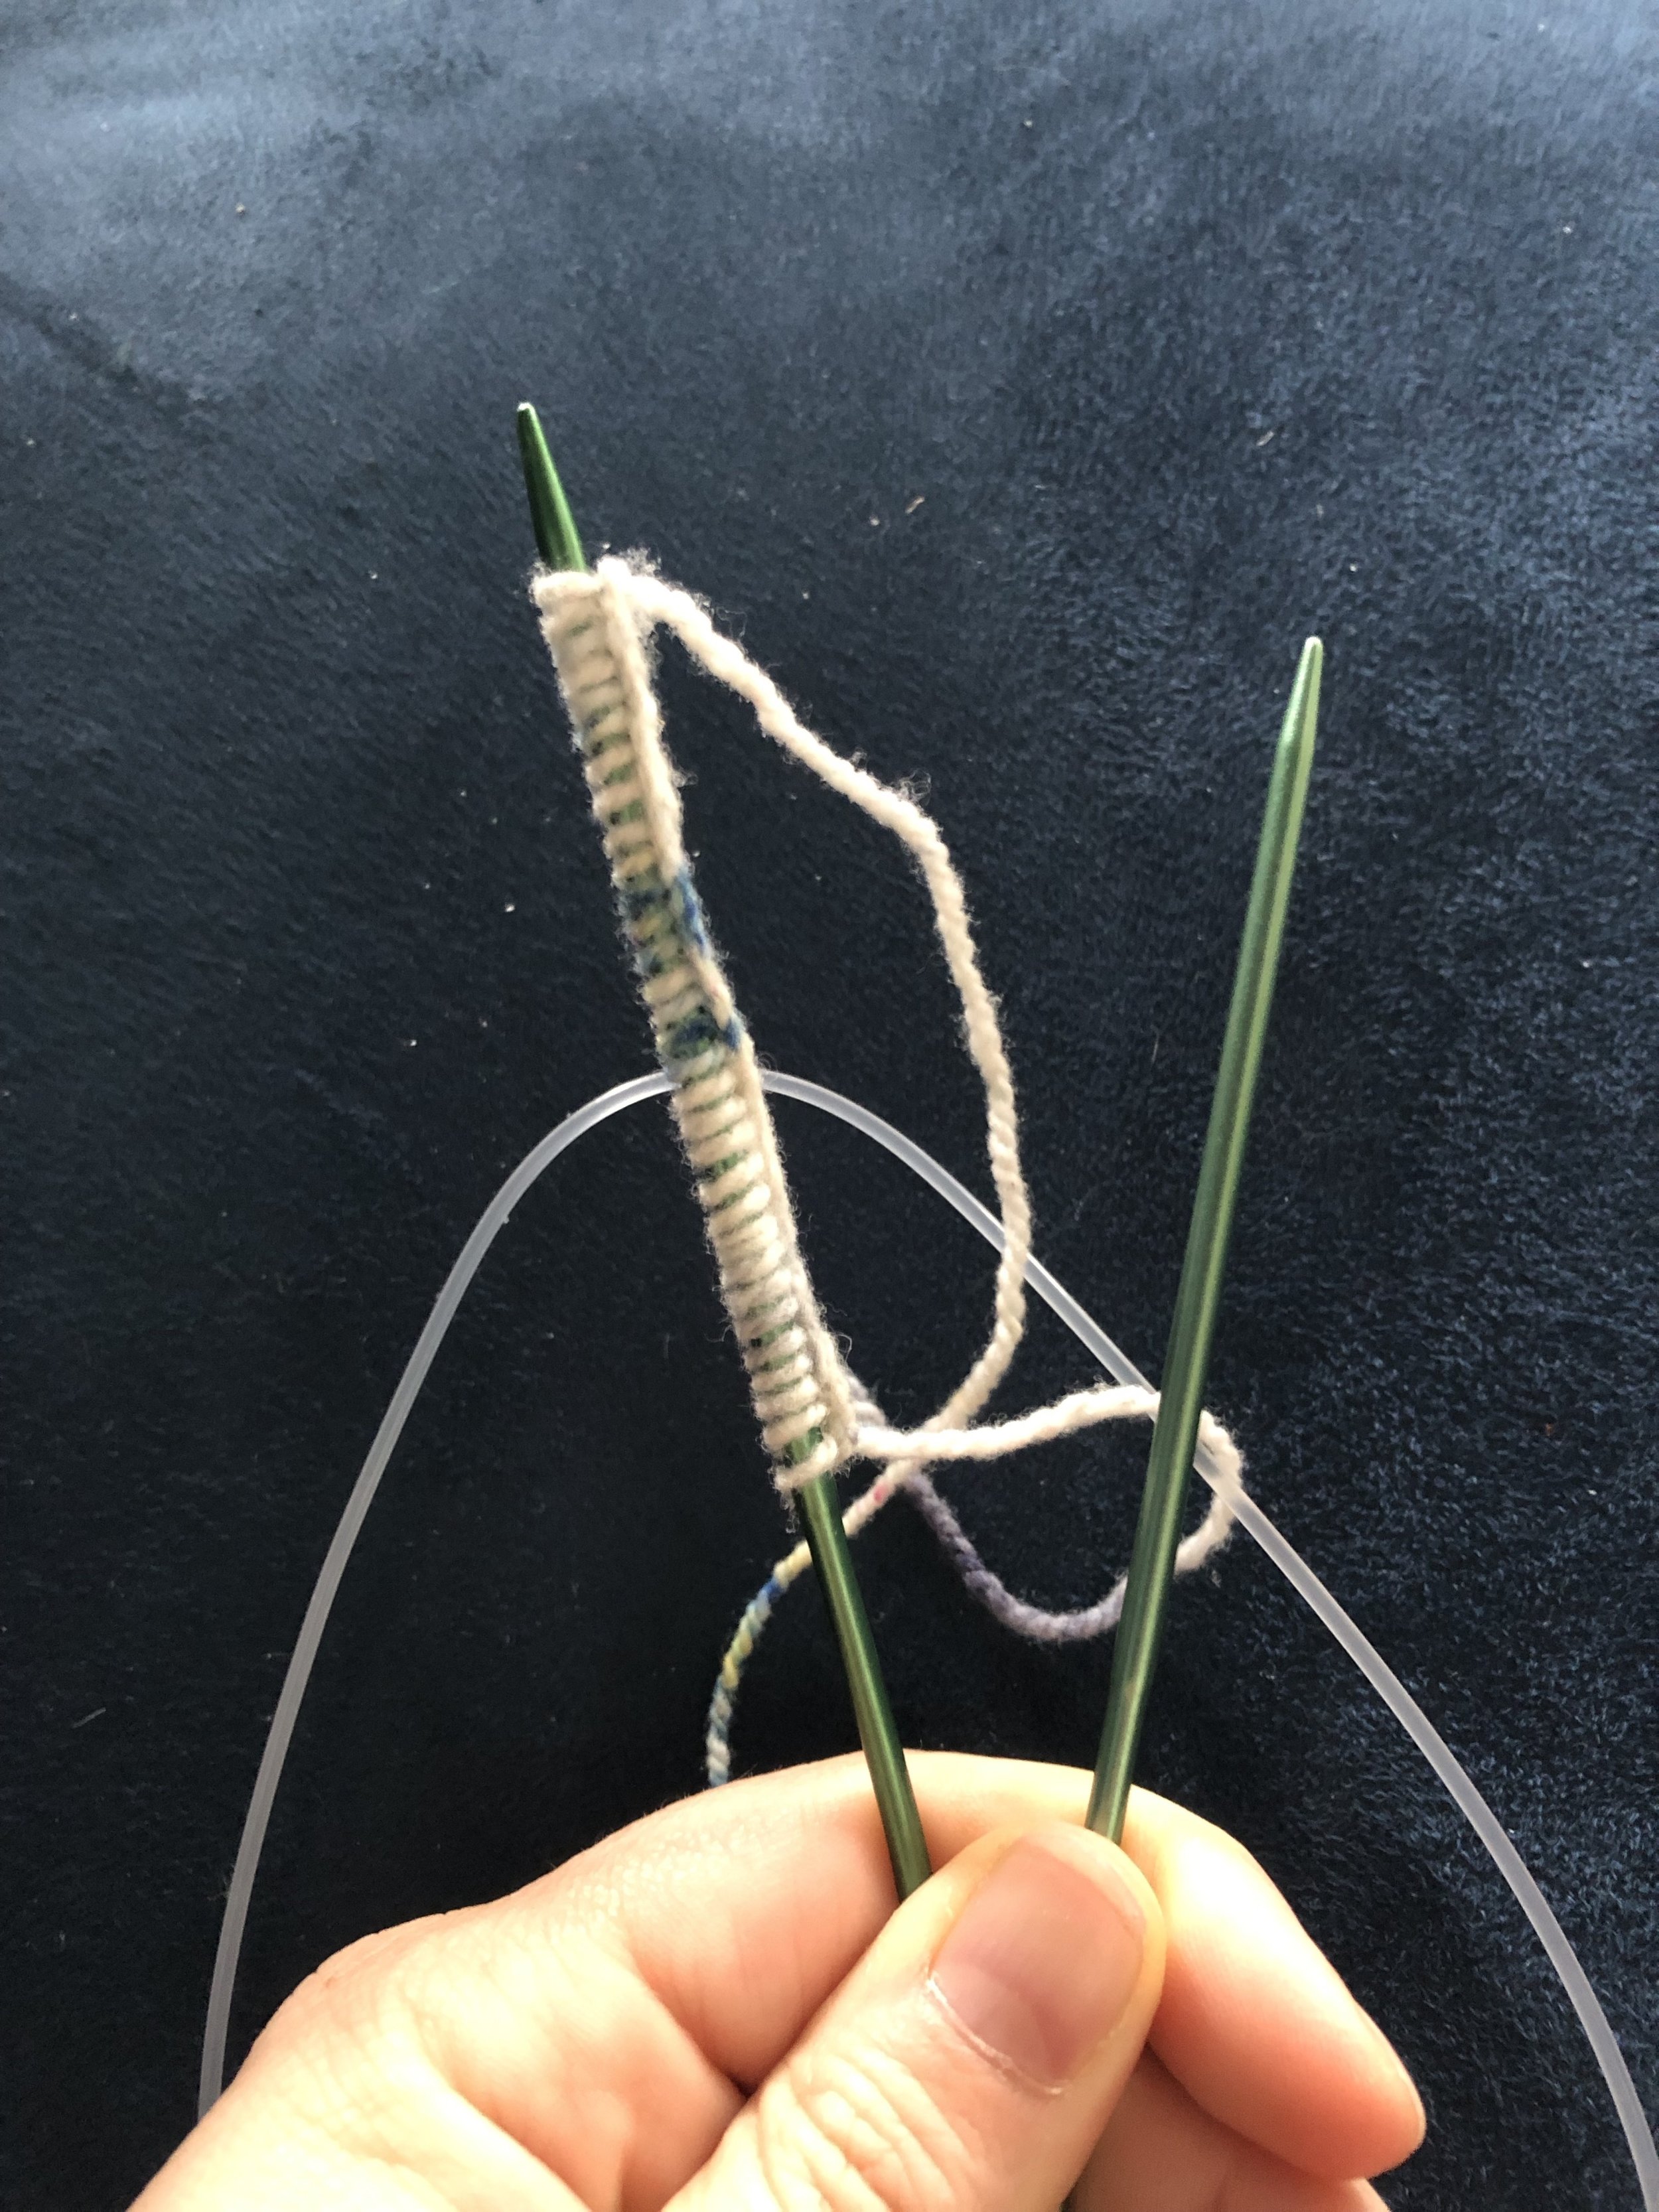
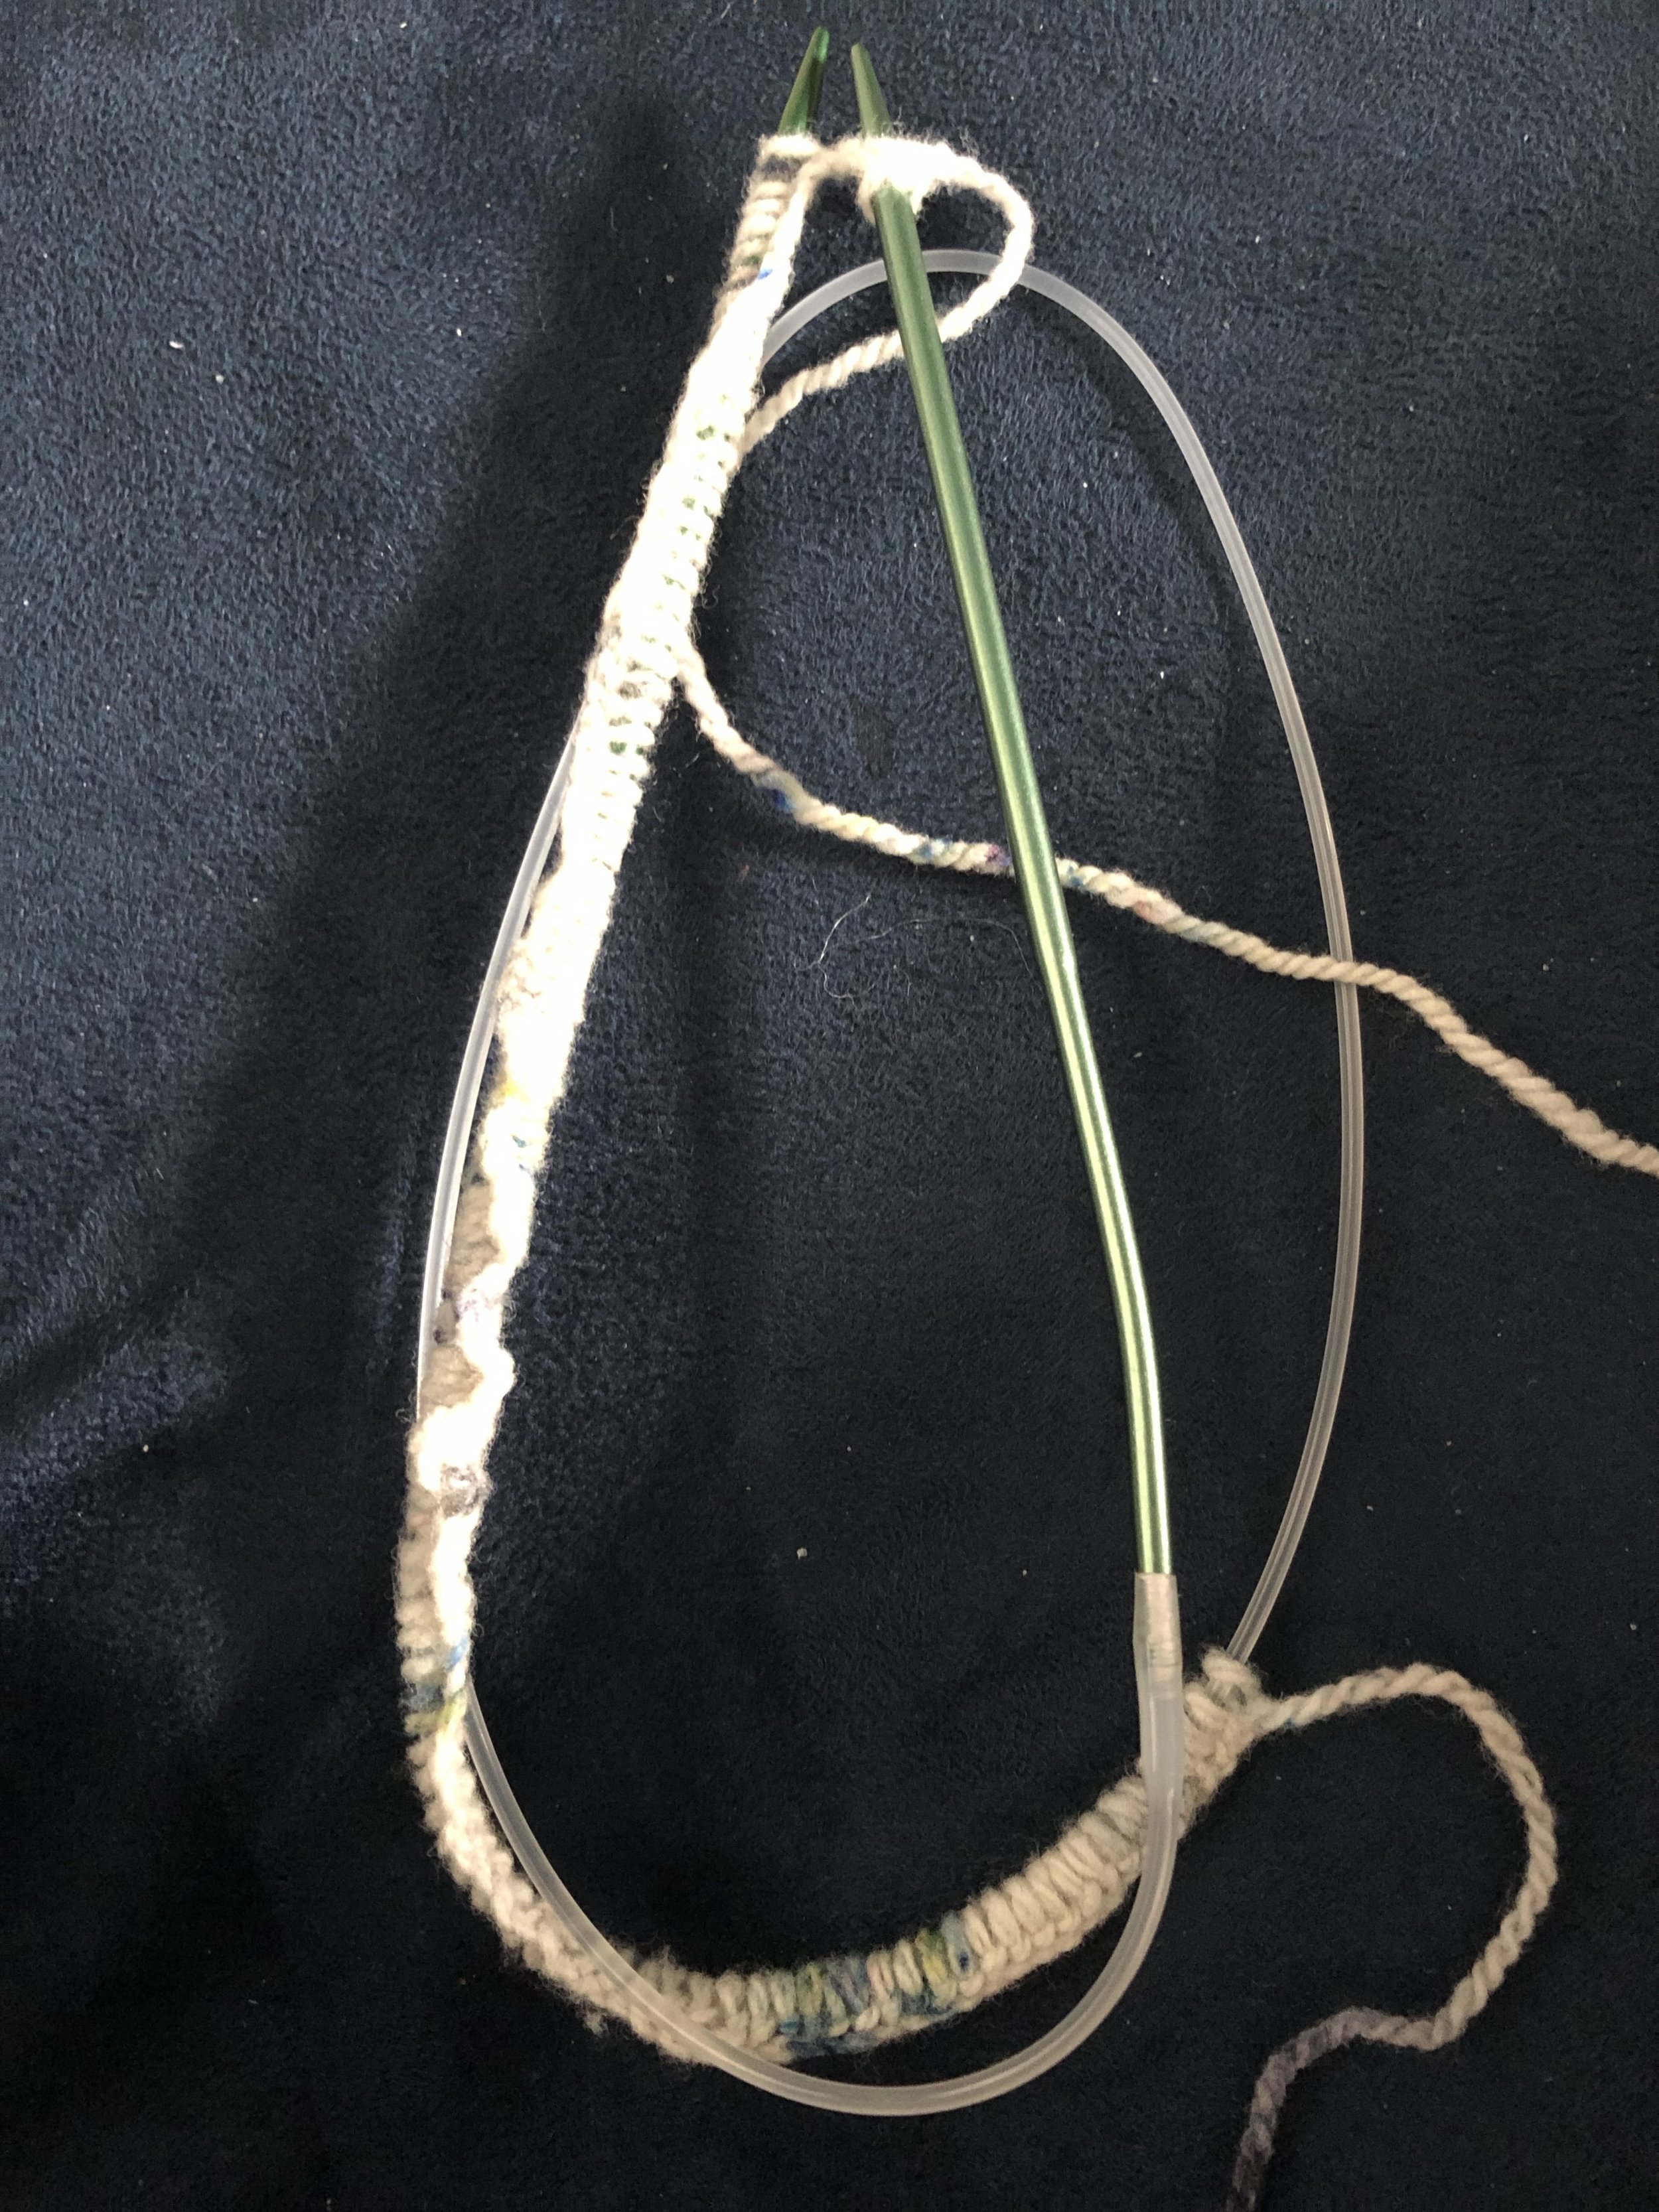
I found a small sheep farm at the farmers market that made and sold their own yarn from the sheep that have have on their farm. I bought some yarn and some needles unknowingly to what I actually needed and began to follow a tutorial I found on youtube and started my process. Quickly, I noticed that the yarn was incredibly thin compared to that of the tutorial, but I pushed through, did some quick math, and started to go.

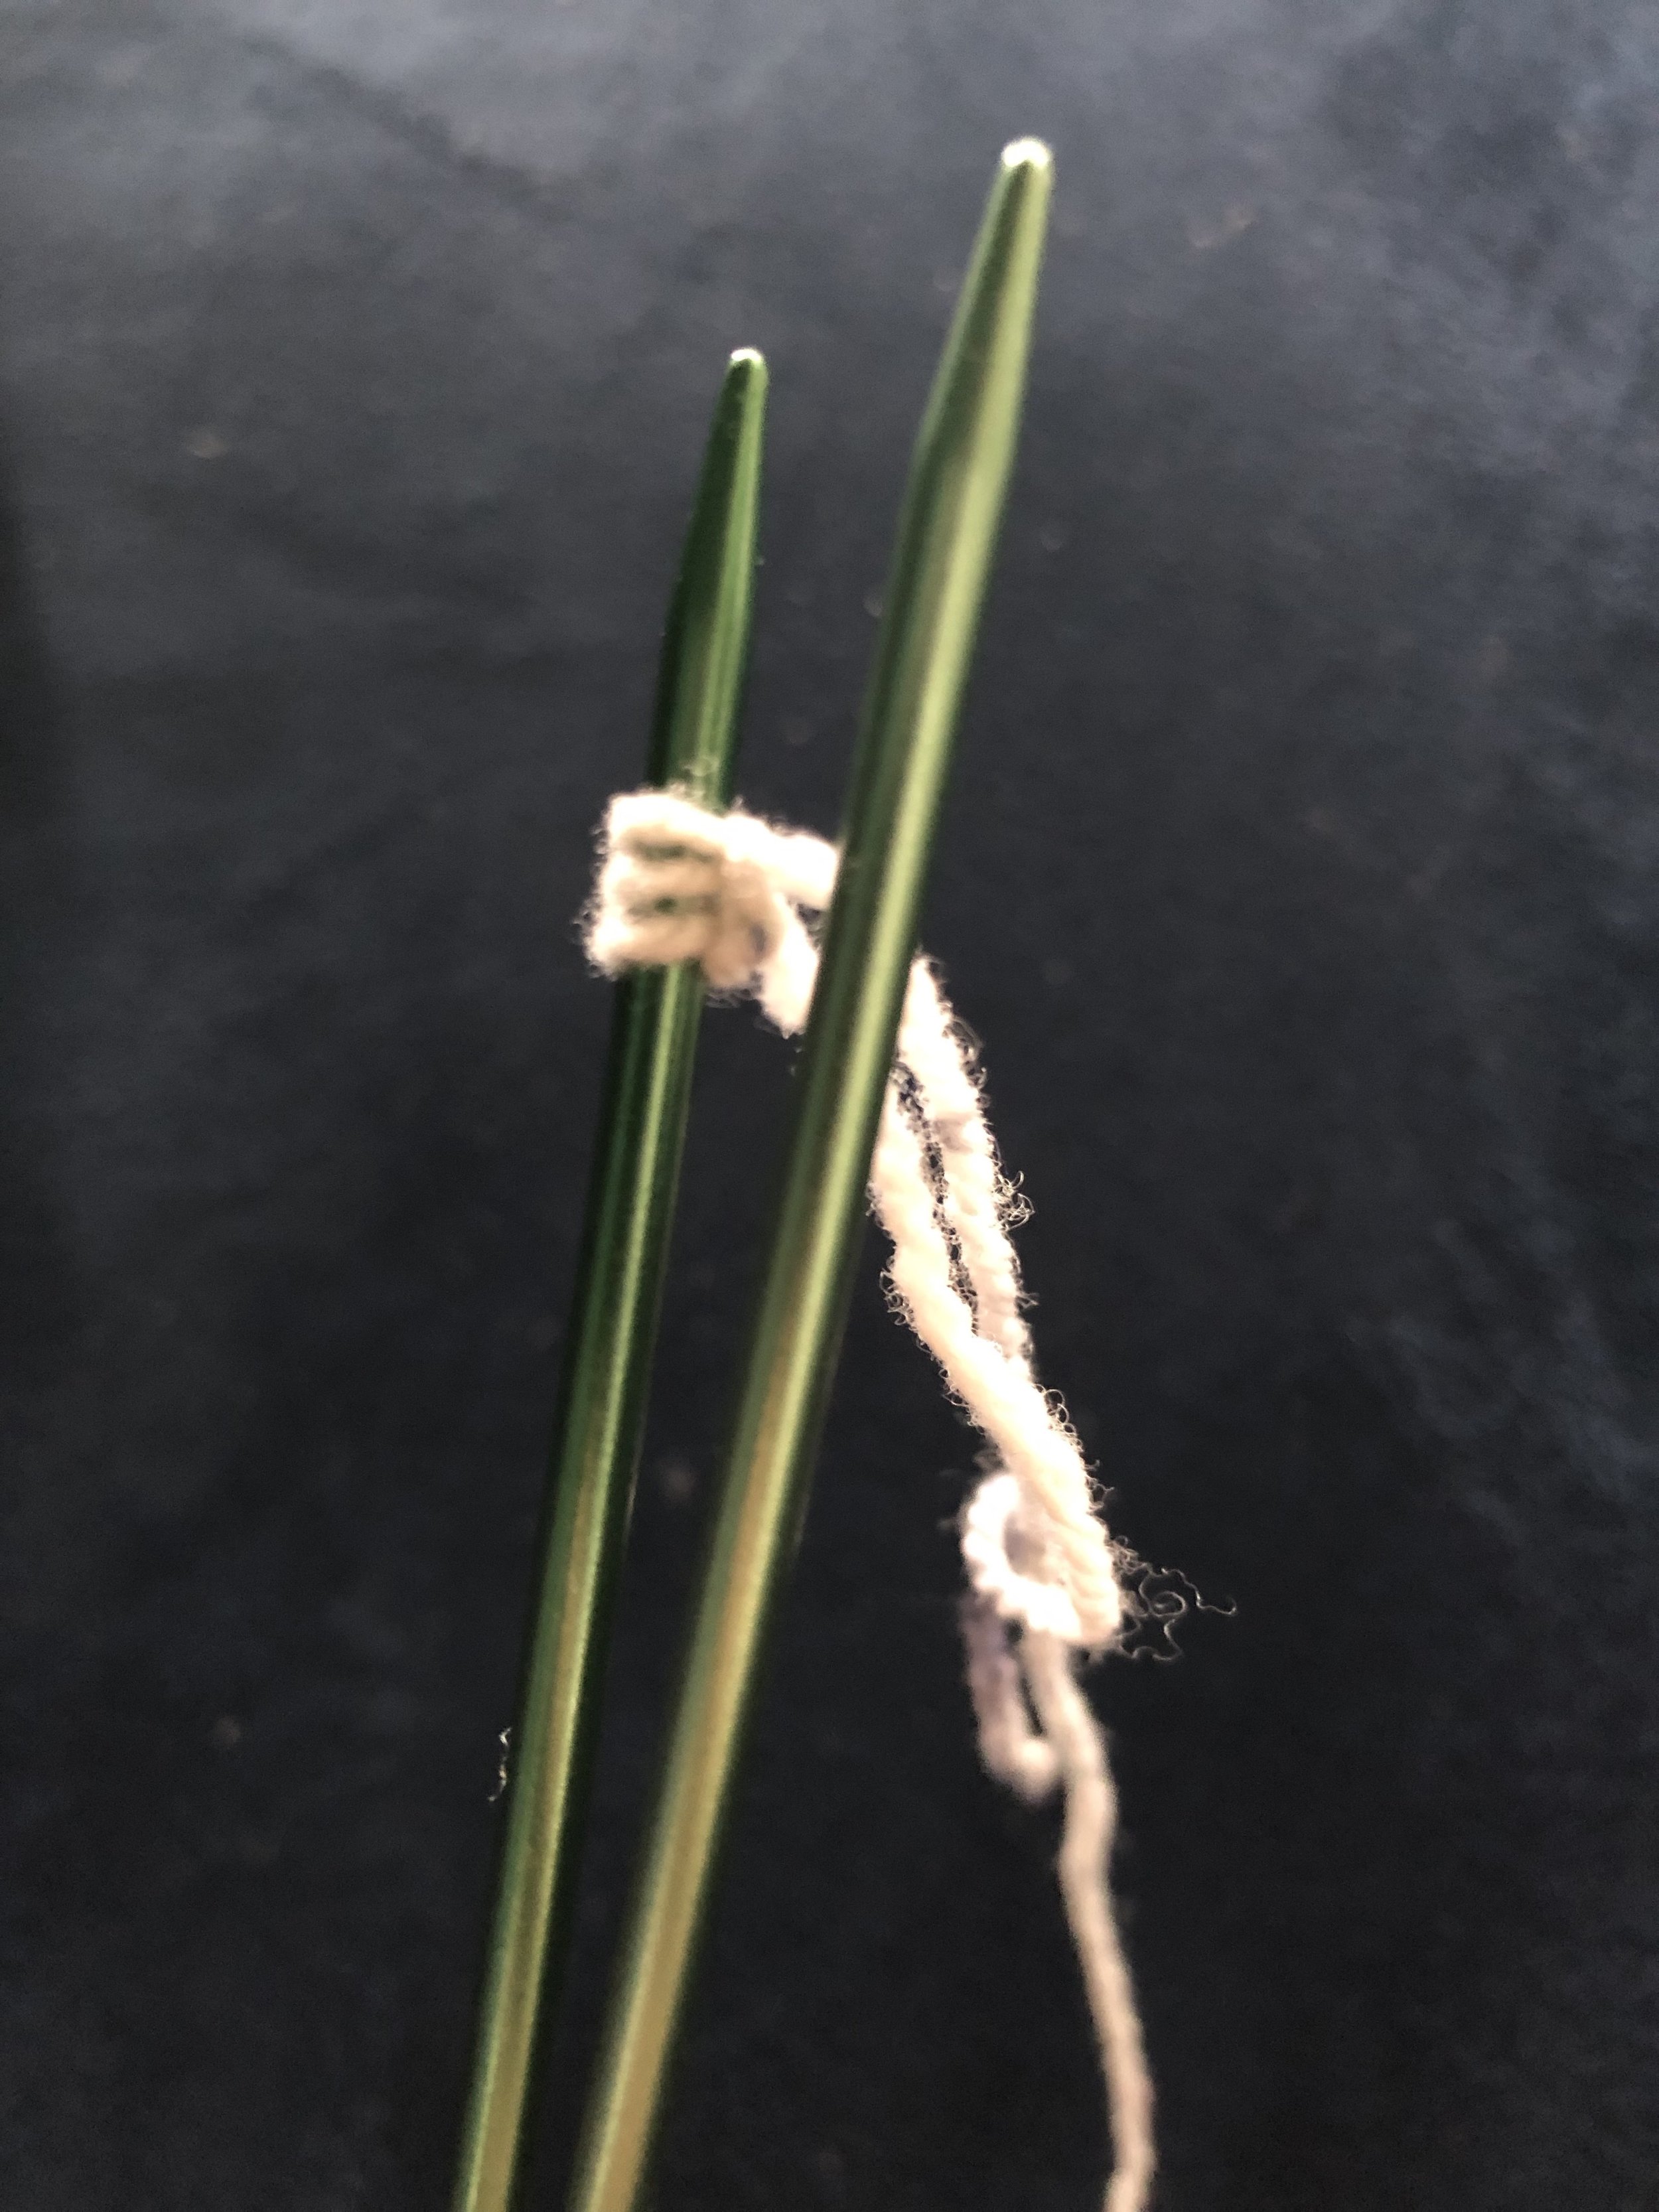
Five hours later, I was somewhere short of maybe 3 lines — so another 10 hours later, we had 10 lines. Not too much in length due to the thickness of the yarn unfortunately.

x2bKKFYYTgOiJMKpFS4JBA.jpg mmvWoJOHRCSY7rTr%BoZ+w.jpg Bgh4jfCHSAi3AC7Odyp89g.jpg e9h2UOD0T5a1SZWGeWj1rw.jpg cPnZdRv6Tgmhff1M6LtYkw.jpg Q6Qv9CNtQLWGhgdM9YIalQ.jpg xjb2F7yLSDSxdfYVHy8YqQ.jpg 830MOtxKS3S67NygeitZGg.jpg

From here, I pivoted to figuring out the speaker components. I found a video on youtube on splicing a headphone jack of a pair of headphones and decided that I would figure out the same with the embroidered speaker. Later, I found that this blog had a better tutorial, but I did not have the correct parts, so I ended up taking the ‘simple’ route and buying a greeting card and hacking the components, similar to the example on the initial tutorial I had found on instructables.

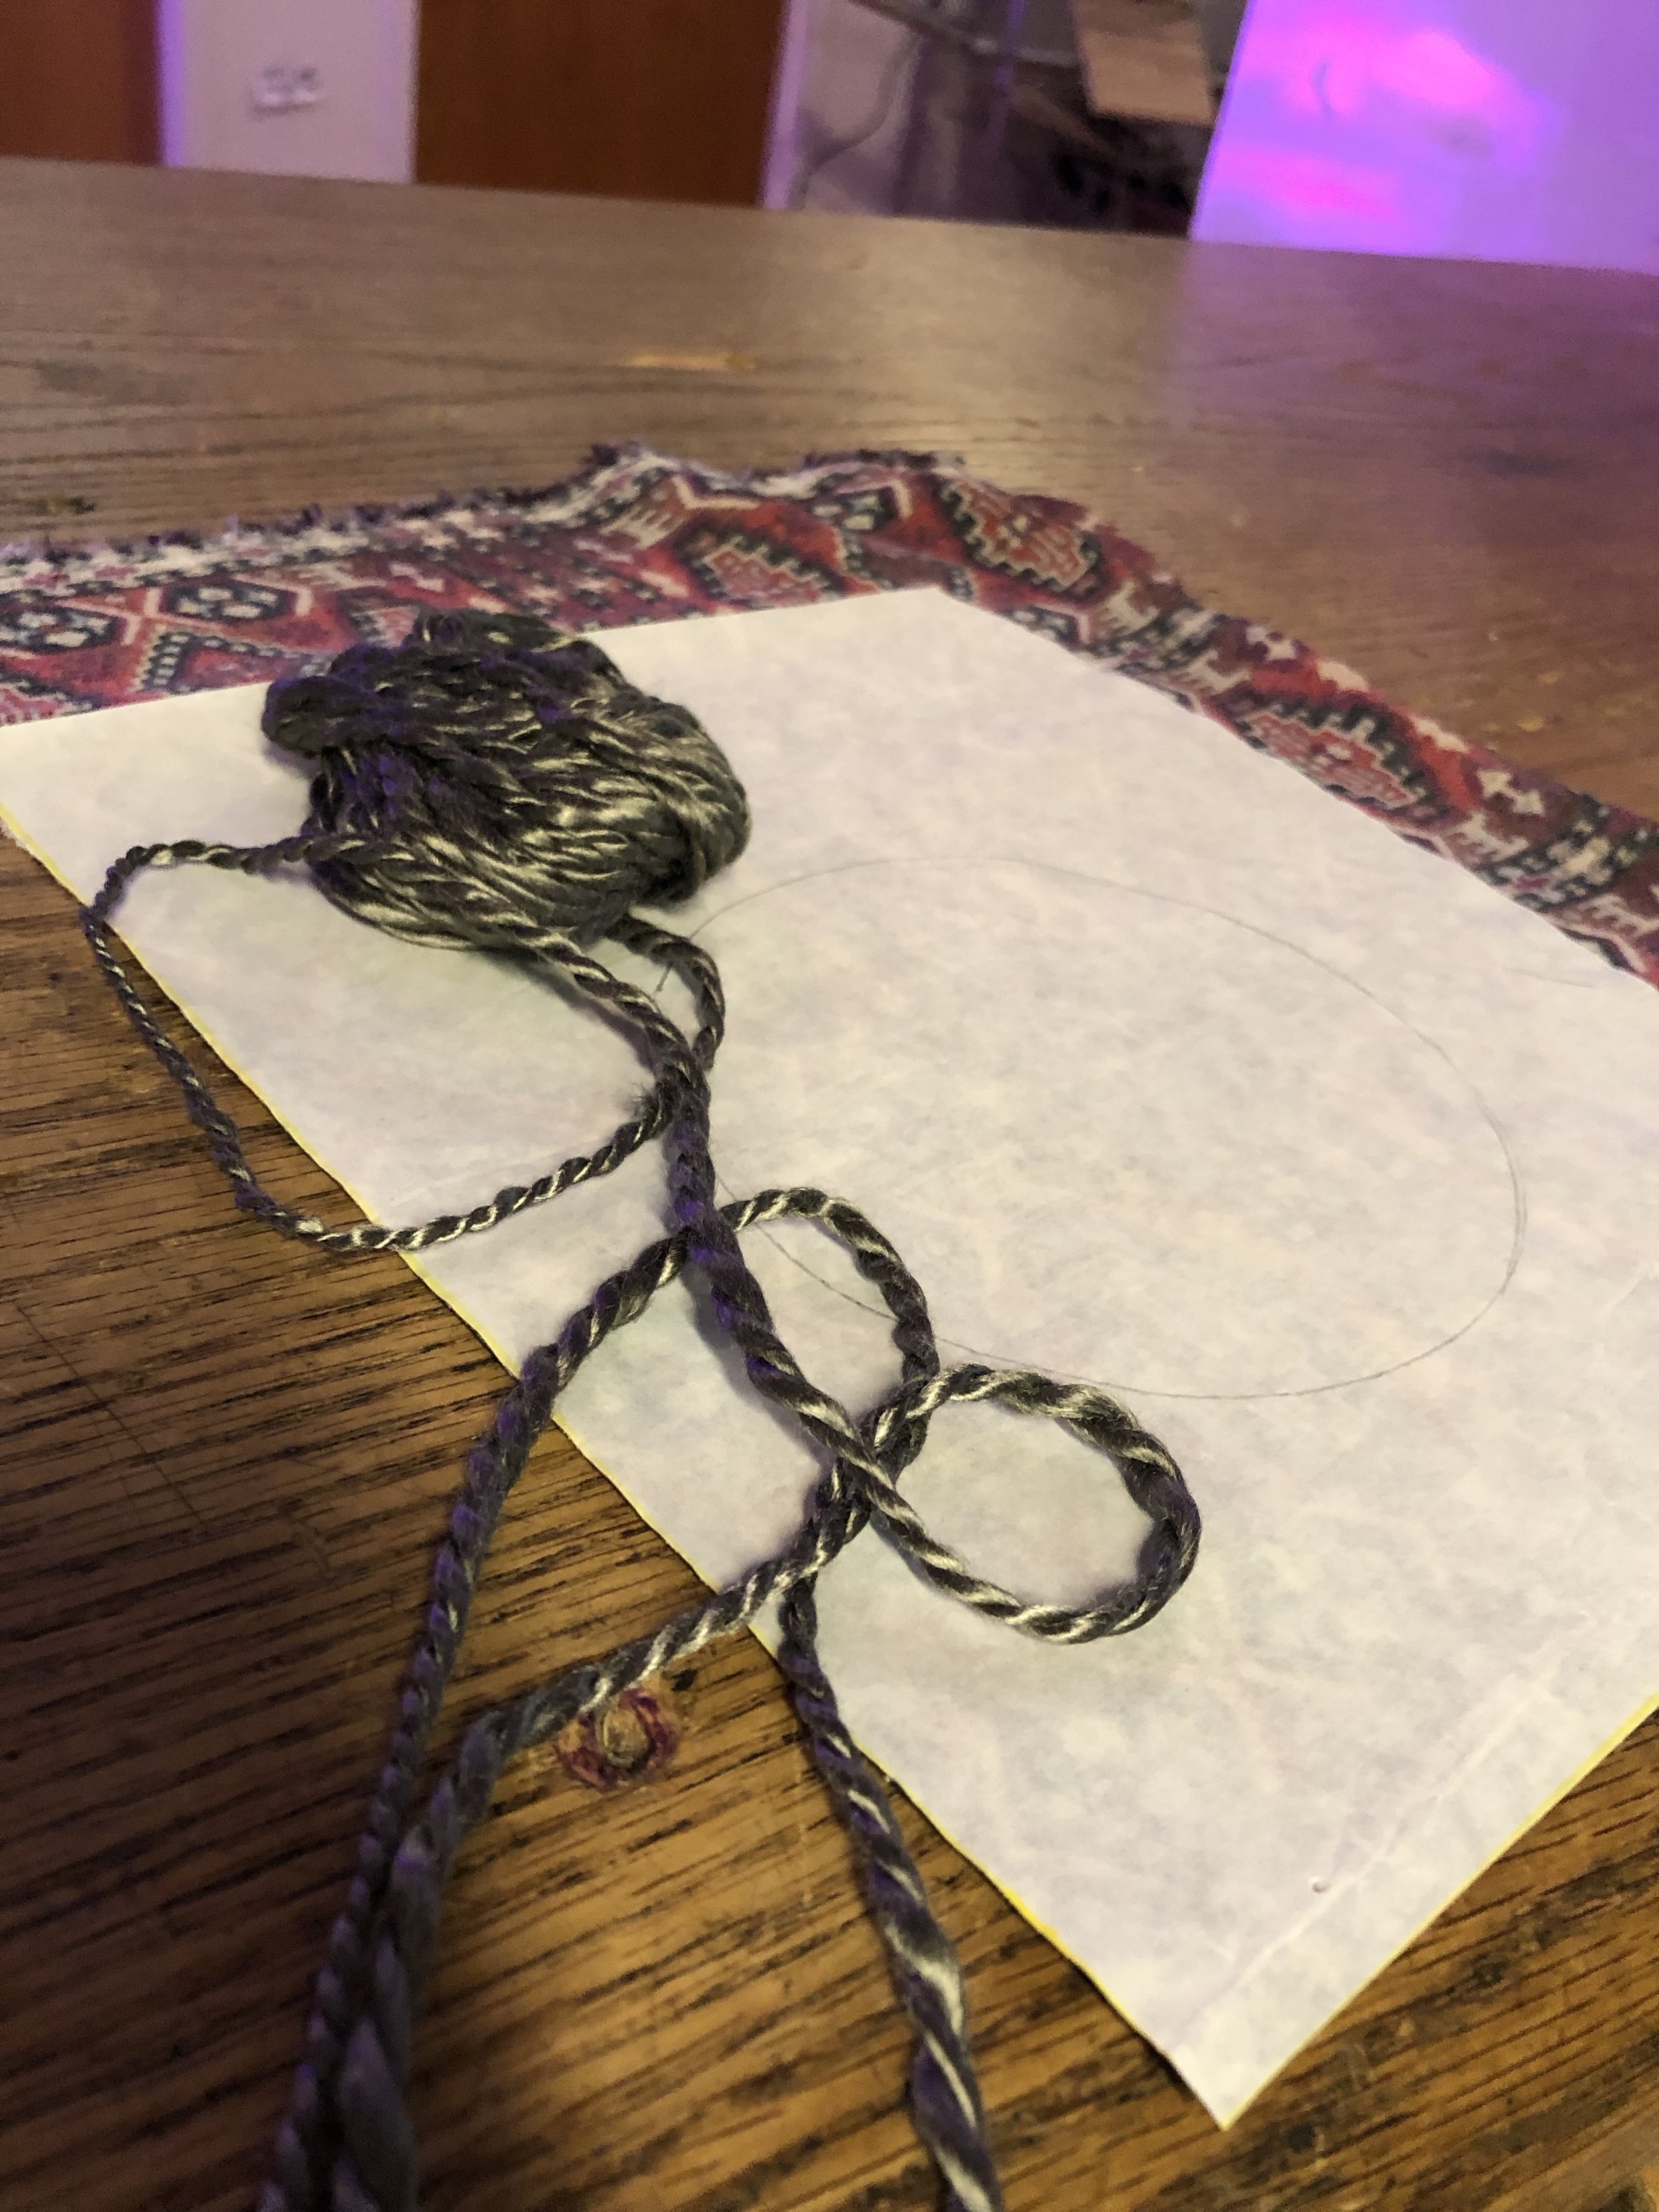
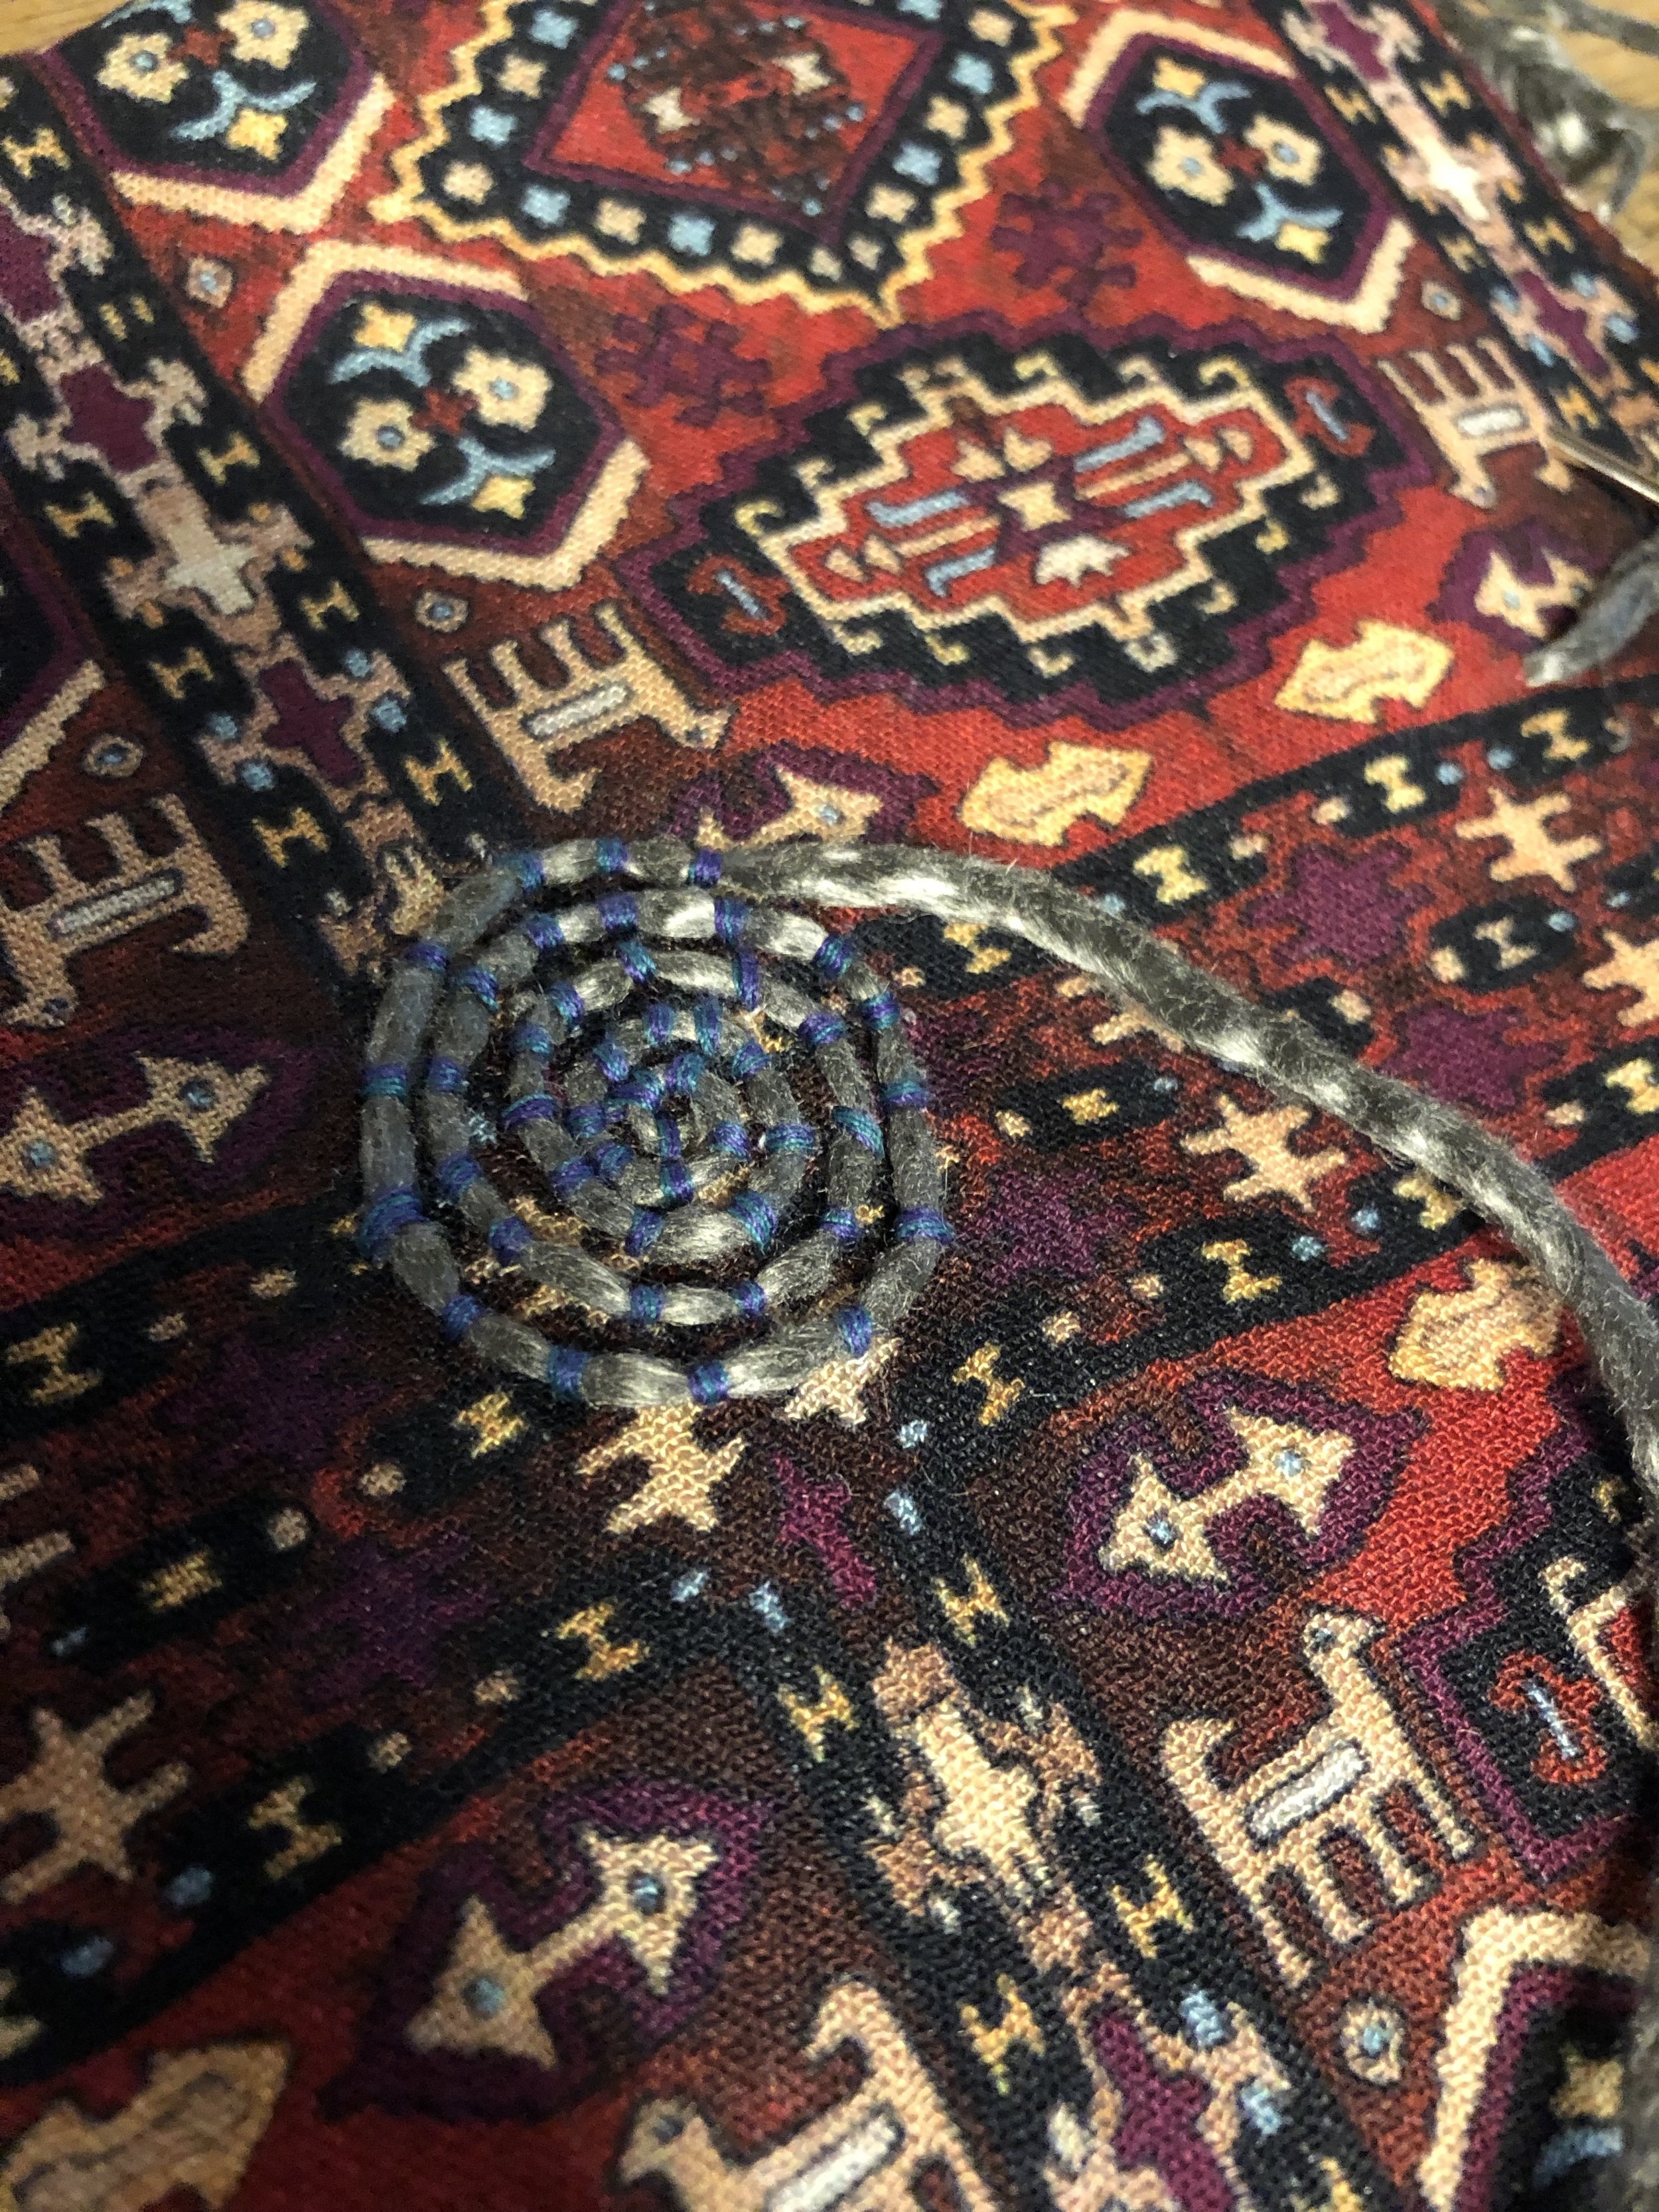
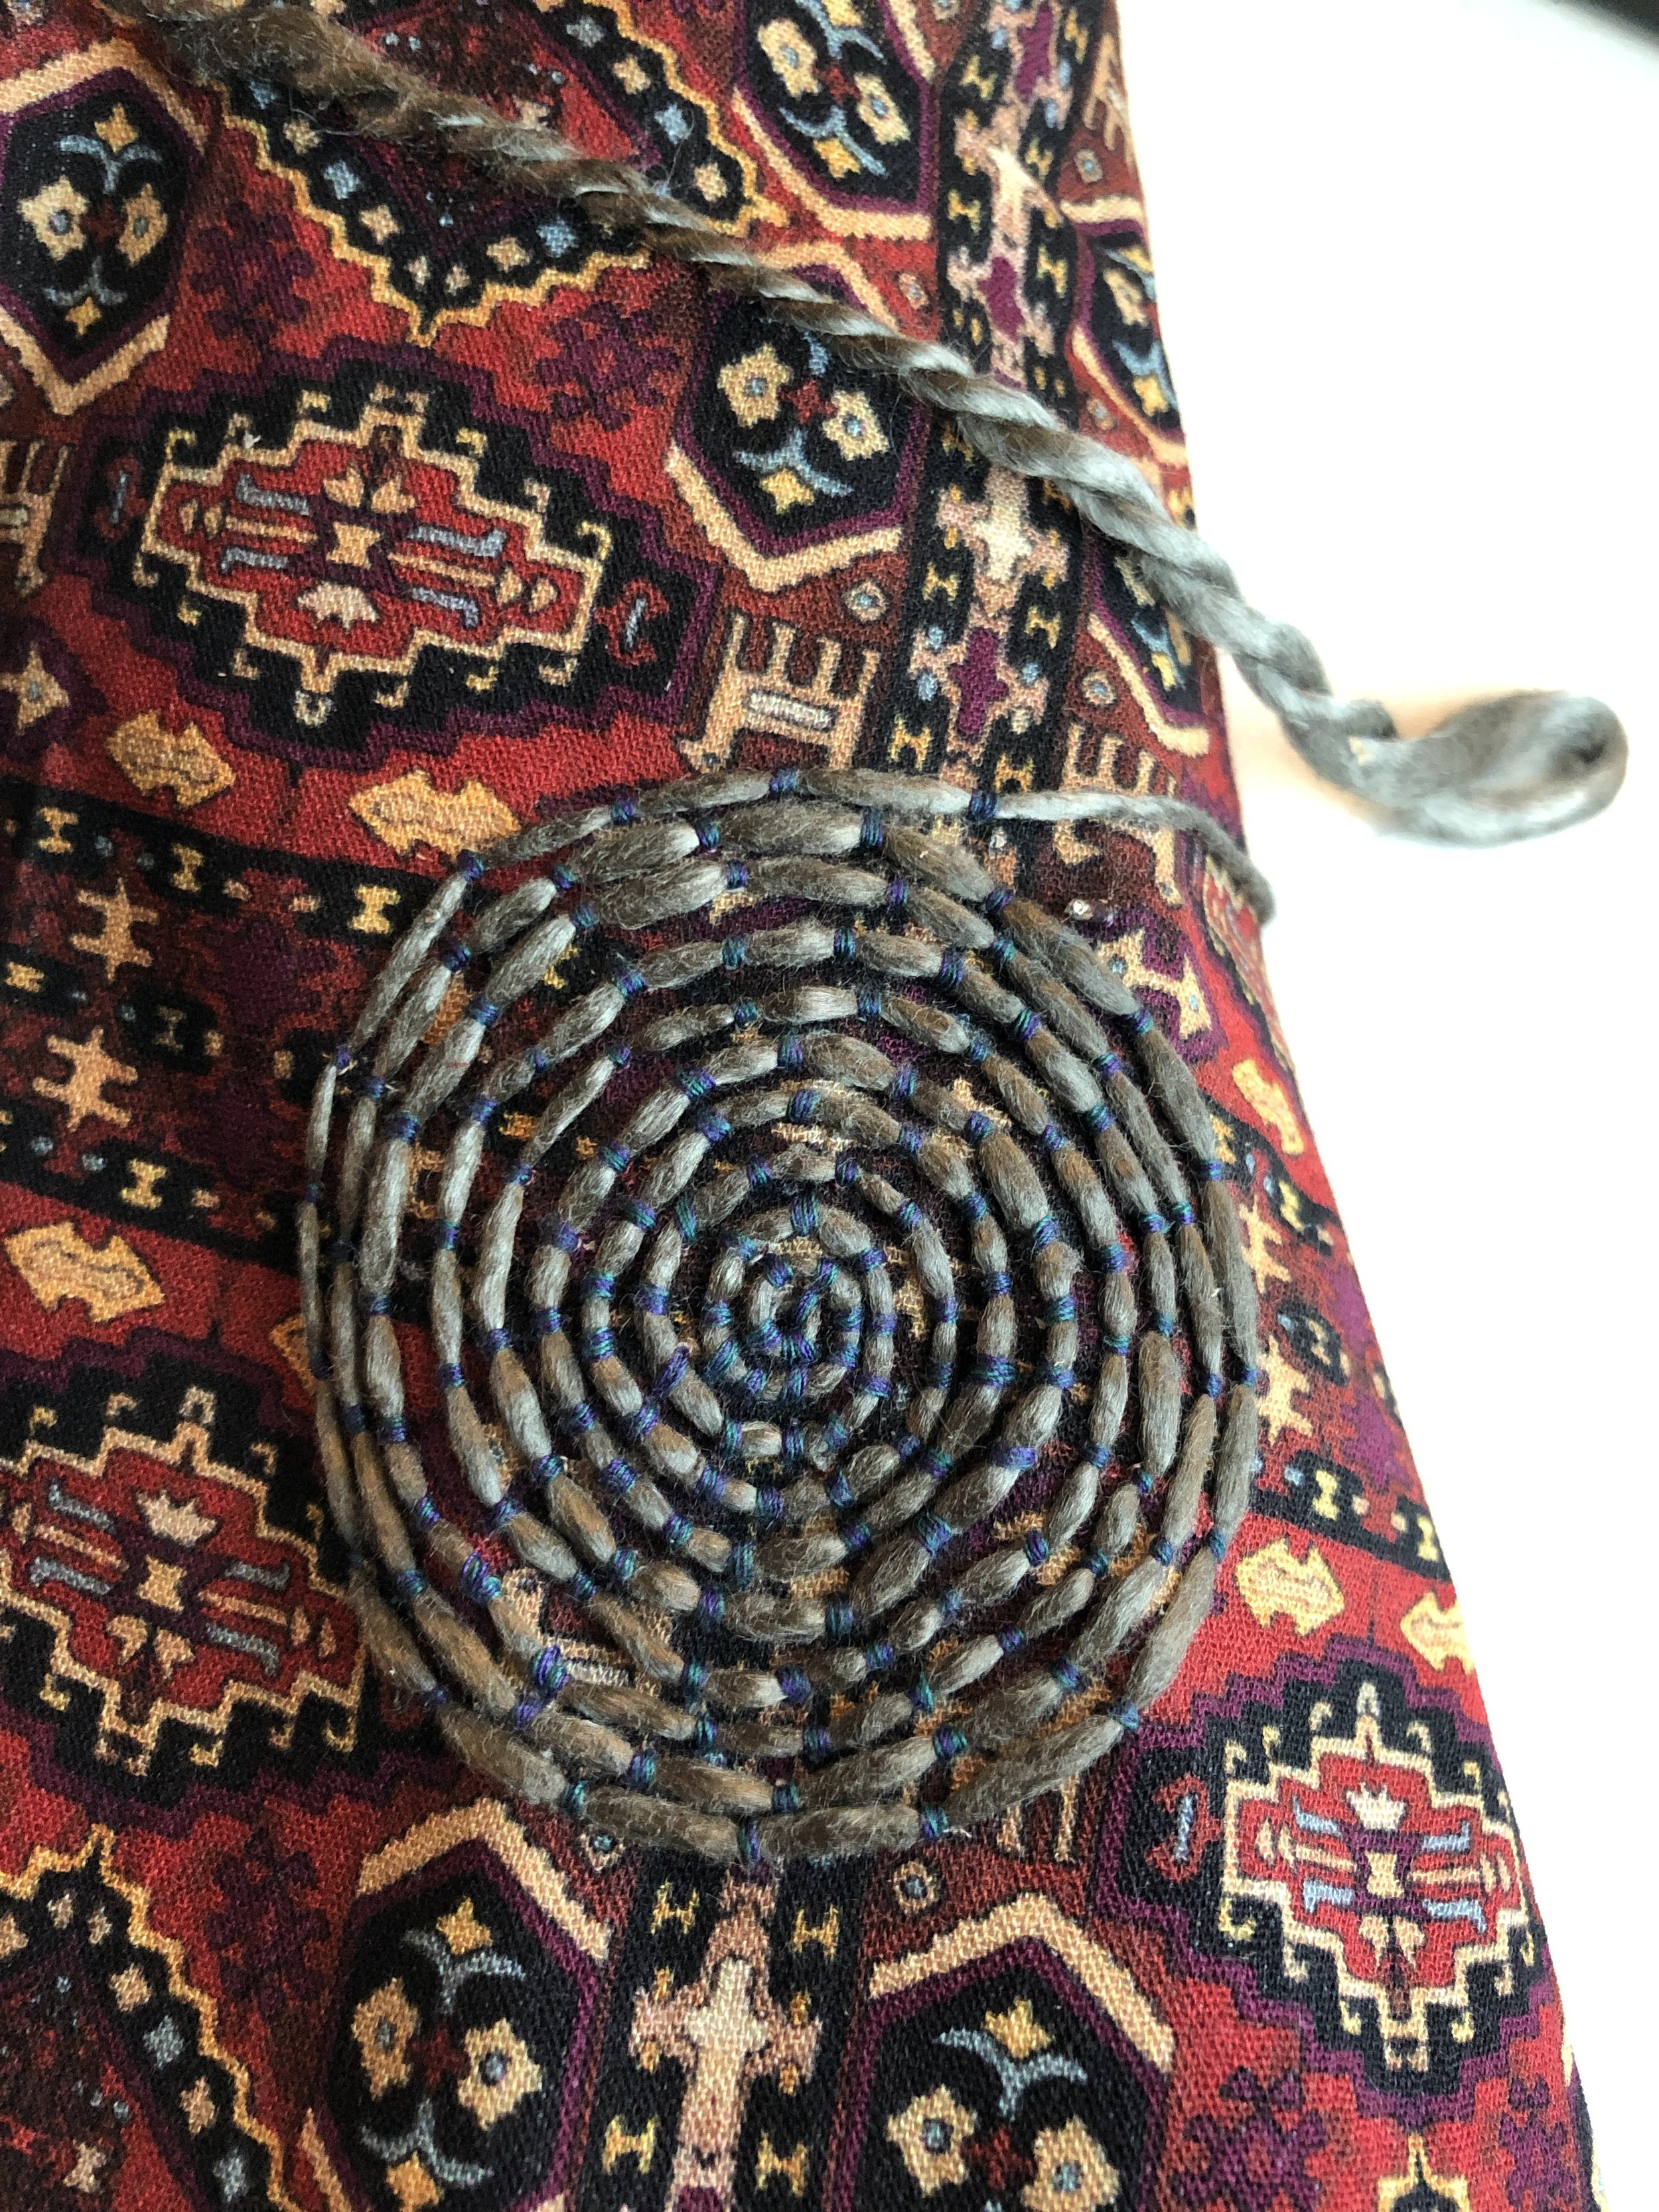
I started out with a piece of fabric from the shop and some heat n’ bond to give the material more structure for the speaker. I purchased stainless steel conductive thread through etsy and used this as the conductive agent. Magnets were purchased on Amazon and I used thread from the shop as well. I began by following the tutorials and embroidered a speaker and disassembled and hacked the greeting card to act as the audio component. The card I chose had a few LED’s as well, which signified that the switch had been pressed.

As of Monday morning, the speaker looks great, but not sure why it’s not working. Will update with more info.

View fullsize MaWgTx3LSASOoEXoGs2e+A.jpg
View fullsize 1VcPy%DcSzqr1GaQEz7T6A.jpg
View fullsize mCaWHiQGRDCeiJnftnNZAQ.jpg
View fullsize qEim5W0PSz+dHSPNhLc0iQ.jpg
View fullsize VN6OiyA6SaKbSIeHyg1jgQ.jpg
View fullsize iGI36%25TpyLI4FuUcK2iQ.jpg
View fullsize 57933144824__9FC92667-3B85-47A7-8DA6-4F4FCFA4D8D1.JPG
View fullsize K3C%rjU%TcqSj1llY+S9aQ.jpg
View fullsize Hr1%qK0%TW2CxvgkaQciBA.jpg
View fullsize V8HMPr0xT+eXqjTY1ag2qg.jpg
View fullsize fXQsZcM5TPukD6cy+x+MGw.jpg
View fullsize EyvhxZTfTzSZnvKucOVgMw.jpg
View fullsize Z158nPyrTqaD7WebCB4Evw.jpg
View fullsize aD0bokD8TeiWLzYZH9kftQ.jpg
View fullsize hNz5AaFETI6eItv8DW5v+g.jpg
View fullsize mcqCFcuSQF69aahKlcy8FQ.jpg
View fullsize hIGTyHwiSNywvuhC2O79Ww.jpg
View fullsize v6YbpkdBTOeylVA+bZG1Gg.jpg

[UPDATE - Tuesday evening, 5/13]

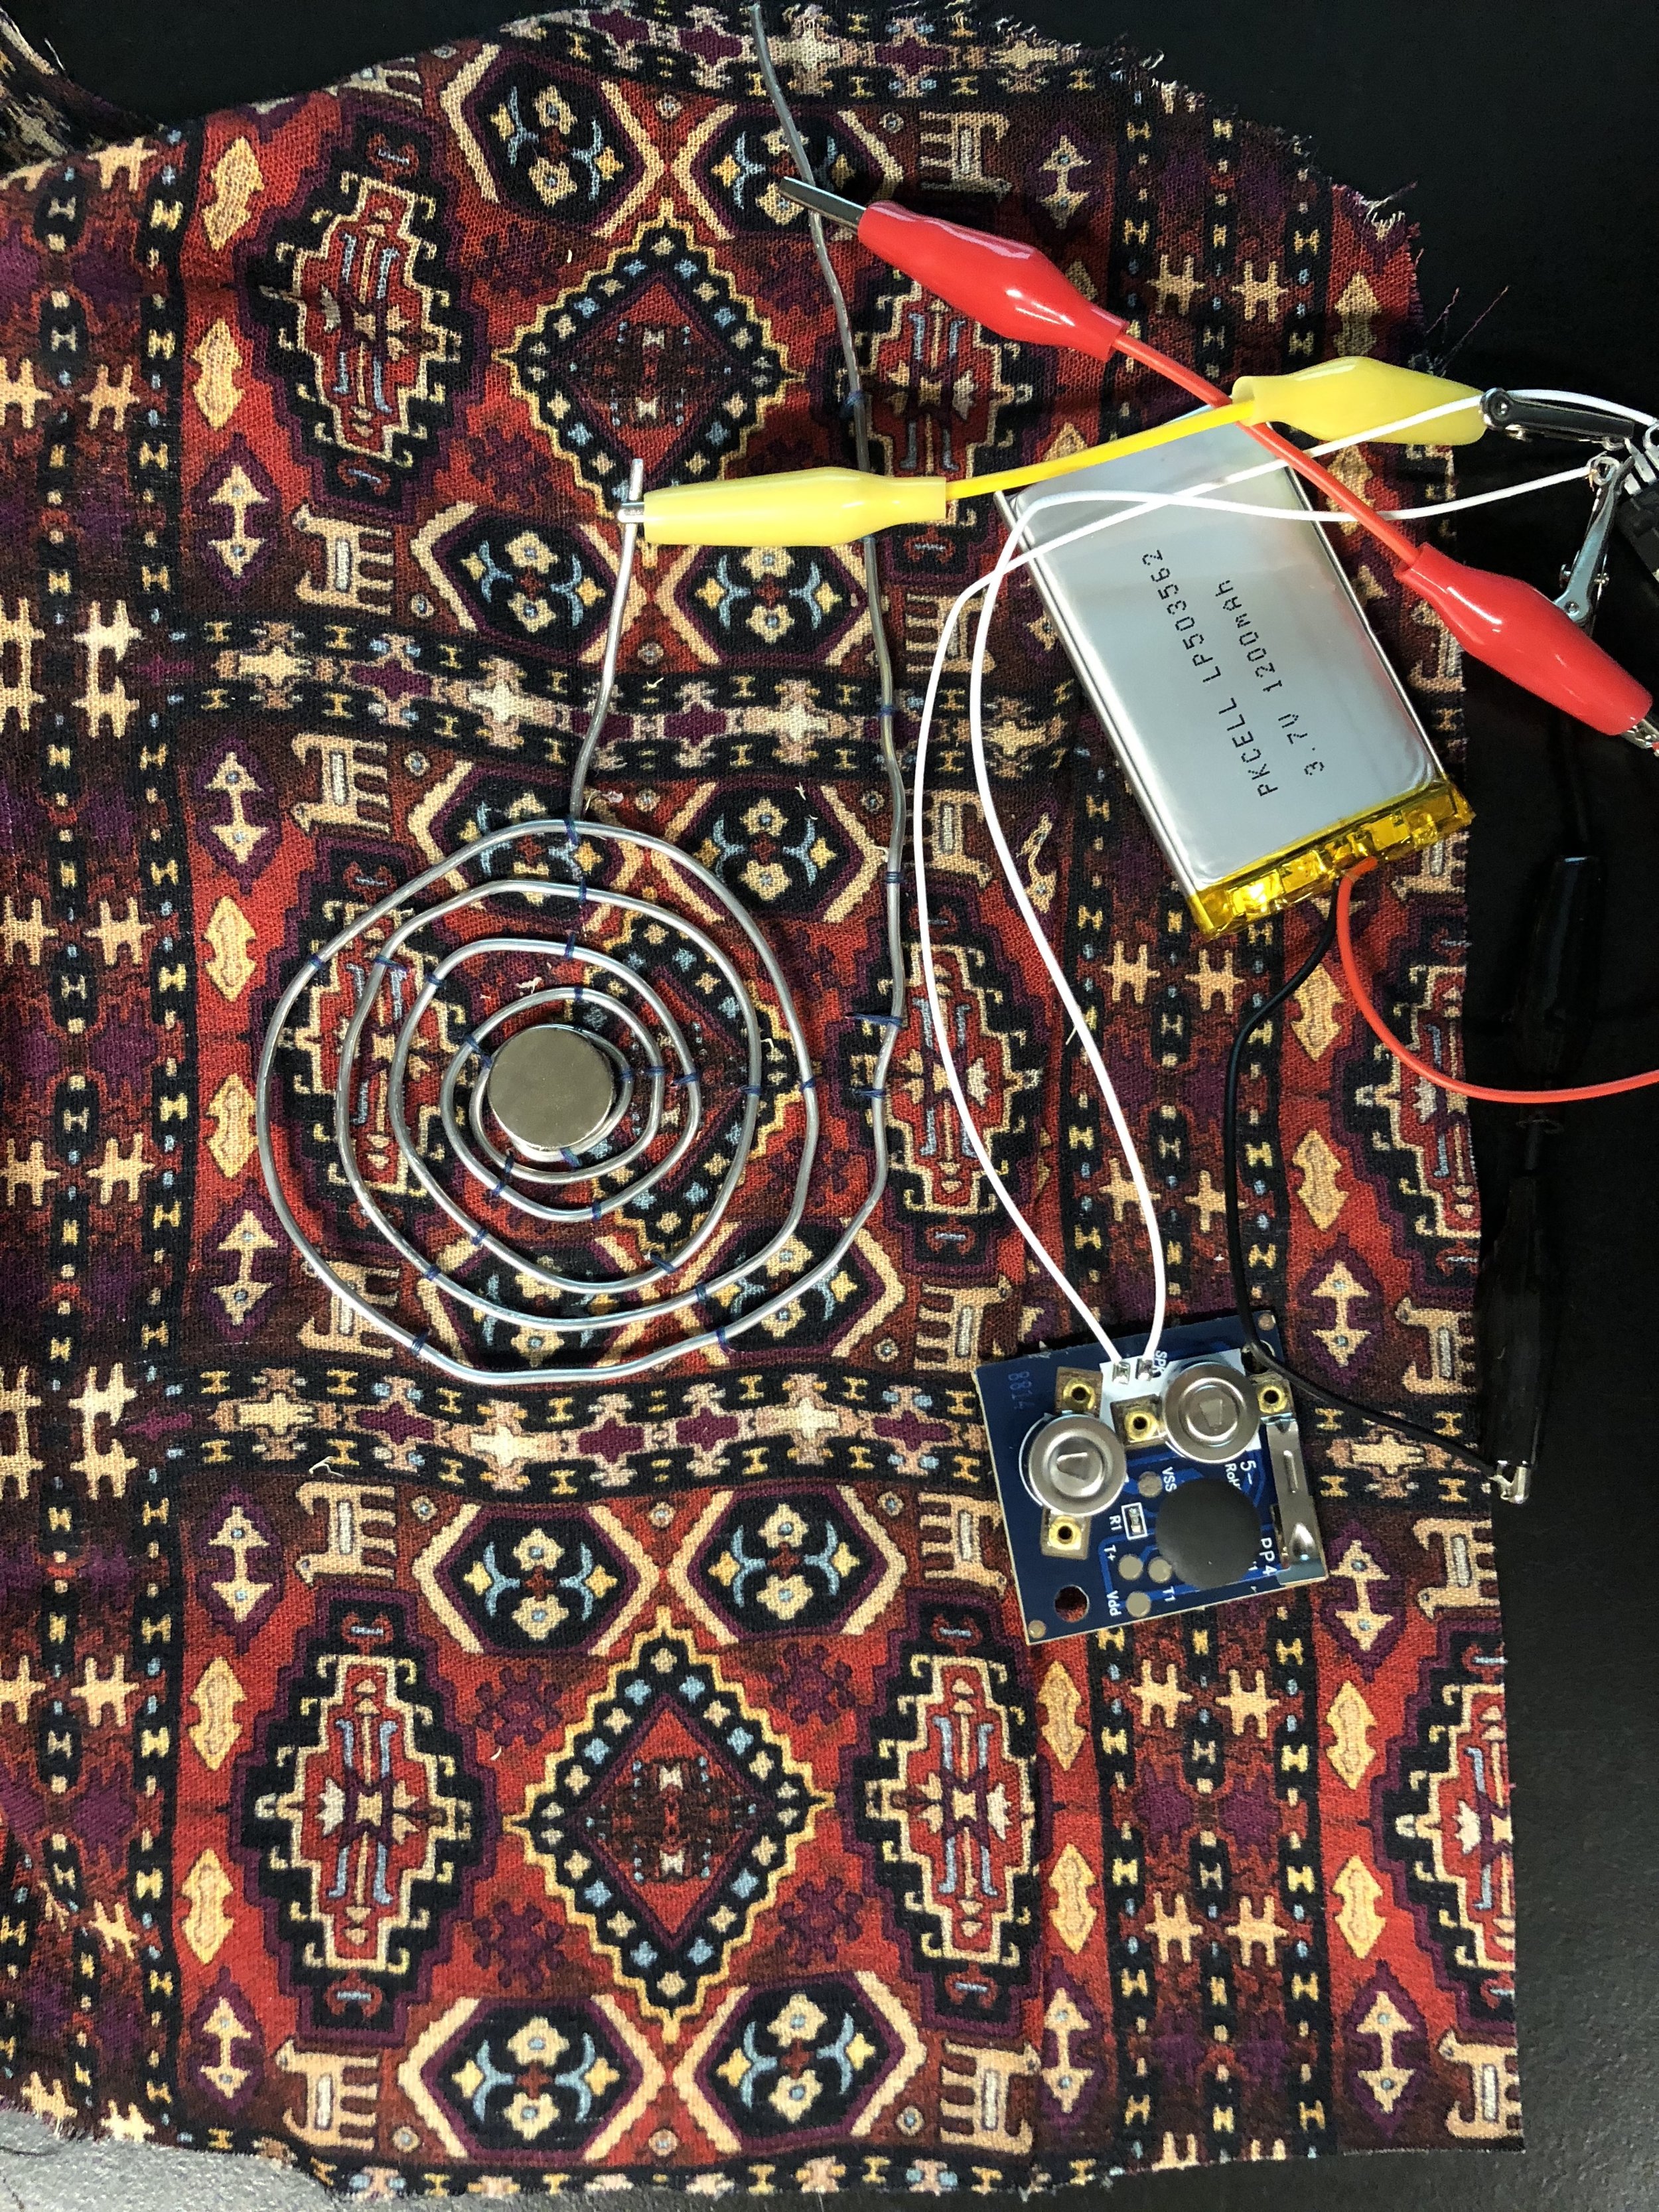
I ended up purchasing another card and hacking the audio via the tutorial, and it still didn’t work. I then had an assumption it may be the coil, so I made another coil out of a different material (wire) that was was more conductive and had less resistance — AND it worked!

F4GyQrQhQ9K%3Kxl9DkpXQ.jpg


So lessons learned were that the material and resistance really mattered in this experience. But found this a great exercise.

x.


Prev / Next

Donec sed odio dui.

Vestibulum id ligula porta felis euismod semper. Maecenas faucibus mollis interdum. Cum sociis natoque penatibus et magnis dis parturient montes, nascetur ridiculus mus.

Aenean eu leo quam. Pellentesque ornare sem lacinia quam venenatis vestibulum. Curabitur blandit tempus porttitor. Curabitur blandit tempus porttitor. Donec id elit non mi porta gravida at eget metus.

Sed posuere consectetur est at lobortis.

Integer posuere erat a ante venenatis dapibus posuere velit aliquet. Aenean lacinia bibendum nulla sed consectetur. Cras justo odio, dapibus ac facilisis in, egestas eget quam. Vivamus sagittis lacus vel augue laoreet rutrum faucibus dolor auctor. Cras mattis consectetur purus sit amet fermentum. Vivamus sagittis lacus vel augue laoreet rutrum faucibus dolor auctor.​