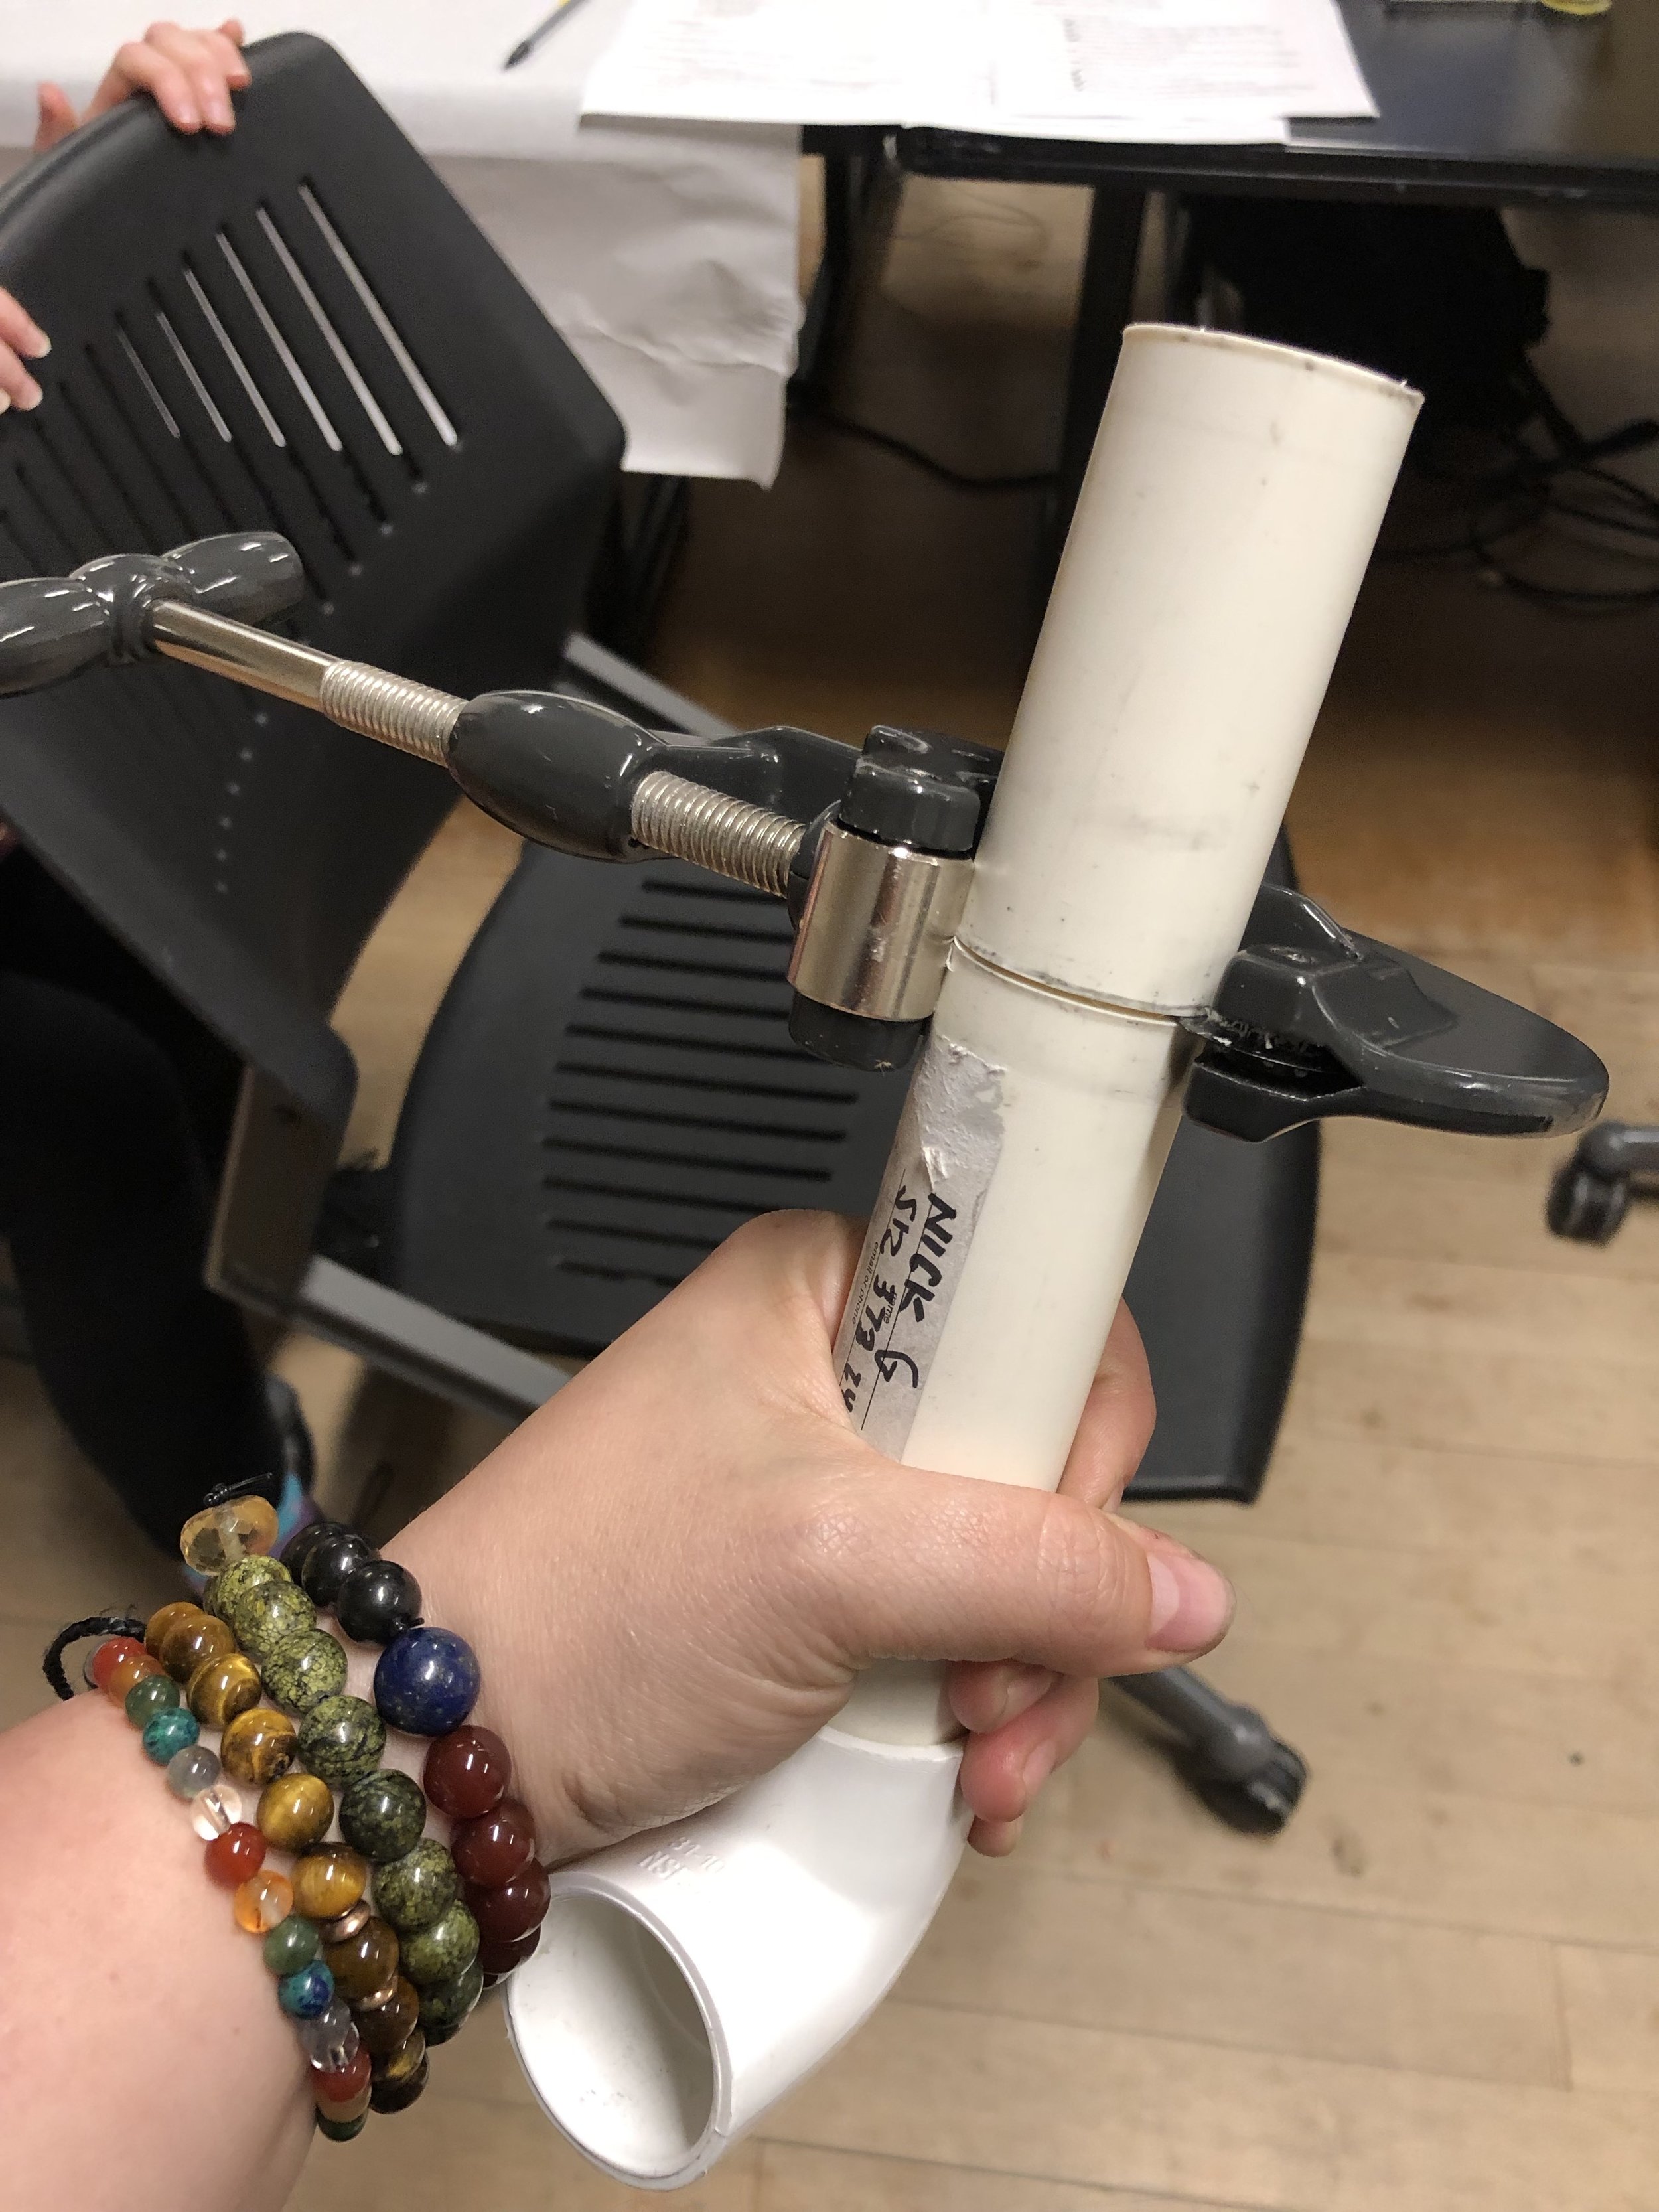
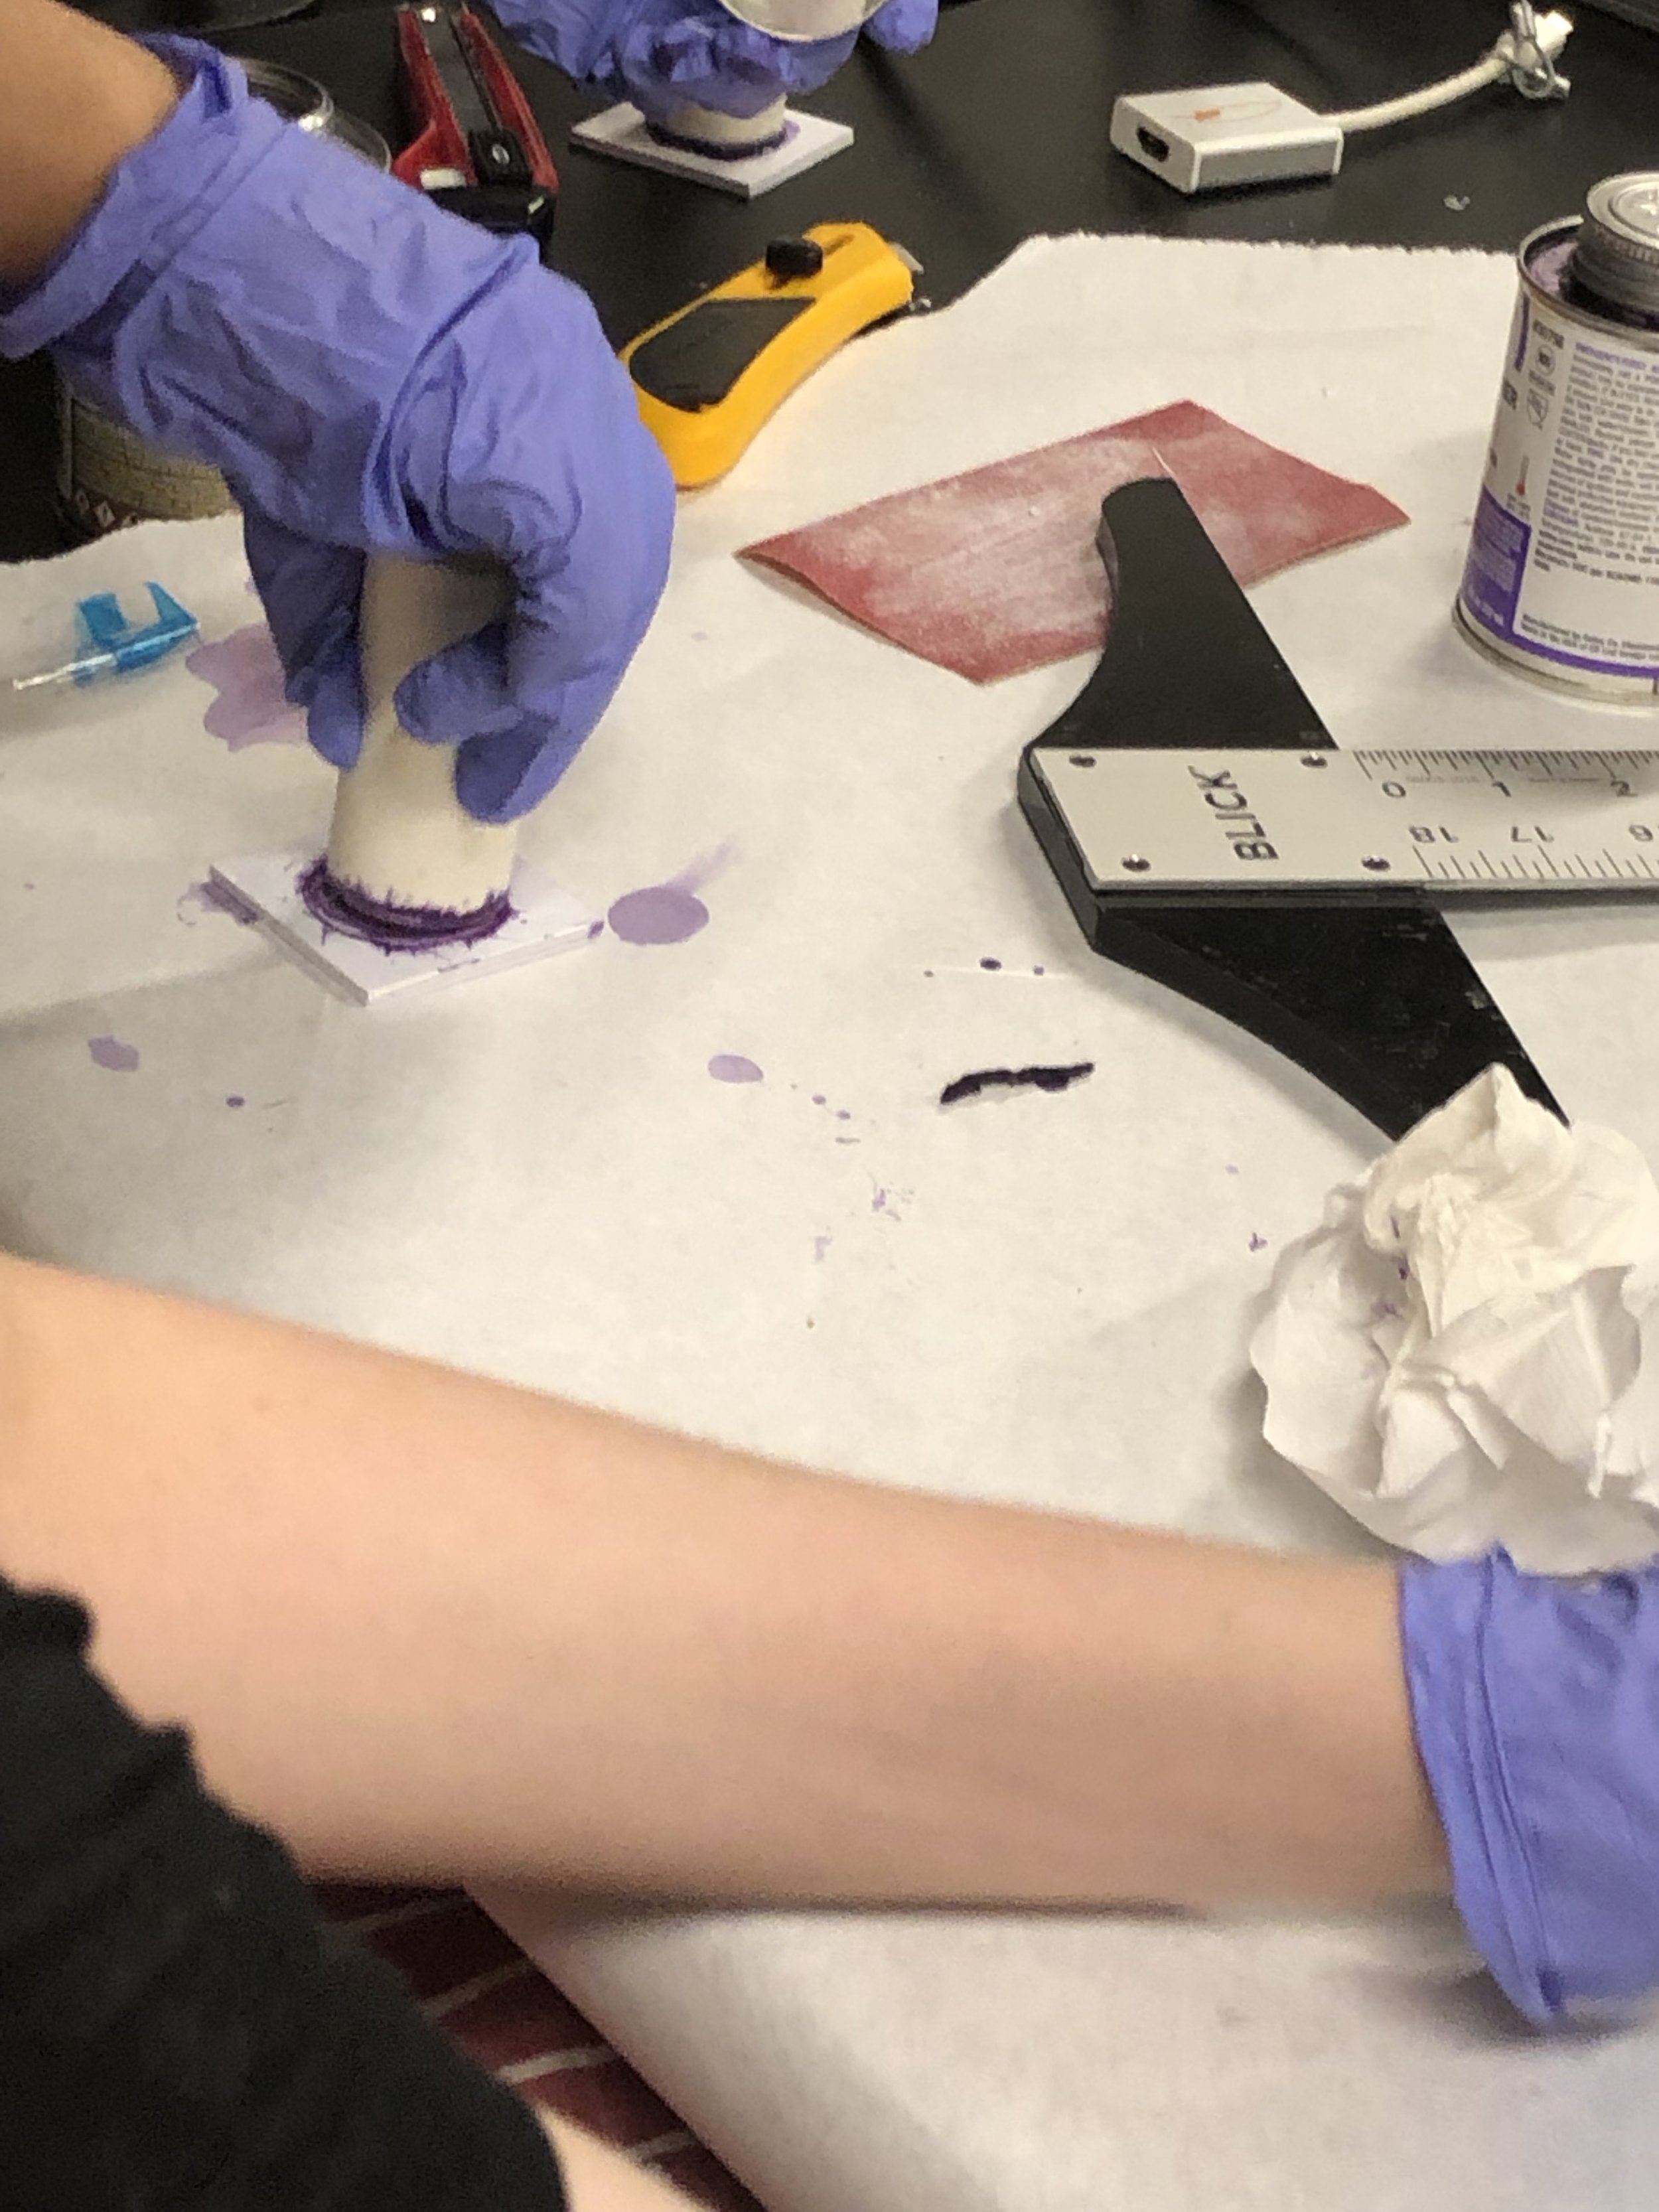
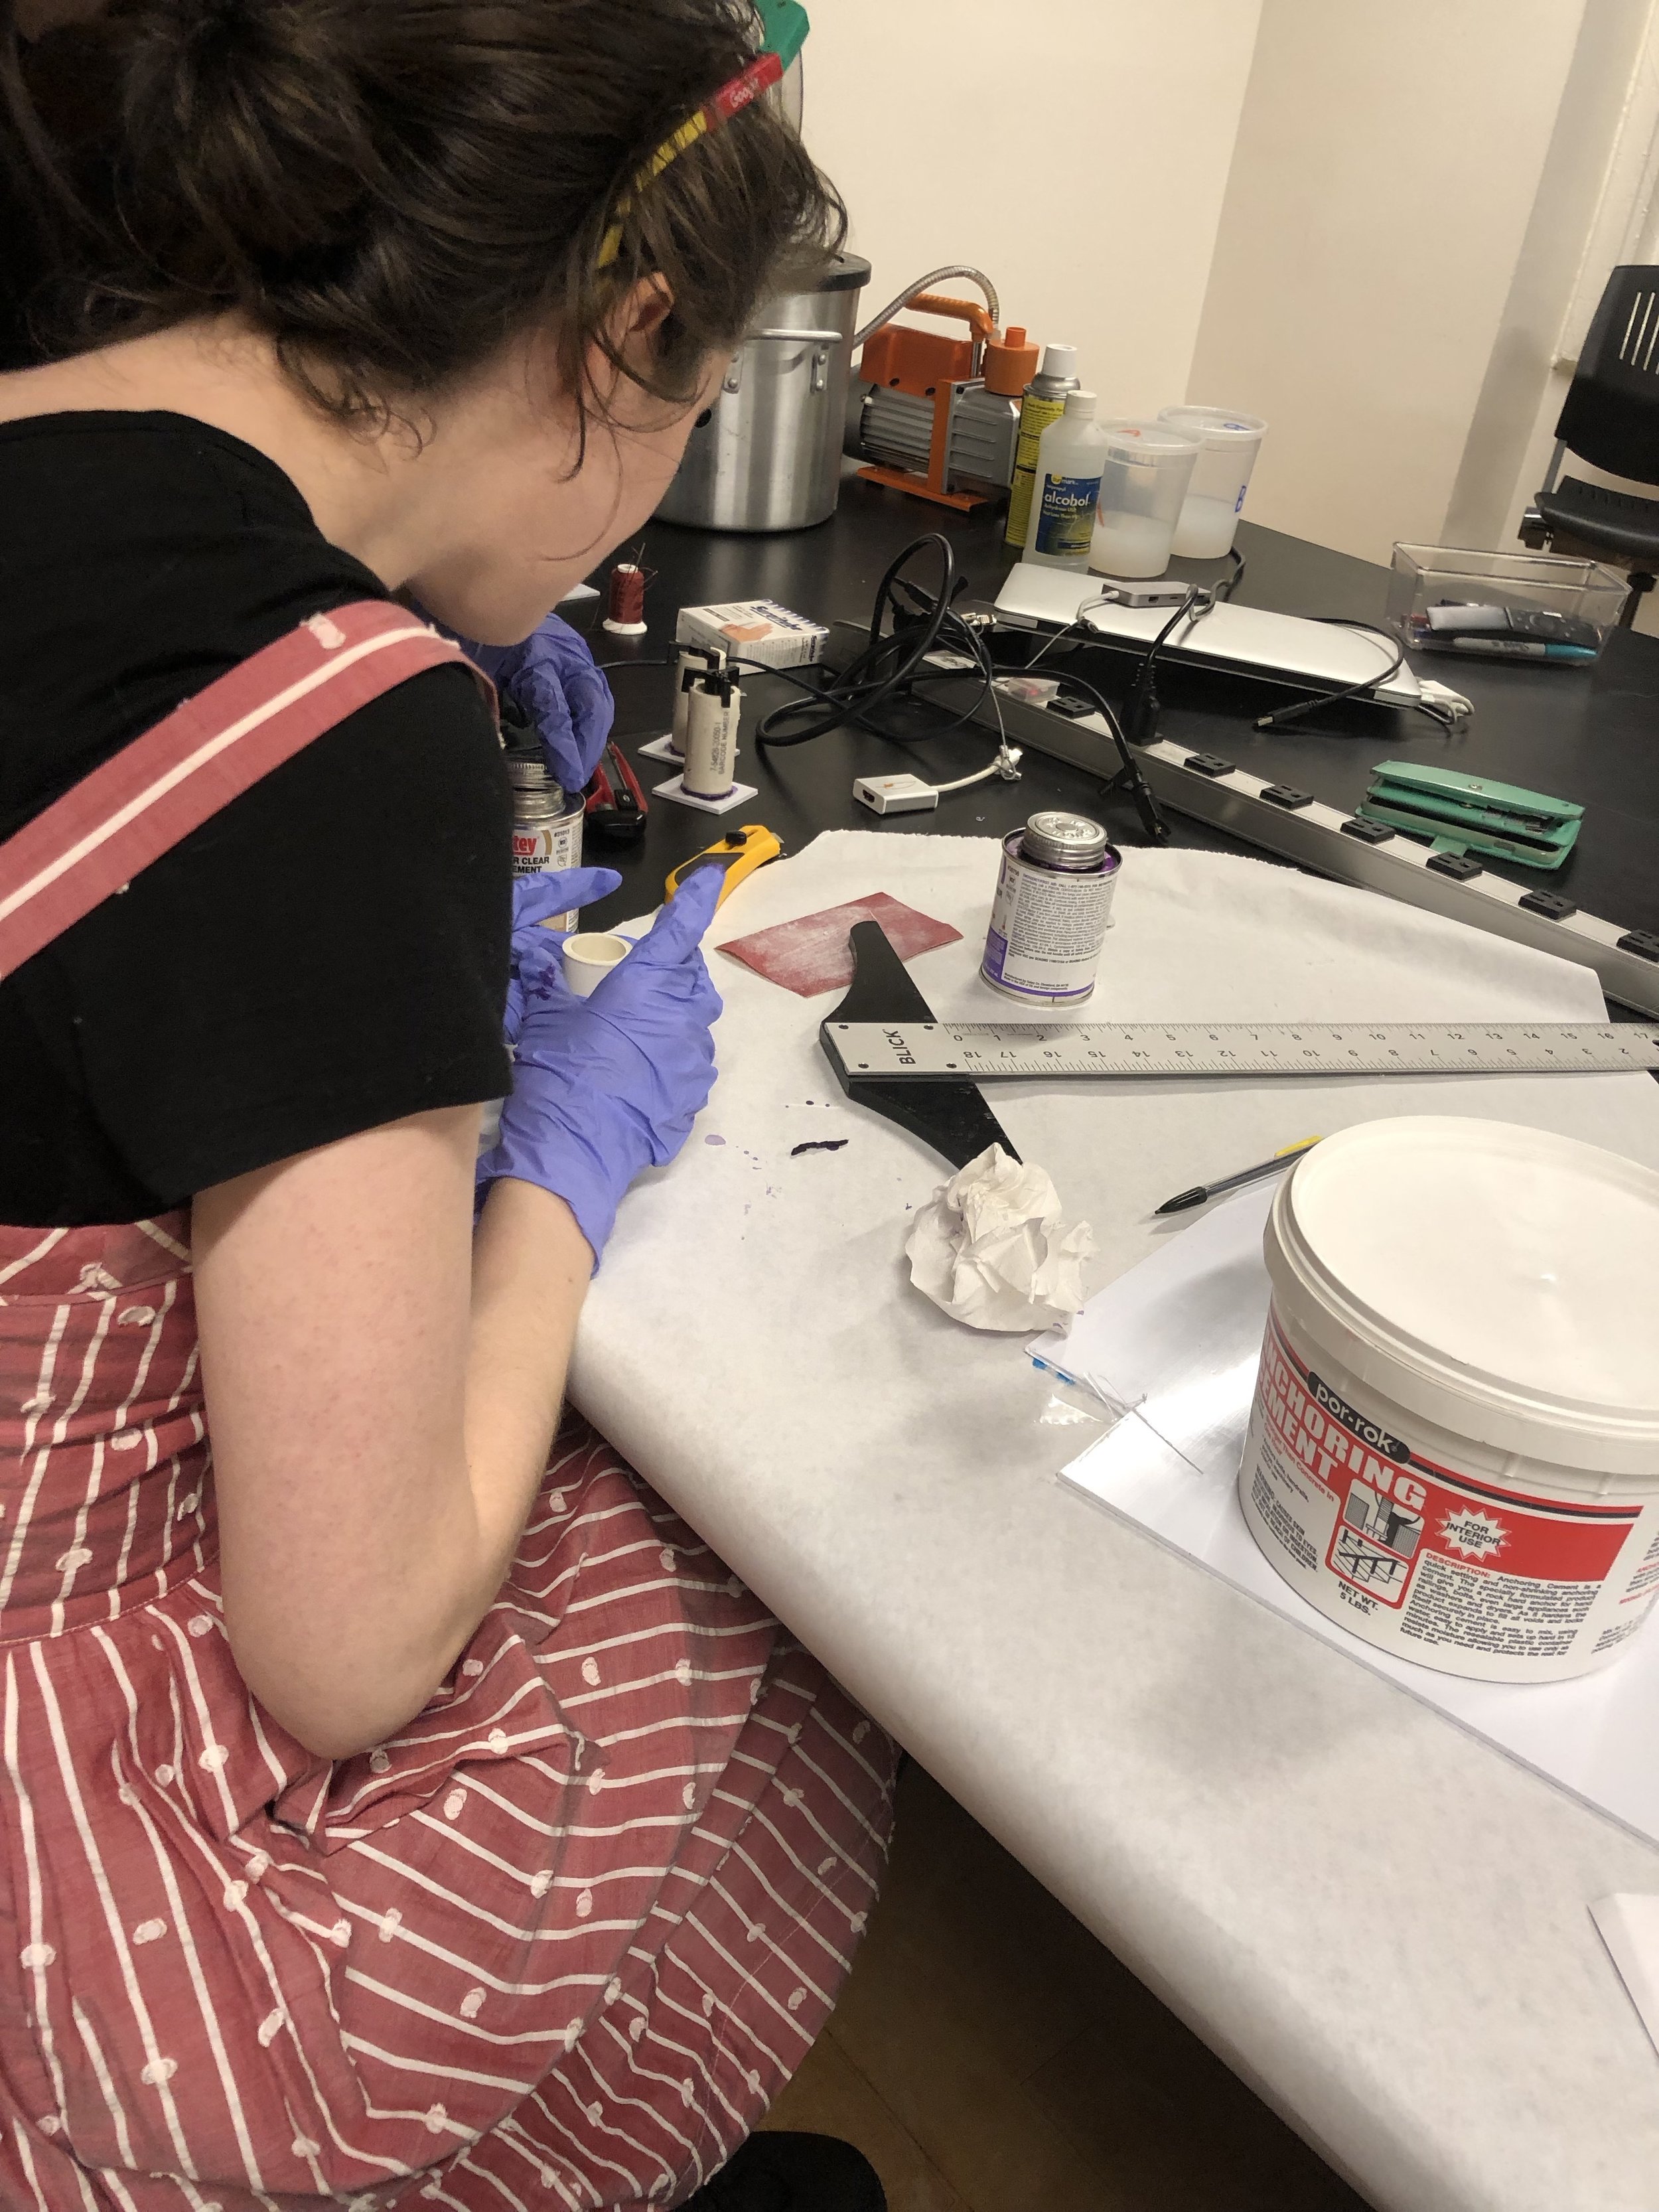
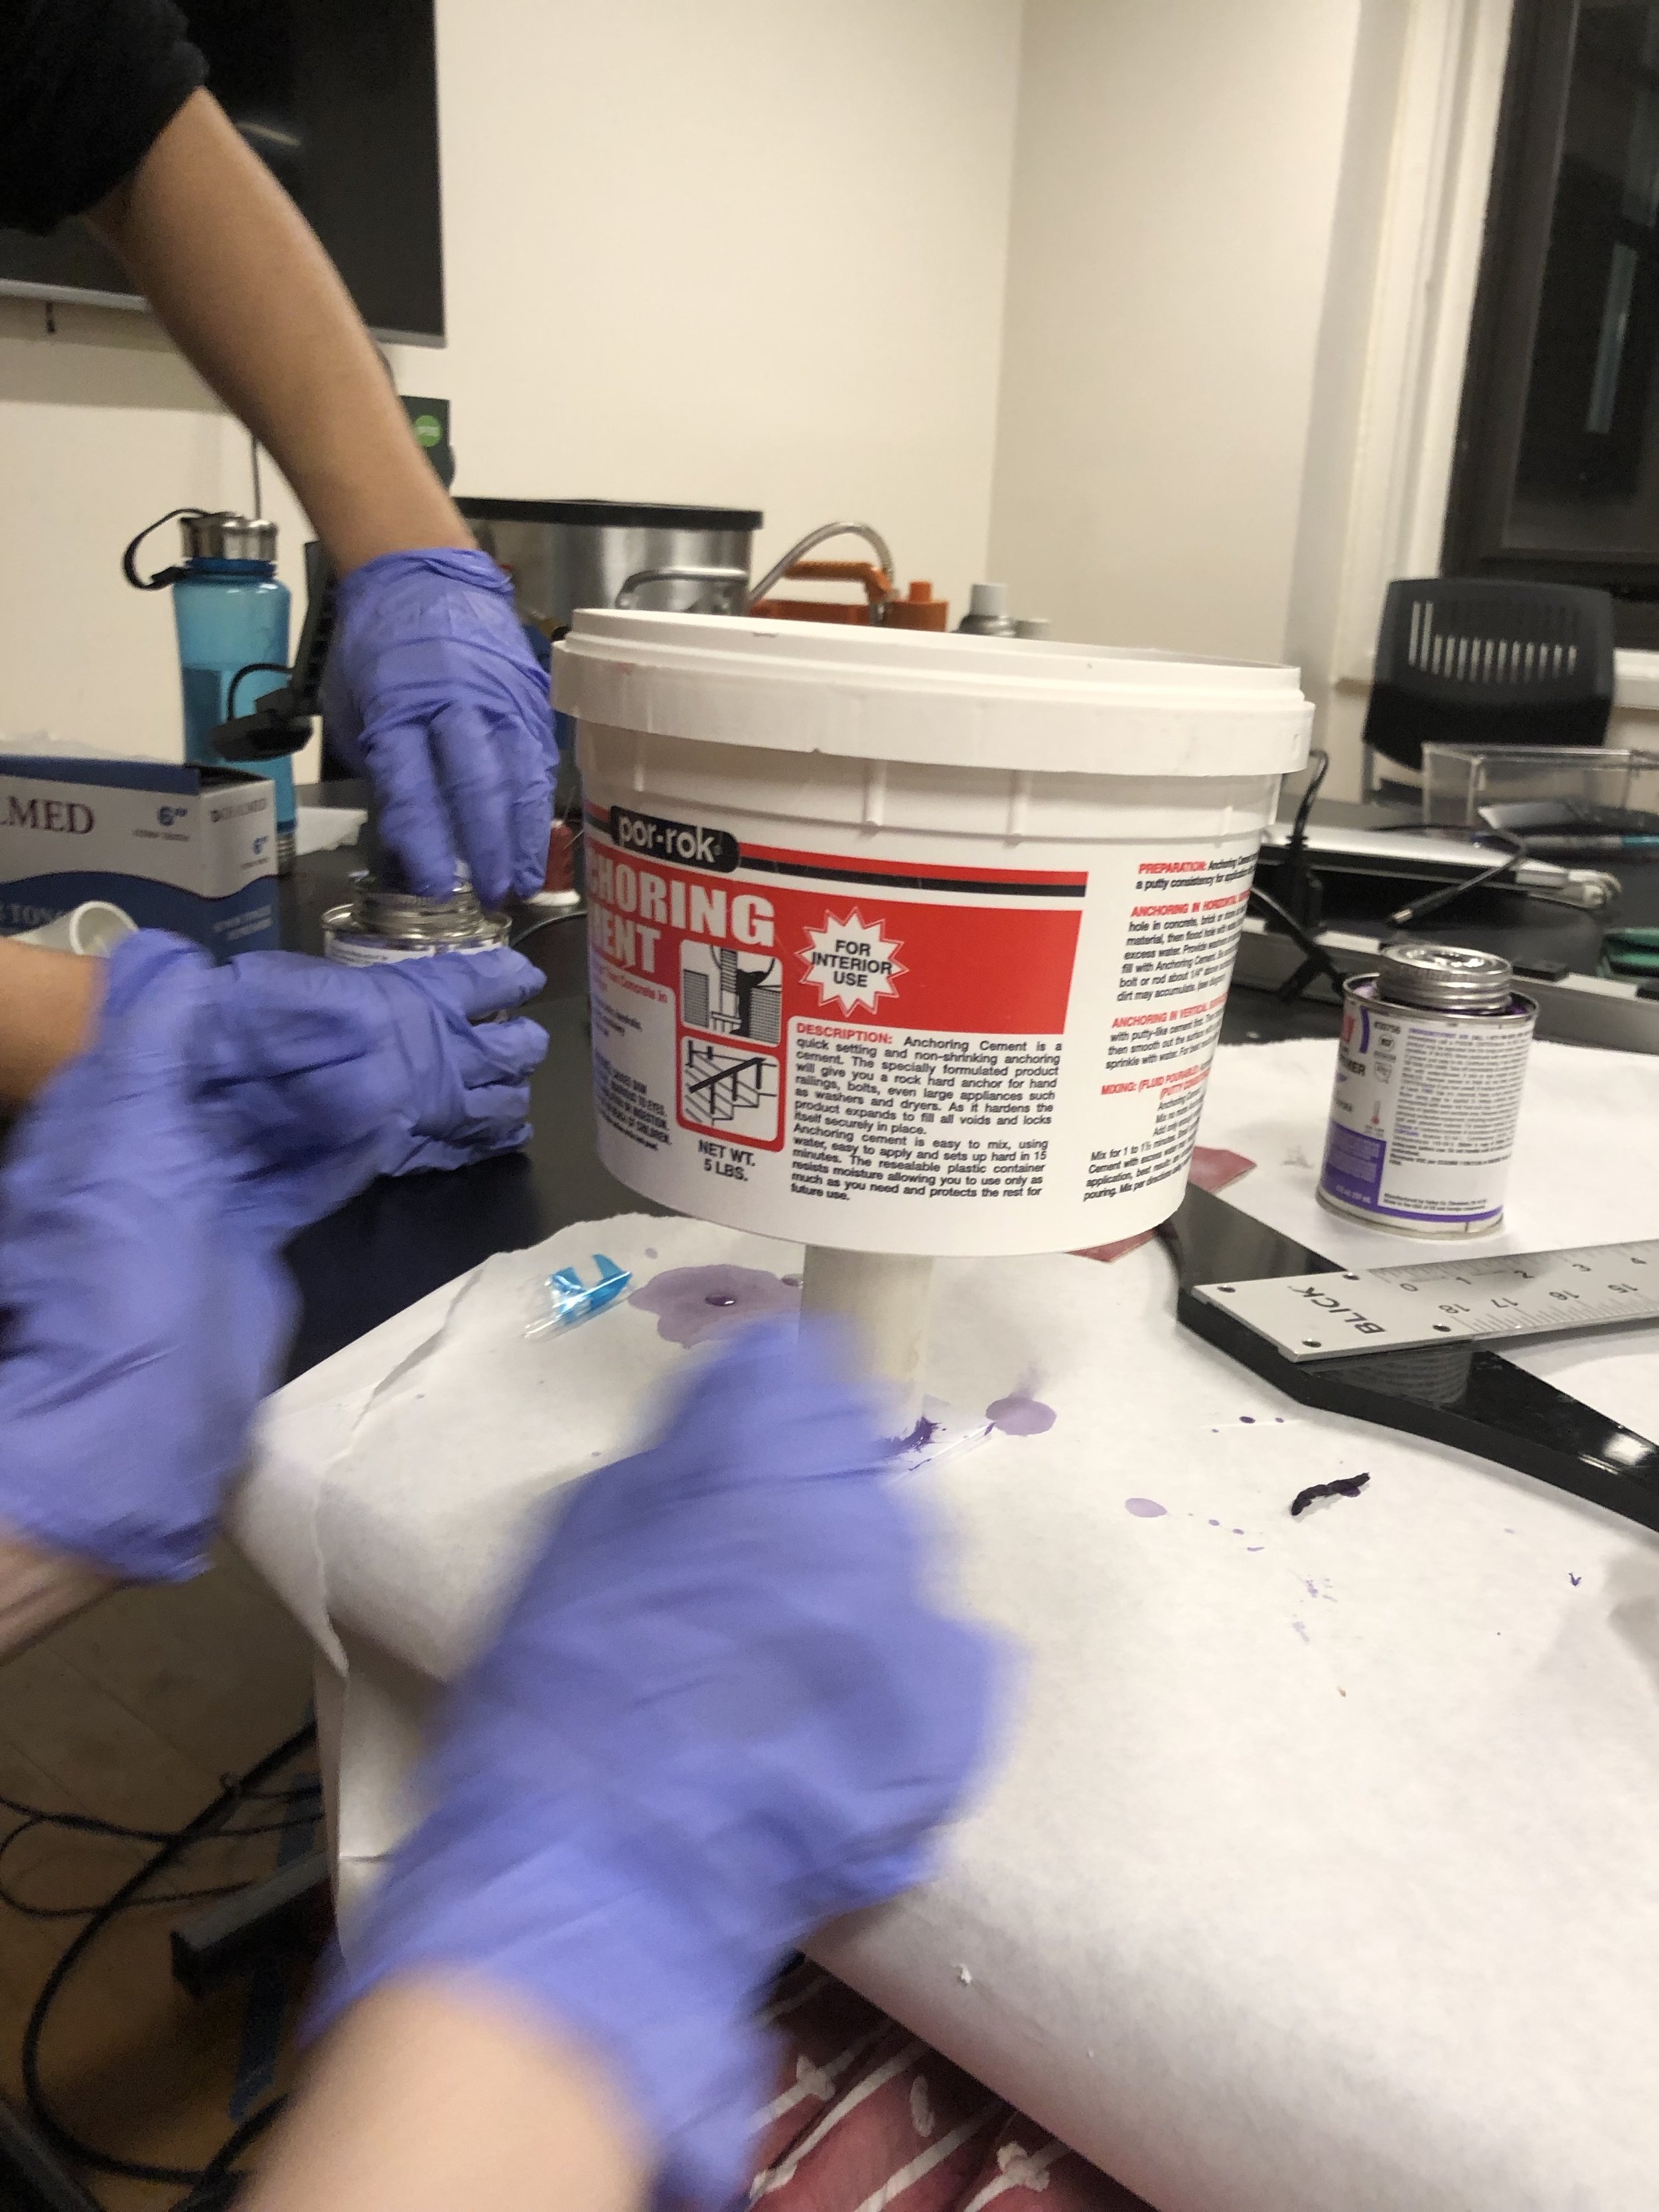
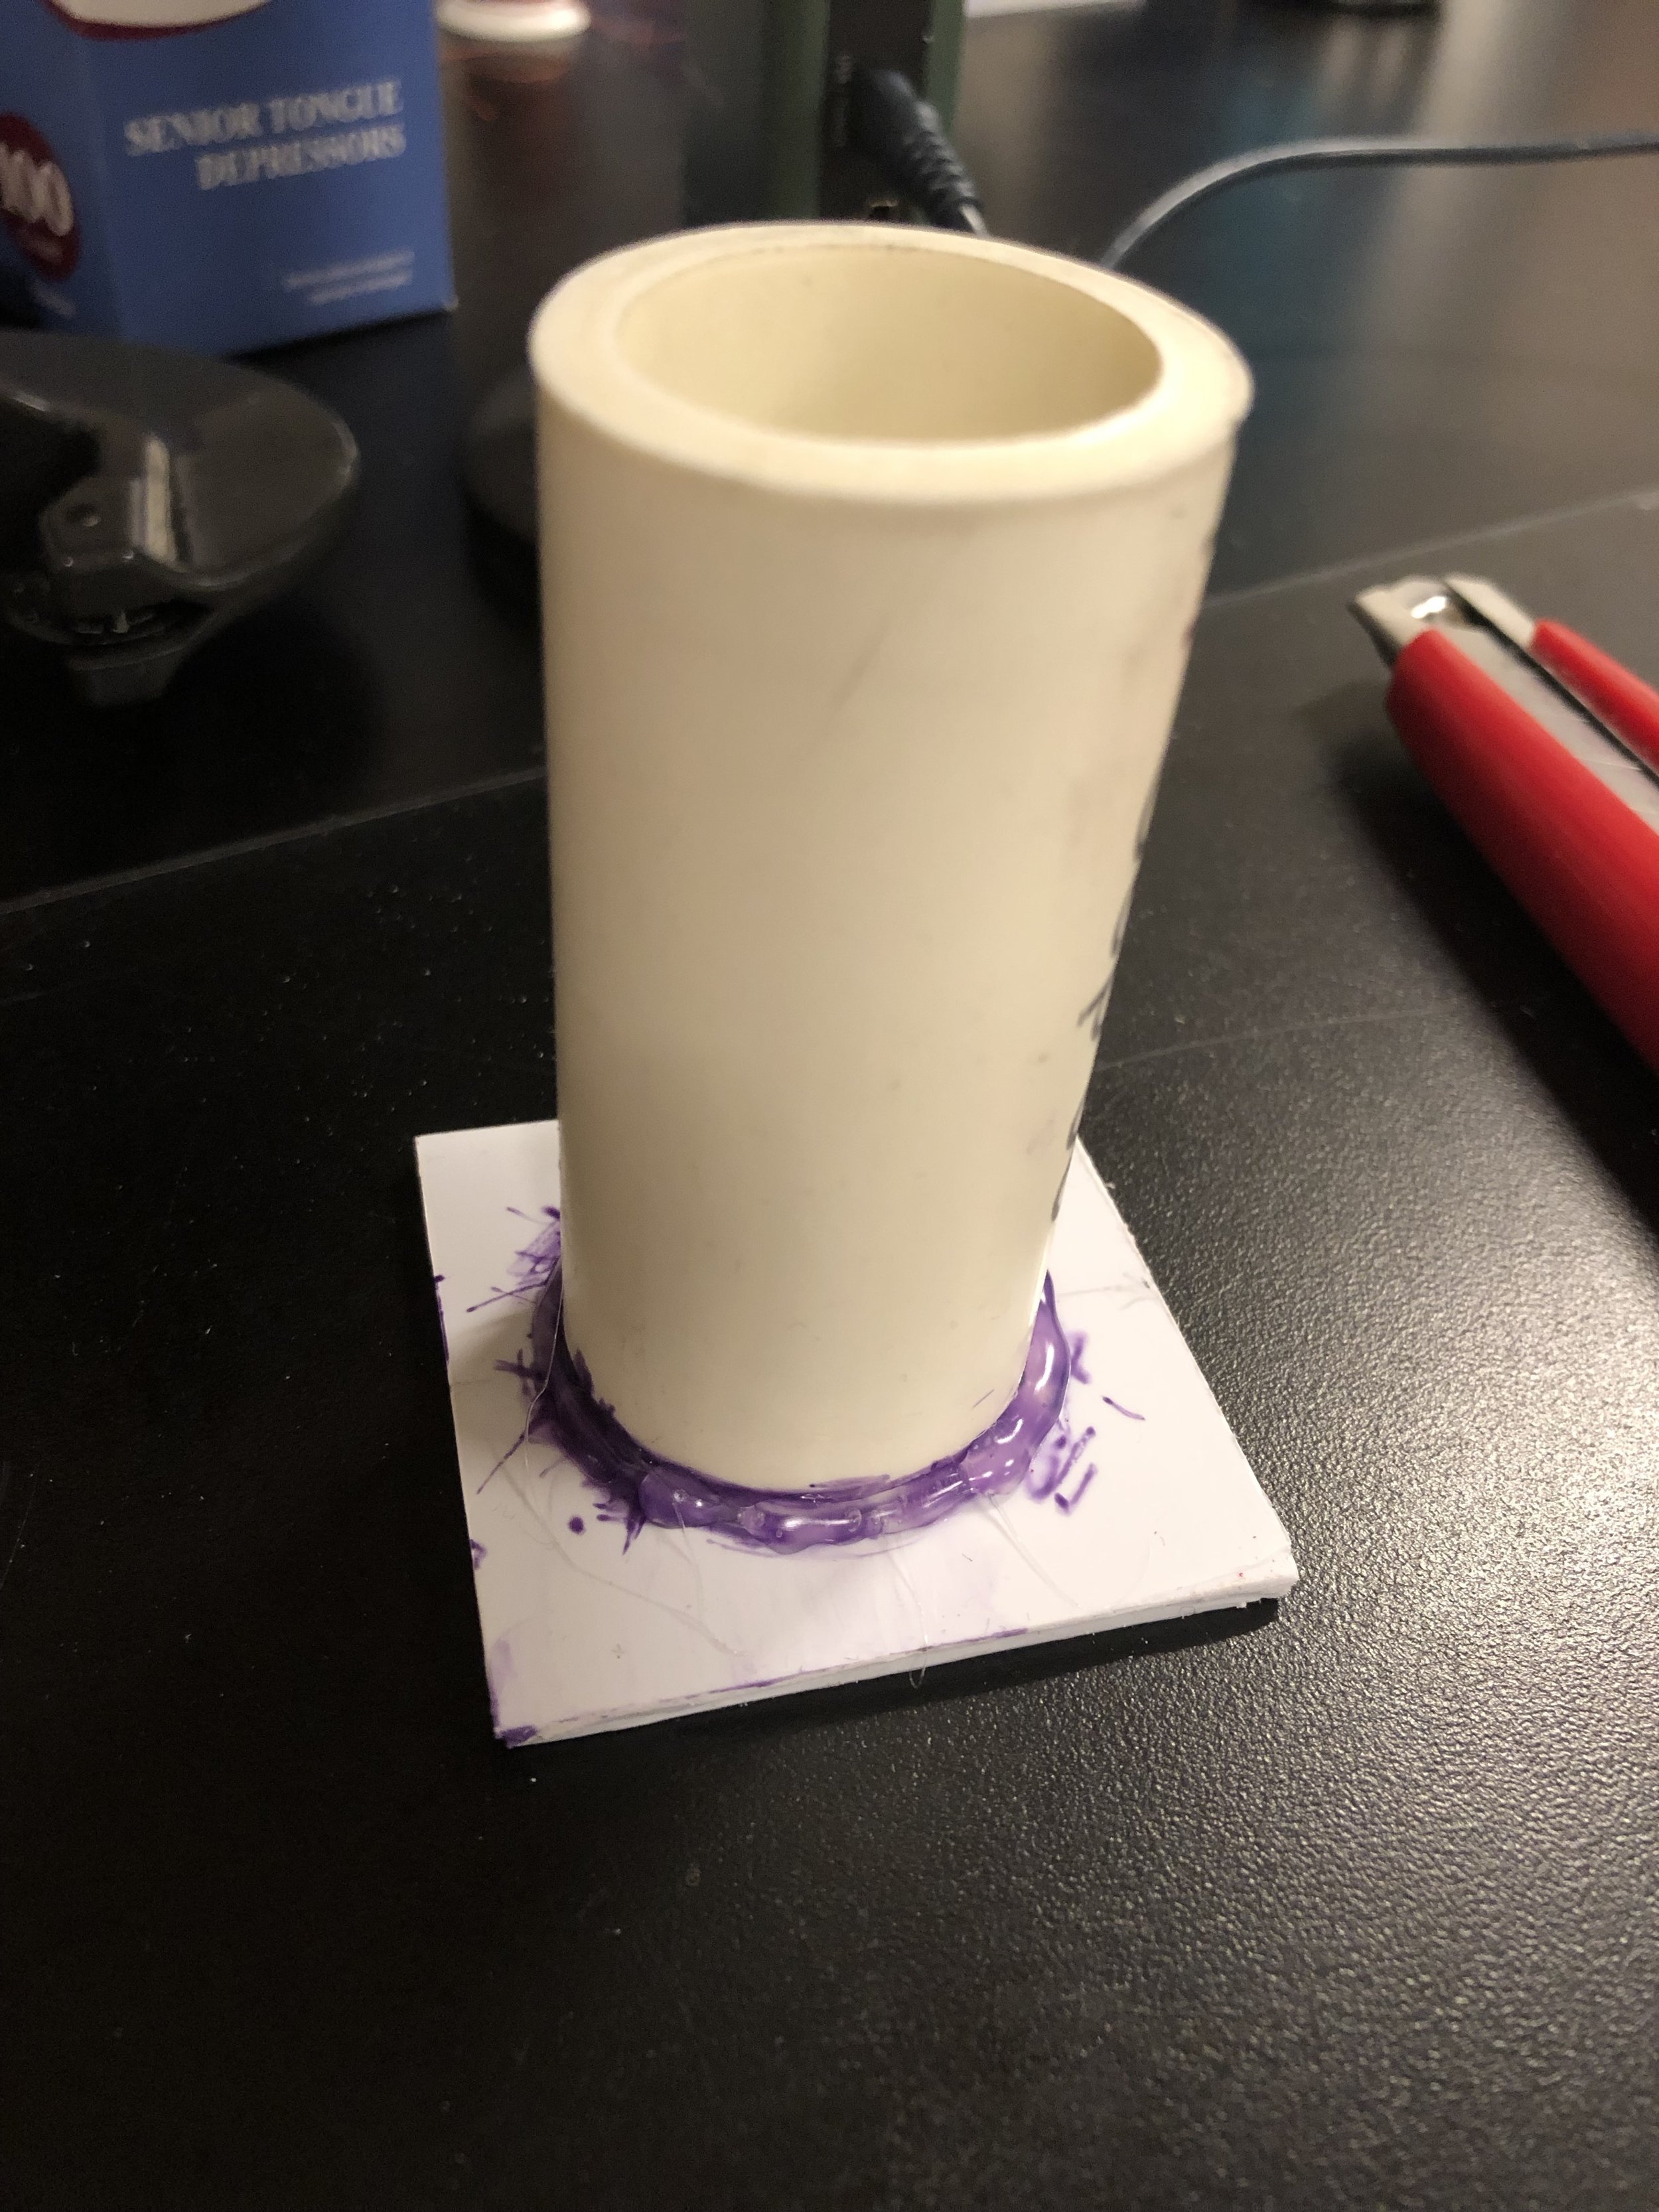
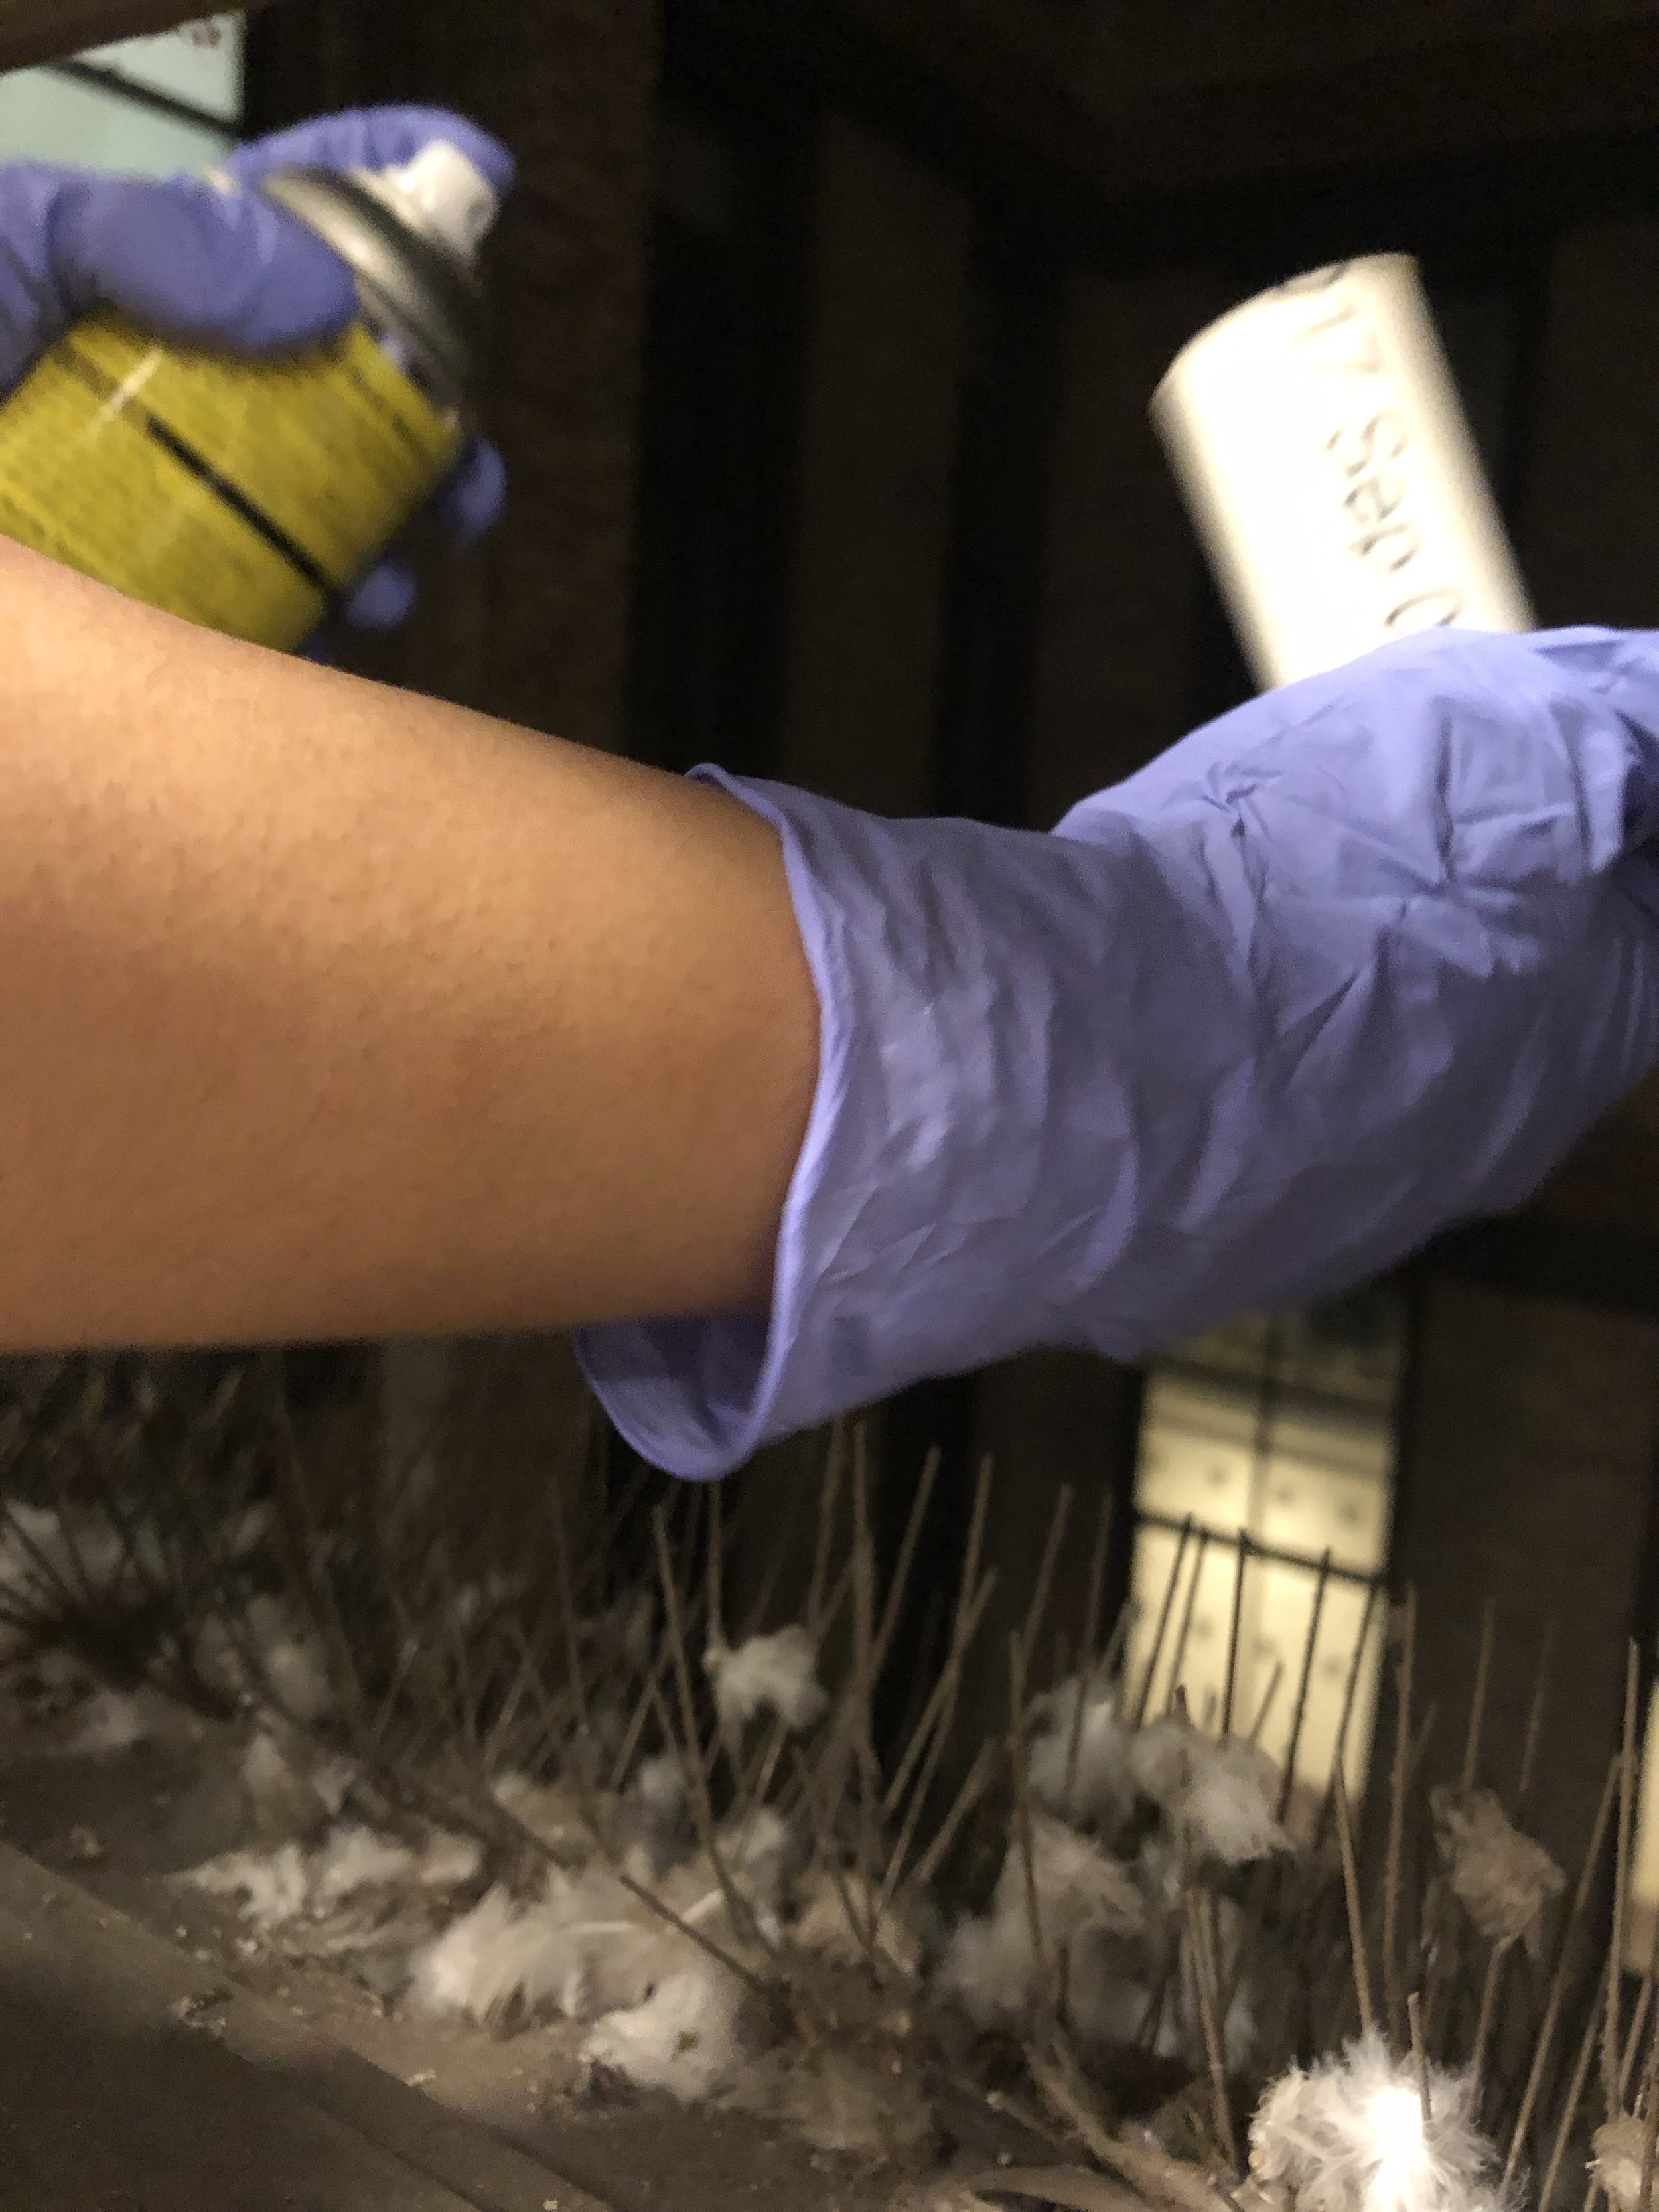
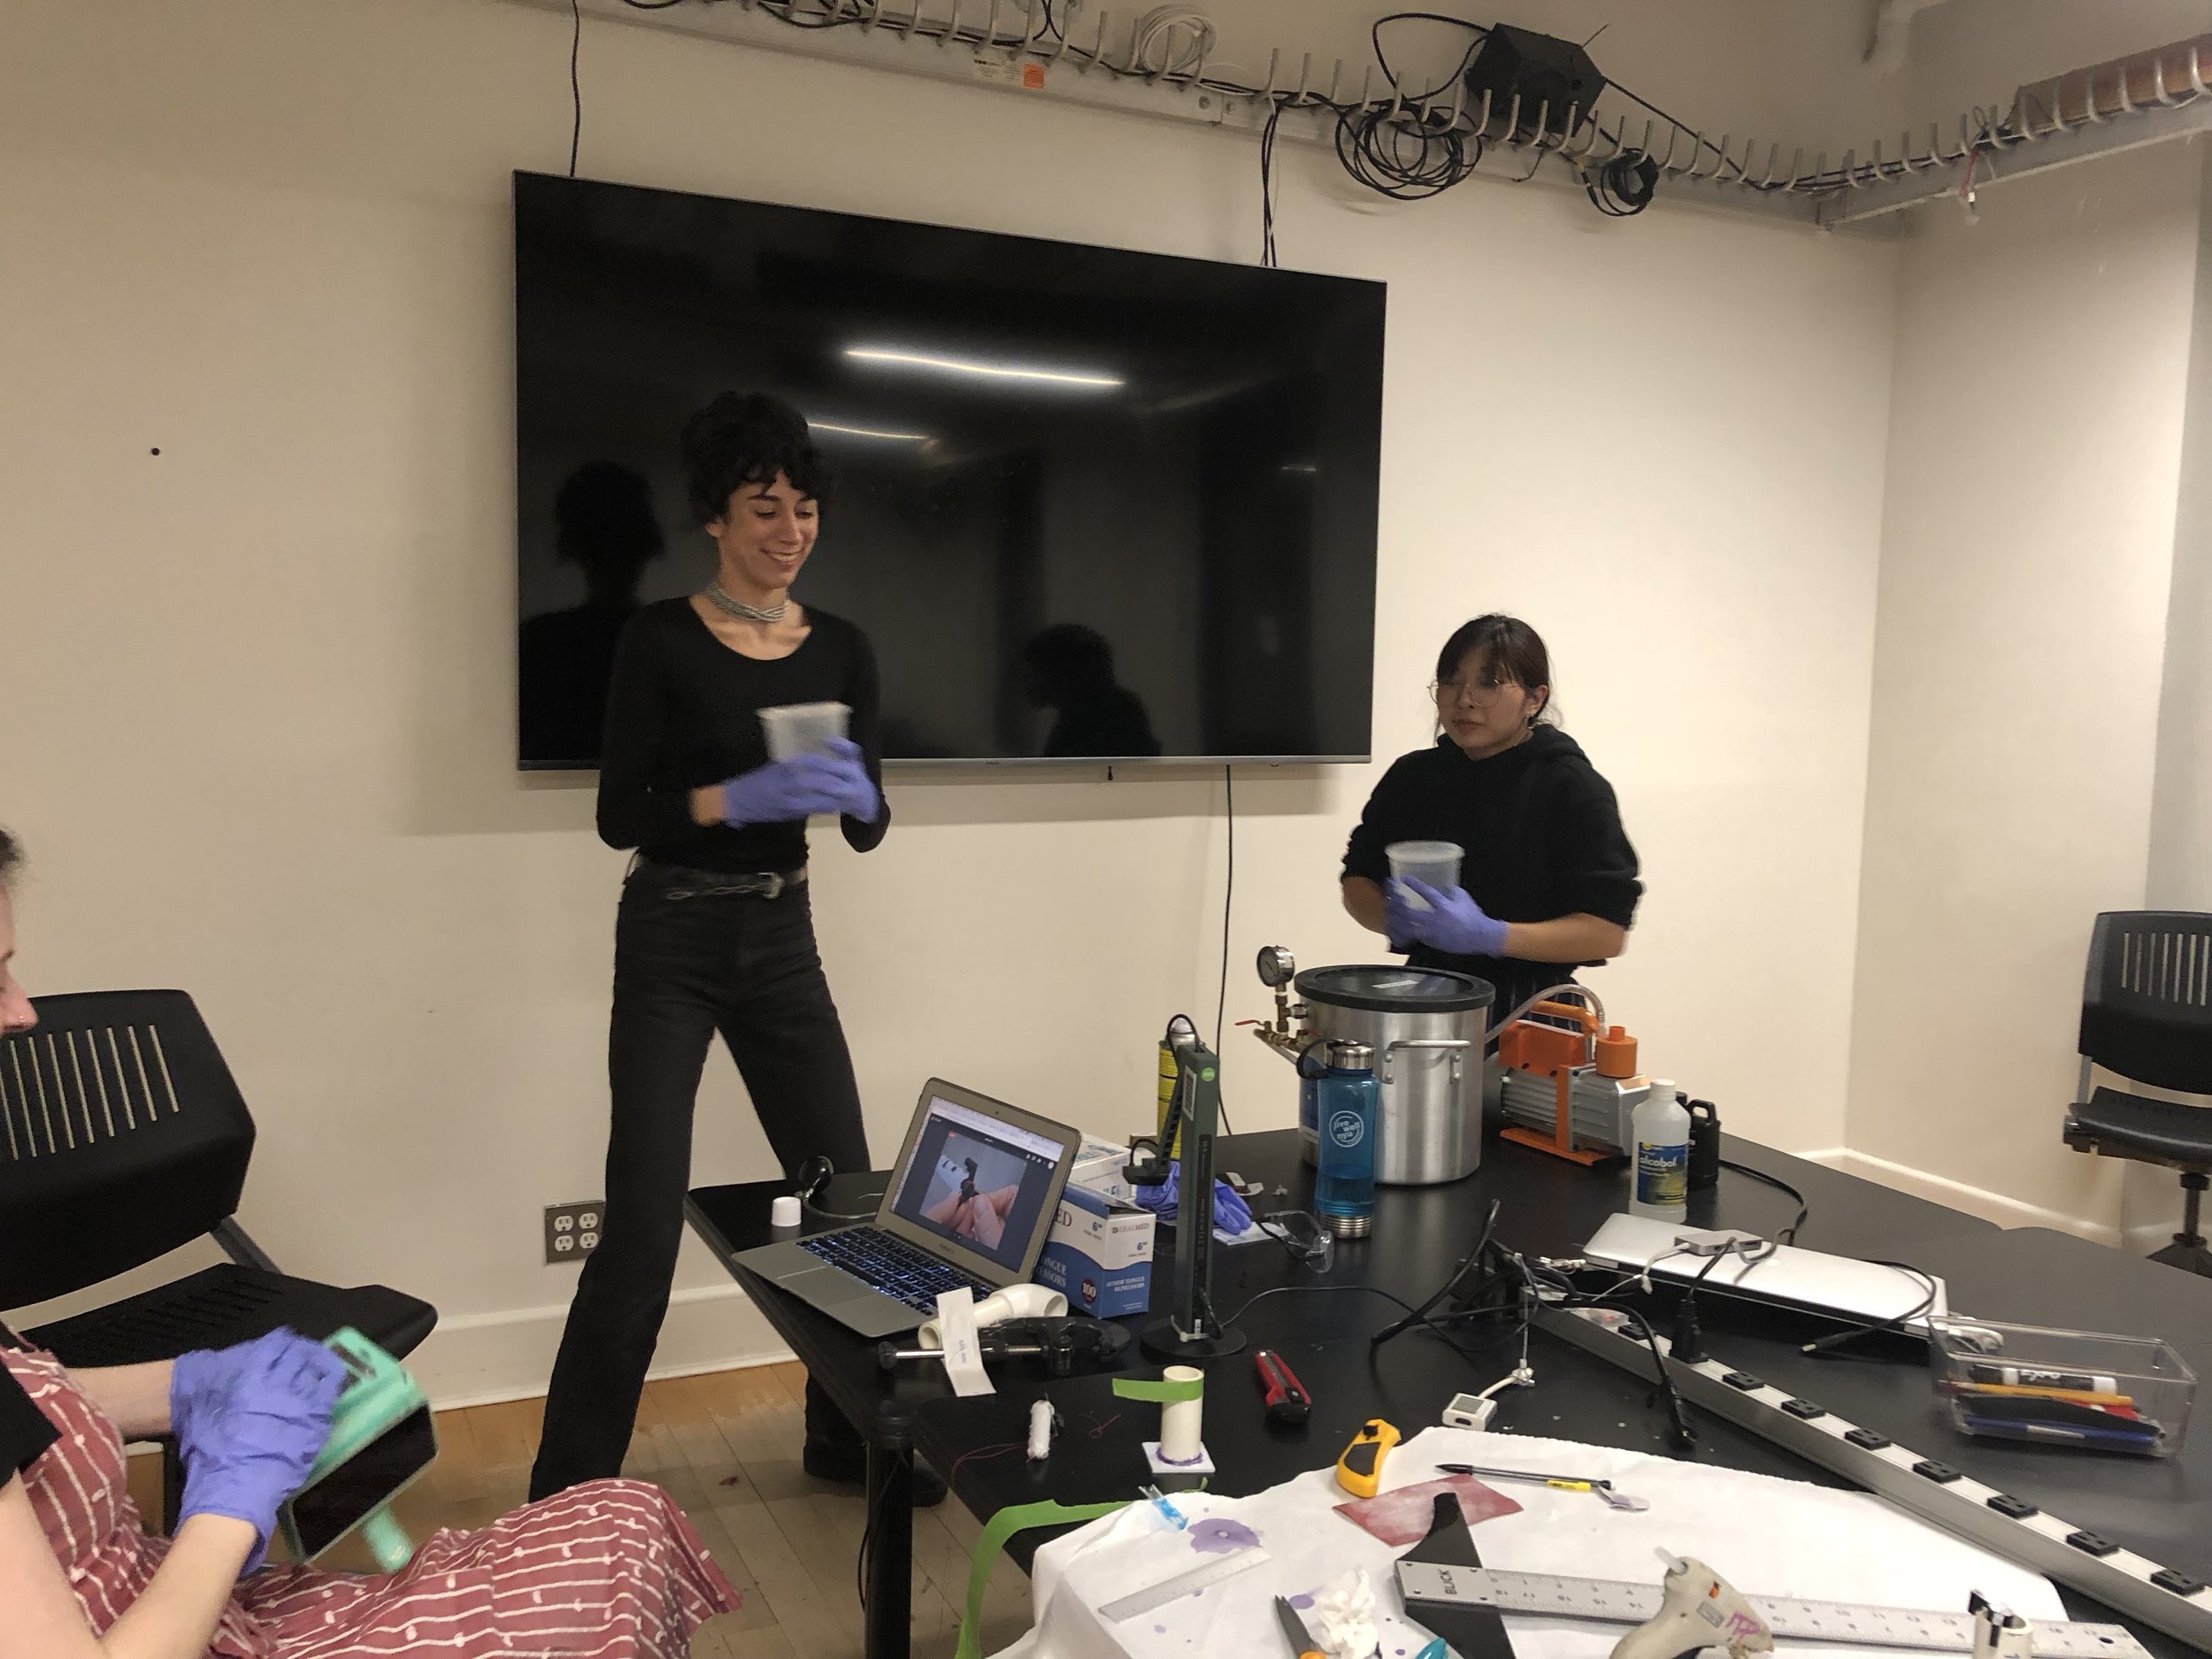
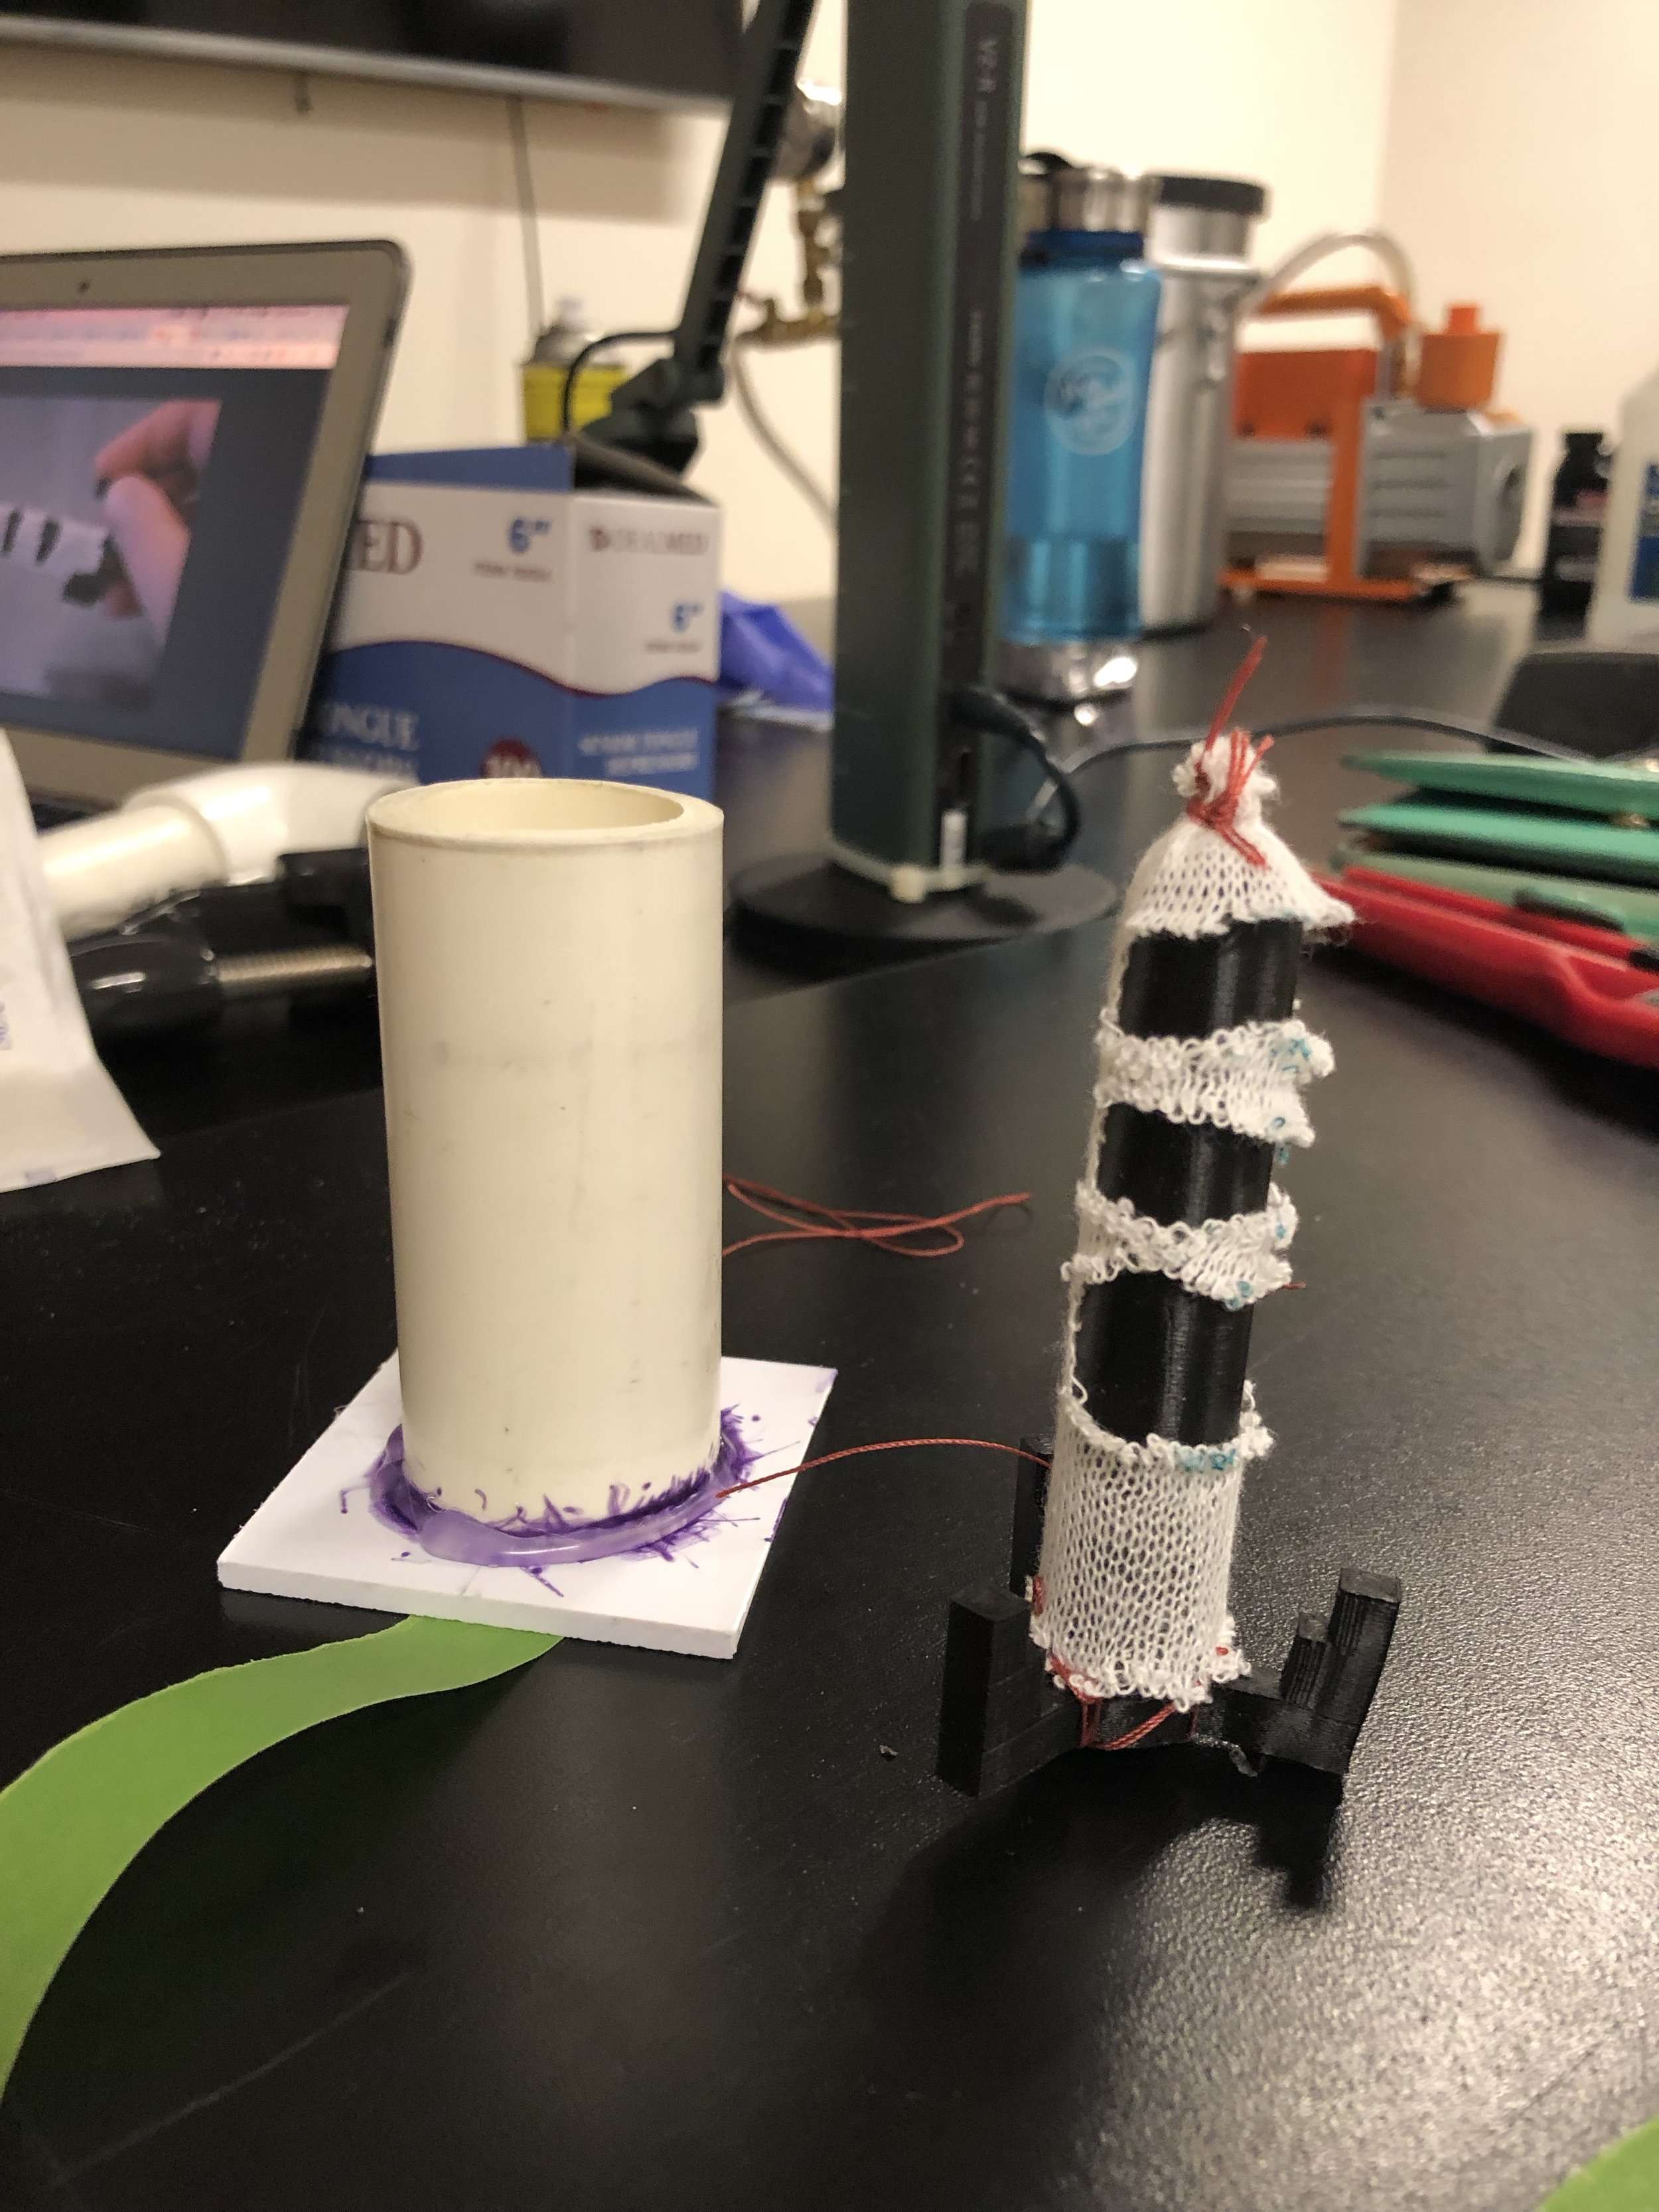
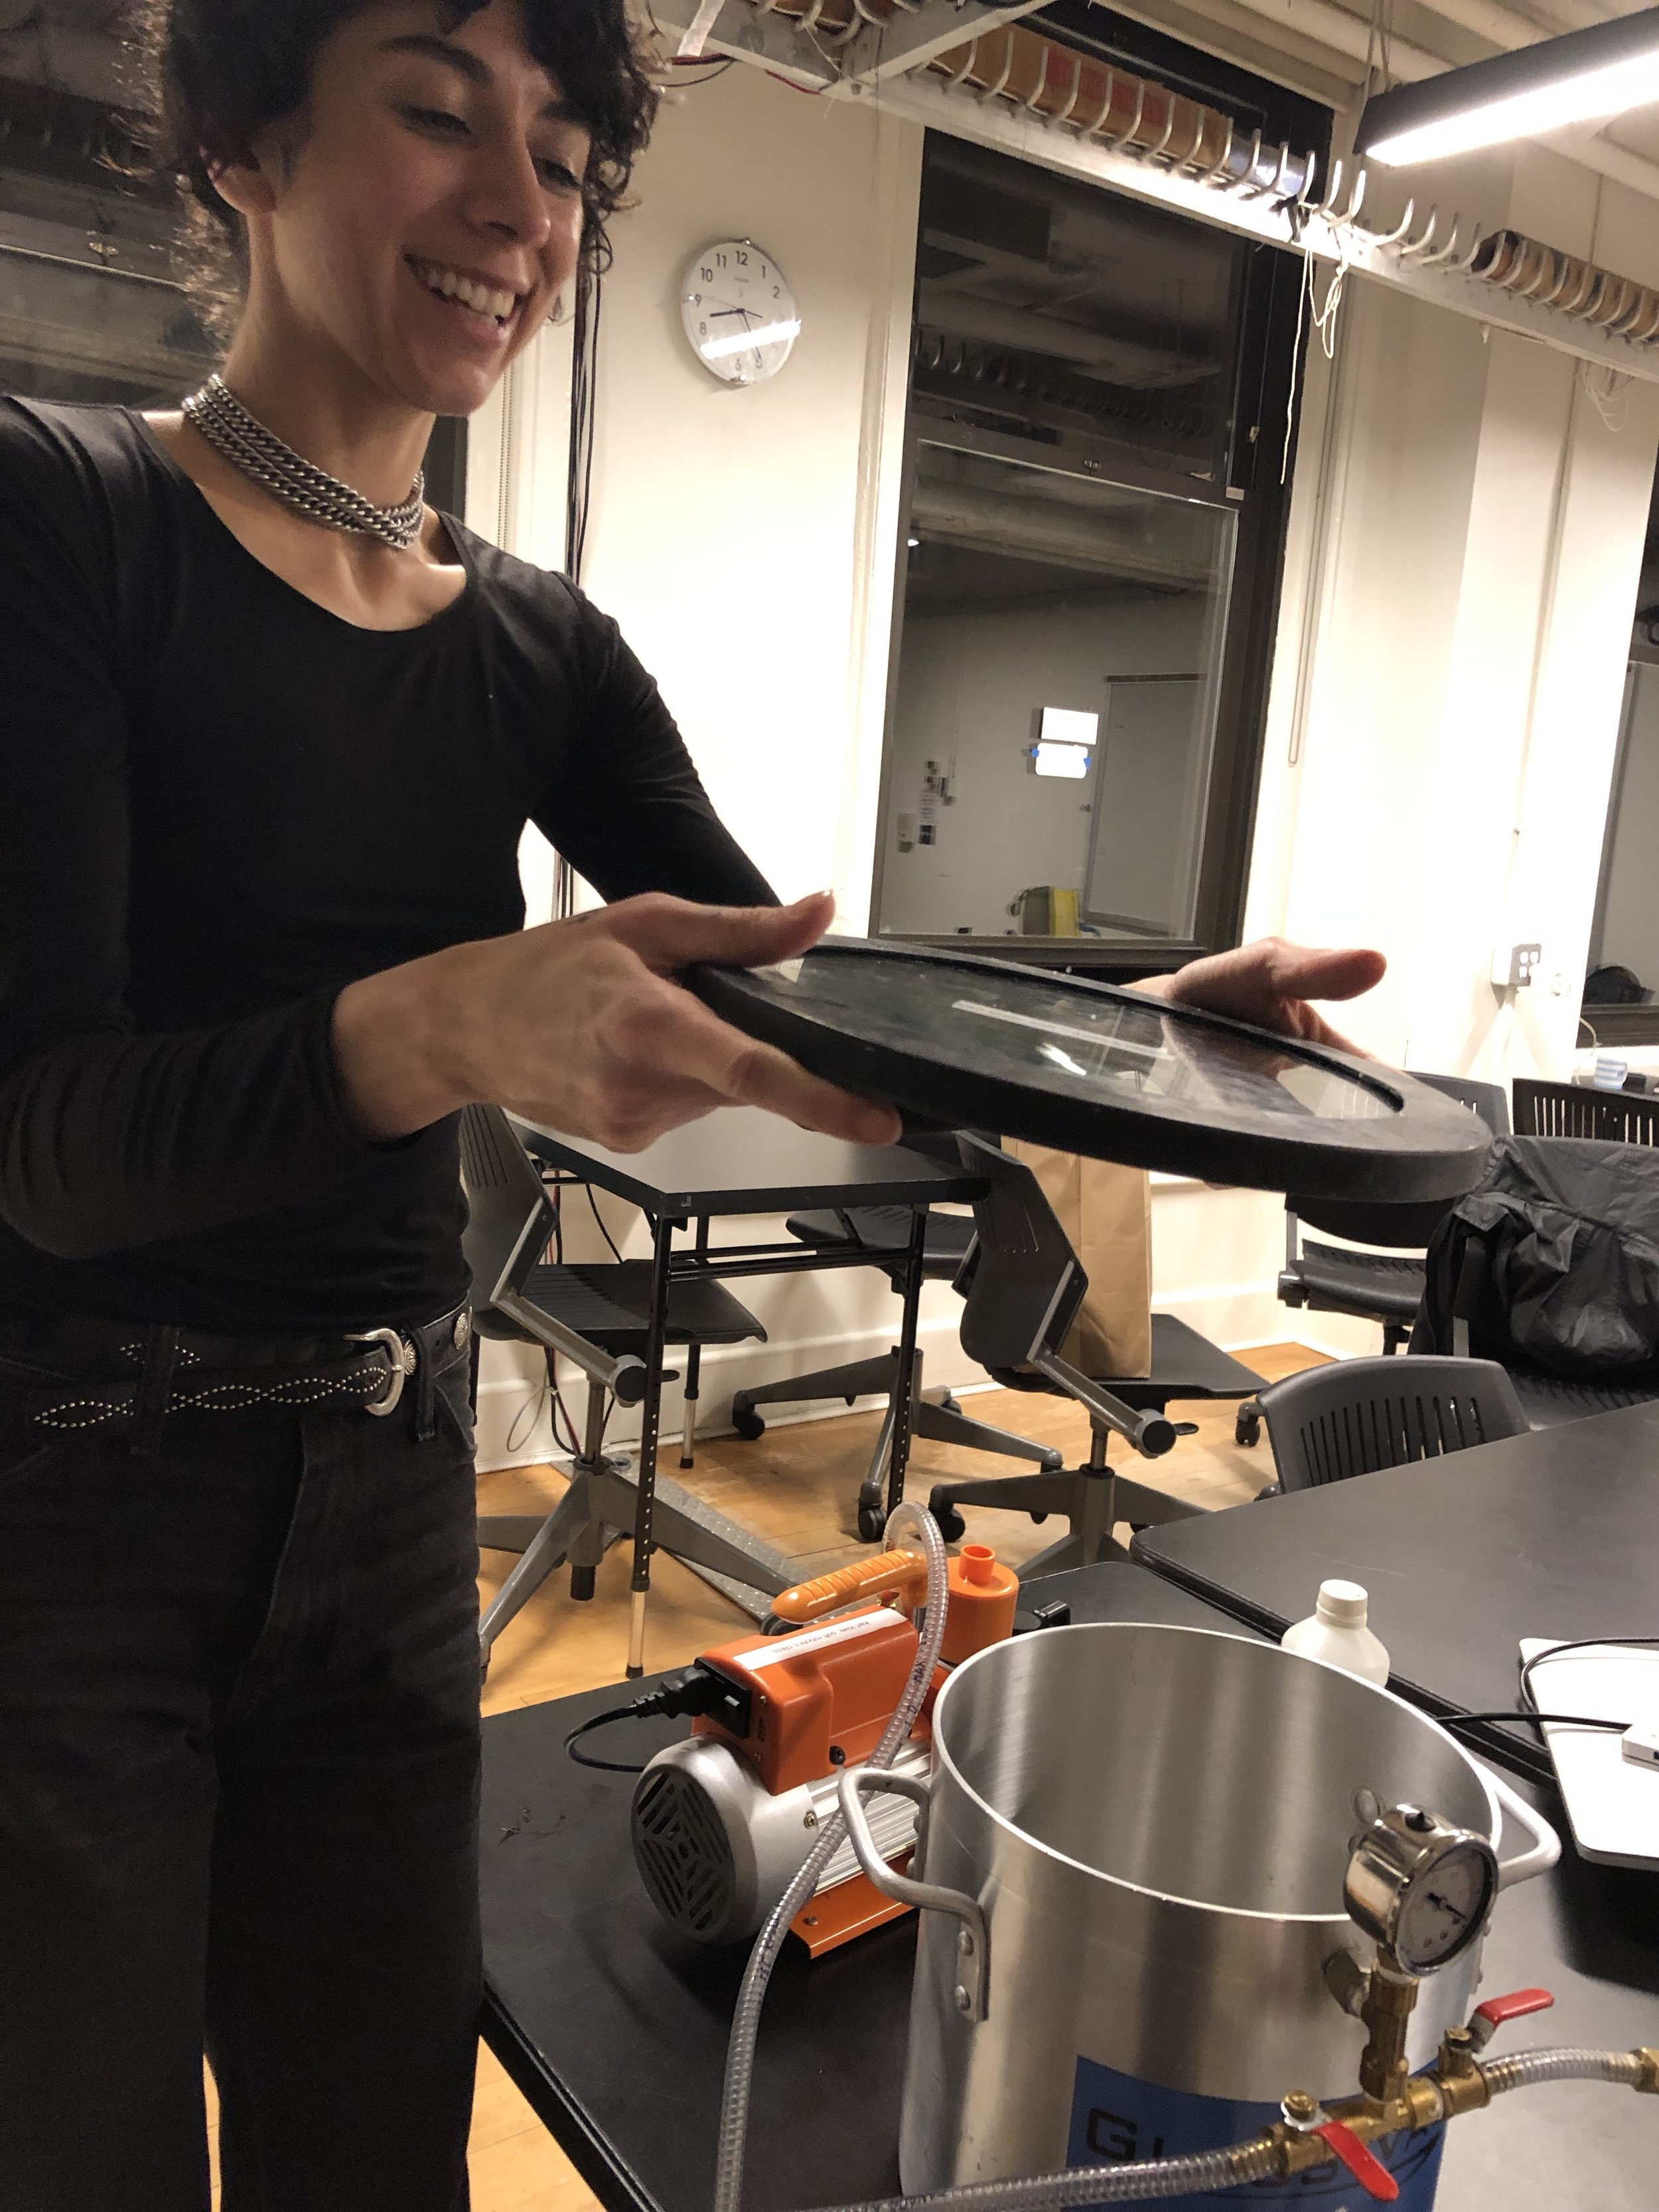
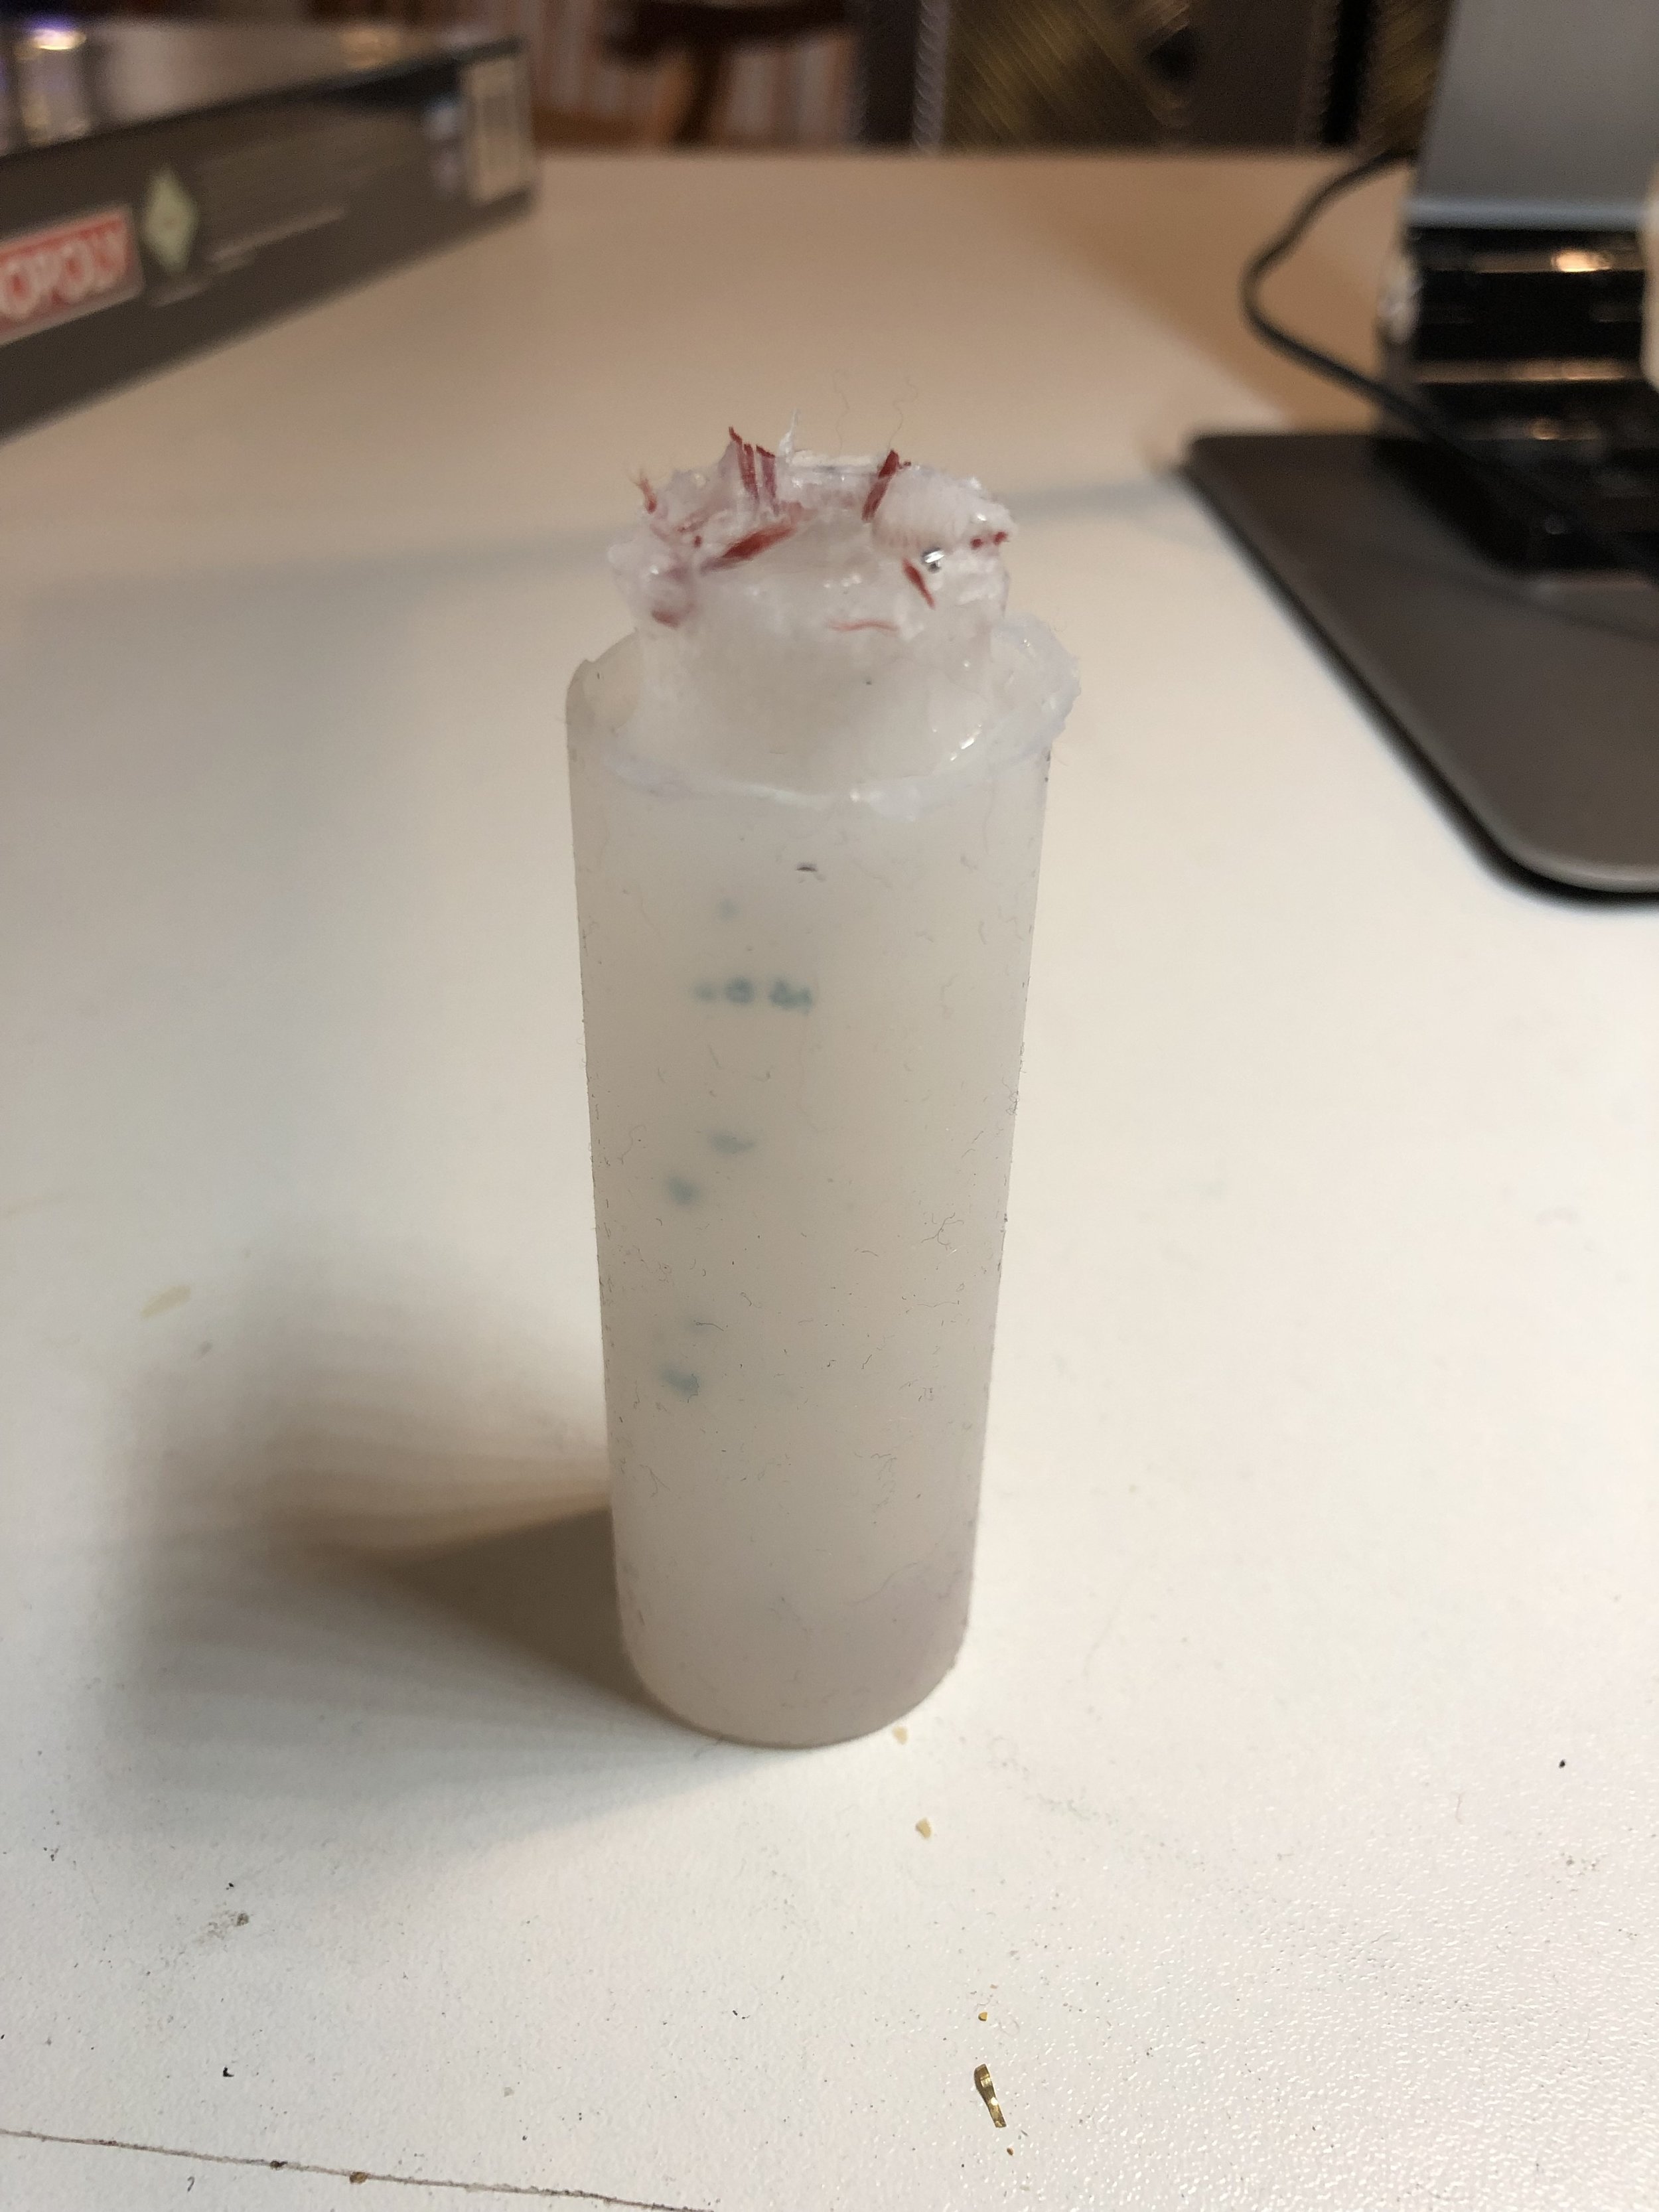
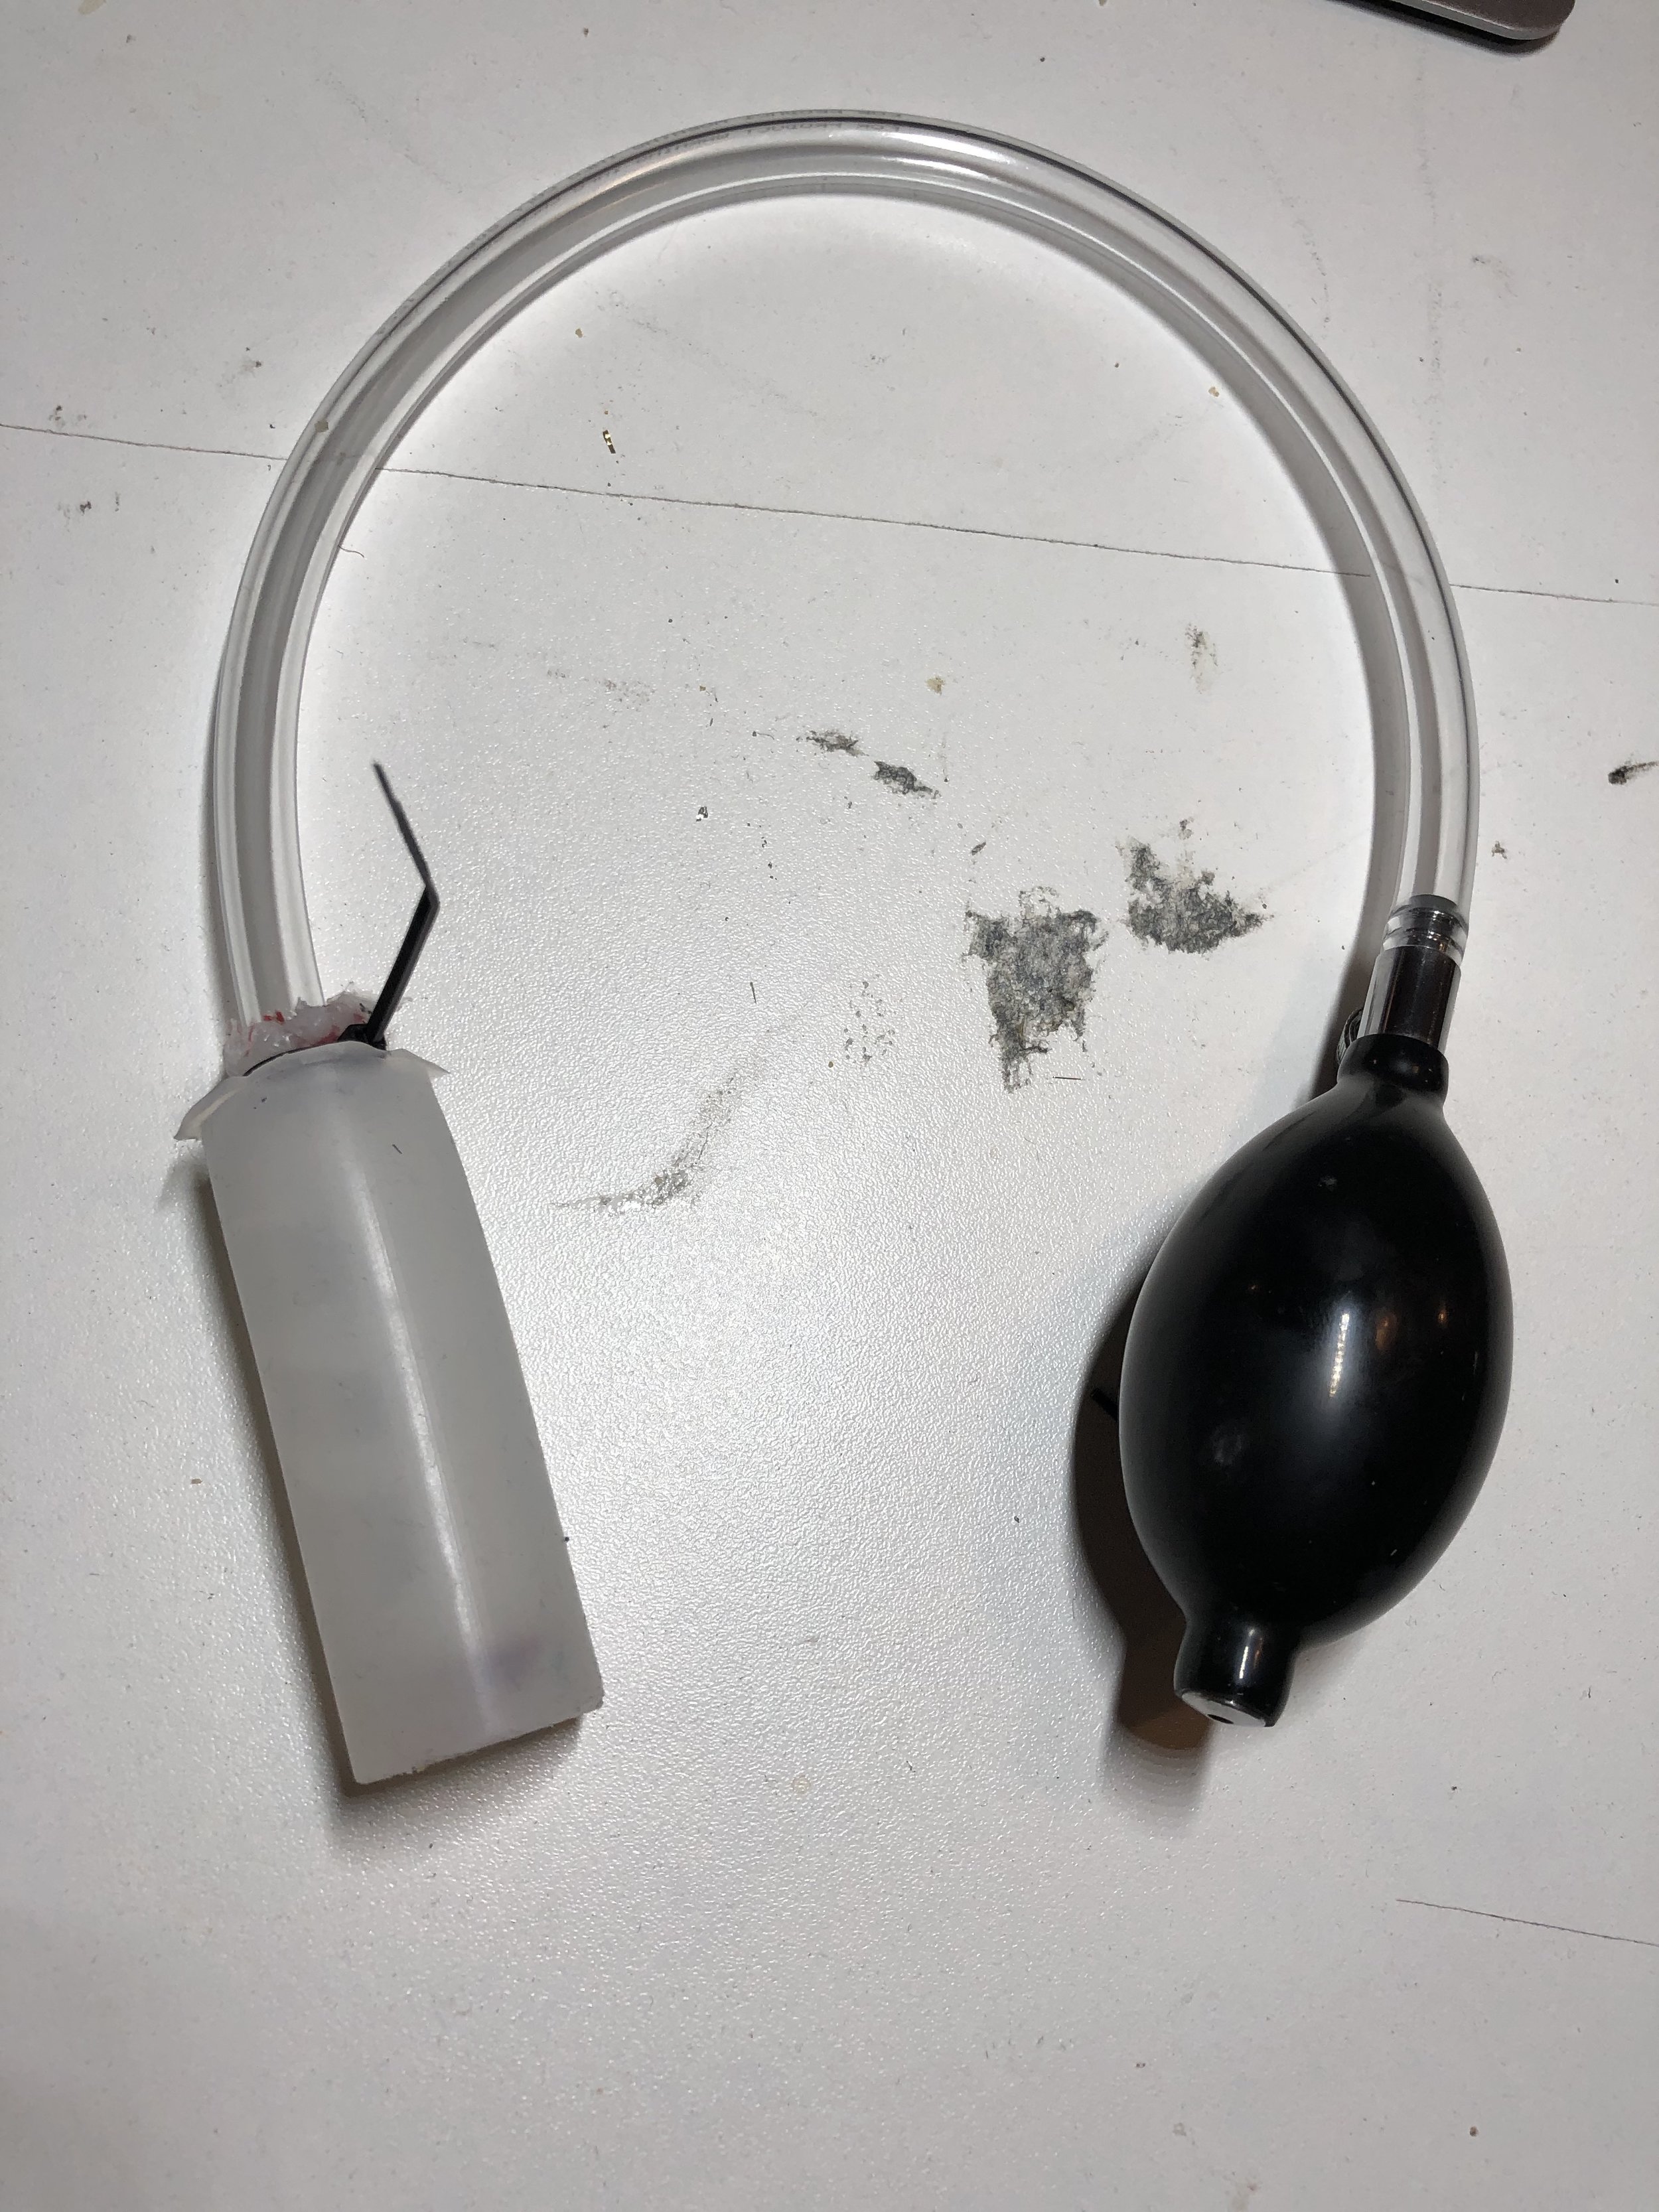
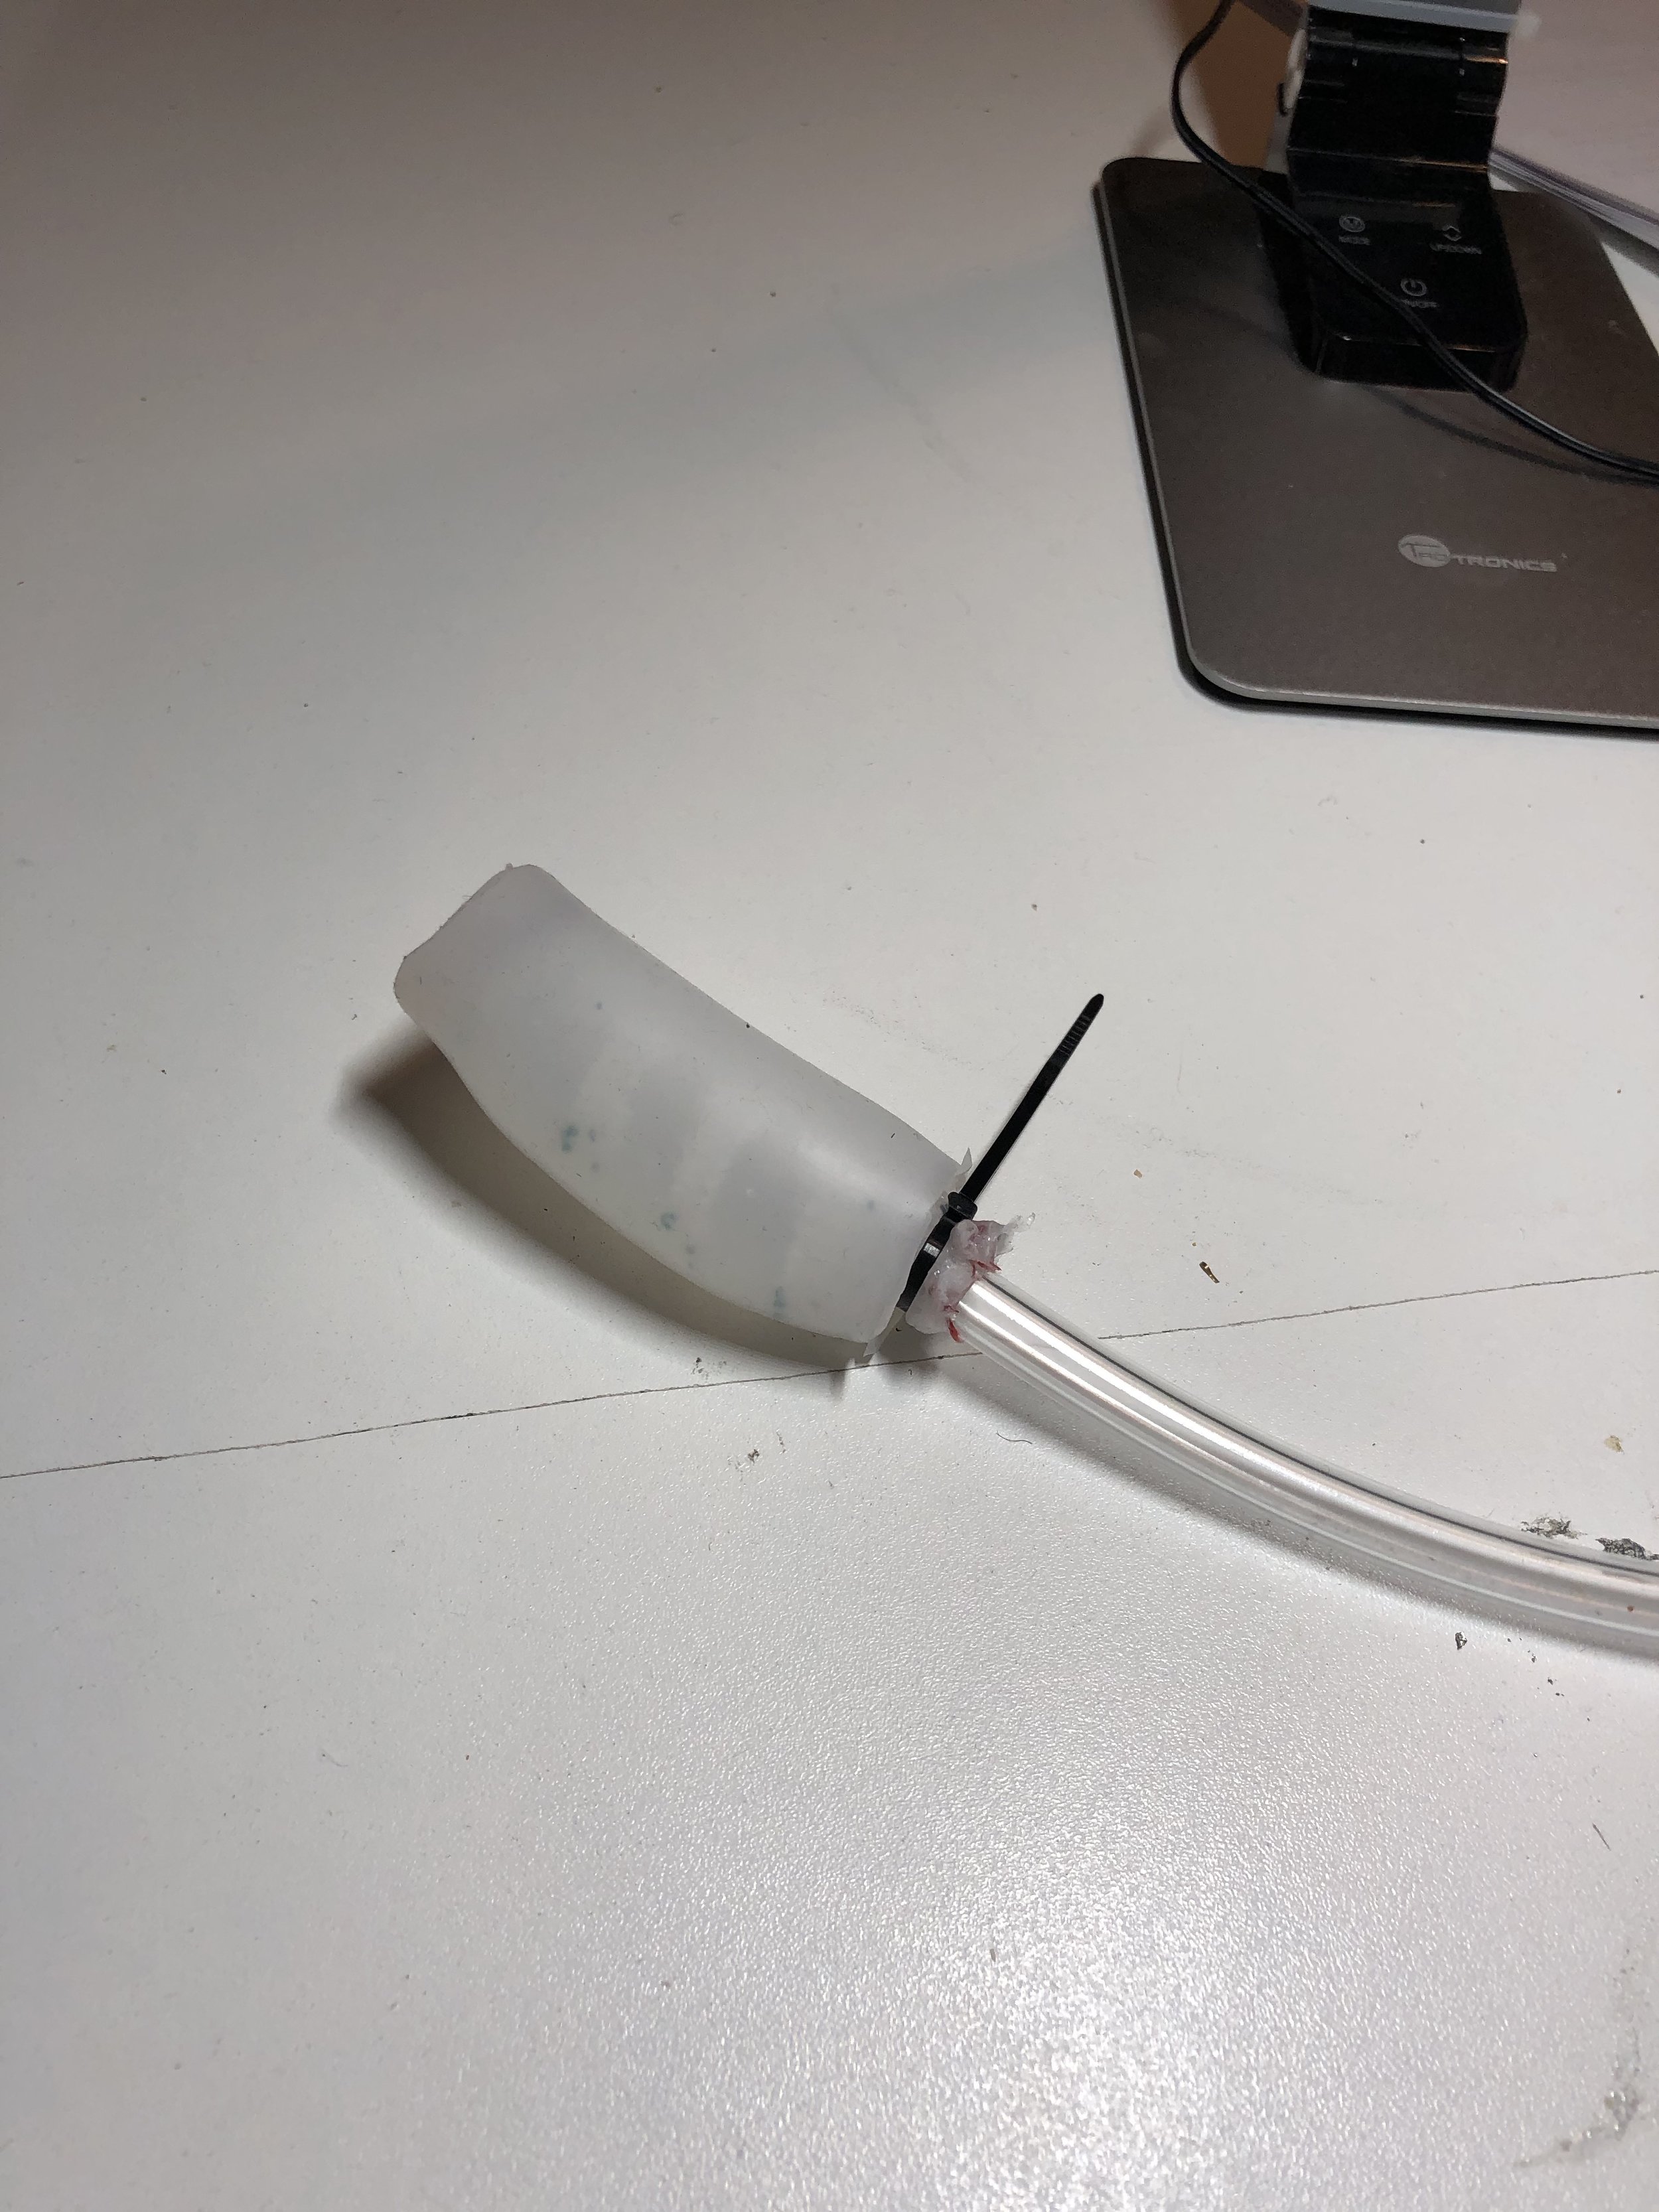
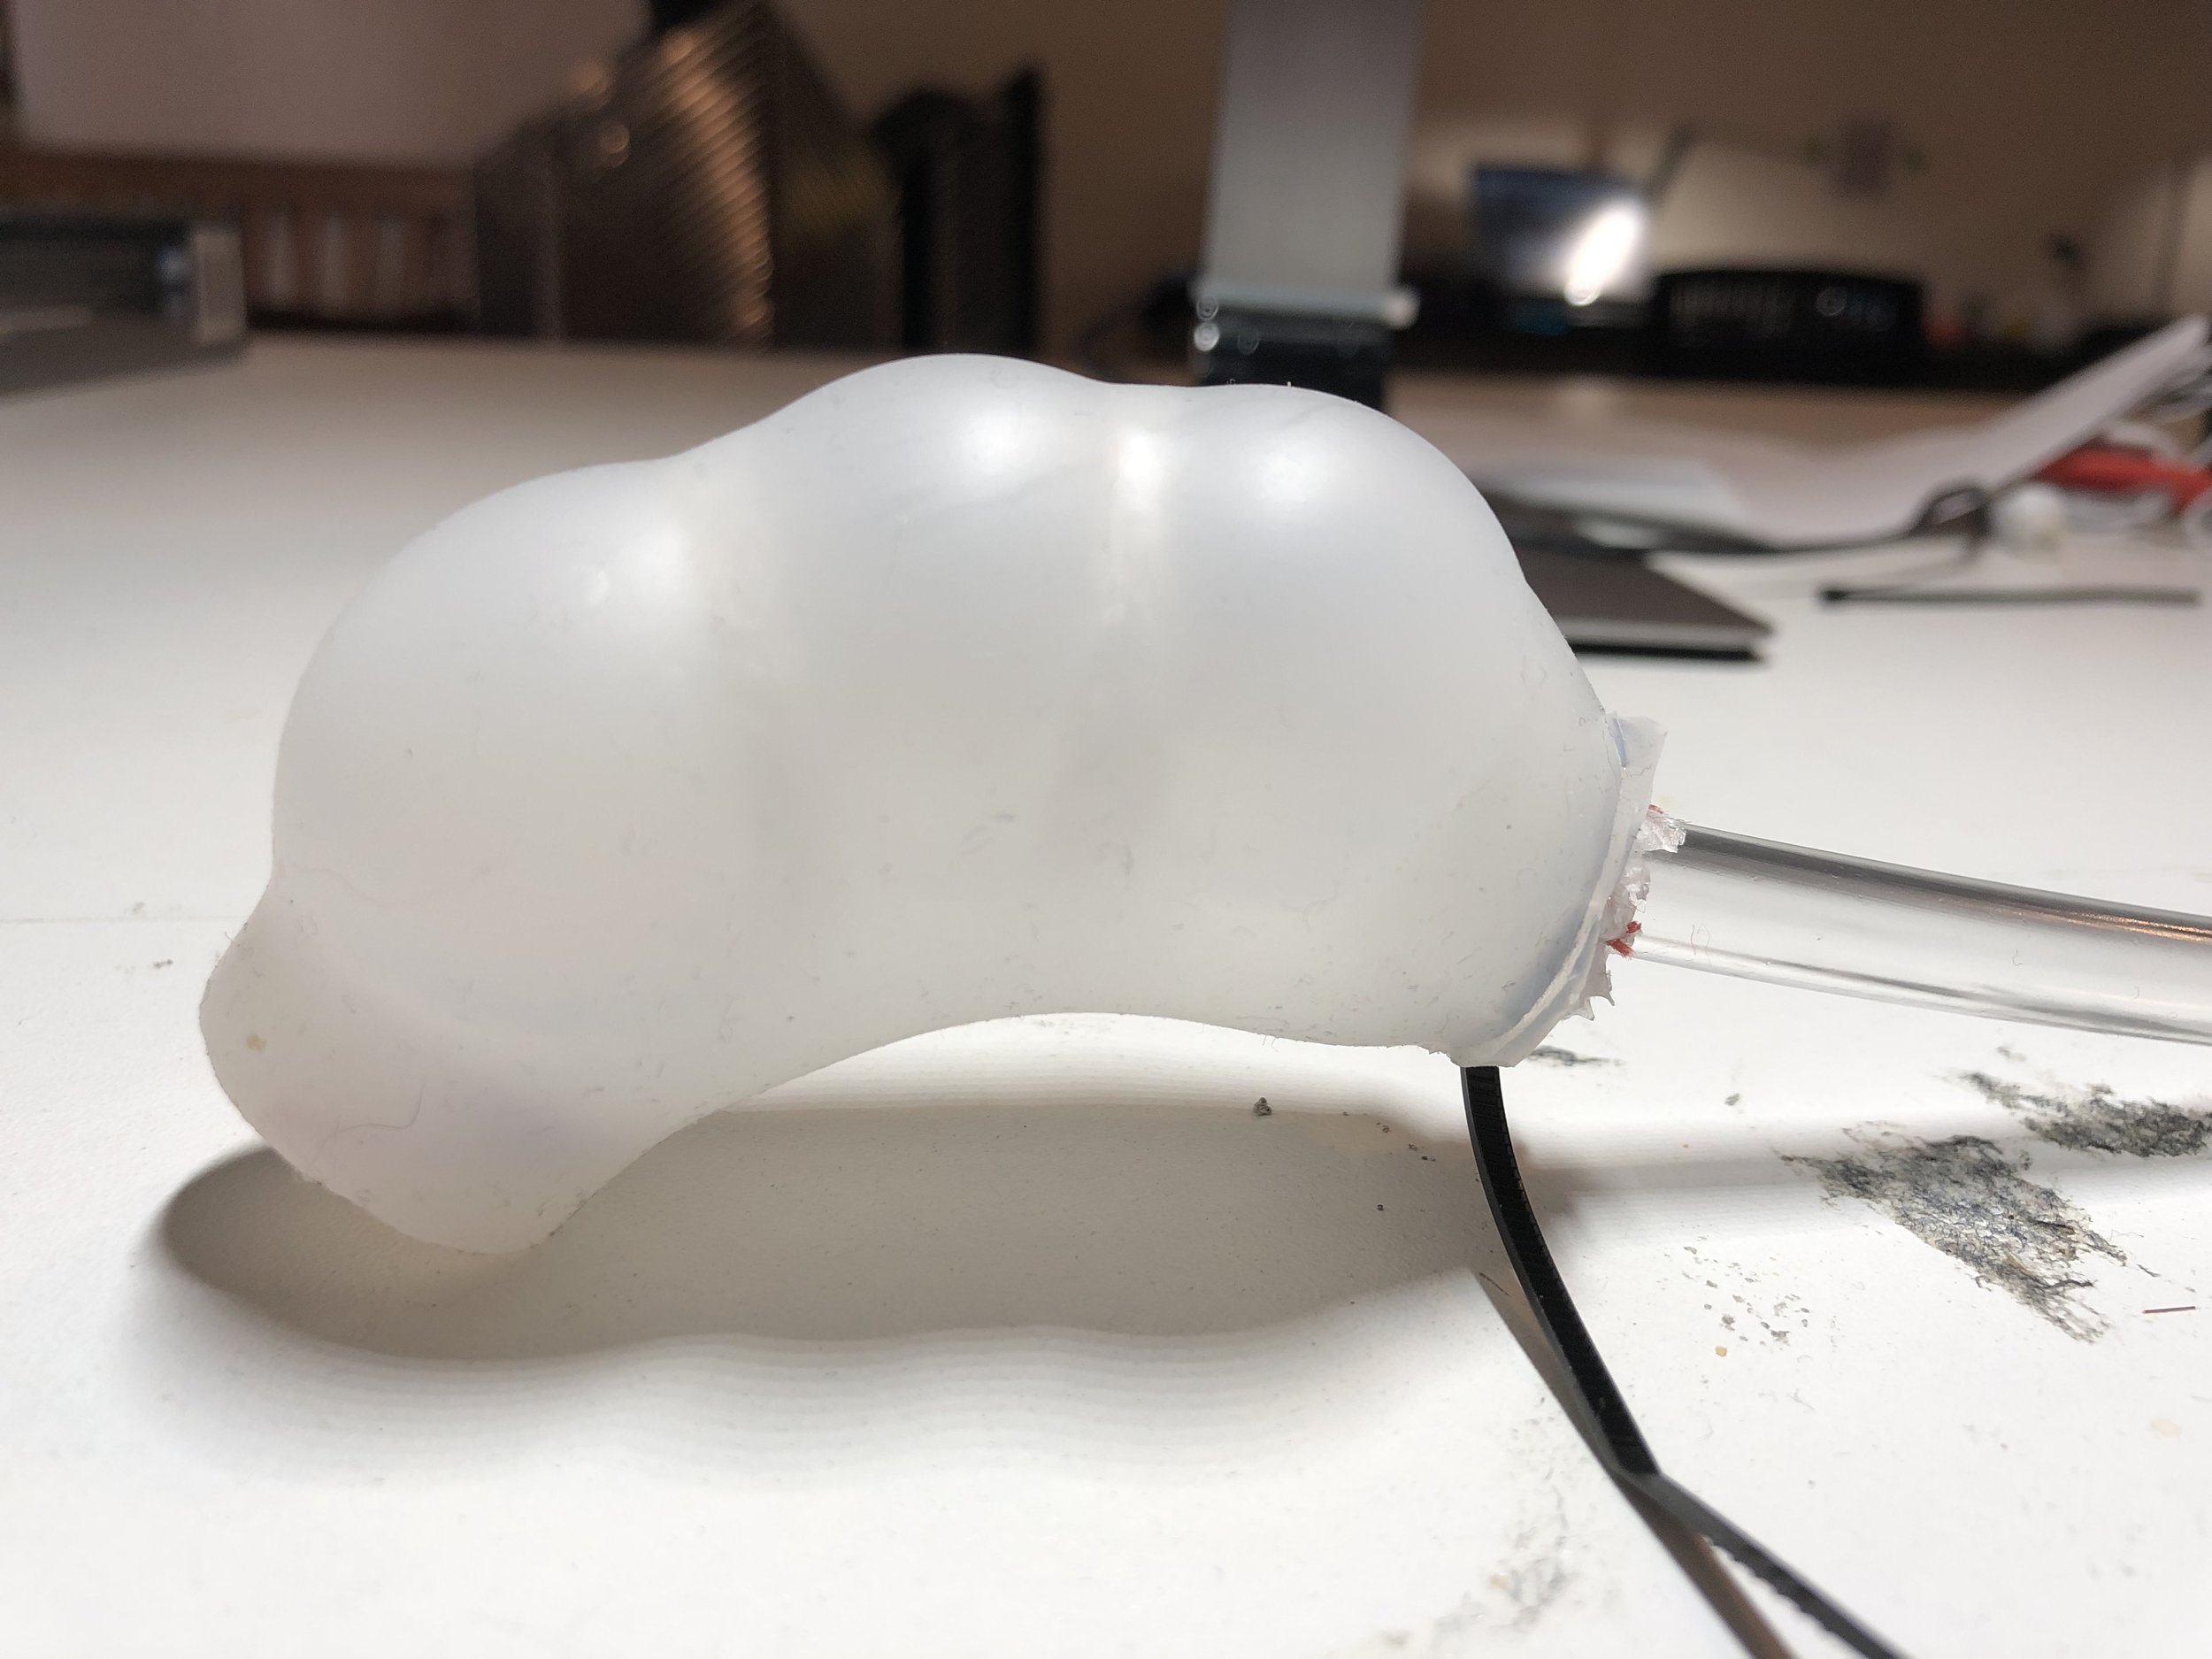
This week I worked with Becca, Gabriella, and Rachel to cast the Bibenda Actuator. First we started out by looking for the pvc pipe but couldn’t find the one mentioned in class, so we improvised and borrowed some from a willing and giving classmate (Nick). Once we had our materials in order, we followed the instructions and were able to create our outer mold. Rachel glued it in place, and I added hot glue around the seams to ensure that a leakage test was performed before mixing and putting in the silicon.
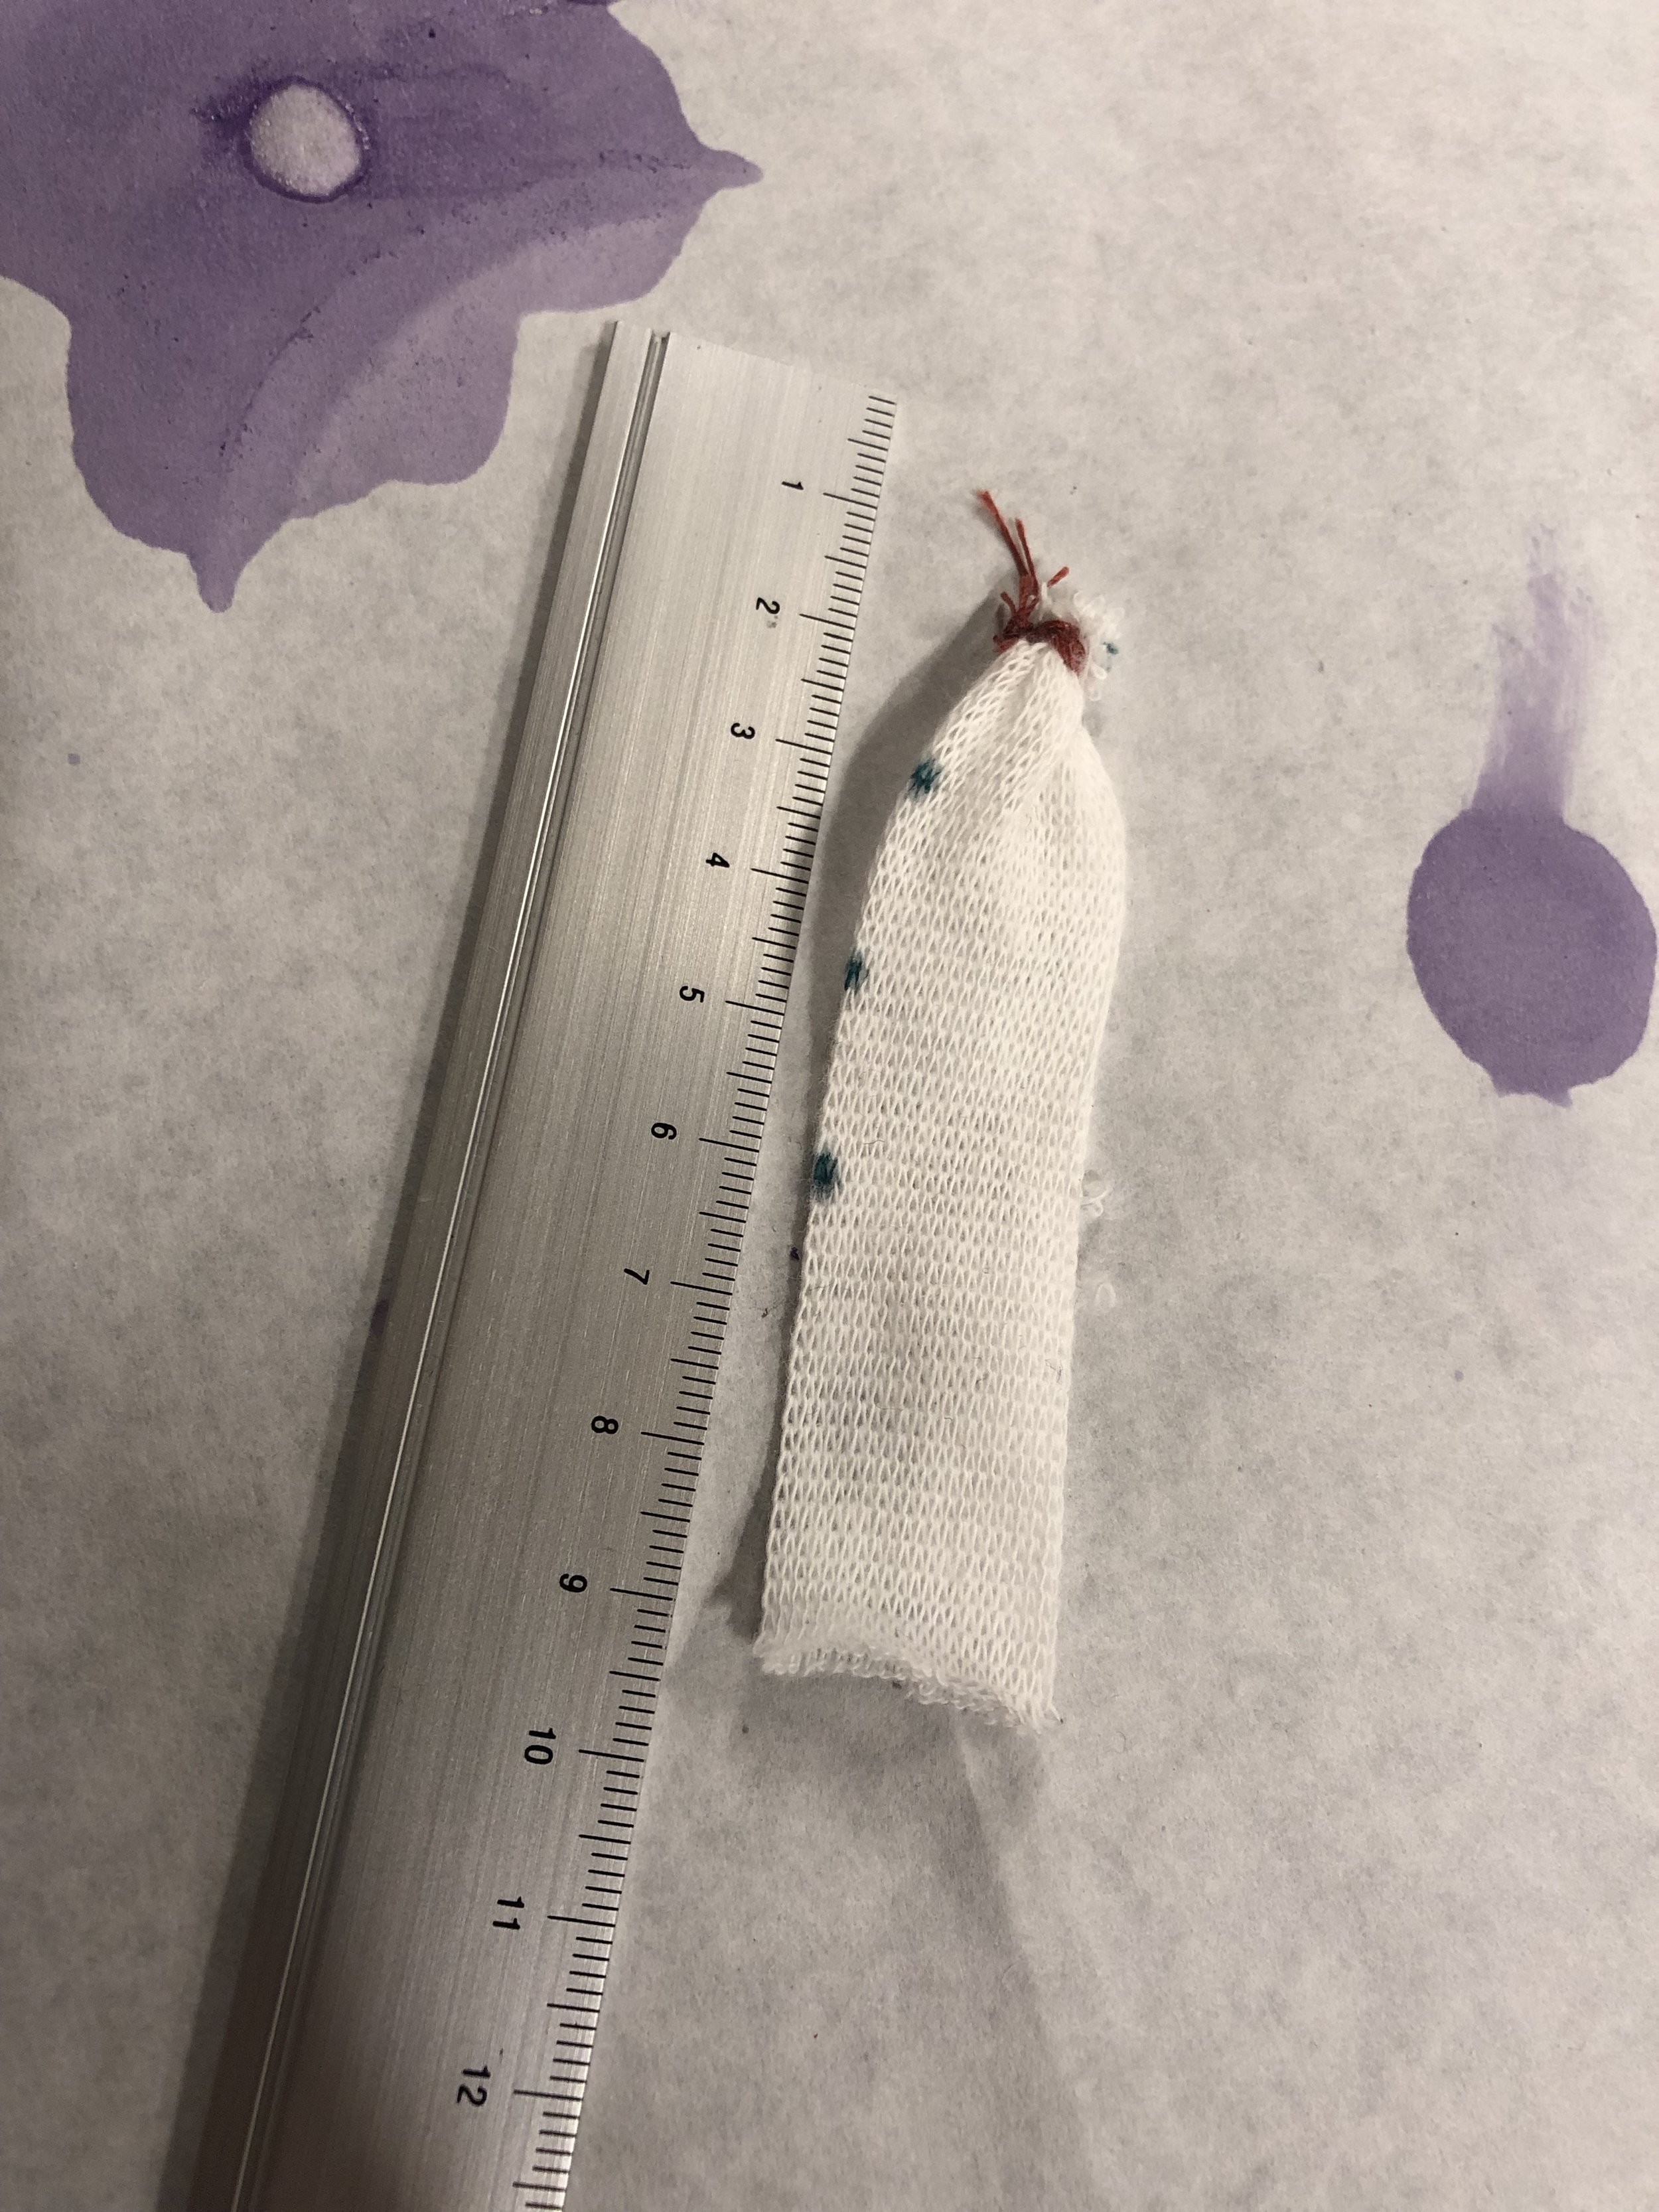
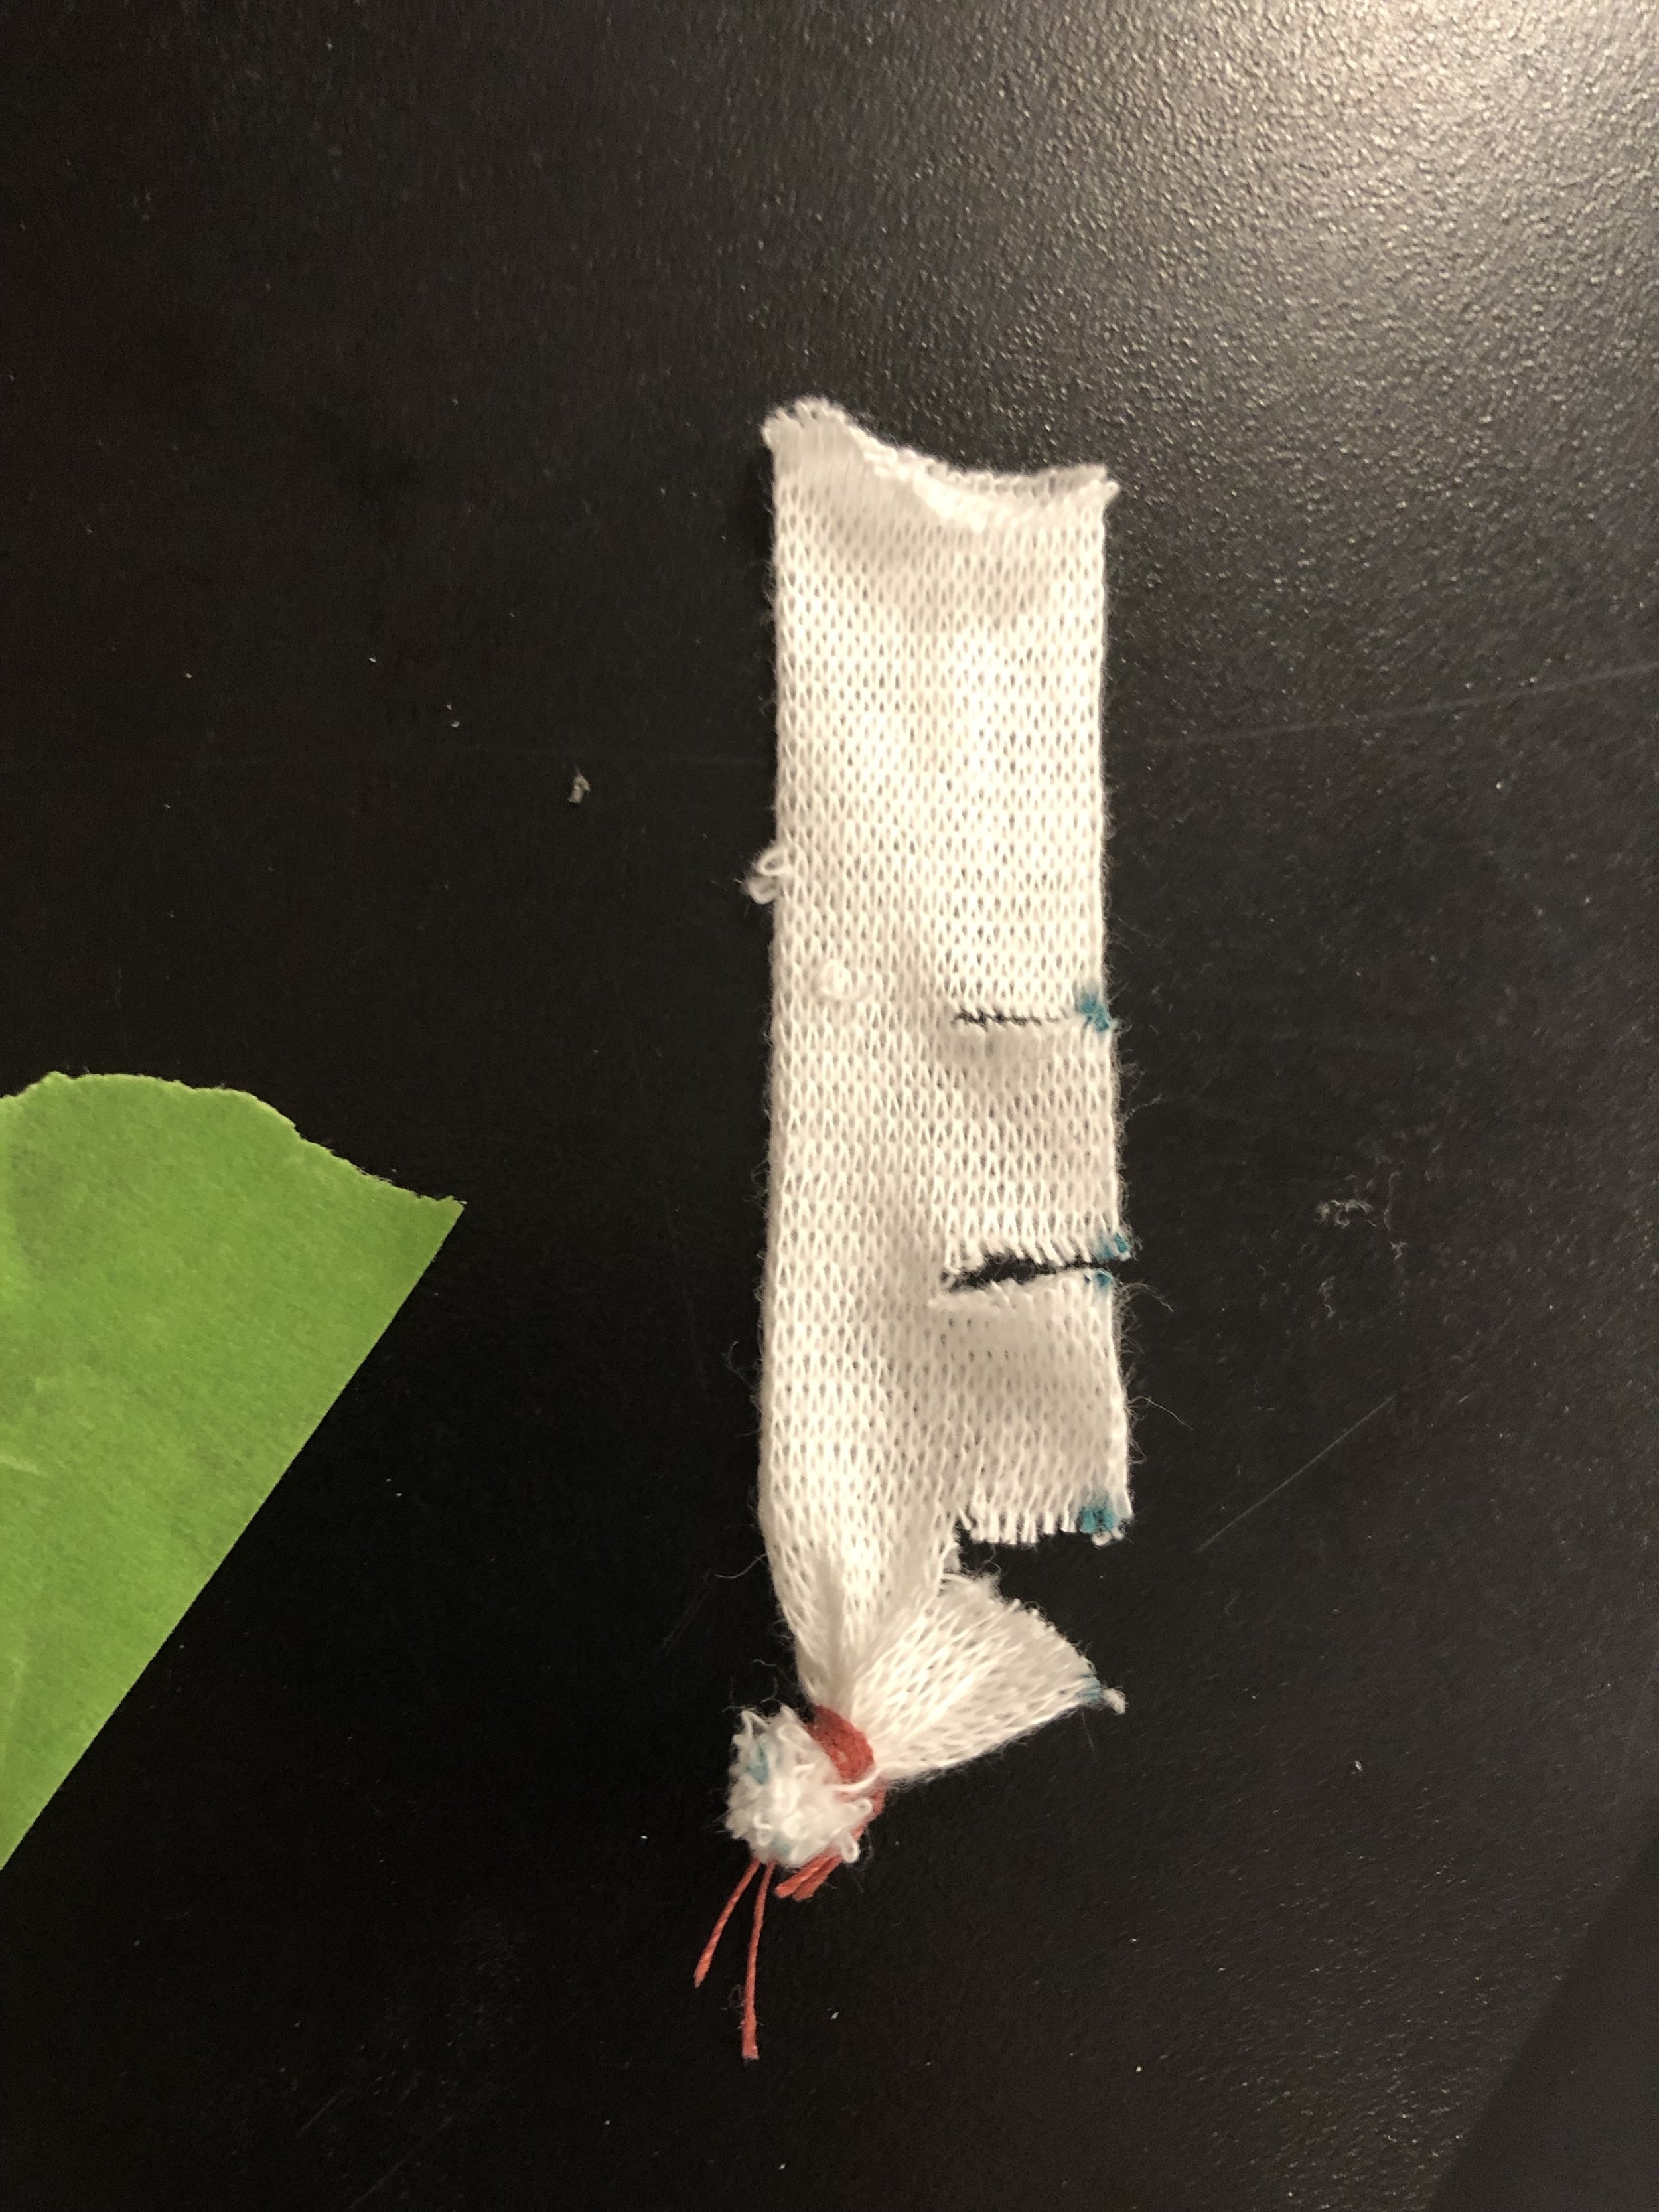
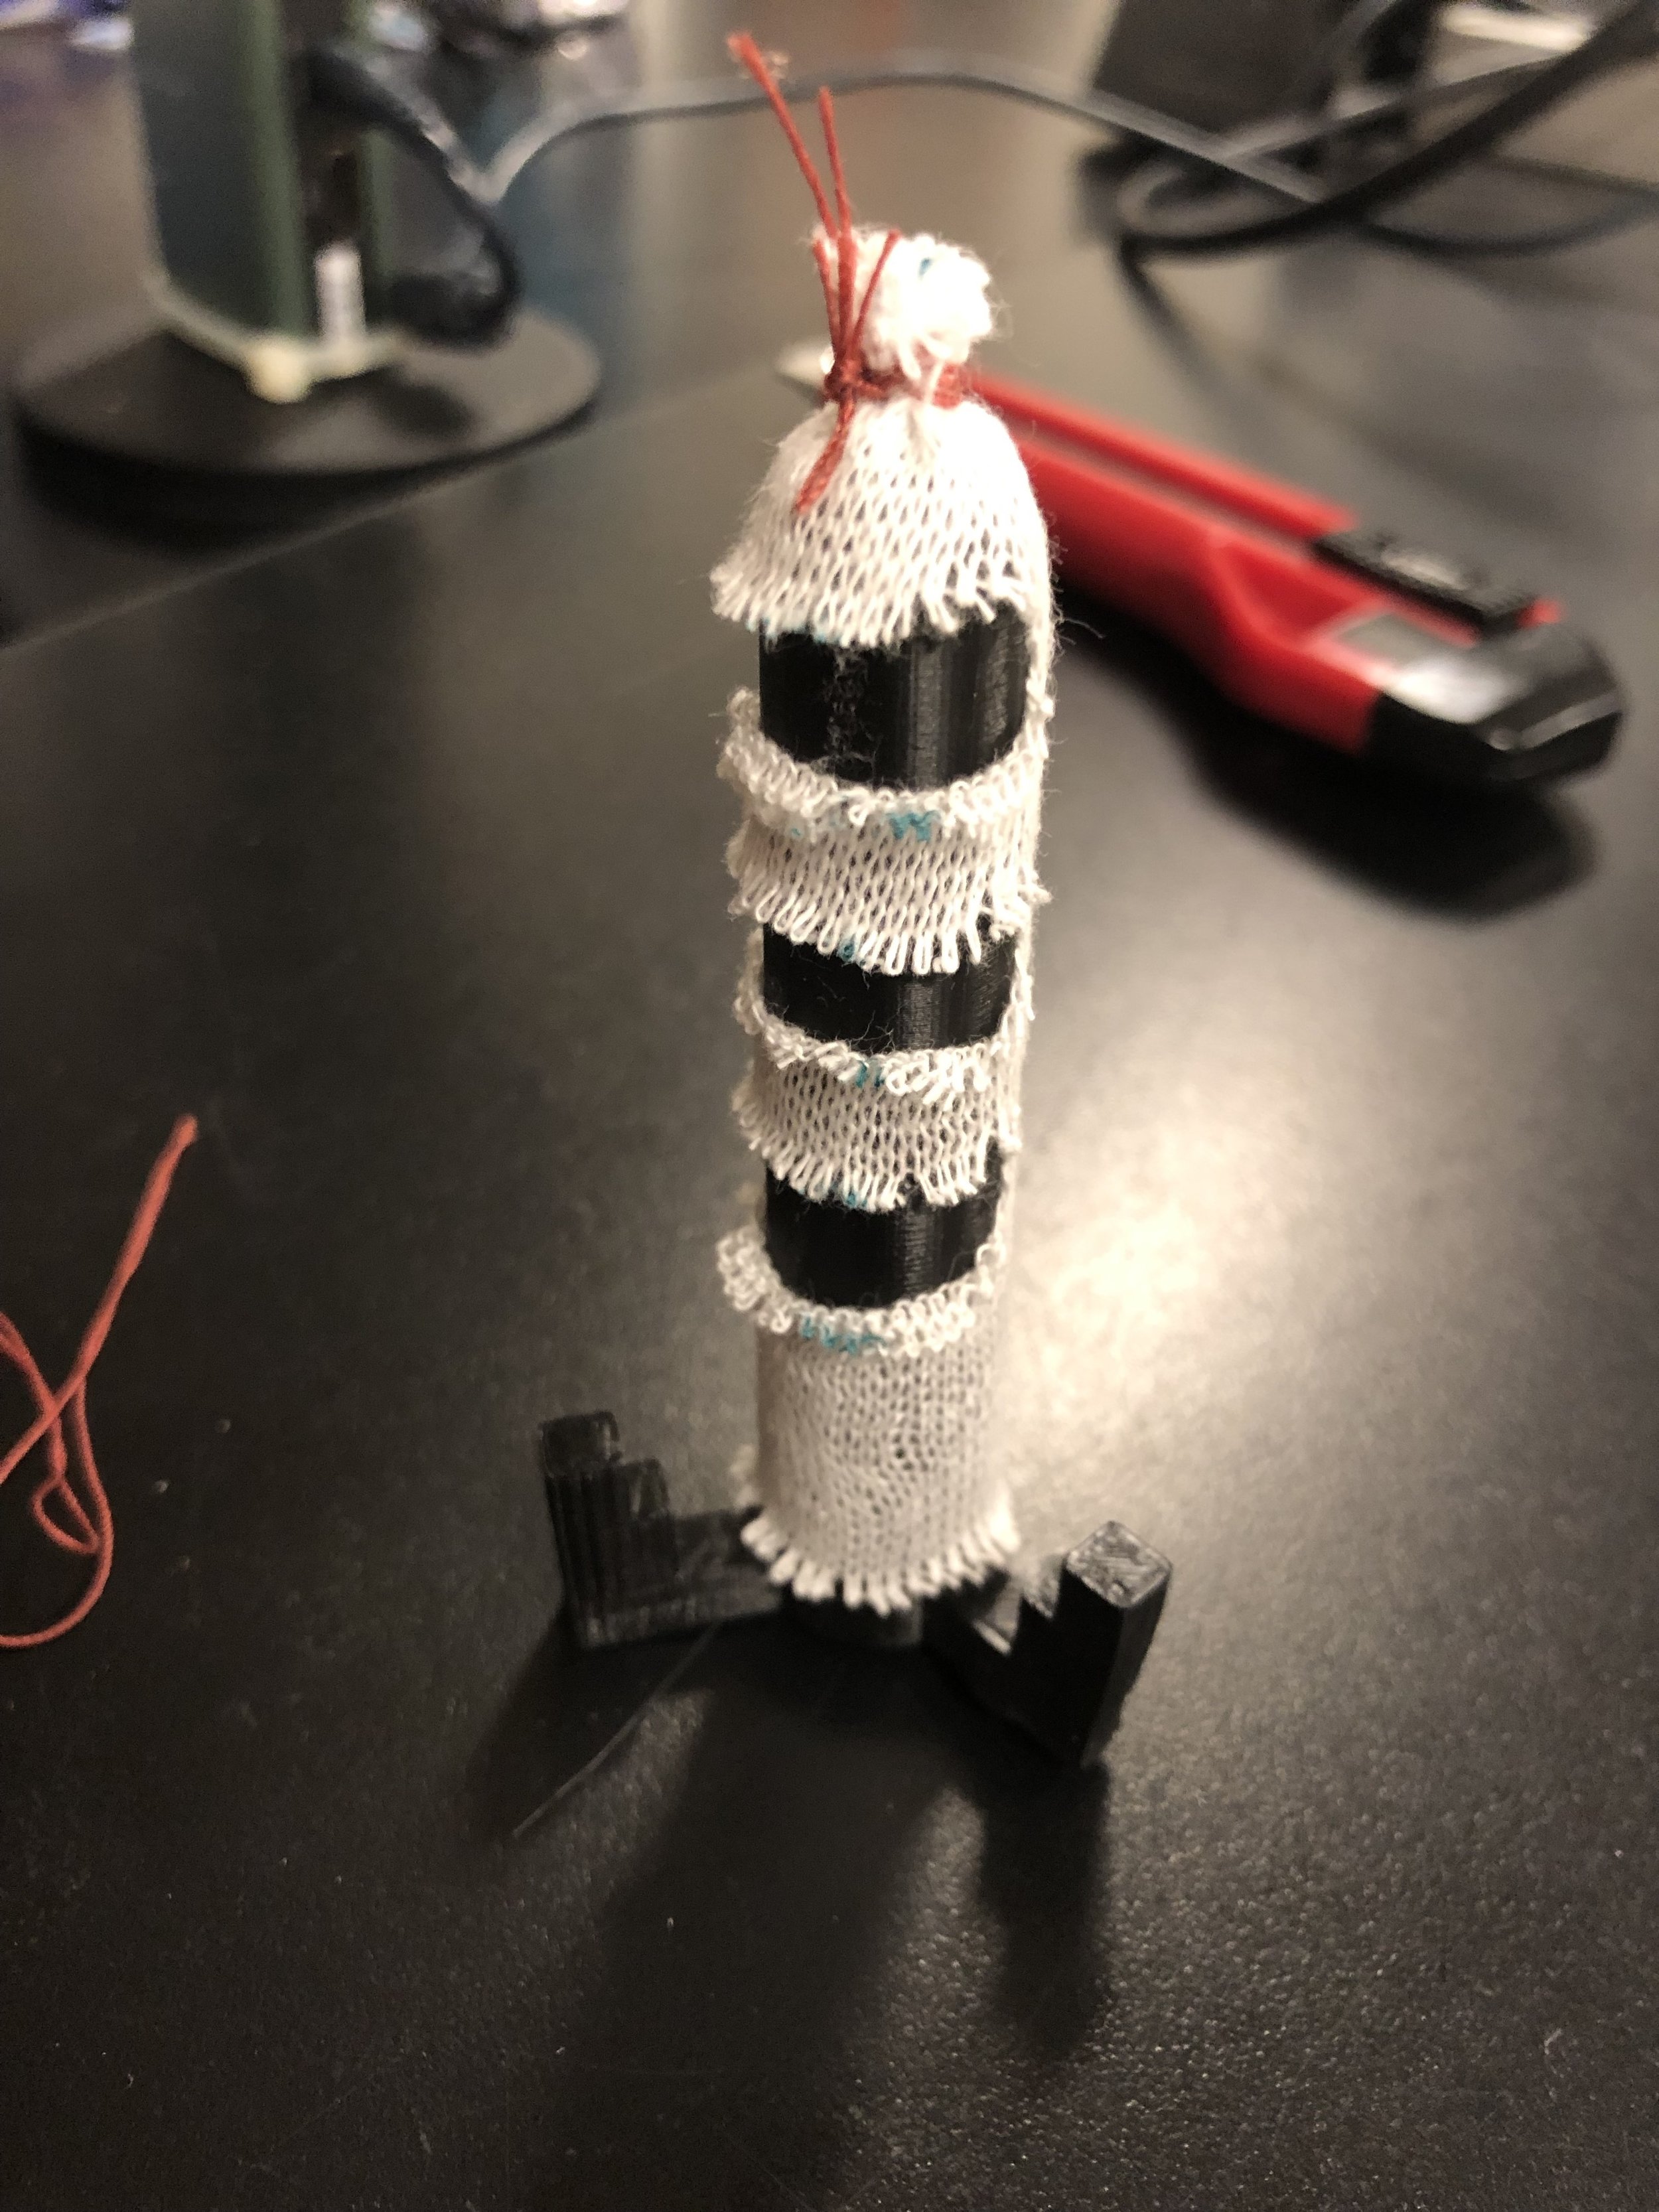
We used one of the 3D printed inner core molds that was provided and began to cut the medical gauze for the inner mold. We had no trouble sewing but we may have cut a bit short on the first 15 mm because later on in the experiment, we had some troubles with it fully staying on the core part.
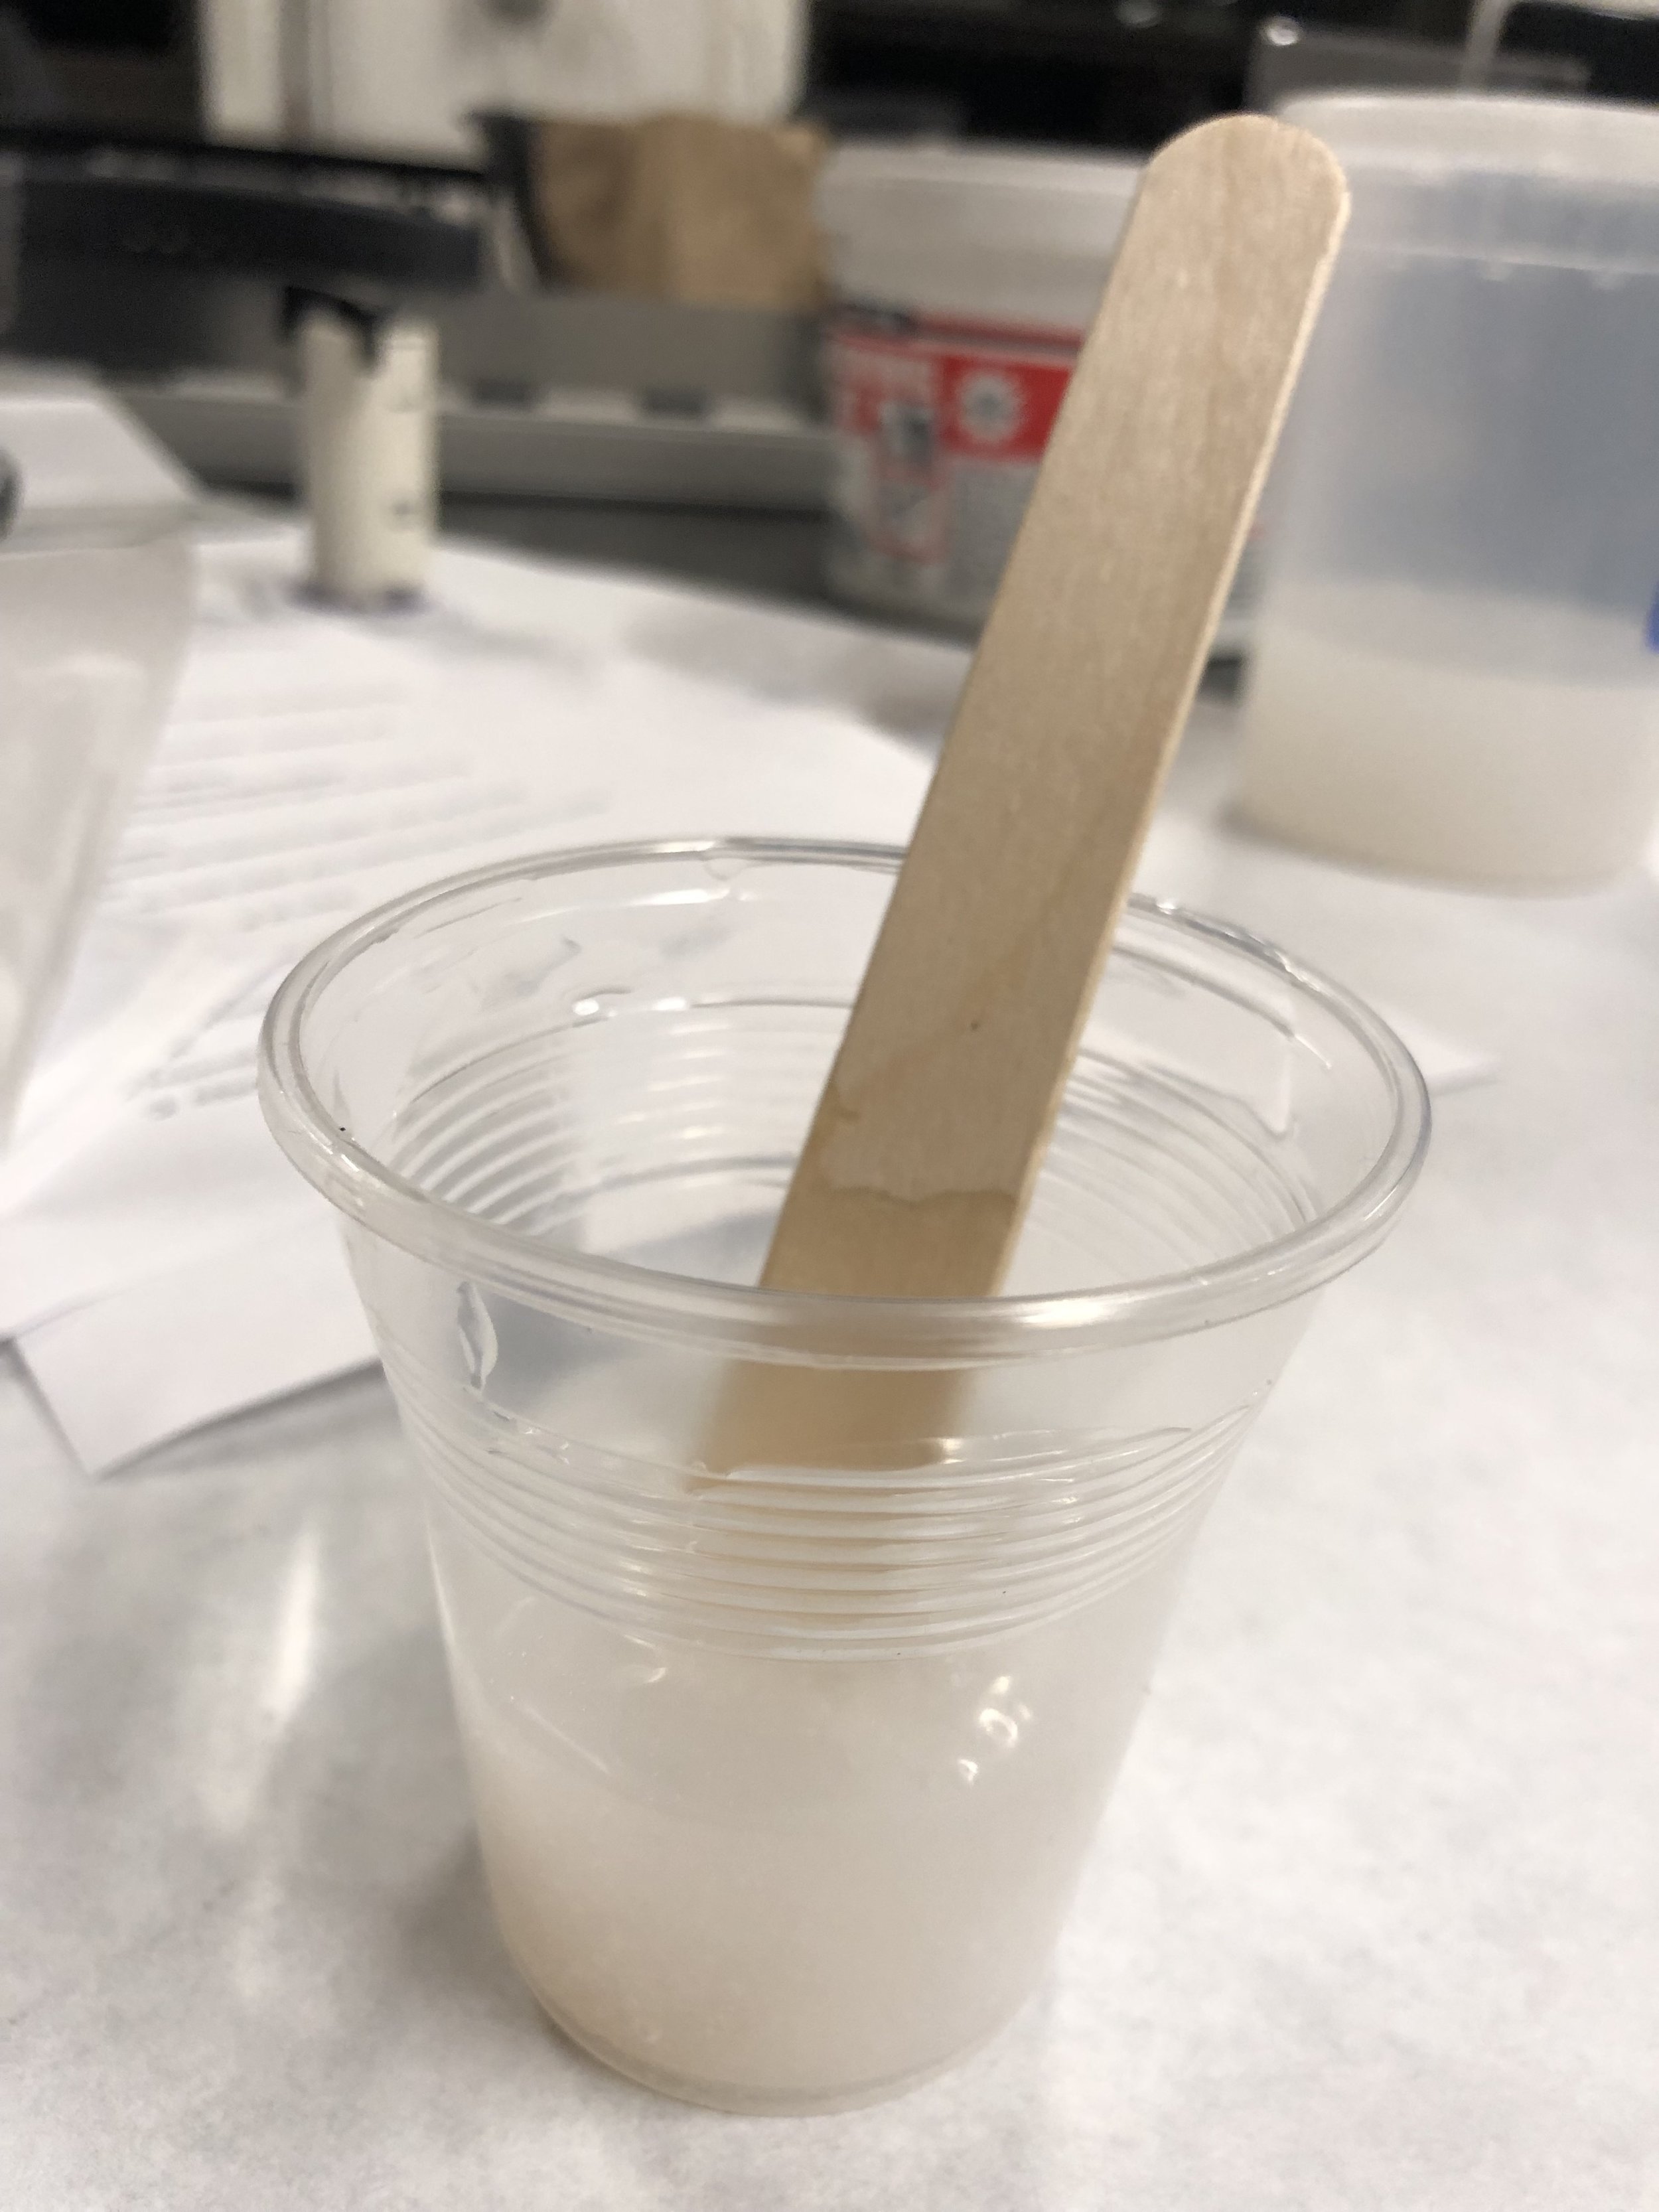
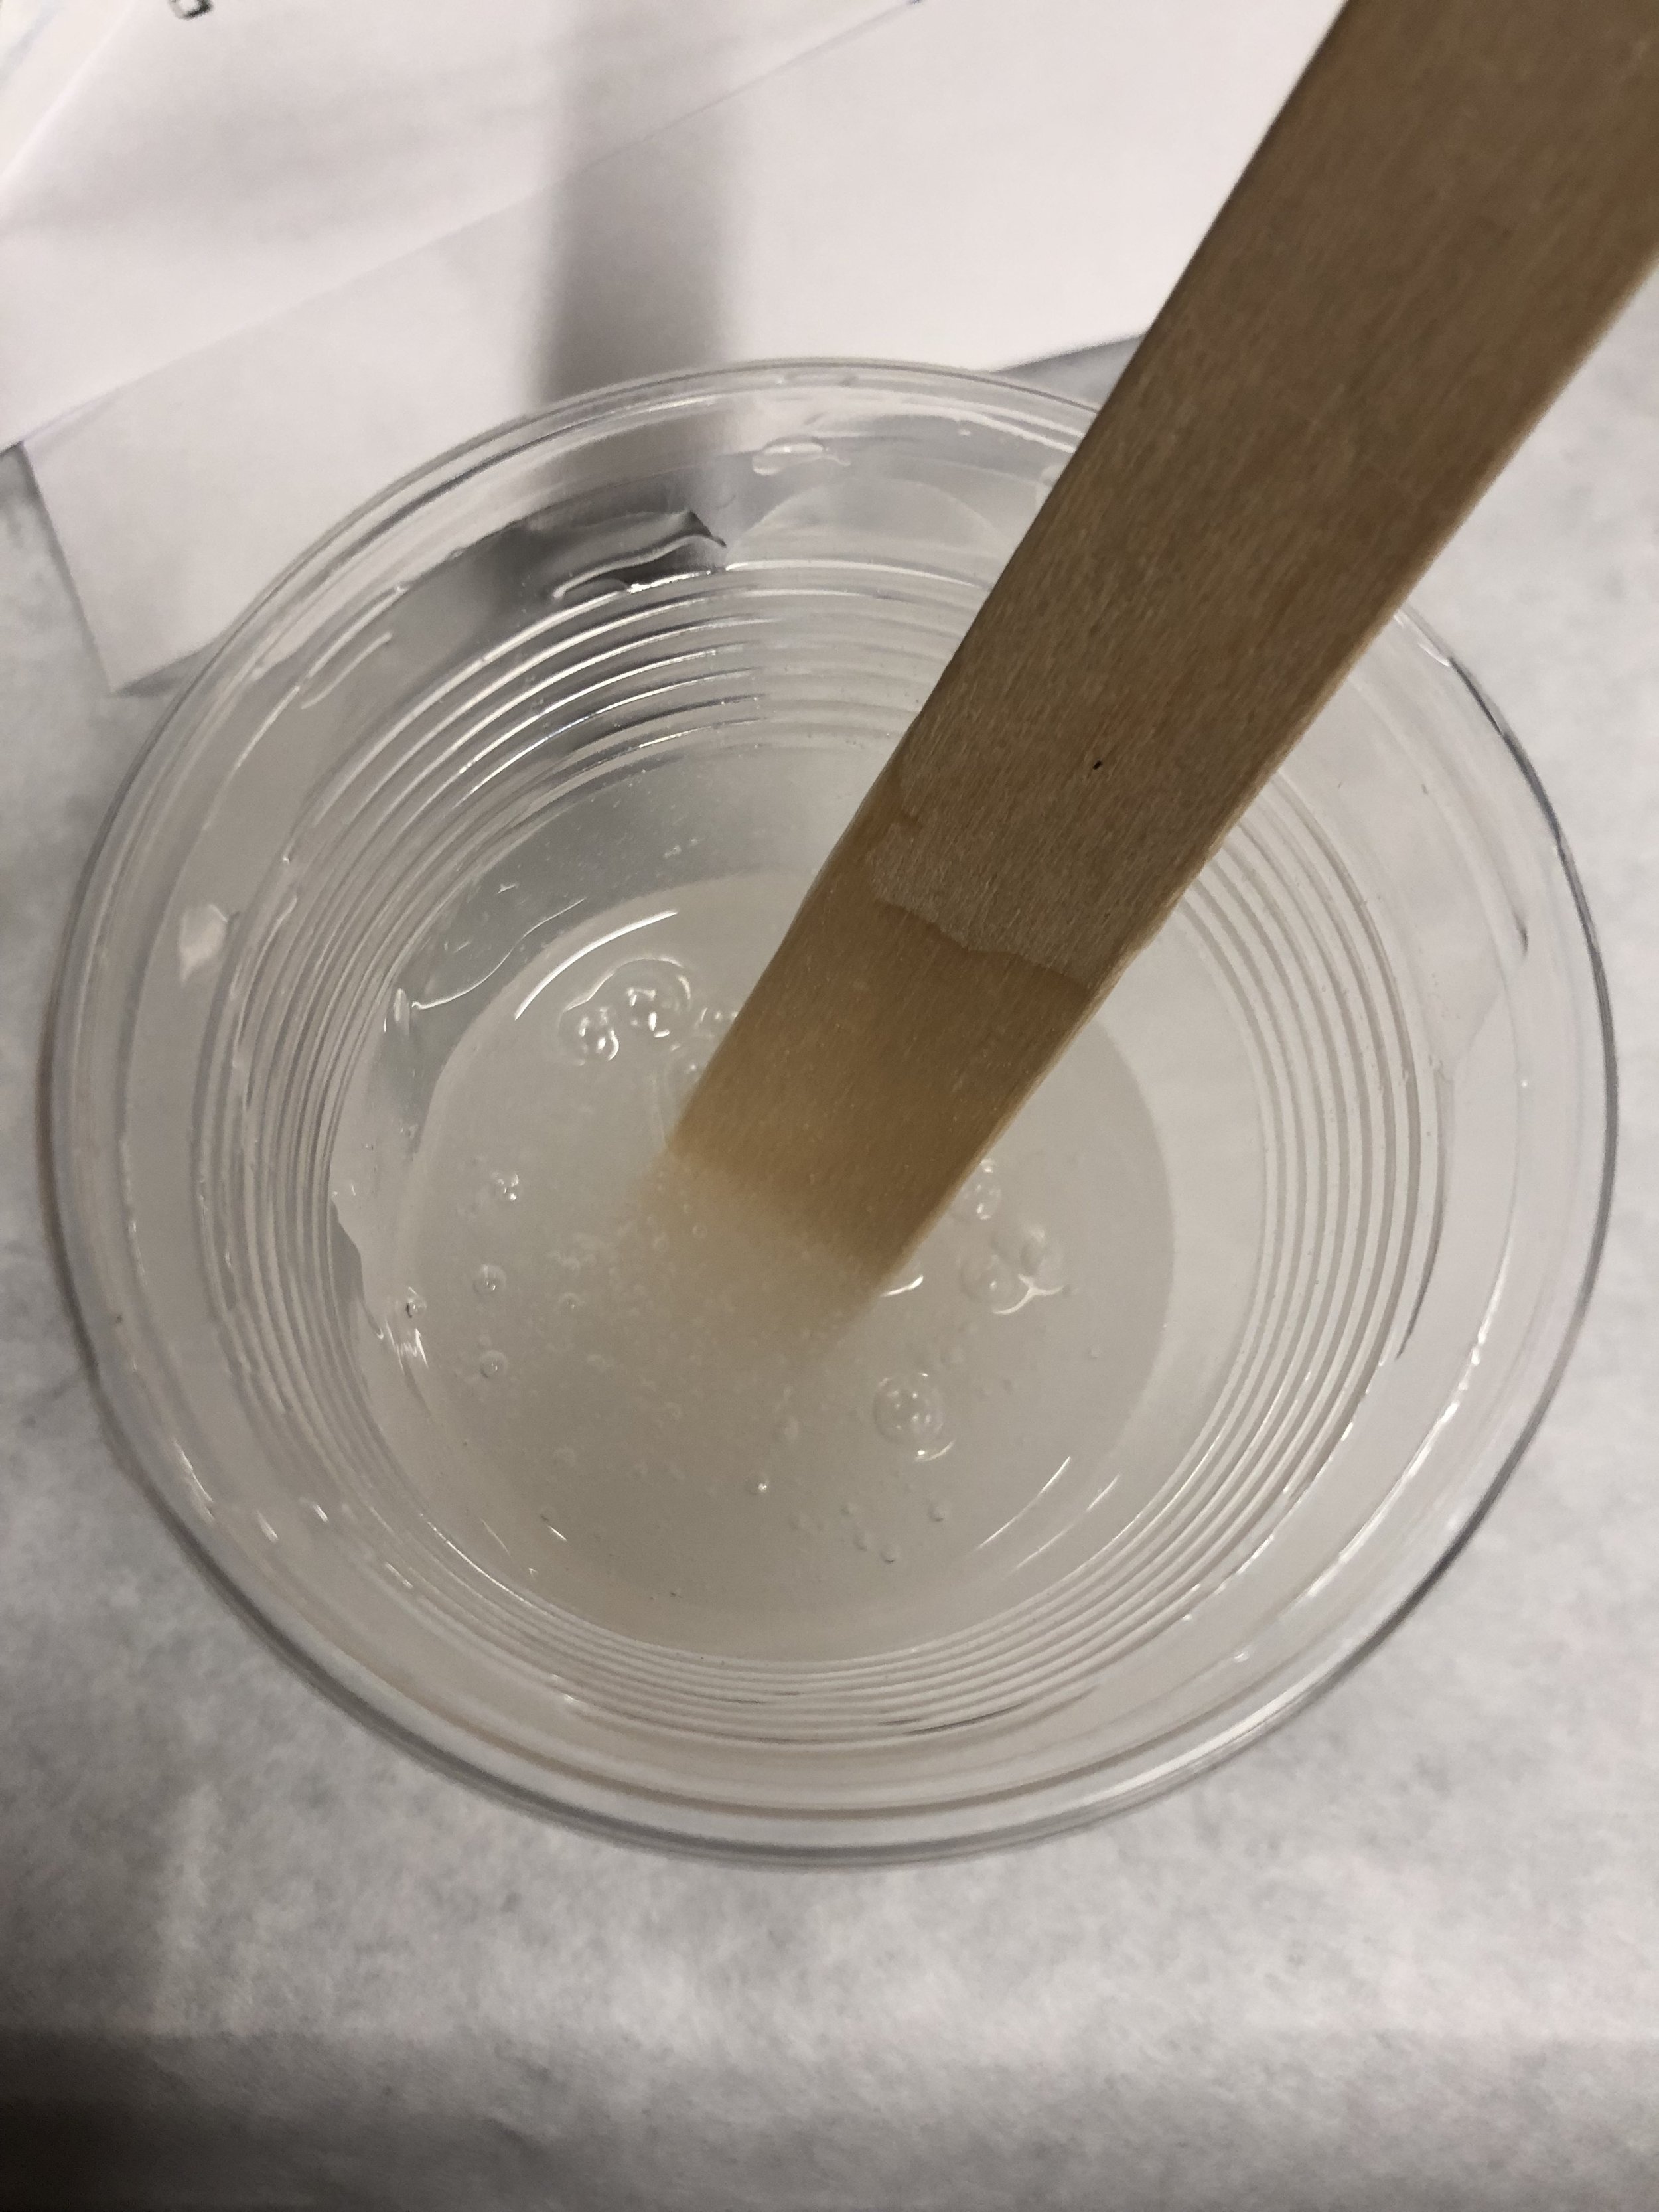
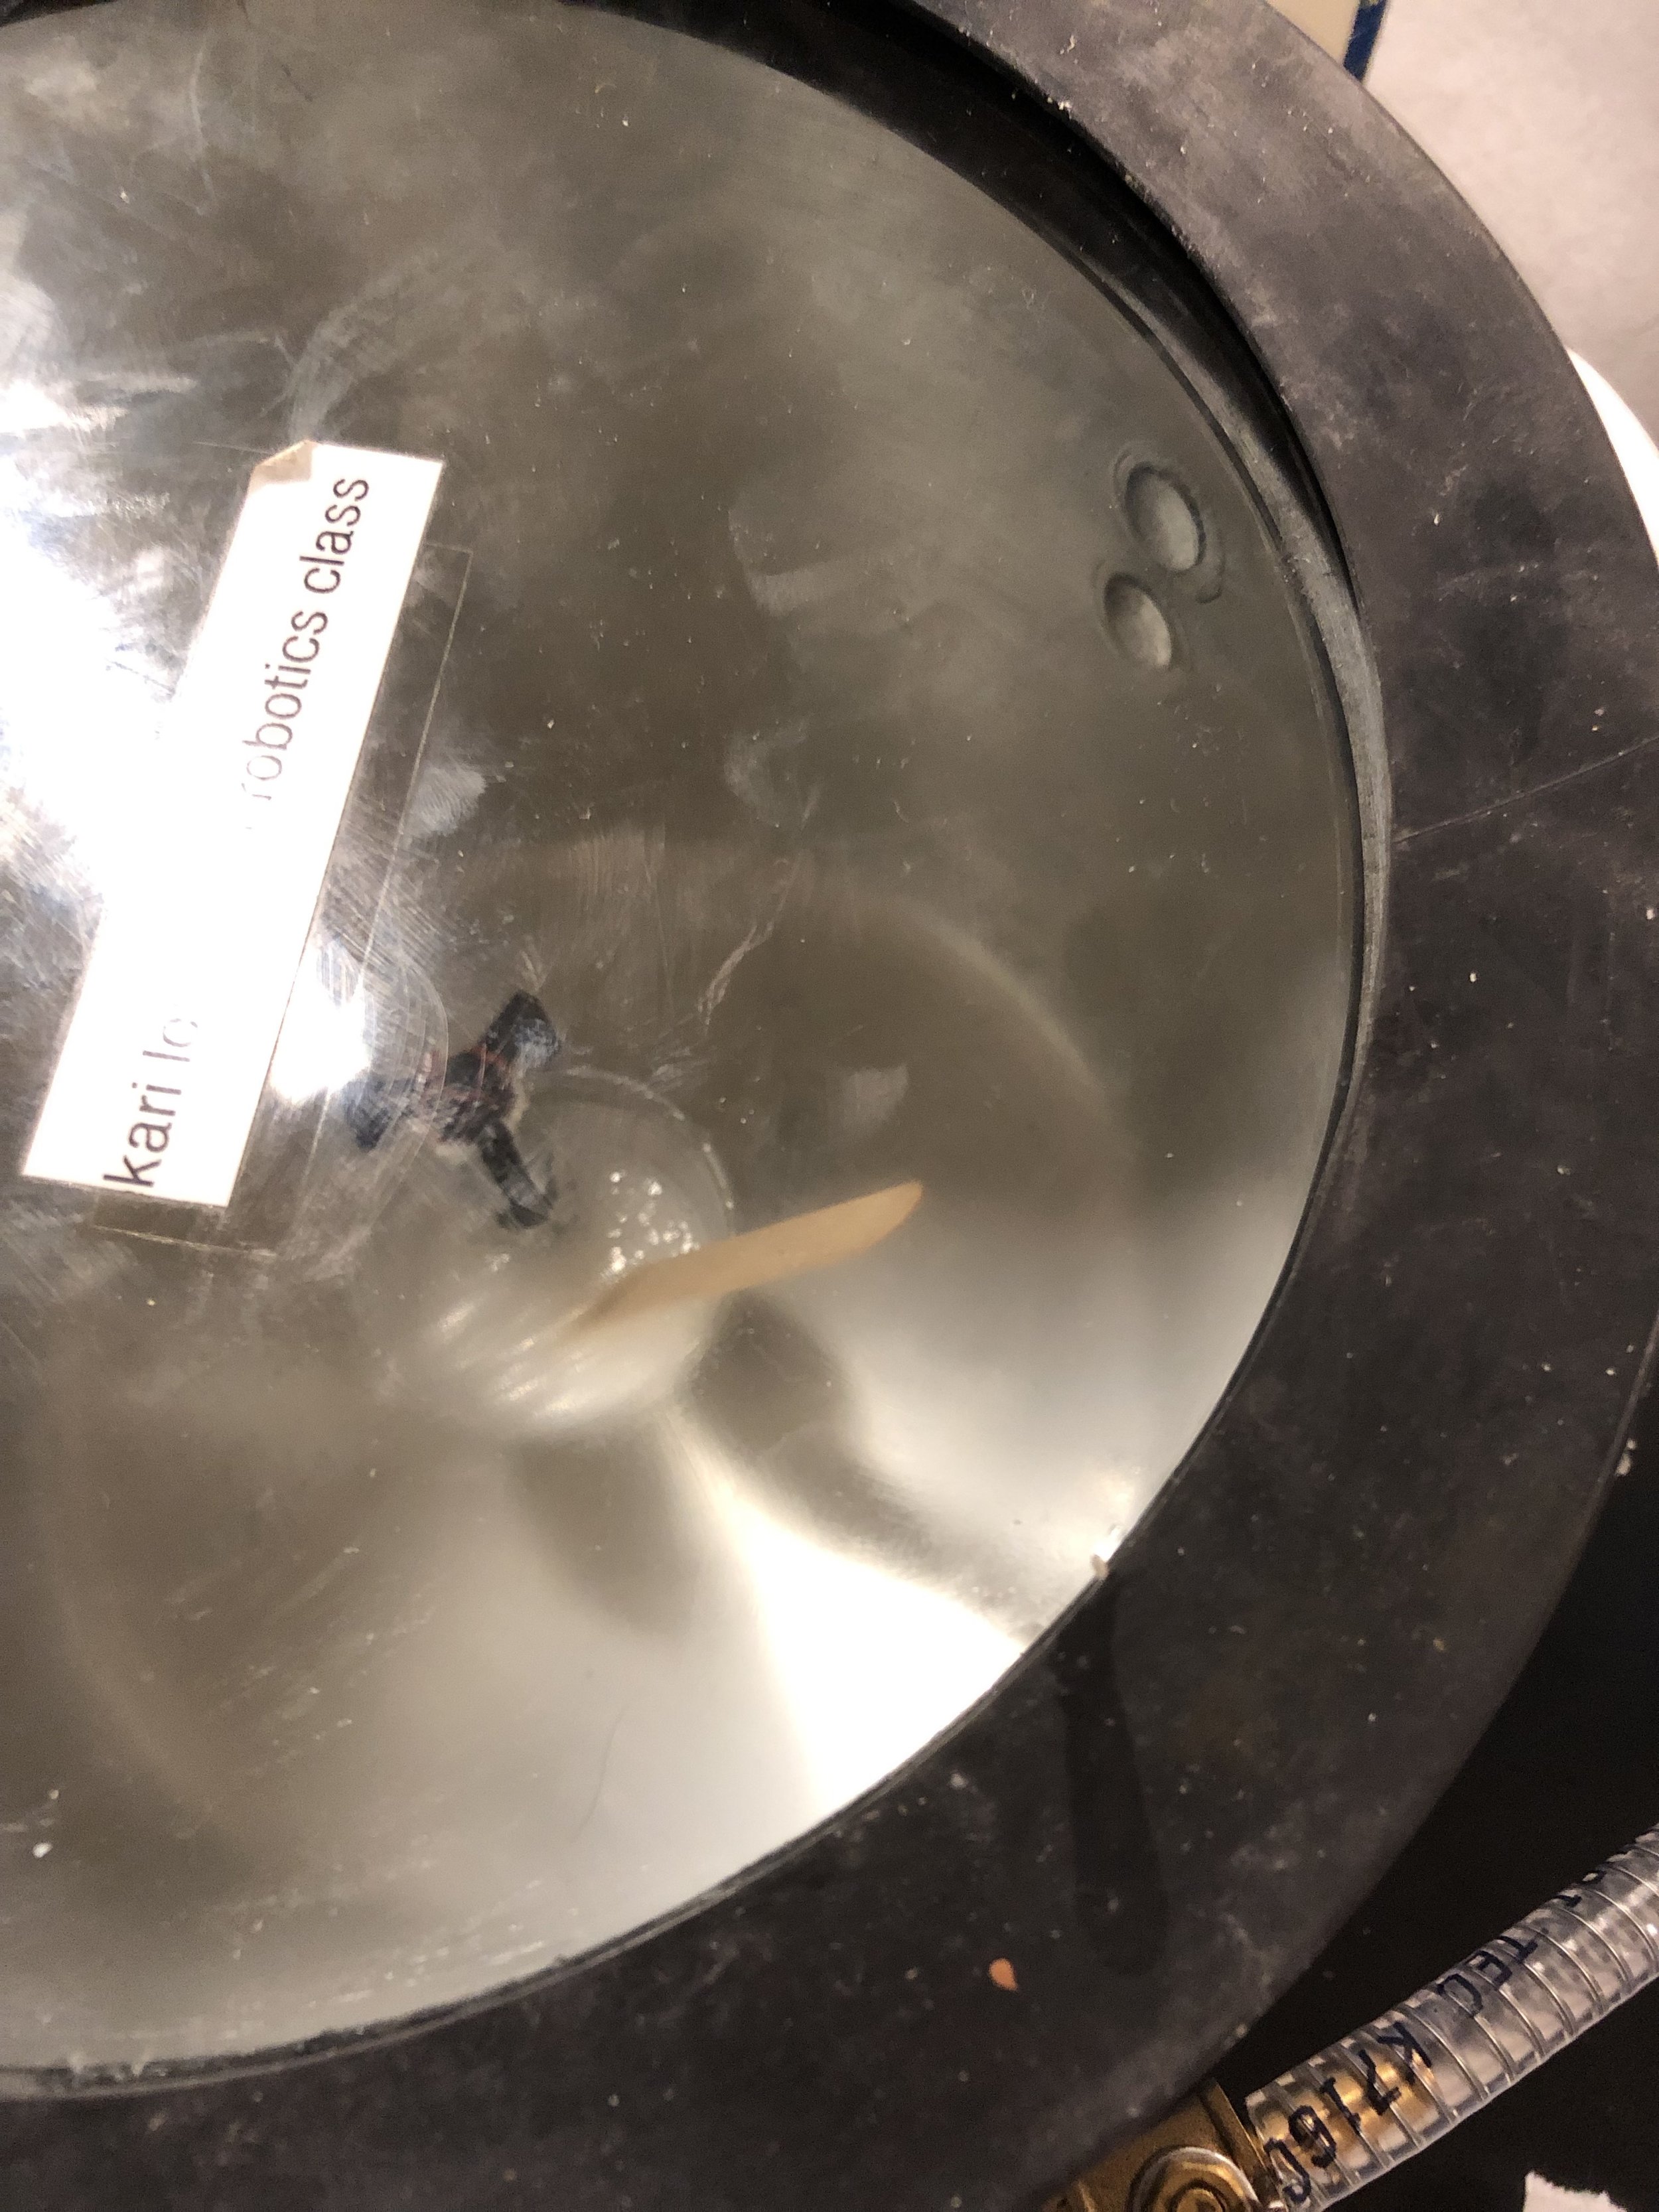
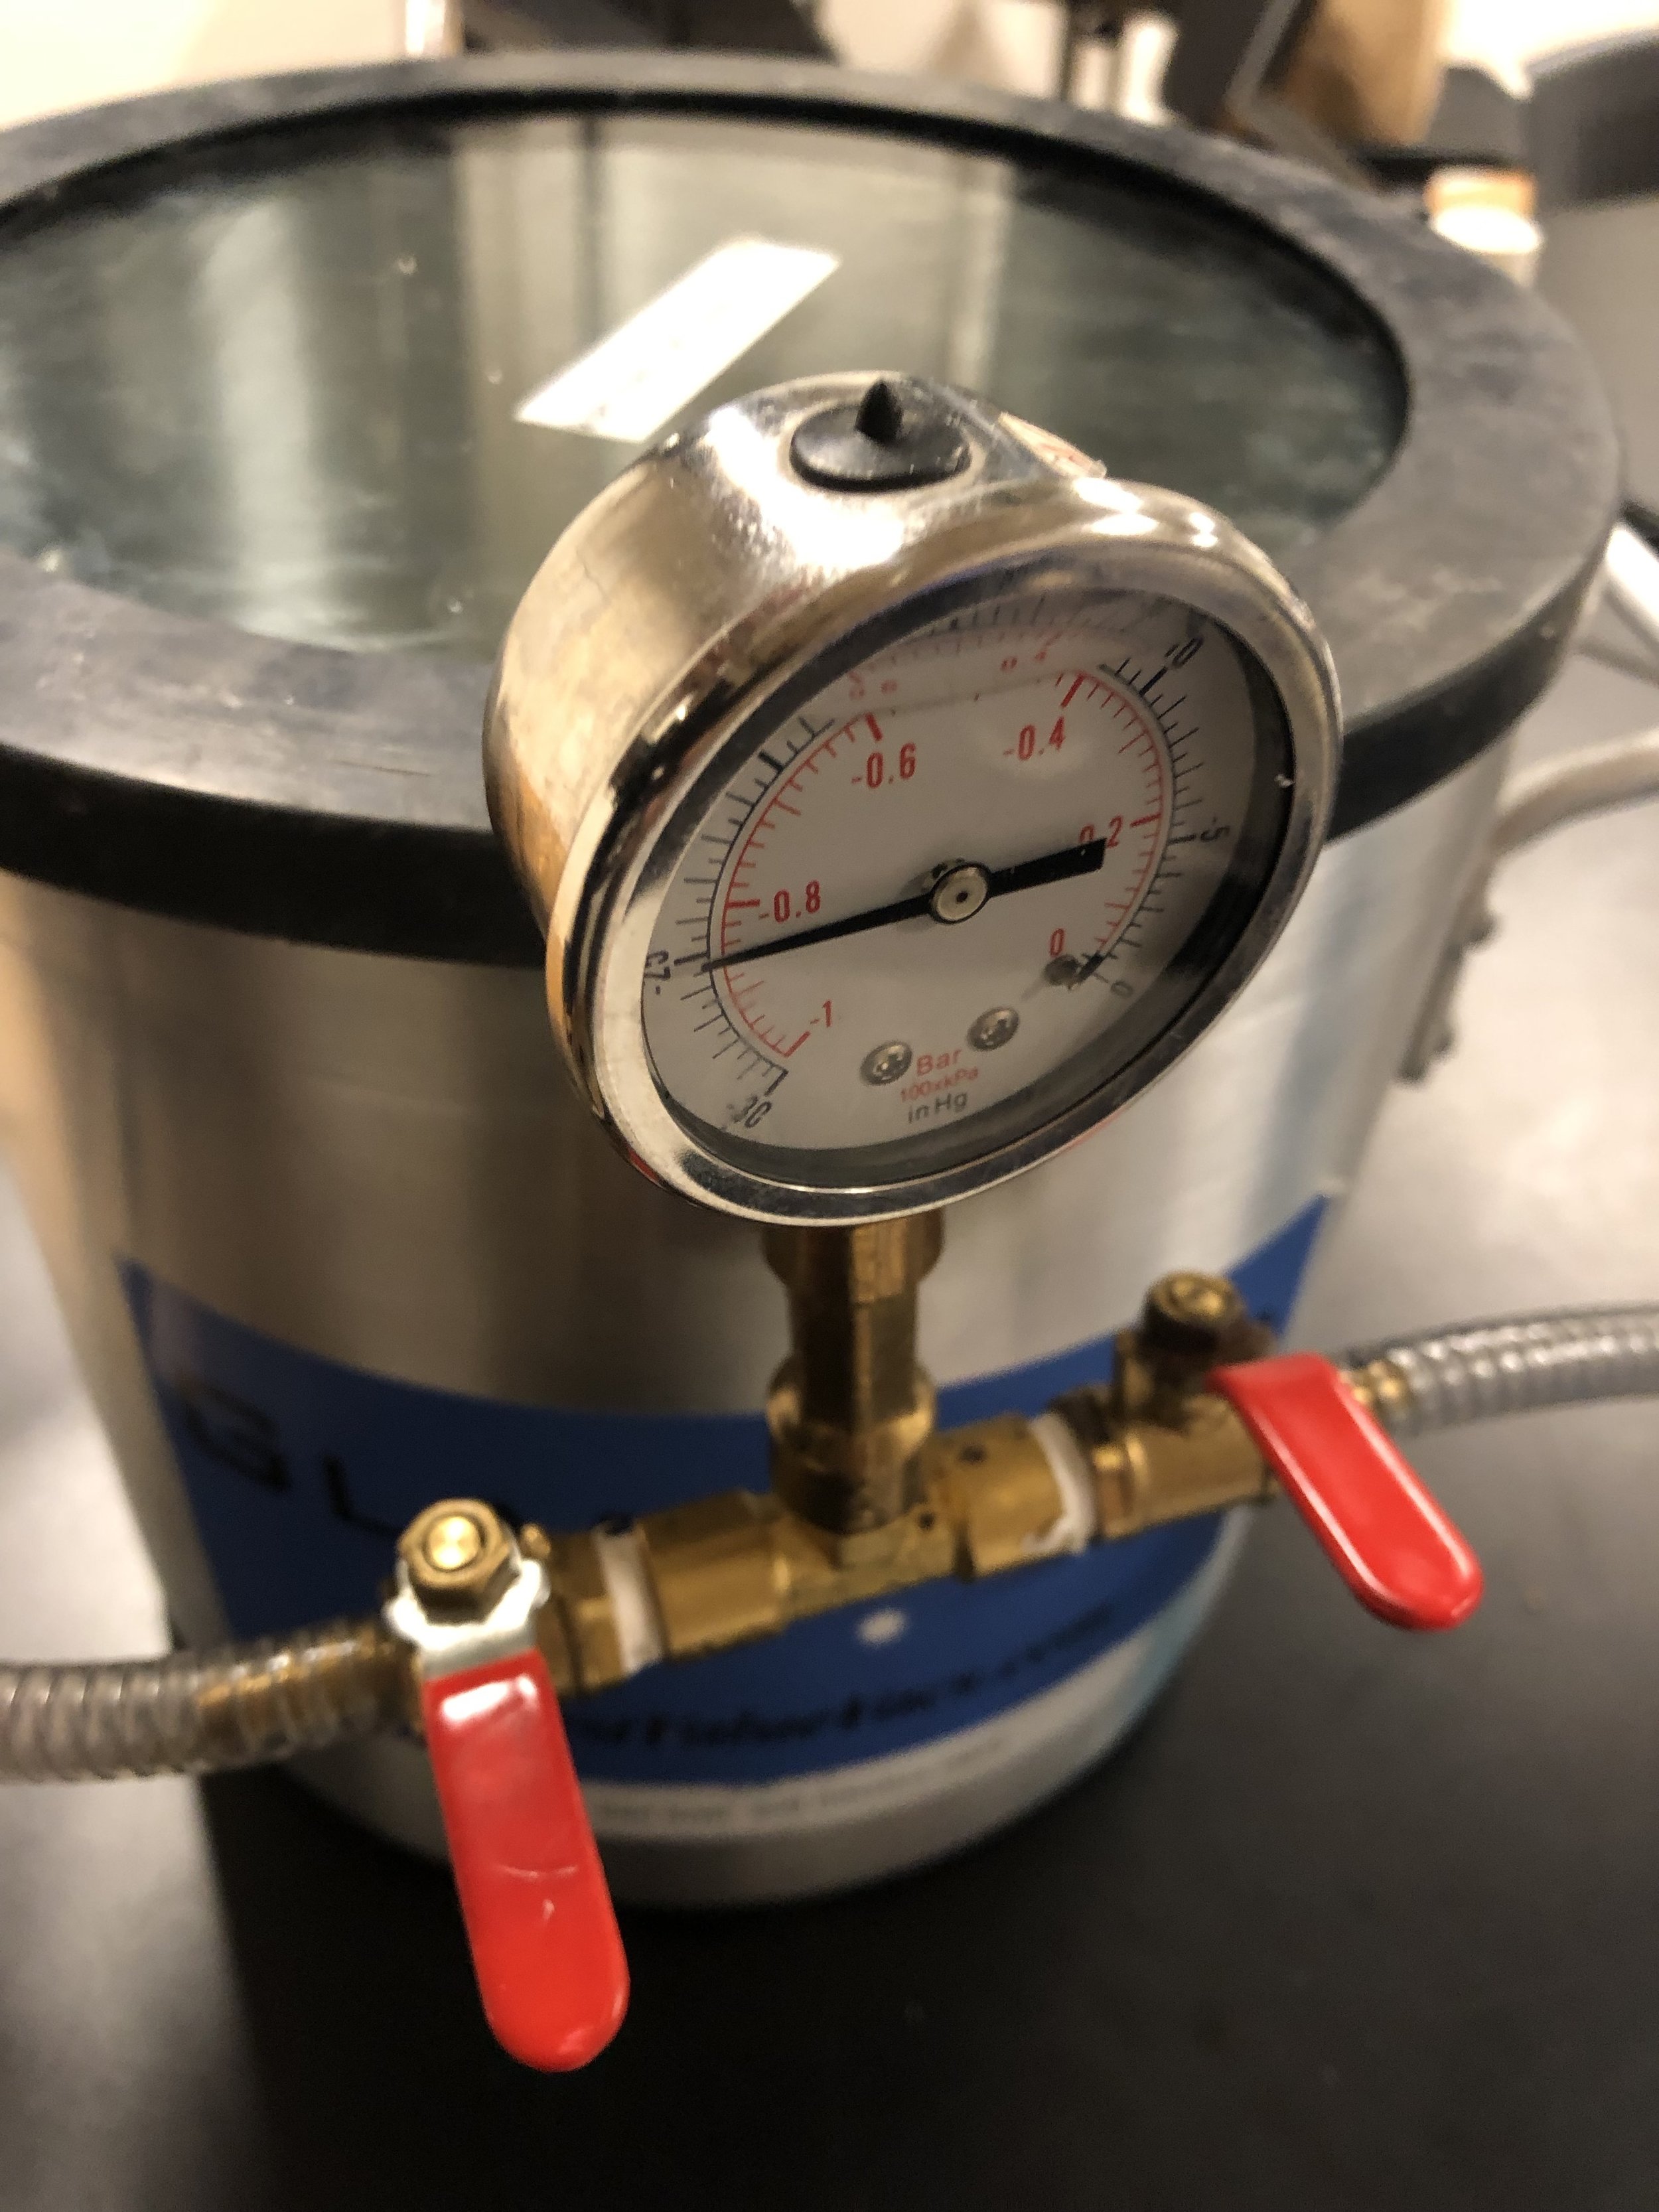
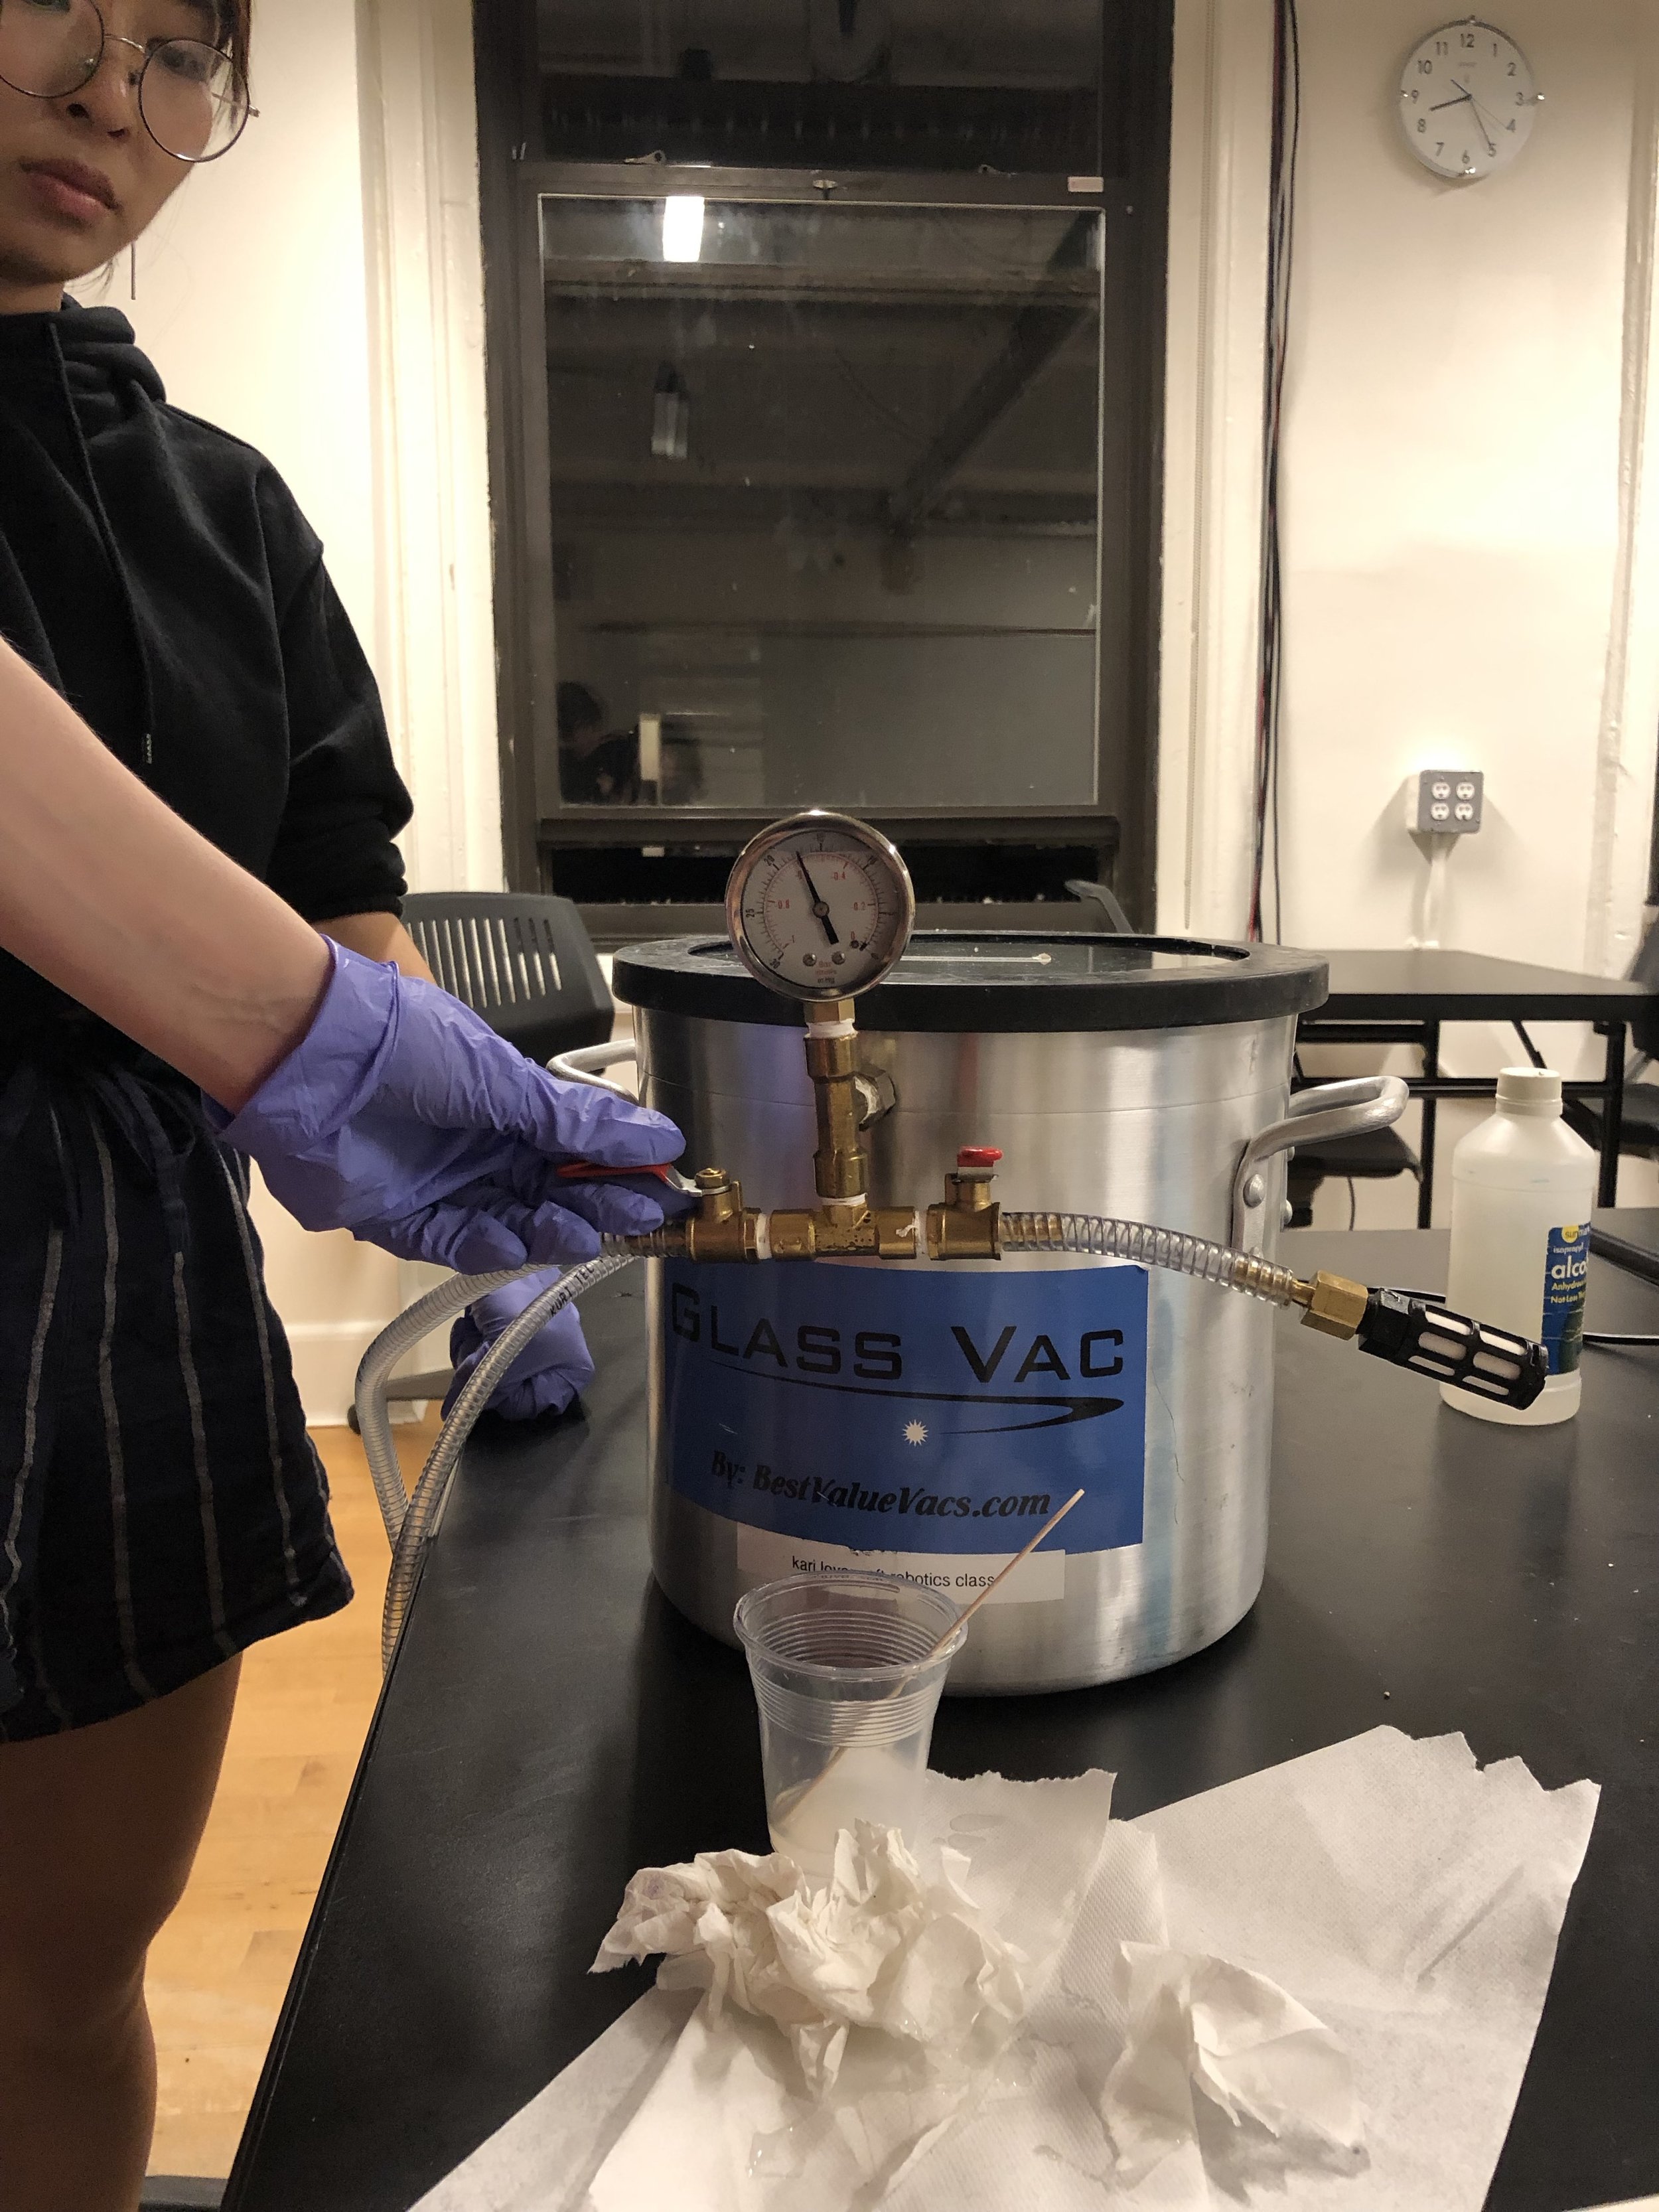
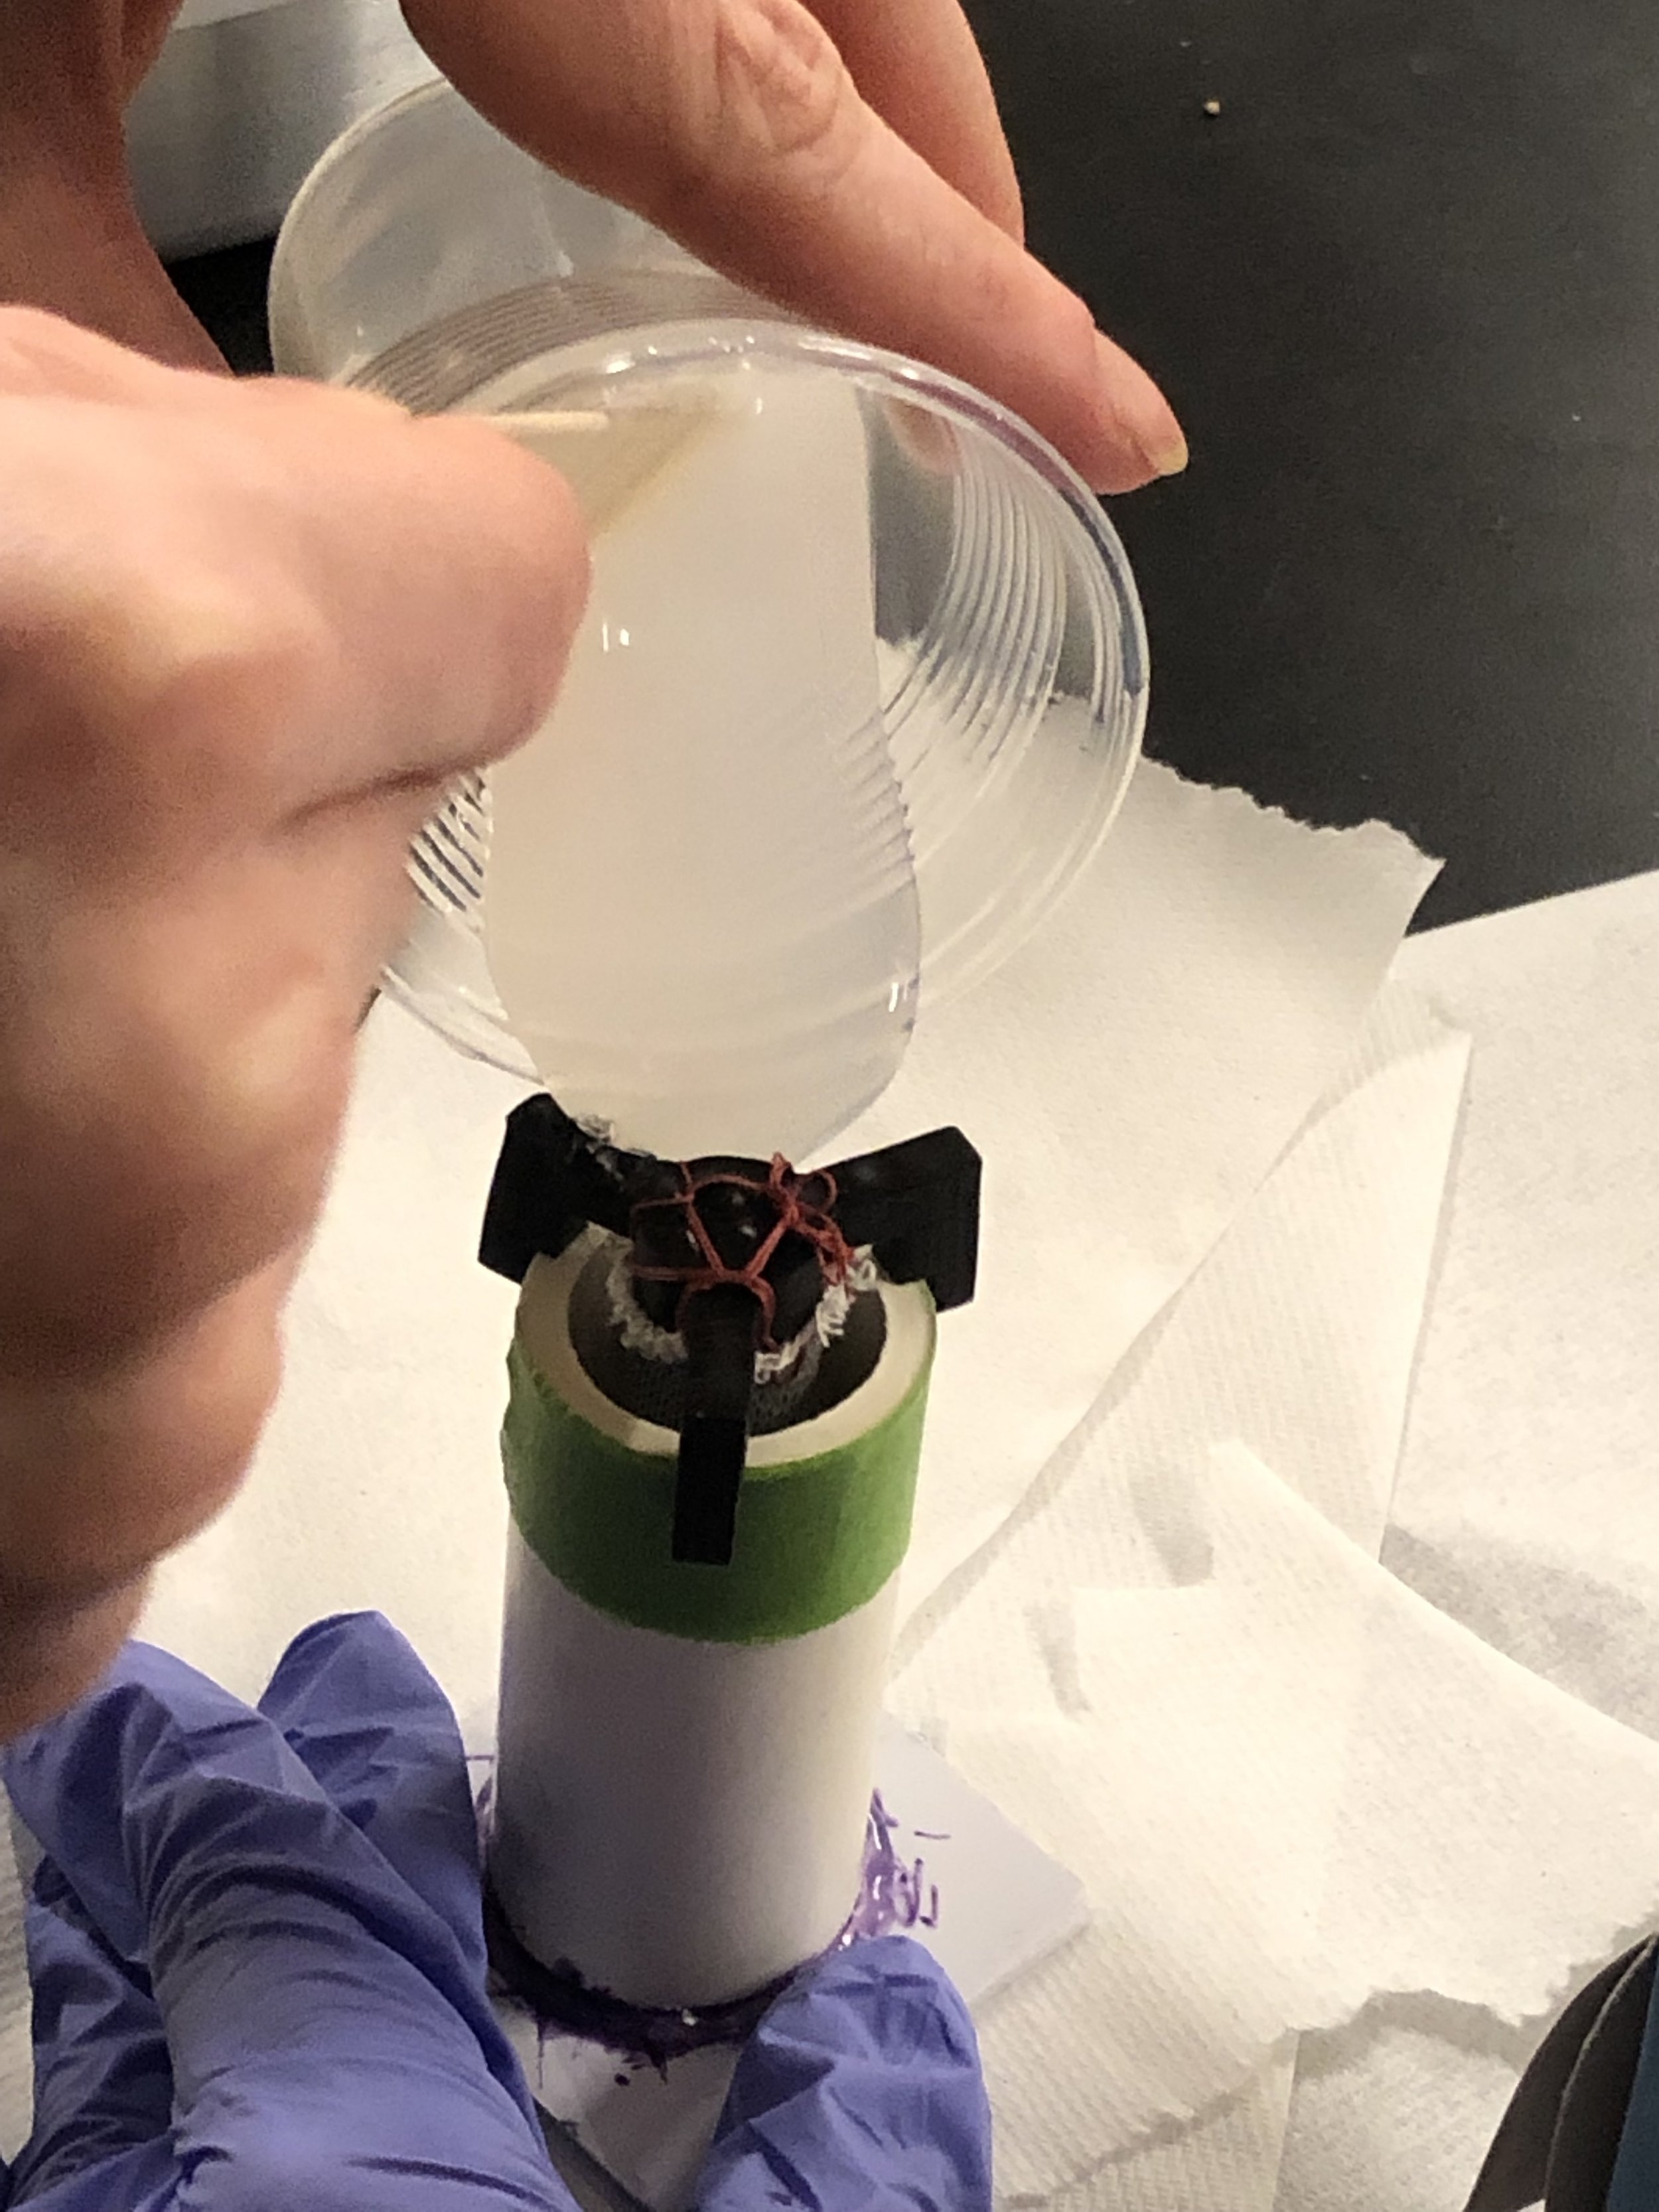
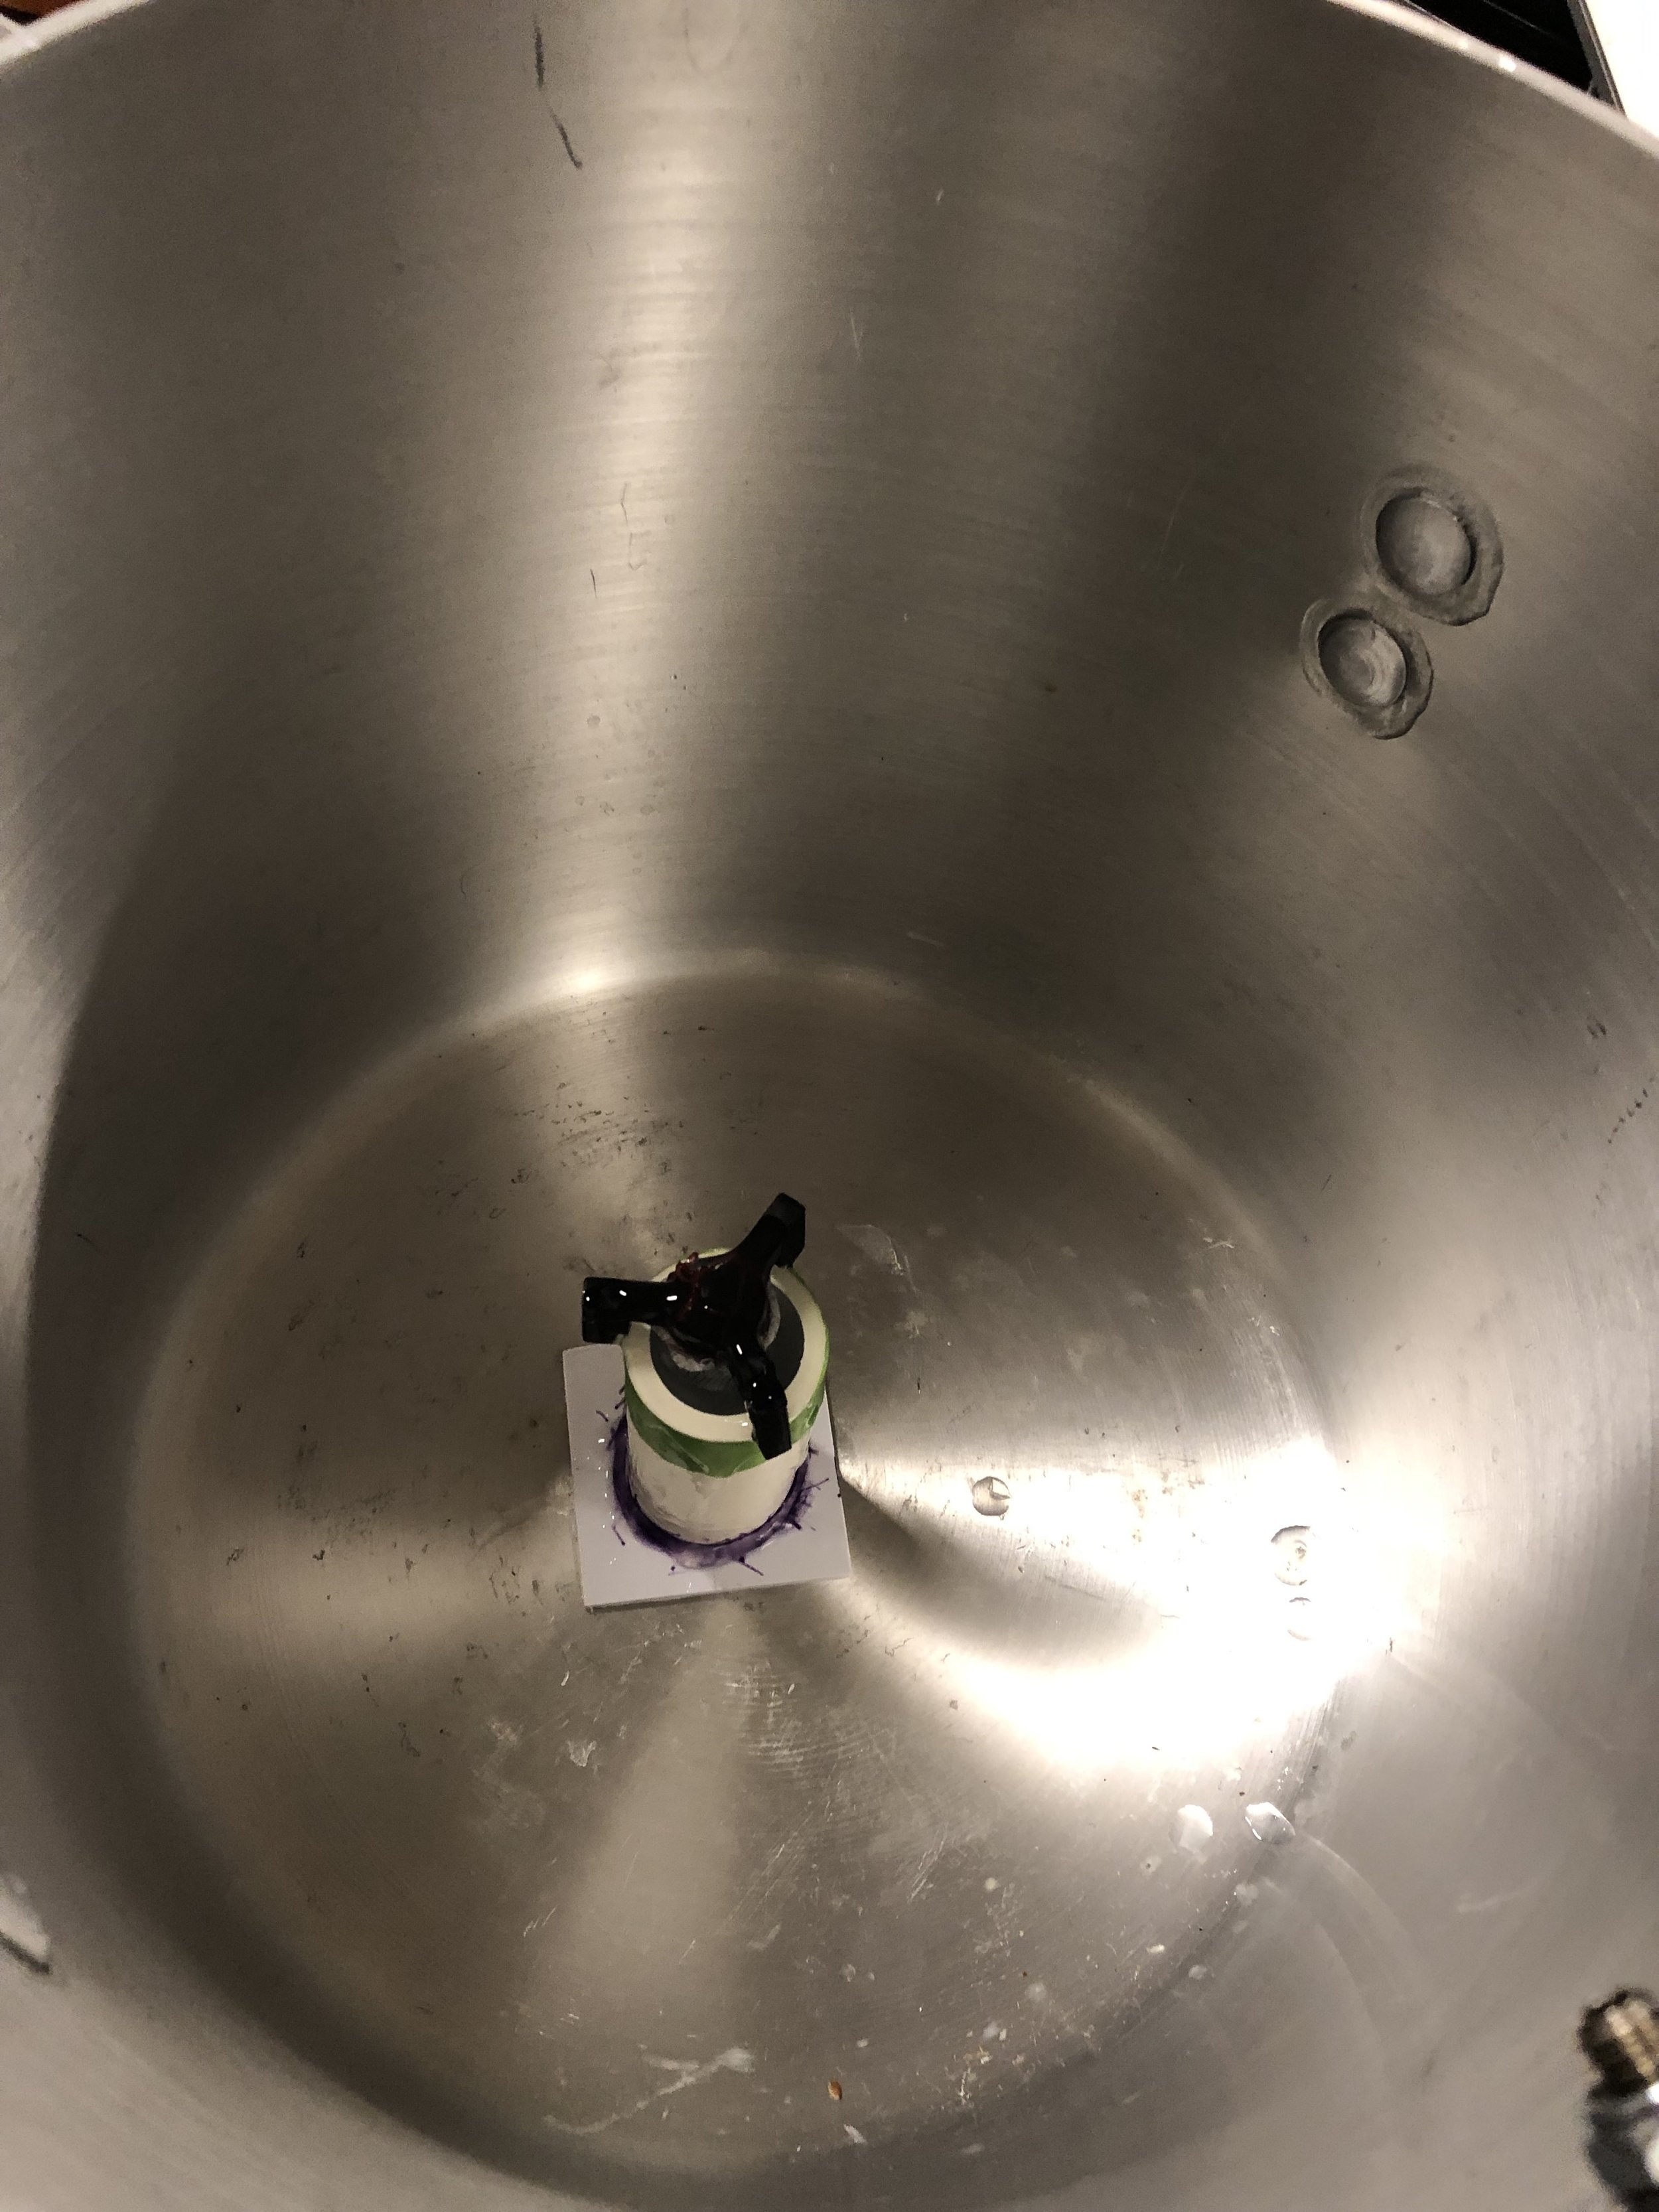
We then mixed both parts A and B and measured out 26 grams of each (52 g total) into a plastic cup that was tarred on the scale. The solution was mixed and some was placed on the inner core piece before putting it into the vacuum to get the air bubbles out. Next we poured into the outer mold and placed back into the vacuum. Troubles here were that the core was bubbling up to the surface and not staying in place. We attribute this to pvc pipe size differential.
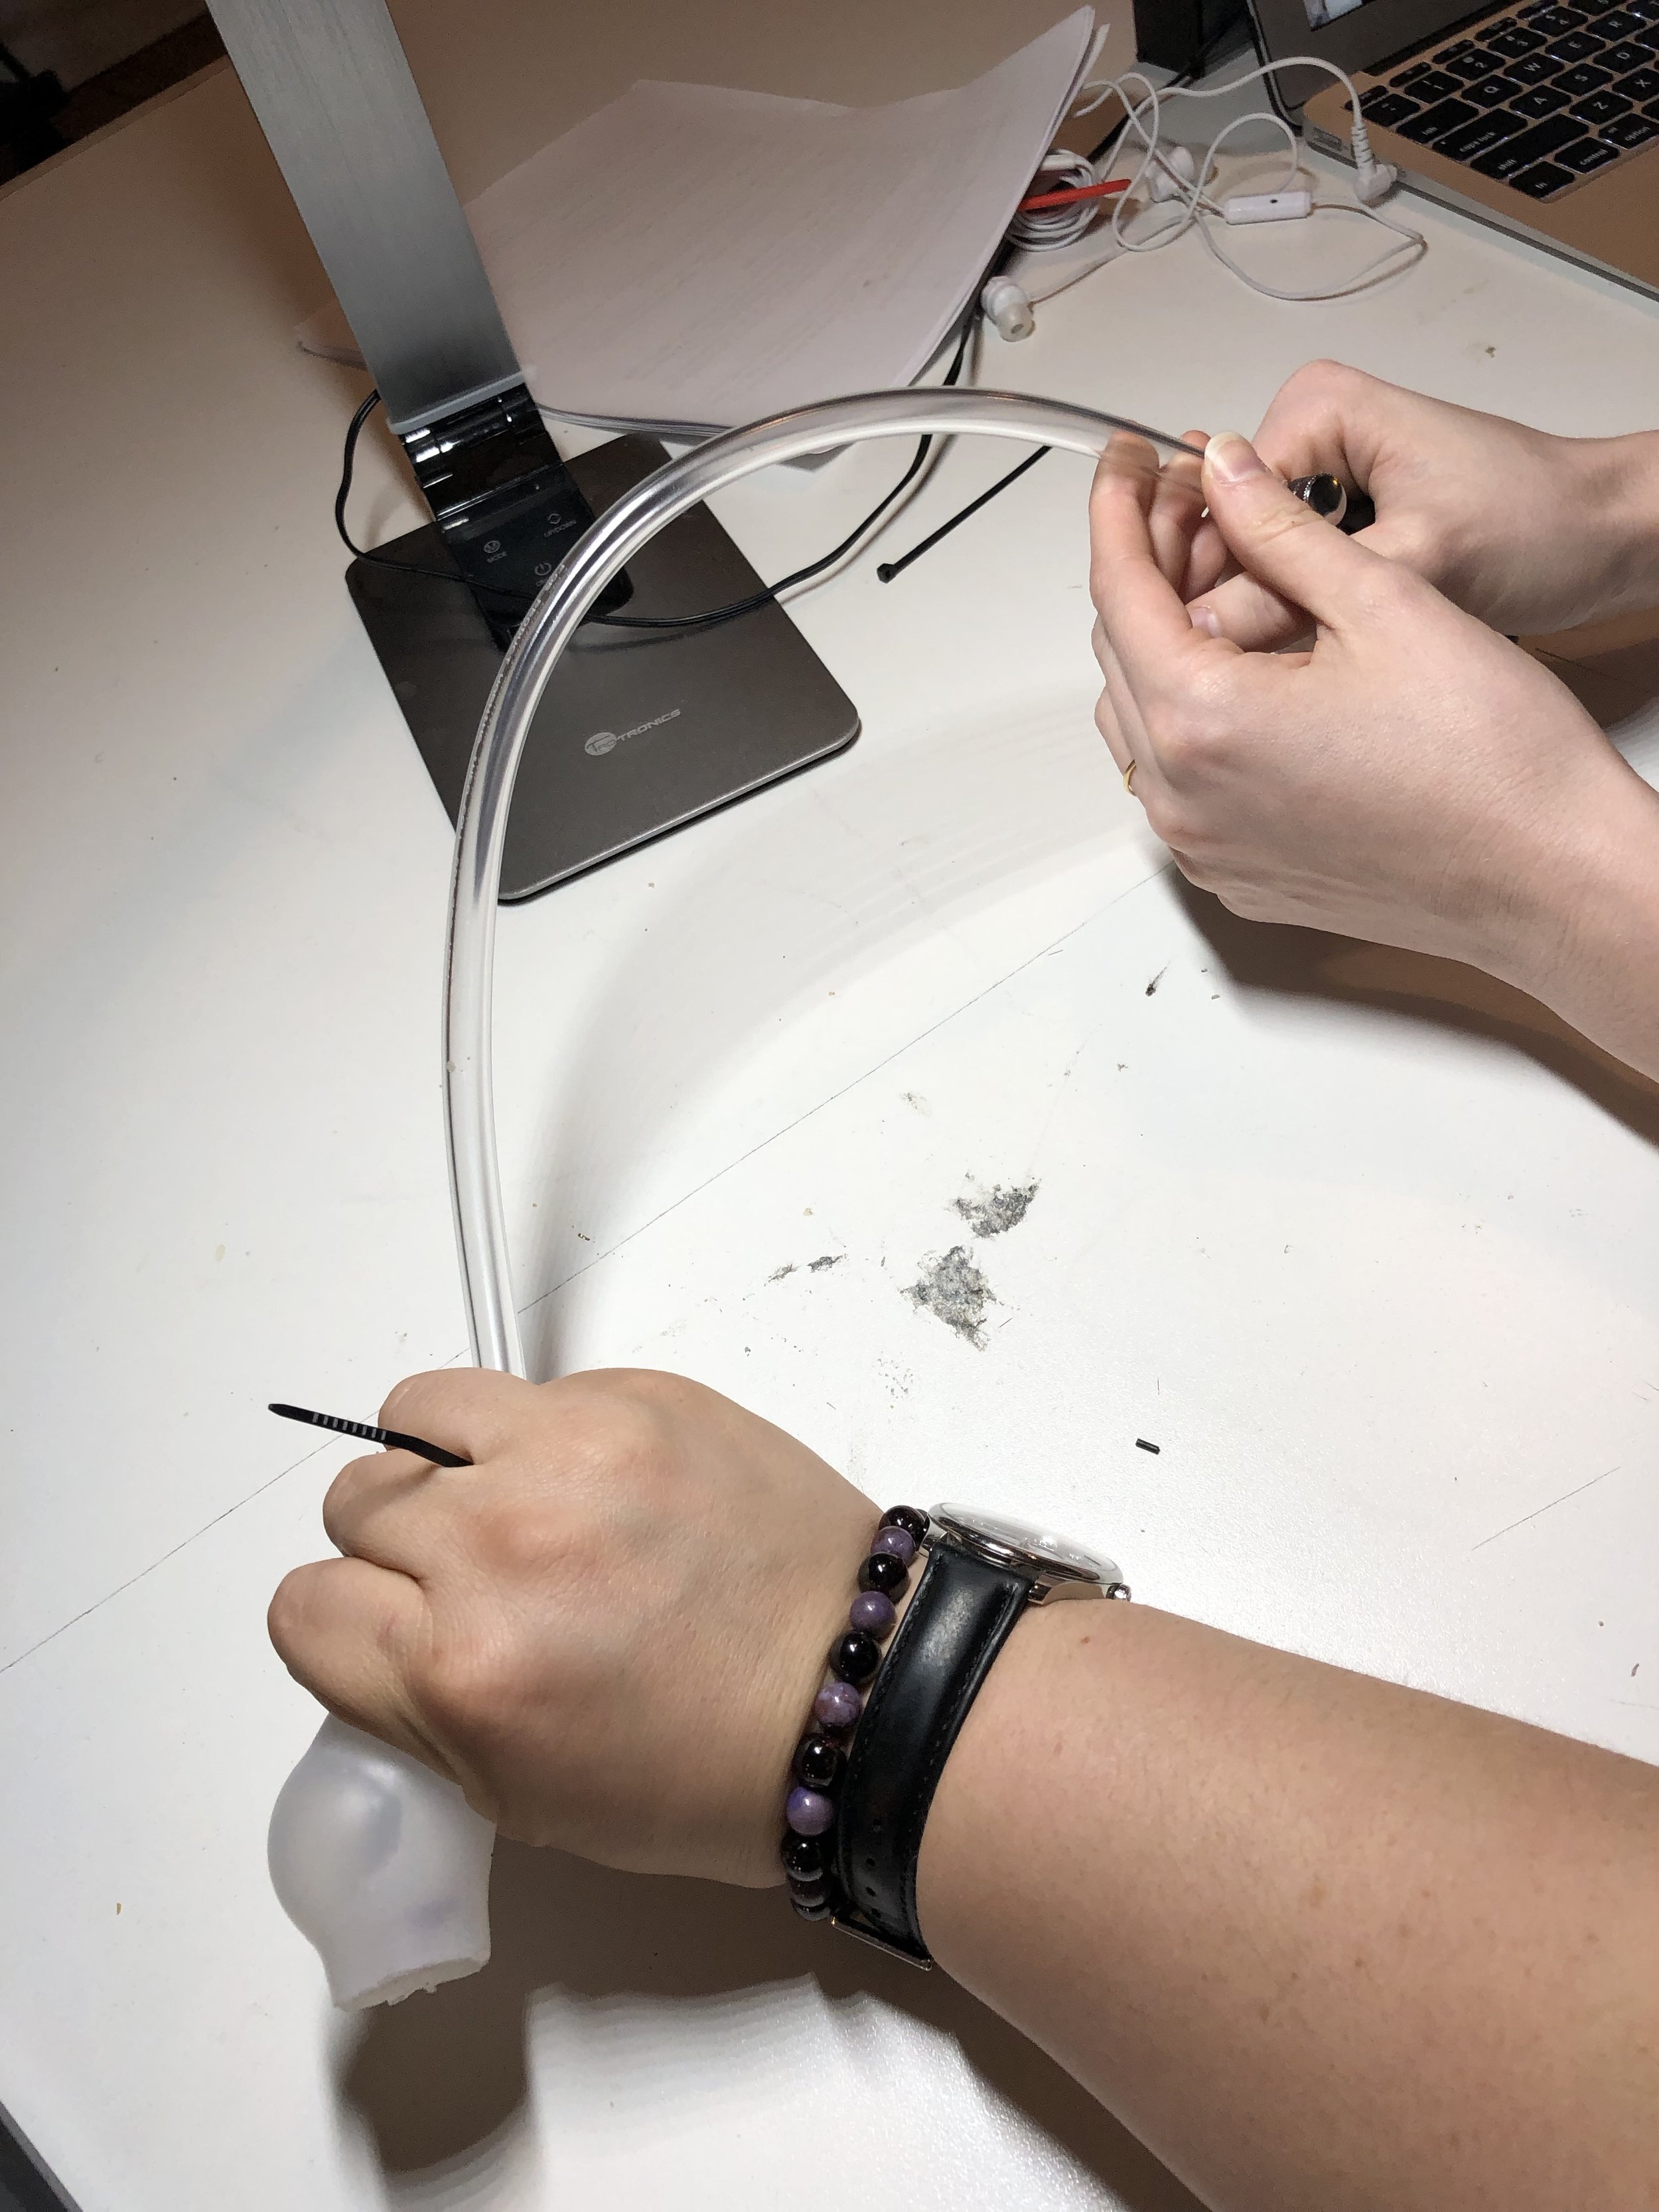
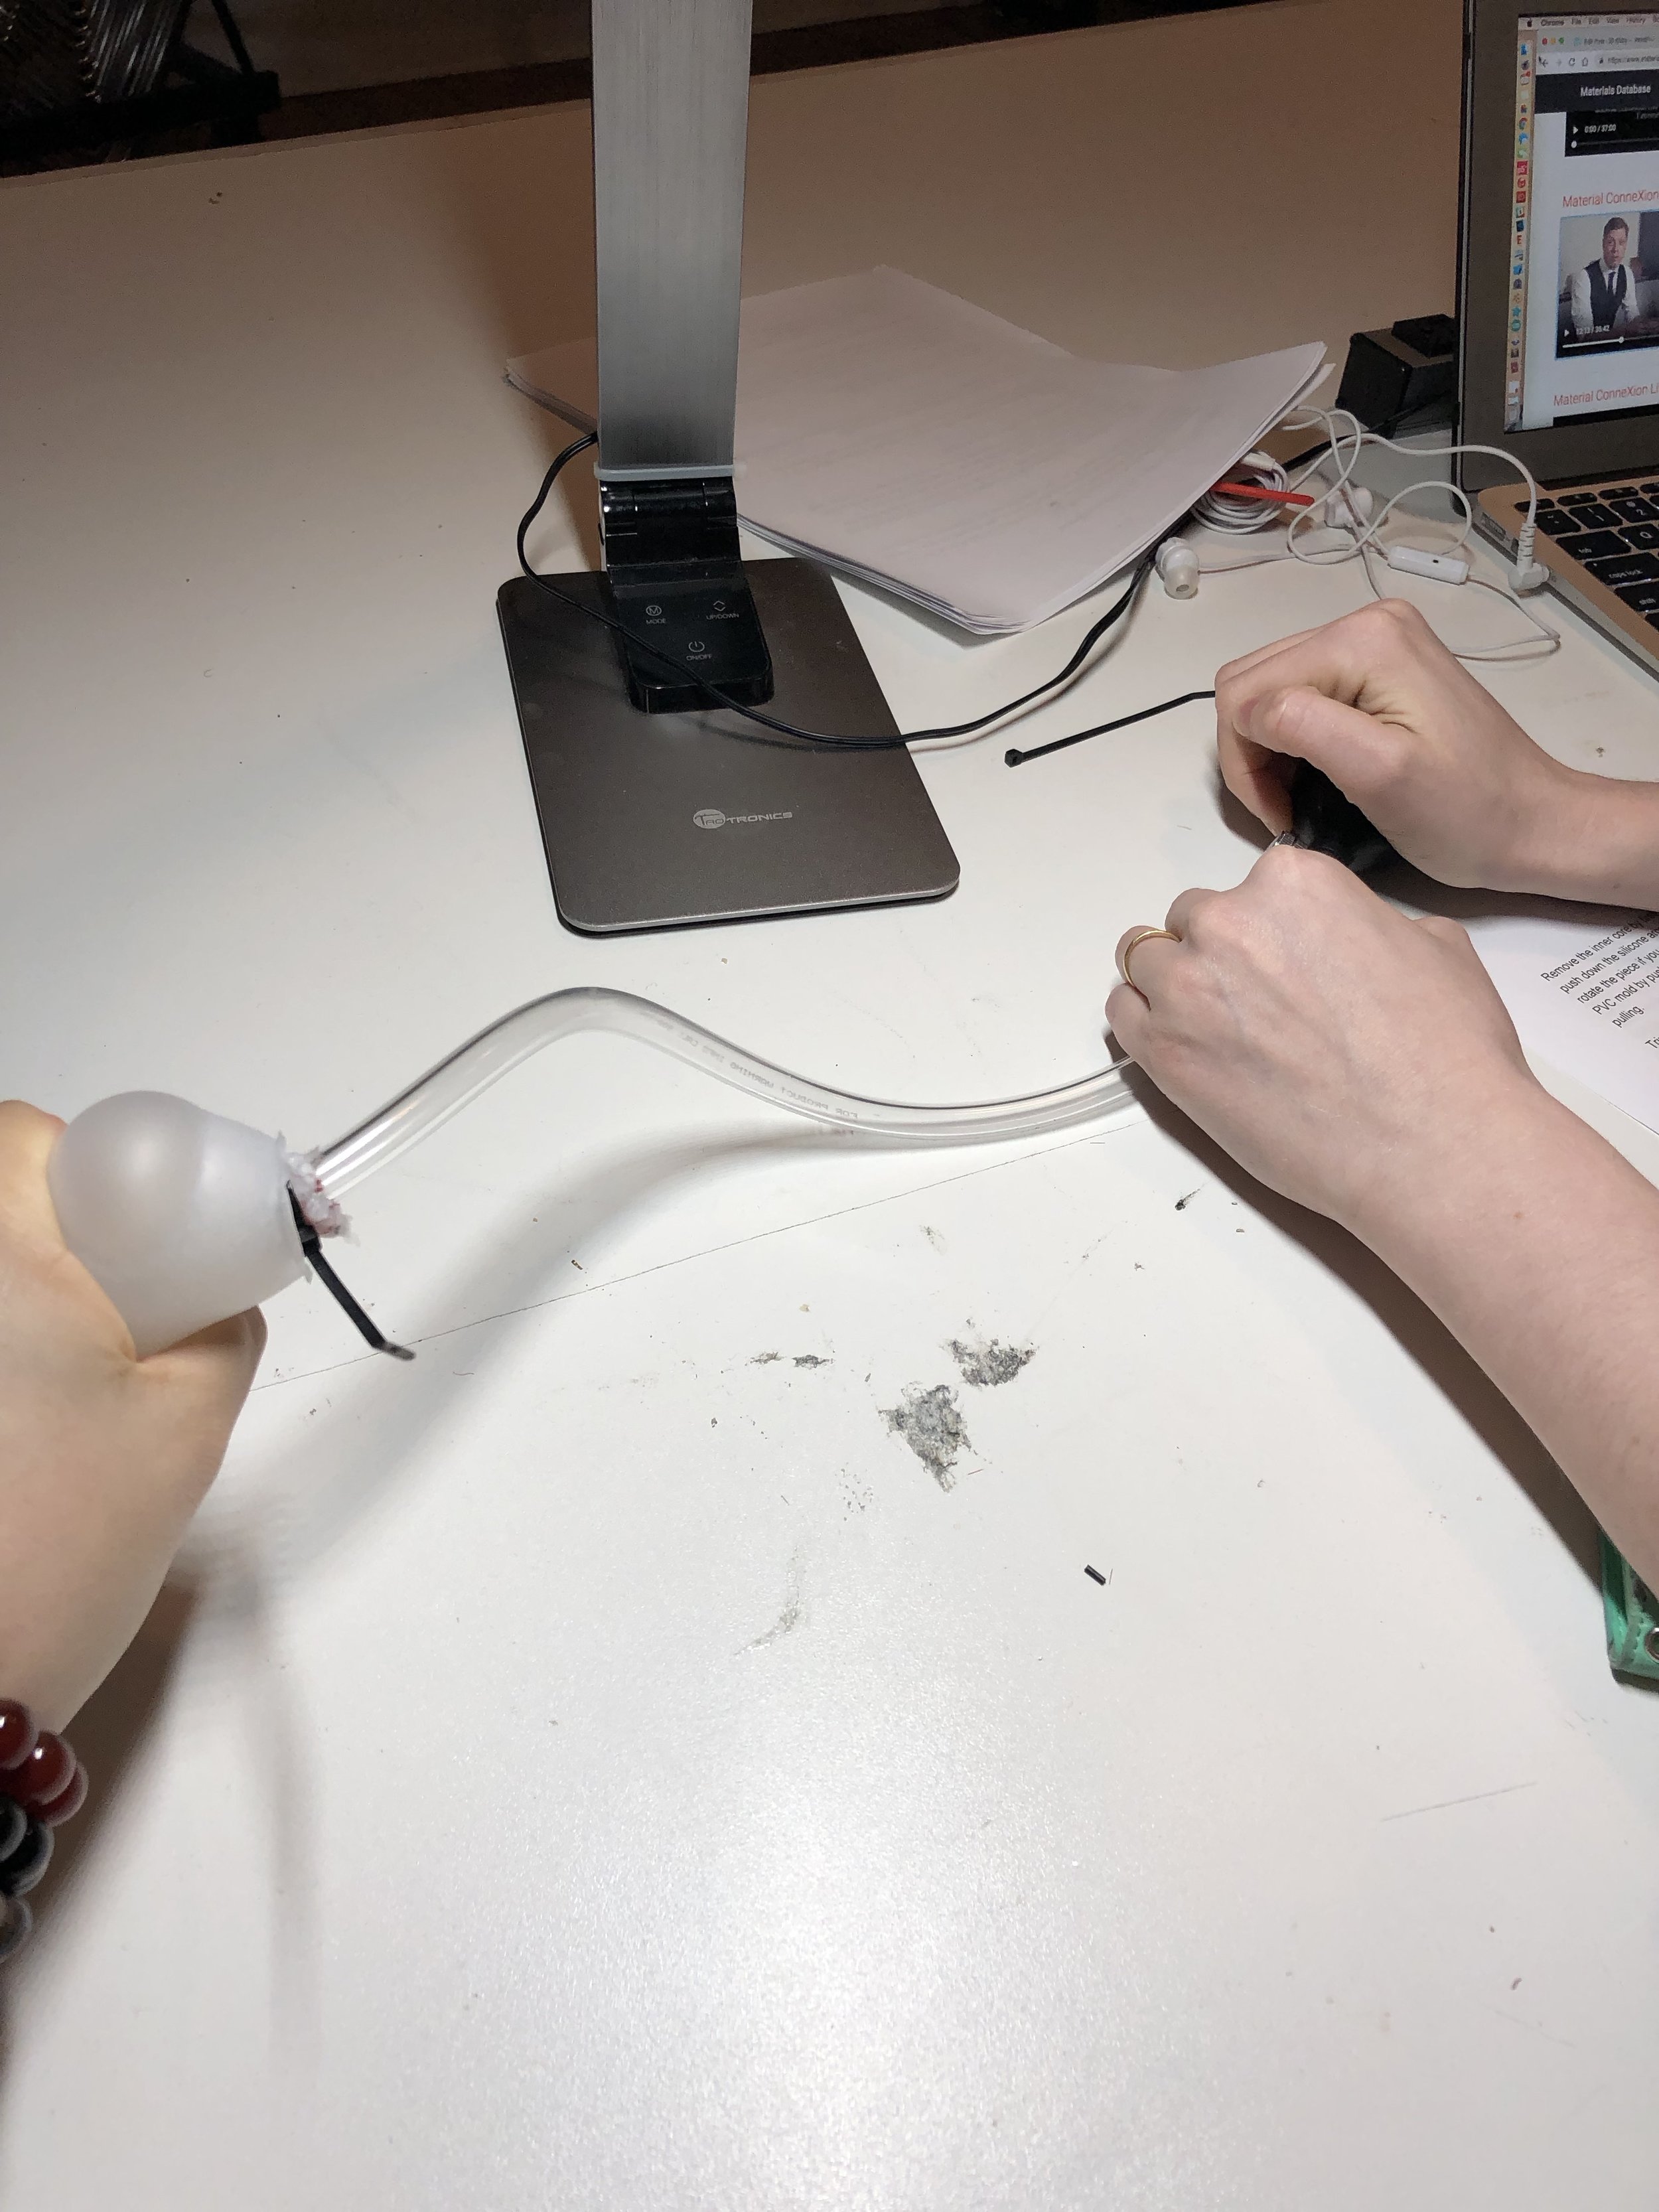
After the vacuum, we put our mold in a safe place for the evening and returned to it the following day to place on the air pump and test out the mold. Becca and I did the initial pumps to even out the silicon rounds and felt success in the completion of this mold!


