This project has been such a great learning experience for me. I knew early on in the semester that I wanted to re-create the toys I played with as a child. Little did I know how much that would stir up old memories.. but for the better, I persevered and found forgiveness and patience for myself more than anything. Learning how to unwind the idea of perfection may have been the best challenge of the program so far!
One of my most frequently played with toys as a youngster was the etch-a-sketch — a staple in boat trips, long-distance car rides, and those days when a playdate was not in the routine schedule. I knew this toy as my best friend, an extension of what my brain saw in the x/y plane and spent my days re-creating the same cityscape and mazes (errr.. maybe just squiggles and lines to the adult eye). As soon as P5.js serial was introduced in class and I did the labs with the potentiometer, I saw that the Etch-a-sketch could come to life in ways that I didn’t ever think of before.
In class 10, I sketched out a quick drawing of what I envisioned this ‘new’ and overly technological analog device with some buttons and knobs that would later be built out of a cardboard box with sharpie pen indicating the locations of planned buttons. I cannot find the original sketch, but do have a photo of the cardboard that was used in our class Play Test in November.
initial ideation of digital etch-a-sketch
Soon after the class Play Test, I knew that I wanted to do my best to create a visually attractive interface that would inspire any user to press/play immediately. I wanted the old arcade feel of good buttons and saw some great ones on amazon that had LED’s — because who doesn’t love lighted buttons. I know I do. RGB became the direction, and the theme of colors were later evolved. I also found that I could port the url to an ipad (as long as I was on the same network) with a sketch tool called Atom Live Server.
Sketch of board, after playtest
Fritzing Diagram of Breadboard and Arduino MKRZero
Fritzing Diagram of Buttons w/ LEDs, Potentiometers, and Resistors
For materials I knew I needed the following:
(3) Buttons — later found the LED Buttons on Amazon
(2) Potentiometers
(2) Knobs
(1) iPad
(1) Wooden Box (happened to find on the street)
(1) Micro Controller
(1) Breadboard
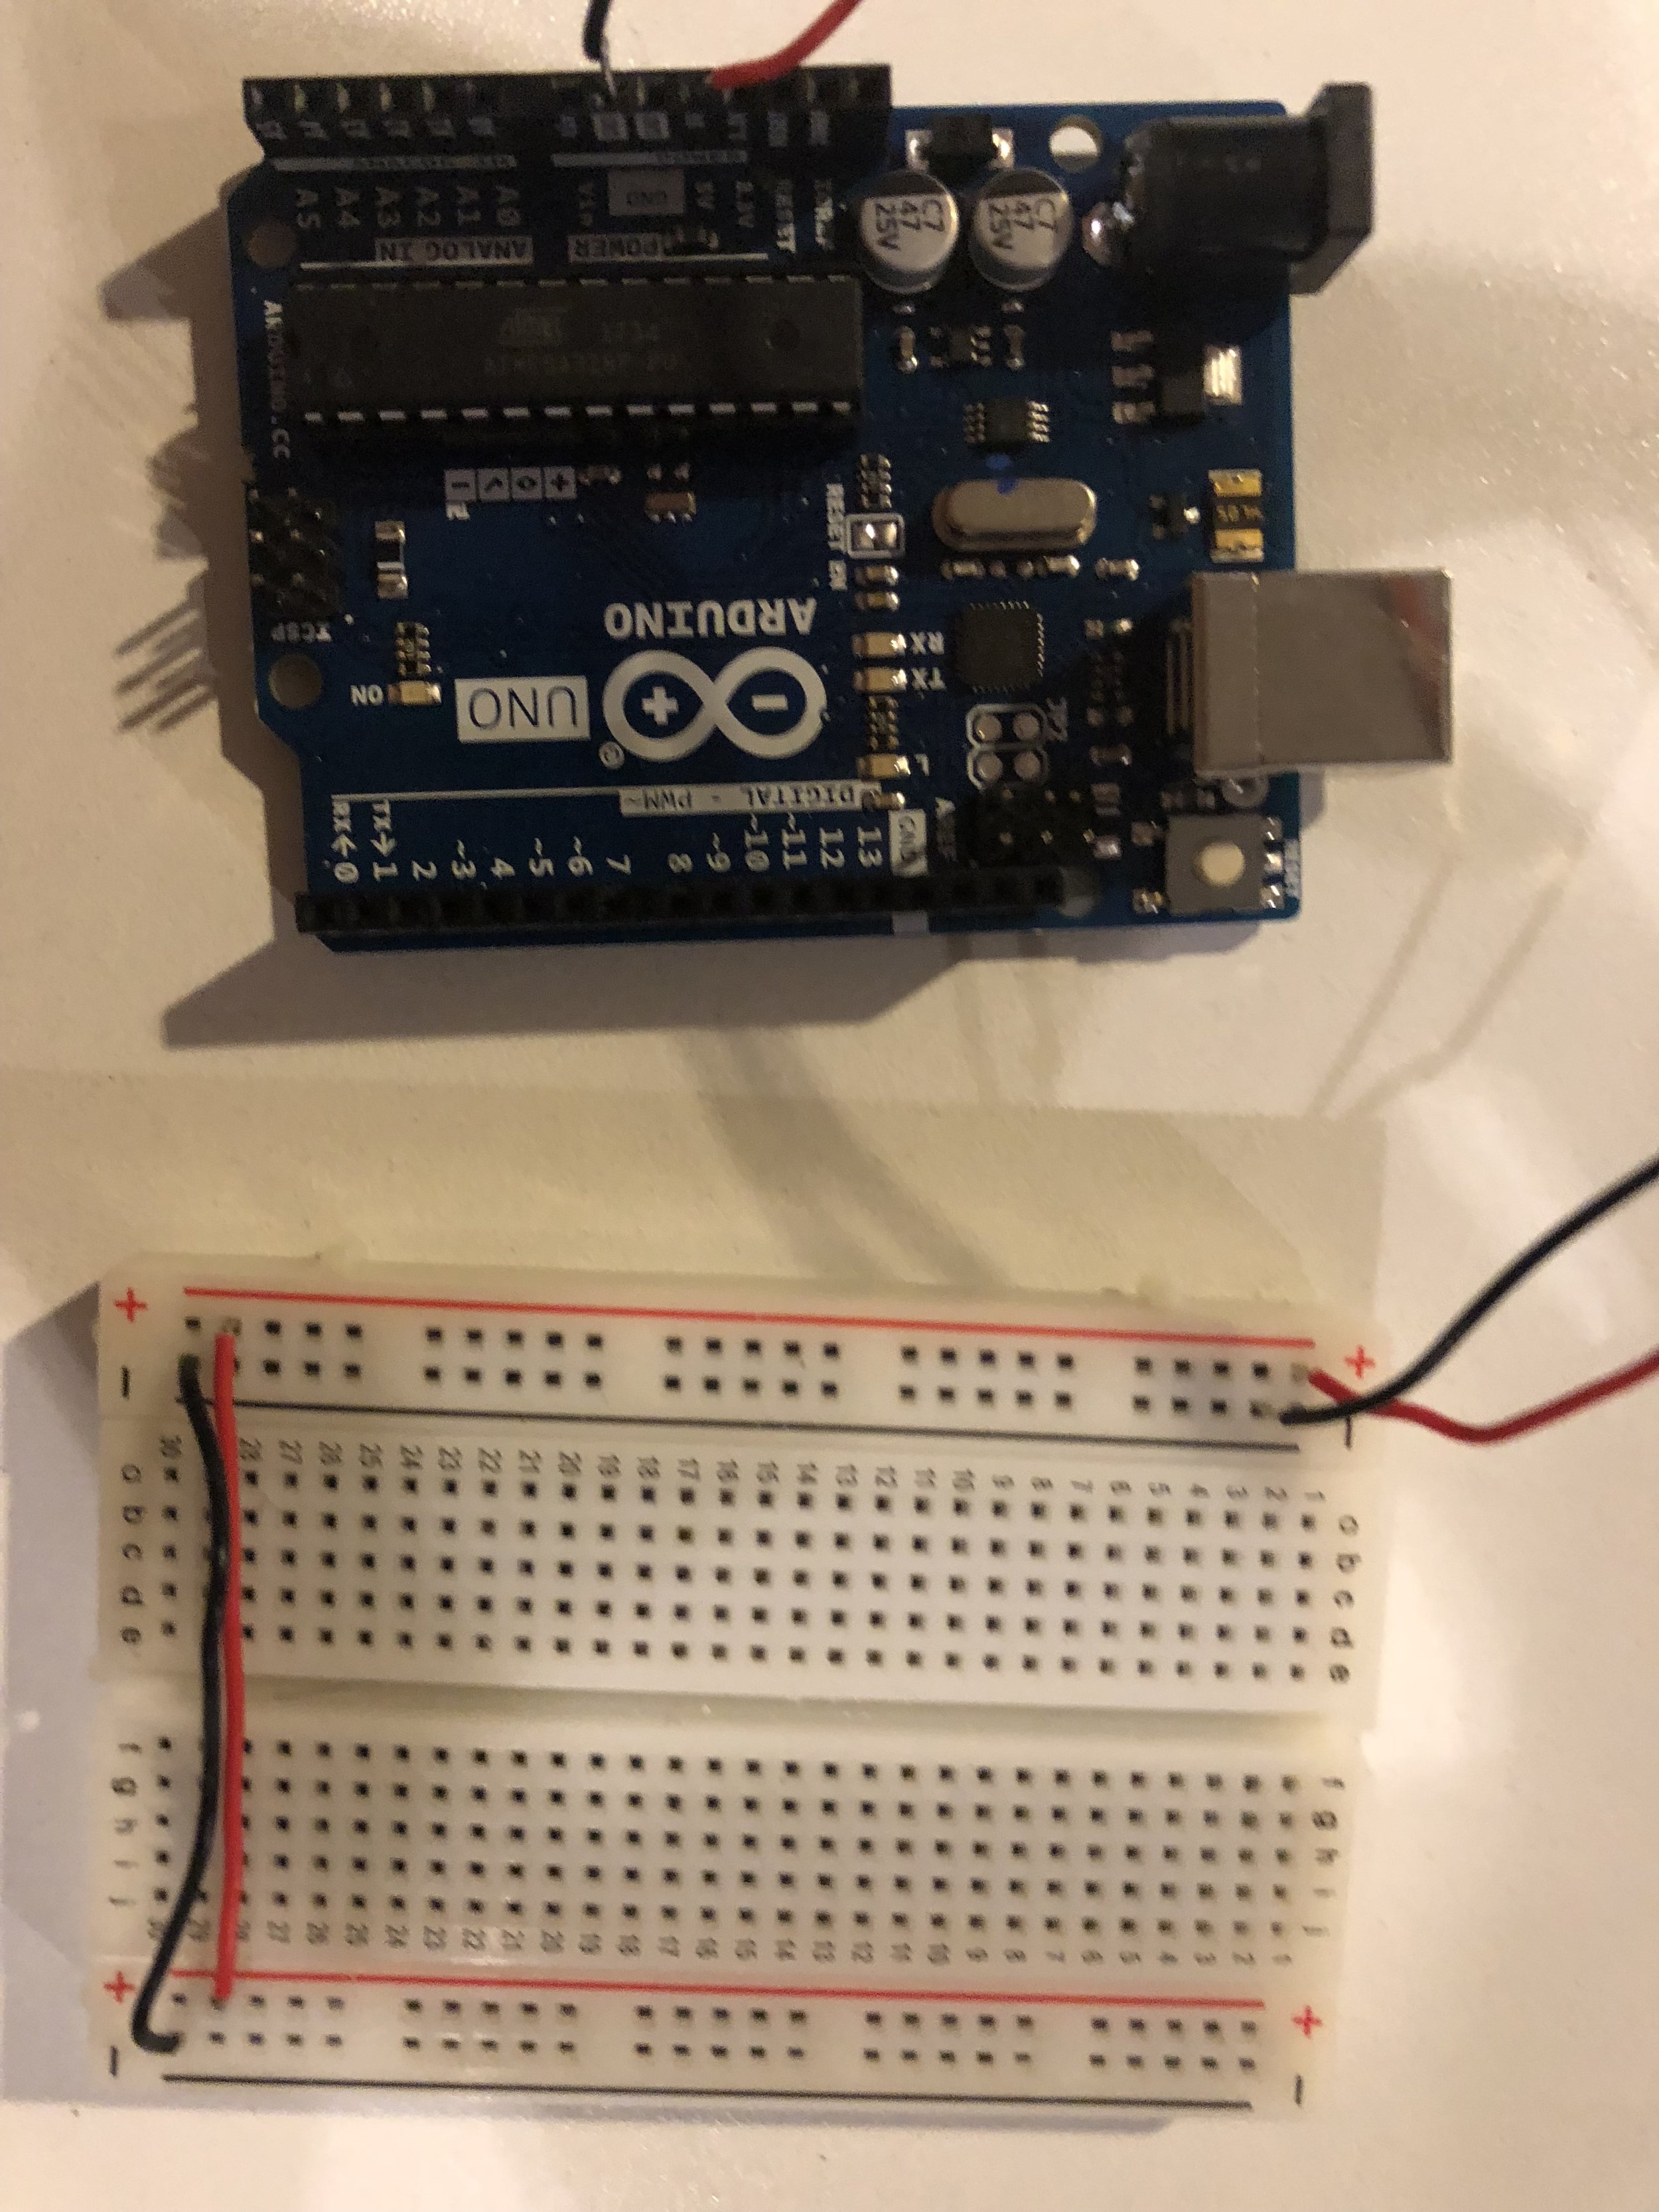
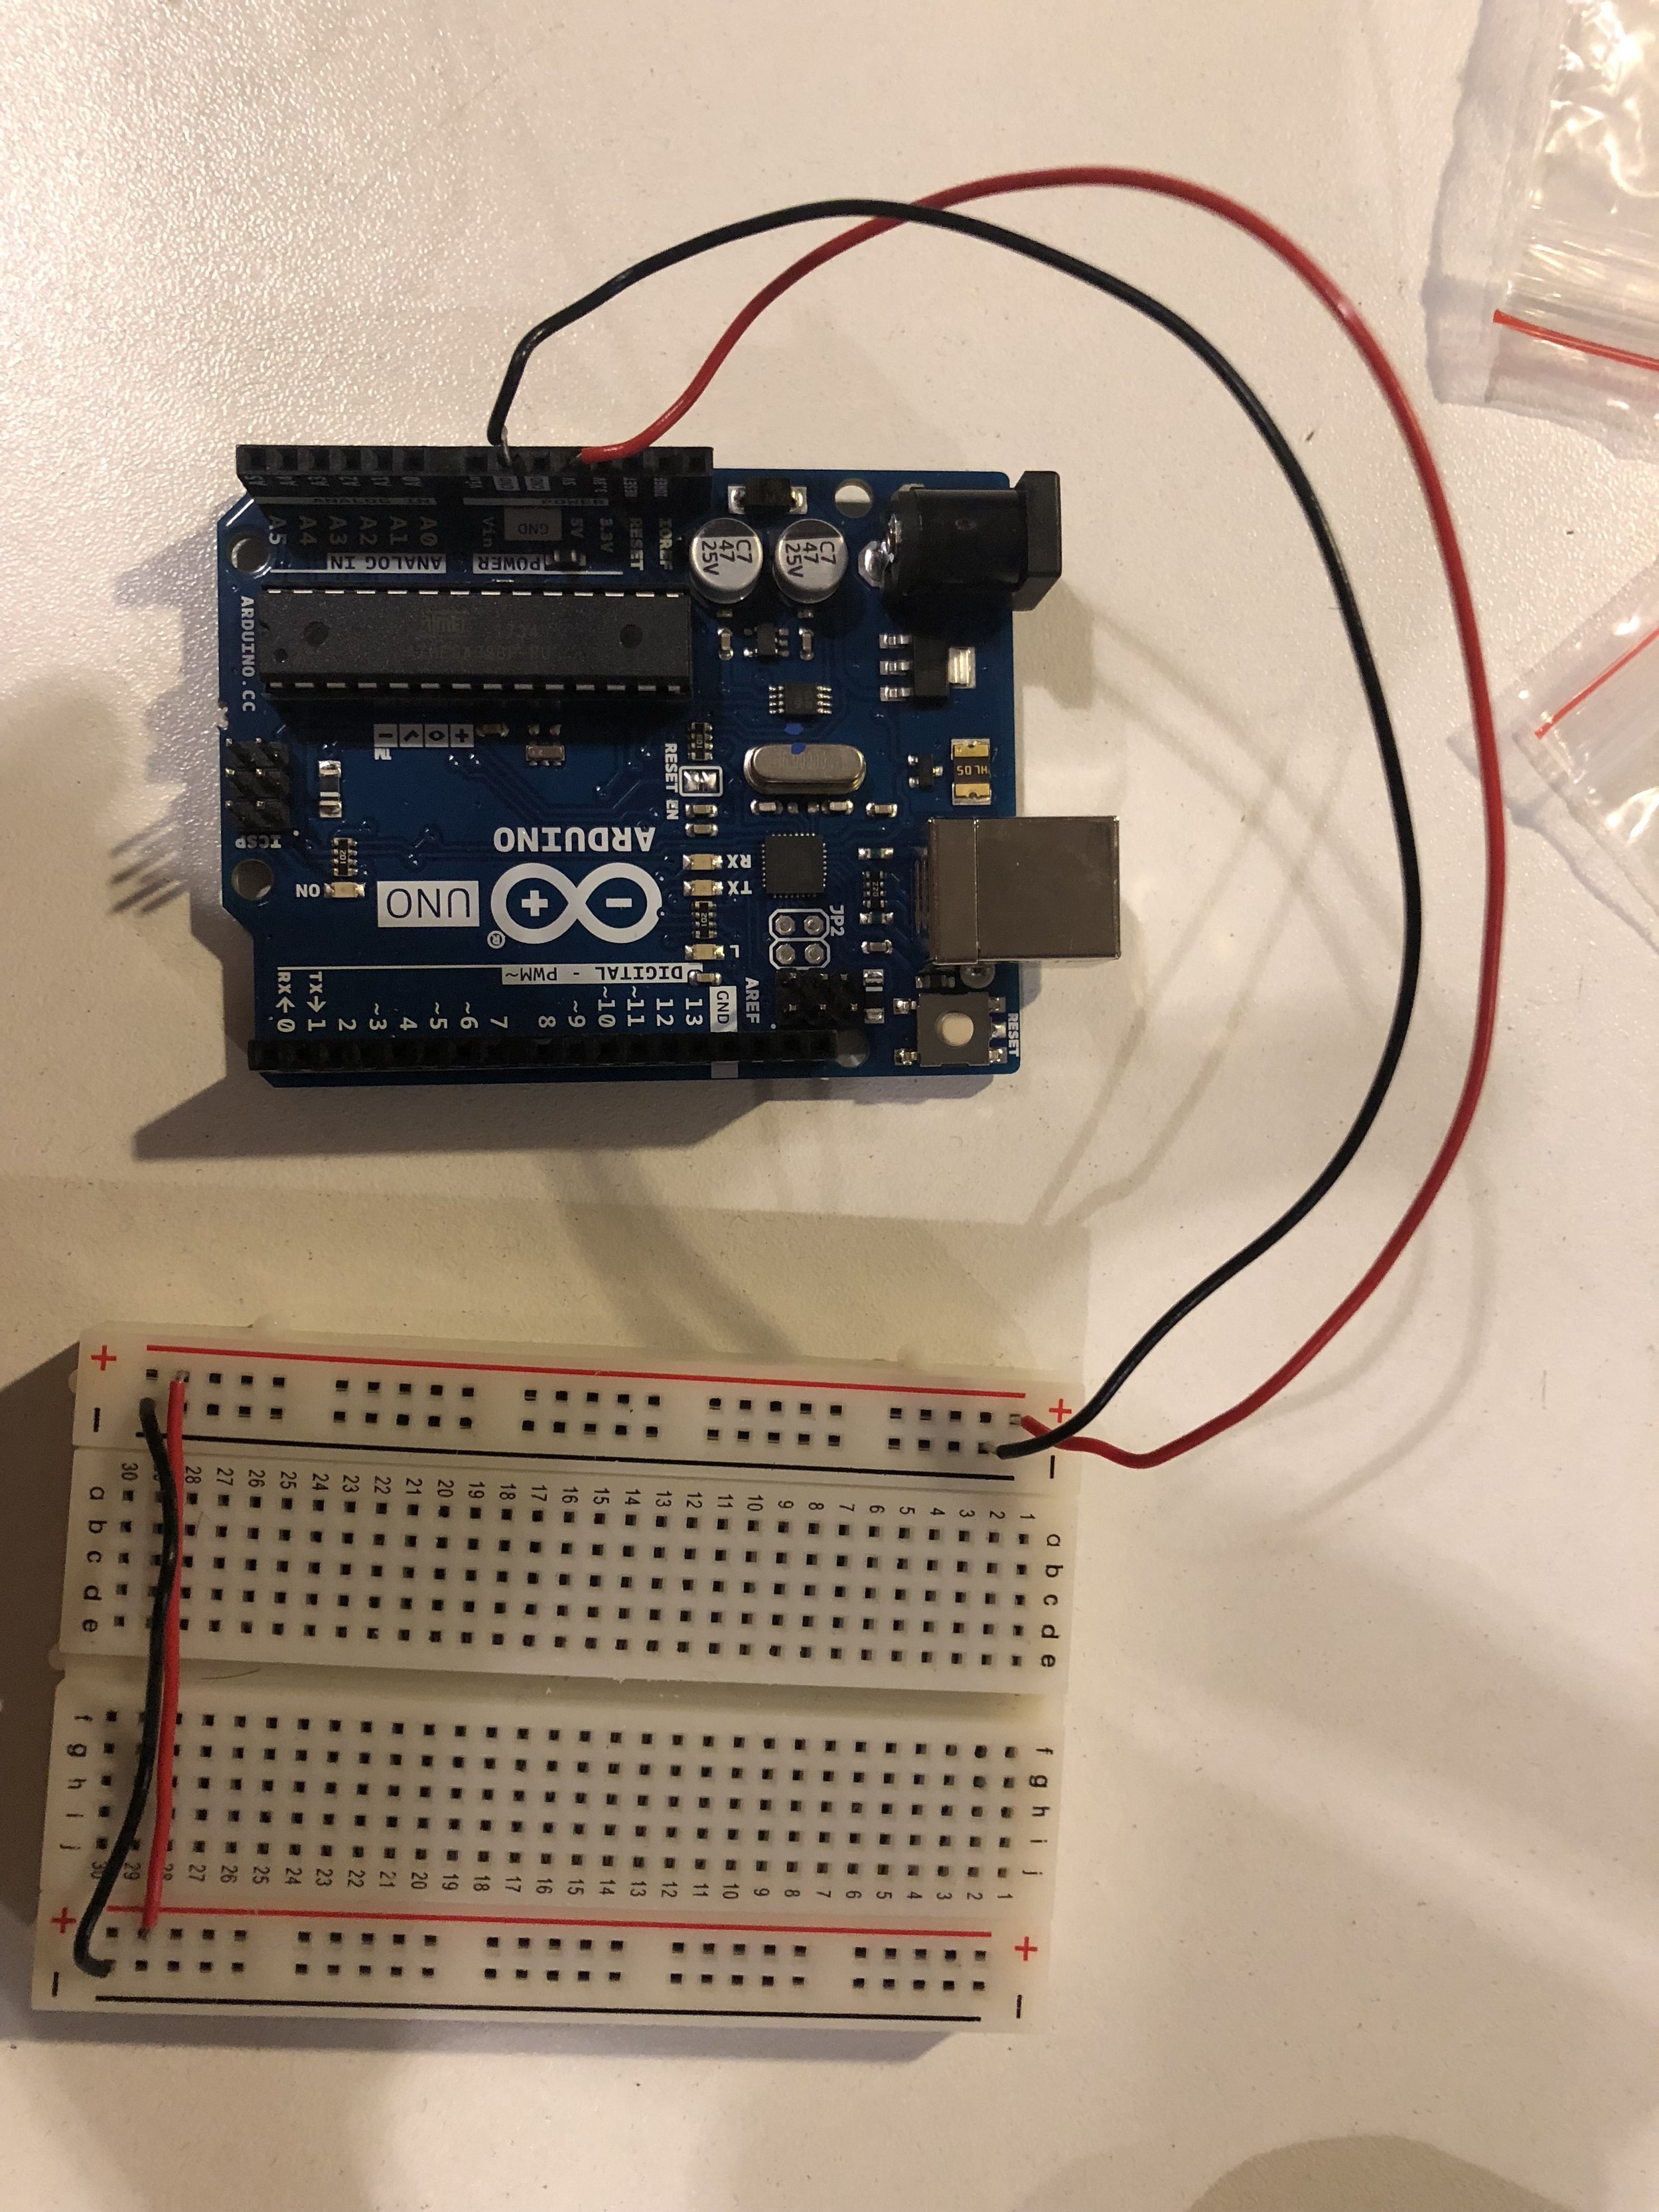
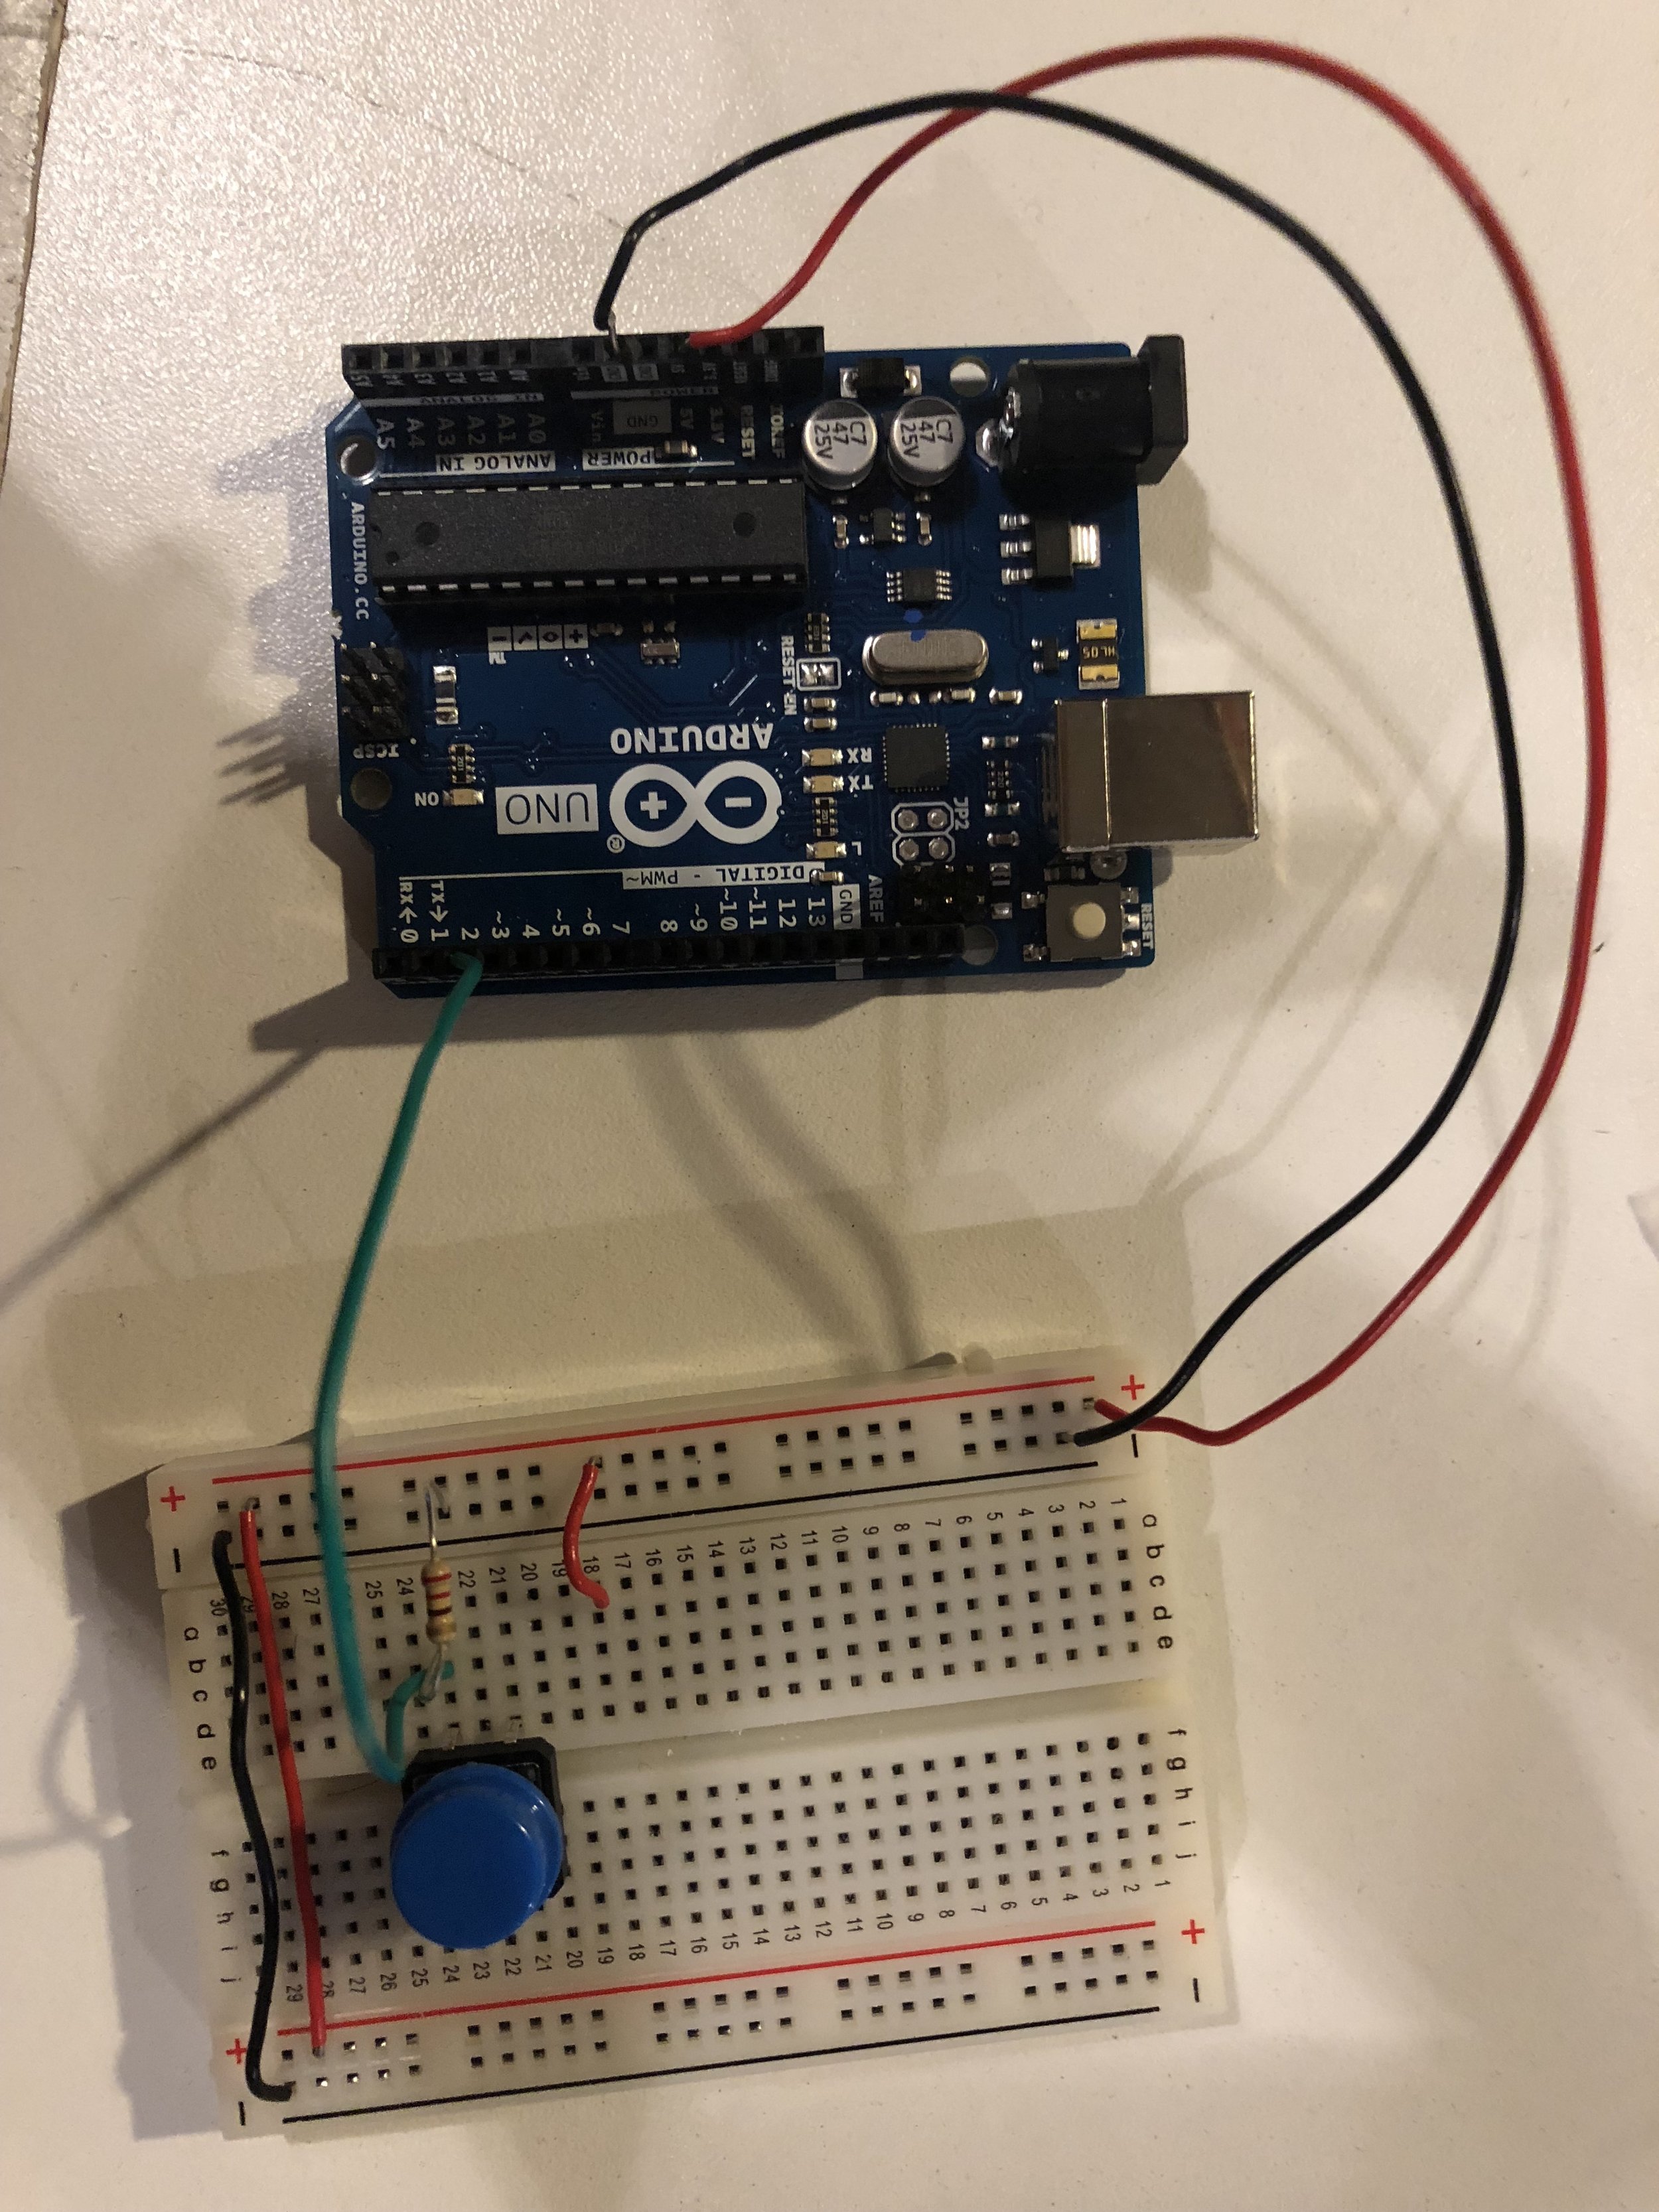
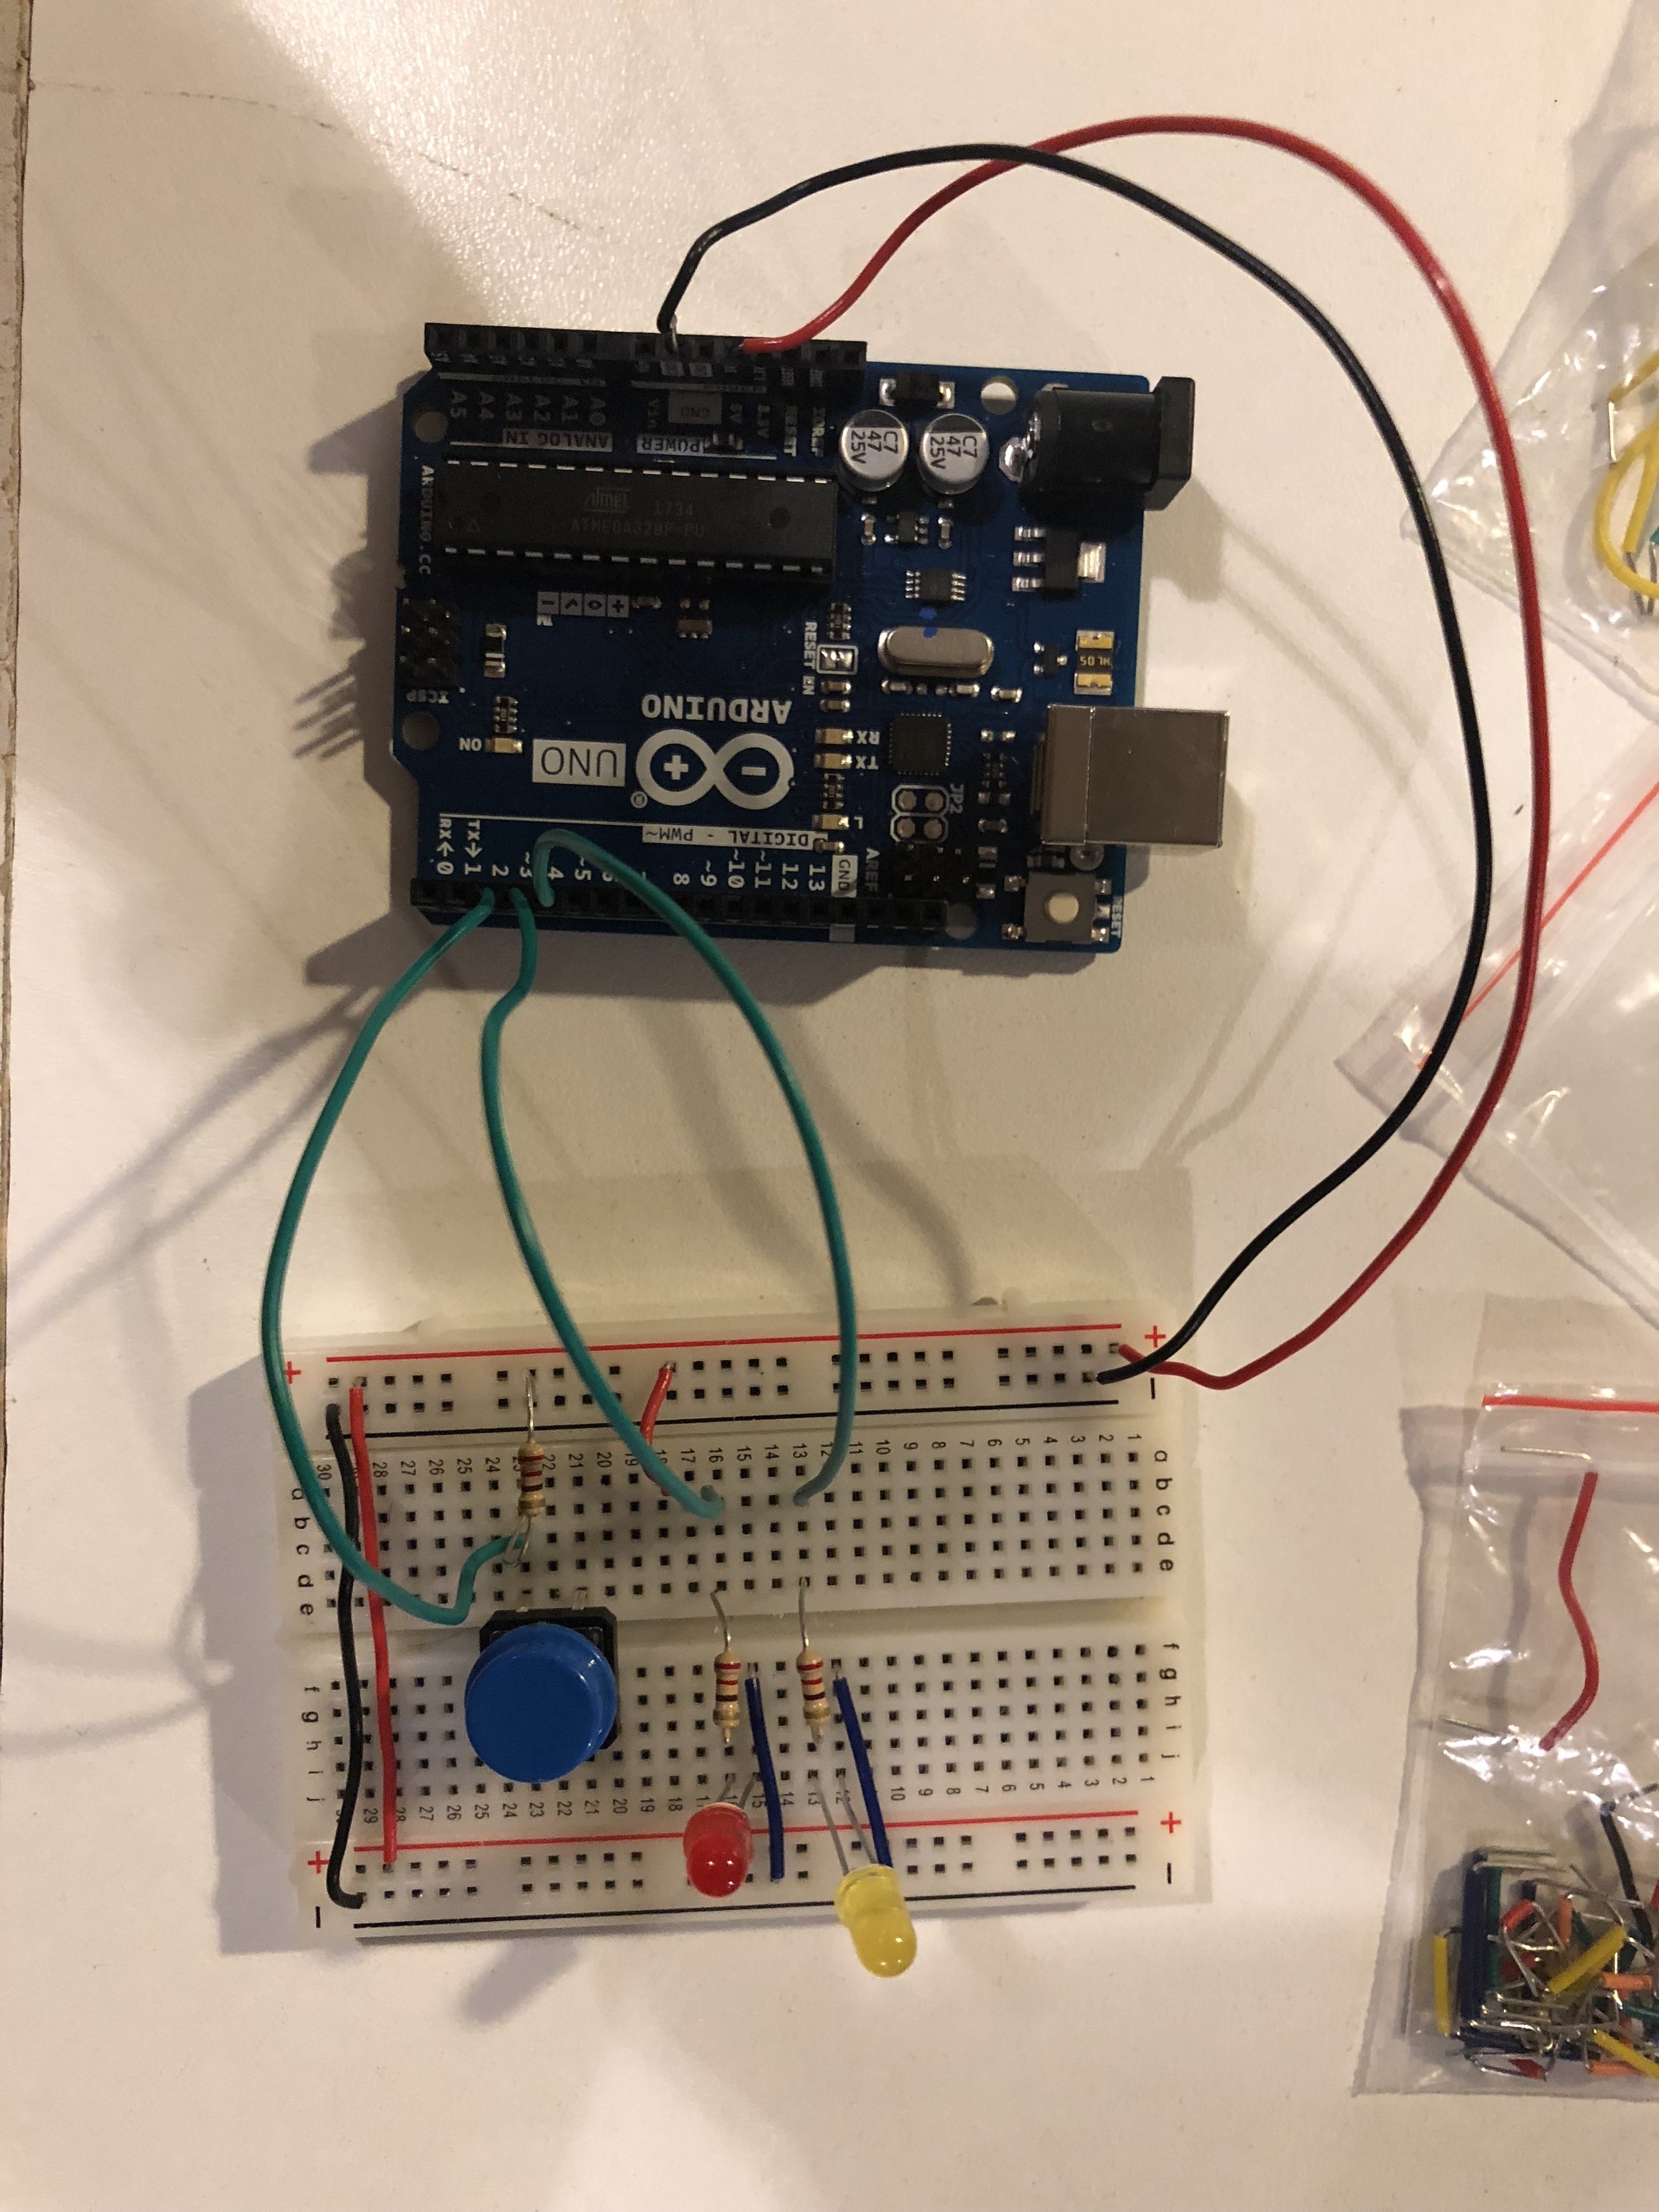
I began my design with an Arduino Uno, and was able to bring it to the Play Test working (sans buttons) for Class 13, however in transit, the cable connecting to power in the 5v port broke off and became lodged within the port. I was able to get it to work to have it working for people to play with, but was not as clean as I would have hoped. All and all, I got it to run!
For my Arduino sketch, I built out the below to incorporate the potentiometers as control as well as the buttons to emulate a more advanced Etch-a-sketch experience. I used the below code to get the potentiometers to work for class.
const int X_POT = A1;
const int Y_POT = A2;

void setup() {
  Serial.begin( 9600 );
  pinMode( X_POT, INPUT );
  pinMode( Y_POT, INPUT );
}

void loop() {
  Serial.print( analogRead( X_POT ) );
  Serial.print( "," );
  Serial.print( analogRead( Y_POT ) );
  Serial.println();
}
Later, for the three buttons, I decided to go with Red, Green, and Blue. The Red Button would be programmed to reset the sketch; the Green Button would be programmed to change a series of colors (fashioned to the reminisce of default DOS colors— Green/Black, White/Black, & White/Blue), and the Blue Button would be programmed to change the variance of transparency.
const int xpot = A1; // x axis potentiometer
const int ypot = A2; //y axis potentiometer
const int red = 6; // red button is color choice
const int green = 7; // green button fade
const int blue = 8; // blue button is reset

boolean previousRedState = false;
boolean previousGreenState = false;
boolean previousBlueState = false;

int colorVariableGreen = 0;
int colorVariableBlue = 0;

void setup() {
  Serial.begin( 9600 );
  pinMode( xpot, INPUT );
  pinMode( ypot, INPUT );
  pinMode( red, INPUT );
  pinMode( green, INPUT );
  pinMode( blue, INPUT );
}

void loop() {
//
  if (digitalRead(red) == HIGH) {
    //delay(10);
    if (digitalRead(red) == HIGH) {
      ///  Serial.println("Red Button Works!");
      //  delay(250);
    }
  }

  if (digitalRead(green) == HIGH) {
    if (previousGreenState == false) {
      previousGreenState = true;
    }
  }

  if (digitalRead(green) == LOW) {
    if (previousGreenState == false) {
    }
    if(previousGreenState == true) {
      previousGreenState = false;
      colorVariableGreen++;
      colorVariableGreen = colorVariableGreen % 3;
    }
  }

   if (digitalRead(blue) == HIGH) {
    if (previousBlueState == false) {
      previousBlueState = true;
    }
  }

  if (digitalRead(blue) == LOW) {
    if (previousBlueState == false) {
    }
    if(previousBlueState == true) {
      previousBlueState = false;
      colorVariableBlue++;
      colorVariableBlue = colorVariableBlue % 5;
    }
  }

  Serial.print( analogRead( xpot ) );
  Serial.print( "," );
  Serial.print( analogRead( ypot ) );
  Serial.print( "," );
  Serial.print( digitalRead( red ) );
  Serial.print( "," );
  Serial.print( colorVariableGreen ) ;
  Serial.print( "," );
  Serial.print( colorVariableBlue );
  Serial.println();
}
For the Atom Live Server I made sure that my iPad and computer were on the same network and included the IP address in my sketch.js to reflect the address (see below):
serial = new p5.SerialPort('10.17.75.249');
On the iPad, I used the IP address plus a ‘:3000’ at the end (example below):
10.17.75.249:3000;
With the use of the p5.serialcontrol application and the above, I was able to control the iPad wirelessly (though wifi) and connect the microcontroller via USB Serial Port to my computer.
I was able to get the buttons programmed and working minus the connection back to P5 and serial. I realized that I created more complications for myself in the fact that I waited to the last minute to program the buttons. I had some troubles with getting the cable out of the Uno and programmed a MKRZero. The MKRZero was not taking the code and Serial right away, so I happened to spend an extra day trouble shooting. In this experience, I learned to plan out my project better. I did not keep to a schedule this time around, and did my best to keep the project moving each day on loose milestones. I learned that with more complicated projects such as this one to create milestones and goals to achieve completion.
P5 code found here.
I also realized that I was a bit ambitious with my focus to create the buttons with different options at a press. I felt somewhat comfortable with Serial Connection and P5 with a Potentiometer, but had some troubles completing the code to work with a button at this point. I do however plan to get this completed over the break!


